Gather 'round boys and girls, it's story time.
Once upon a time, I acquired a '72 K10 Suburban that no longer possessed an engine or transmission. It did have rear a/c though.
It was fairly straight and quite complete. I started tearing into it and modding and replacing a bunch of stuff (my wallet thought I replaced everything).
I modified the evaporator housing to accept a later model evap core that uses an accumulator and orifice tube instead of the mechanical POA valve and expansion valve.
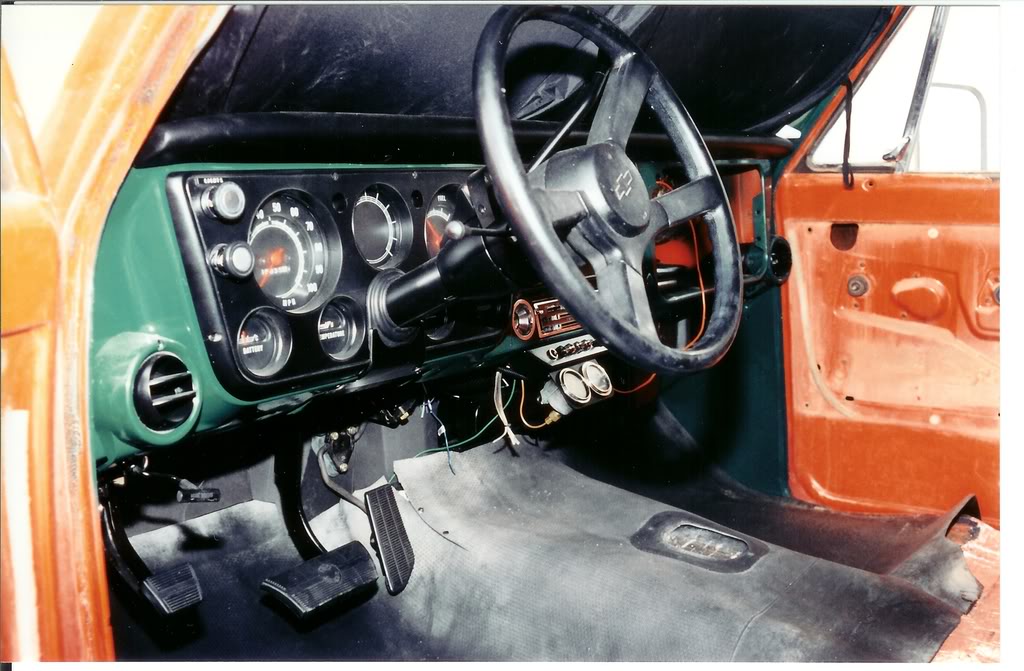
I cleaned up the dash replacing most of the a/c ductwork, the a/c controls, the vacuum pods, rebuilt the steering column, and insulated the floor and firewall. I never liked the manual transmission brake pedal, so I modified it. I also added the wider gas pedal from a '73 up truck.
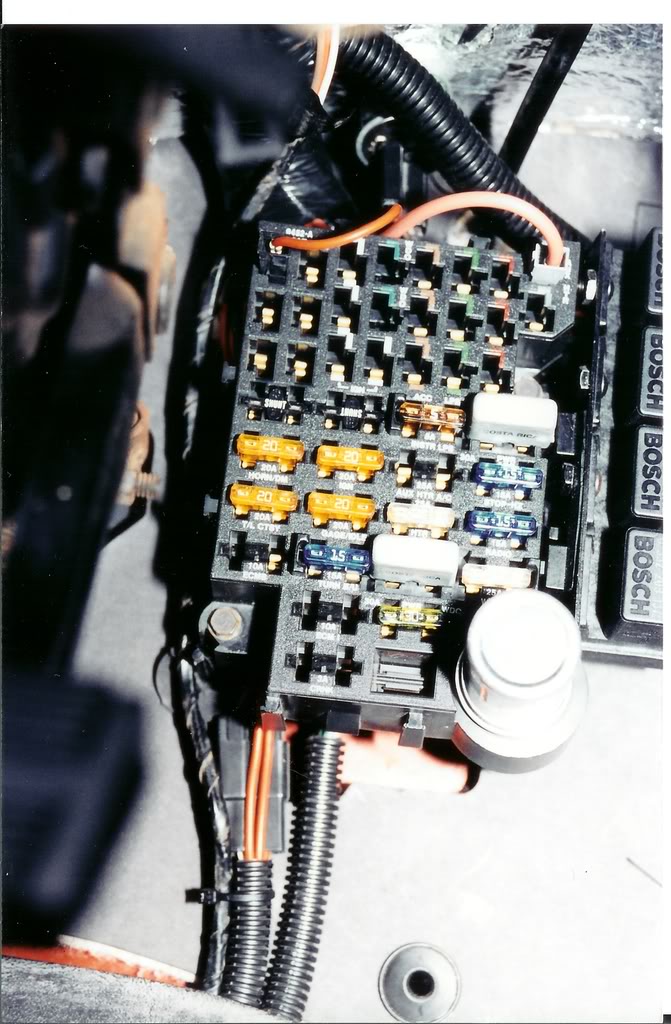
The electrical system in these trucks was inadequate in stock form (and a fire hazard) so I made my own wiring harness using a fuse block from a mid 80's Suburban and HD Bosch relays for the high amp draw circuits.
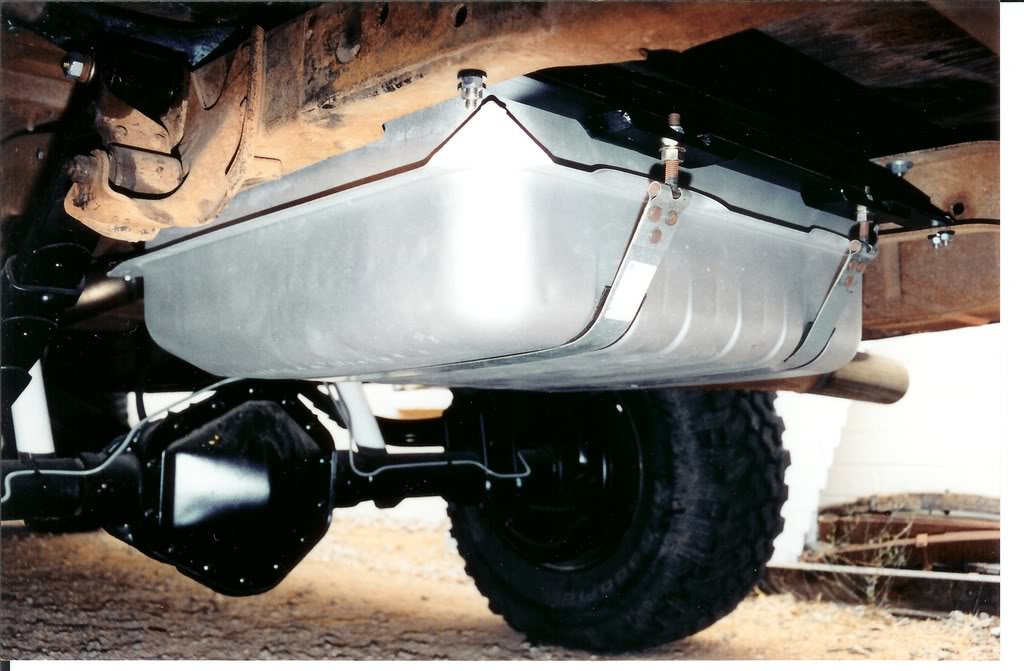
A 20 gallon fuel tank seemed laughable, so I added a 31 gal from K5Nutt/azblazer's '79 K5 when he switched to TBI. I also threw a set of 3/4T axles at it.
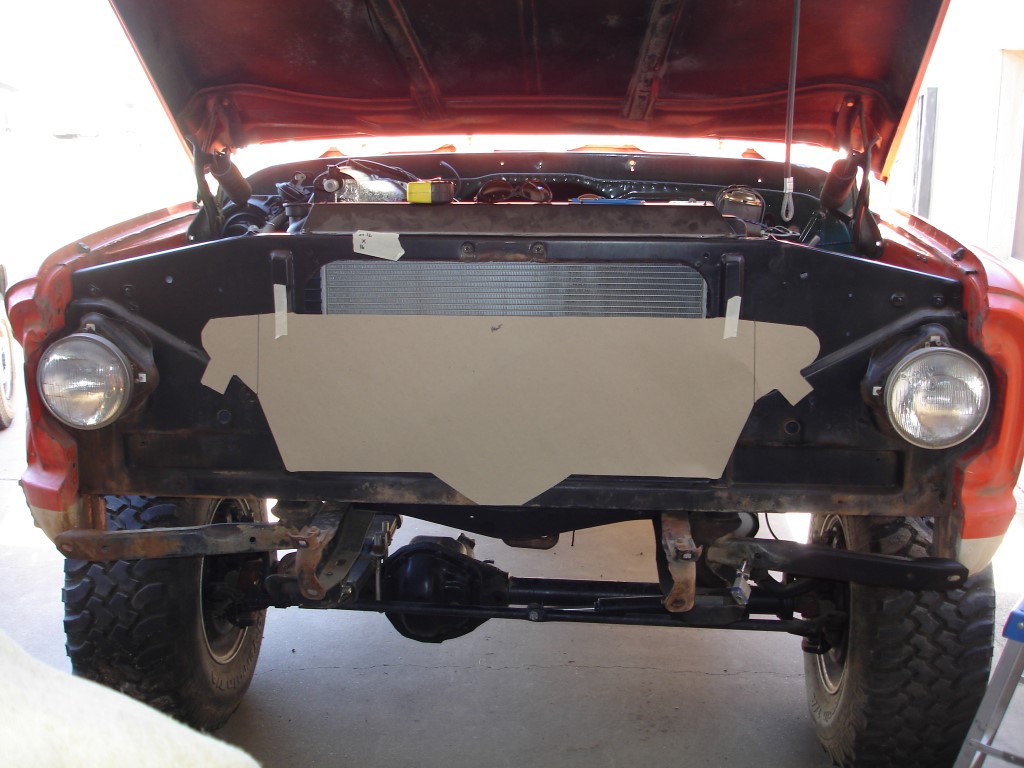
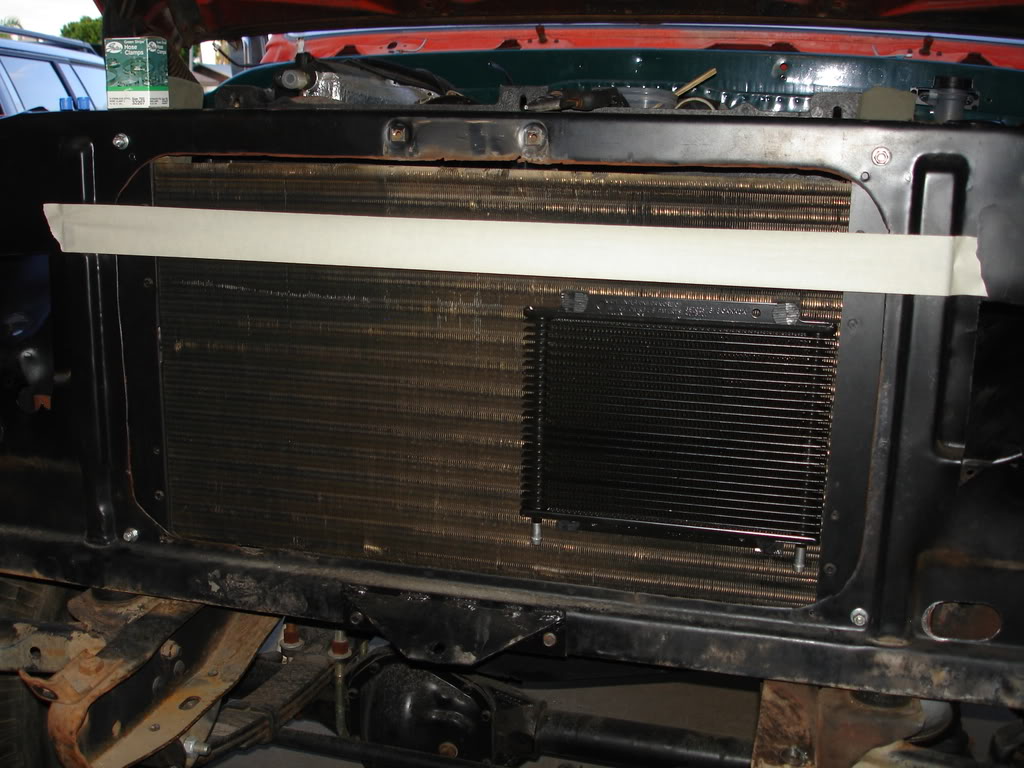
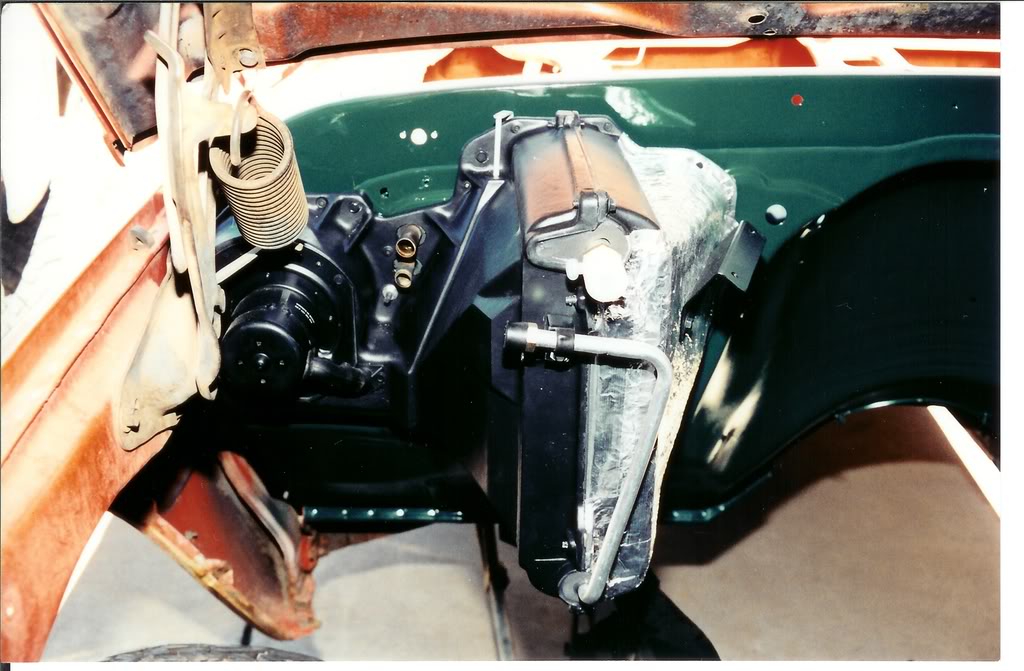
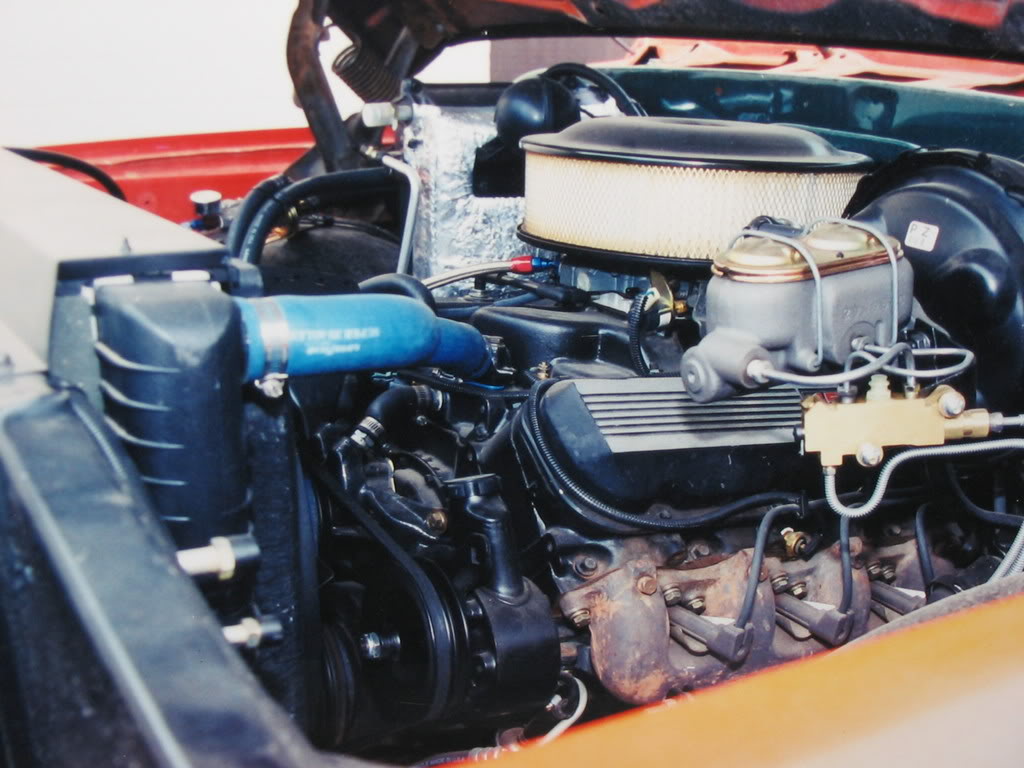
Then, I added a Gen V 454. I disliked how GM mounted the a/c condenser in front of the core support making it 5" too short, so I put it behind the core support. Actually, I put a '82-'83 Suburban condenser behind the core support. I got one of the last ones available for a rear a/c application (rear a/c units got 13 fins per inch instead of the normal truck/K5 units 10 FPI).
I wanted to use the tall radiator from a '73 up in it, but I had someone tell me that it won't fit and can't be put in. So I put one in. I got the Delco service replacement which is an aluminum core instead of the original copper/brass. I also installed a BRAND NEW BOOSTER. Having seen several friends go through reman after reman, I wanted to subtend that arc so I found a unit that was fairly easy to adapt and installed it with a new master and prop valve.
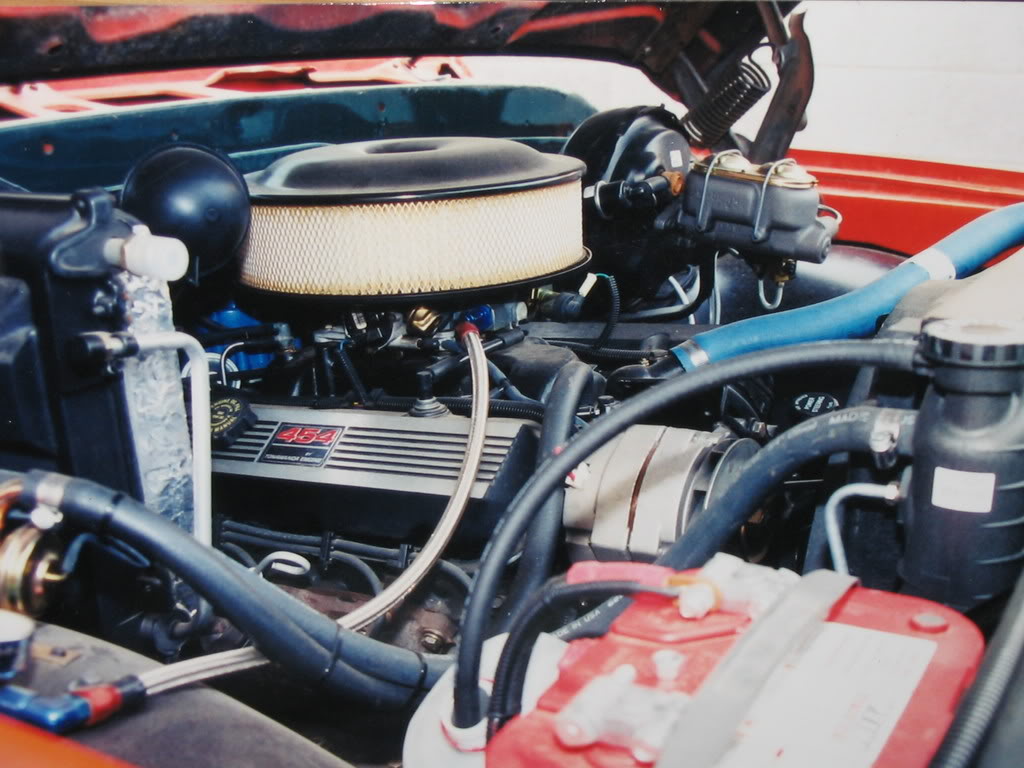
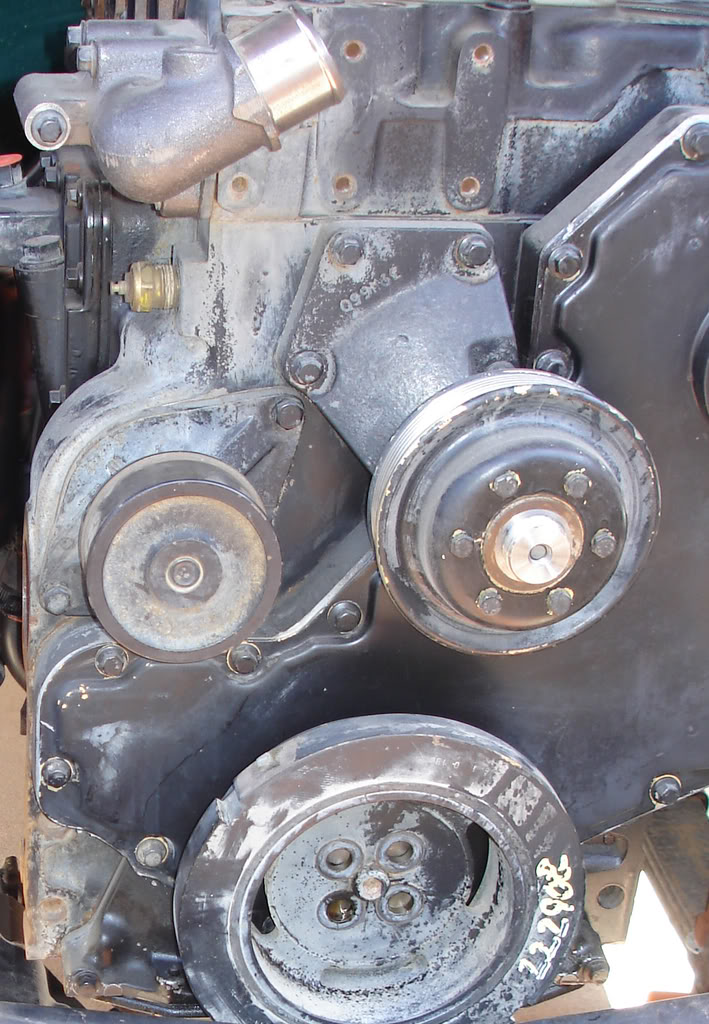
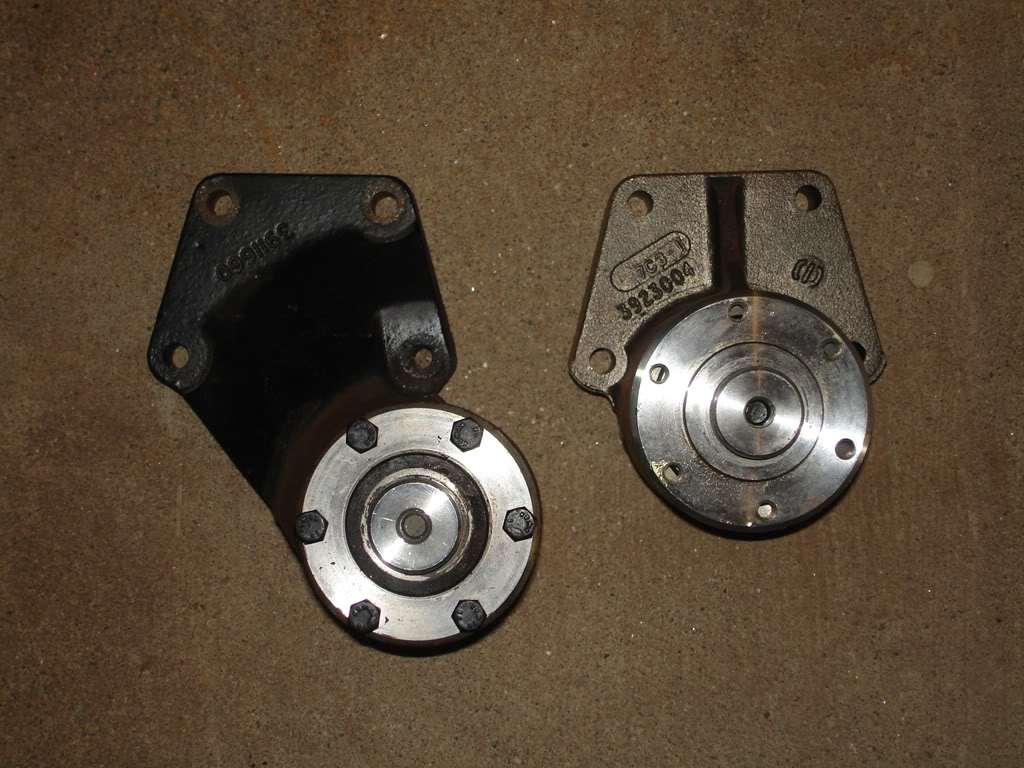
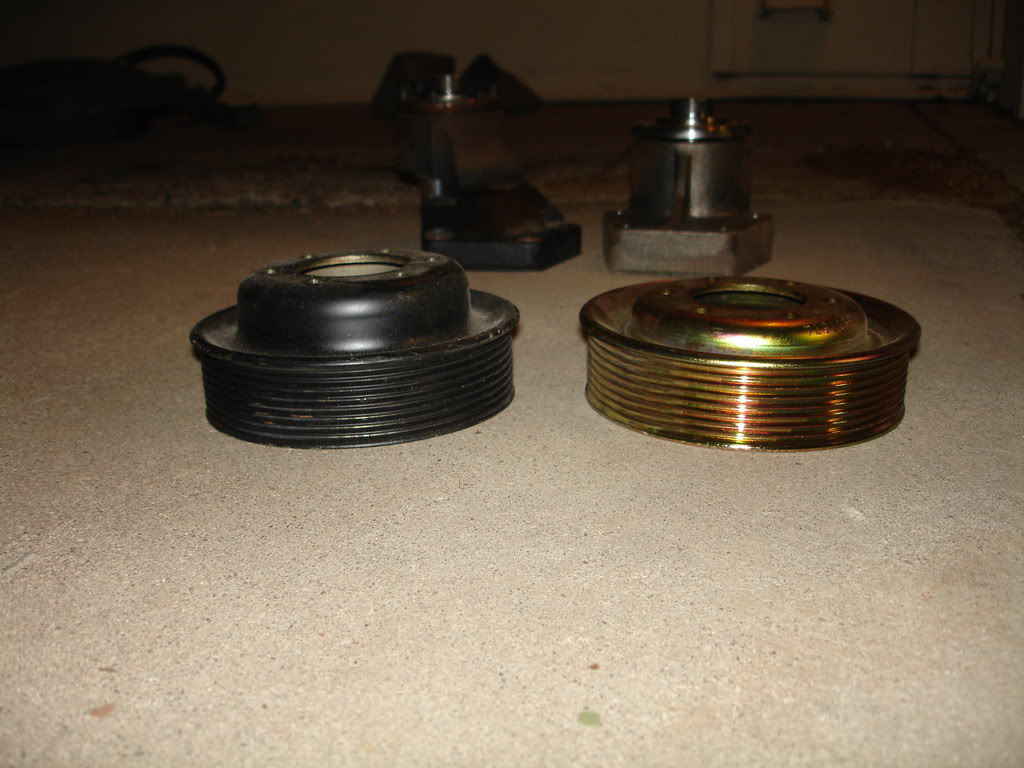
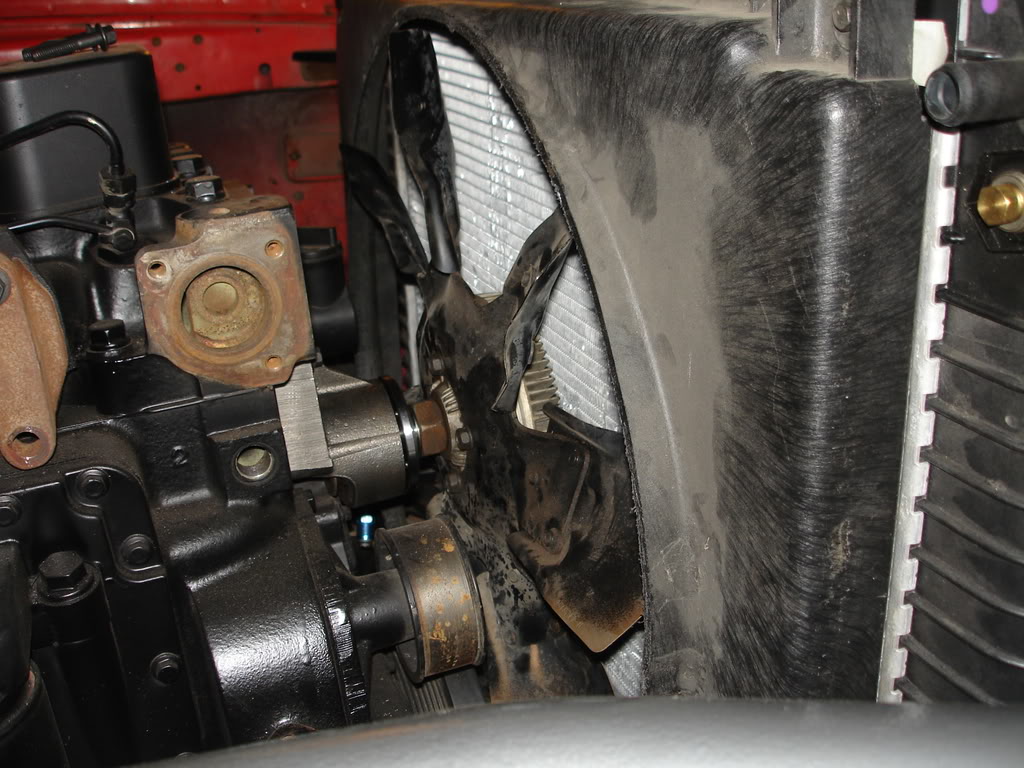
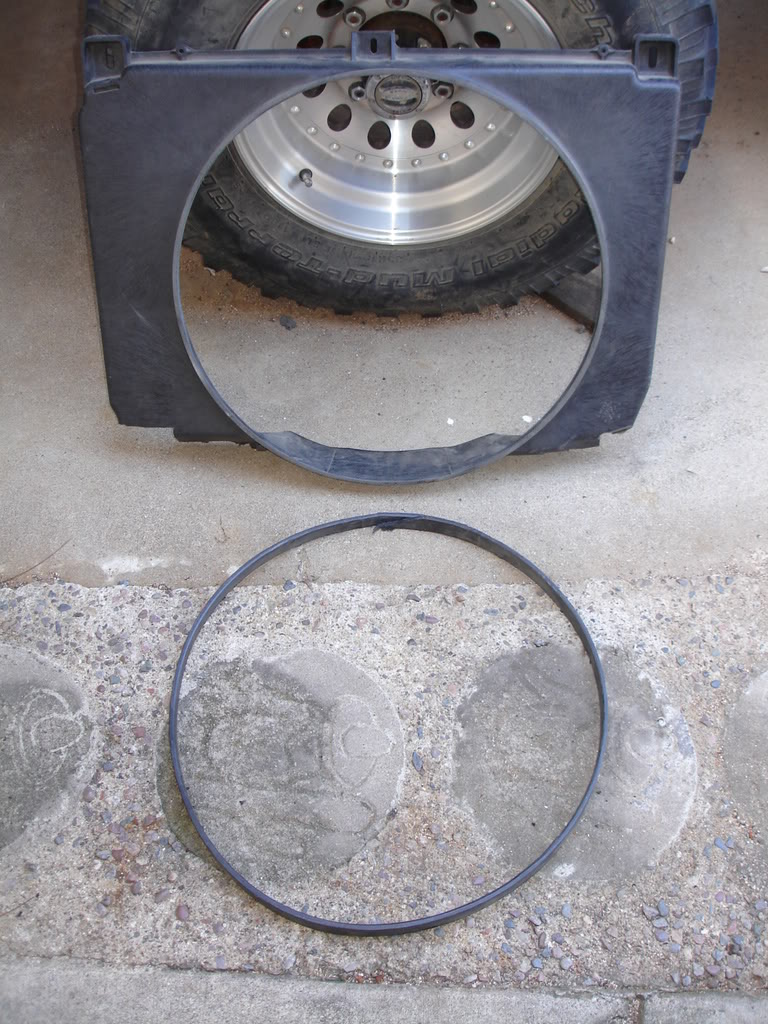
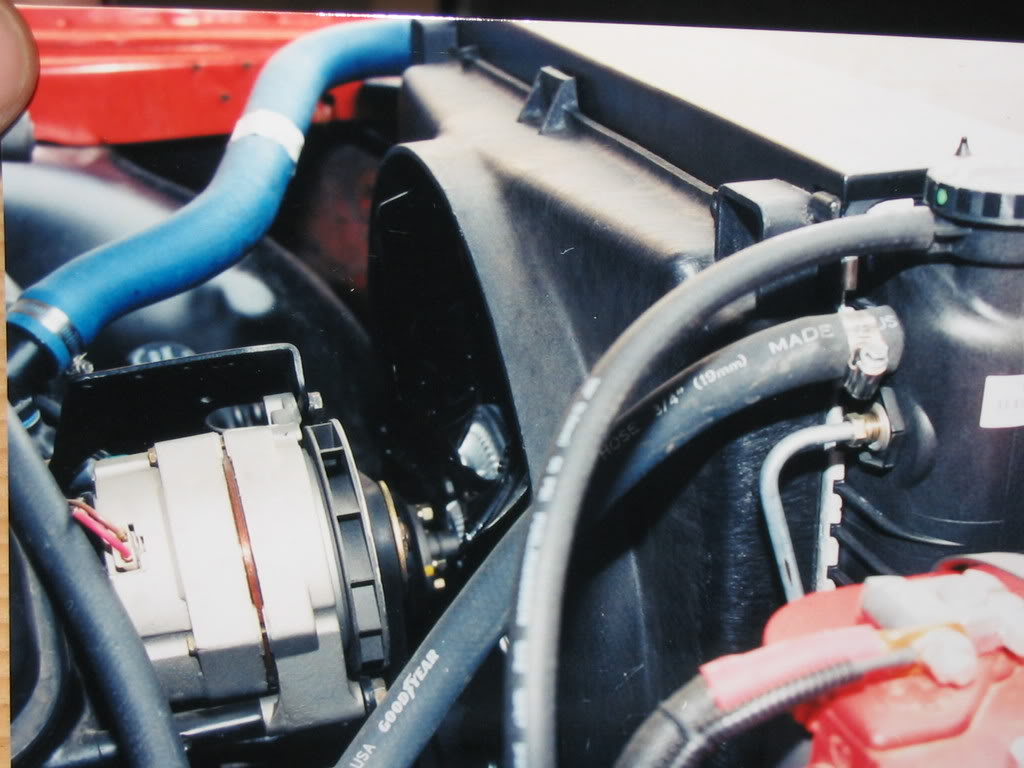
I was also told that I had to use the short water pump on the big block because a long water pump would not fit. So, once again, heeding their advice, I installed the long water pump and used a factory BBC fan shroud from a '73 up truck with a few minor mods. I ended up with the fan half in and half out of the shroud just like it should be. I'm glad I heeded that warning.....
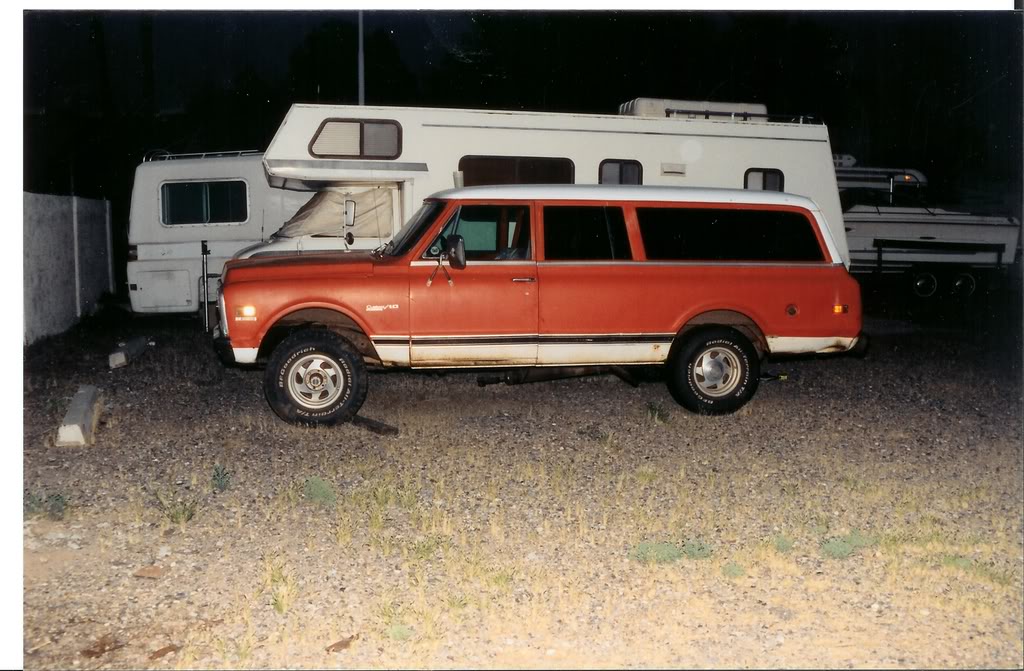
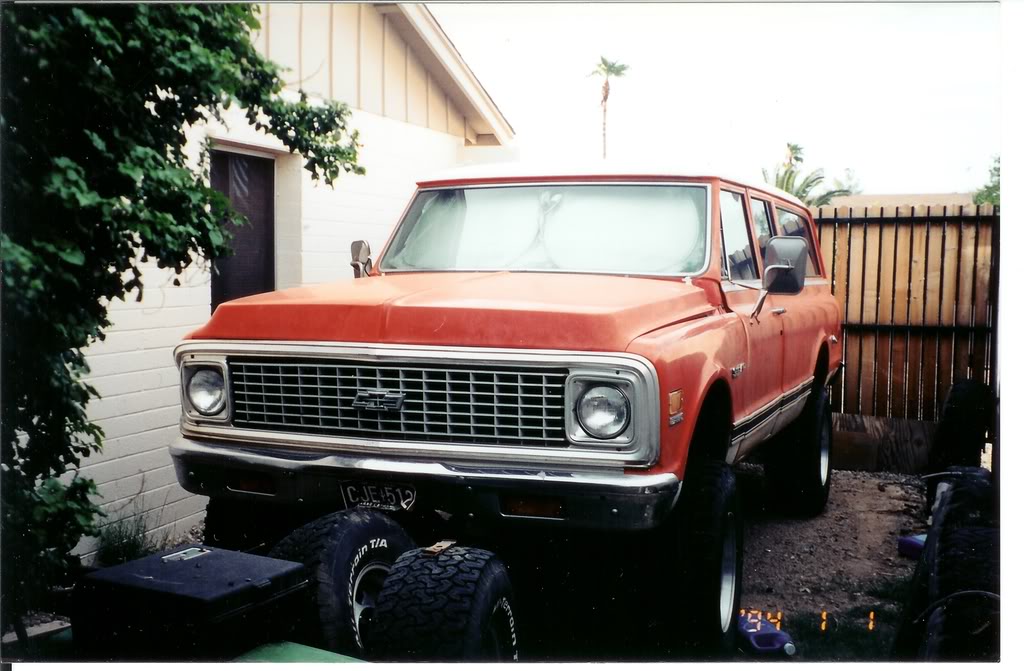
I added a 4" lift and ended up with something that looked like this:
I built my own exhaust system for it; a dual 2.5" into a single 3.5". It sounded great.
I drove the truck around the block a couple times and then, then, I bought one of these:
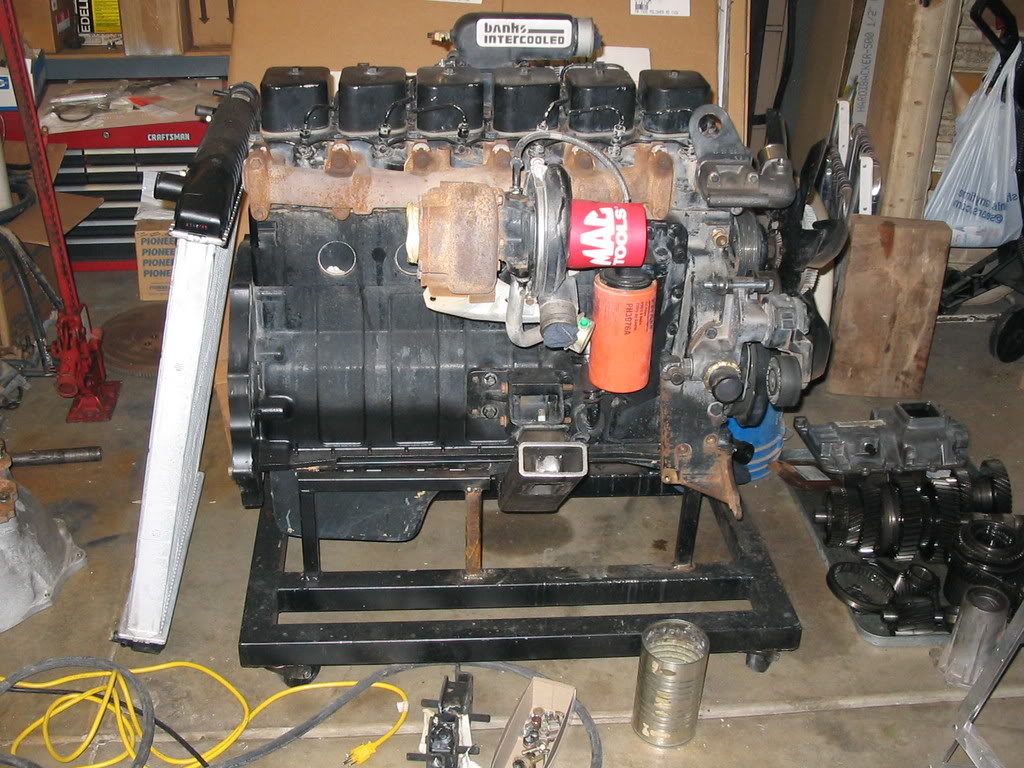
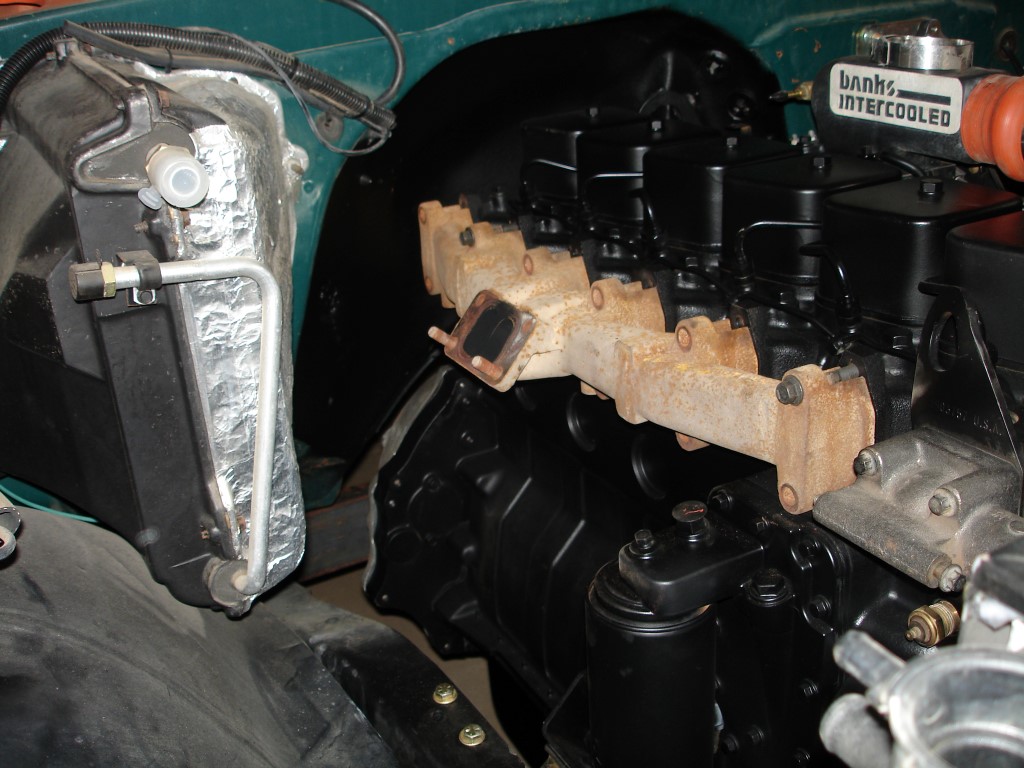
Yes, it is a Cummins 6BTA. It is a first gen unit and I got a complete Banks kit with it. I basically bought a Banks kit and got a 6B thrown in for free. So I tore the 454/TH475 out of it and sold them, had a little boy and it has sat in the driveway for the past five years.
But recently things have changed.
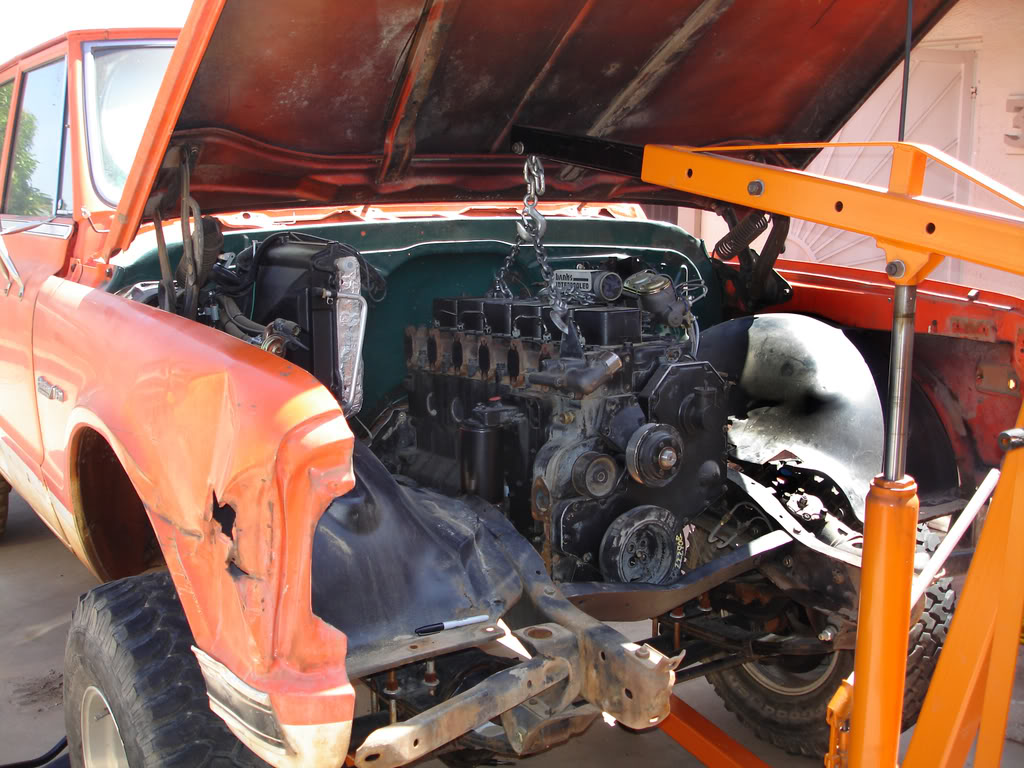
A test fit:
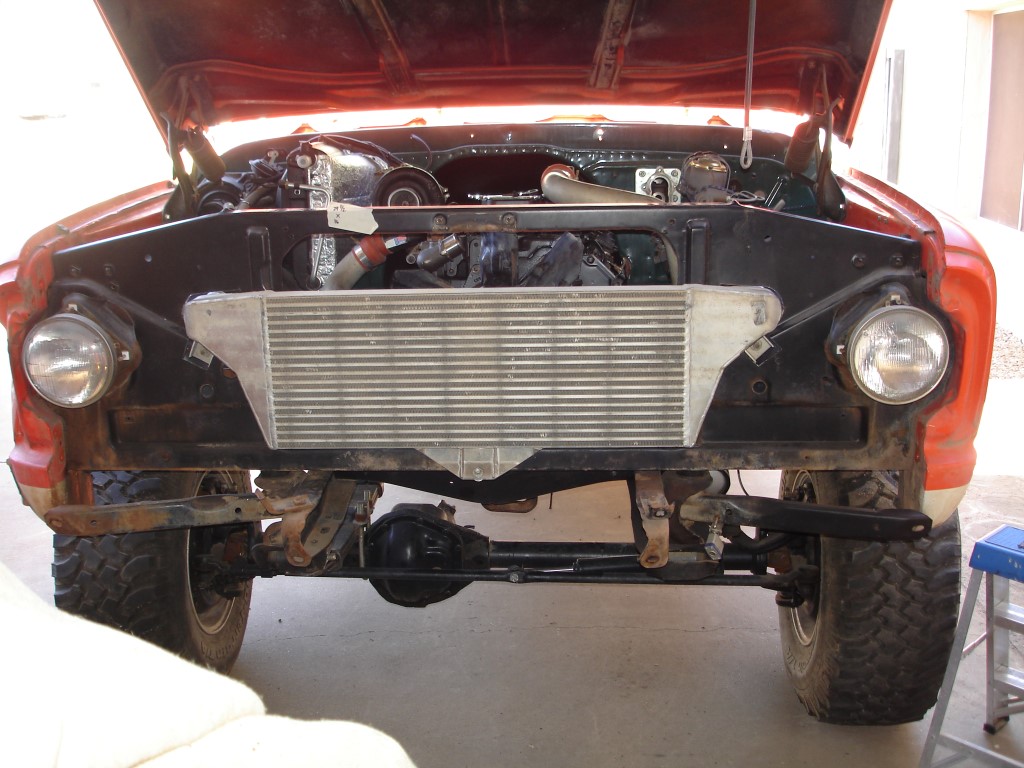
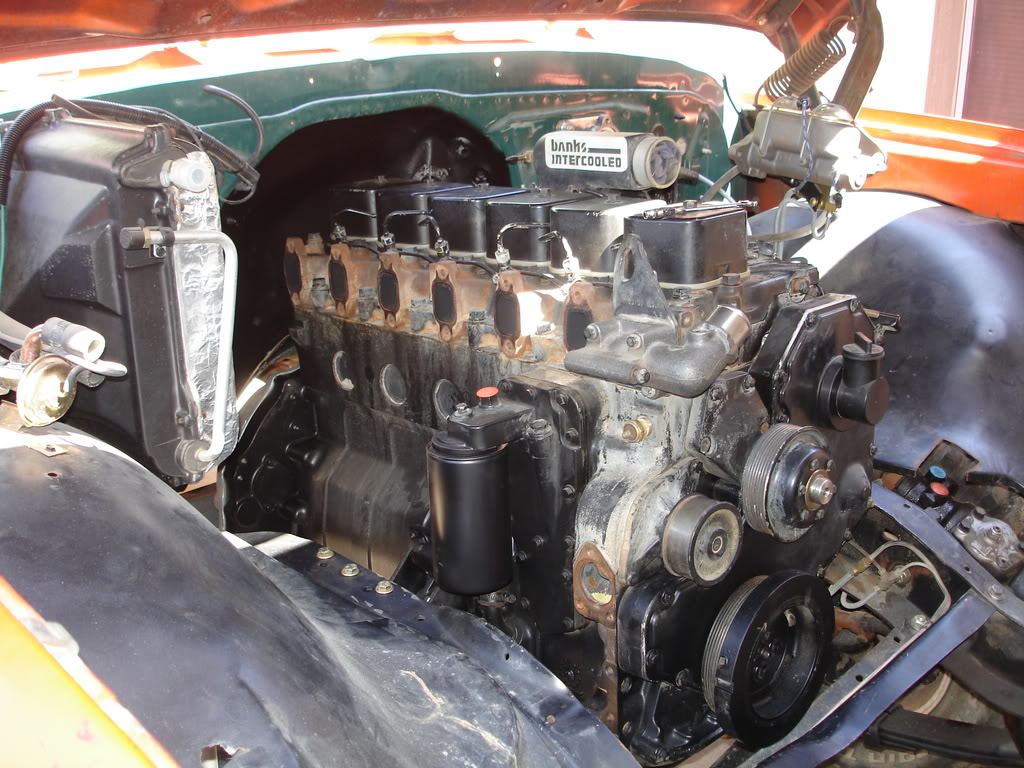
and installed:
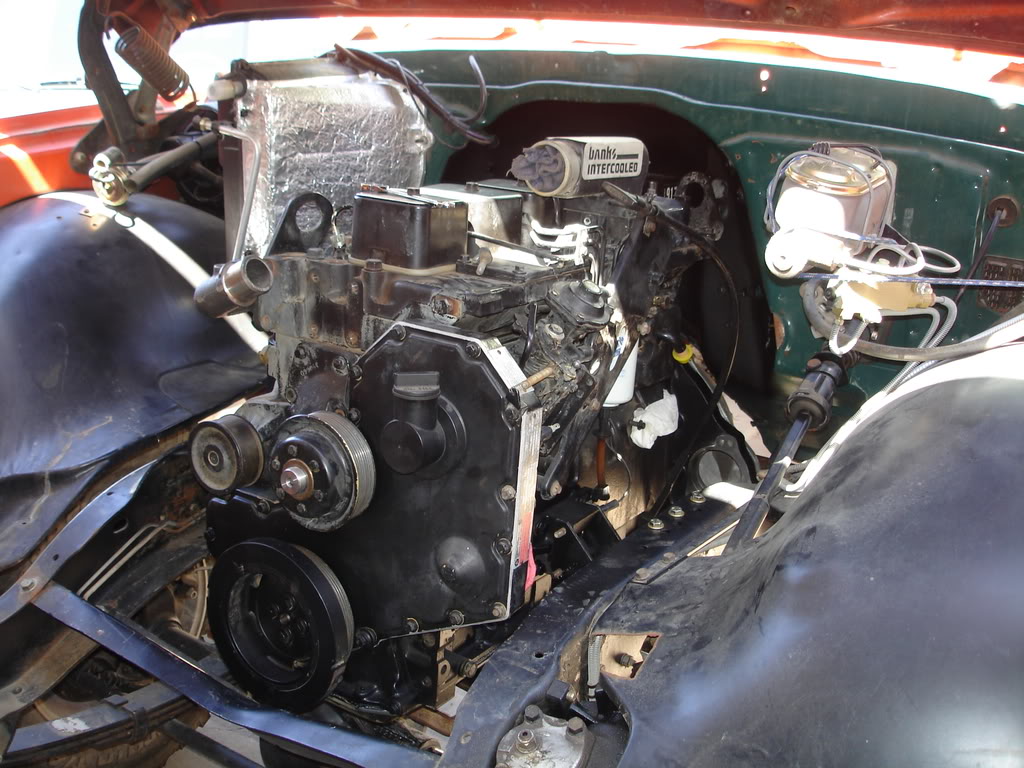
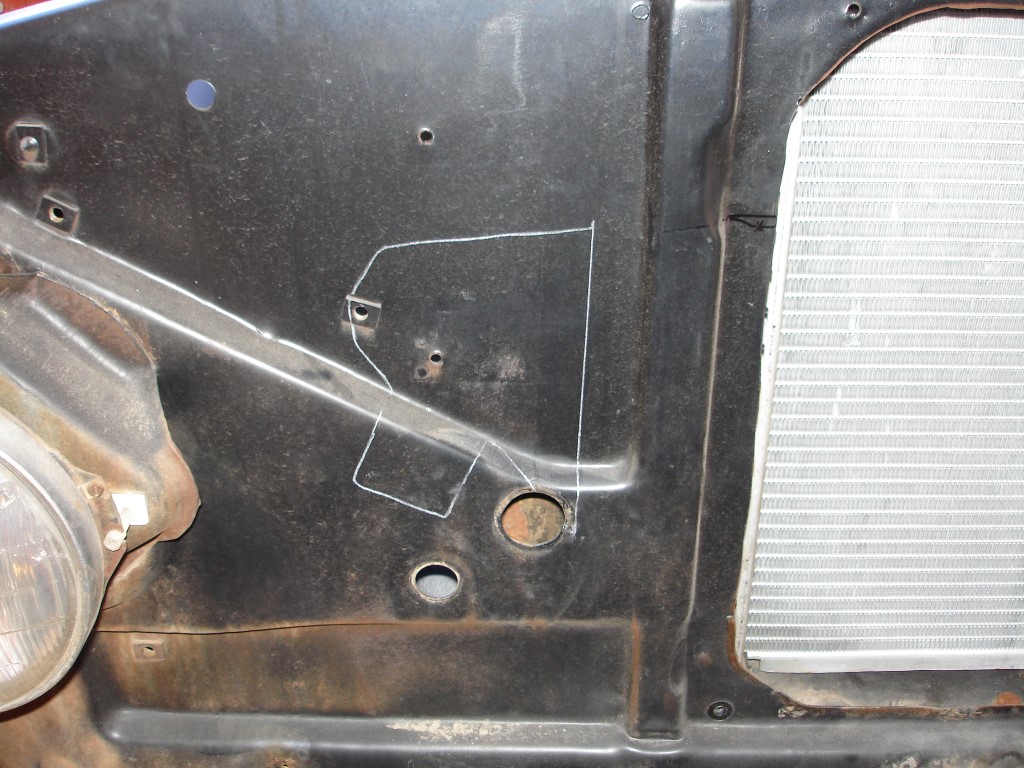
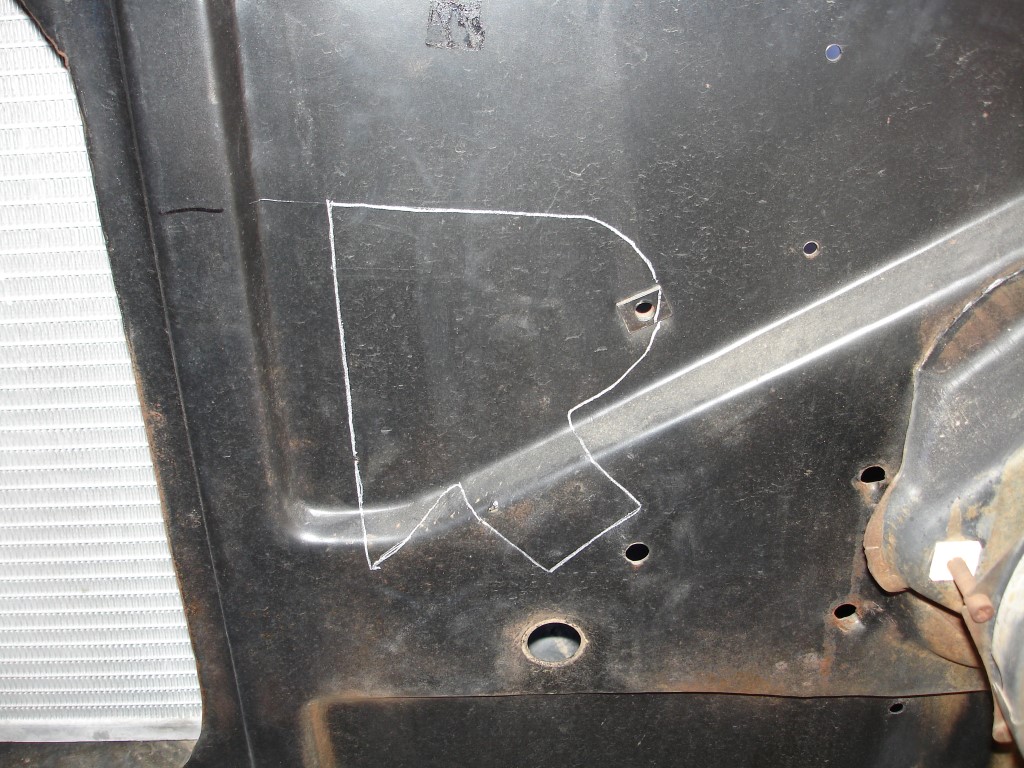
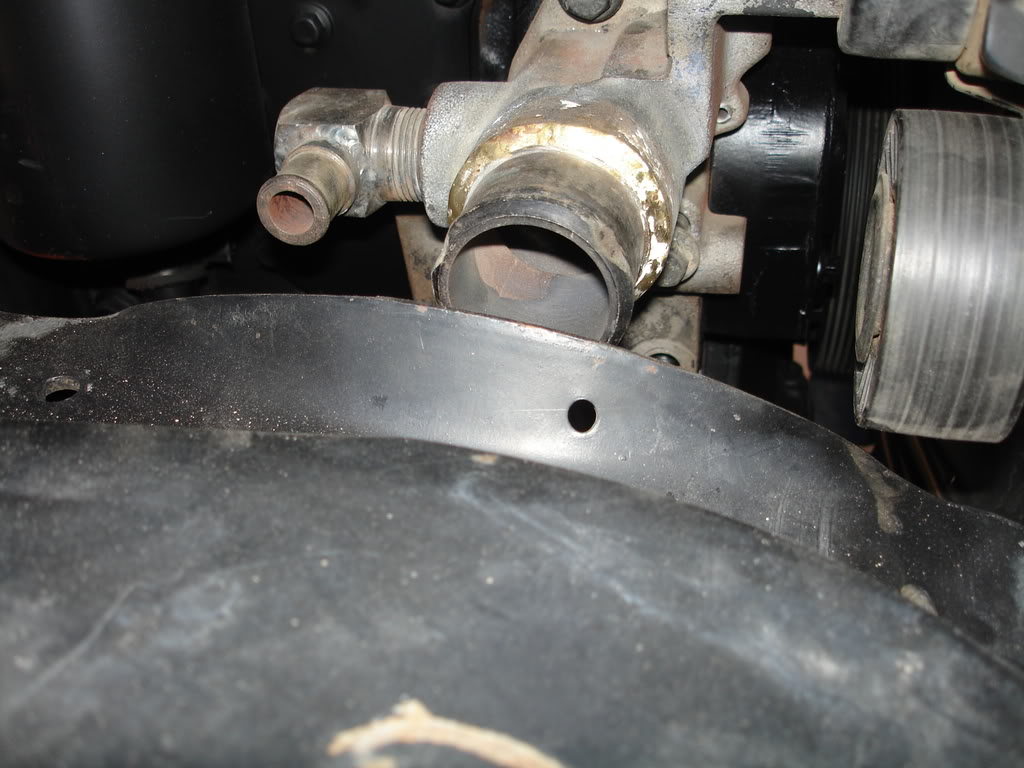
Notice a partial hydroboost unit on firewall.
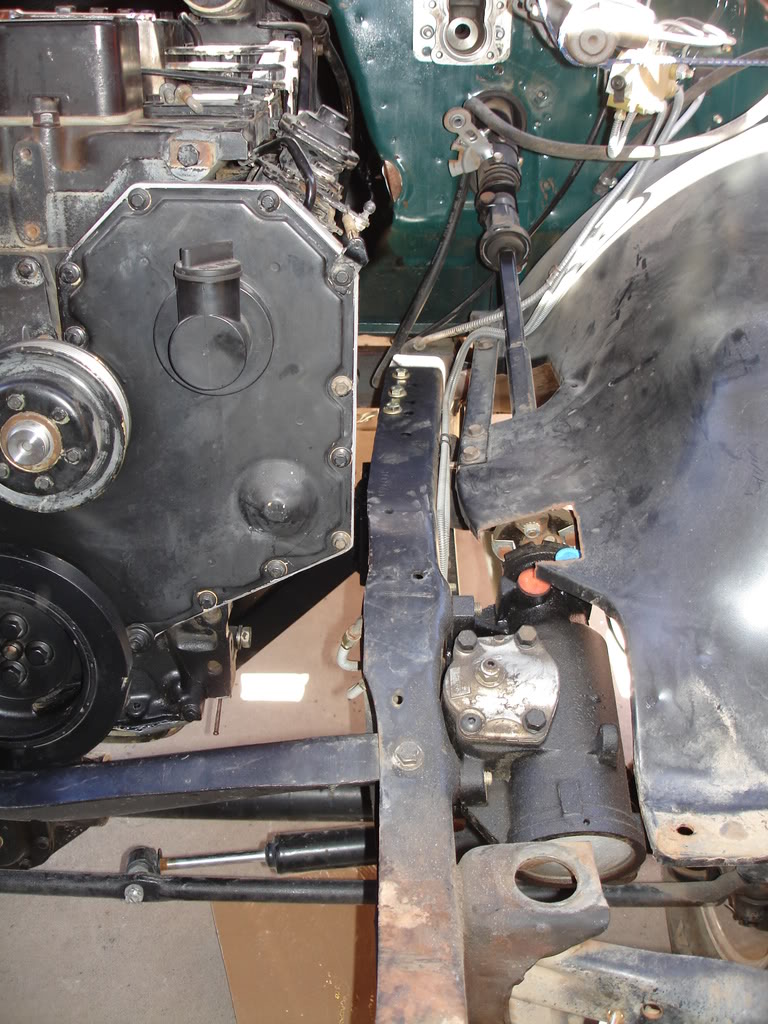
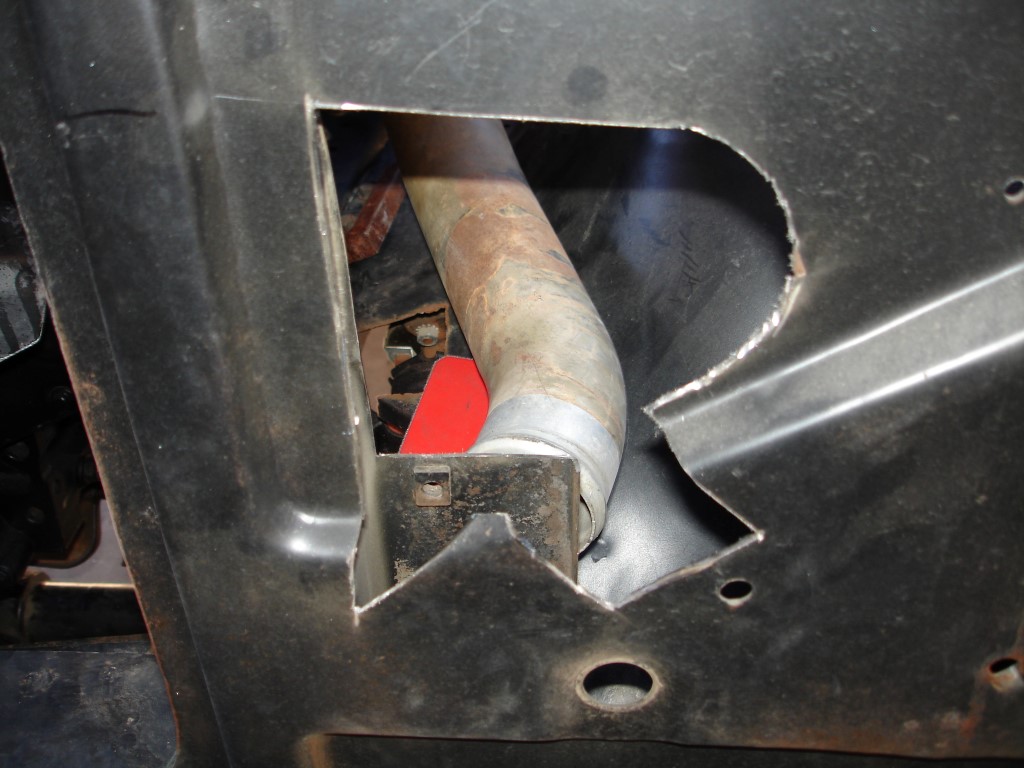
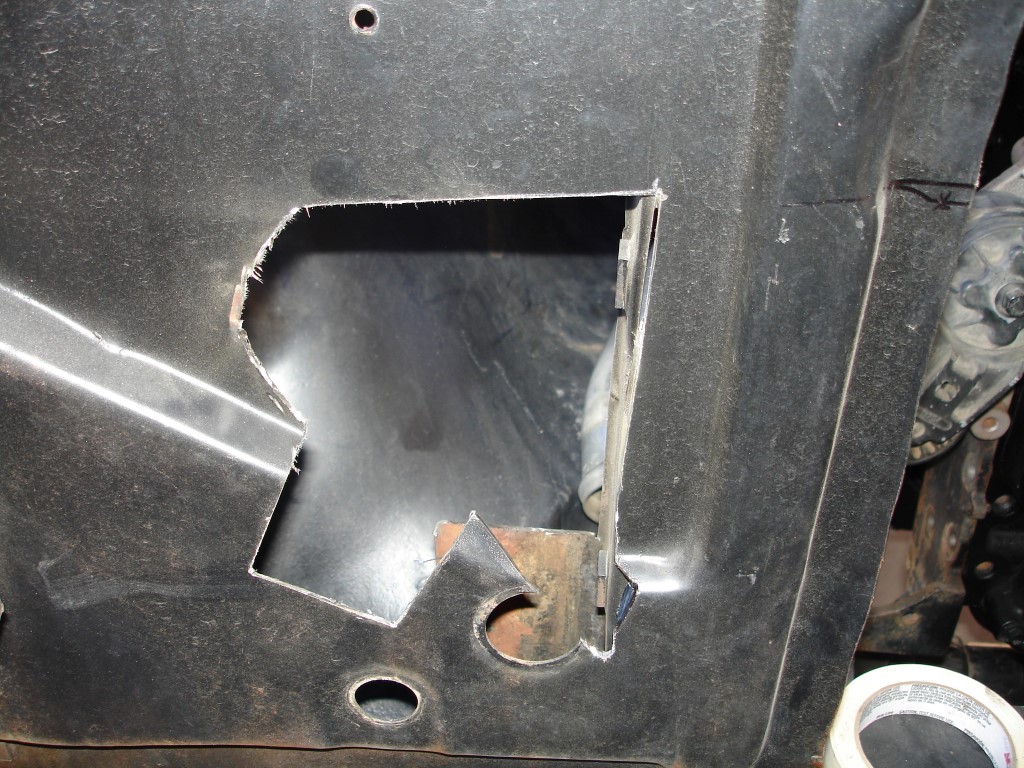
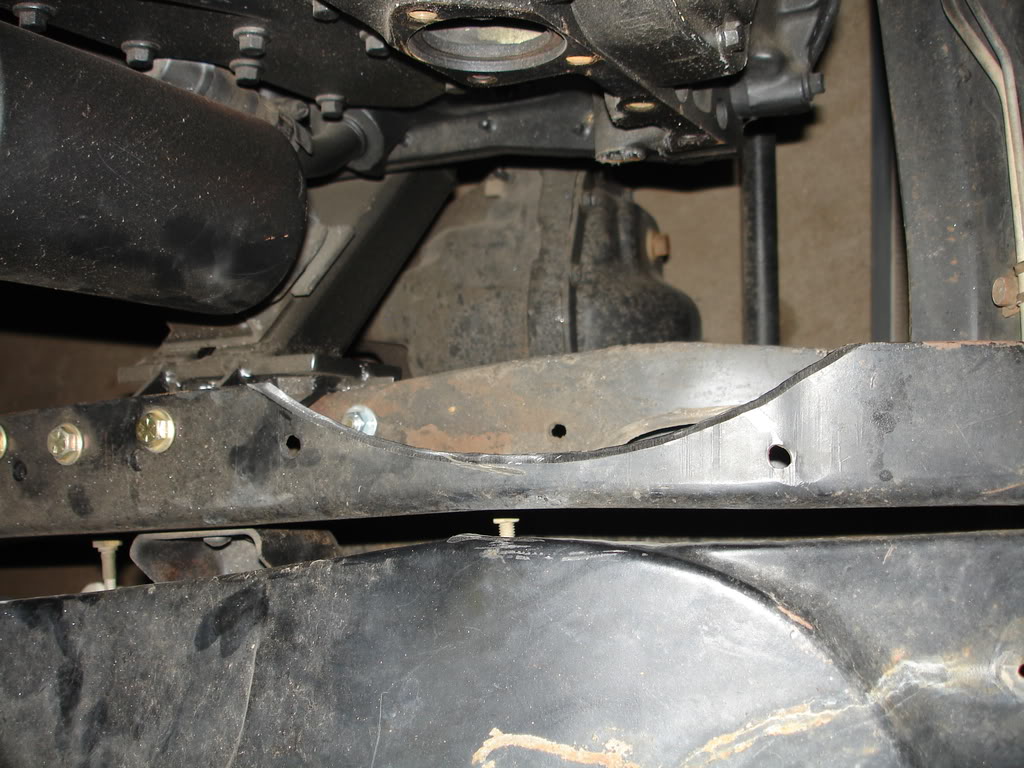
I set the motor as far back and as far down as I could. The far back is good--I have lots of room for the fan and clutch. the far down is preparing itself to kick me in the junk on the first trail outing: (it's hard to see in the pic, but there is about 4" of clearance between the D44 housing and the crossmember--I'm really going to aggravate this clearance with the D60 I have for it) The sides of the crossmember are 45deg, but the bottom of the crossmember is actually not level. It is canted up on the diff side to create a bit more clearance. I don't like it, but I don't want to raise the motor and I don't want more suspension lift.

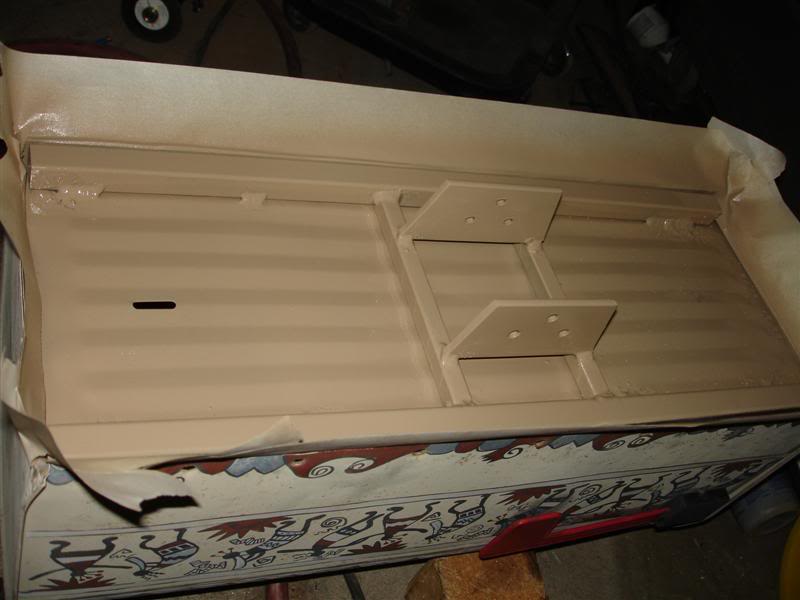
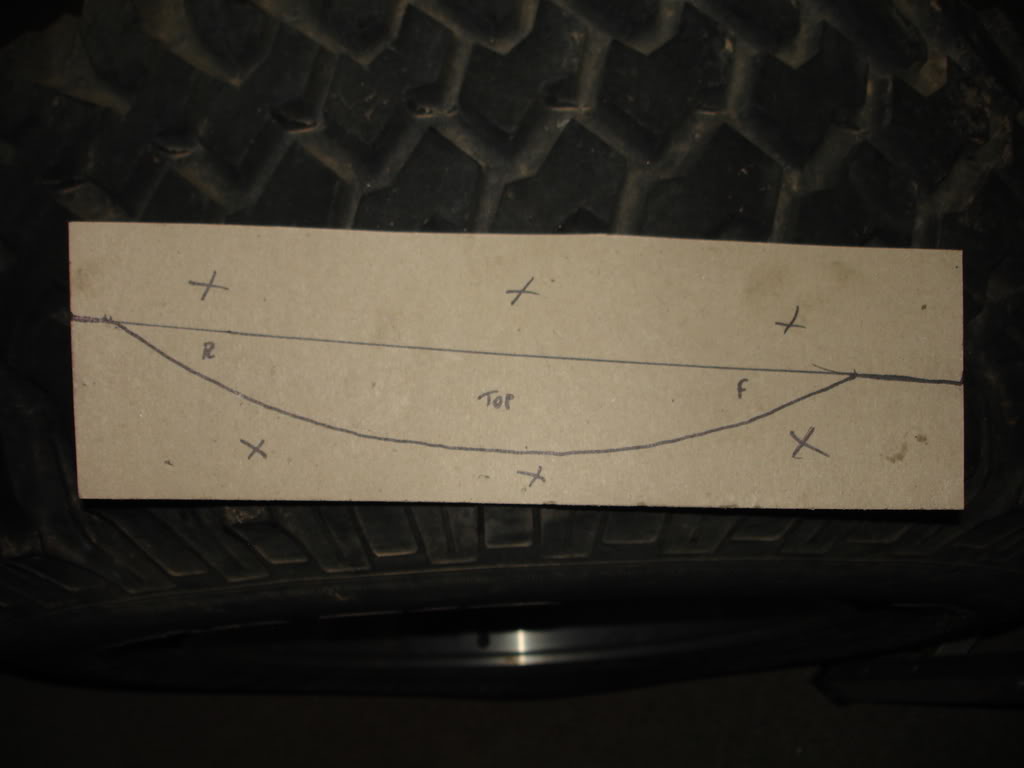
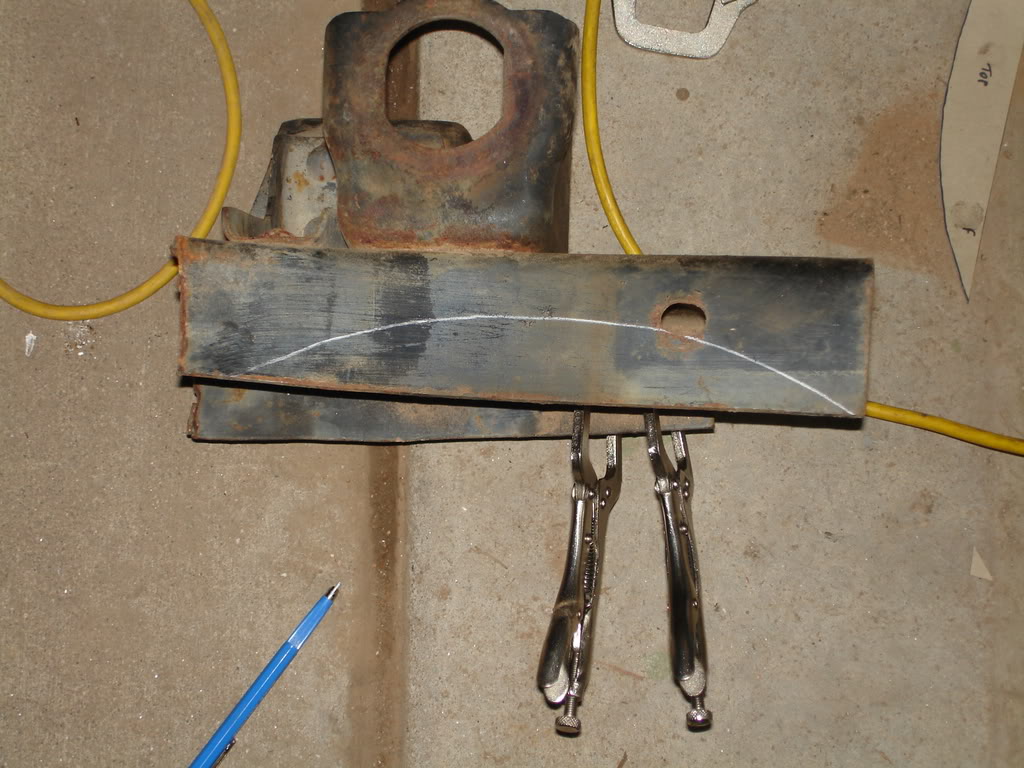
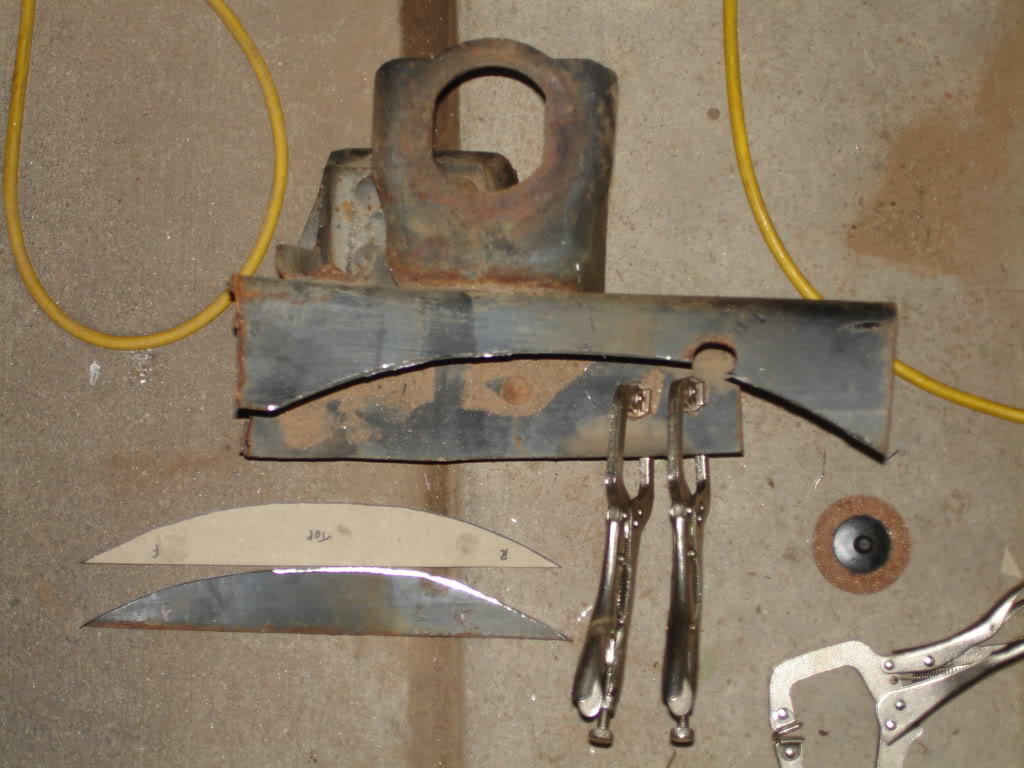
I devised a simple crossmember to support the back of the motor utilizing the lower two transmission mounting holes to support the engine in the correct location without a transmission, so I can set up the underhood "things" without having to build the trans right now.
Well, I am tired of typing and loading pics, so the story will end here for today. Stop back to read of further adventures in the future.
Once upon a time, I acquired a '72 K10 Suburban that no longer possessed an engine or transmission. It did have rear a/c though.
It was fairly straight and quite complete. I started tearing into it and modding and replacing a bunch of stuff (my wallet thought I replaced everything).
I modified the evaporator housing to accept a later model evap core that uses an accumulator and orifice tube instead of the mechanical POA valve and expansion valve.
I cleaned up the dash replacing most of the a/c ductwork, the a/c controls, the vacuum pods, rebuilt the steering column, and insulated the floor and firewall. I never liked the manual transmission brake pedal, so I modified it. I also added the wider gas pedal from a '73 up truck.
The electrical system in these trucks was inadequate in stock form (and a fire hazard) so I made my own wiring harness using a fuse block from a mid 80's Suburban and HD Bosch relays for the high amp draw circuits.
A 20 gallon fuel tank seemed laughable, so I added a 31 gal from K5Nutt/azblazer's '79 K5 when he switched to TBI. I also threw a set of 3/4T axles at it.
Then, I added a Gen V 454. I disliked how GM mounted the a/c condenser in front of the core support making it 5" too short, so I put it behind the core support. Actually, I put a '82-'83 Suburban condenser behind the core support. I got one of the last ones available for a rear a/c application (rear a/c units got 13 fins per inch instead of the normal truck/K5 units 10 FPI).
I wanted to use the tall radiator from a '73 up in it, but I had someone tell me that it won't fit and can't be put in. So I put one in. I got the Delco service replacement which is an aluminum core instead of the original copper/brass. I also installed a BRAND NEW BOOSTER. Having seen several friends go through reman after reman, I wanted to subtend that arc so I found a unit that was fairly easy to adapt and installed it with a new master and prop valve.
I was also told that I had to use the short water pump on the big block because a long water pump would not fit. So, once again, heeding their advice, I installed the long water pump and used a factory BBC fan shroud from a '73 up truck with a few minor mods. I ended up with the fan half in and half out of the shroud just like it should be. I'm glad I heeded that warning.....
I added a 4" lift and ended up with something that looked like this:
I built my own exhaust system for it; a dual 2.5" into a single 3.5". It sounded great.
I drove the truck around the block a couple times and then, then, I bought one of these:
Yes, it is a Cummins 6BTA. It is a first gen unit and I got a complete Banks kit with it. I basically bought a Banks kit and got a 6B thrown in for free. So I tore the 454/TH475 out of it and sold them, had a little boy and it has sat in the driveway for the past five years.
But recently things have changed.
A test fit:
and installed:
Notice a partial hydroboost unit on firewall.
I set the motor as far back and as far down as I could. The far back is good--I have lots of room for the fan and clutch. the far down is preparing itself to kick me in the junk on the first trail outing: (it's hard to see in the pic, but there is about 4" of clearance between the D44 housing and the crossmember--I'm really going to aggravate this clearance with the D60 I have for it) The sides of the crossmember are 45deg, but the bottom of the crossmember is actually not level. It is canted up on the diff side to create a bit more clearance. I don't like it, but I don't want to raise the motor and I don't want more suspension lift.
I devised a simple crossmember to support the back of the motor utilizing the lower two transmission mounting holes to support the engine in the correct location without a transmission, so I can set up the underhood "things" without having to build the trans right now.
Well, I am tired of typing and loading pics, so the story will end here for today. Stop back to read of further adventures in the future.
Last edited:


")