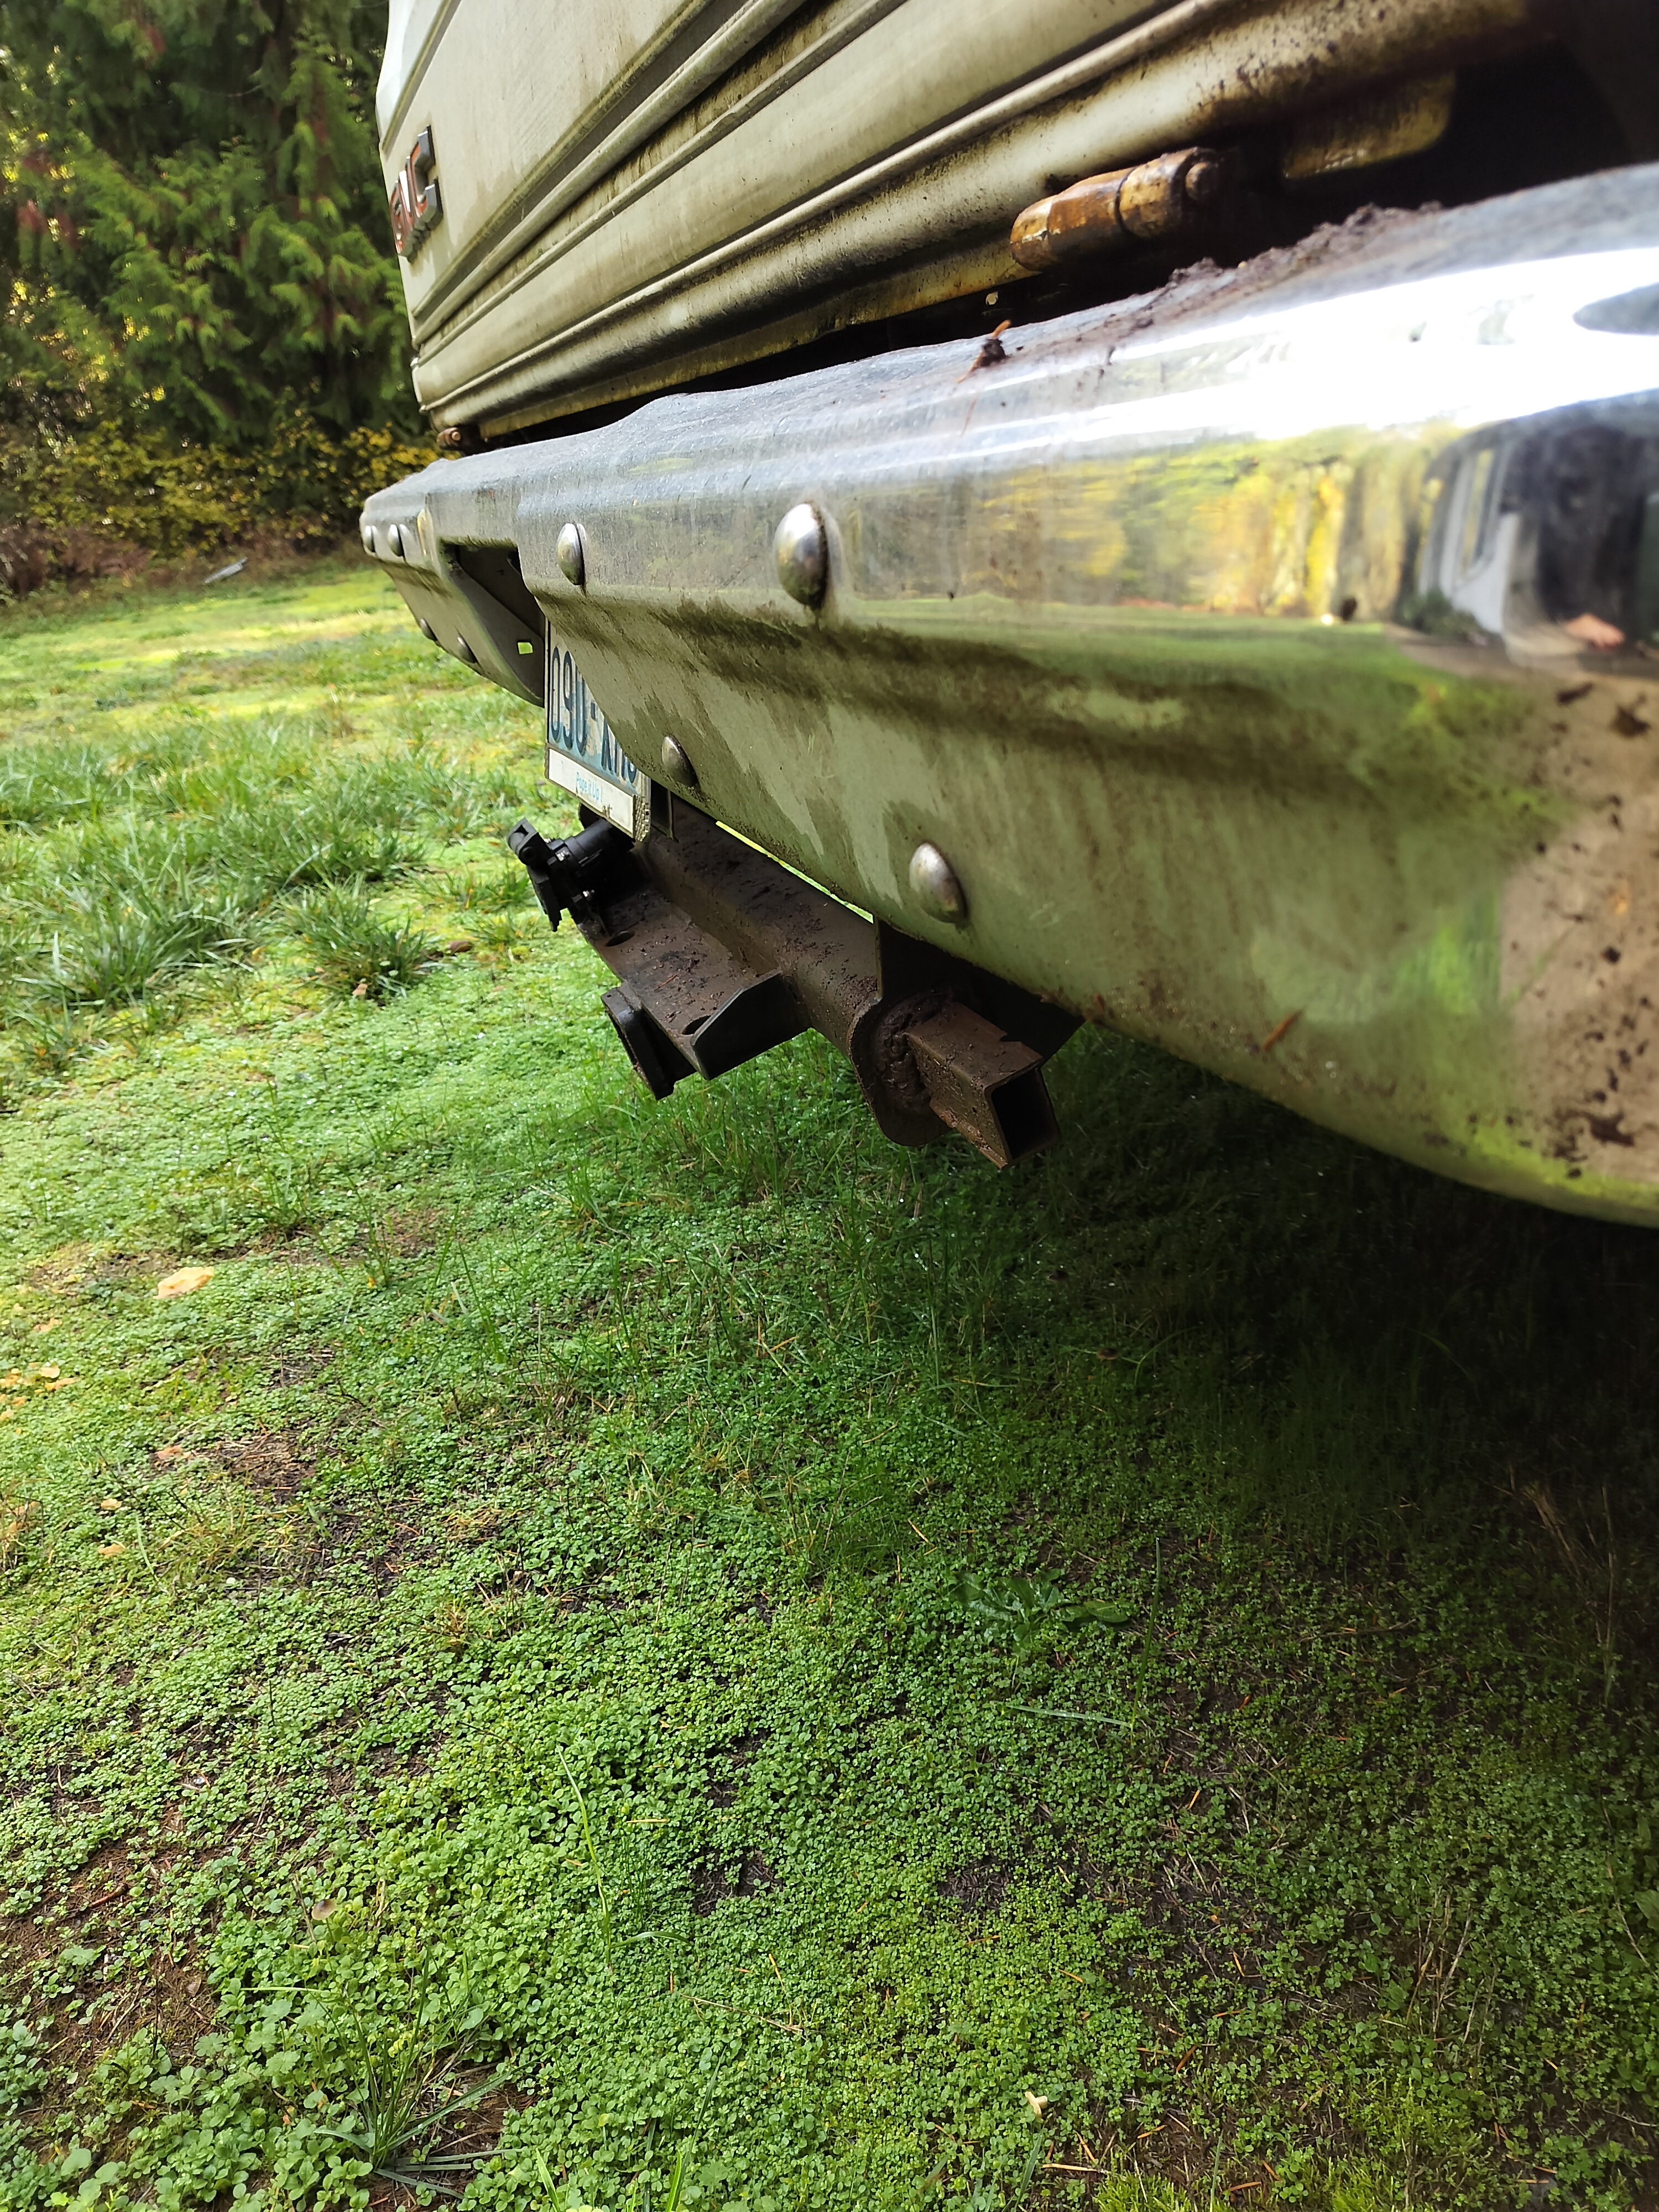
For those that didn't read about it, my trailer hitch sheared where it bolted to the frame (pic at the very bottom of this post). So I need to take it off to repair and improve it.
I need ideas on what to do regarding bolting the hitch to the frame.
Primary goal is to be able to remove the hitch without having to mess with the fuel tank. Secondary is to make sure this doesn't happen again.
I took the tank out last night, and the hitch bolts are rusty enough that removal is proving to be...painful. The tight quarters don't lend themselves to being able to get any real tools on the bolts/nuts, and even then, the threads are fairly rusty, plus I used locking nuts. So it's a lot more work than it should be. Anyone that has dealt with a hitch that bolts up to the factory holes probably remembers the one rear bolt on each side that is positioned in a cutout in a frame cross piece, and the forward bolt that has rivet heads directly next to it. So far the breaker bar partially works, and where it doesn't, the angle grinder does.
My plan is to box this frame, so access isn't going to get better. My immediate thought is to weld mild steel bolts in place to act as studs. I wouldn't be surprised if frame thickness isn't playing some issue, I've got enough steel around that I could probably make a plate that sits on top of the frame (inside the C-channel) that the bolts could be welded to, to spread the hitch load between the front and rear bolts. This hitch is just four tabs for each bolt, there is nothing tying the front and rear bolts together except the vertical plate that drops the hitch low enough to clear the bumper. Zinc plated nuts to try and at least minimize corrosion via the nut itself? That and/or use a generous amount of loc-tite to reduce the likelihood of them loosening up, but also to try and prevent corrosion as much as possible.
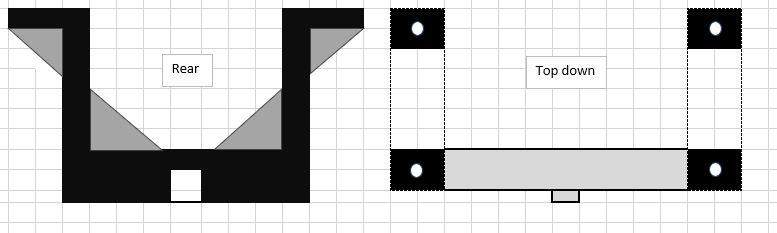
I know my drawing skills suck, I'll try and explain the below image, which is not to scale obviously. The gray areas on the left image (Rear) are what I plan to gusset. You kind of have to imagine the "outside" gusseting based on the right image (Top Down)_...the four bolt tabs would be gusseted on either side of each bolt hole. The inner gusseting would be a single piece since the gas tank is in the way otherwise. The only thing locating the cross bar tube at this point is the 1/8(?") steel plate on either side that drops down from the bolt tabs. I'm assuming based on the way this hitch broke, side load is what fatigued the metal where the bolt tabs transition to the vertical, thus why I think the gusseting would add a bit more strength to prevent it again. I also think (as clearly shown in the below photo) the cutouts for the rivets make the back bolt tabs the weak point. On the "Top Down" image, the dashed lines are what I'd make as a steel plate to go inside the frame, that the bolts could be welded to, hopefully spreading the weight along more of the frame.
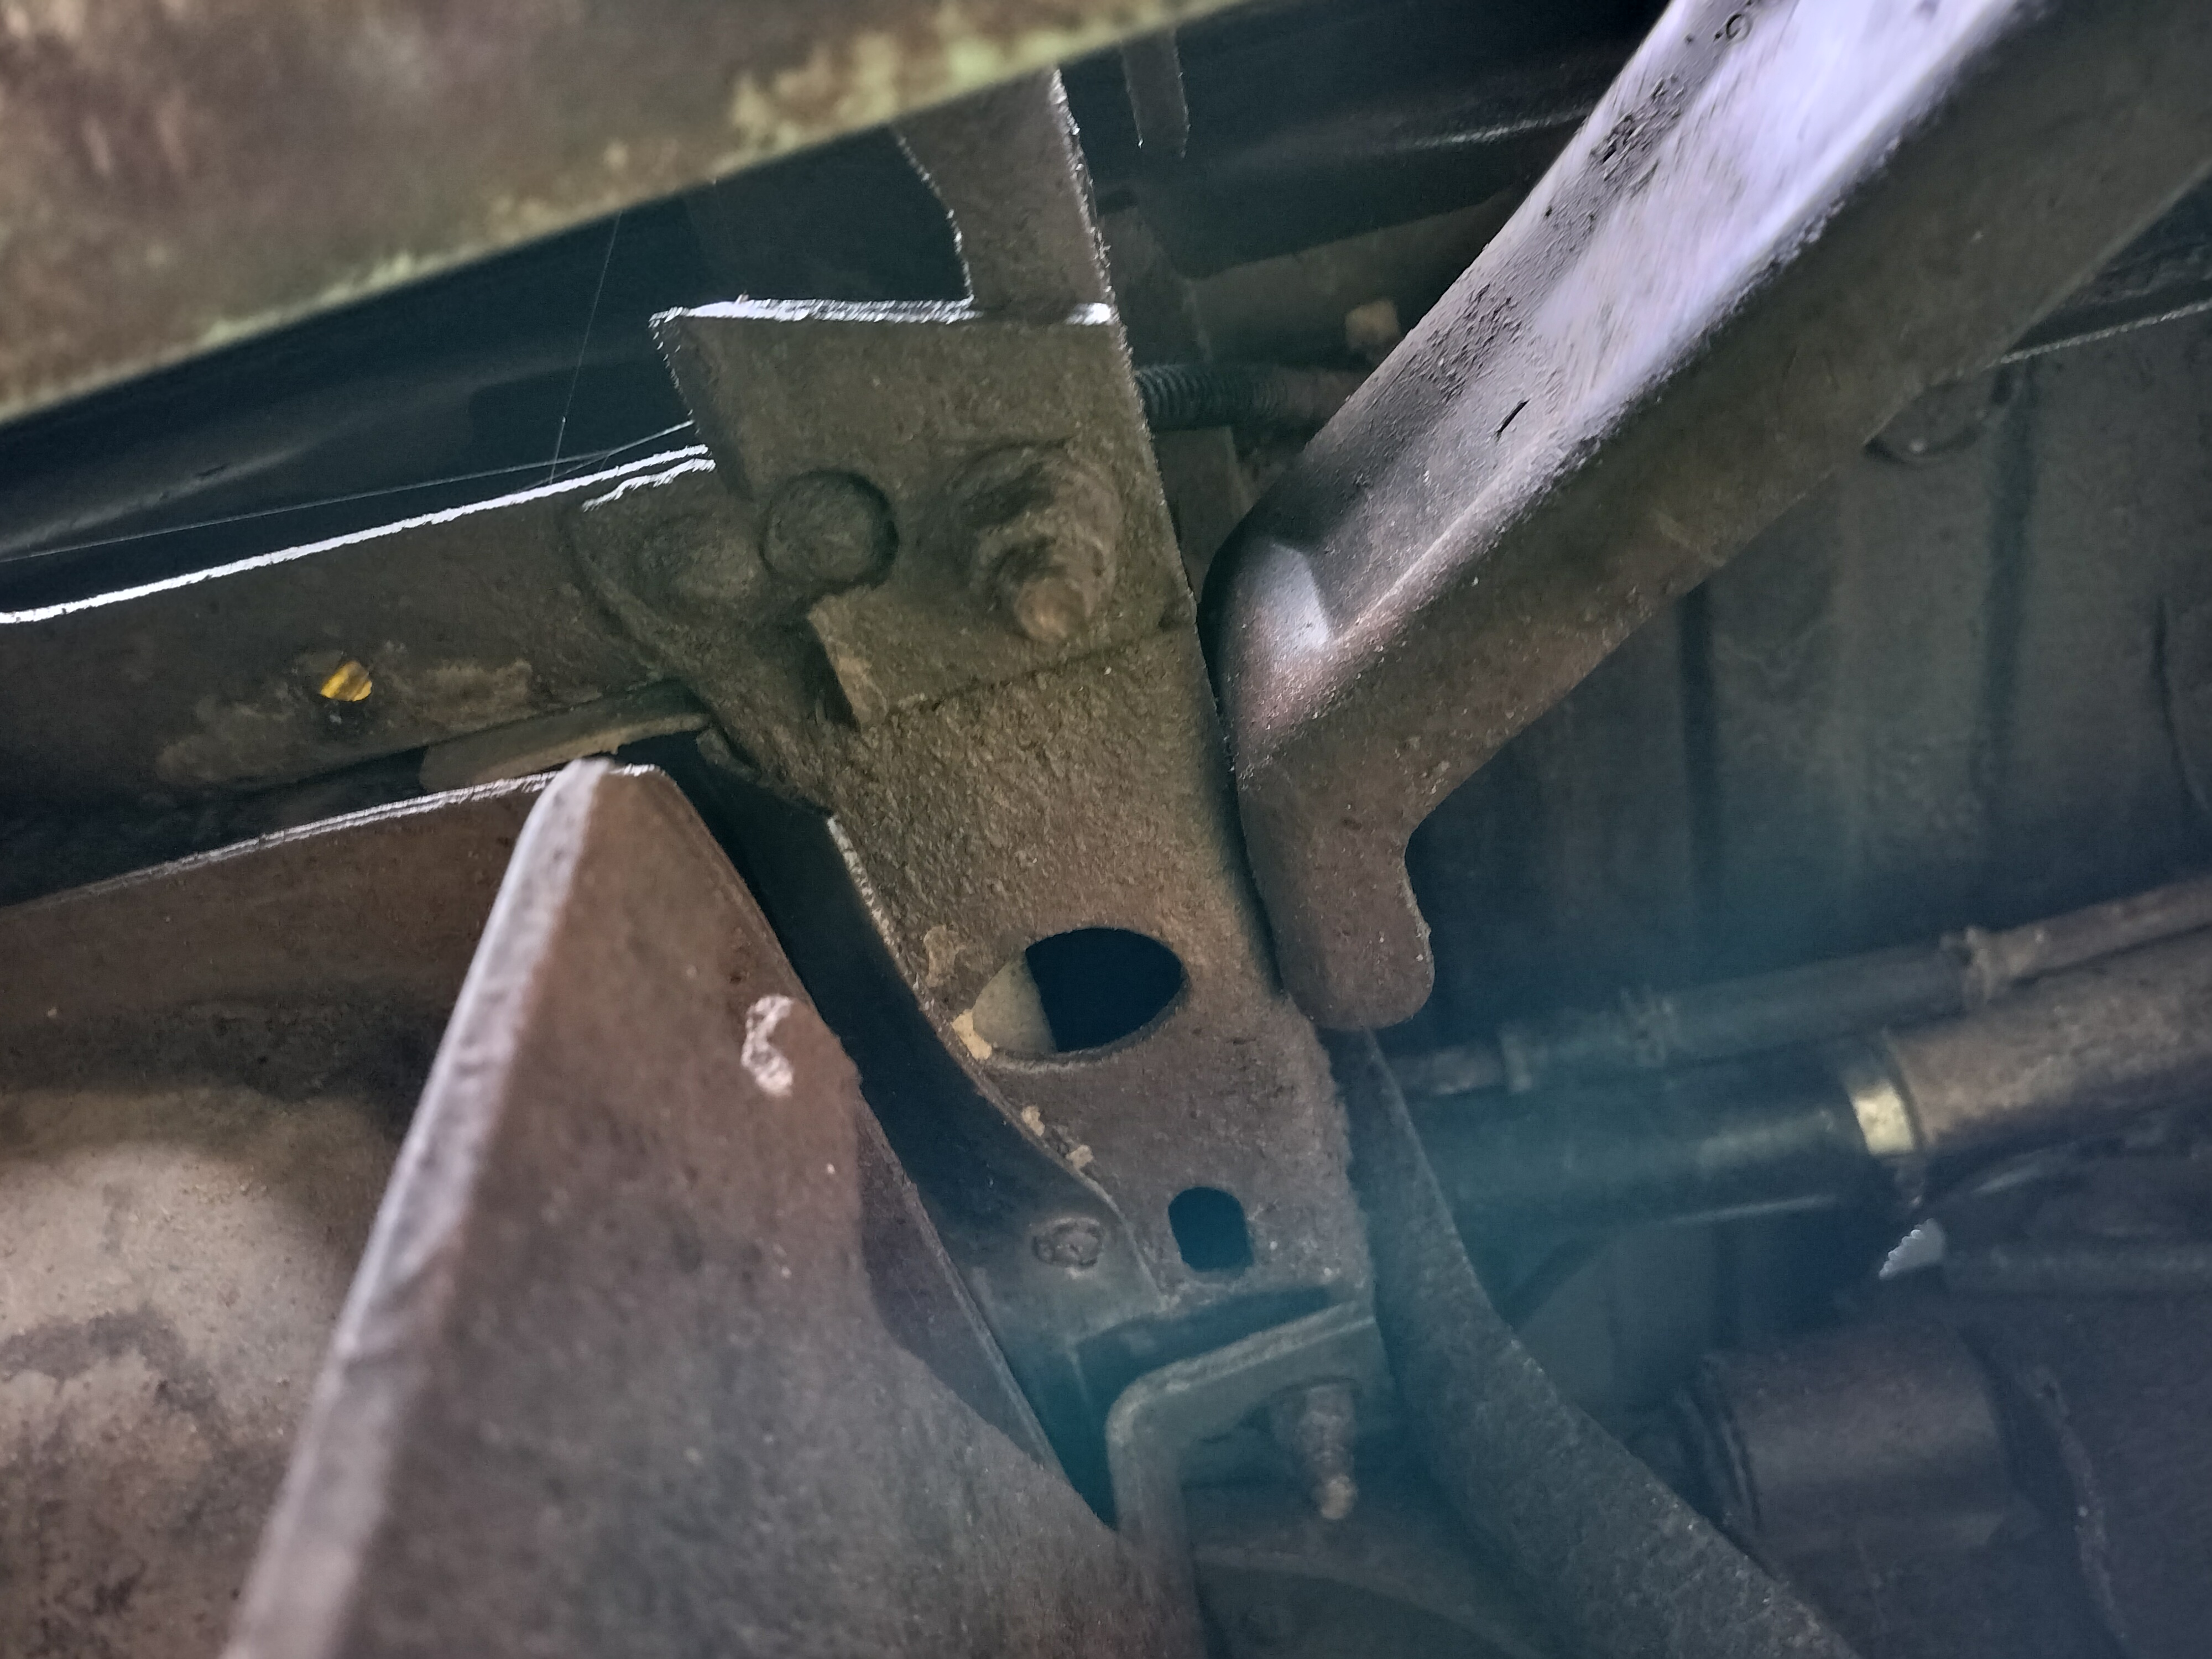
And to give an idea of what it looked like after the break/what I'm dealing with in terms of hitch construction and frame design:
I need ideas on what to do regarding bolting the hitch to the frame.
Primary goal is to be able to remove the hitch without having to mess with the fuel tank. Secondary is to make sure this doesn't happen again.
I took the tank out last night, and the hitch bolts are rusty enough that removal is proving to be...painful. The tight quarters don't lend themselves to being able to get any real tools on the bolts/nuts, and even then, the threads are fairly rusty, plus I used locking nuts. So it's a lot more work than it should be. Anyone that has dealt with a hitch that bolts up to the factory holes probably remembers the one rear bolt on each side that is positioned in a cutout in a frame cross piece, and the forward bolt that has rivet heads directly next to it. So far the breaker bar partially works, and where it doesn't, the angle grinder does.
My plan is to box this frame, so access isn't going to get better. My immediate thought is to weld mild steel bolts in place to act as studs. I wouldn't be surprised if frame thickness isn't playing some issue, I've got enough steel around that I could probably make a plate that sits on top of the frame (inside the C-channel) that the bolts could be welded to, to spread the hitch load between the front and rear bolts. This hitch is just four tabs for each bolt, there is nothing tying the front and rear bolts together except the vertical plate that drops the hitch low enough to clear the bumper. Zinc plated nuts to try and at least minimize corrosion via the nut itself? That and/or use a generous amount of loc-tite to reduce the likelihood of them loosening up, but also to try and prevent corrosion as much as possible.
I know my drawing skills suck, I'll try and explain the below image, which is not to scale obviously. The gray areas on the left image (Rear) are what I plan to gusset. You kind of have to imagine the "outside" gusseting based on the right image (Top Down)_...the four bolt tabs would be gusseted on either side of each bolt hole. The inner gusseting would be a single piece since the gas tank is in the way otherwise. The only thing locating the cross bar tube at this point is the 1/8(?") steel plate on either side that drops down from the bolt tabs. I'm assuming based on the way this hitch broke, side load is what fatigued the metal where the bolt tabs transition to the vertical, thus why I think the gusseting would add a bit more strength to prevent it again. I also think (as clearly shown in the below photo) the cutouts for the rivets make the back bolt tabs the weak point. On the "Top Down" image, the dashed lines are what I'd make as a steel plate to go inside the frame, that the bolts could be welded to, hopefully spreading the weight along more of the frame.
And to give an idea of what it looked like after the break/what I'm dealing with in terms of hitch construction and frame design: