CK5
Register an account today to become a member! Once signed in, you'll be able to participate on this site by adding your own topics and posts, as well as connect with other members.

Leaf Spring Cycling Write Up

Deuling

“I like to make things”
 Premium
GMOTM Winner
Joined
Dec 8, 2010
Posts
25,038
Reaction score
6,239
Location
Muskegon Michigan
I figured as this confused the H3ll out of me and could not find pics anywhere when i started researching, or a good detailed thread anywhere, that I would make a post, maybe make a tech article :dunno:

For those that do not know, with long travel springs, this is how you get the most out of your travel and mount bumps, limit straps, and shocks accordingly, and also make sure stuff isn't going to hit. Also IMO the best way to get driveshaft lengths, and know how much you need to clearance drive shaft stops on the double cardan joints.


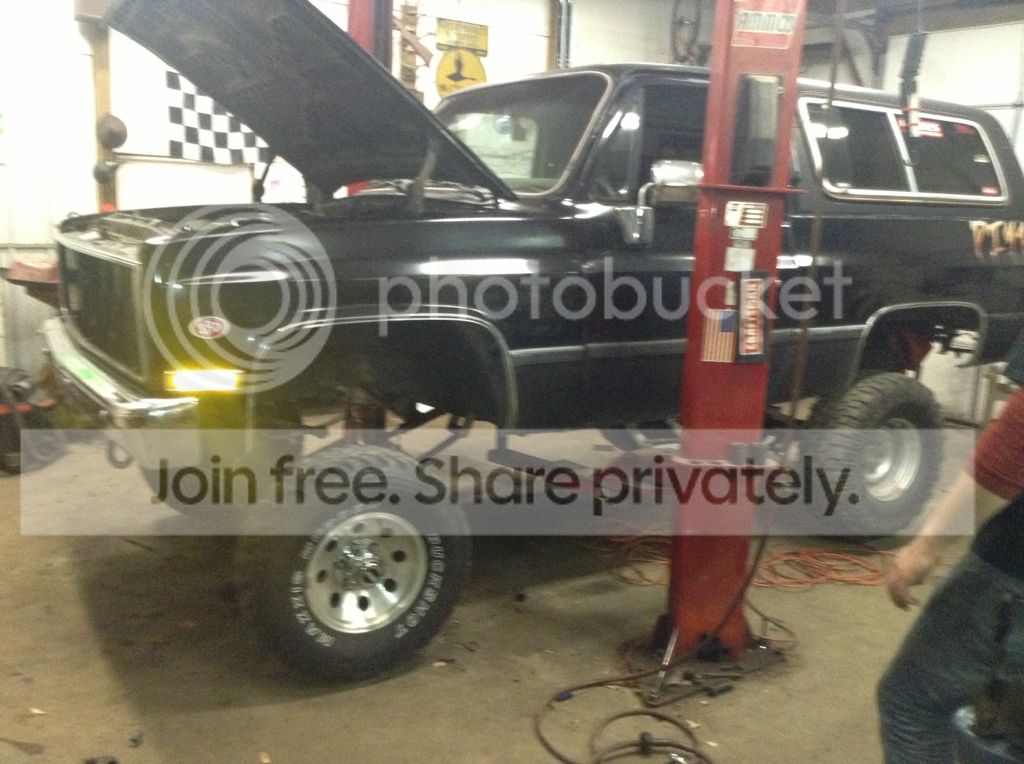
Before shot, also before the diy4x flip in the rear.


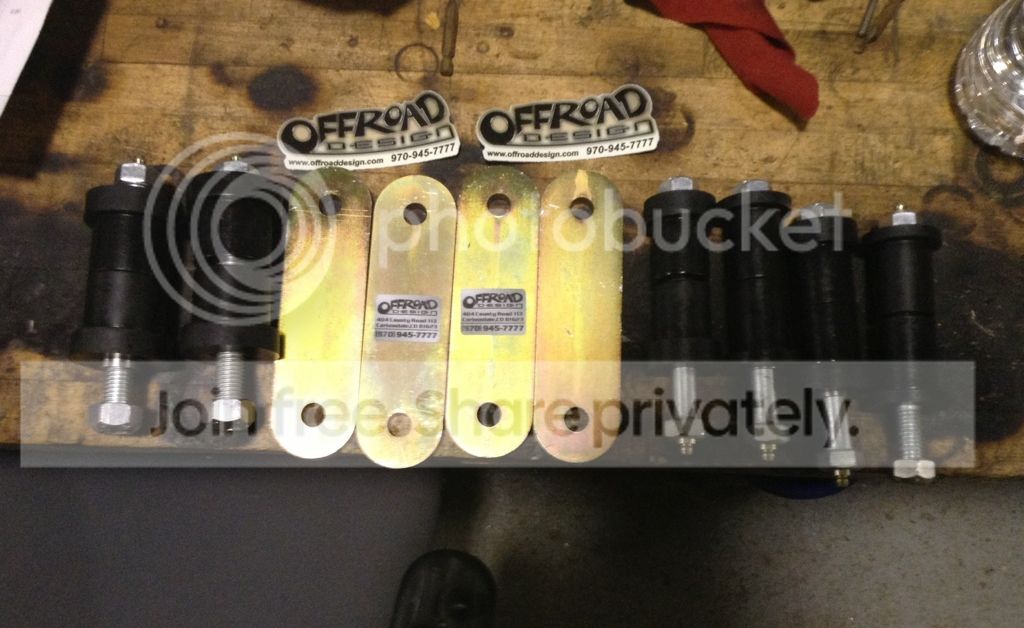
Started with 4" ORD custom springs with pins moved 1/2" forward that I was told had 6" of travel each way from ride height. 12" total travel. Also bought the HD shackle and bushing set from ORD that has the longer 4.5" shackles IIRC for the front springs.


They really netted me 6" or so from where it sat before, but idk how droopy my stock springs were.


Took my stock measurements from top of tube to the stock bump stop bracket and determined full droop and bump measurments from that by adding/subtracting 6" each way.


Then took springs back out and made wood blocks that were the same height as all but the main leaf springs


Then tore the springs apart. A big screwdriver pulled the military wraps out just enough to take the springs apart.


Main leaf out


Bolted the blocks in with steel shims my buddy made at work.


Then bolted all up to the axle and took off the drag link.


Full bump


Almost full droop, still had another inch to go down


I took measurments for my drive shaft so I can find out how long it needs to be and how much slip I need. Its going to use all of 6", so Ill try to find an 8" slip at least I think.


Then I took the driveshaft out as the stops were preventing it to go down all the way at full droop, so I just ground off those little tabs you see on the ends, and it got plenty of angle and no problems. No pics of that, ill add later when I take the shaft back out.


Took spring back out and put all back together with longer pins to account for the shim, then ground the extra of the pin off later.


All back together.


Heres a comparison.


I also marked my spring plates where the center of the stock bump bracket would be so I know where to mount my Air bumps on the frame :thumb:
 
Last edited:
Adam, what is your front shackle angle at ride height?
 
Adam, what is your front shackle angle at ride height?


Its angled back, it appears to be a good angle. Didnt measure though. I can get a pic next time im up.

You can see it in the 4th pic, and the 2nd to last pic
 
Its angled back, it appears to be a good angle. Didnt measure though. I can get a pic next time im up.

You can see it in the 4th pic, and the 2nd to last pic

Shackle angle is completely misunderstood based on the information available on the forums.

Angle on the shackle, like most consider "good", actually makes the effective rate of the spring stiffer, at least on the kind of springs we deal with. It looks like it gives them tons of droop, but actually makes them stiffer in compression.

We take that in to account when we design our springs, we design them as long as possible to fit with the stock mounts and set the shackle angle so the springs don't invert at full droop.


Good deal chris. As long as you think its all good im fine with that.

Did I do the cycling right in your book???
 
Good deal chris. As long as you think its all good im fine with that.

Did I do the cycling right in your book???

Looks good to me.

Unlike most springs, these will settle a bit. Because the rate is so soft and there are so many leaves, the friction between the leaves is pretty relevant. When you go out and use them, the pads will remove the paint and polish the leaves and everything will move more freely.
 
So in my mind chris, after they settle, say an inch or so, I will have 5" of up, and 7" of down? As I dont really want to have to have another driveshaft made to make up for needing to change it down the line, I have a feeling this one will be pricy enough already :haha:
 
So in my mind chris, after they settle, say an inch or so, I will have 5" of up, and 7" of down? As I dont really want to have to have another driveshaft made to make up for needing to change it down the line, I have a feeling this one will be pricy enough already :haha:

The springs themselves can travel 14" easy, but we draw the line at 11" because that leaves a factor of safety before the steel yields and hence, the springs are actually soft and still durable. They're your springs, so you can do what you want with them, but that's the recommendation.

You may want to give Stephen a call this week to verify everything, he's the one that designs our custom springs.


Yah I plan to set it all up for 11", but want the capability of 12" down the road, and the reason whyI cycled and clearanced and took measurments at 12", so that I can still do that later without screwing anything up. And gives a nice cushion just in case.
 
Shackle angle is completely misunderstood based on the information available on the forums.

Angle on the shackle, like most consider "good", actually makes the effective rate of the spring stiffer, at least on the kind of springs we deal with. It looks like it gives them tons of droop, but actually makes them stiffer in compression.

We take that in to account when we design our springs, we design them as long as possible to fit with the stock mounts and set the shackle angle so the springs don't invert at full droop.

That's only true if the shackle is so short that the spring bottoms out and can't extend any further.
And I can see how that can be a problem with lift springs with a big arch.

But as long as it can't bottom out (longer shackles or less arched springs), the spring gets progressively softer on compression with more shackle angle.

I'm not saying that it's a good thing for street driving though...
 
Good info, this will be helpful for a lot of people:waytogo:

Thanks bud. That's what I was going for. I was so confused for a while on why you do this and how exactly. And not much really good info anywhere with pics.
 
When I was looking at my shackle setup also with a set of ORD springs like Deuling, I found this information enlightening:

SHACKLES
The angle of the shackle can stiffen or soften a spring’s normal rate. You can determine the effective angle of a shackle by drawing a line through the middle of both spring eyes and a line through the shackle pivots. Then measure the angle formed by the two lines (measure ahead of the shackle; see illus. 5). You can increase the effective rate of a leaf spring by decreasing the shackle angle. An increase in shackle angle will produce a decrease in the effective rate of a leaf spring.

A good starting point for shackle angle is 90 degrees. In this position, the shackle has no effect on spring rate. Keep in mind that the shackle angle changes (and consequently the spring’s effective rate changes) whenever the suspension moves. Also, the shackle’s angle will change whenever you change the chassis’ ride height, the arch of the leaf, the load on the leaf, or the length of the shackle. Since the shackle direction changes when the leaf is deflected past a flat condition, you should avoid deflecting the right rear leaf to an extremely negative arch condition. This could cause a very large shackle angle at high loads and consequently a very soft spring rate. Excessive body roll and poor handling could result. You can correct this problem by decreasing the shackle angle, increasing the arch, of the spring by increasing the rate of the right rear leaf spring.

Shackle length is another factor affecting the rate of a leaf spring. A short shackle will change its angle (and the effective rate of the leaf spring) quicker than a long shackle upon deflection of the leaf.

There is a second shackle effect on the stiffness of the rear suspension that counteracts and sometimes exceeds the shackle’s effect on spring rate. This second effect occurs whenever the shackle swings in its arc and moves the rear spring eye vertically (see illus. 6).

The vertical movement of the rear spring eye causes a jacking effect. If the shackle movement forces the rear spring eye downward, the leaf will deflect and exert an upward force on the chassis that will add stiffness to the rear suspension. Conversely, the shackle will reduce suspension stiffness if it causes the rear spring eye to move upward during suspension travel.

The stiffening effect occurs during suspension deflection whenever the rear spring eye is ahead of the upper shackle pivot and the shackle is moving rearward (see illus. 4, example B). In this position, however, the shackle also produces a softening effect by reducing the effective rate of the leaf spring (due to the large shackle angle). The overall effect to the stiffness of the rear suspension is determined by the greater of the two shackle effects. Under opposite conditions, you can expect a reversal to the above effects. If the rear spring eye is located behind the shackle pivot (illus. 4, example A), the shackle effect will tend to reduce suspension stiffness whenever the shackle moves rearward. However, the small shackle angle will tend to stiffen the spring’s rate. The overall effect to the suspension’s stiffness is determined by the more dominant of the two shackle effects. Keep in mind that the movement of the rear spring eye (from its static position) is mostly forward under racing conditions.

If a leaf goes into negative arch, the travel direction of the shackle changes and the shackle effects change. Handling is not consistent under these conditions.

The second effect of the shackle can be enhanced by increasing the length of the shackle. Generally, the second shackle effect (jacking) is dominant.

tech_leafsprings5.jpg

Taken from here: http://www.afcoracing.com/tech_questions_leafsprings.html#shackles
 
in that full droop pick with all the crap hanging off it.... i hope you strap it well before that. it looks like the shackle is straight inline with the spring.

id be curious in the actual vertical wheel travel bumped and strapped?

any steering clearence issues yet? im getting ready for crossover steering and wondering
 
I plan on limit straps. But Idk if I need them with how hard it was to pull the sprigs down the last inch of travel.


And I don't have crossover yet, so Idk if it will get messed up or not. Guess ill have to find out
 
12in travel, you will need crossover no questions asked. Even rinky dink no movement 12in springs need crossover, you certainly will.
 
I agree with this:
There is a second shackle effect on the stiffness of the rear suspension that counteracts and sometimes exceeds the shackle’s effect on spring rate. This second effect occurs whenever the shackle swings in its arc and moves the rear spring eye vertically (see illus. 6).

The vertical movement of the rear spring eye causes a jacking effect. If the shackle movement forces the rear spring eye downward, the leaf will deflect and exert an upward force on the chassis that will add stiffness to the rear suspension. Conversely, the shackle will reduce suspension stiffness if it causes the rear spring eye to move upward during suspension travel.

But the only thing that would make the spring stiffer with a smaller shackle angle (other than if it's bottoming out)
would be if the rotational friction of the shackle bushings would be very high
(as the shackle would need to rotate more for a certain amount of wheel travel), and/or if the shackles are very short.

And maybe that is the case in racing...(like the Afco document seems to relate to)
But I can't see how that is applicable in offroading...
We usually use longer shackles and poly-bushing with very low friction.
So that force will be negligible in comparison with the jacking effect described above.
 
12in travel, you will need crossover no questions asked. Even rinky dink no movement 12in springs need crossover, you certainly will.

I think I confused you. I don't have crossover yet but I will be getting it. Just don't have $500 at the moment
 
I don't have crossover yet but I will be getting it. Just don't have $500 at the moment

You will be very happy when you get it. It SUCKS to have flexible suspension w/o crossover. As soon as that drivers side tire drops, no steering. I wheeled without crossover for years and was always having to compensate.

Nice writeup.
 
Customz fab up some homebrew cross-over on the cheap.

Mine has been working awesome :D
 

Latest Posts

Top Bottom