Been putting some miles on the Blazer fine tuning the engine. I think I have the AFRs and timing good. Still seeing how big I can go on the spark plug gap; right now I'm at 0.042.
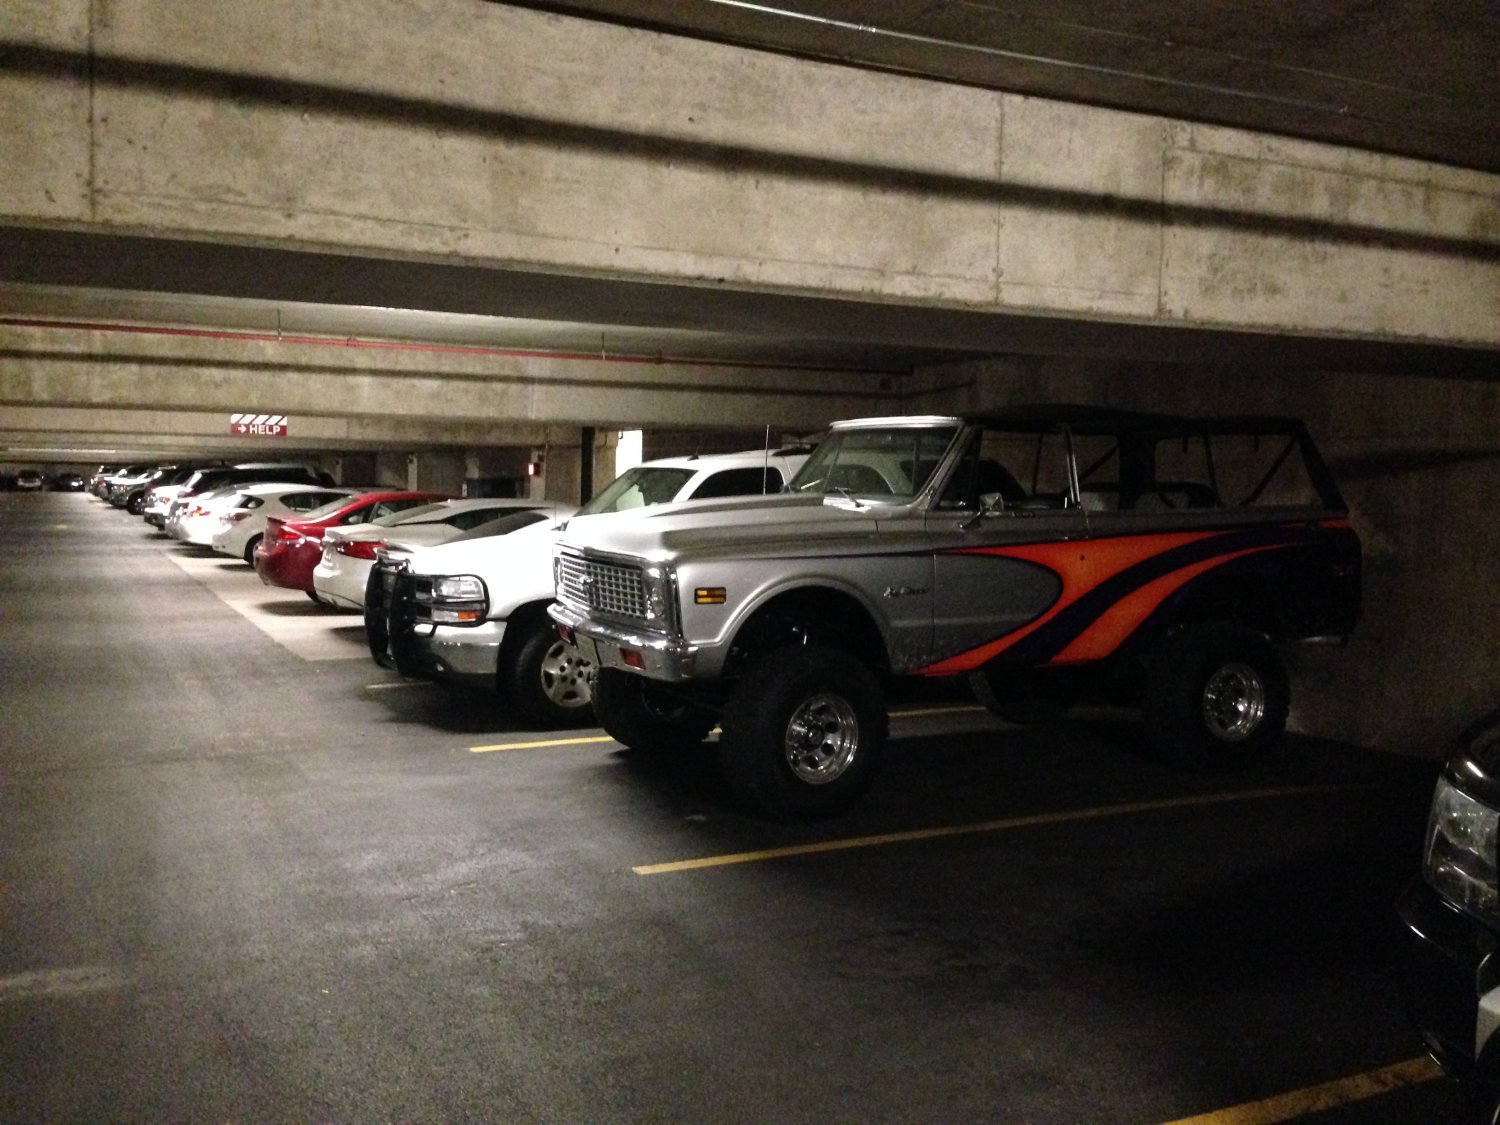
Stuffed the truck into the parking garage at work. Mind you, this is two stories underground.
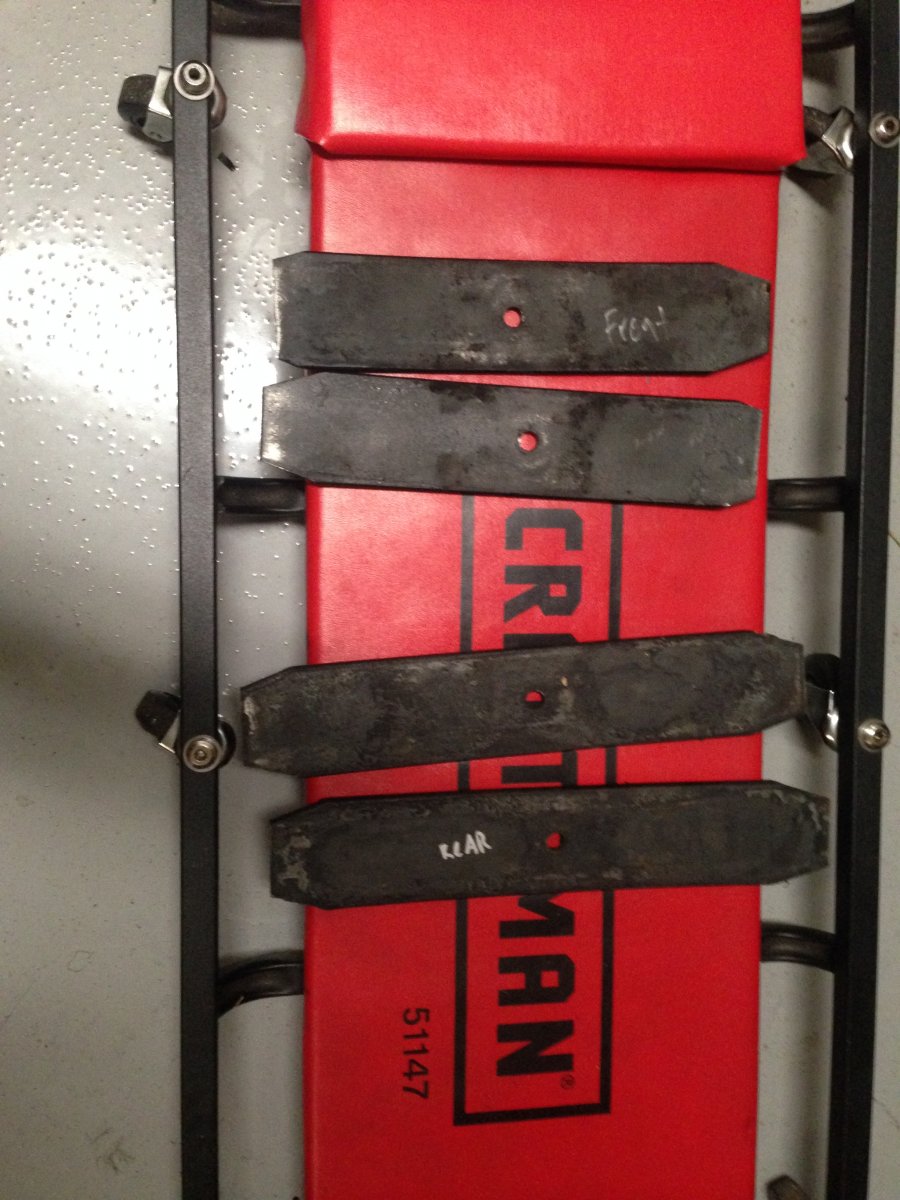
Decided I needed soften up the suspension a tad. When I had Charles @ Alcan build these years ago, I was a noob. I told him mostly street and performance with a BBC. They're pretty stiff. So I pulled the bottom leaf out of each pack. Years ago, I had trimmed the front 3/4" off the front bottom leaf when I put the new tierod in.
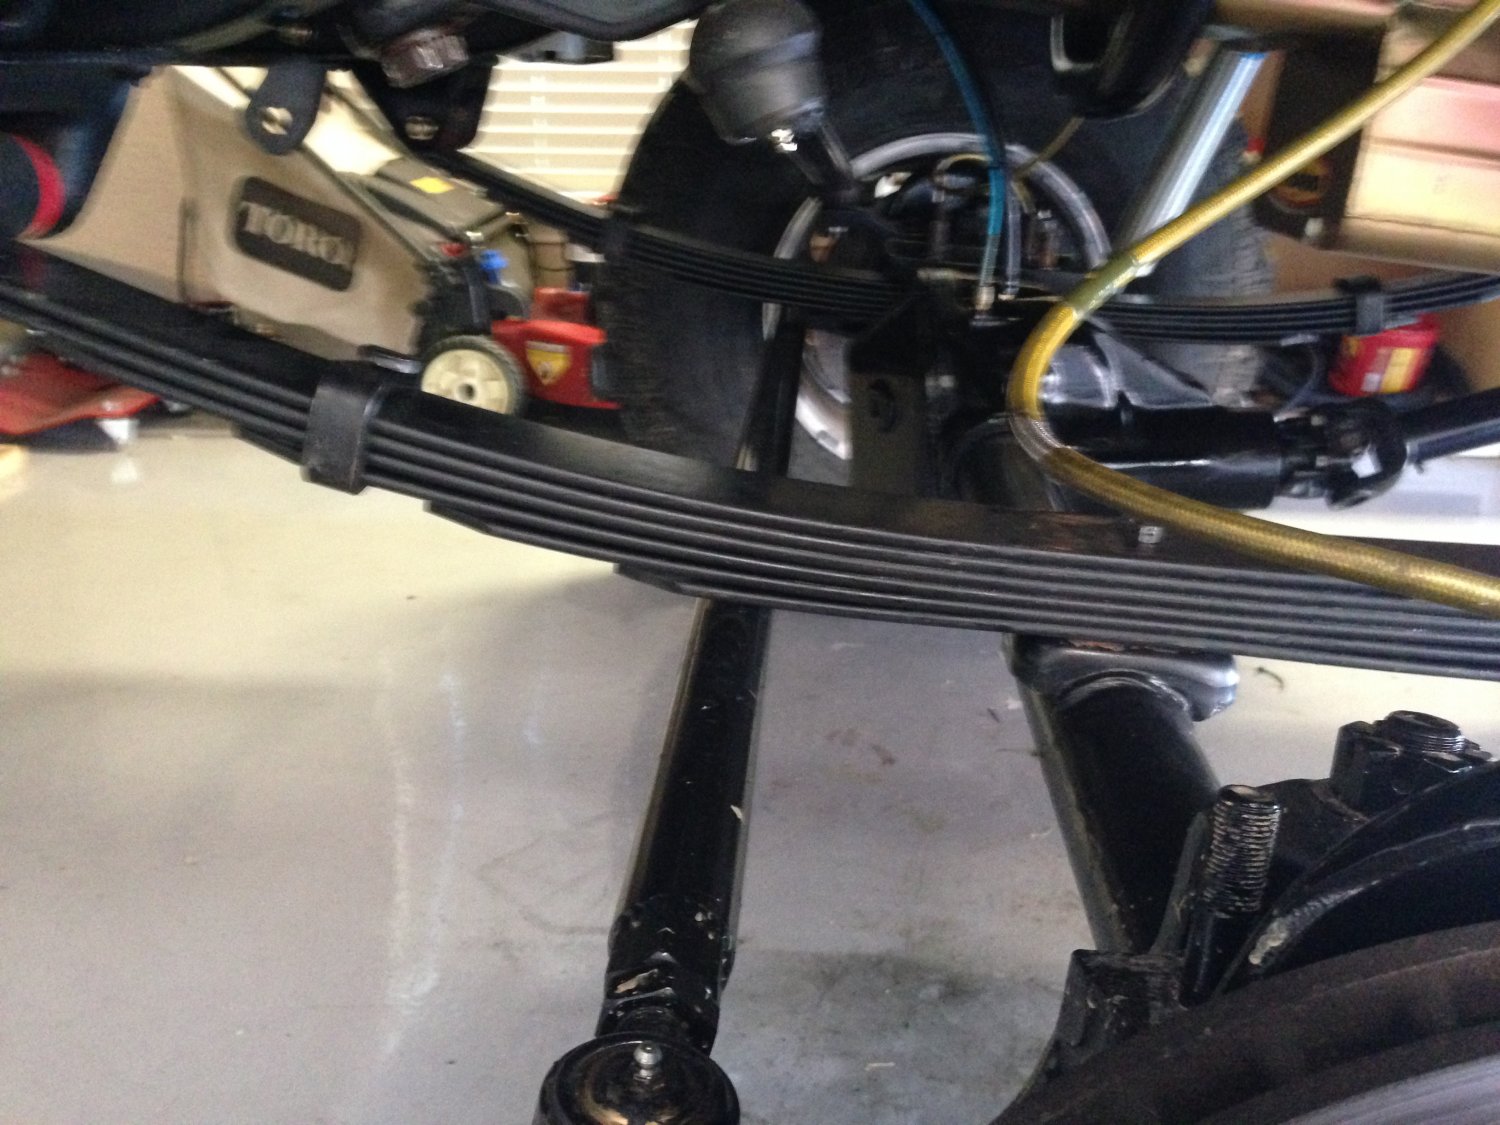
And now I think I have a clearance problem...it's sitting on the tierod.
So.....I drilled out the tierod hole to 7/8" and ordered a set of taper inserts from Ruffstuff to go nut-over. That'll give me plenty of clearance on the springs.
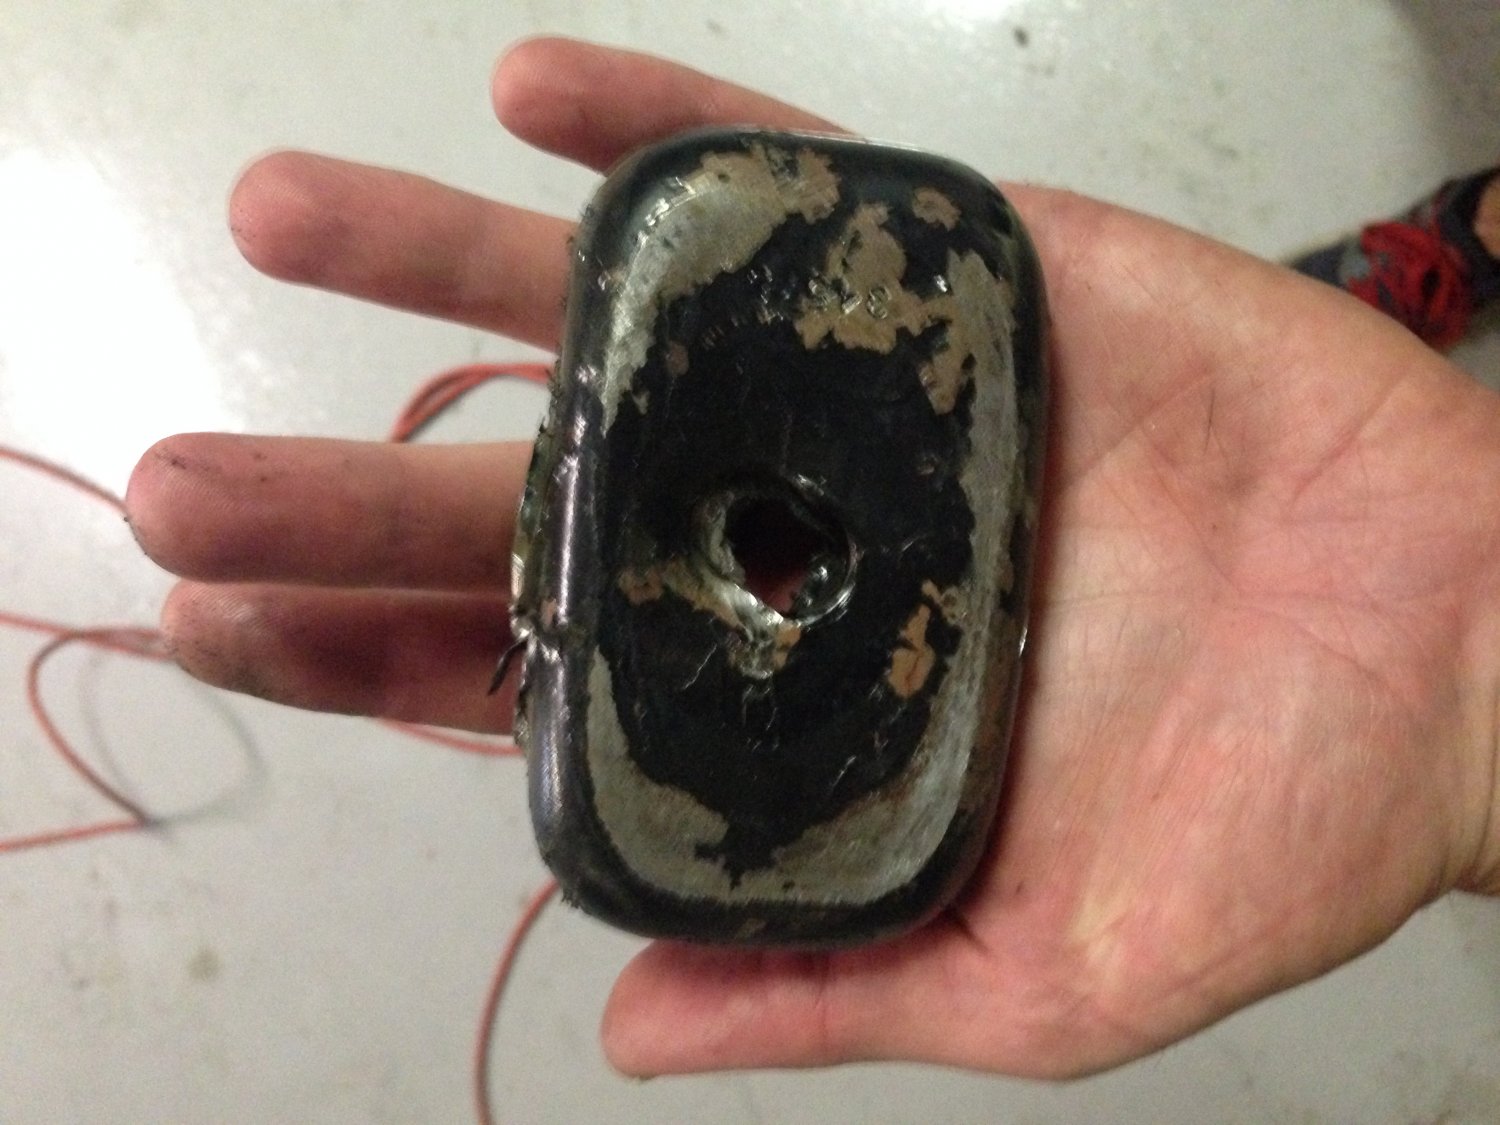
I also figured now would be a good time to replace the passenger side D44 perch. The PO mangled the pin hole at some point. I really hate cutting off perches. But, it's done and the new DIY4X perch is on the way.