I have a set on hand and already started on the driver’s side door. I’m welding mine in and have to fix a few spots where I burned thru the door sheet metal.
I plan to weld mine in as well once I figure out which set of doors I want to use.

I have a set on hand and already started on the driver’s side door. I’m welding mine in and have to fix a few spots where I burned thru the door sheet metal.
It’s already Saturday, where the pictures?I have a set on hand and already started on the driver’s side door. I’m welding mine in and have to fix a few spots where I burned thru the door sheet metal.
")
I have the driver’s door mostly welded. Spent a couple of frustrating hours chasing burn thru. Still trying to dial in the welder settings for sheet metal. I’ll get some pics up tomorrow.It’s already Saturday, where the pictures?
Quick tip. Nice and hot voltage setting and super quick zap.I have the driver’s door mostly welded. Spent a couple of frustrating hours chasing burn thru. Still trying to dial in the welder settings for sheet metal. I’ll get some pics up tomorrow.
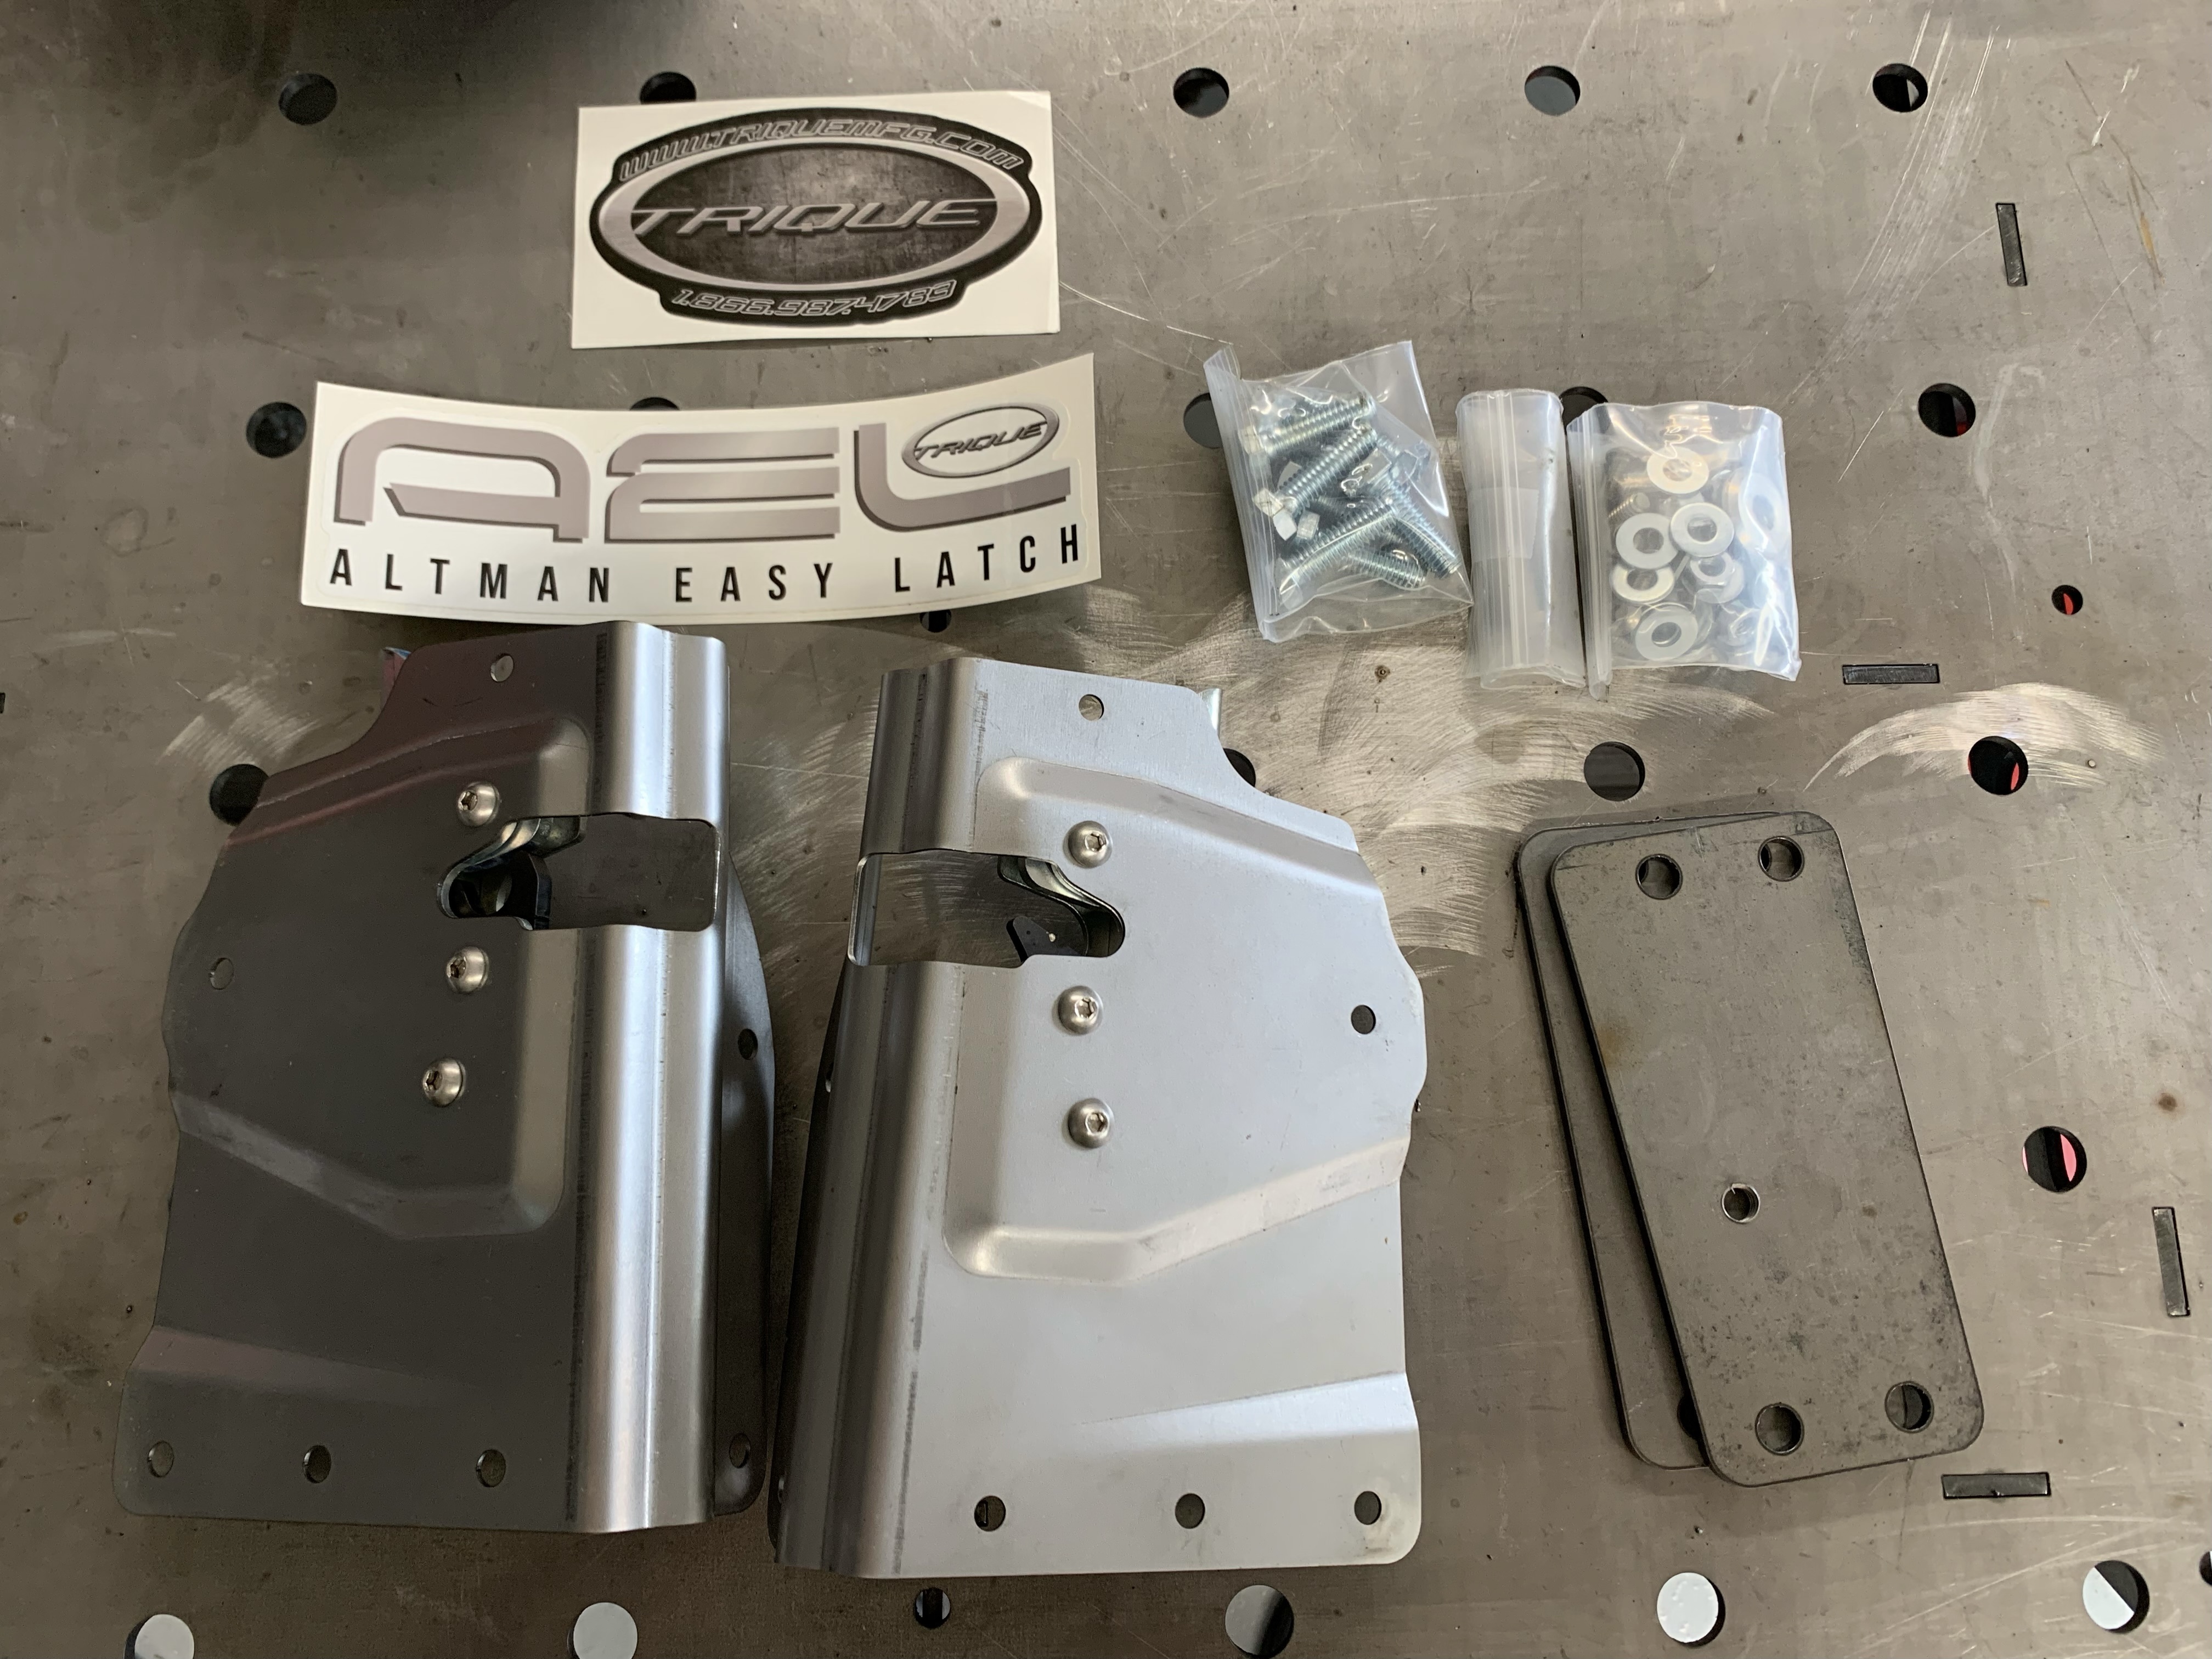
Did you have to do any extra spacing by welding the new plates flush rather than bolting them in on the outside of the door skin?1/8/23 - Trique Manufacturing Altman Easy Latches - Driver's side
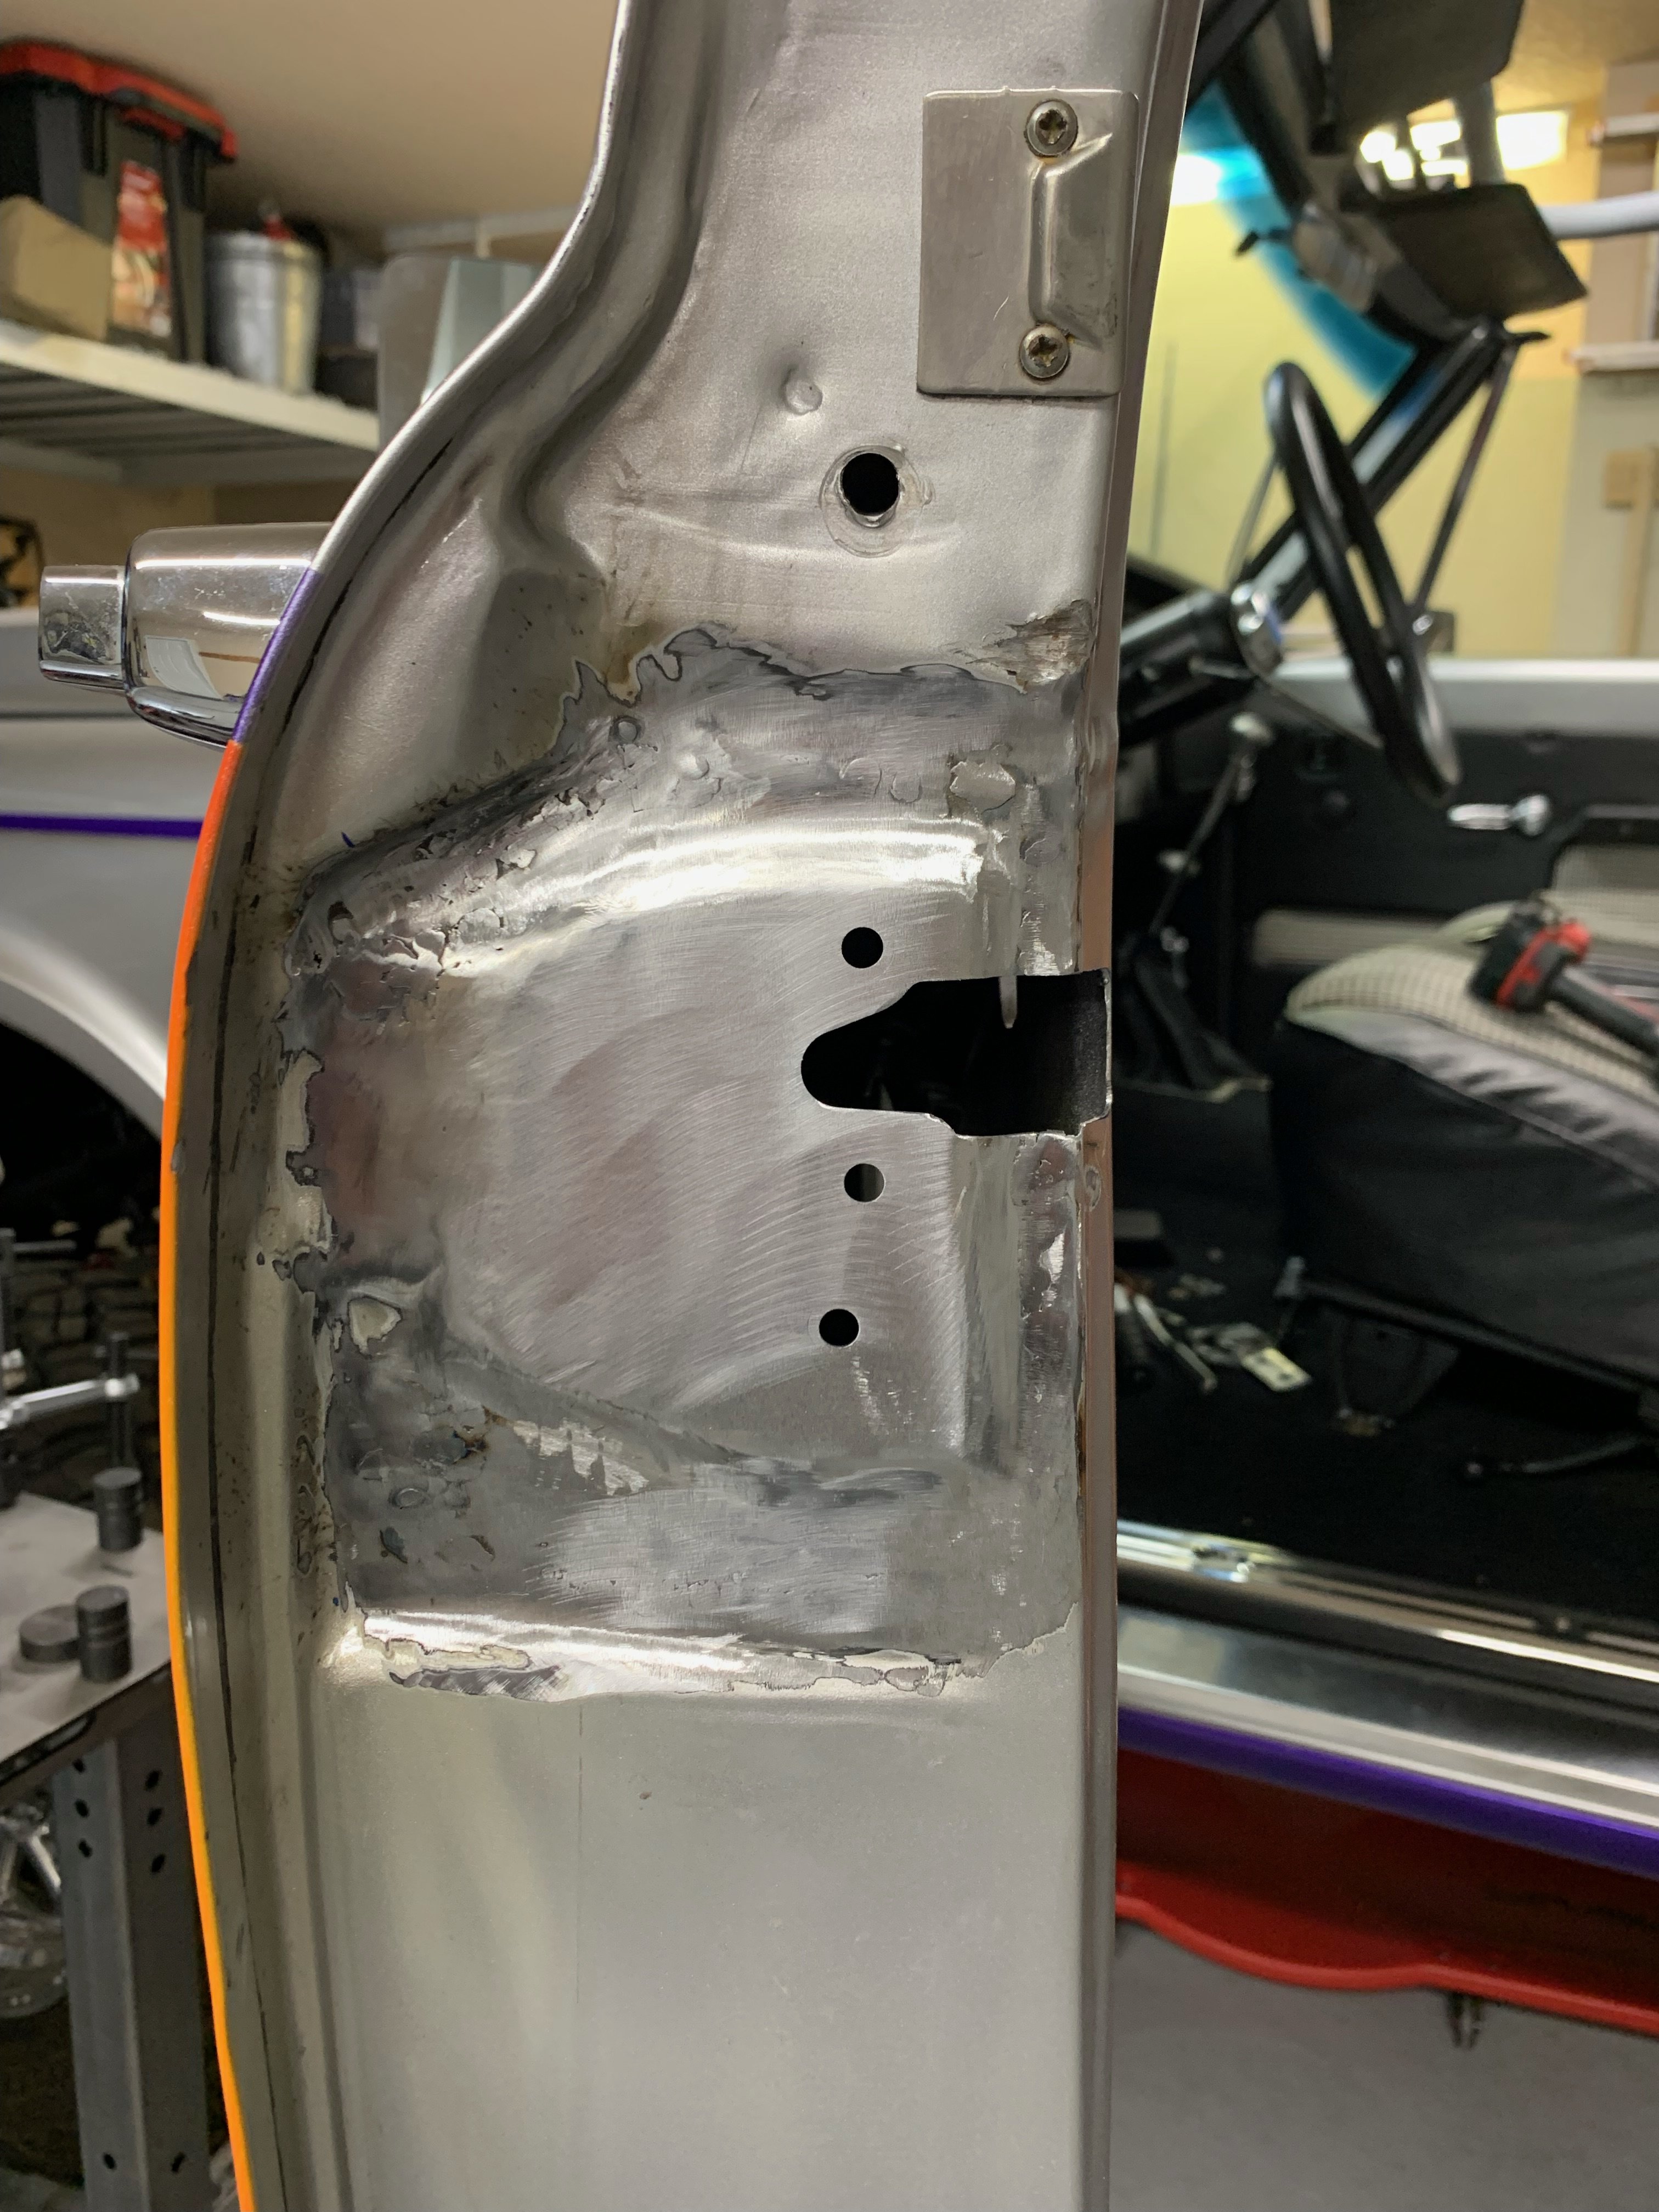
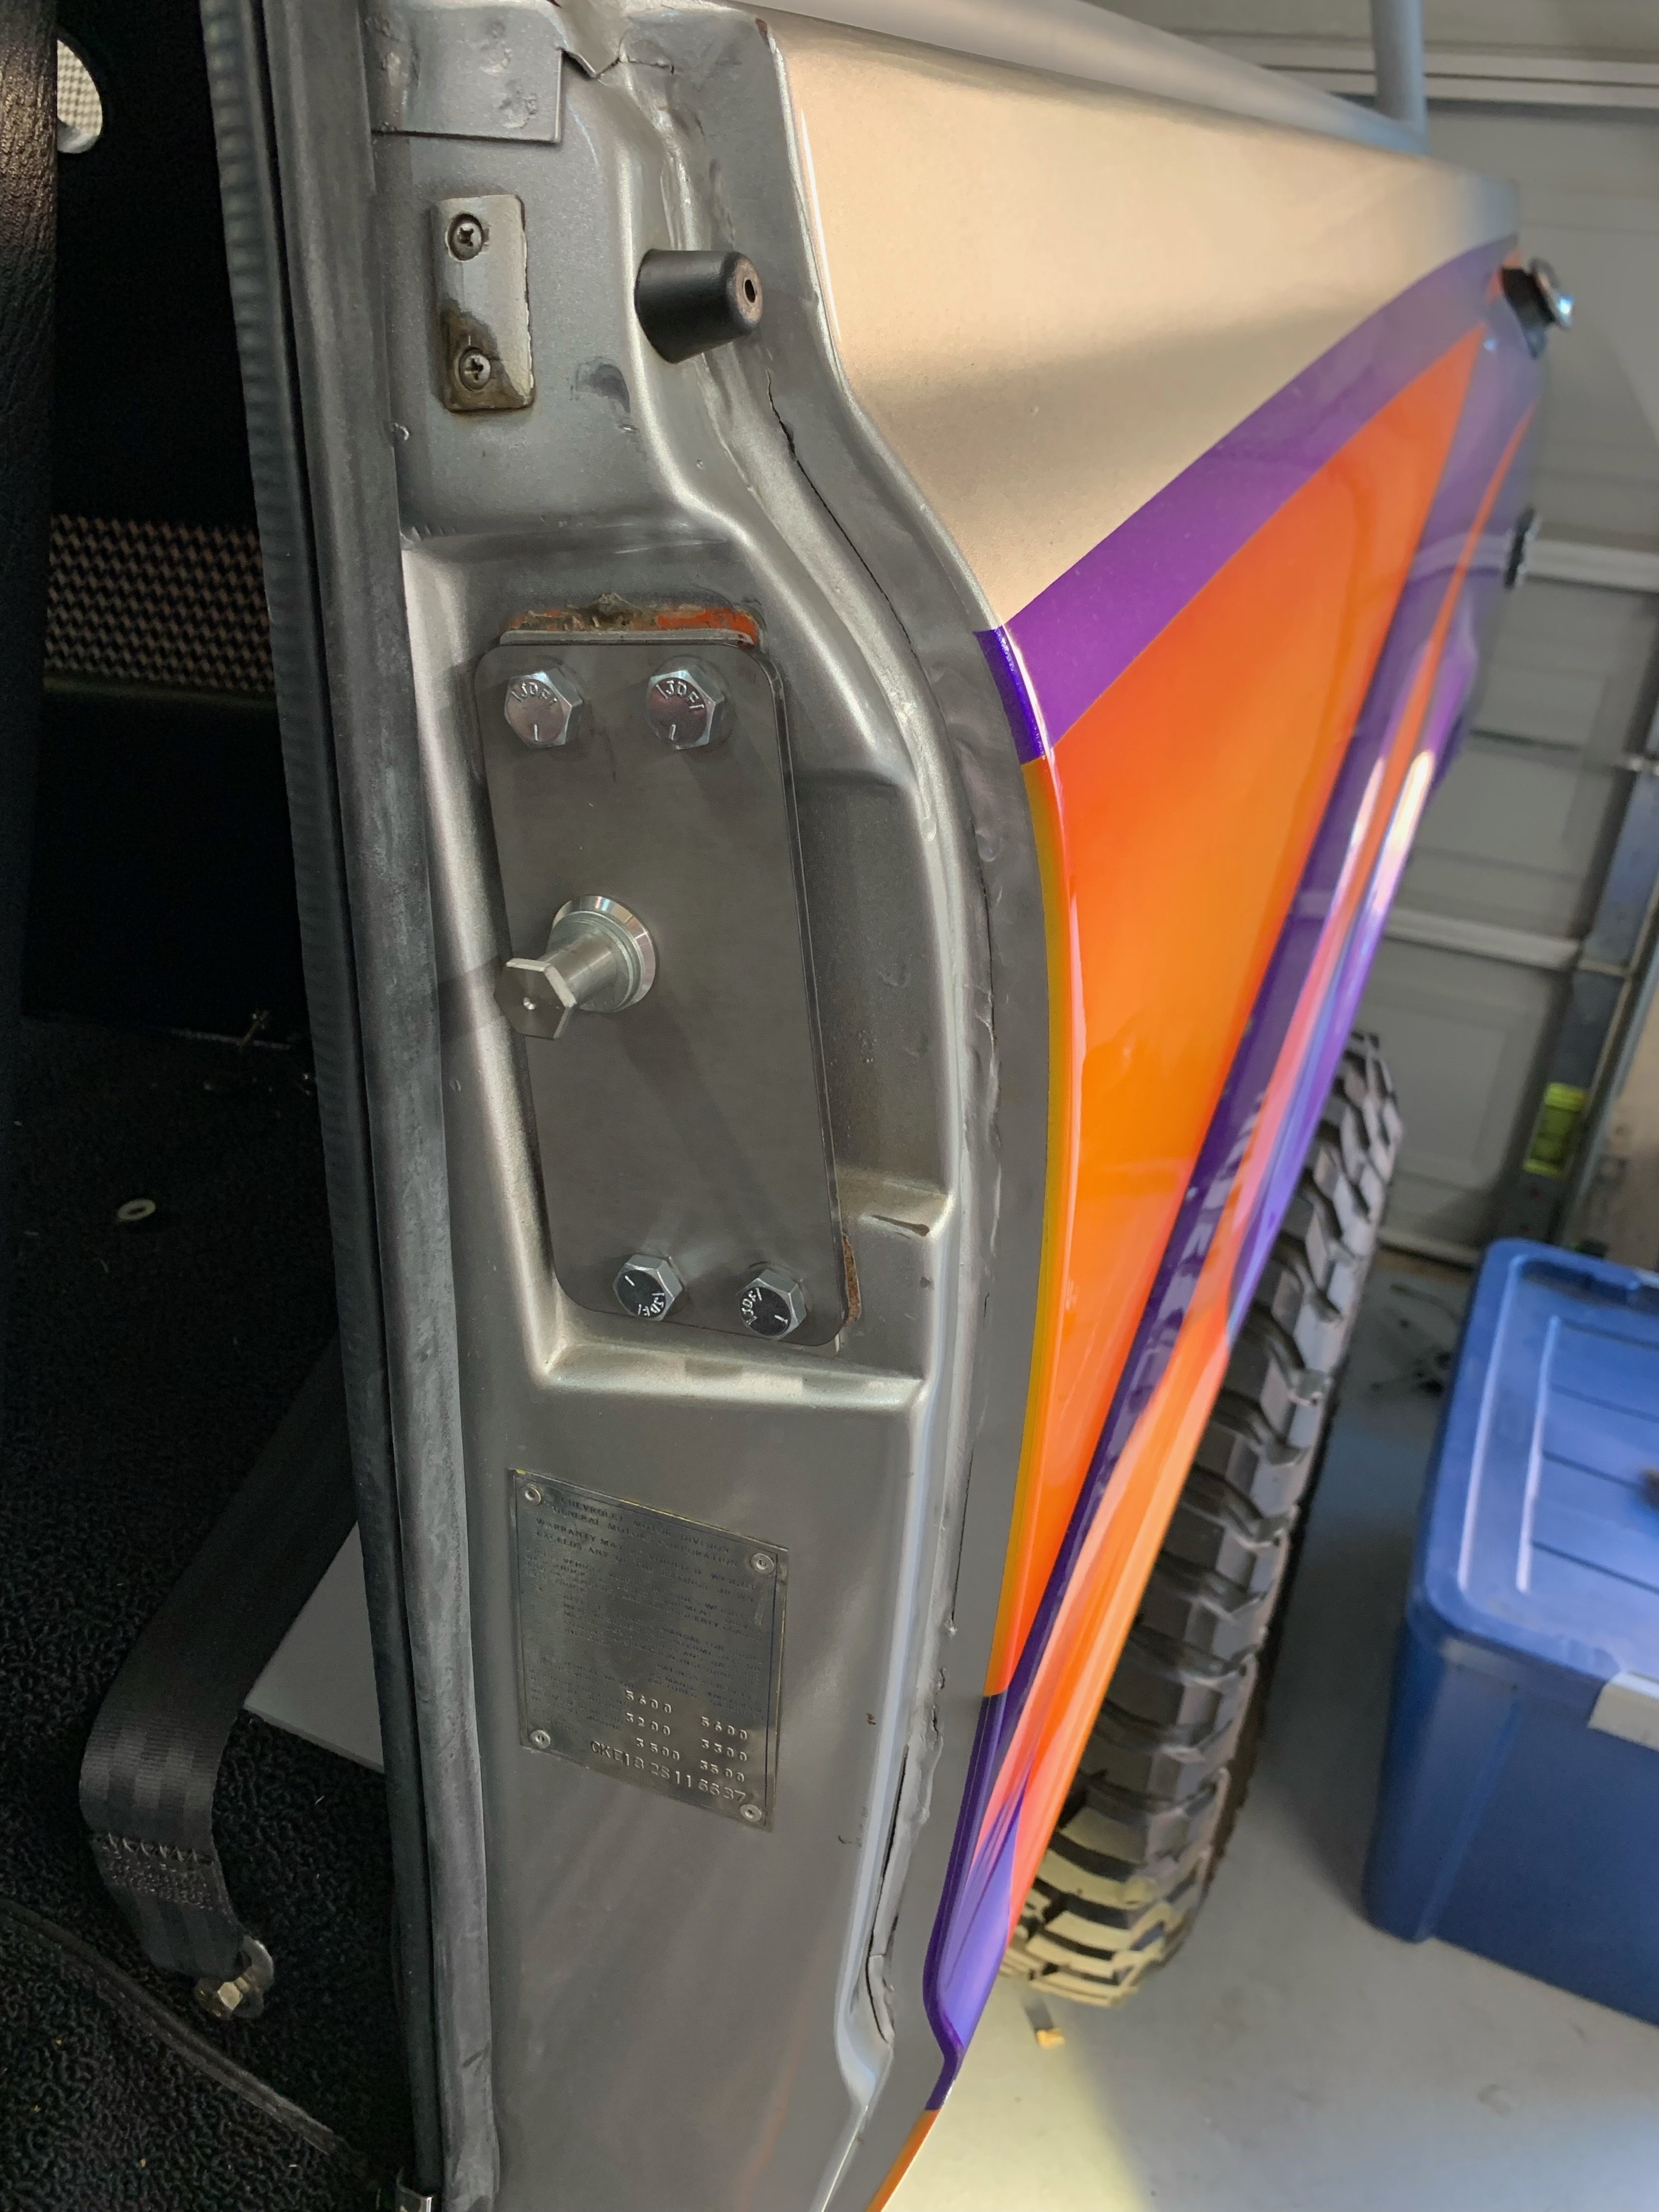
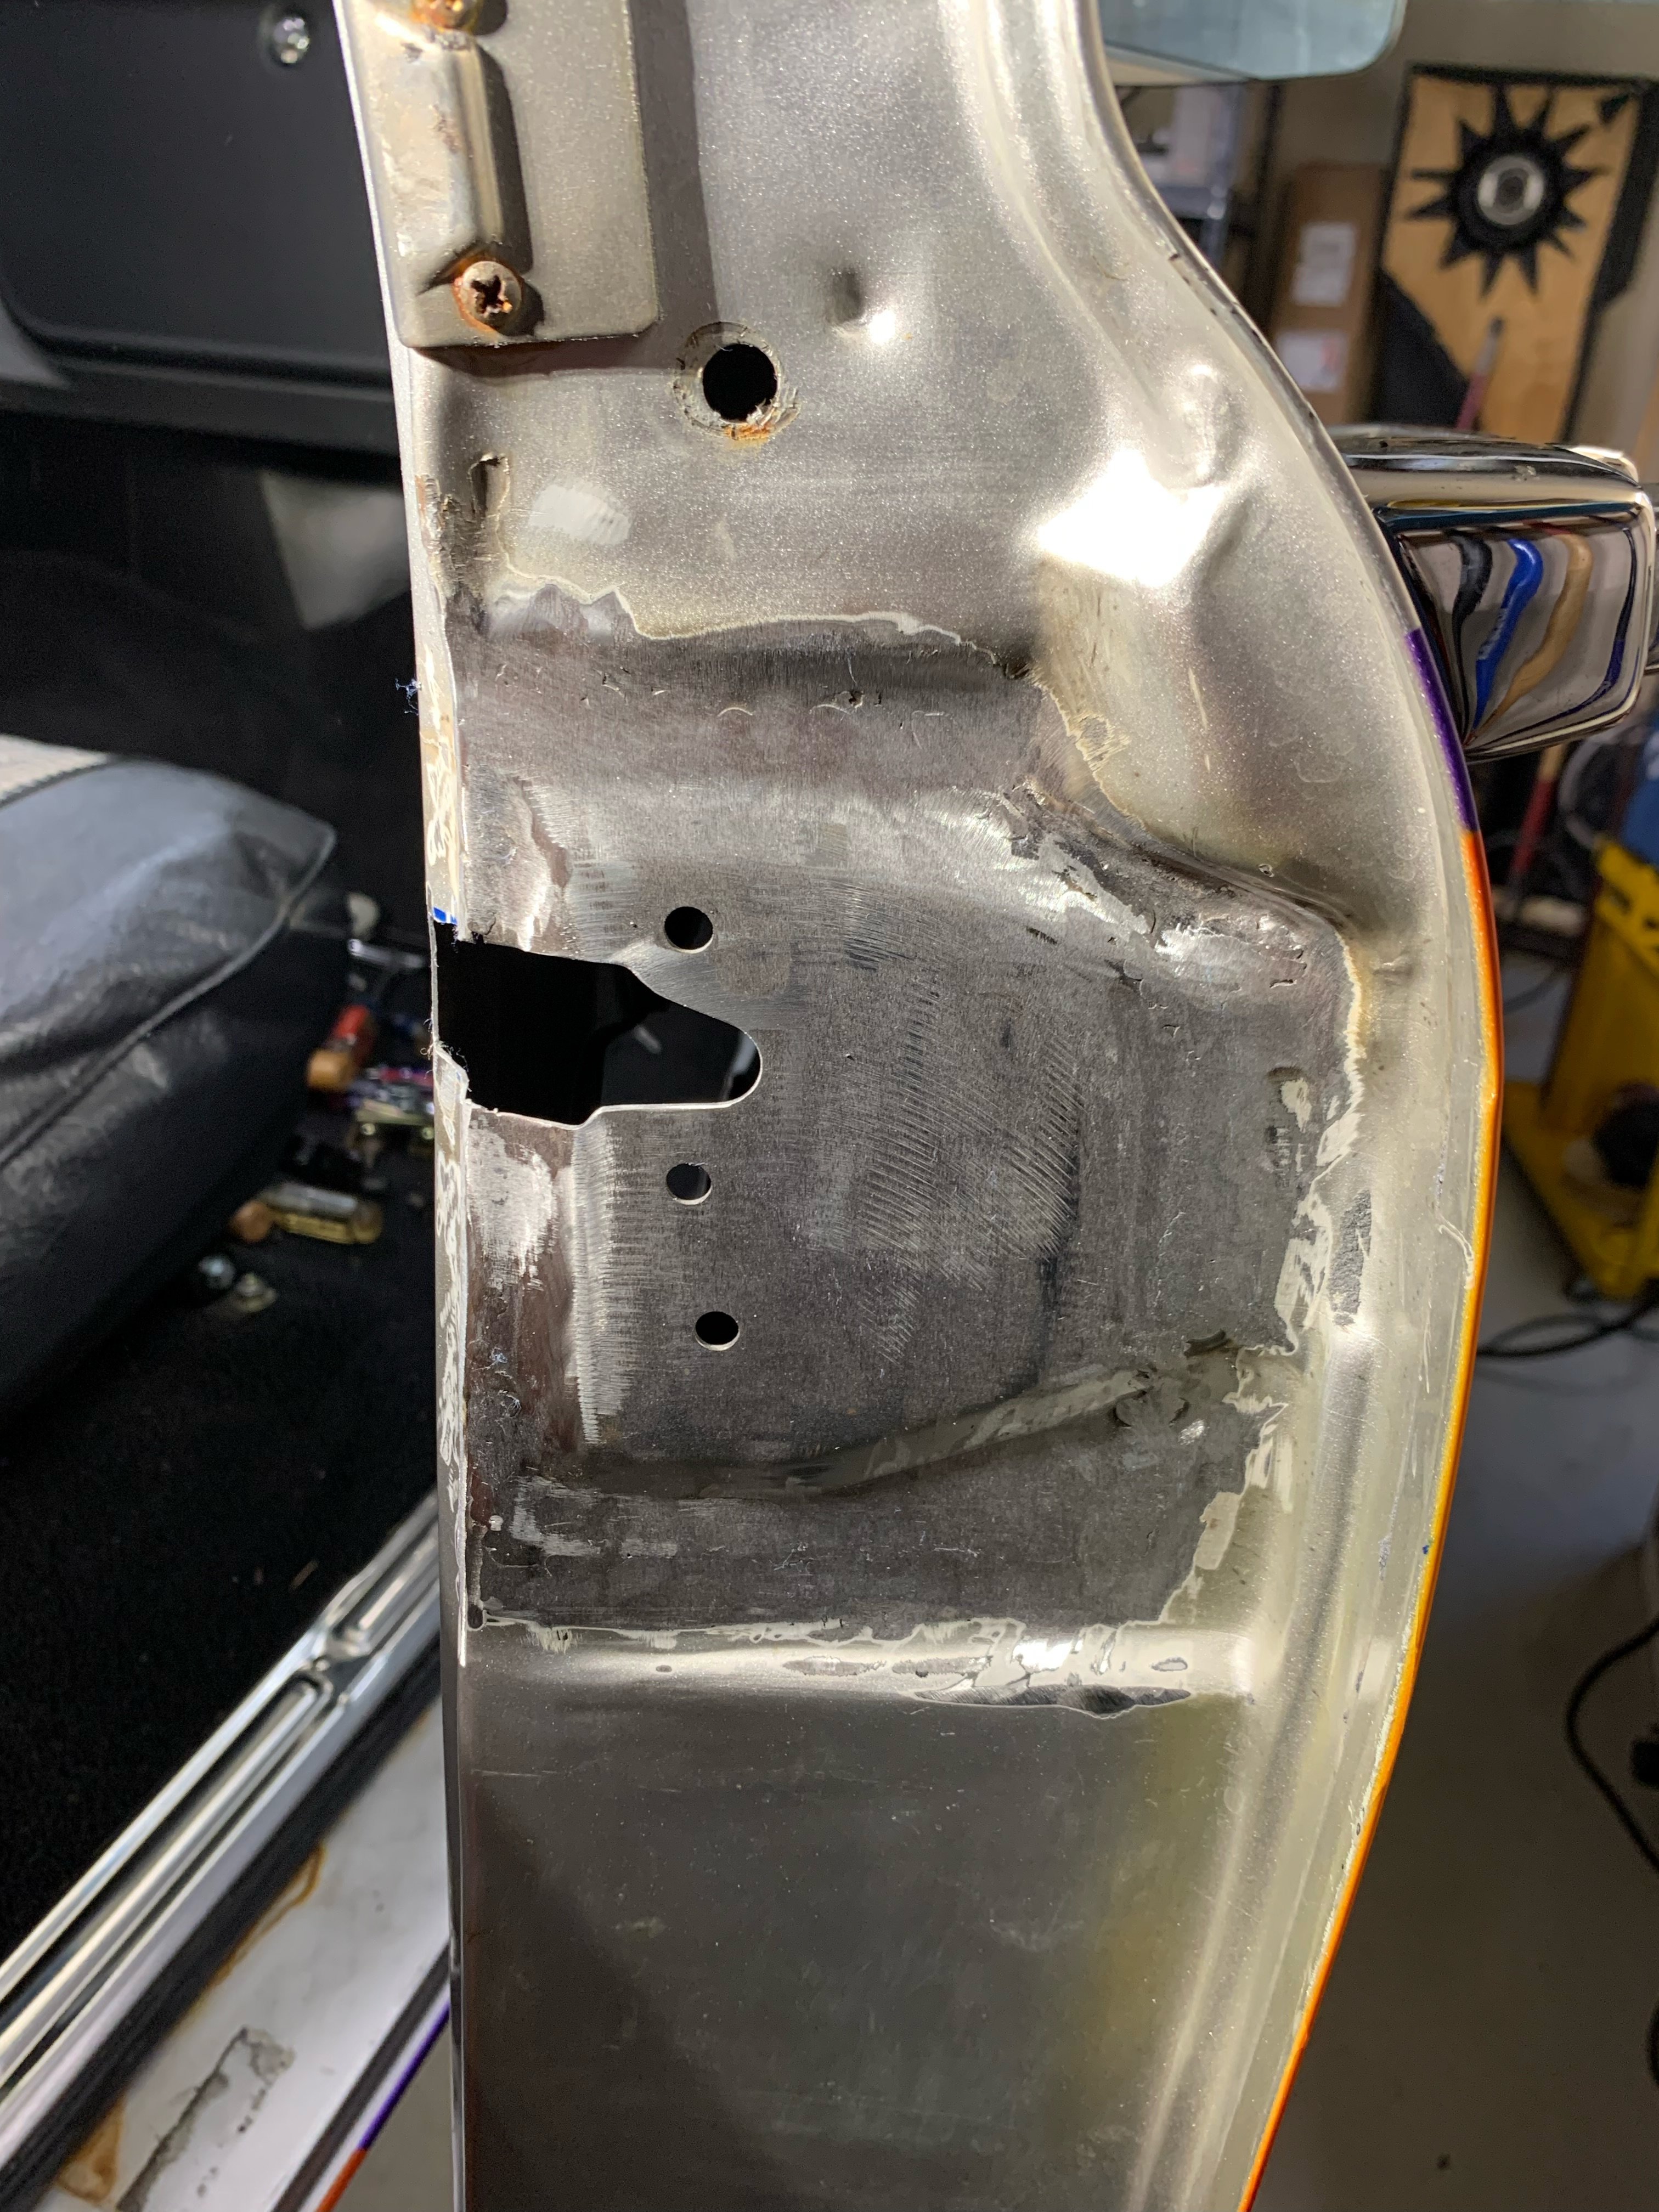
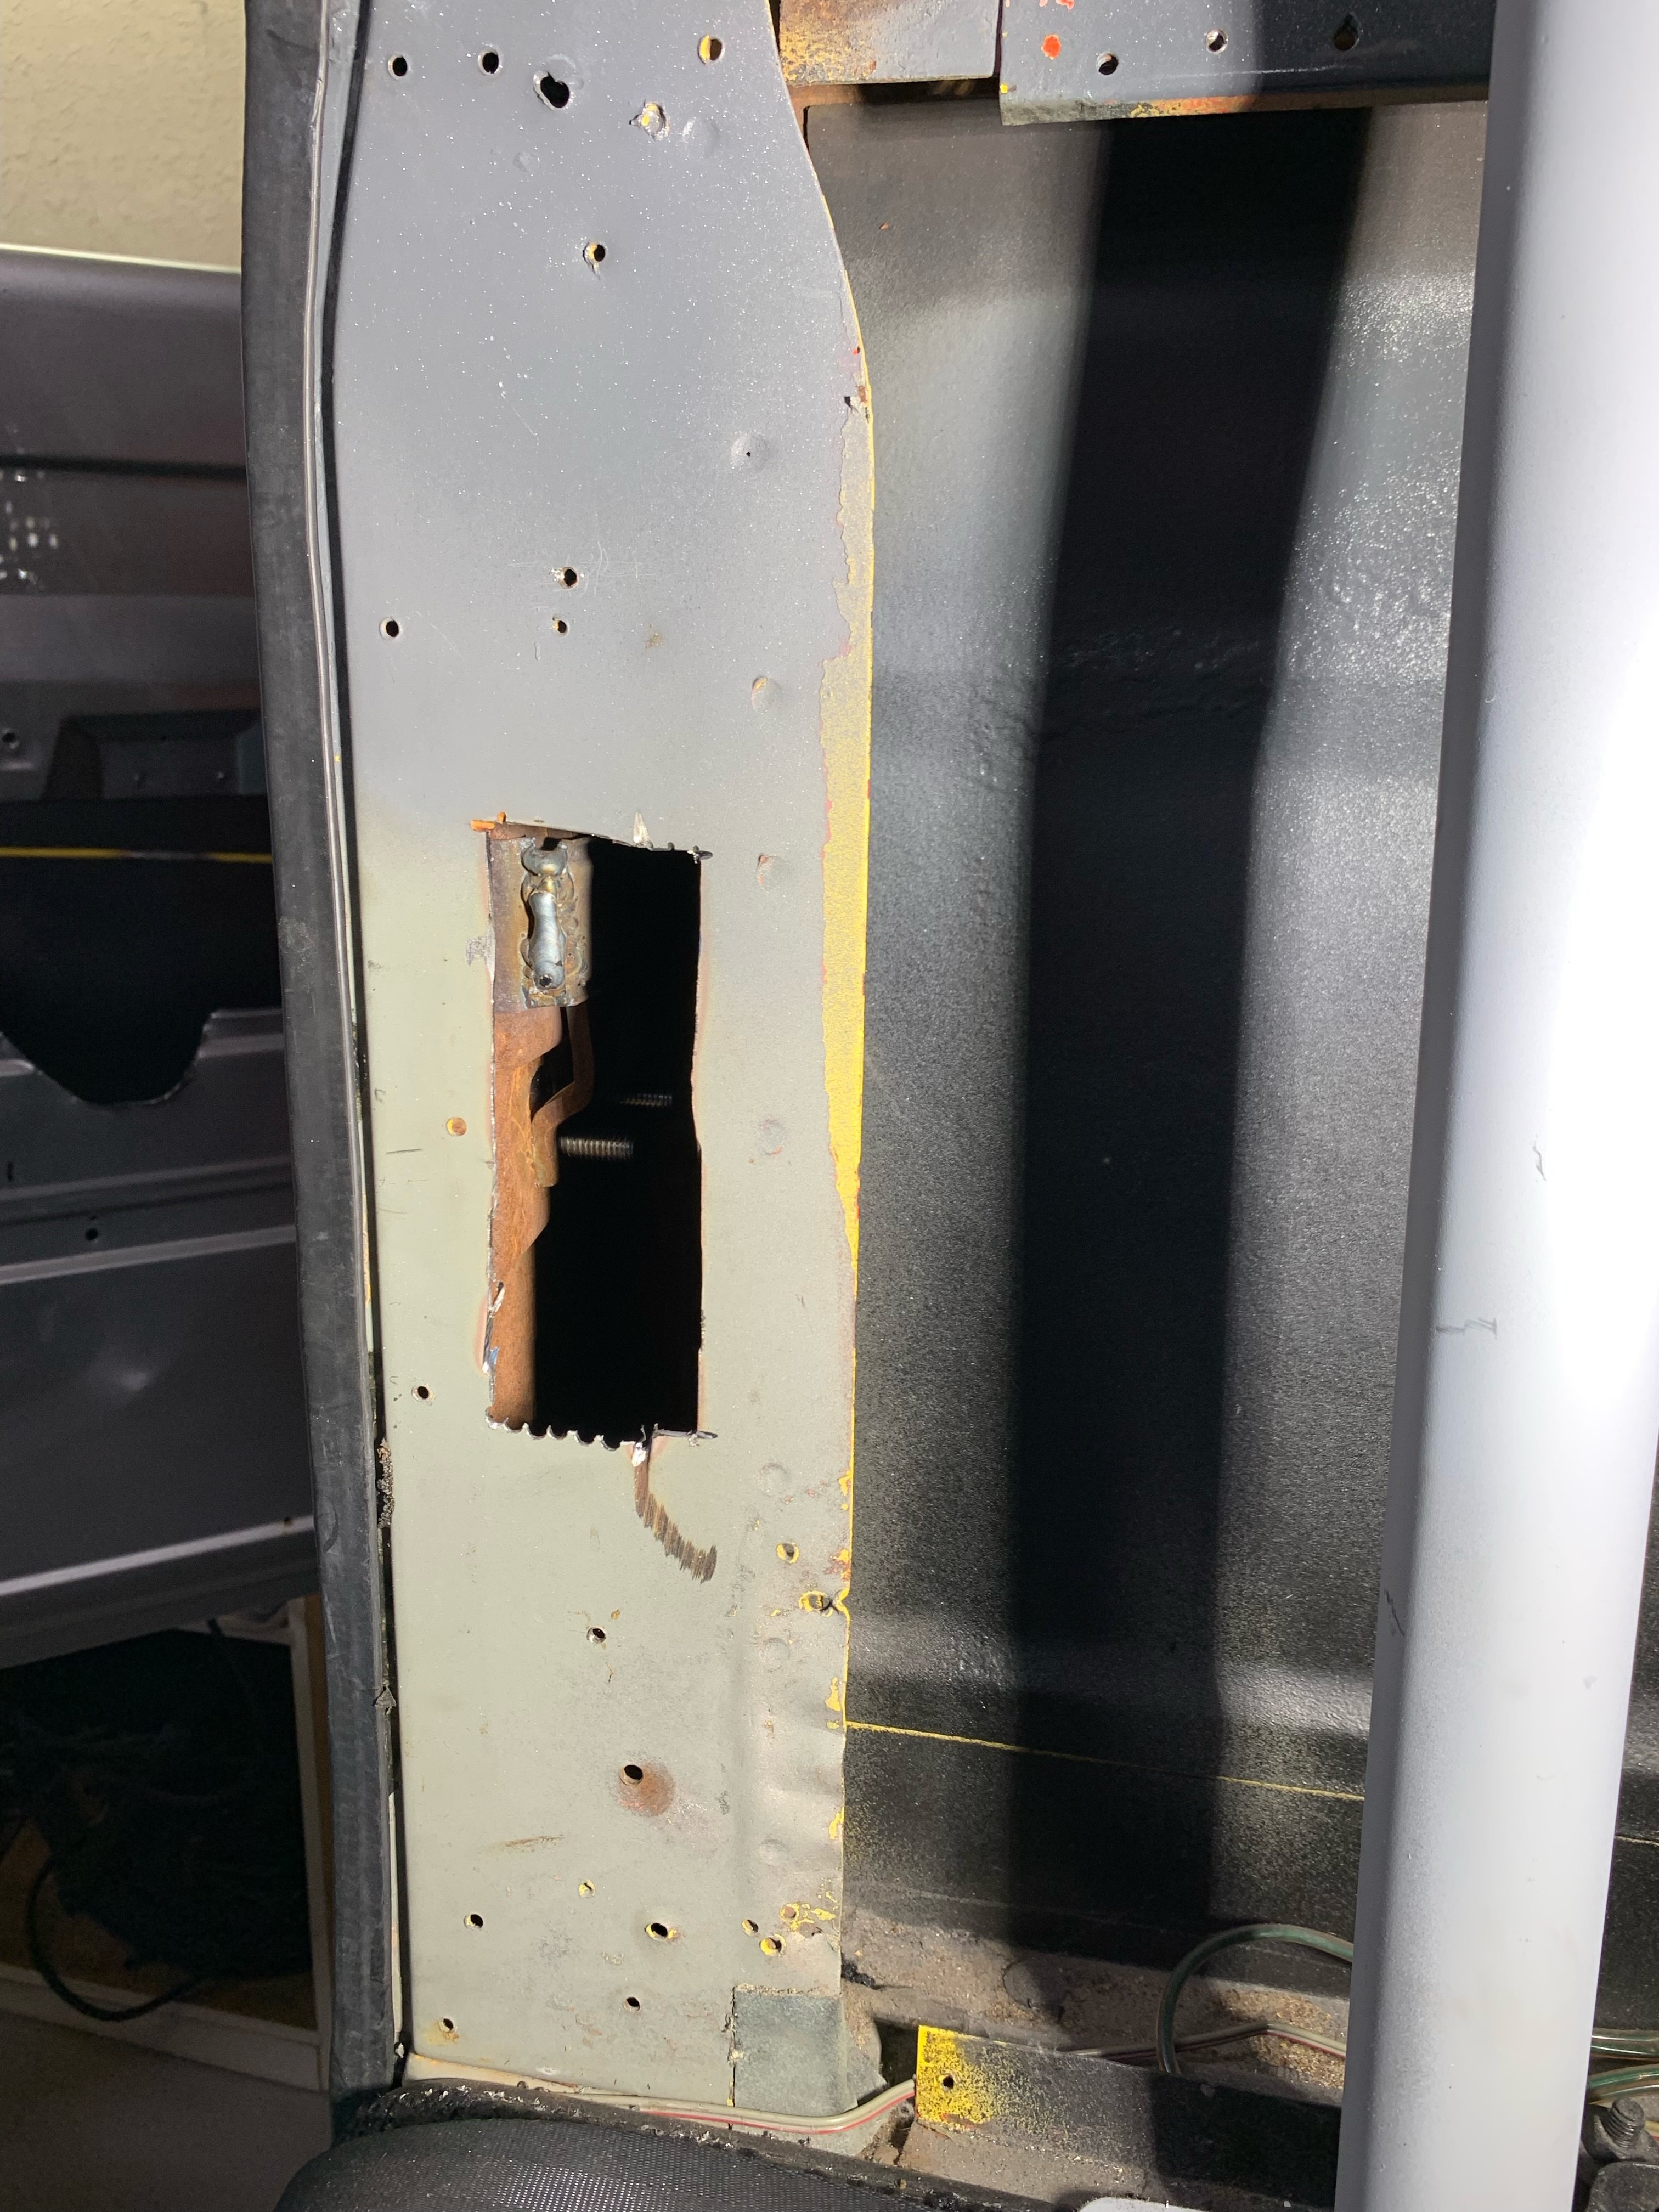
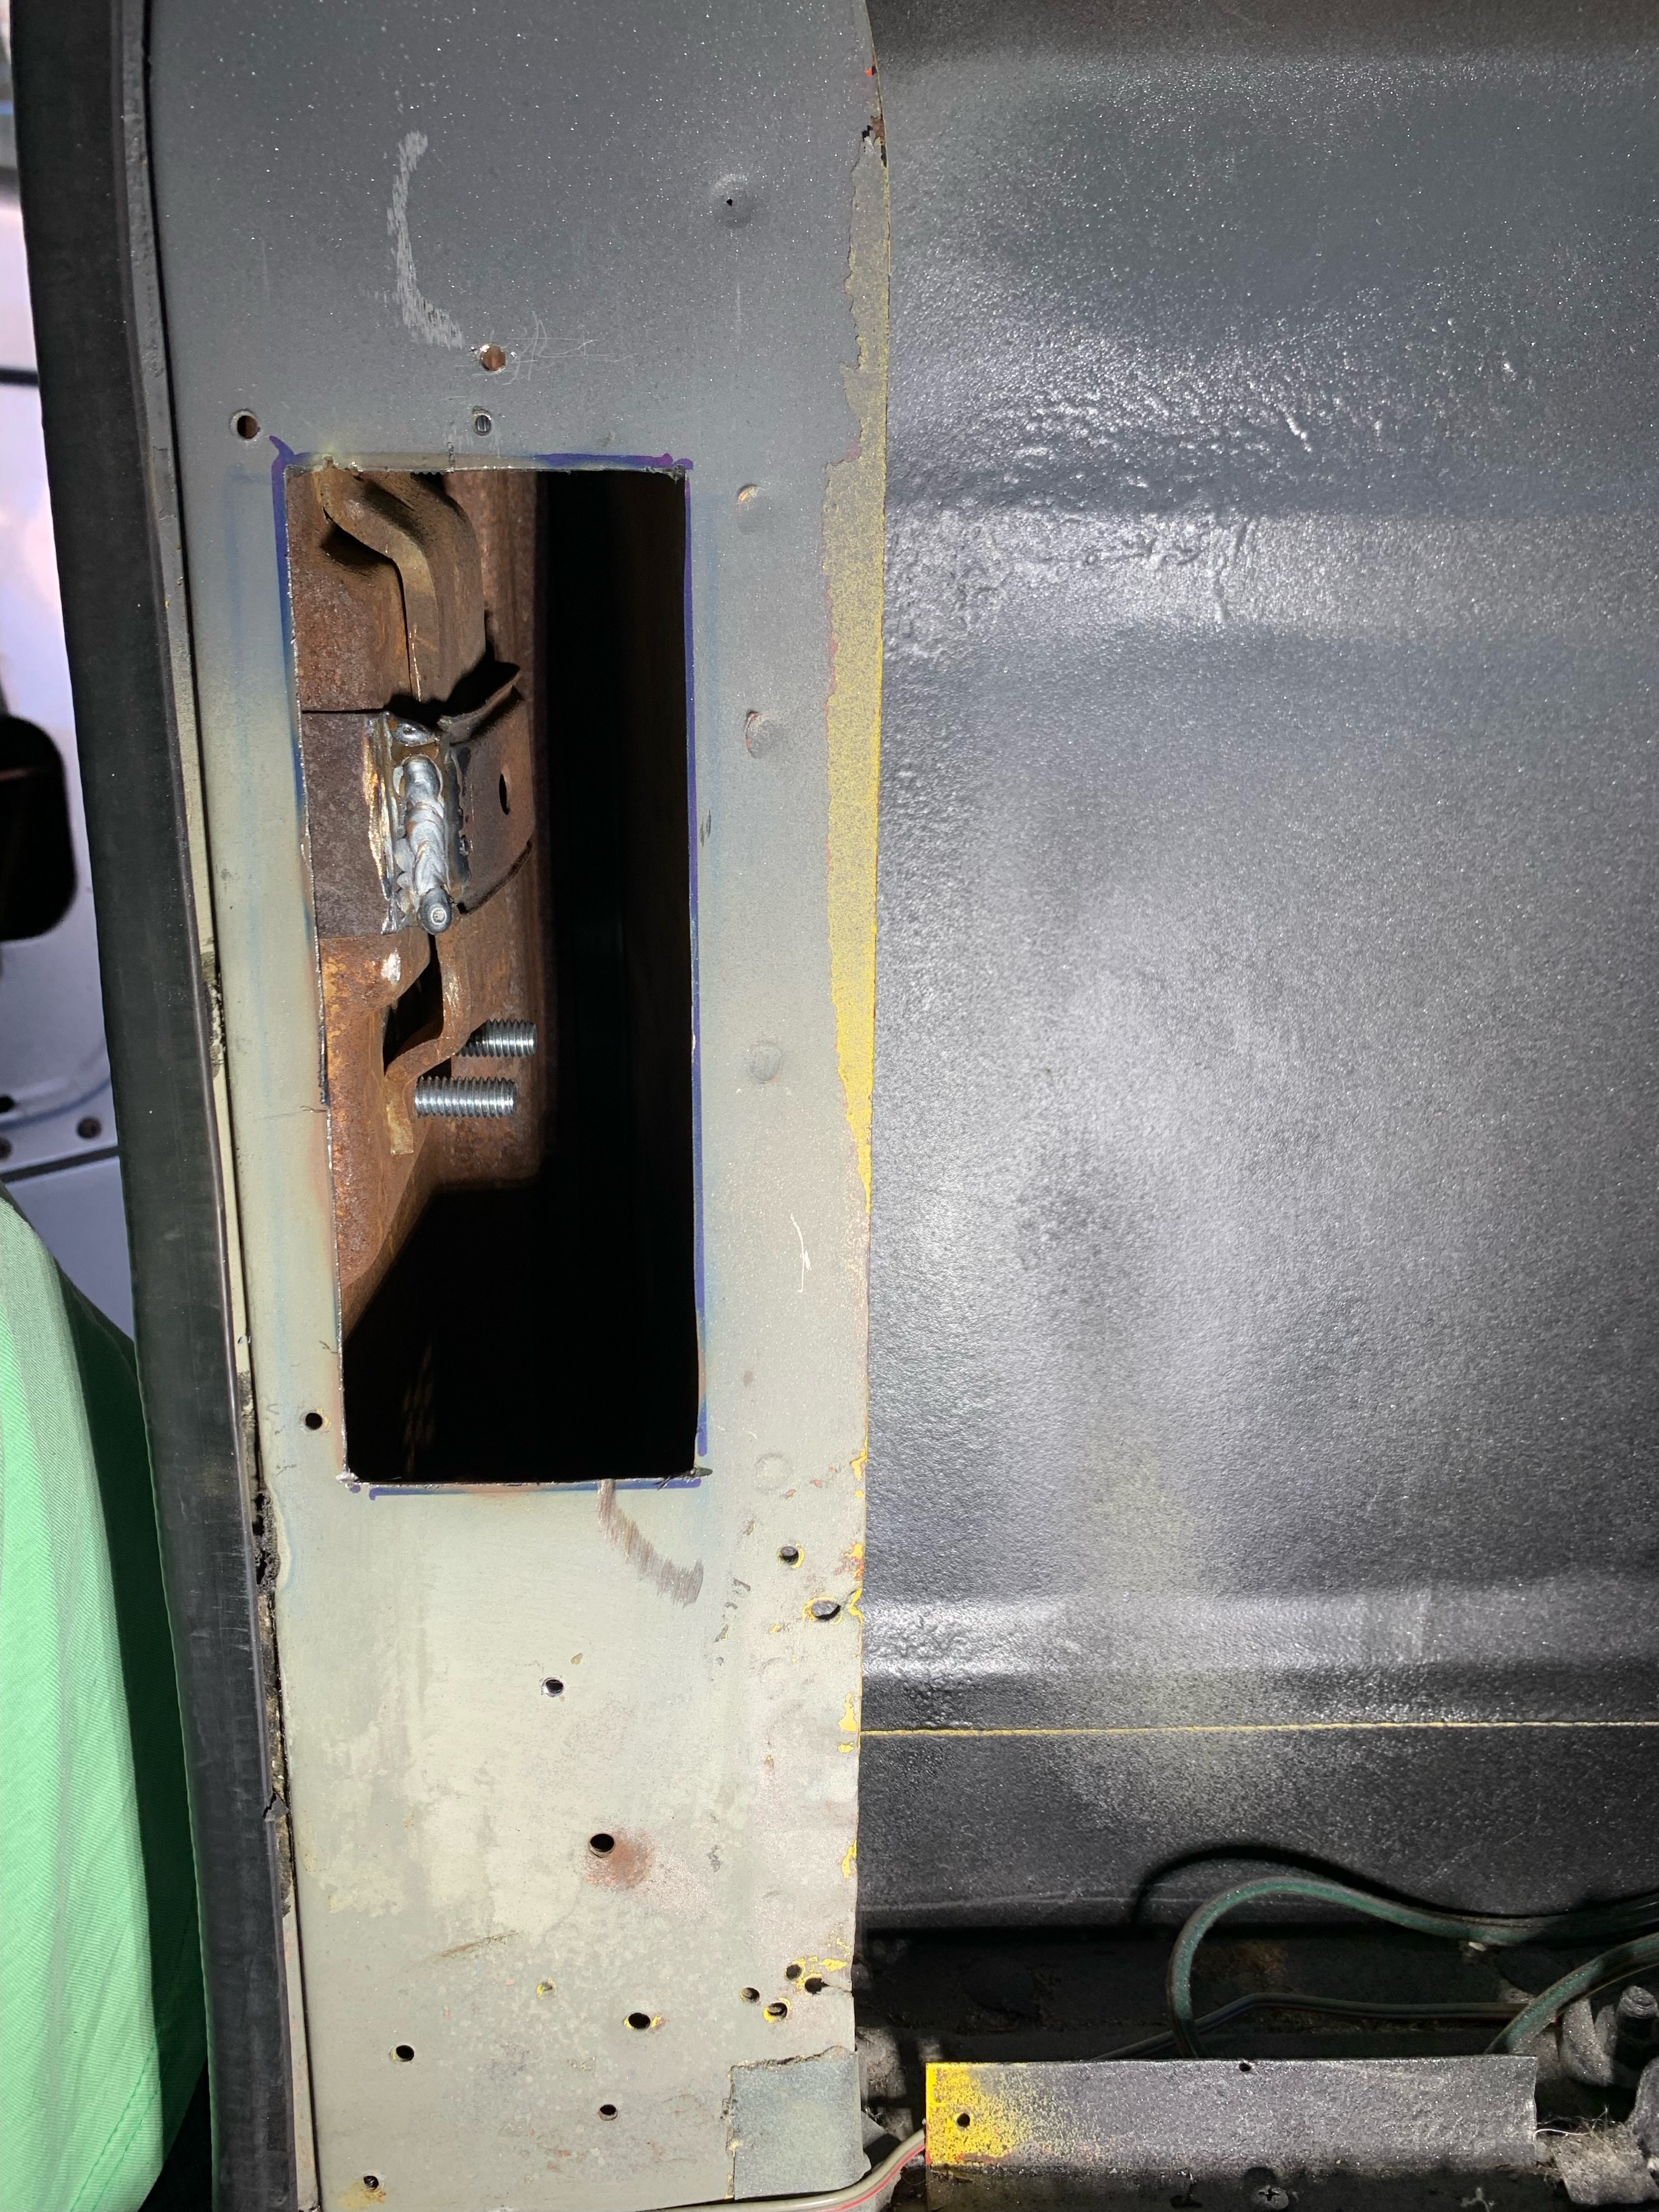
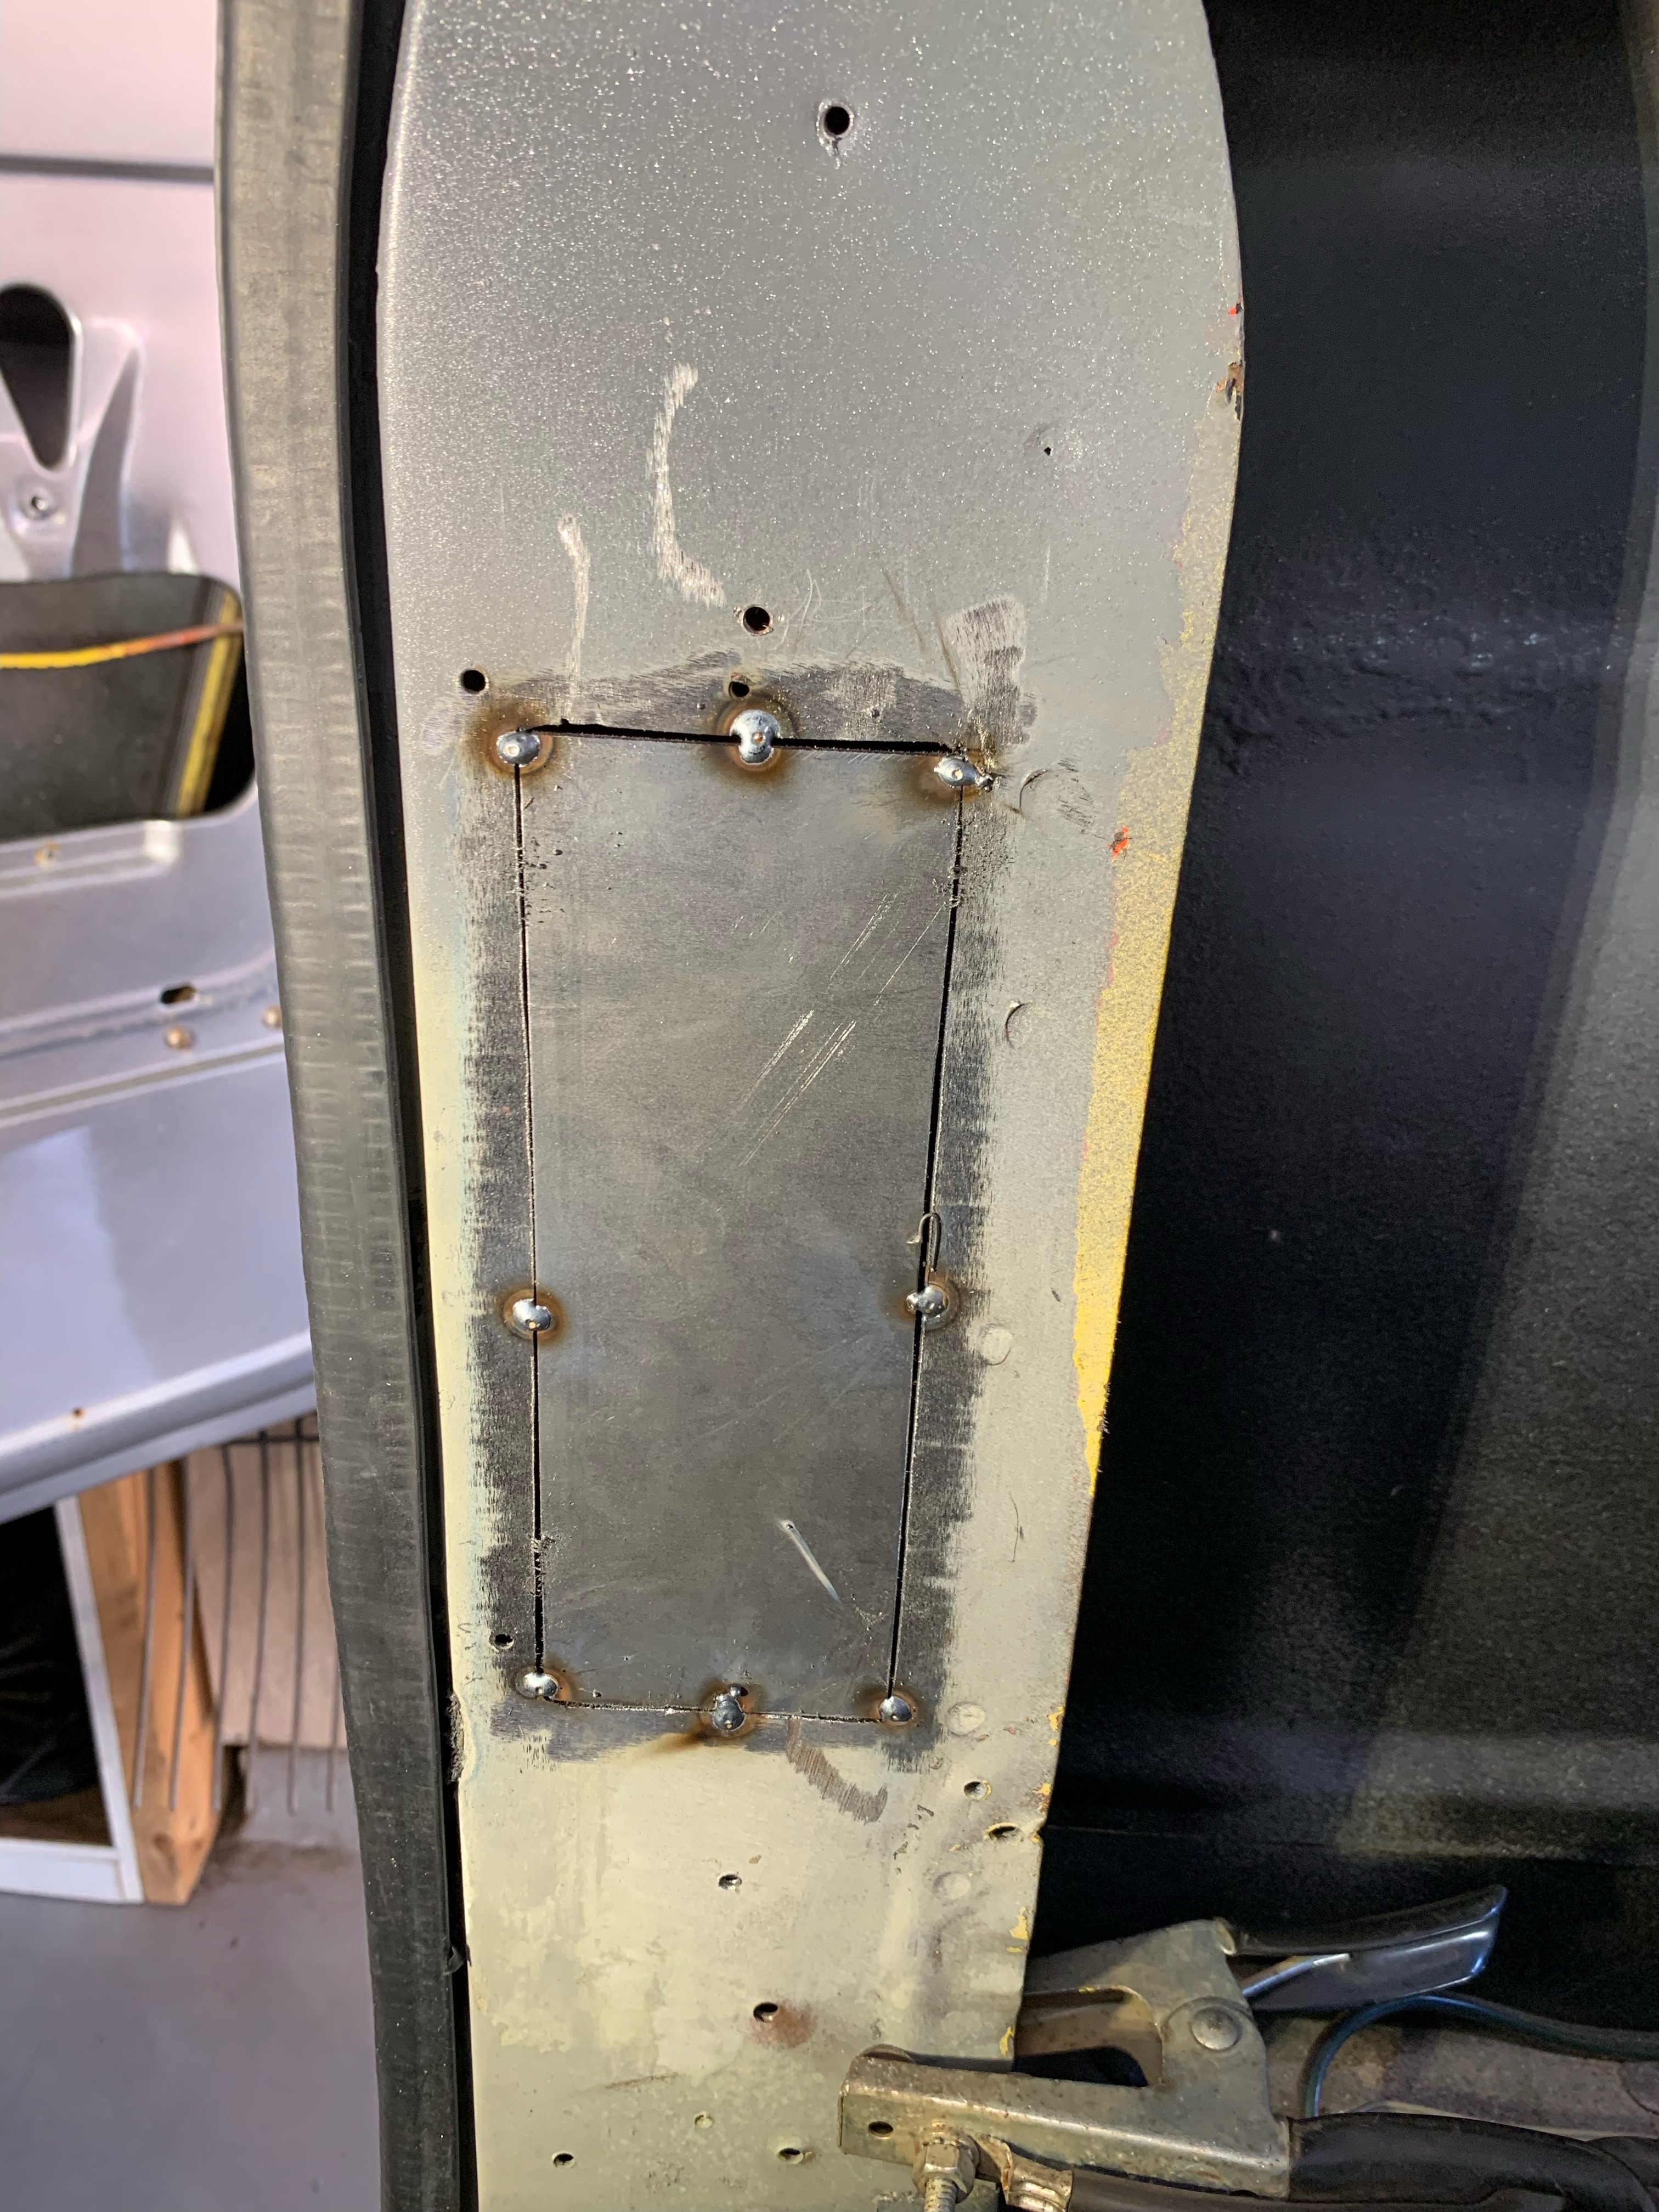
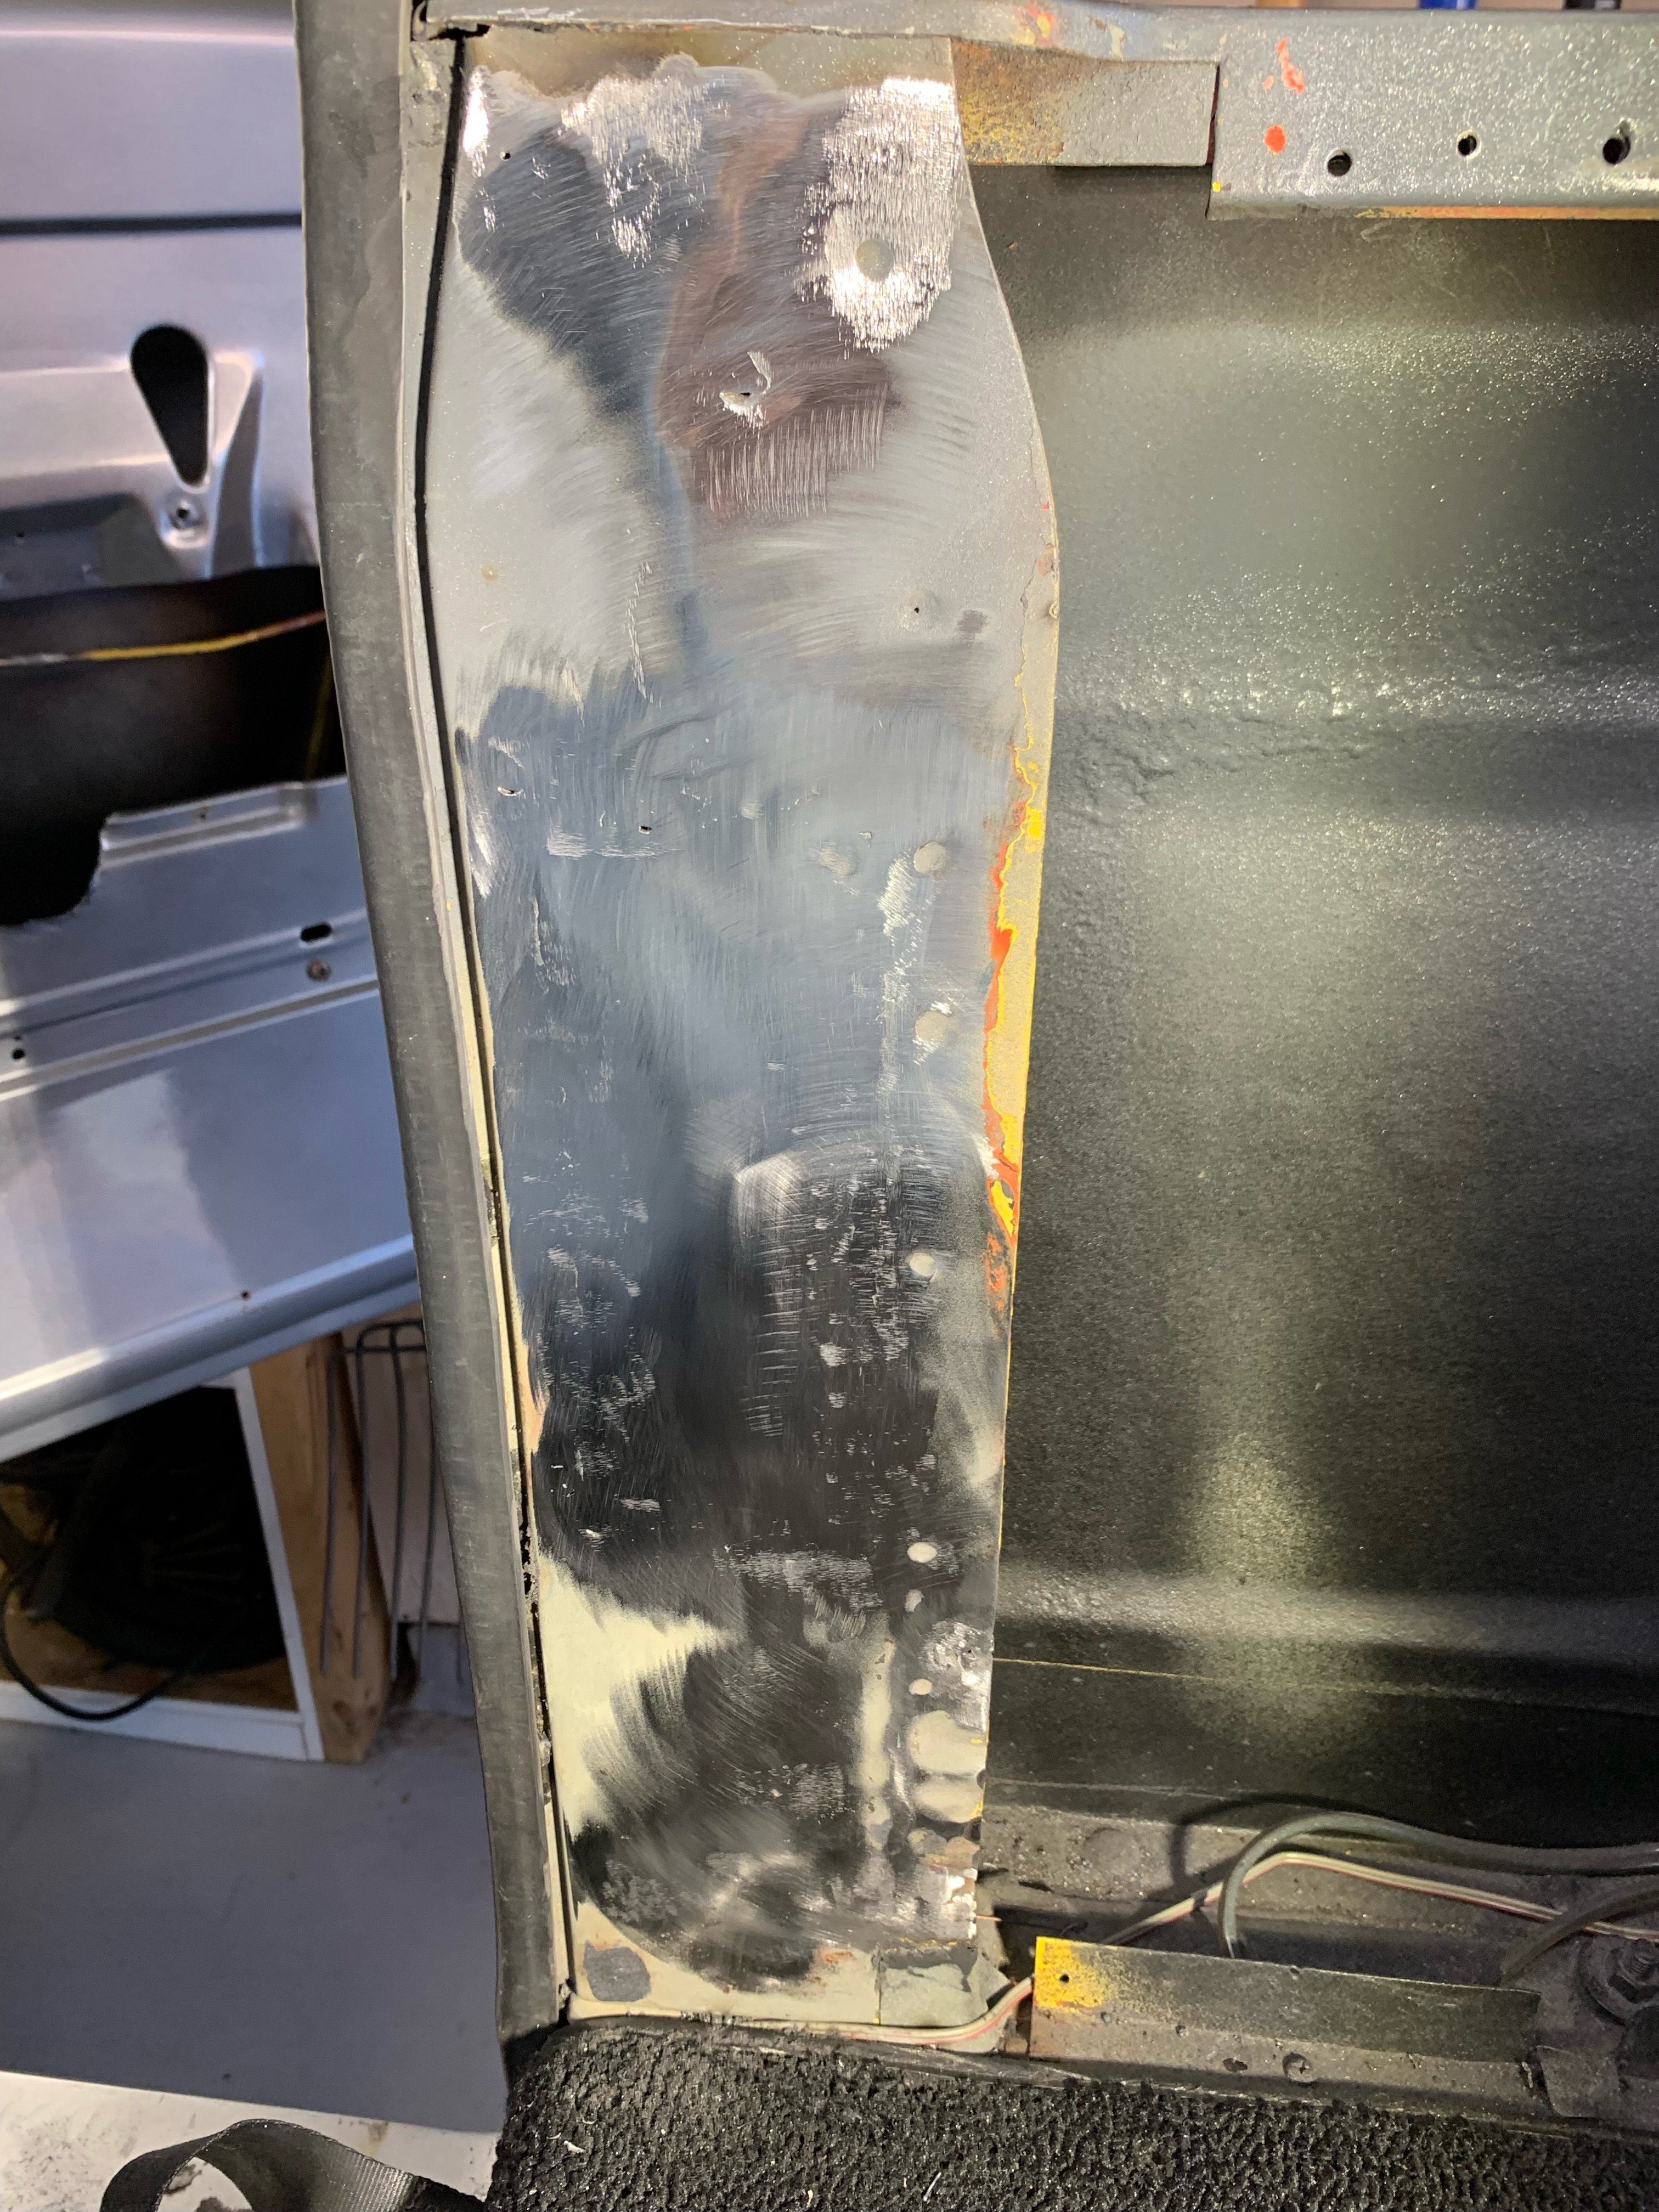
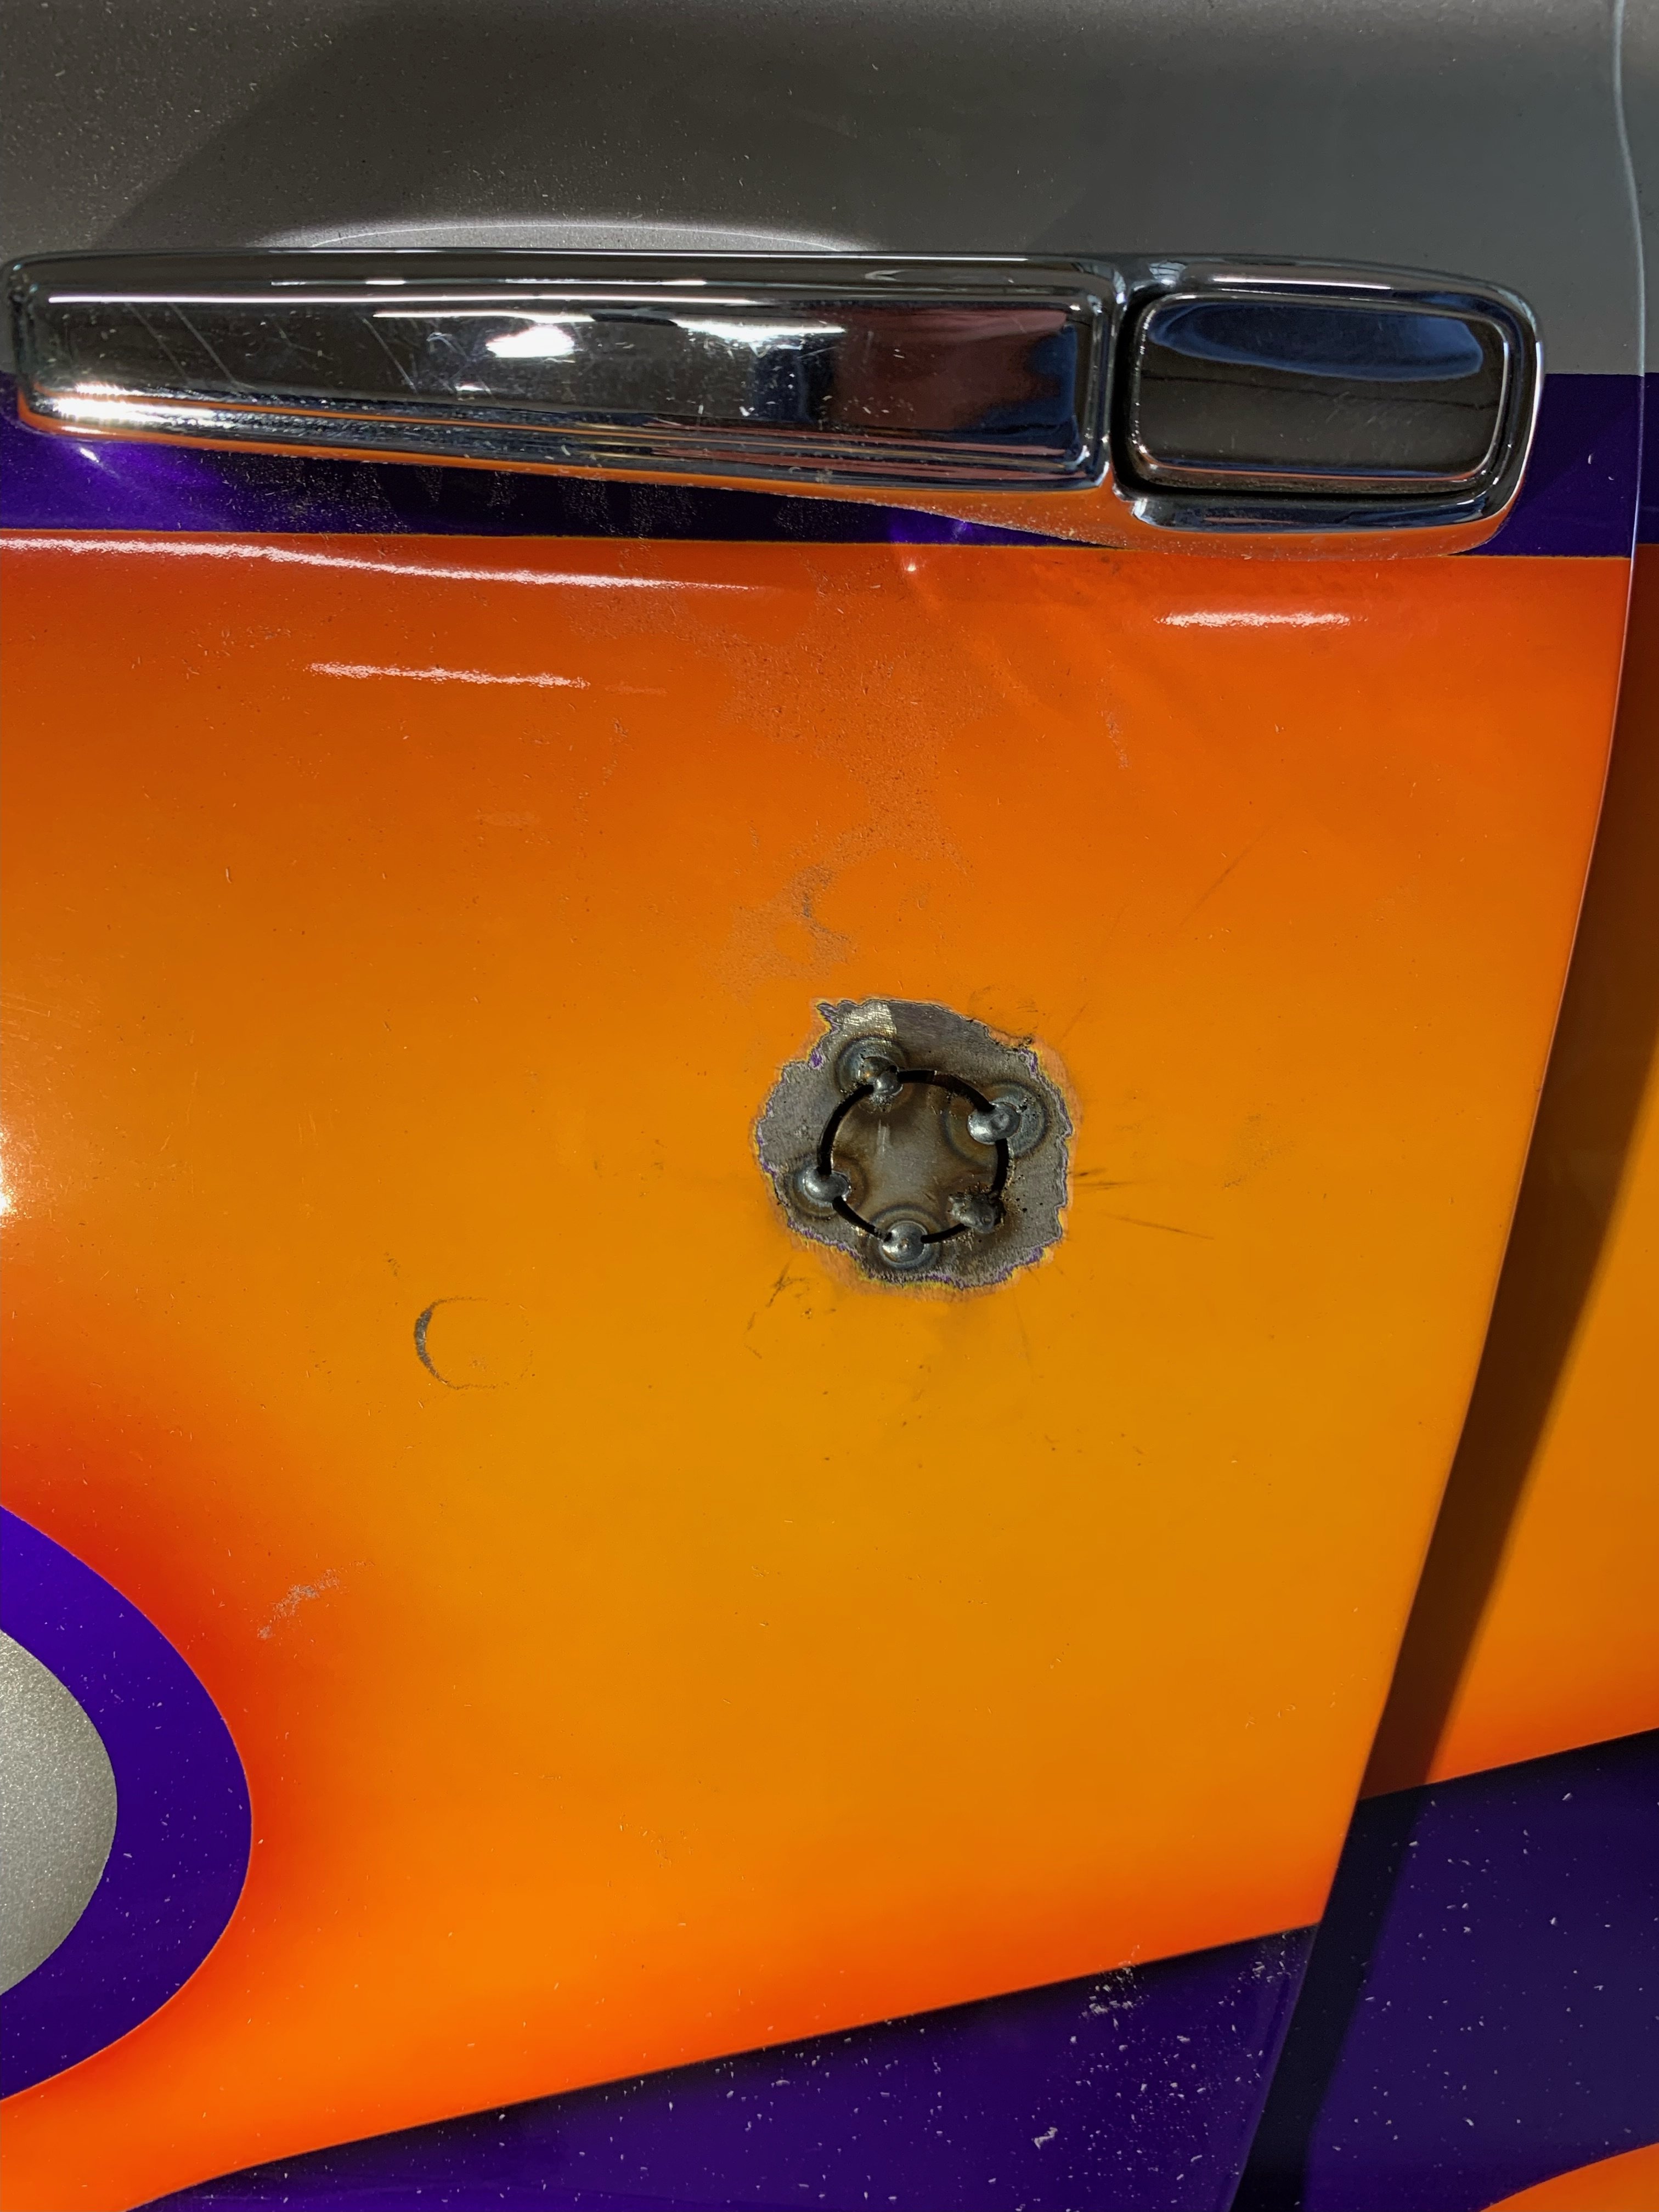
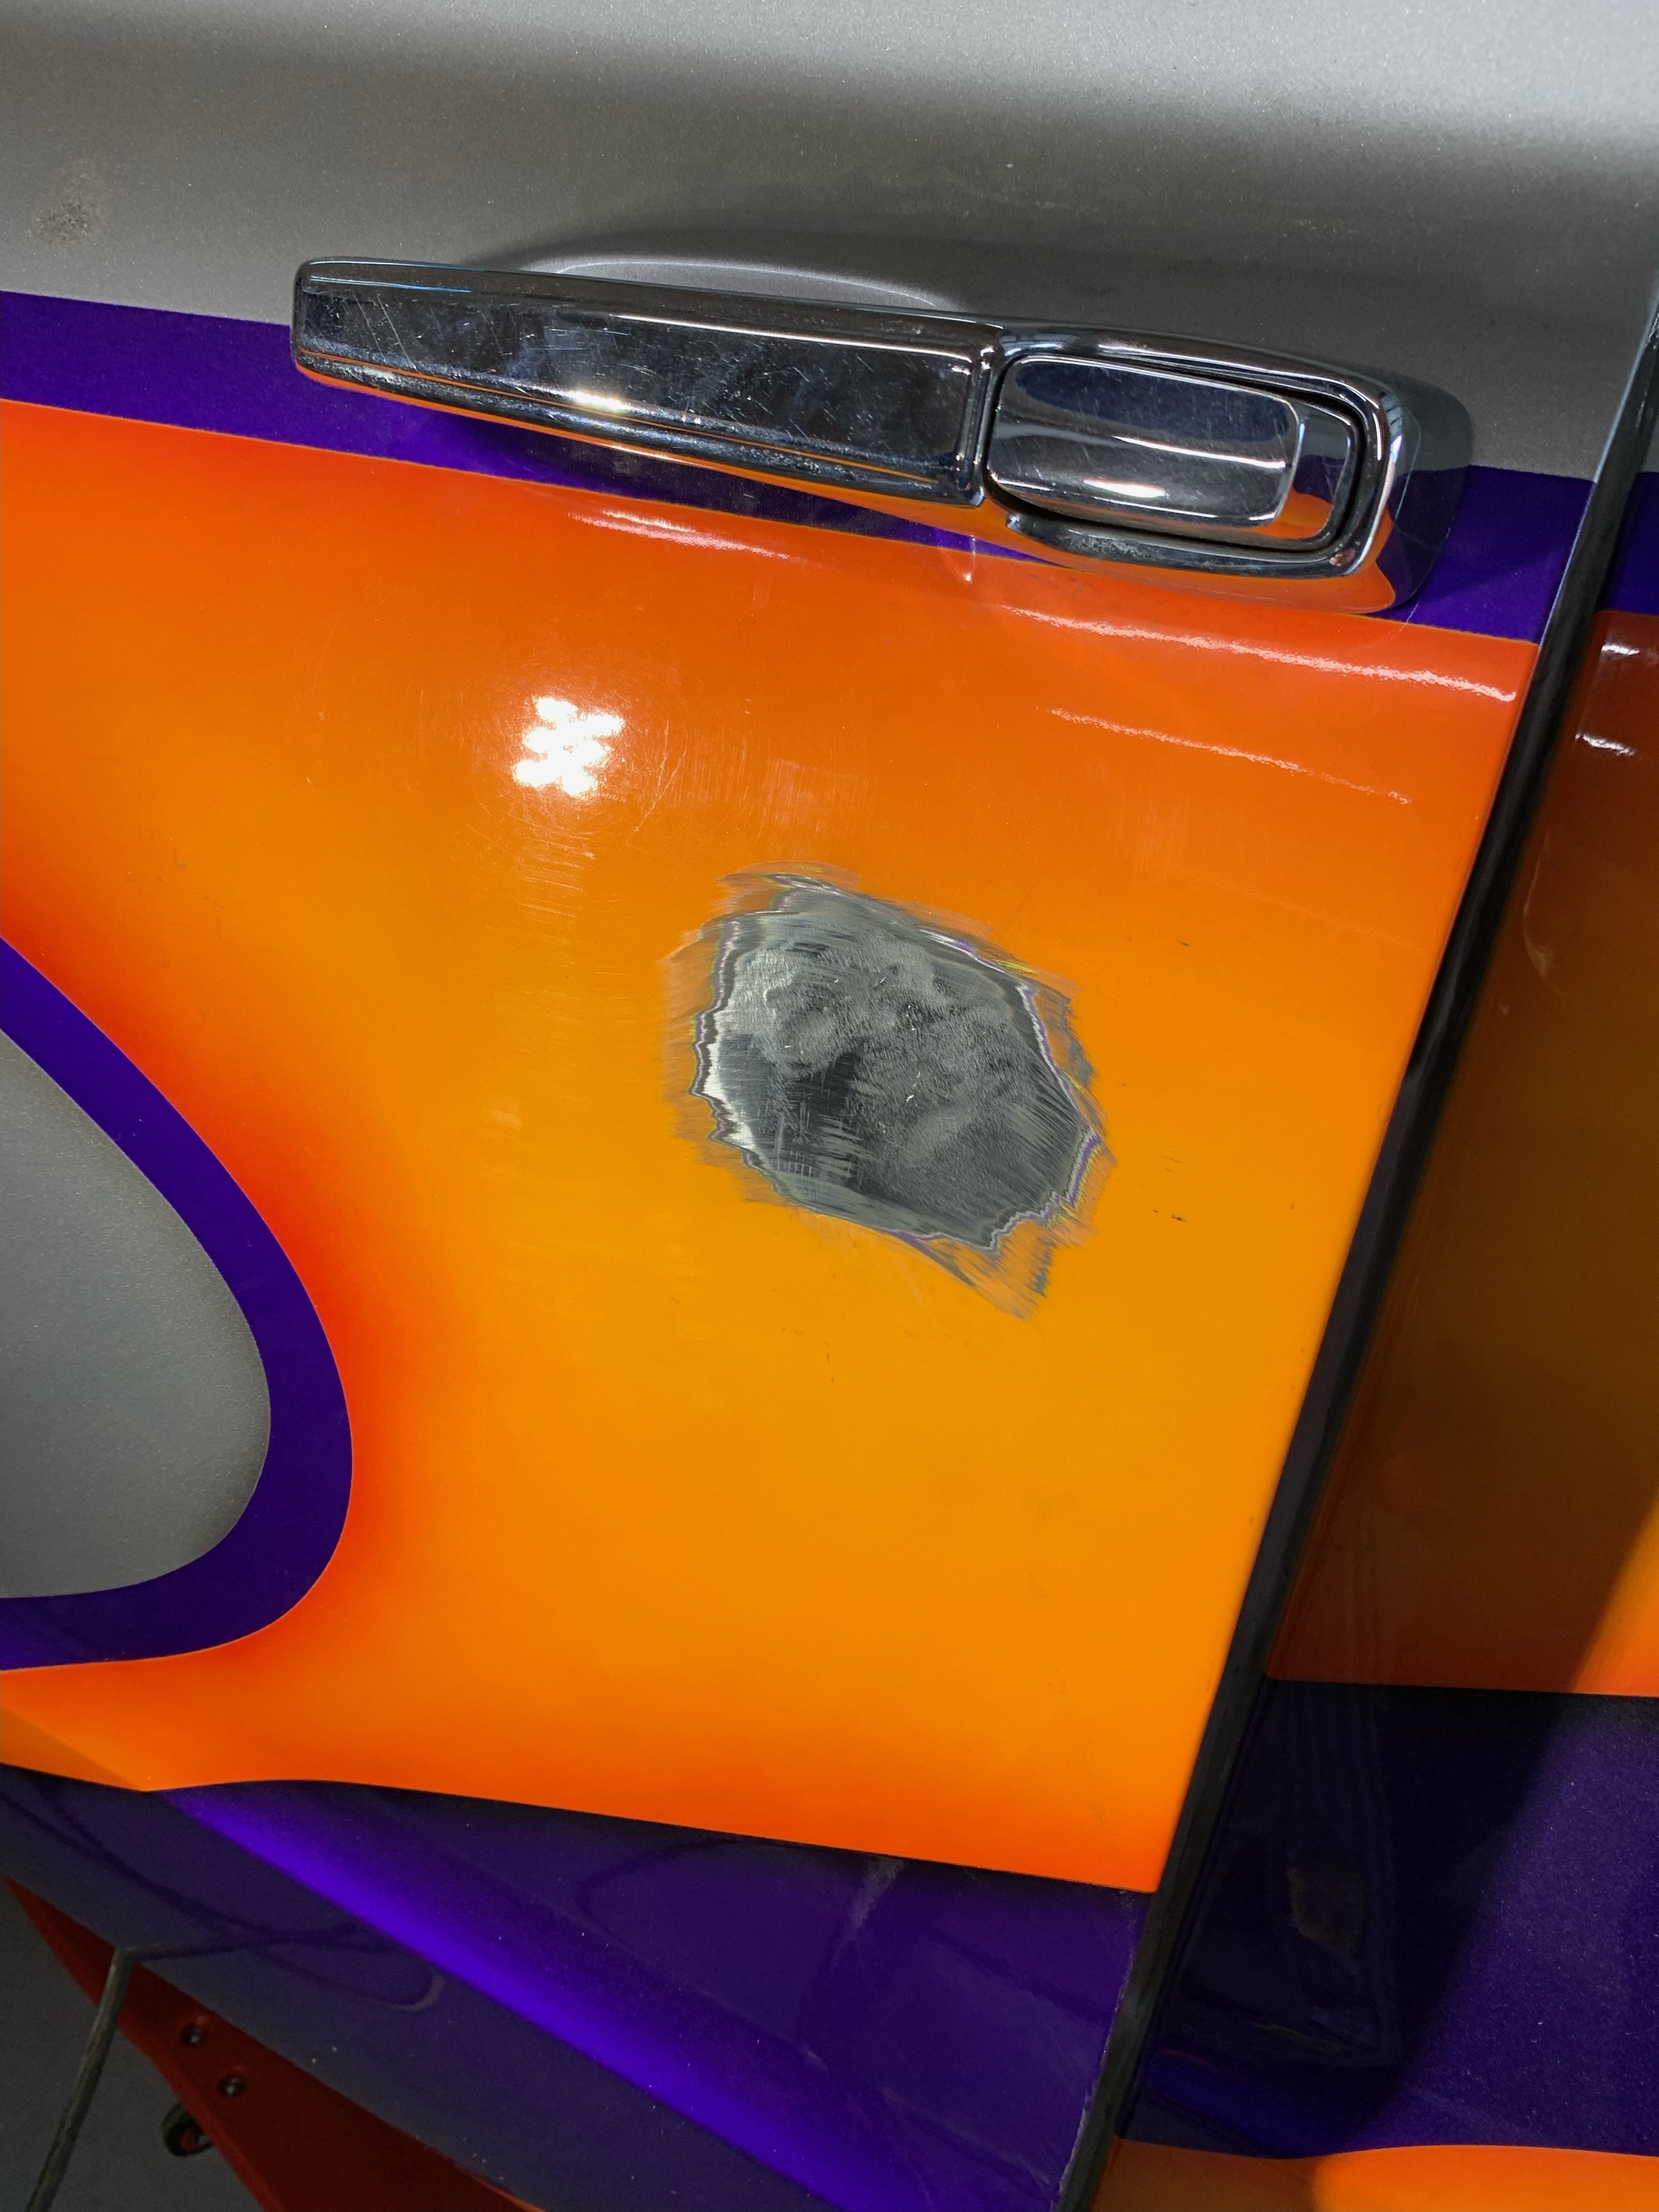
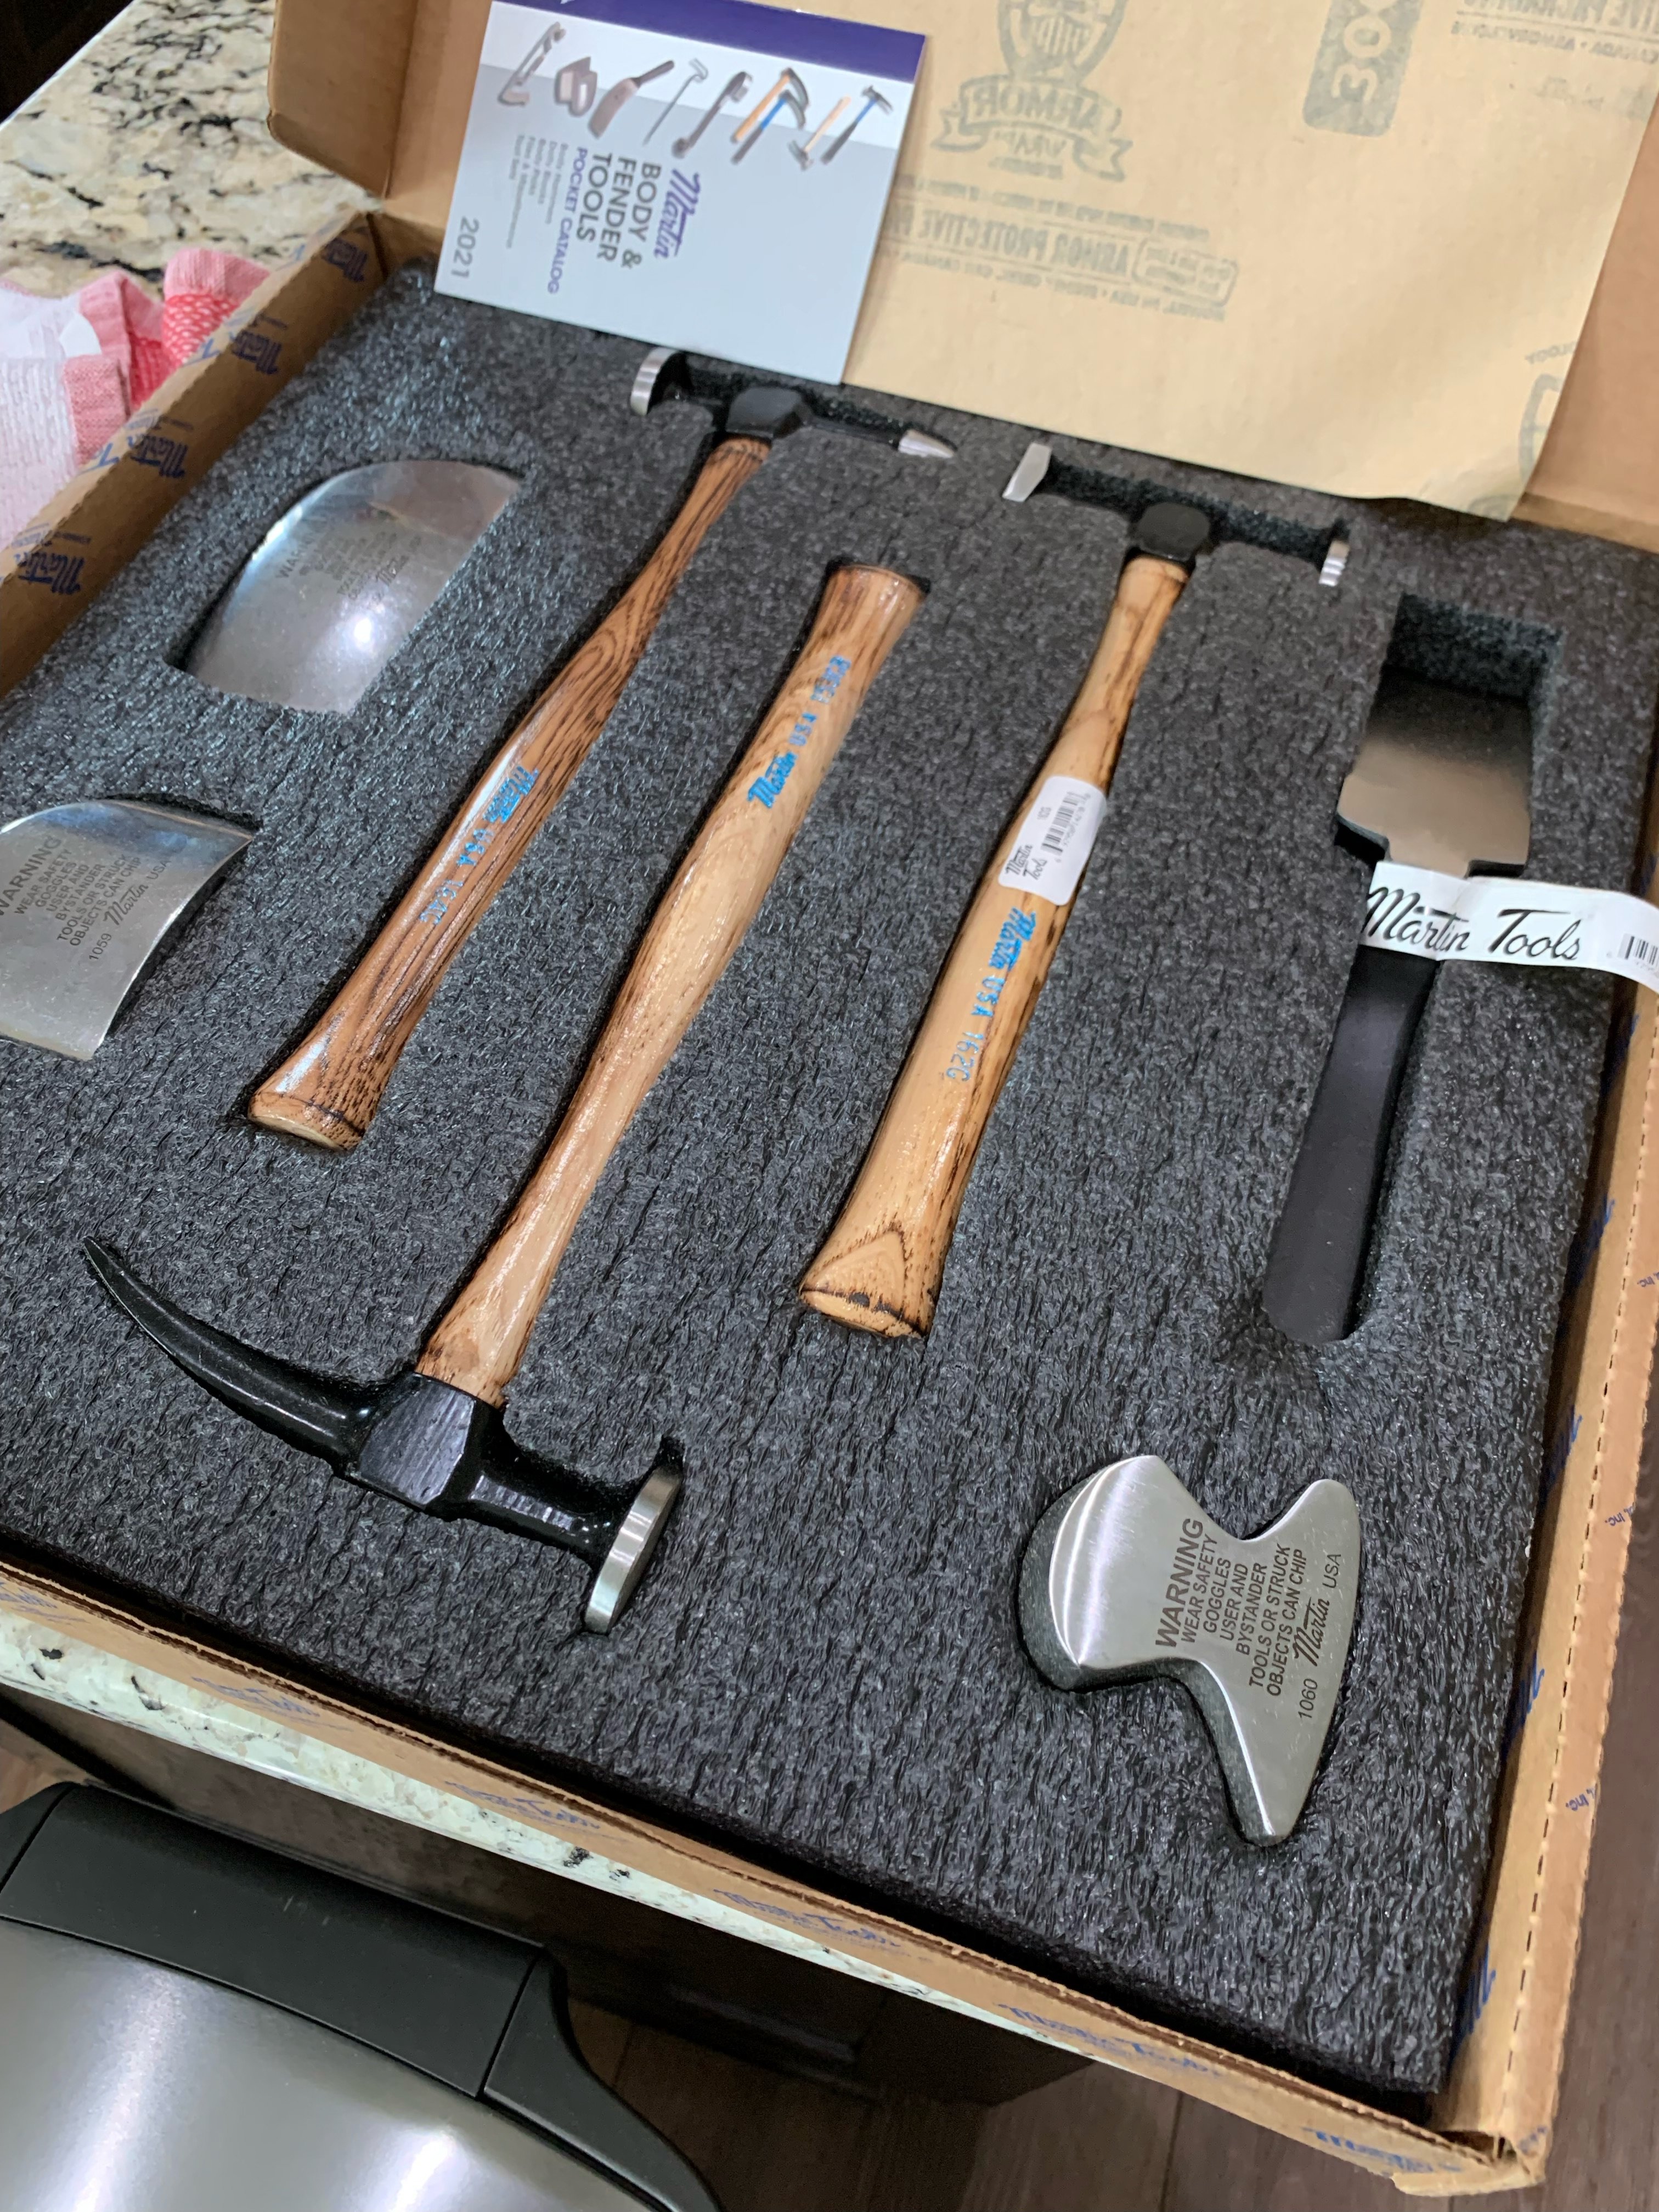
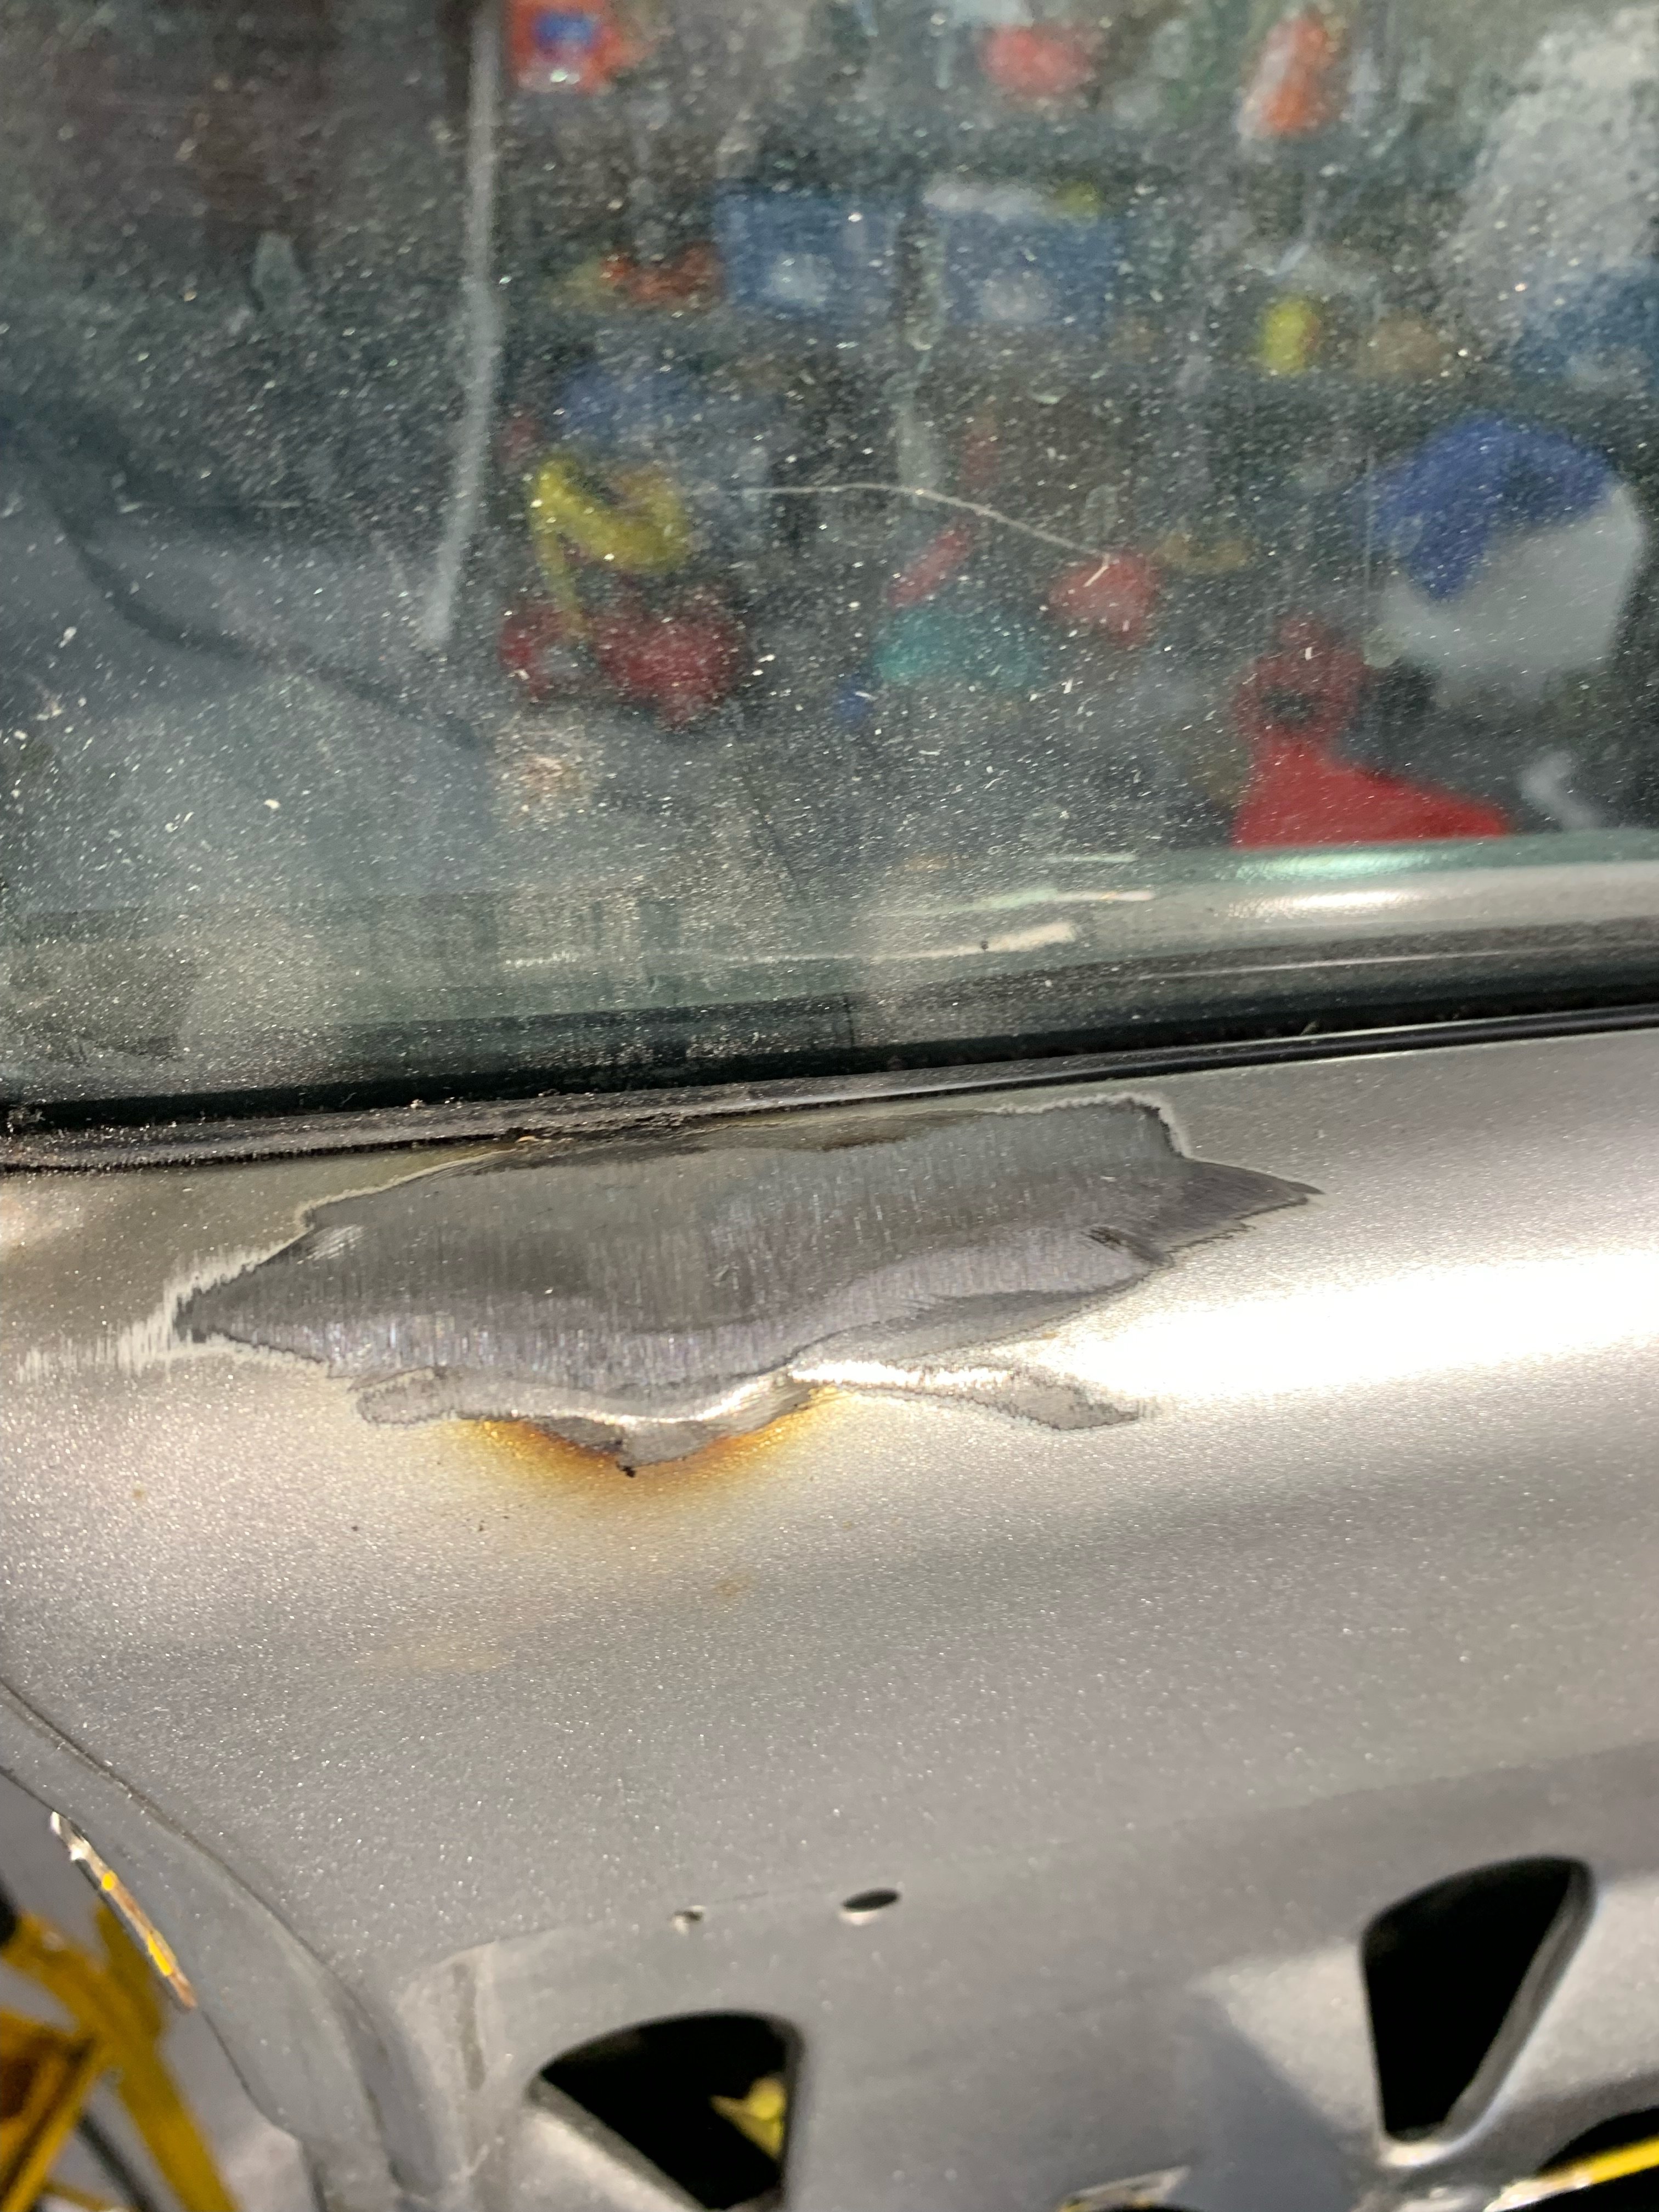
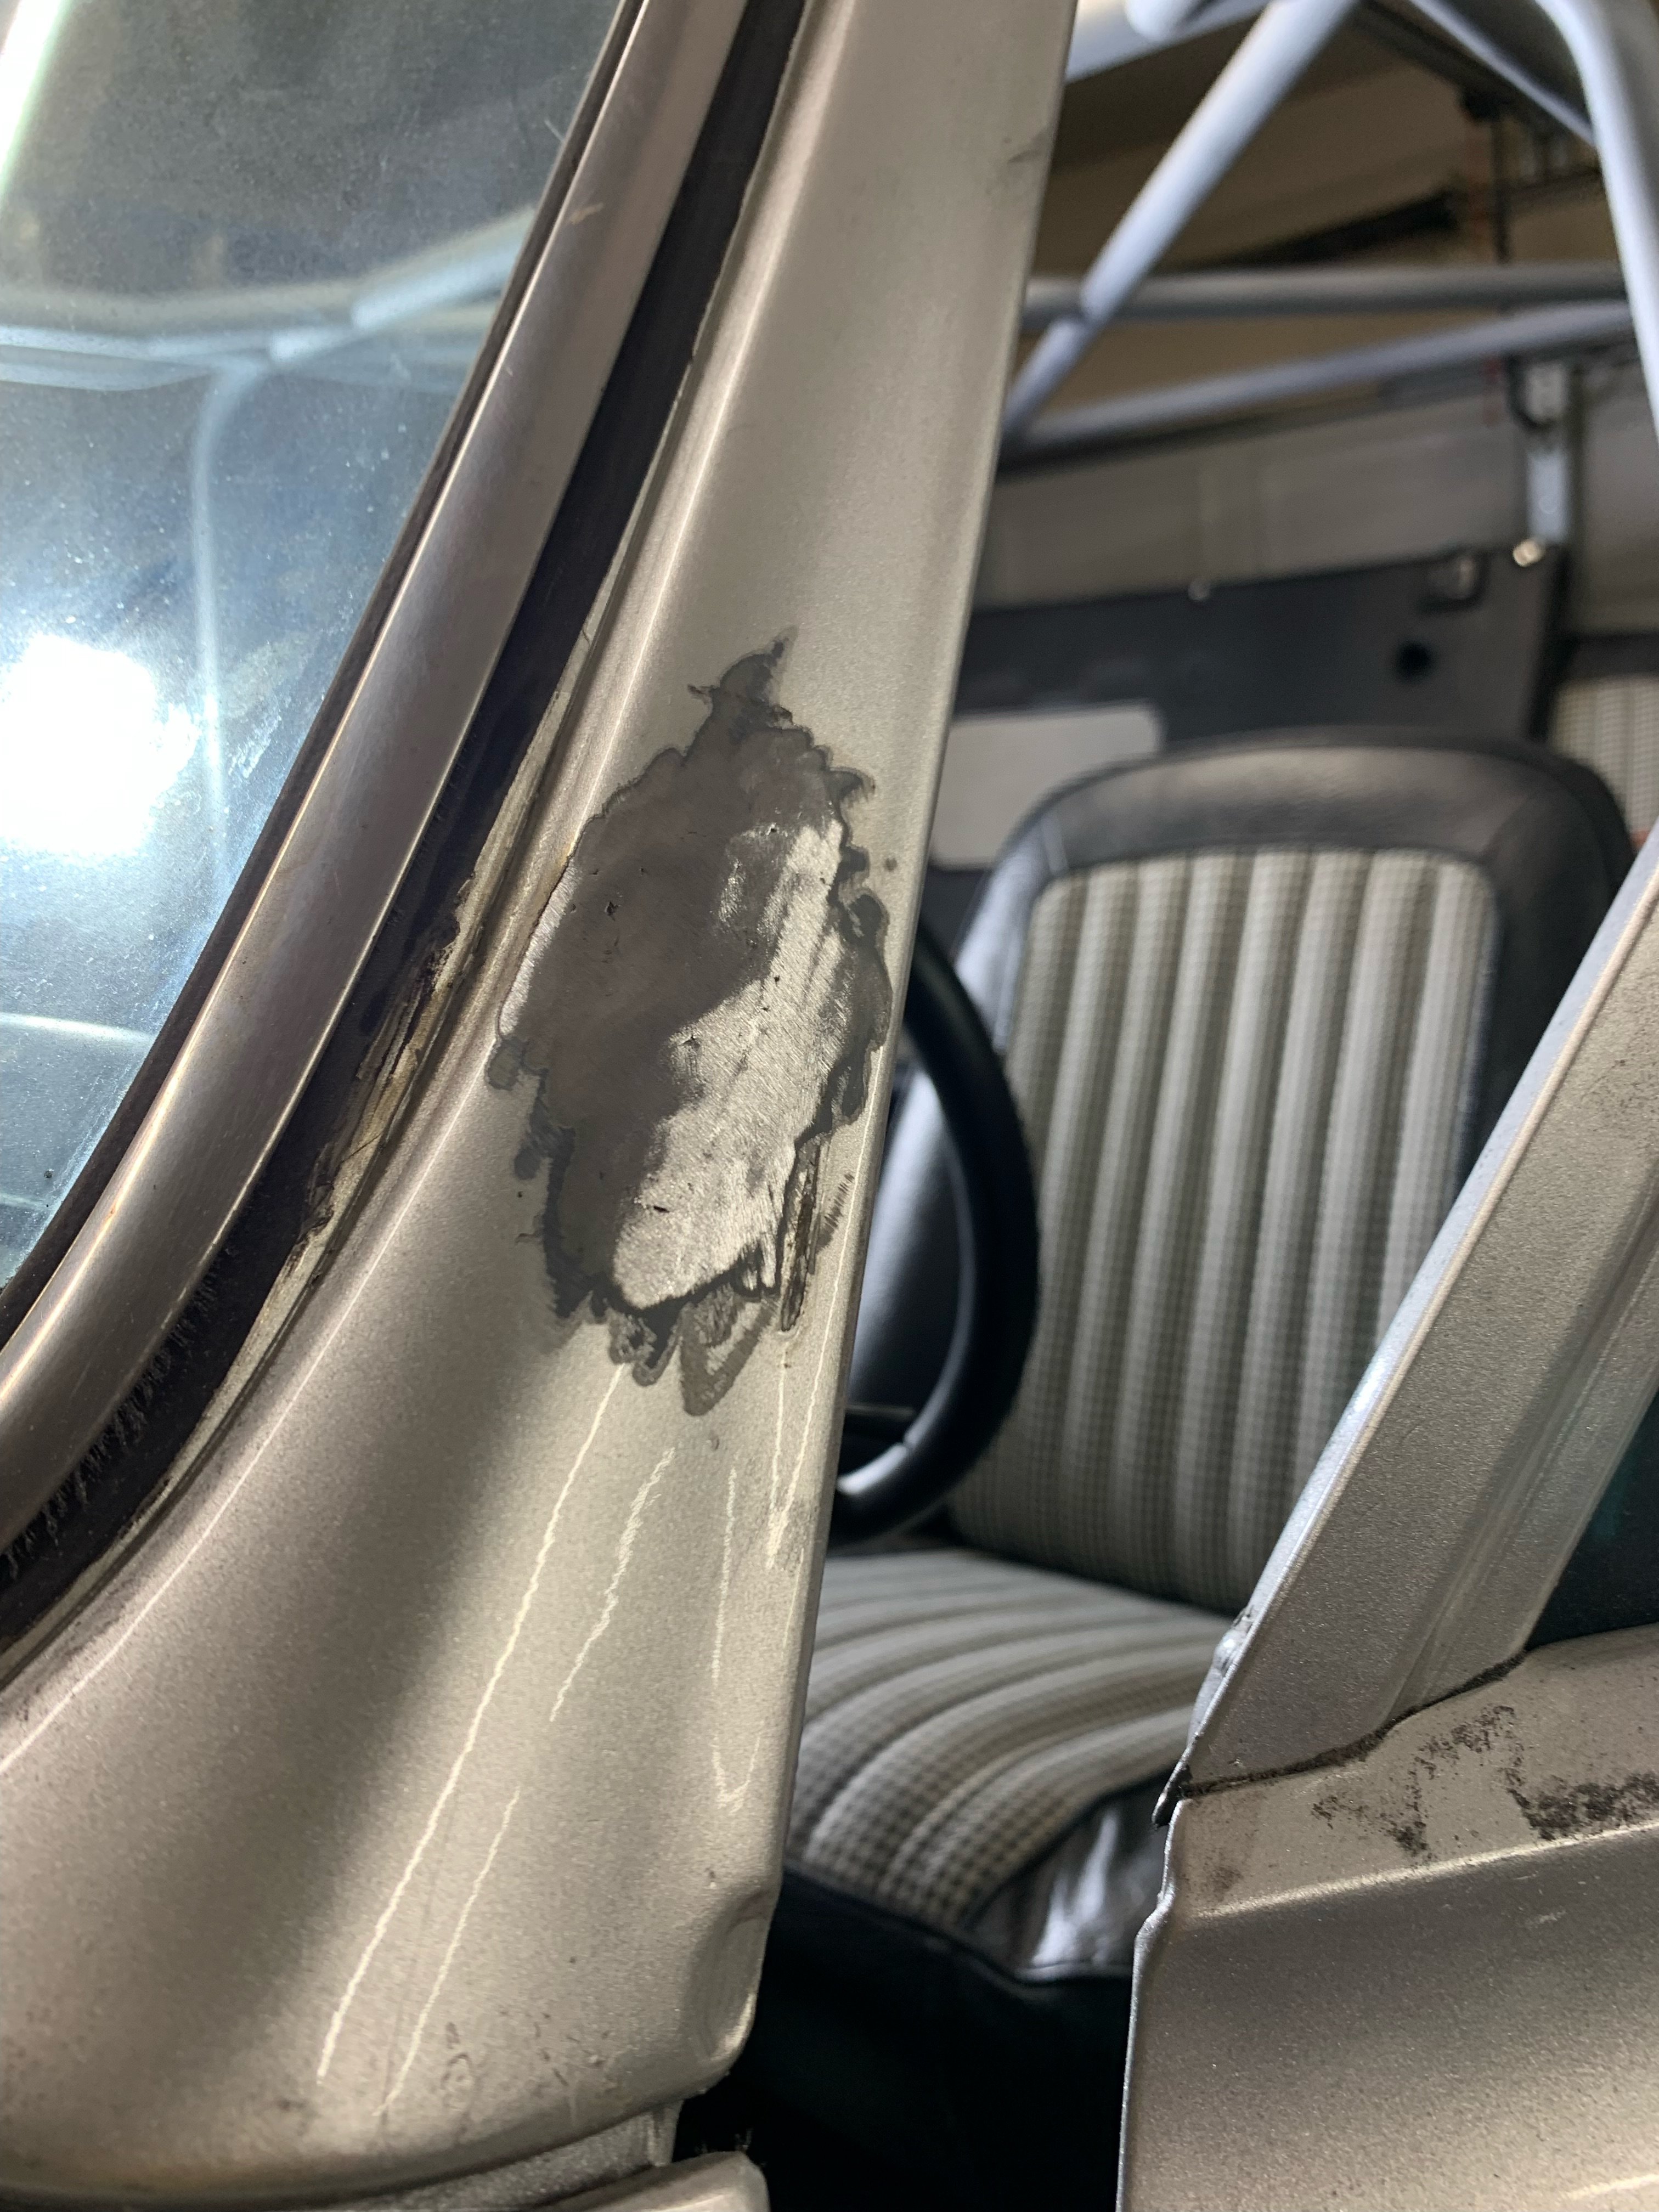
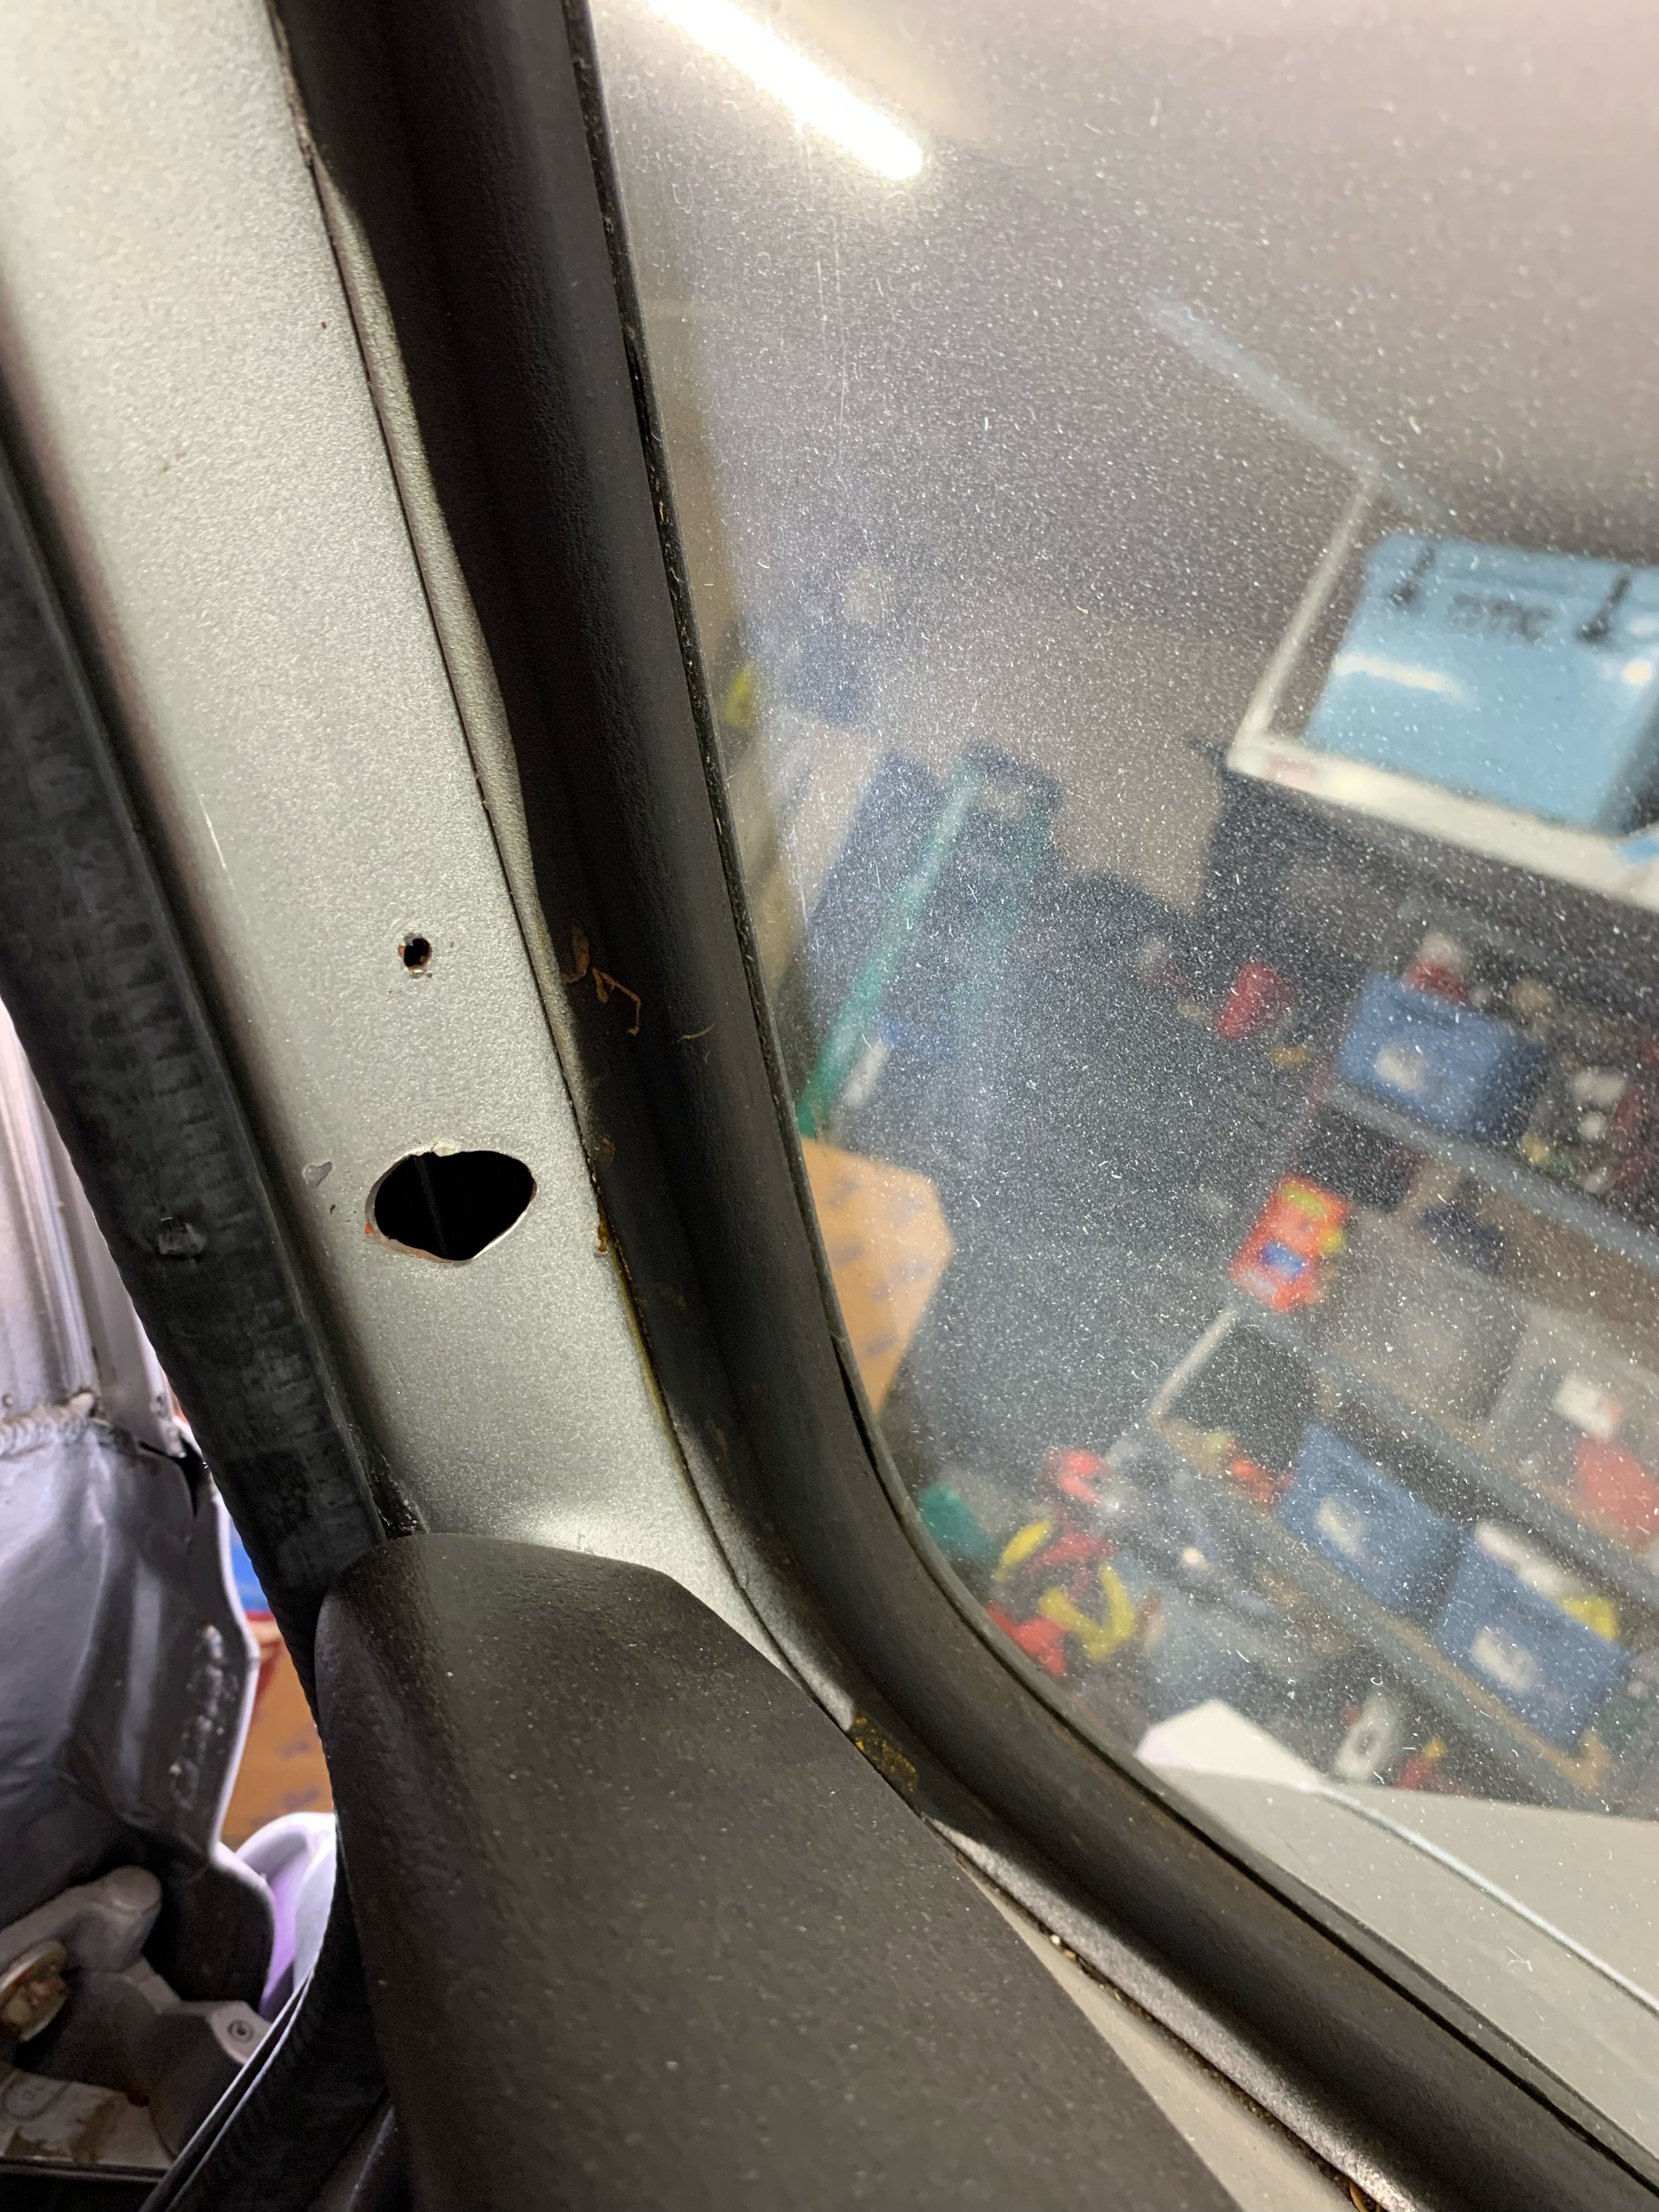
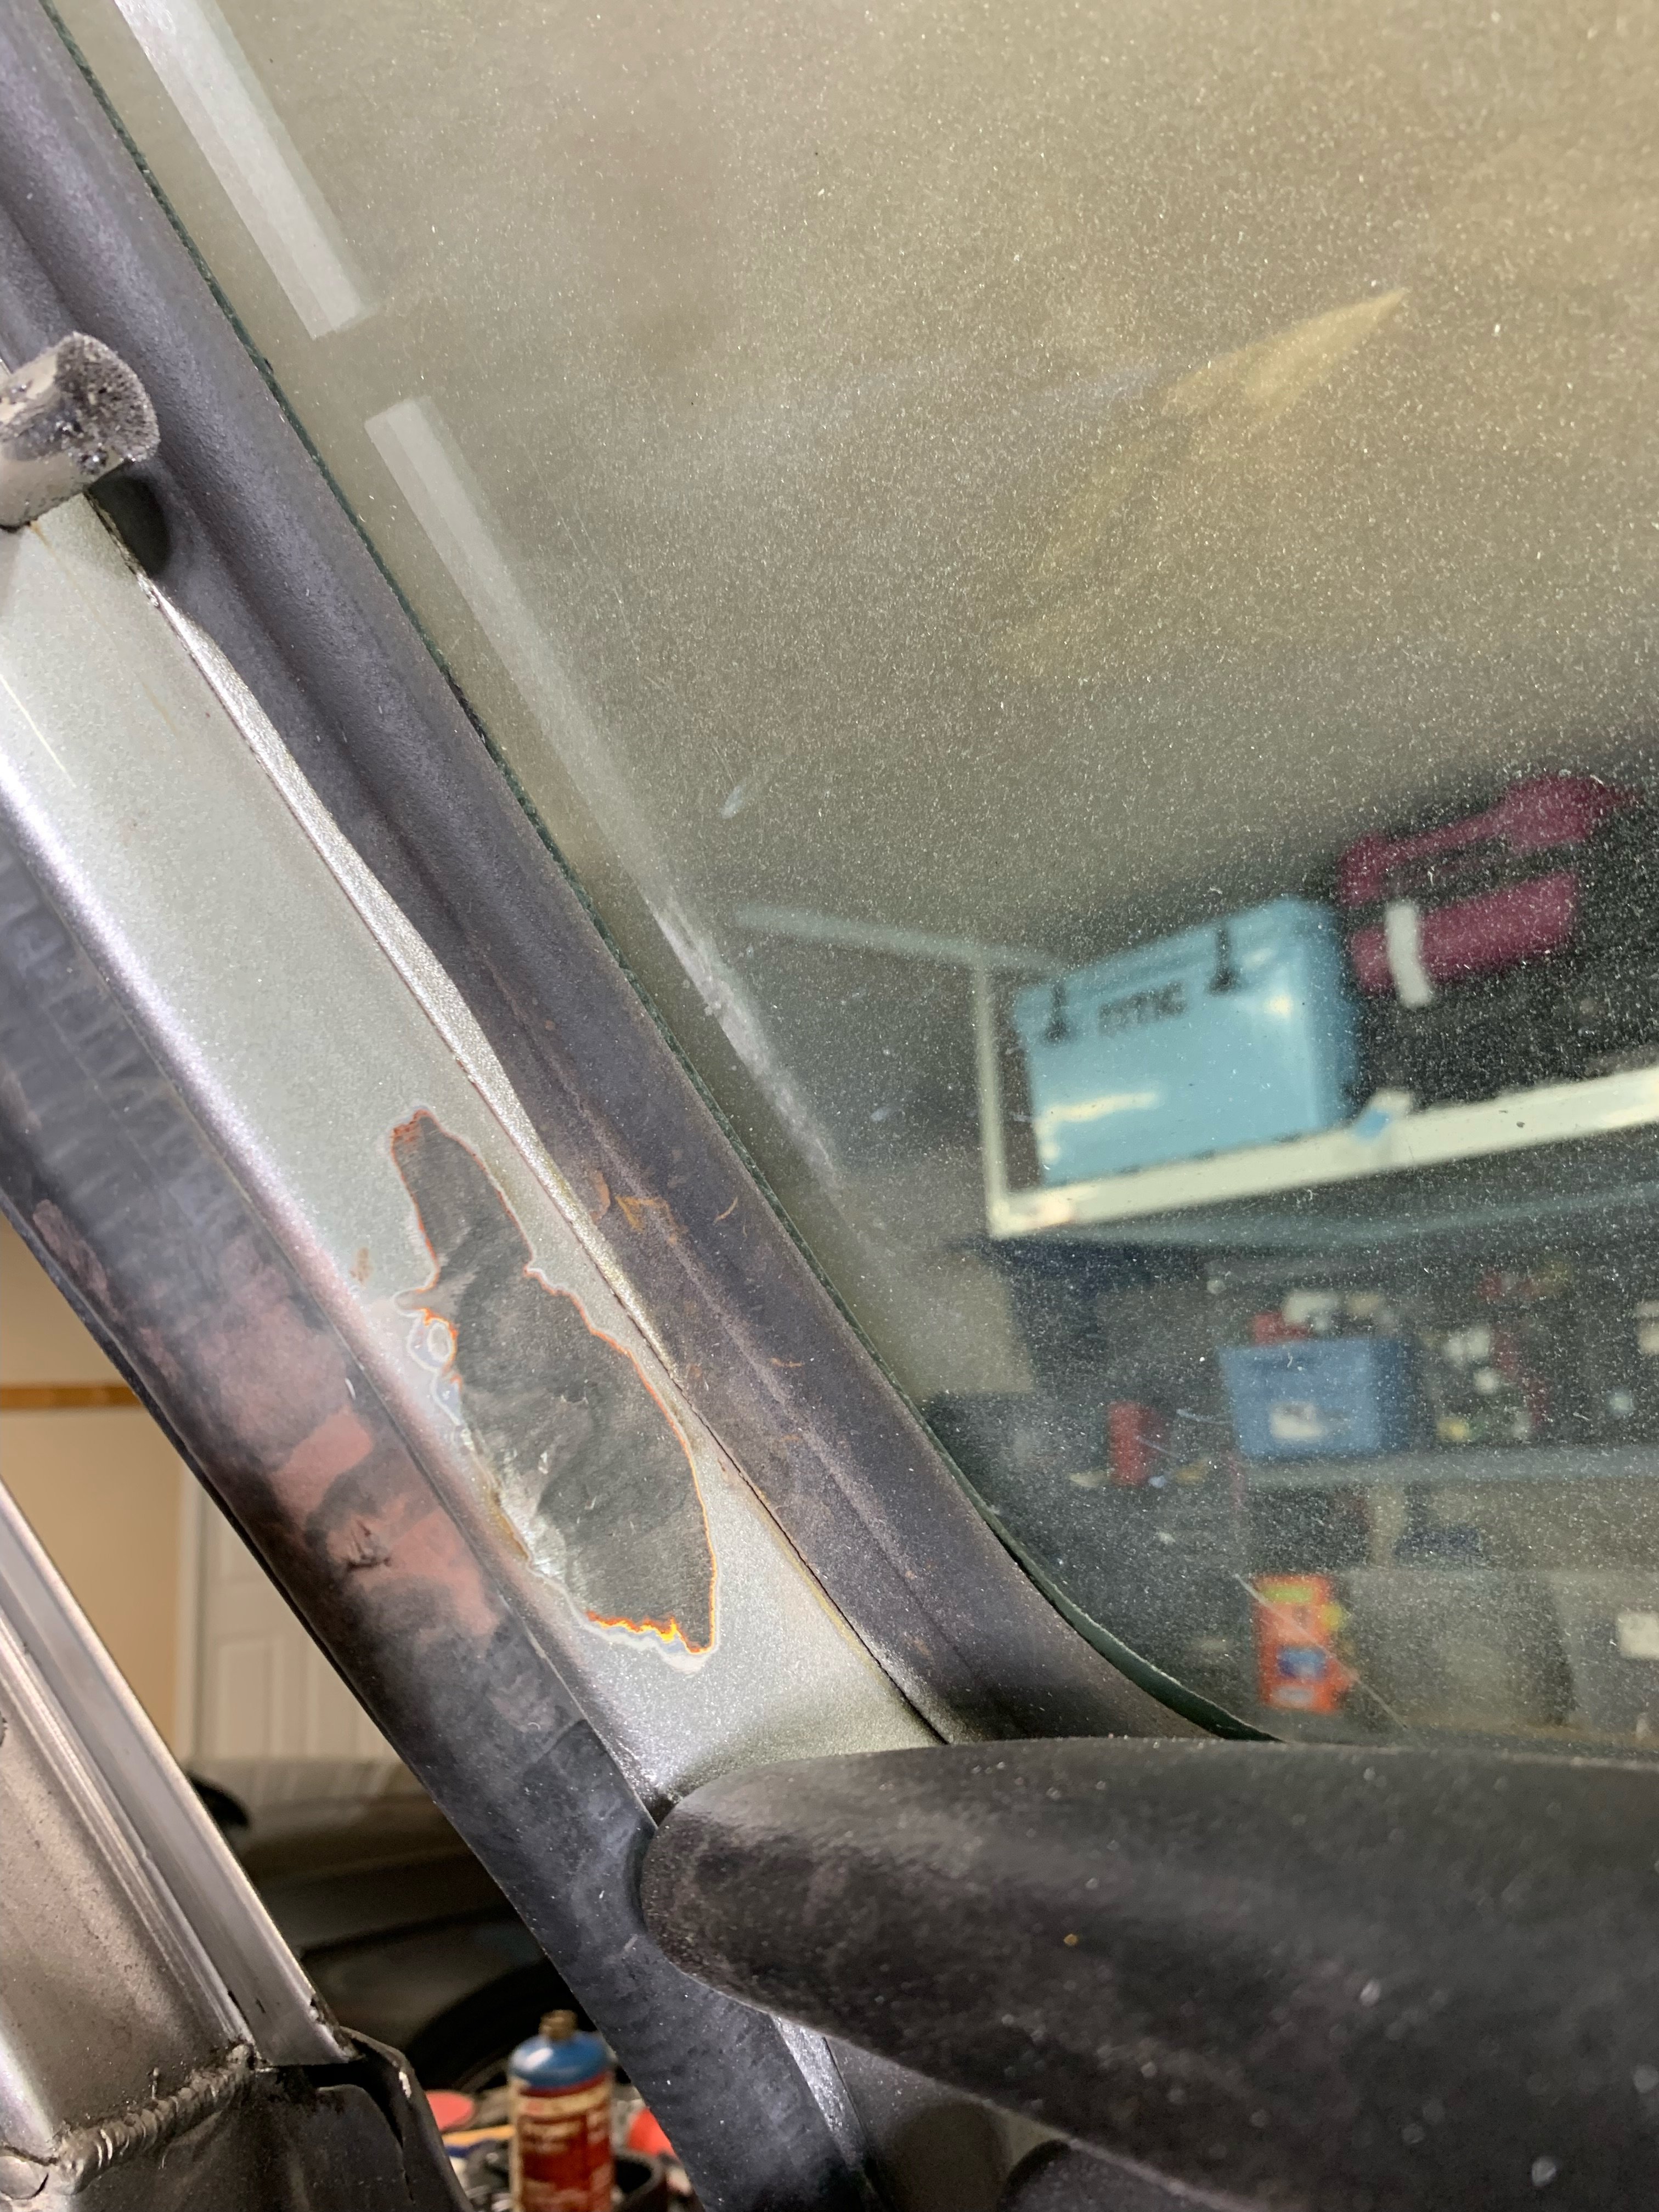
Picked up a set of door latches from Trique on Black Friday. The kit is super nice. I decided I wanted to weld them in. First time welding sheet metal of different thicknesses proved to be a challenge. 90% of the spot welds were great. Had 4 or 5 spots where I burned thru and chased that for several hours trying to get them closed up and clean. All in all, happy with how this side turned out. Passenger side should go smoother.
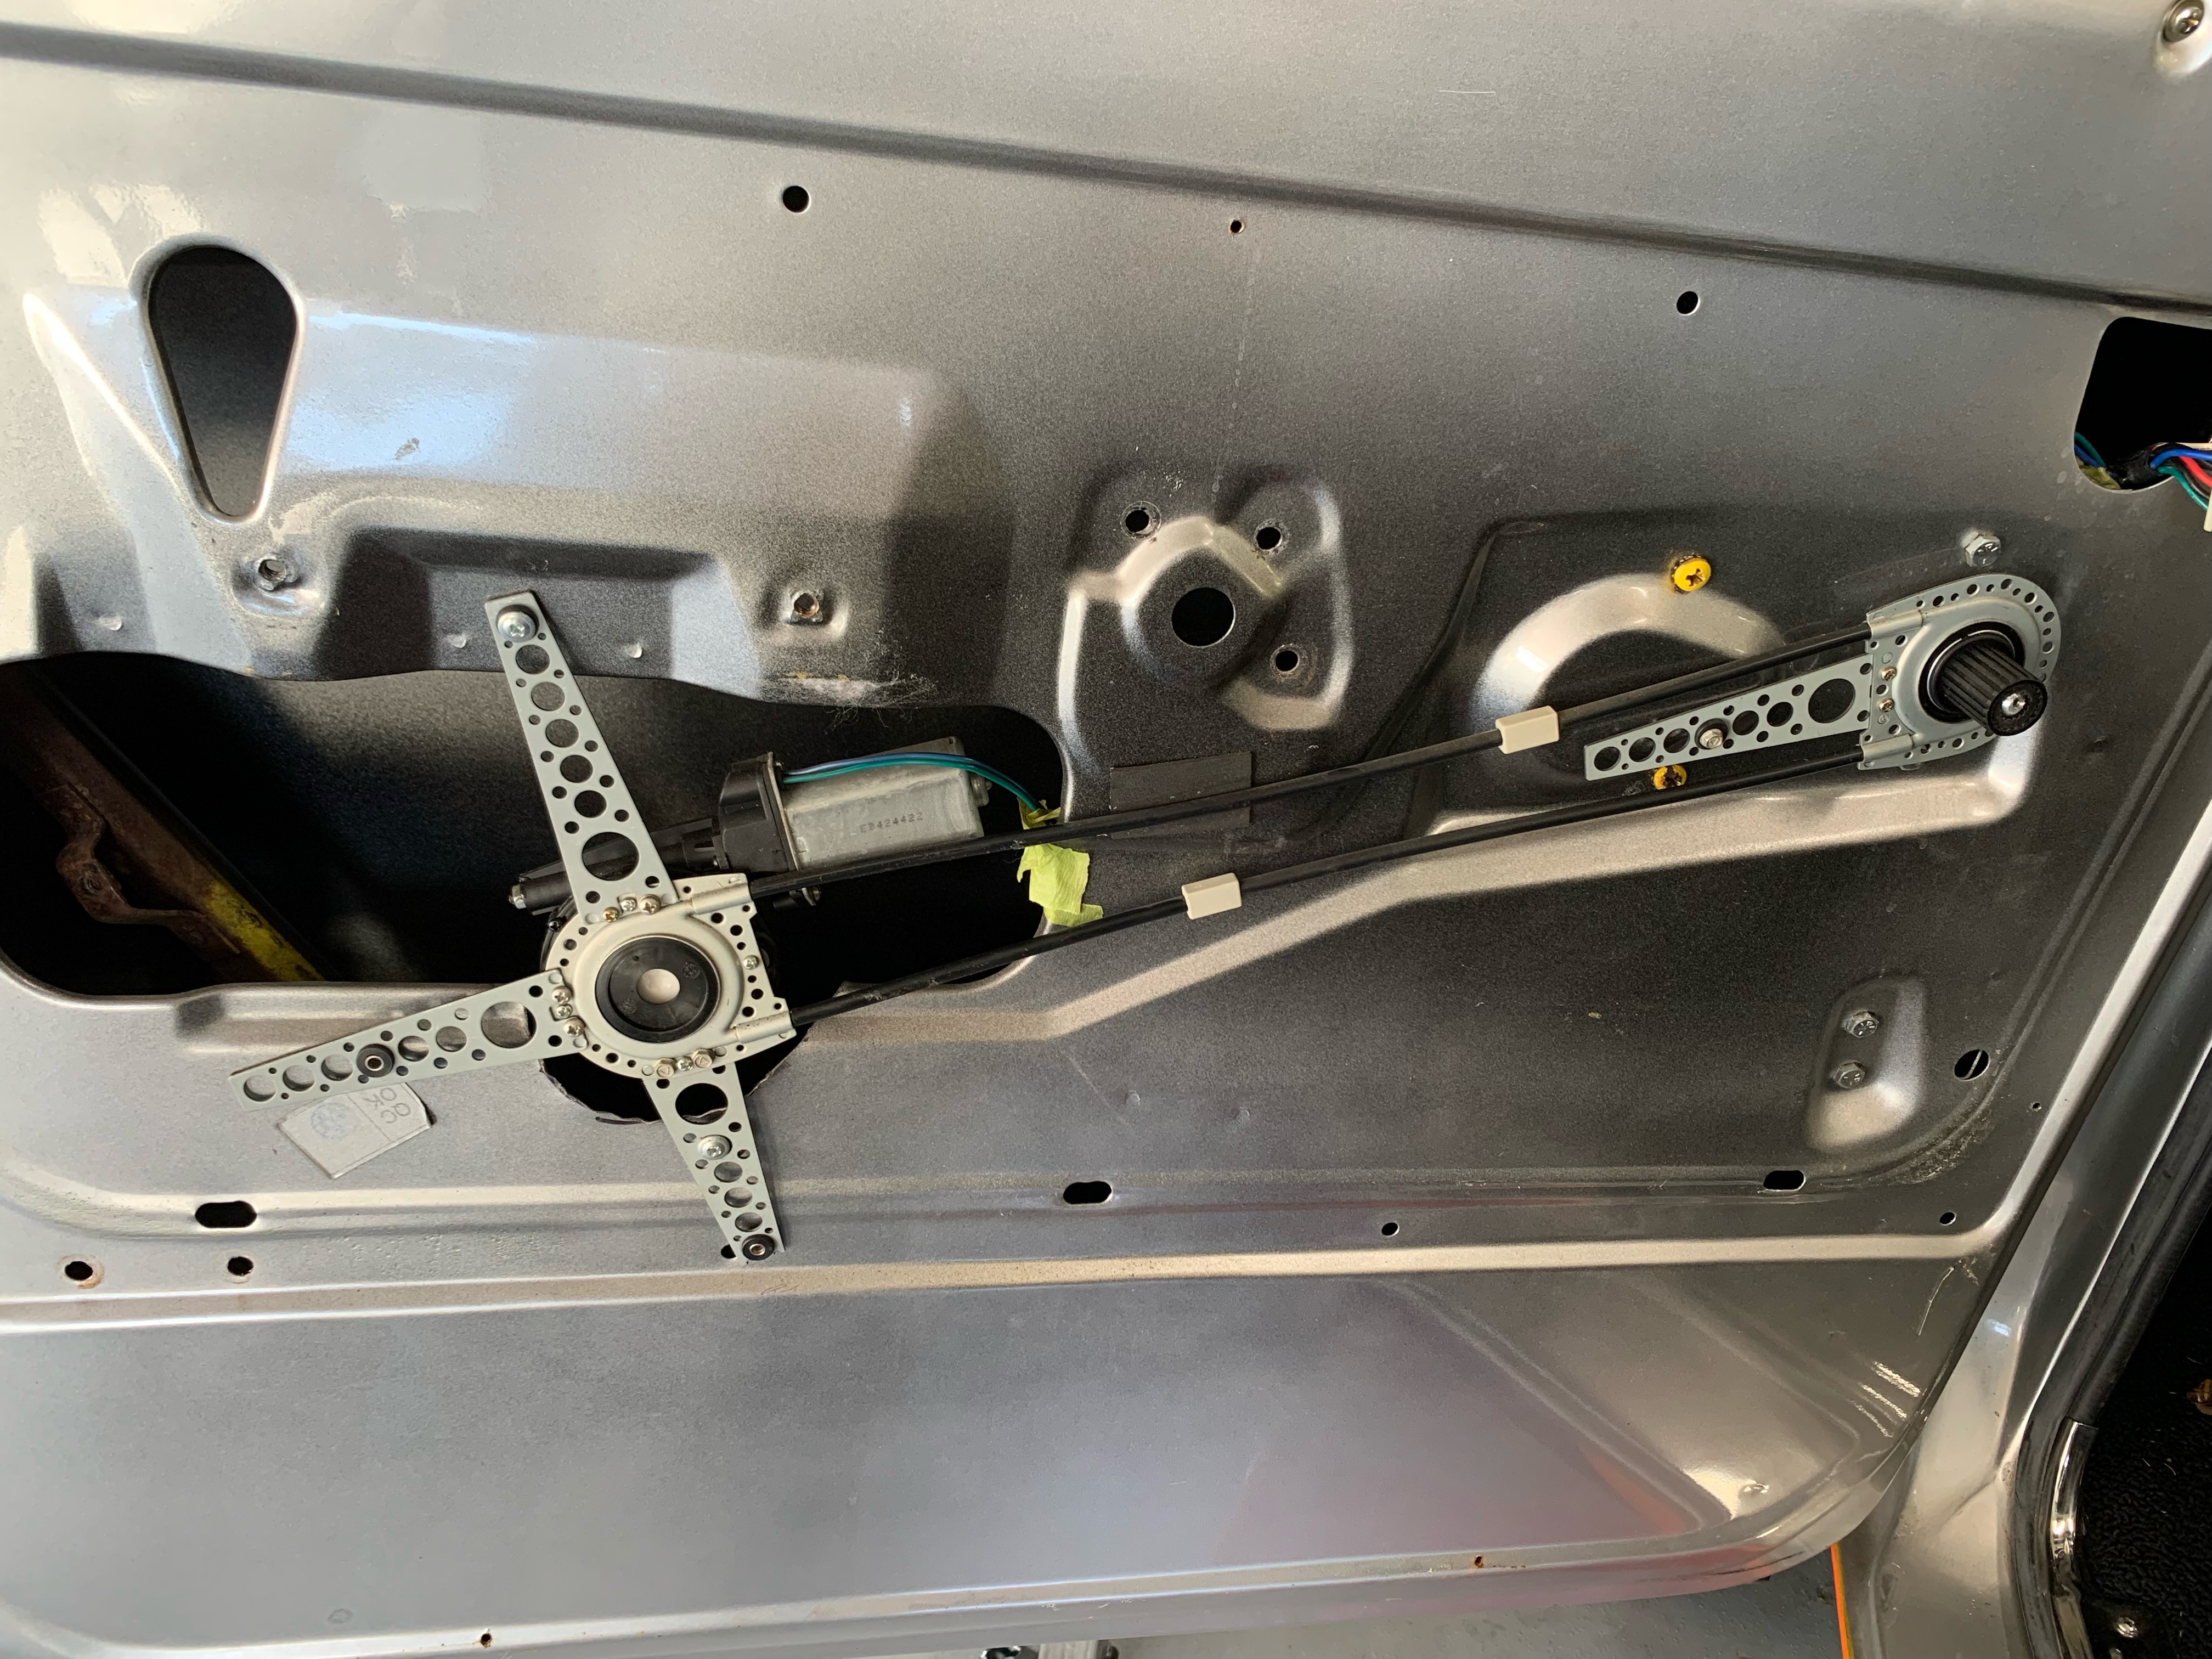
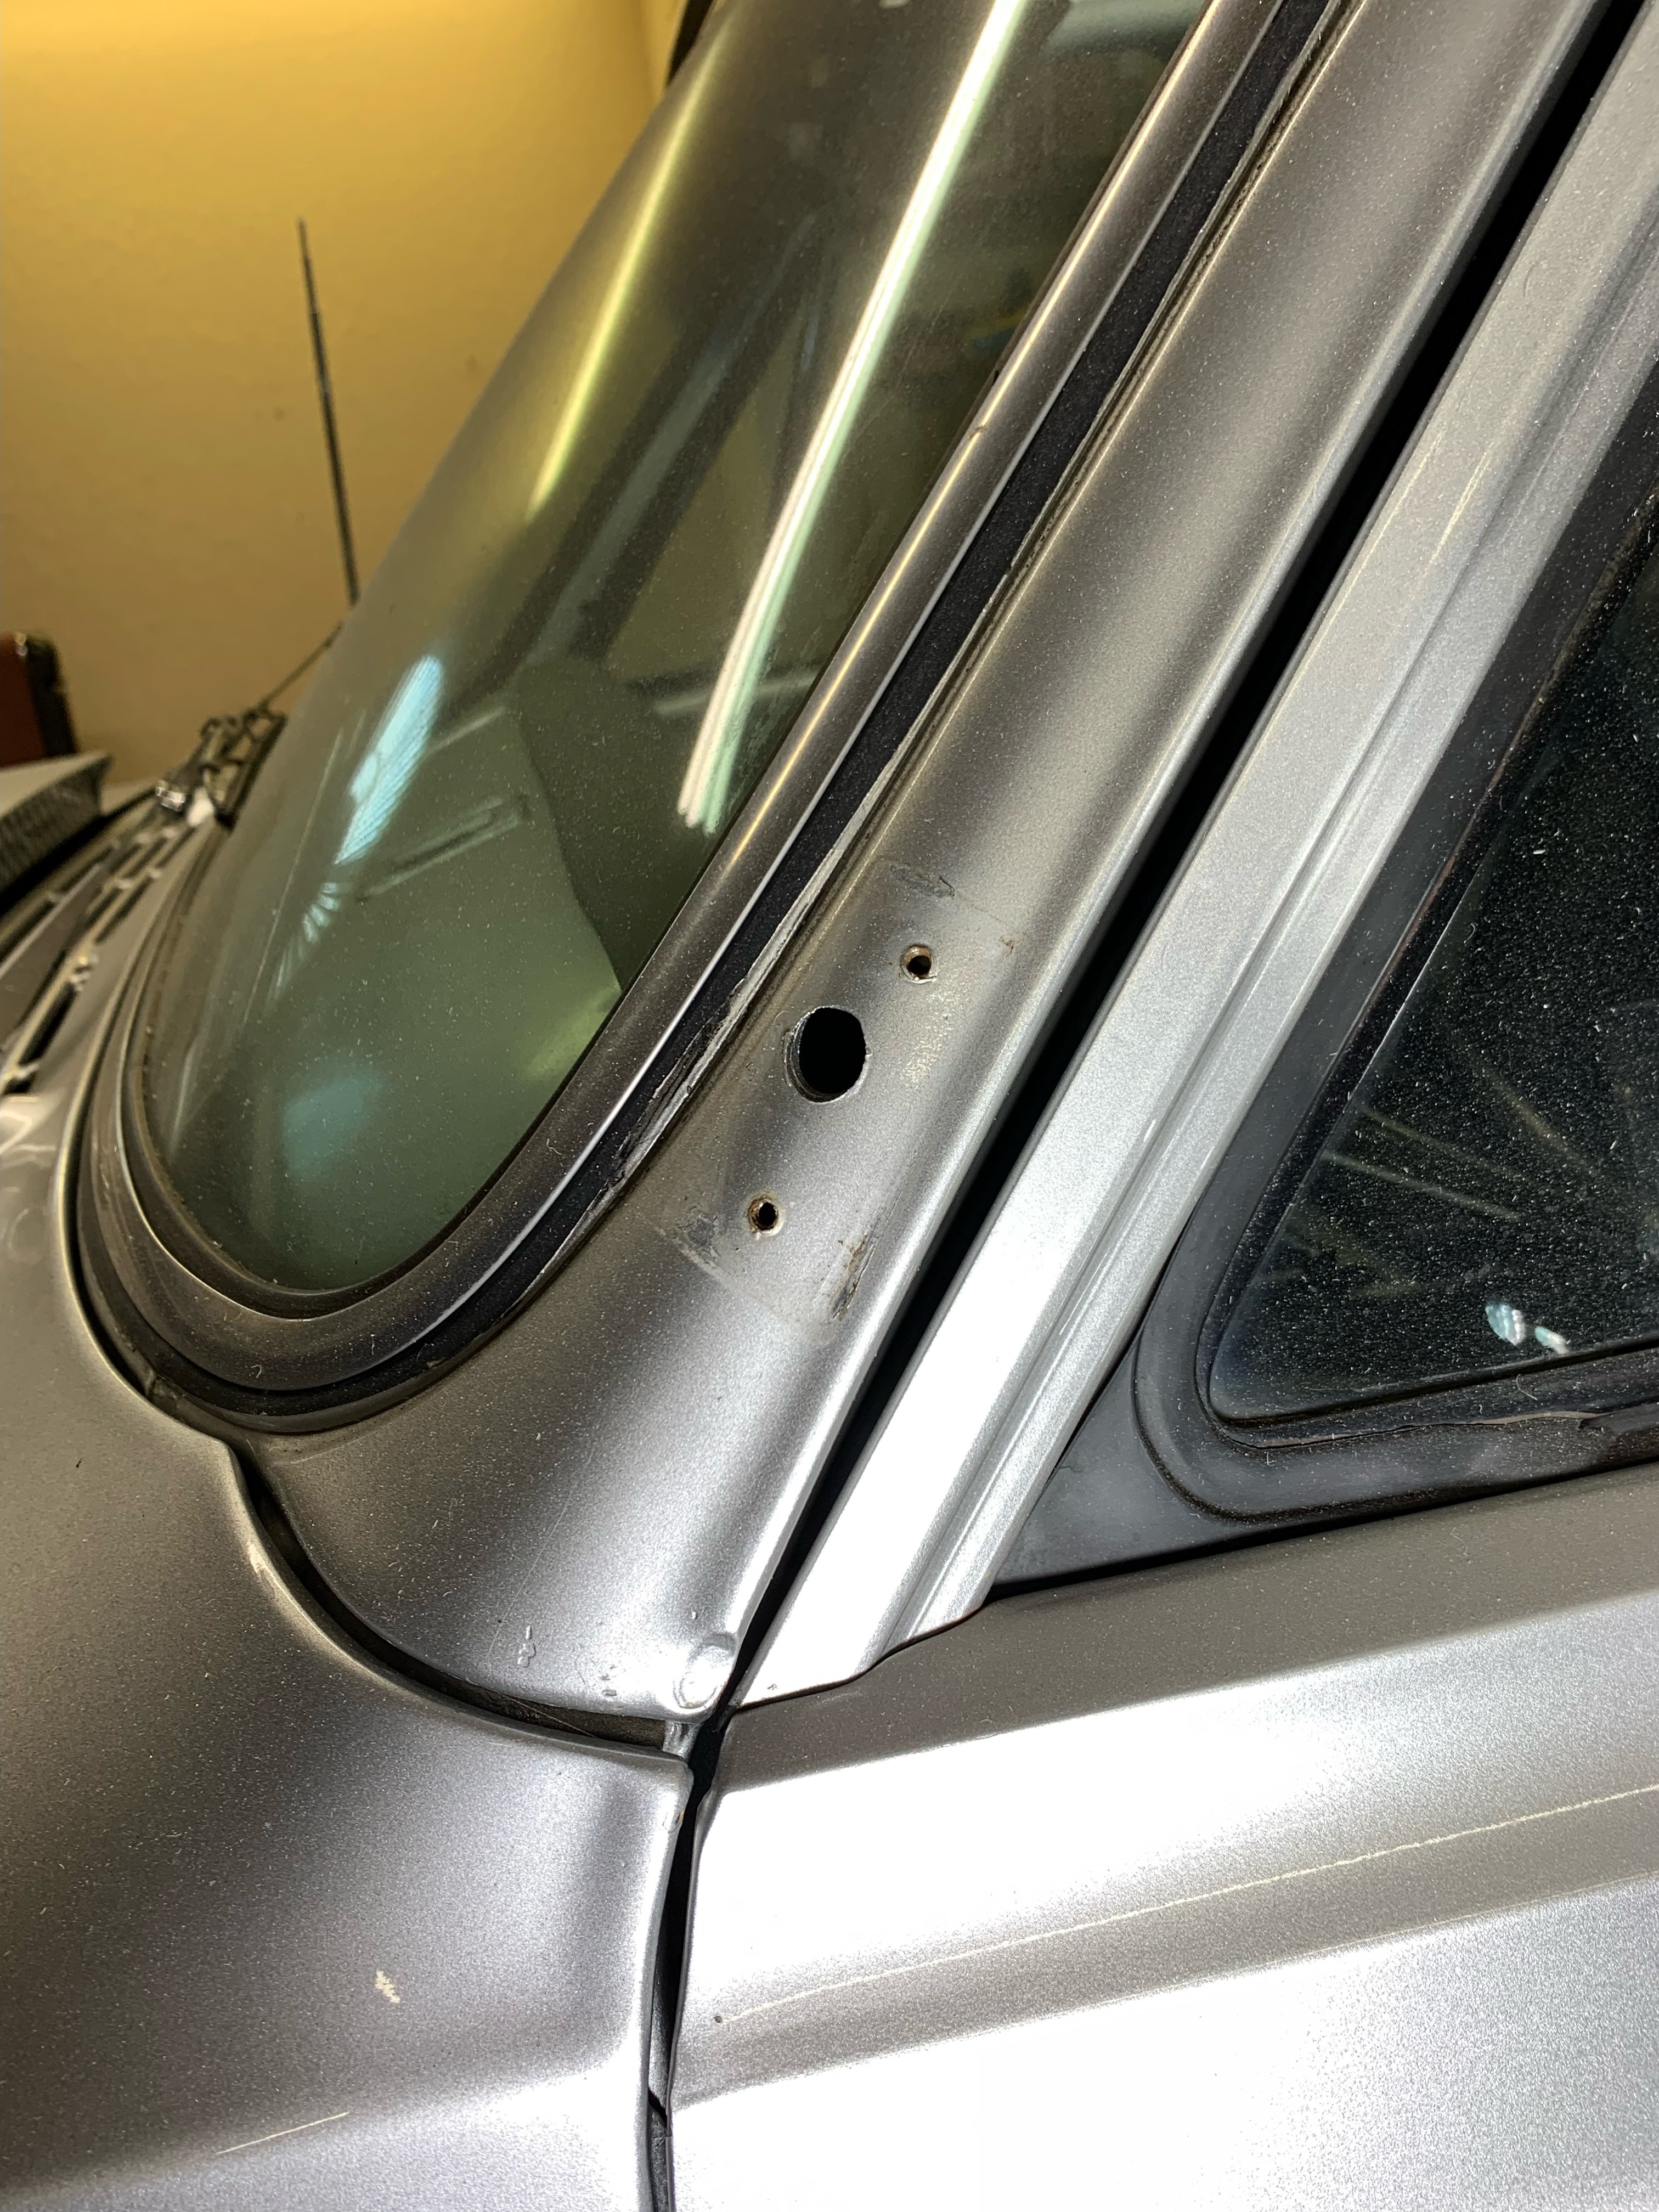
The pure gold you find inside the door. This is "power" windows and held in place with sheetmetal screws. Some goofy motor with a cable that loops around the window regulator. Going to convert back to manual when it all goes back together.
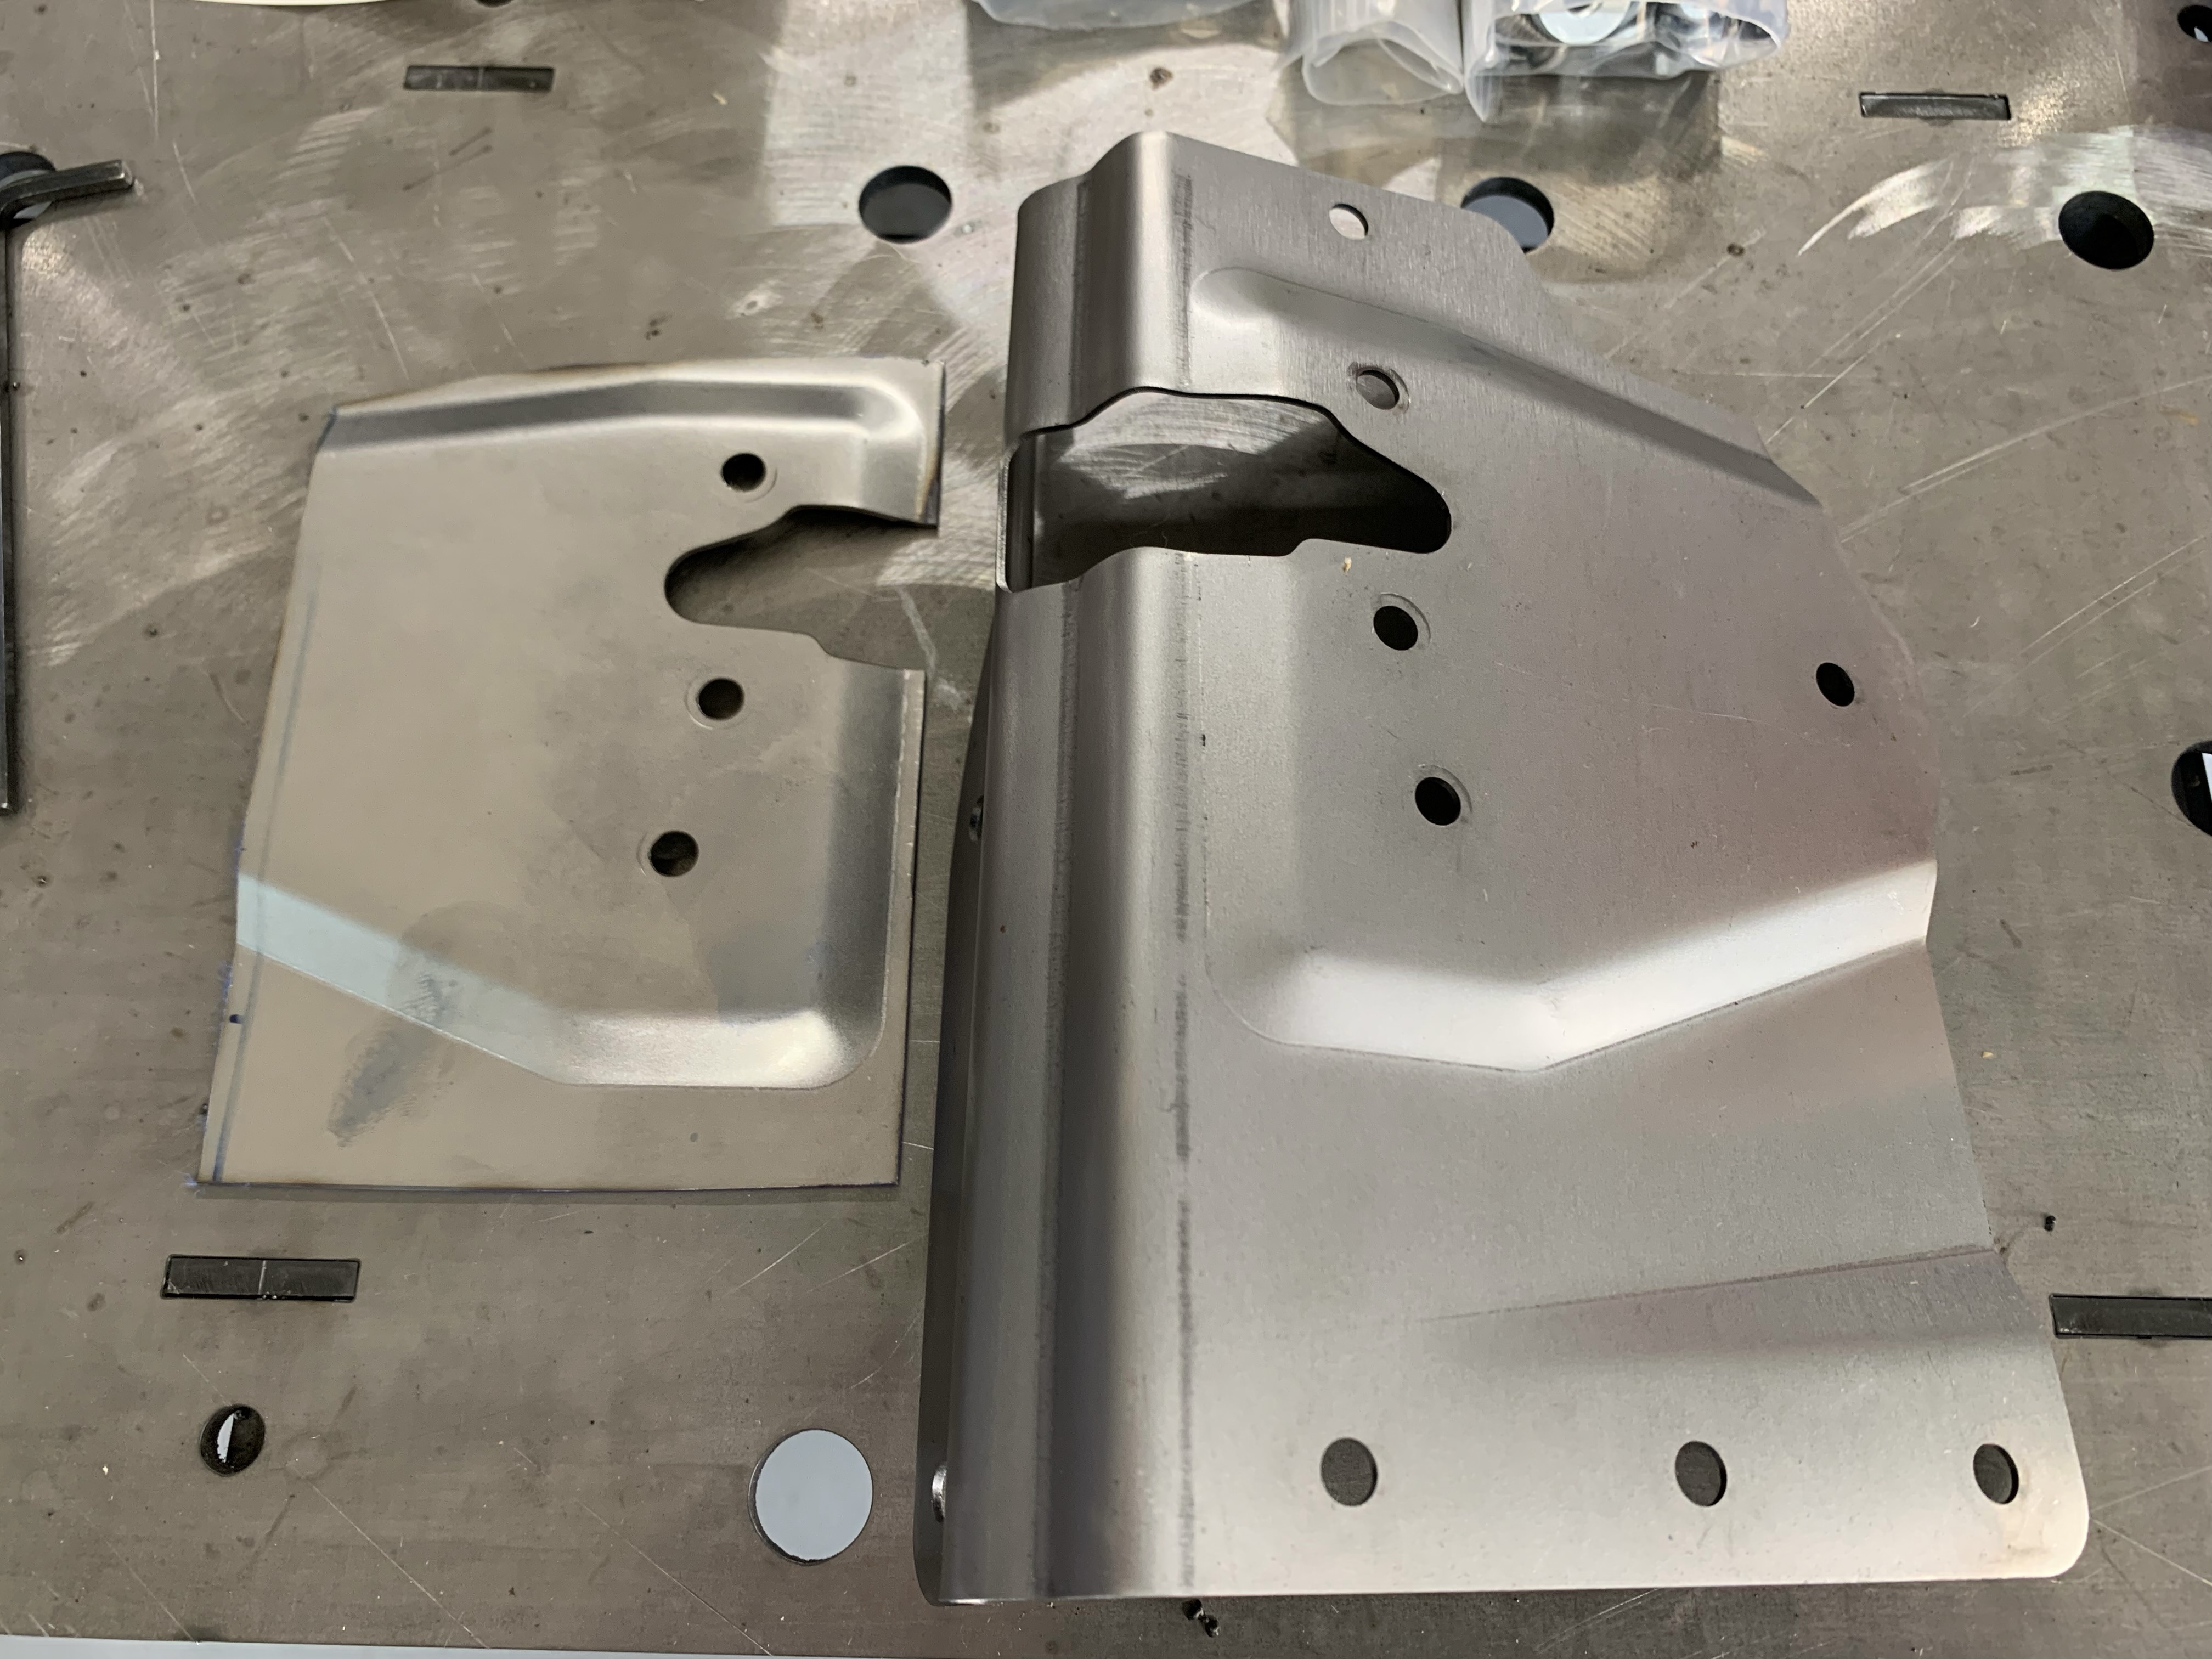
Took some perfectly good parts and cut them up
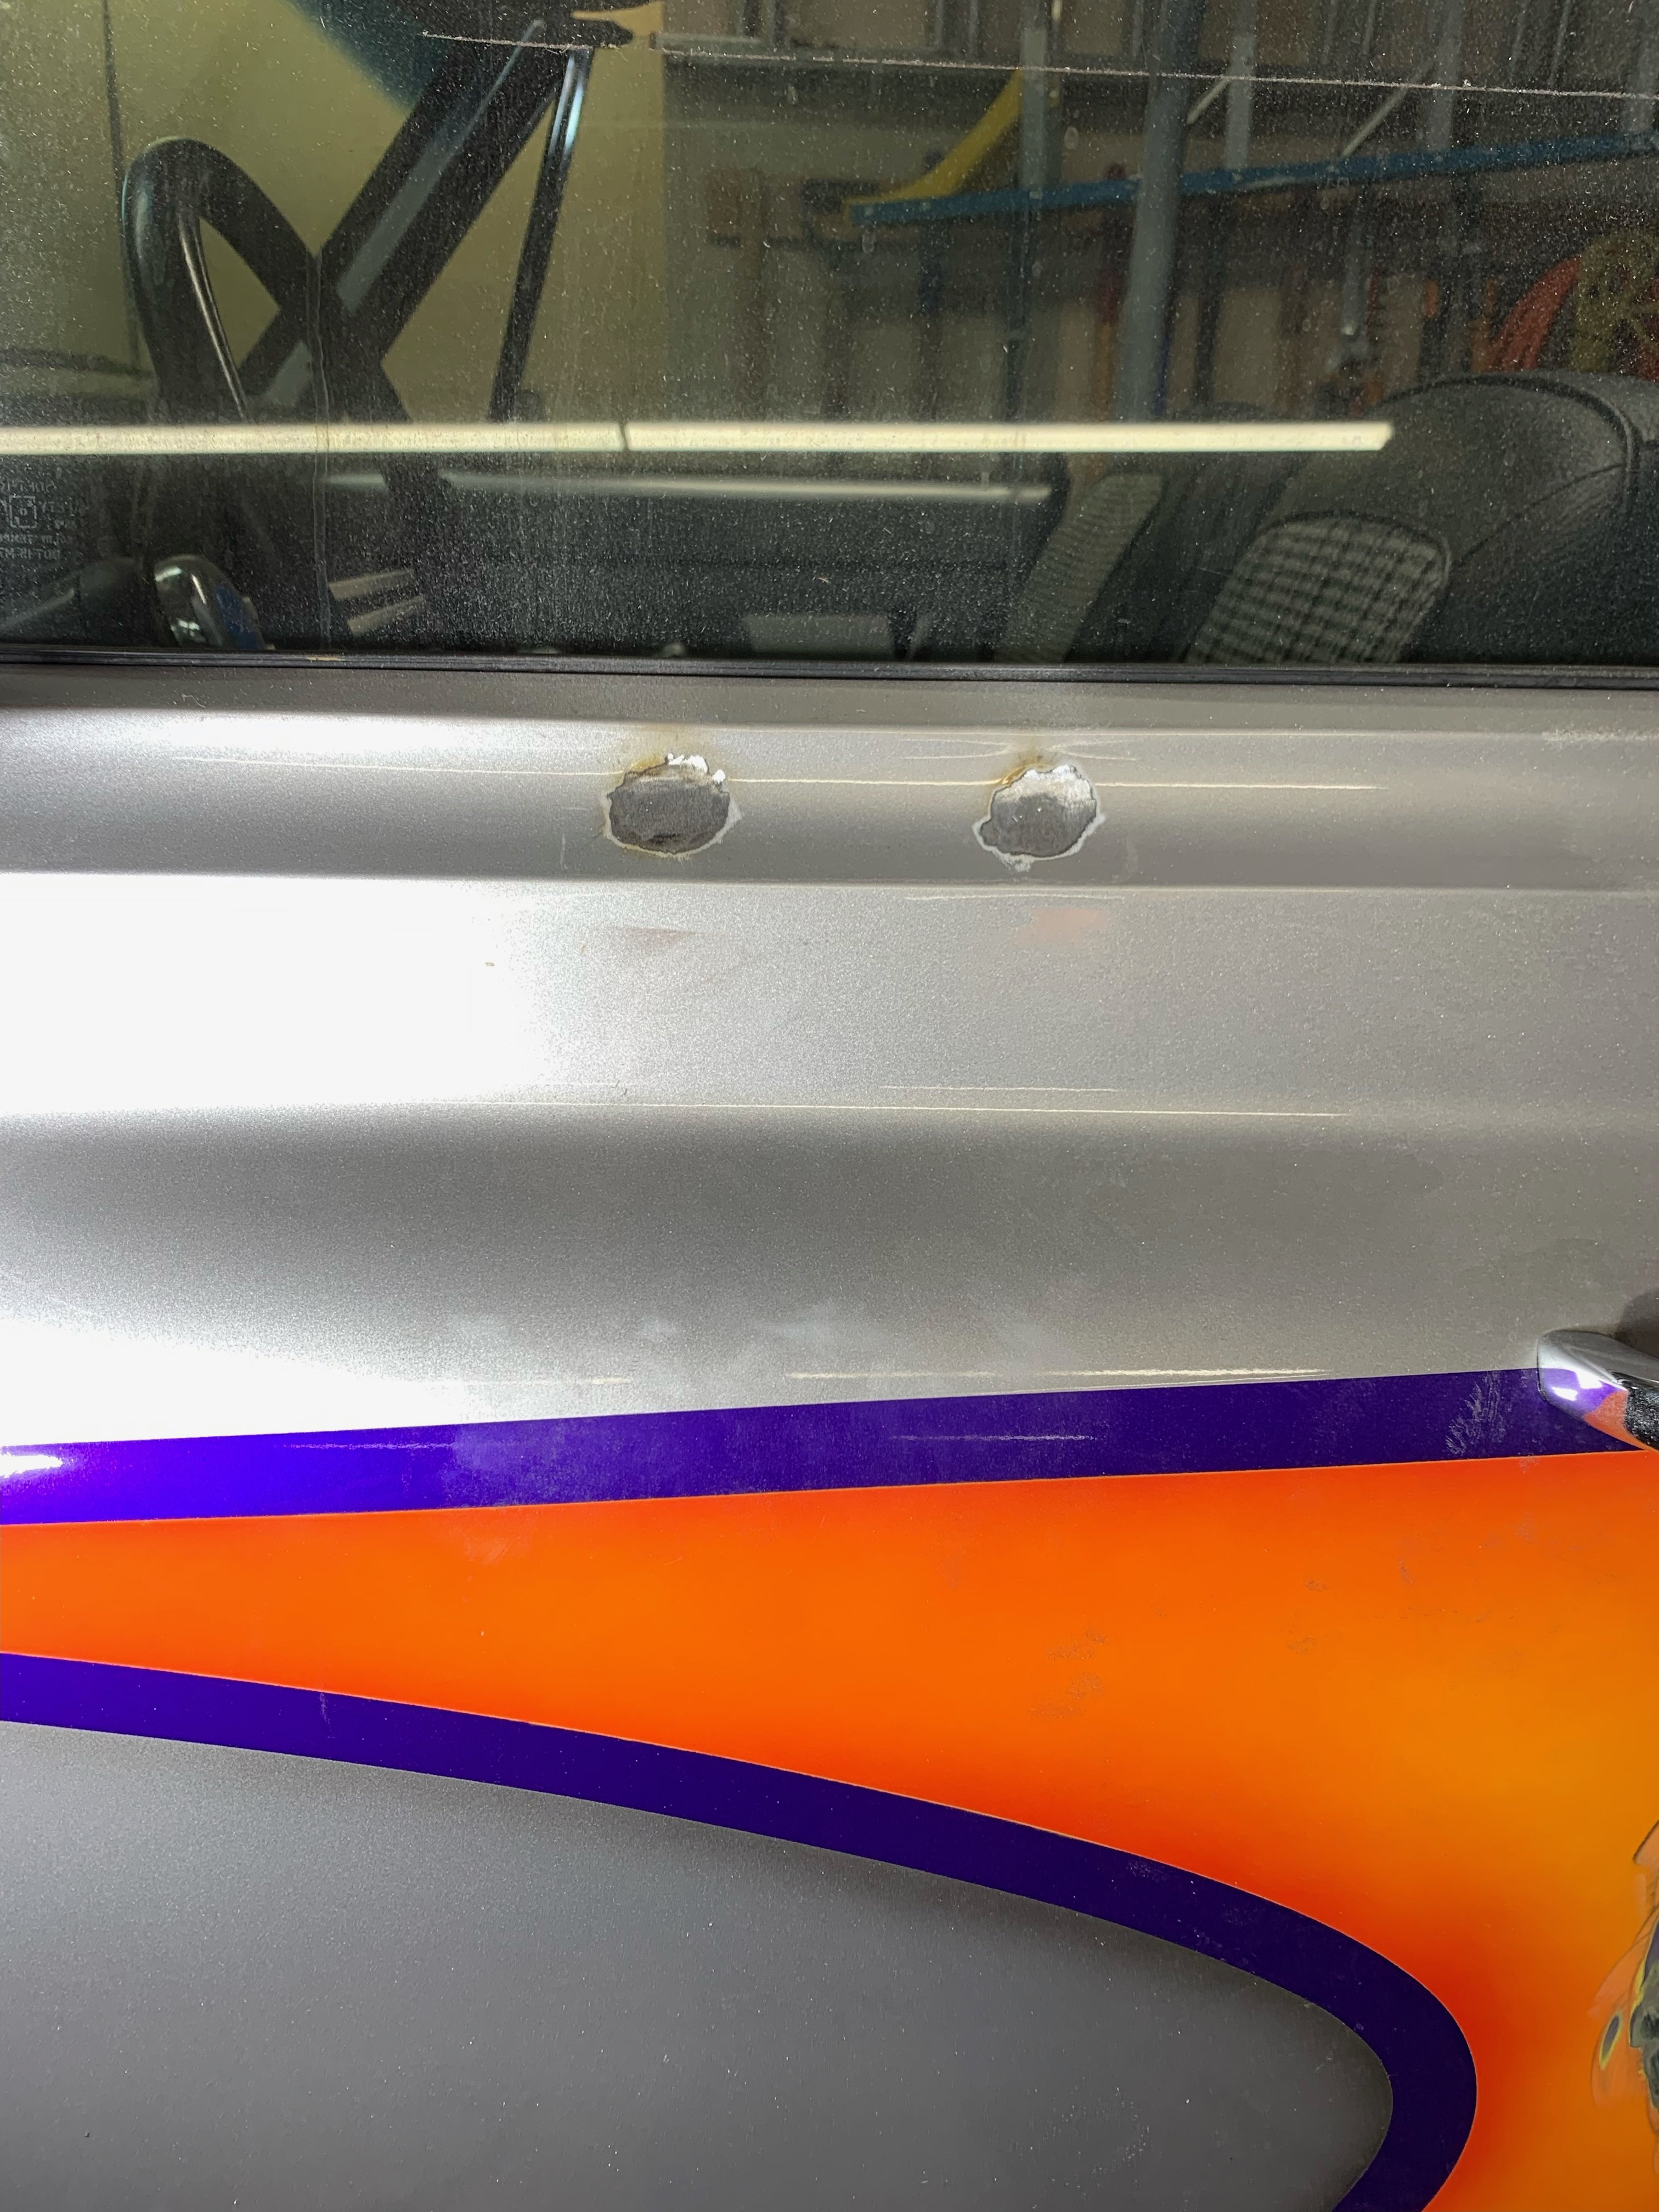
Driver's door welded in and ground down. I may get back in a do a couple more touchups. I didn't get a work in progress pic. Will get that for the passenger side
Striker plate. Pretty straightforward.
Had to shorten the door handle rod by another 1/8”. I also had to account for it in shimming the striker plate. I’m removing the door locks altogether… no hard top, no soft top, why bother with locks? So, I can’t comment on impact to the lock rod, etc, but I’m sure it wasn’t much. Otherwise, no surprises.Did you have to do any extra spacing by welding the new plates flush rather than bolting them in on the outside of the door skin?
What size wire do you have? For sheetmetal work some .023" wire makes a huge difference in actually welding it vs just multiple tacks with .030. But I use .030 for 95% of stuff.I have the driver’s door mostly welded. Spent a couple of frustrating hours chasing burn thru. Still trying to dial in the welder settings for sheet metal. I’ll get some pics up tomorrow.
I’m using .023 wire for the sheet metal work. Part of the issues I had on the first door with burnthru was learning how to bridge gaps and what the gap around the piece should be.What size wire do you have? For sheetmetal work some .023" wire makes a huge difference in actually welding it vs just multiple tacks with .030. But I use .030 for 95% of stuff.
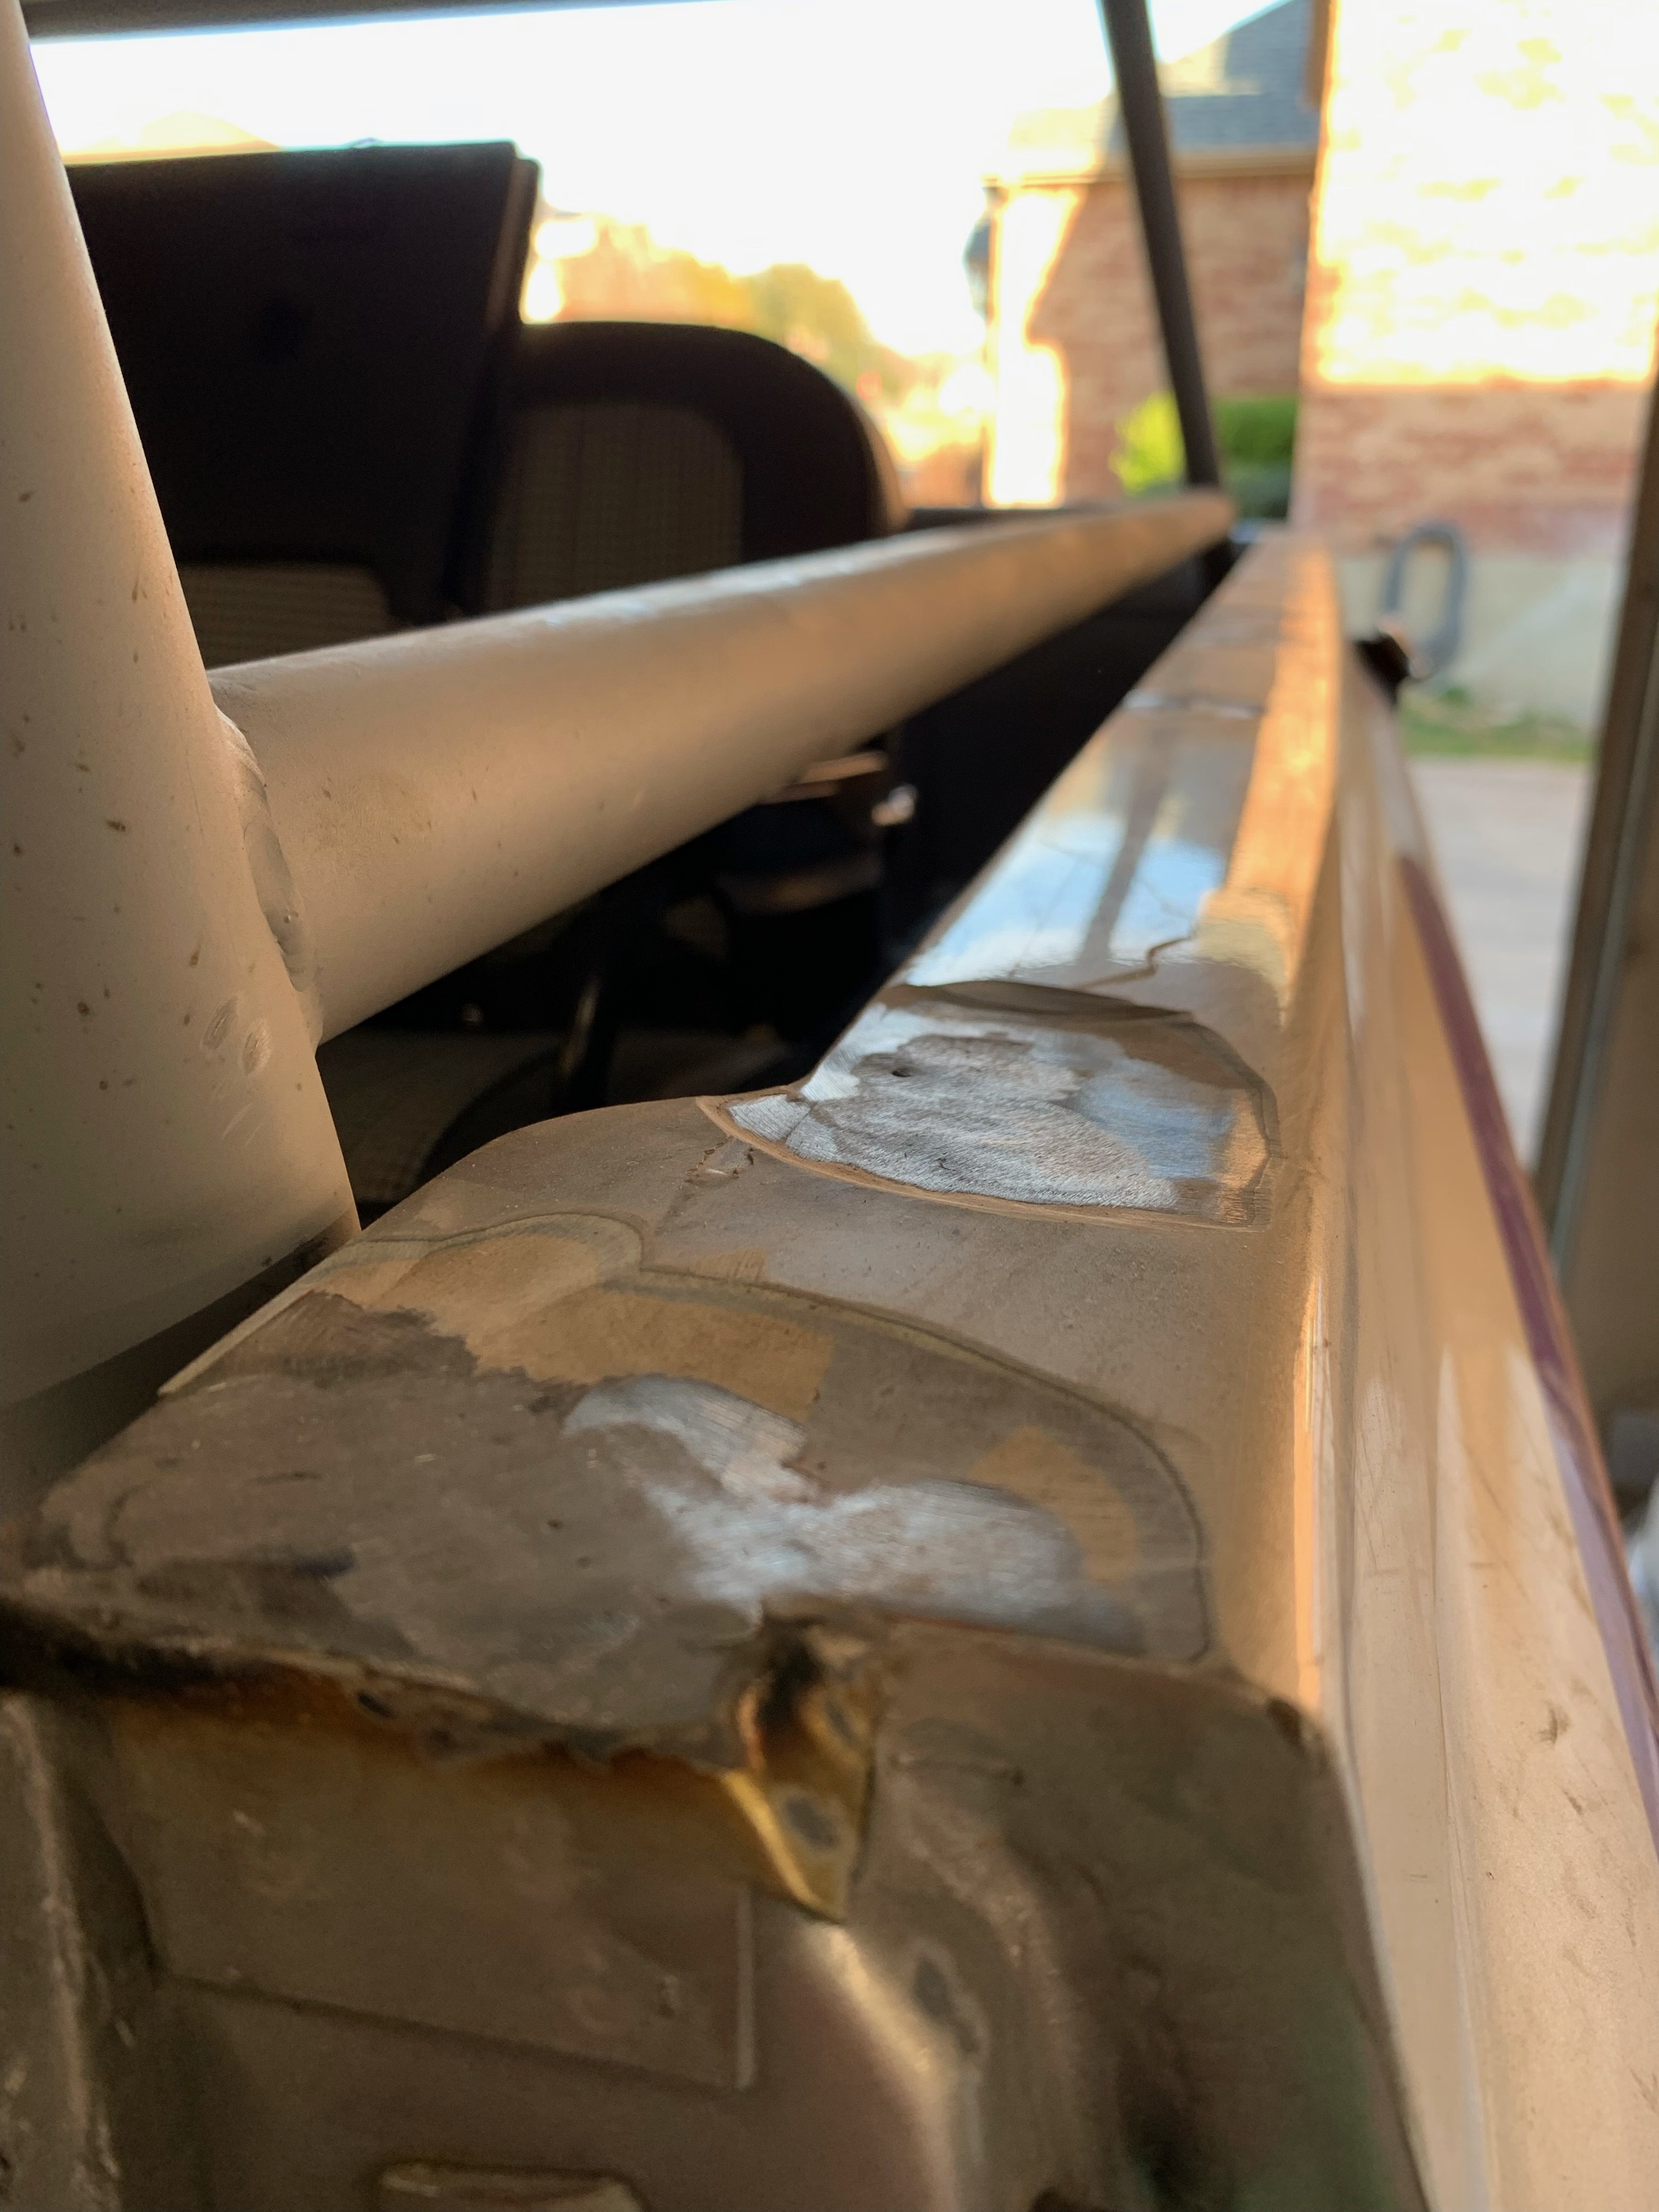
Yeah…. I knew there was some, but wasn’t expecting that much and it’s heaviest at the front by the doorAm I seeing like a 1/4" of filler on that bedrail?
Be careful of the might-as-wells!Yeah…. I knew there was some, but wasn’t expecting that much and it’s heaviest at the front by the door
Nnnnnnoooooooo!!Be careful of the might-as-wells!

Thanks Matt. I’ve figured out the settings and technique for the thin metal and tacks. I can at least read what it’s doing now. If nothing else, I can fill holes well!Welding thin is very difficult. Looks like you’re doing very well with it.

