CK5
Register an account today to become a member! Once signed in, you'll be able to participate on this site by adding your own topics and posts, as well as connect with other members.

I'm not a body work tech nor do I play one on weekends

broflow

Tinbanger
 Premium
Joined
Feb 13, 2010
Posts
344
Reaction score
162
Location
new glarus WI
I just hate rust holes. So I start looking on LMC and oh wow you can buy a patch panel for the rear quarter panel for like $20 bucks, So I get 2. Now this isn't a show rig in fact it's a trail rig. It doesn't have to be perfect, just no more rust holes it will probably just get some rattle can black blended in when I'm done and I'll be on the trail.
I'm a sheet metal worker by trade and a former welder. So I got the metal work part down.
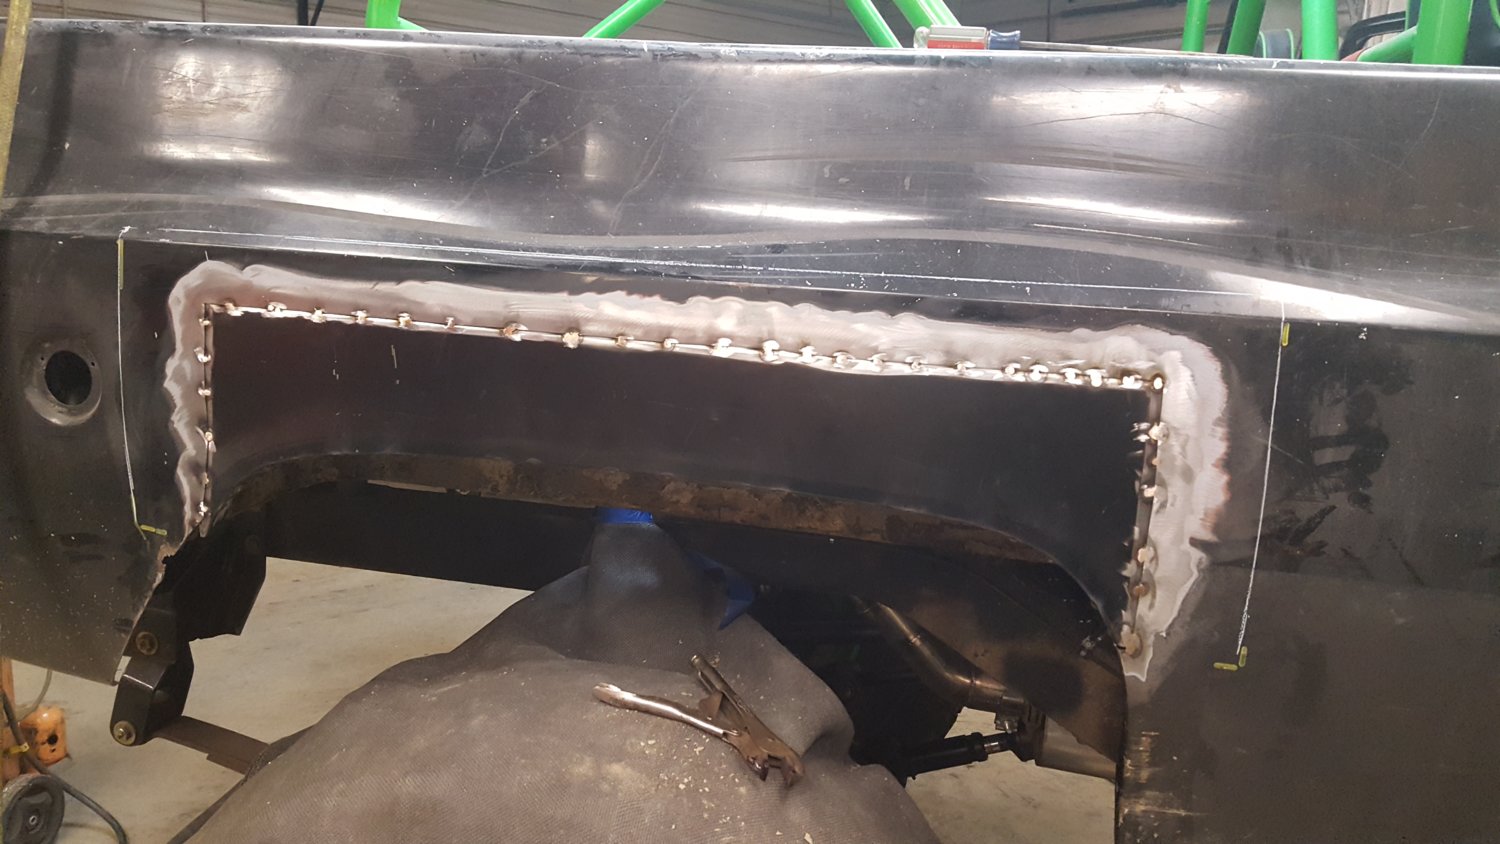
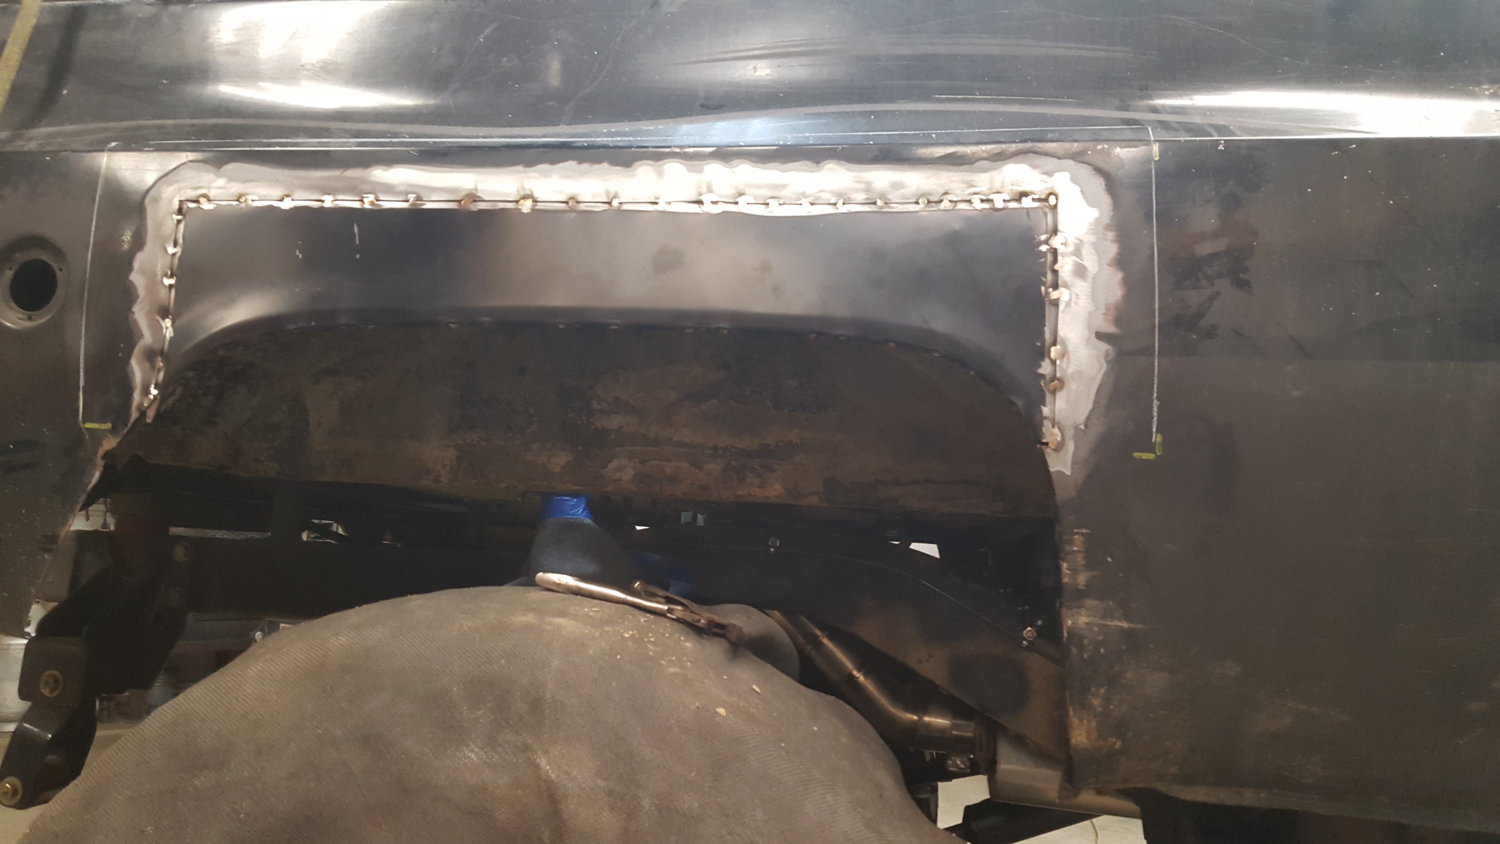
What I'm wondering is if I tack this patch in really well like every inch or so do I really need to fully weld it?

The passengers side panel I tacked in with silica bronze MIG and then finished TIGing it in with SI bronze. I skipped around, small welds let it cool trying to keep warpage to a minimum. still warped and it seemed like it took a lot of Bondo to fill it, again I'm not a bodyman.

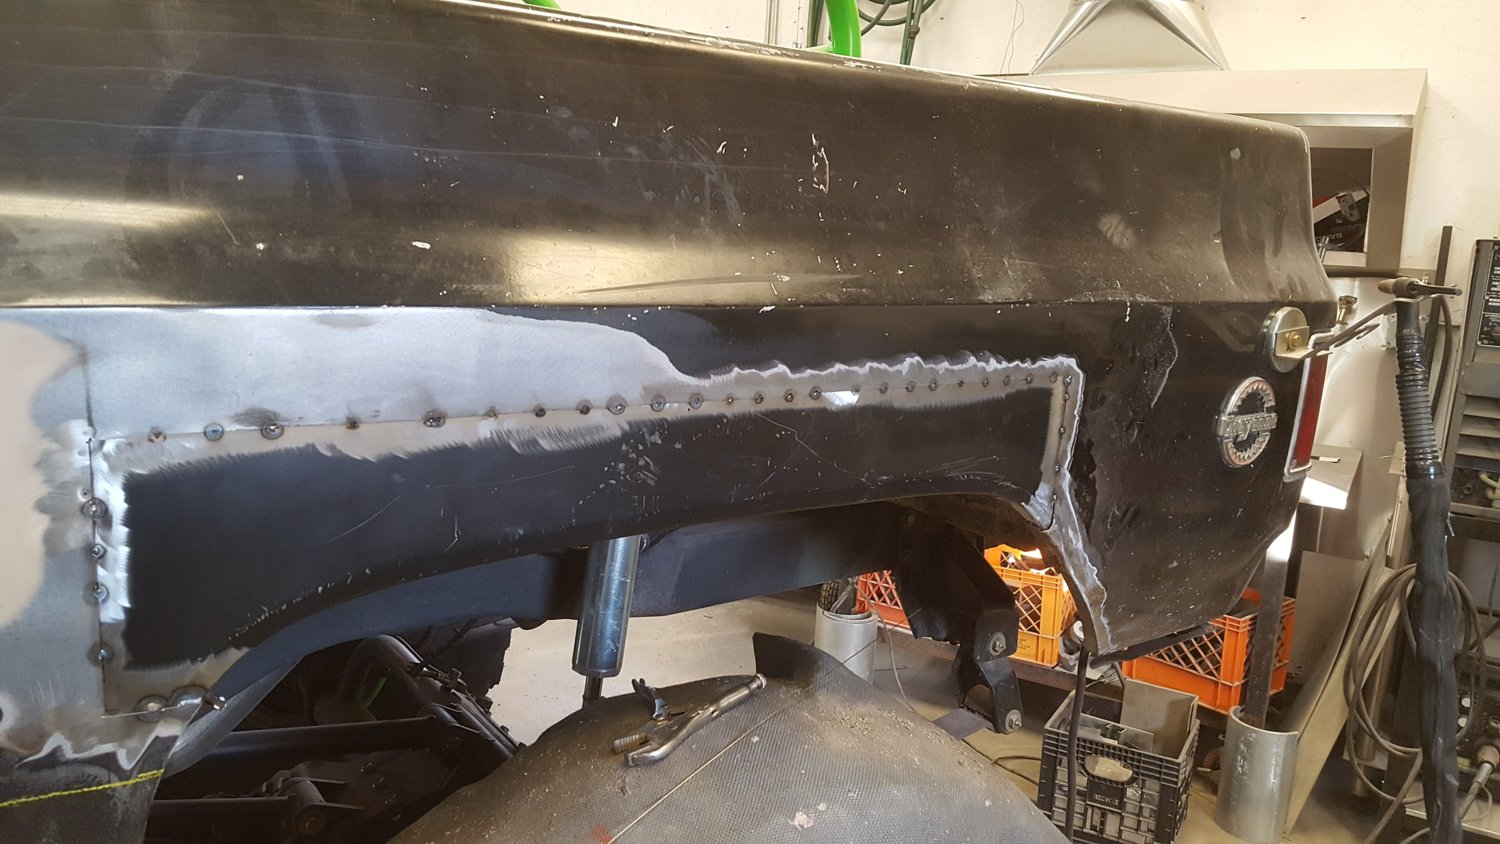
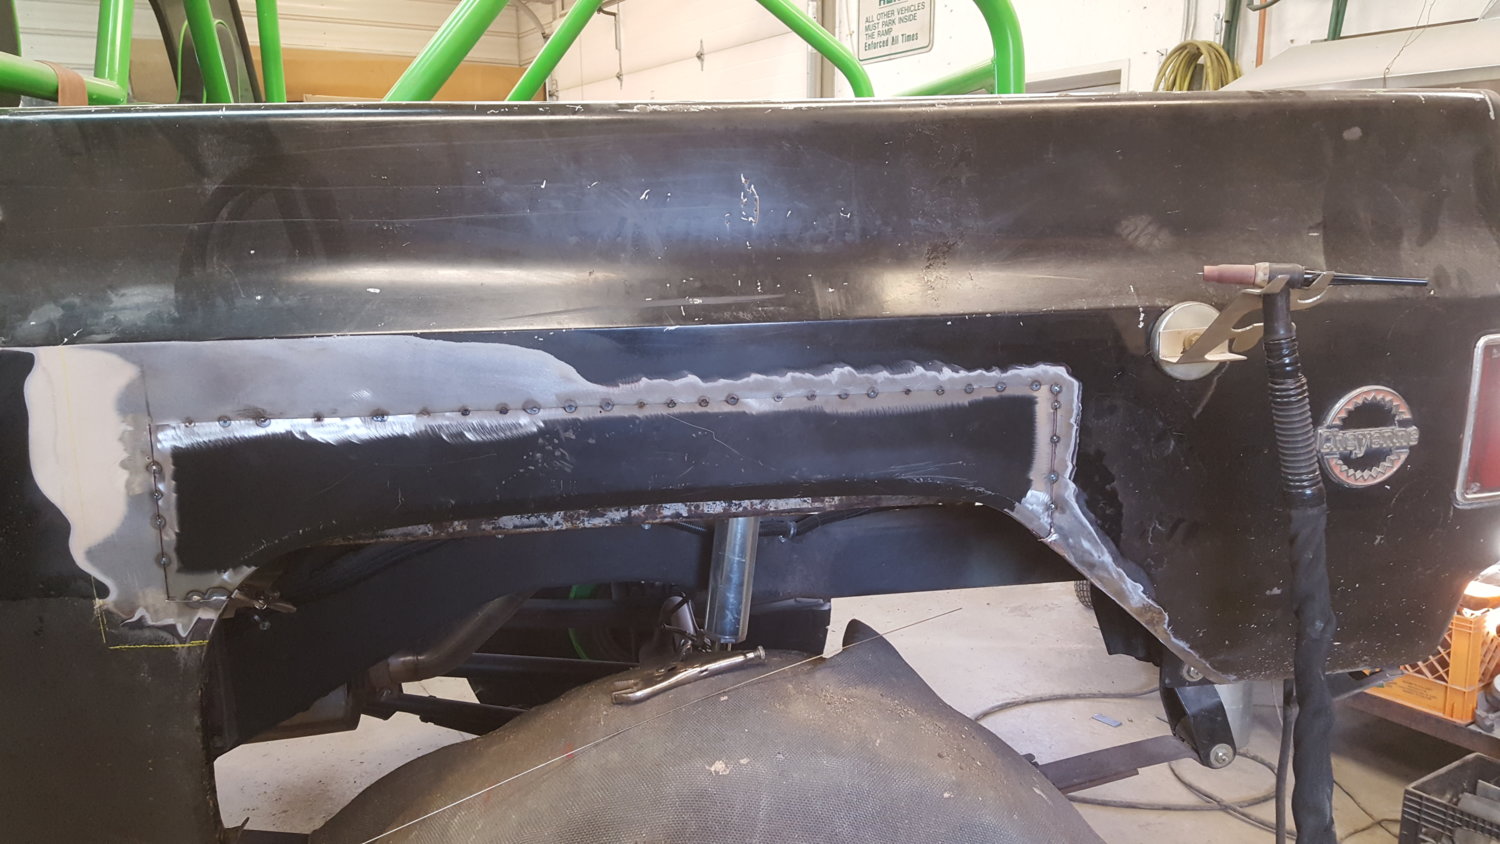
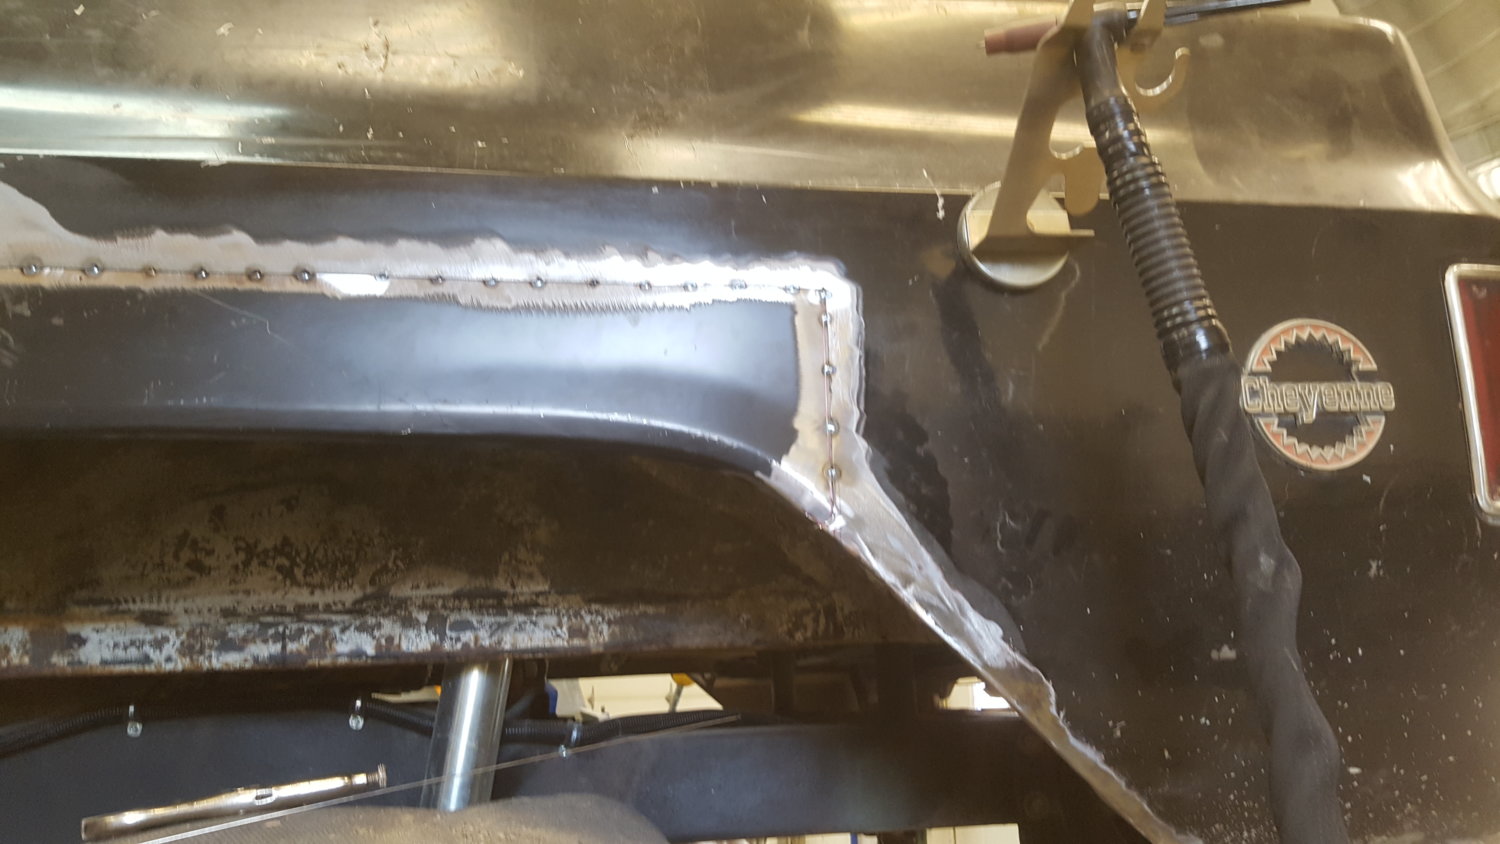
So now on the drivers side I've just TIG tacked it in with fusion (no filler) and it's nice and straight. I would go back and add some small welds with steel filler rod in between the tacks. Could I just Bondo over and and call it good? undercoat the backside. will it last? or crack out? I don't plan on driving it in the salt. It's just a trail rig.

All in all this is just a fun learning project. I'm more about heavier fab work. I didn't take any pictures after I had welded the passengers side fully.
 
Couple questions and a couple answers:
Questions. Did you flange the quarter and patch panel for a lap joint or butt weld them I can't tell from the pics. How much body filler did it take to finish the other quarter? Most folks use a lot more than is actually needed.

Answers: Yes you can absolutely fuse it all the way around with the tig. Brass plate backer will help tremendously and keep the fuse from pushing on the back side and warping. If you use a little filler I would bet the build would be high enough between the panels to just cut it down and need very little filler if any at all. Just maybe wipe it with a skim coat and sand it all off to get it even.

Traditionally joints like this are much better when both pieces are flanged to overlap. There is a product out there on the market called "Fusor". It's essentially a super badass polymer glue. Any local Body shop supply will carry it. All the major auto companies are using it to attach metal to metal now instead of spot welds. Not only does it NOT warp the panel, it bonds it stronger than welding. The stuff applies like caulk. Squirt it on, clamp it up and let it cure. Grind it down smooth, wipe with a skim coat of filler and sand it back down.

For your current project what you need to do before adding filler is to use a body hammer and flat dolly to "Tiller" the seam down flat. Truthfully you want the seam a tiny bit inset, not exactly flat. This will make a trough for the filler. Grind a good 3-4 inches away from the seam and wipe all of that with filler. You should almost be able to see through it at the edges. Then work it all down with a good DA sander to about 400 grit.
on the current side I'm working on I just lapped them about a 1/4".
I can't get on the backside with a backer or block.
I used about 3/4 of a 12 oz. can, but sanded most of it off. I think I put it on like 3 or 4 times. I'm a terrible judge of how much to apply and where to apply it.

On the 1st patch I turned a step in the patch panel with an easy edger (a sheet metal tool we use in HVAC) and lapped the step behind the 1/4 on the truck. It help the 2 metals match up better. I got lazy on this one and just flat lapped them.
 
3/4 of a 12 oz can seems like a lot to me. Here is another quick tip. For long projects like this. Use a wider blade to apply your body filler. 8" or so. It will allow you to build higher in the middle and level the edges at the same time. Apply side to side, not top to bottom. Body filler is meant to be sanded off on the floor but don't get crazy with it.
 
that was a lot of my problem. not a wide enough spreader I think. Thanks for the tips
 

Latest Posts

Top Bottom