I like the way the iron cross looks welded on the outside only.
CK5

You are using an out of date browser. It may not display this or other websites correctly.
You should upgrade or use an alternative browser.
You should upgrade or use an alternative browser.
Offroad Go Cart Build - Too Many Builds
- Thread starter truck-oholic
- Start date
Got the old engine pulled from the Black Widow Buggy swing arm. New enine is coming ahead of schedule tomorrow.
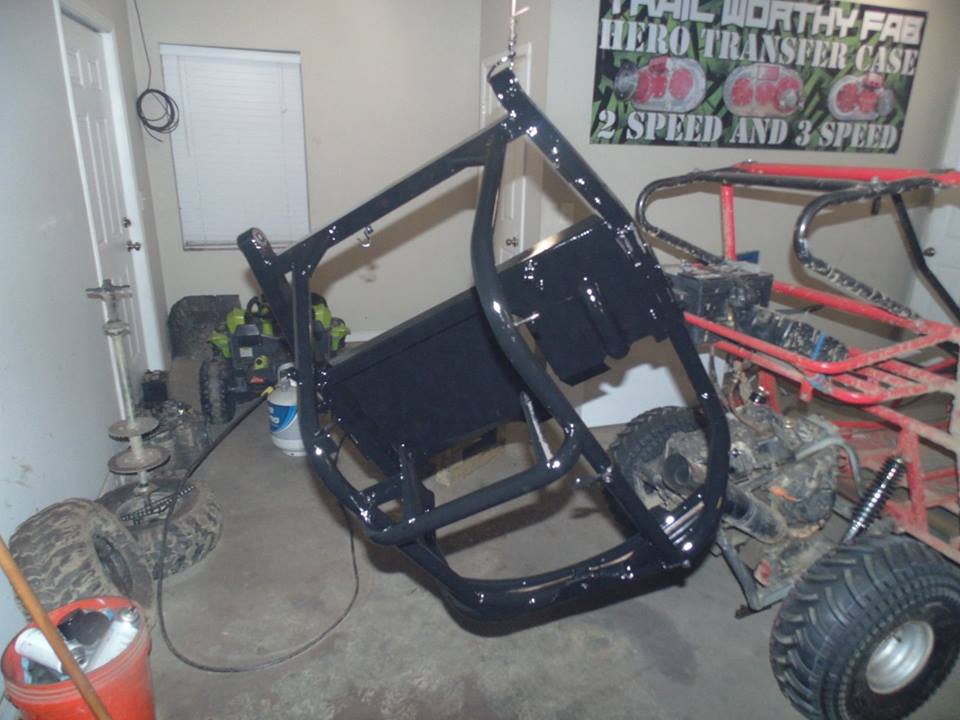
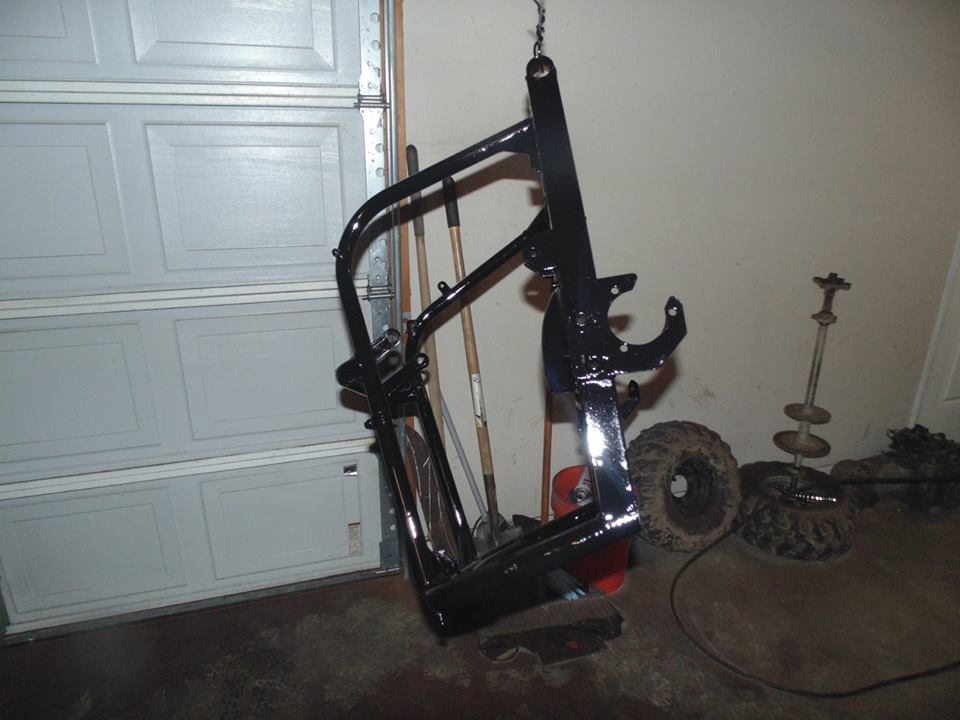
Wire wheeled the swing arm, shot some primer, then black gloss
We'll see in the daylight tomorrow whether or not I will have to lay another coat down
I will say it once again, boy do I ever hate painting. Least enjoyable part of the whole fabbing process.
Wire wheeled the swing arm, shot some primer, then black gloss
We'll see in the daylight tomorrow whether or not I will have to lay another coat down
I will say it once again, boy do I ever hate painting. Least enjoyable part of the whole fabbing process.

Last edited:
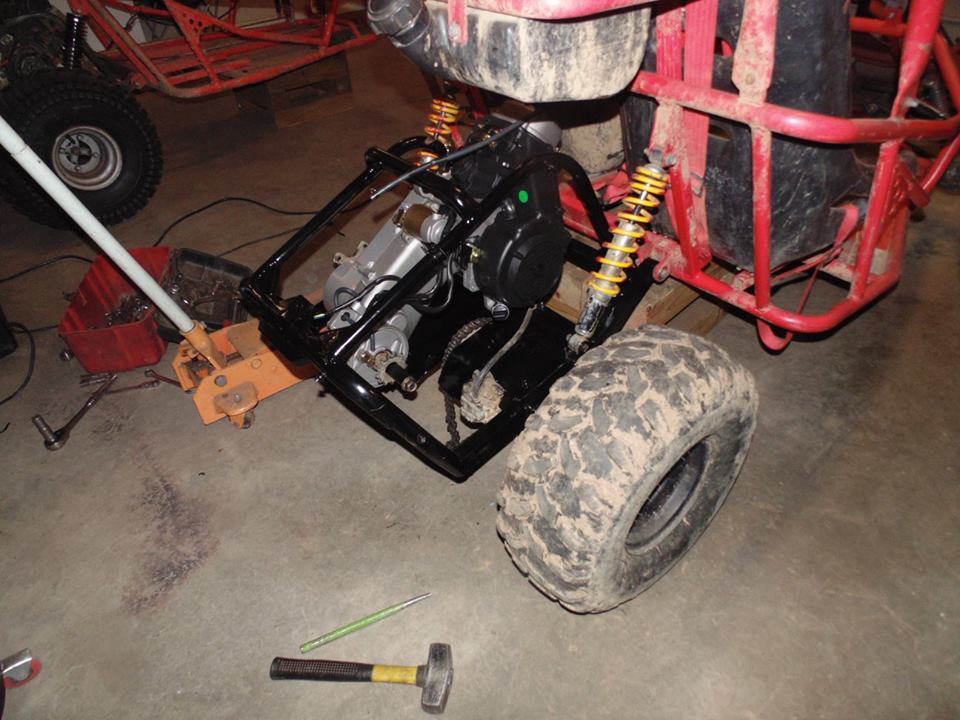
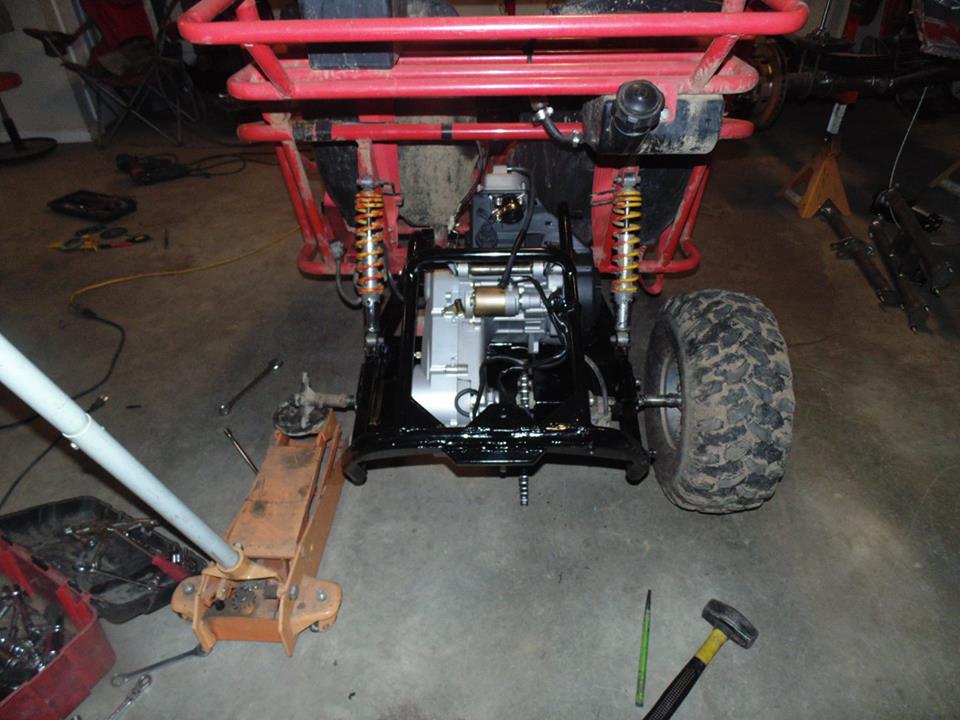
New engine came in for the Black Widow Buggy
Did some transmission upgrades before putting it in the swing arm
Still have a bunch of parts to put on and the electrical to reverse engineer
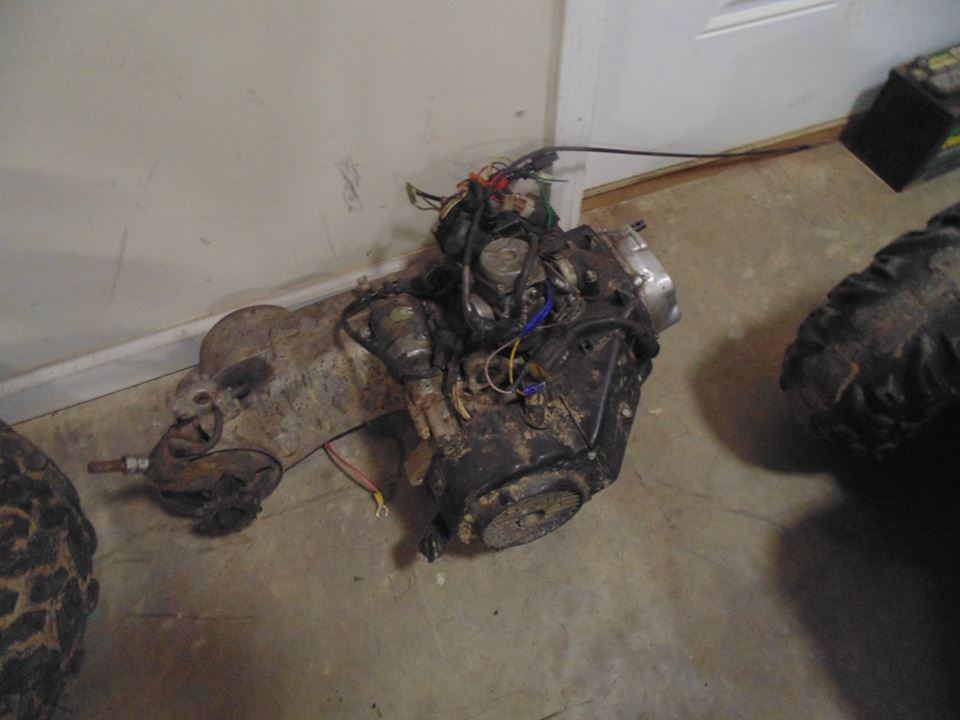
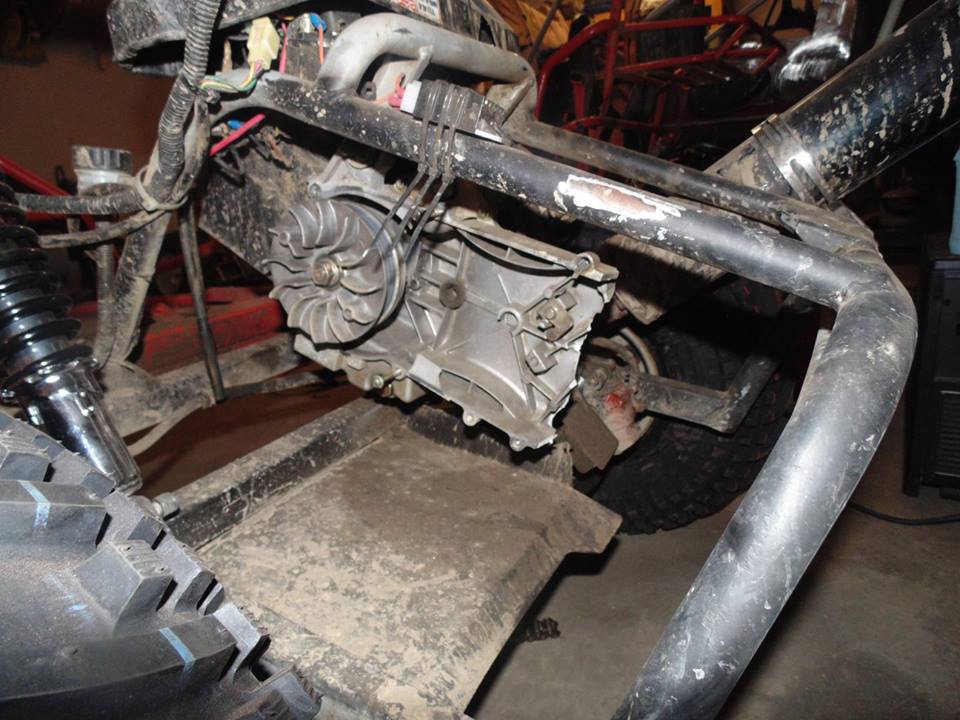
Here is the transmission case failure on the Iron Cross Buggy. It donated some transmission goodies to the Black Widow Buggy and will be donating more parts as needed
Did some transmission upgrades before putting it in the swing arm
Still have a bunch of parts to put on and the electrical to reverse engineer

Here is the transmission case failure on the Iron Cross Buggy. It donated some transmission goodies to the Black Widow Buggy and will be donating more parts as needed
Last edited:
ooooooooooooooooooo
*popcorn*
*popcorn*
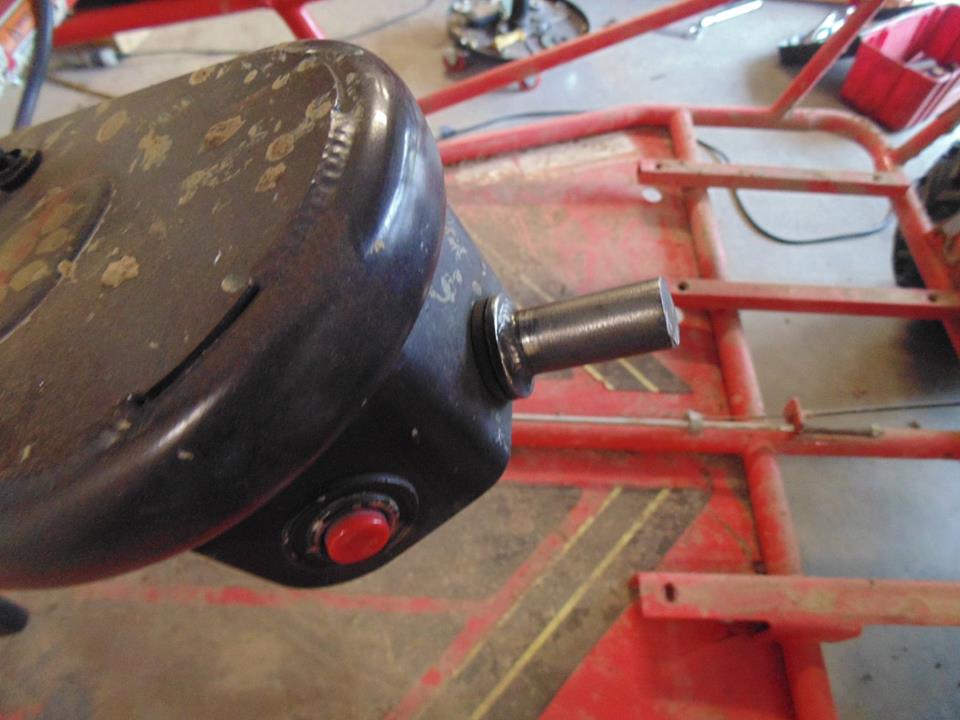
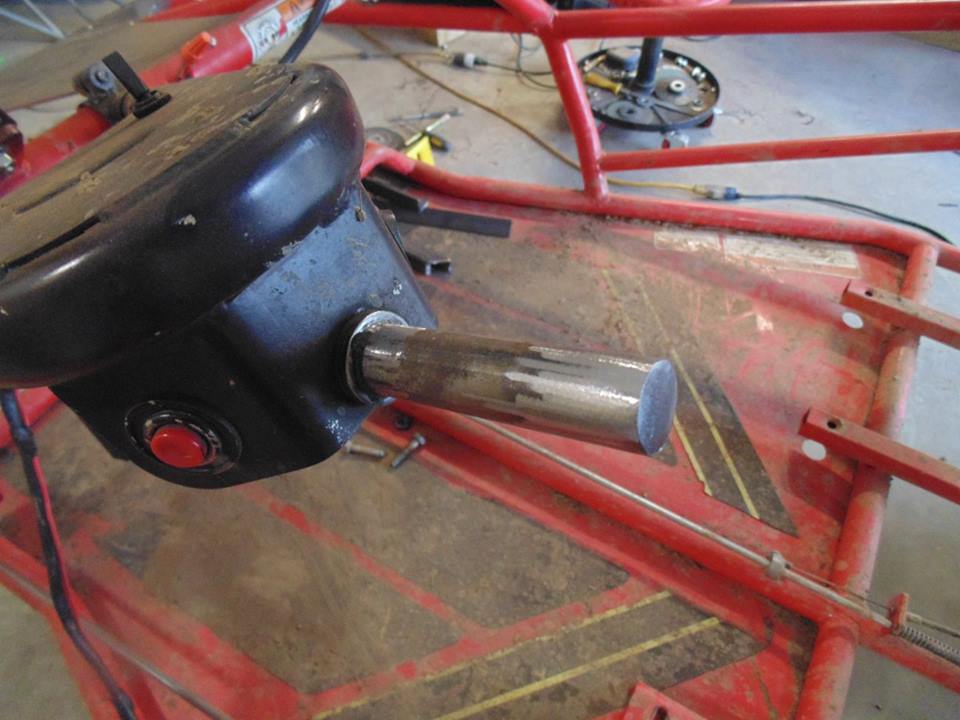
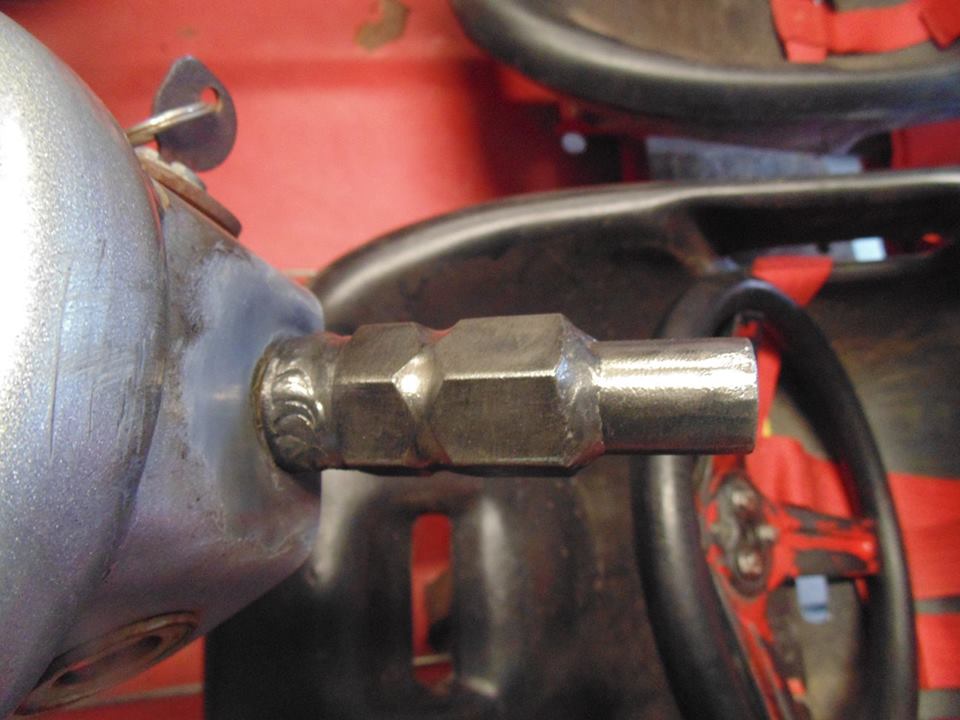
Started working on steering wheel disconnect stuff for the two go carts. First step was to cut off the old steering wheel flange, leaving behind this solid piece of steering shaft
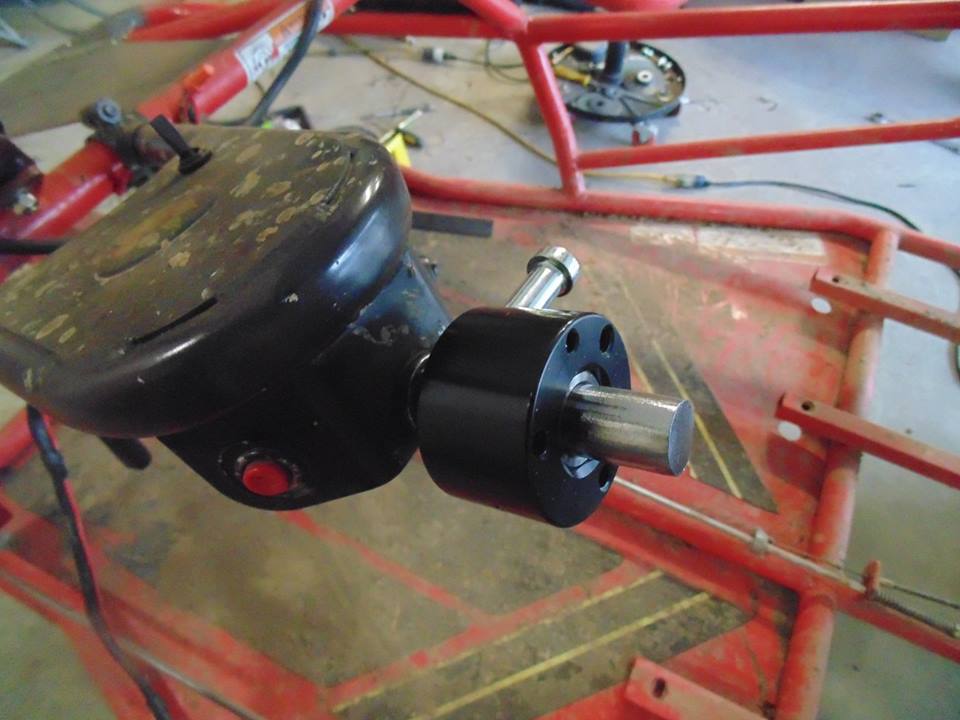
Needed to sleeve the steering shaft up in diameter to fit the quick disconnect hex piece so I used some 1/16 wall tube I had on hand that was exactly what I needed. Fit tight on the steering shaft and the hex piece. Went ahead and capped the tube for aesthetics since you see that end through the steering wheel center
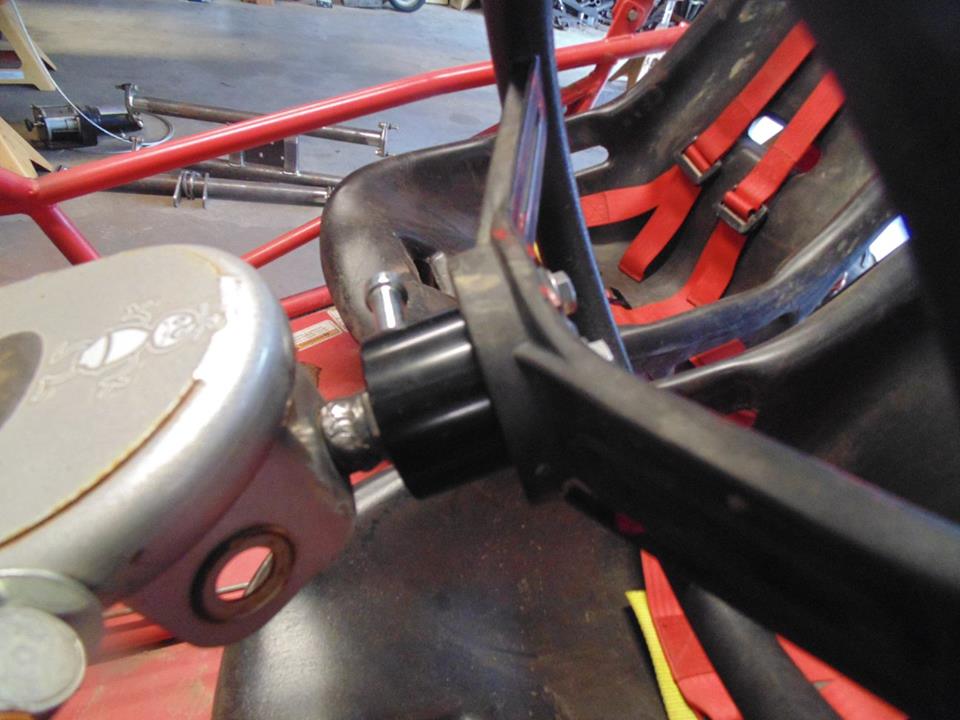
Here is the two piece quick disconnect in position
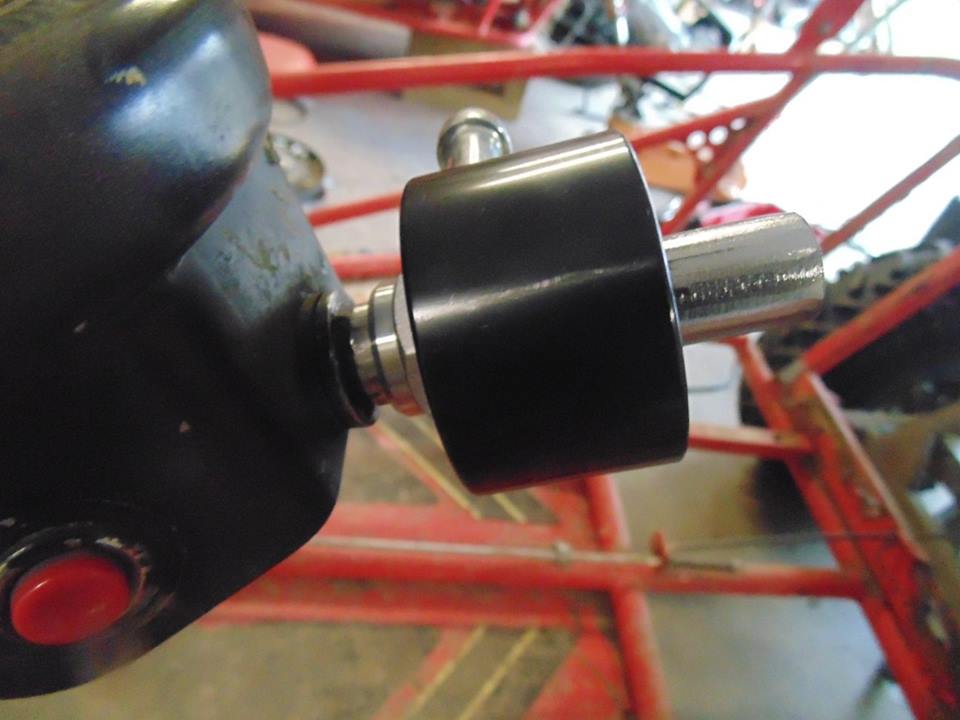
You can see the hex piece sticking through the collar. This V area at the base of the original steering shaft is where the welded connection is made. With everything in position the tacks can be made and then the collar removed for final welding
All burned in
You may notice that I also welded the top end of the hex piece back to the adapter tube sleeve
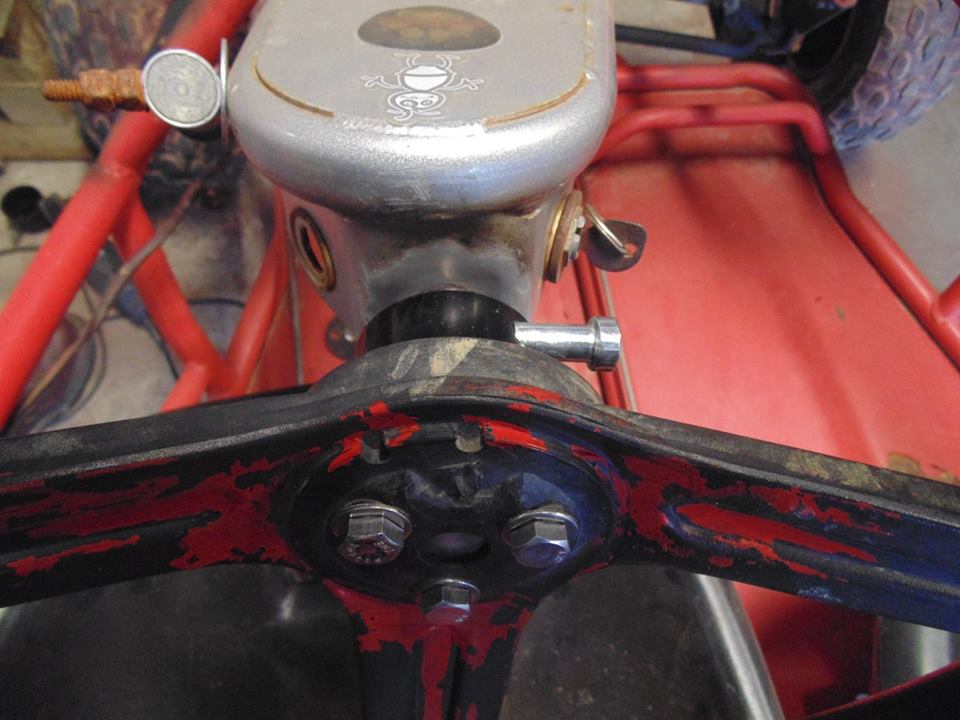
Steering wheel is bolted to the quick disconnect collar and on to the buggy it goes
See the capped tube sleeve in the center of the steering wheel?
Needed to sleeve the steering shaft up in diameter to fit the quick disconnect hex piece so I used some 1/16 wall tube I had on hand that was exactly what I needed. Fit tight on the steering shaft and the hex piece. Went ahead and capped the tube for aesthetics since you see that end through the steering wheel center
Here is the two piece quick disconnect in position
You can see the hex piece sticking through the collar. This V area at the base of the original steering shaft is where the welded connection is made. With everything in position the tacks can be made and then the collar removed for final welding
All burned in
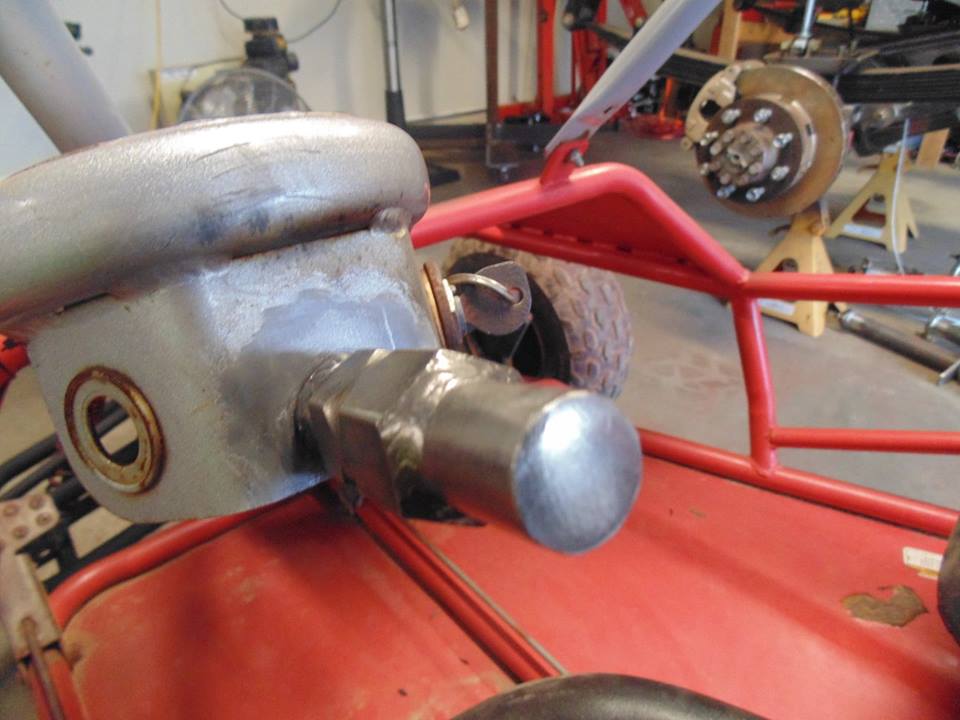
You may notice that I also welded the top end of the hex piece back to the adapter tube sleeve
Steering wheel is bolted to the quick disconnect collar and on to the buggy it goes
See the capped tube sleeve in the center of the steering wheel?
Last edited:
Lookin pretty slick, Slick! 
Lookin pretty slick, Slick!
Thanks, I need to go ahead and get this Black Widow Buggy buttoned up so I can sell it and recoup some funds before going to Easter Jeep Safari in Moab. I am supposed to be riding with John Curtin, the combat disabled Marine whose Jeep I helped build on Xtreme Offroad back over the summer. I am super excited, it has been a dream of mine to wheel Moab ever since I got into the hobby 13 years ago.
Anyway, the Iron Cross Buggy is the one that is getting all the new parts and bigger engine so it is staying with me.
The Black Widow Buggy has new exhaust coming in and I need to finish the new engine install and then it is done. I have been working on painting the front end over the past couple days. Hoping that I can call it a wrap in no more than 2 weeks.
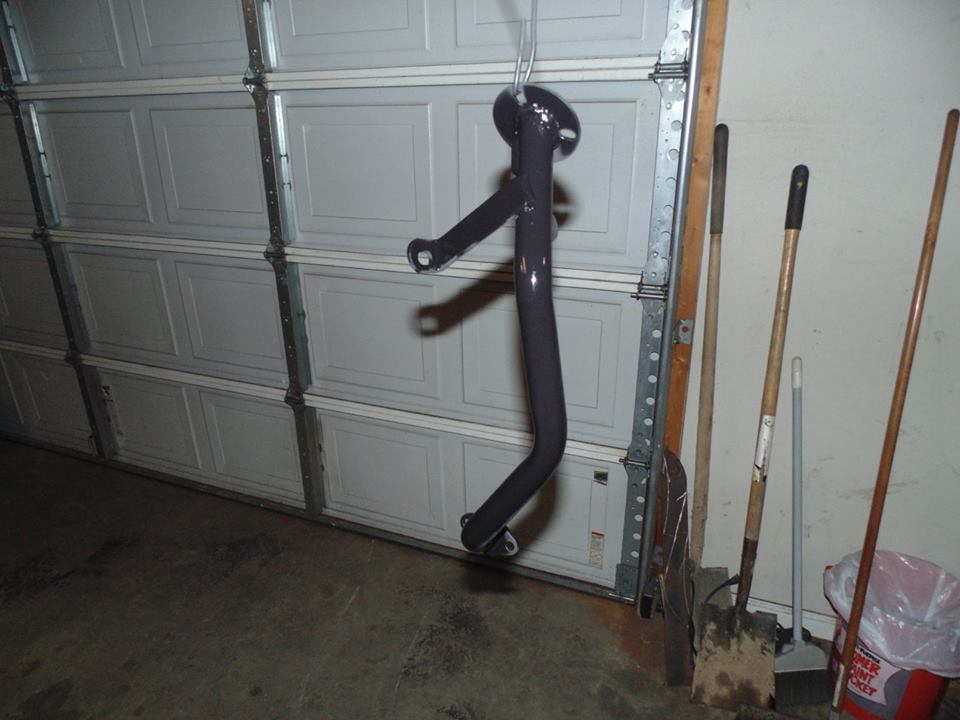
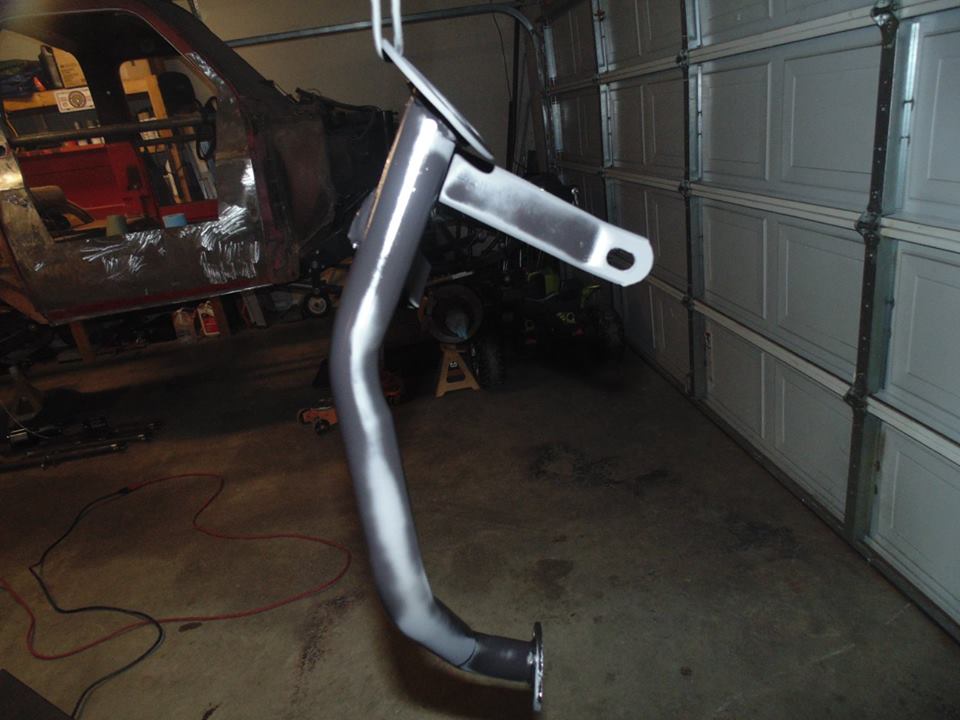
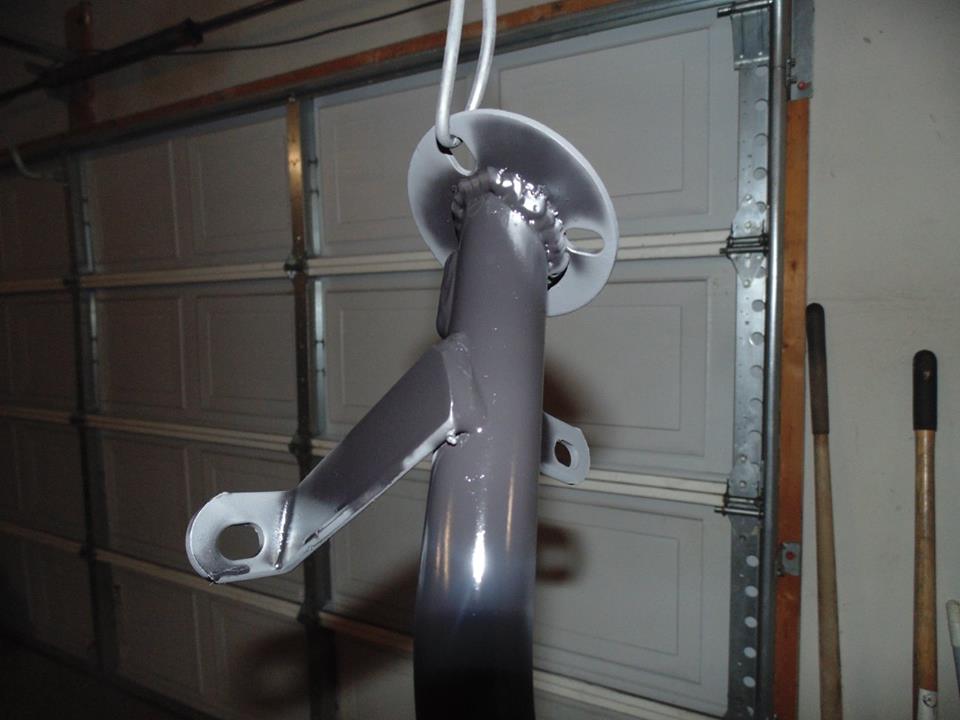
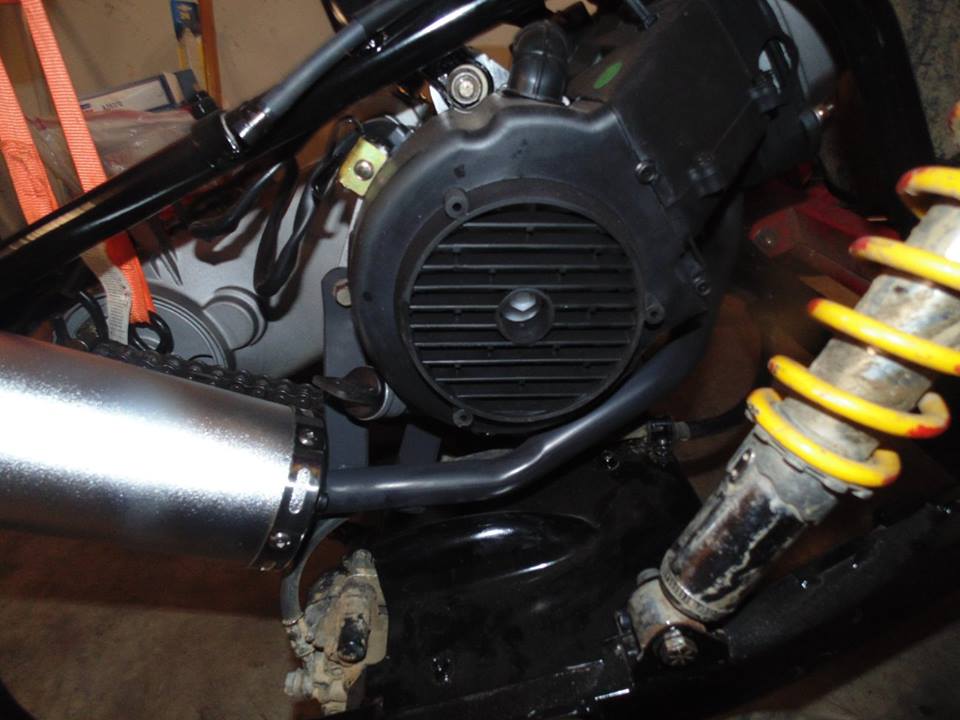
Had to modify the new exhaust pipe on the Black Widow Buggy so it was treated to some high temp flat black paint after welding was complete
The muffler flange by the support bracket was originally perpindicular to the tube and this put the muffler dead into the rear swing arm tube. To fix this issue I I had to cut it off and weld it back at an angle so the muffler will kick up over the rear swing arm tube.
This should be ready for final install tomorrow. Excited to see it in place with the new high flow performance muffler.
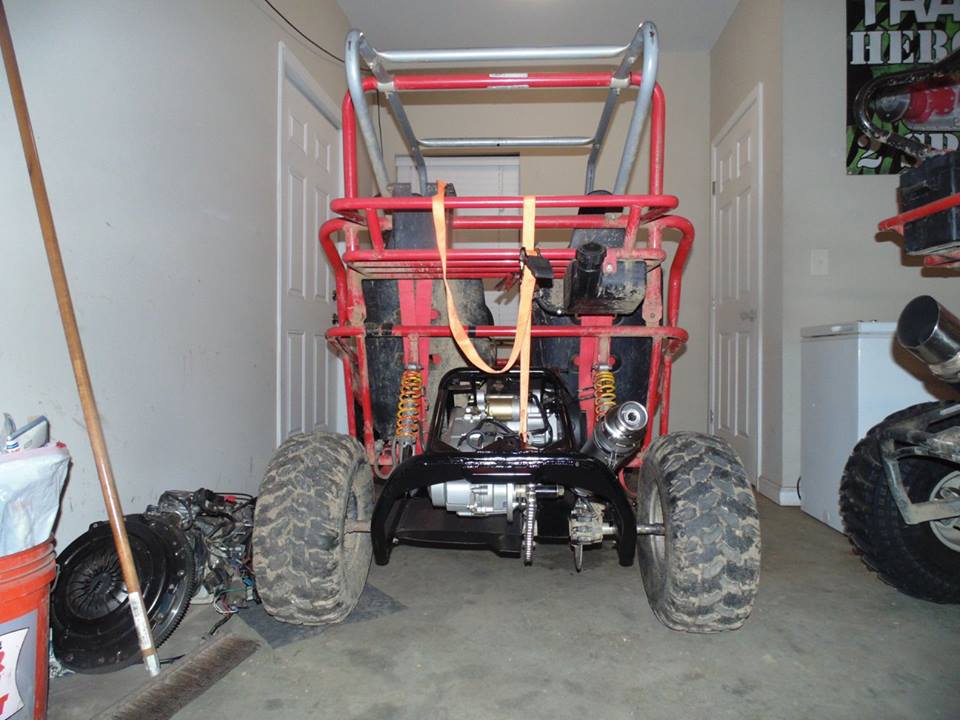
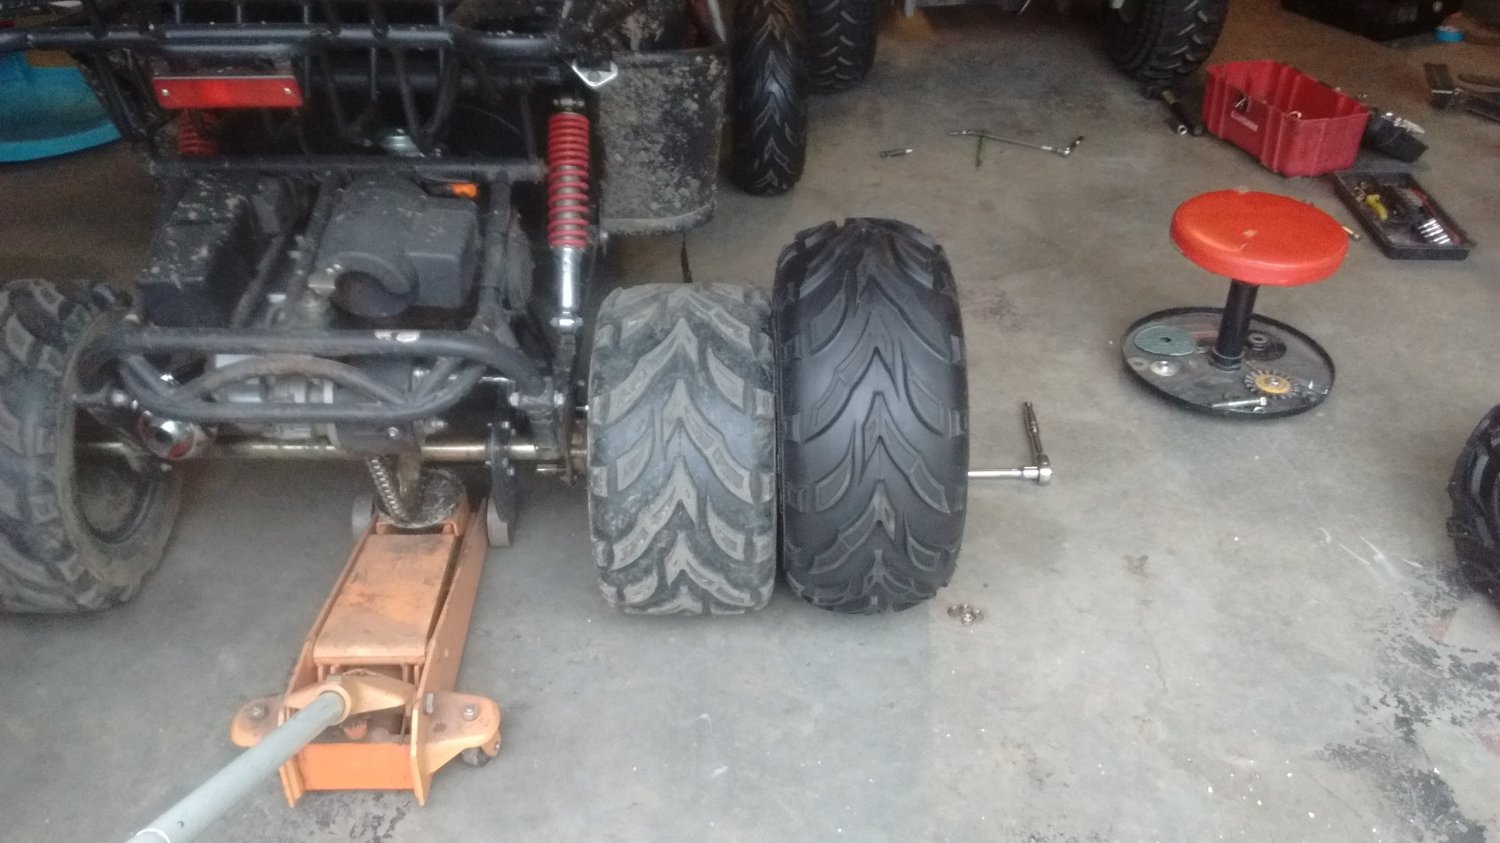
Finally got my new wheel studs in so the Black Widow Buggy is once again a full roller. I am still waiting on some more parts to come in to finish up but I will be shooting some more paint on the front end and doing some more engine work this weekend.
The muffler flange by the support bracket was originally perpindicular to the tube and this put the muffler dead into the rear swing arm tube. To fix this issue I I had to cut it off and weld it back at an angle so the muffler will kick up over the rear swing arm tube.
This should be ready for final install tomorrow. Excited to see it in place with the new high flow performance muffler.
Finally got my new wheel studs in so the Black Widow Buggy is once again a full roller. I am still waiting on some more parts to come in to finish up but I will be shooting some more paint on the front end and doing some more engine work this weekend.
Last edited:
I didn't know you were on that extreme episode too. Pretty cool you get an opportunity to go to Moab with him.
I'm a 12 hour drive away from Moab. I'll go one day, maybe BB 2017.
I'm a 12 hour drive away from Moab. I'll go one day, maybe BB 2017.
I didn't know you were on that extreme episode too. Pretty cool you get an opportunity to go to Moab with him.
I'm a 12 hour drive away from Moab. I'll go one day, maybe BB 2017.
Yeah, we are both really looking forward to it. Neither of us have been before.
With stops for gas & bathroom breaks it's like 26 hrs each way for us
 . Definitely not looking forward to that part of the trip
That's a decent road trip, solid two days of travel with a hotel/motel room in between. Just hauling the one rig?
That's a decent road trip, solid two days of travel with a hotel/motel room in between. Just hauling the one rig?
Haha, yeah, just taking the jeep, we are caravaning out there with Ian, driving it straight though and switching off every 3 hrs.
Better have a case of energy drinks.
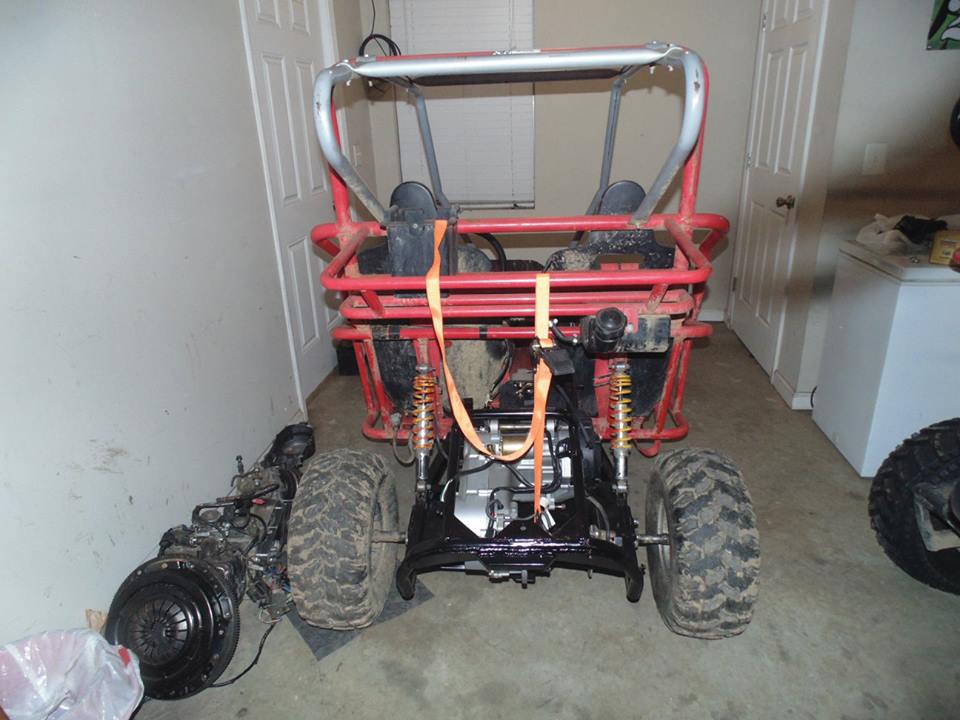
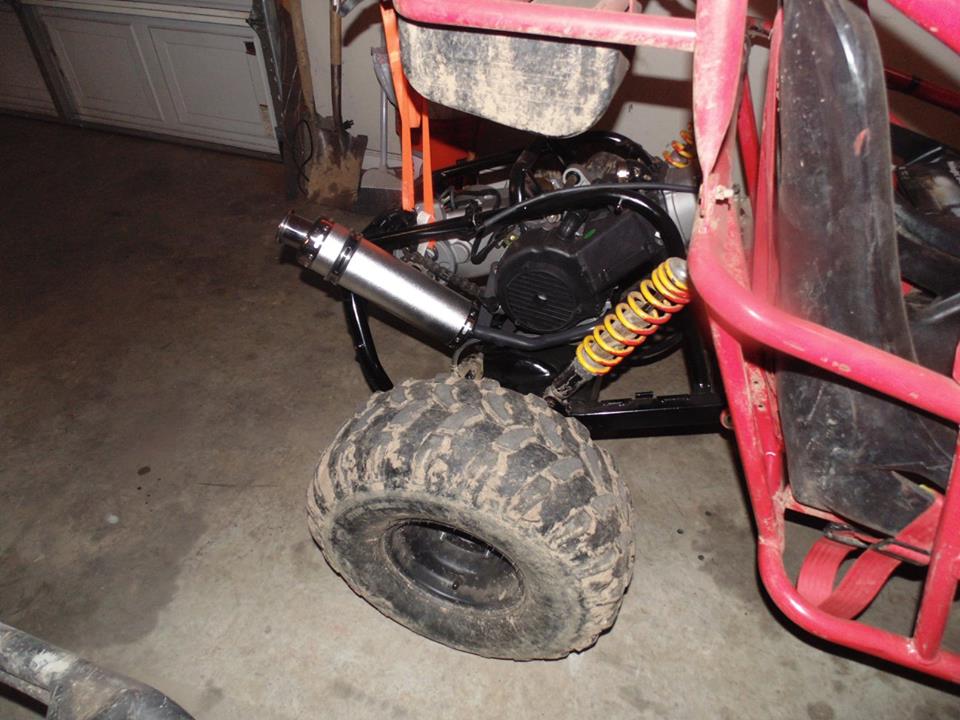
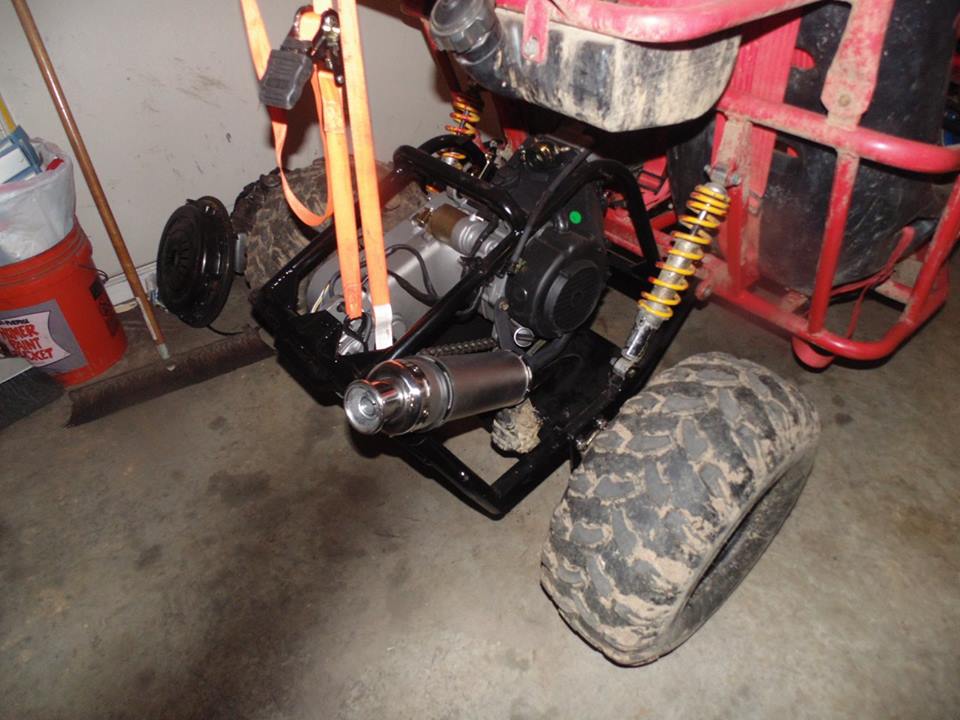
Got the new exhaust mounted on the Black Widow Buggy
This exhaust is application specific for these GY6 150cc engines and it is a nice tight fit for sure
Kicks out above the rear swing arm tube nicely now
This thing is really starting to come together. After this weekend I should just have a couple items left on the punch list.
This exhaust is application specific for these GY6 150cc engines and it is a nice tight fit for sure
Kicks out above the rear swing arm tube nicely now
This thing is really starting to come together. After this weekend I should just have a couple items left on the punch list.
Last edited:
cool that you got a buyer for it already.
Lookin good, and in your pic I can't tell where the new and old paint meet...at all.
Resurrecting this thread from the dead.
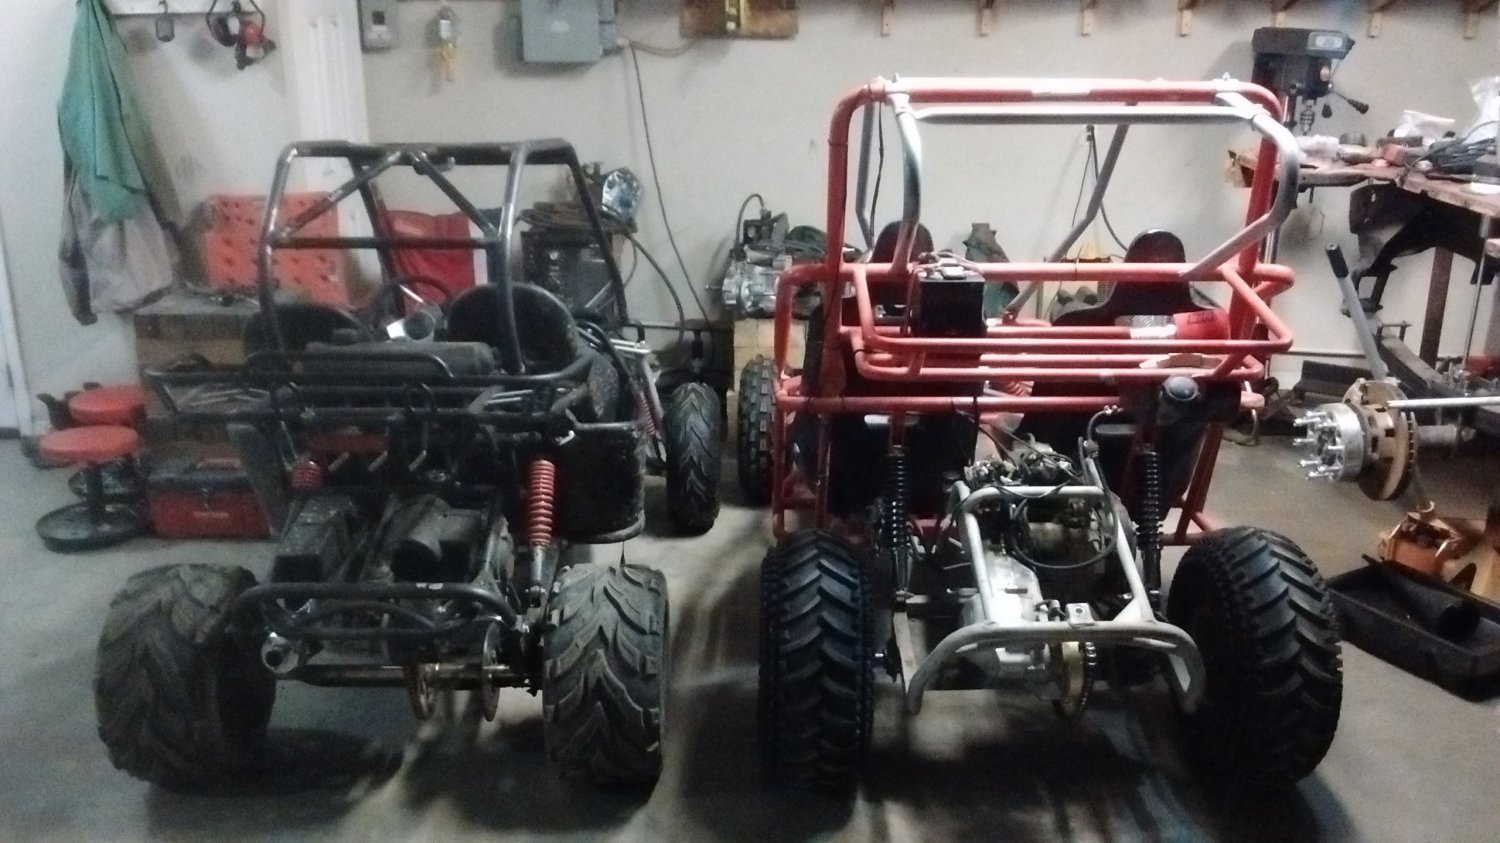
So my go cart obsession spiraled out of control and led me to building 4 of these things. I'll start back on my updates with the Black Widow Buggy which I sold to my next door neighbor several months ago.
So my go cart obsession spiraled out of control and led me to building 4 of these things. I'll start back on my updates with the Black Widow Buggy which I sold to my next door neighbor several months ago.

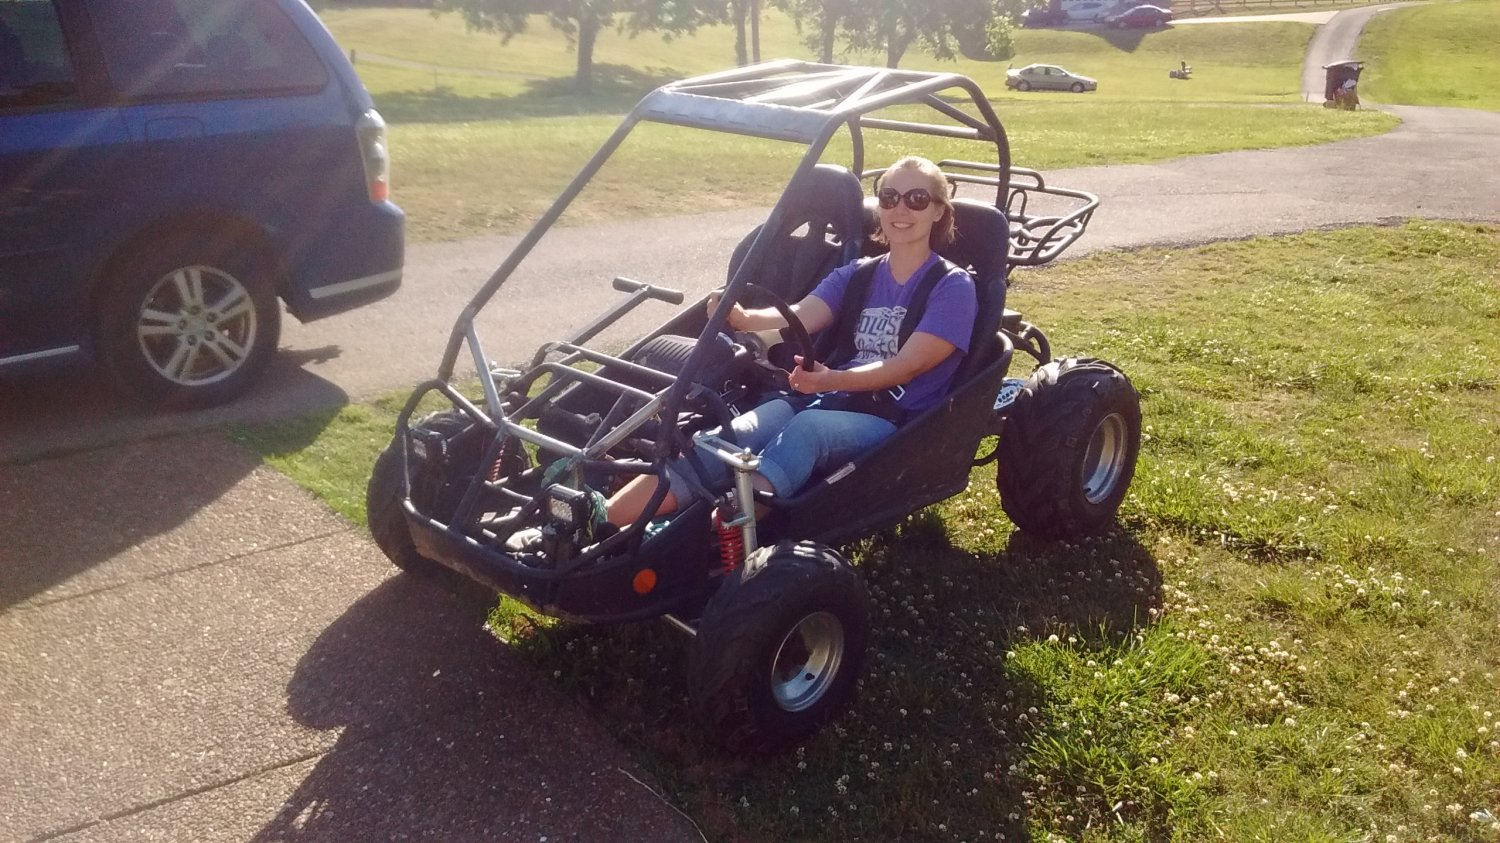
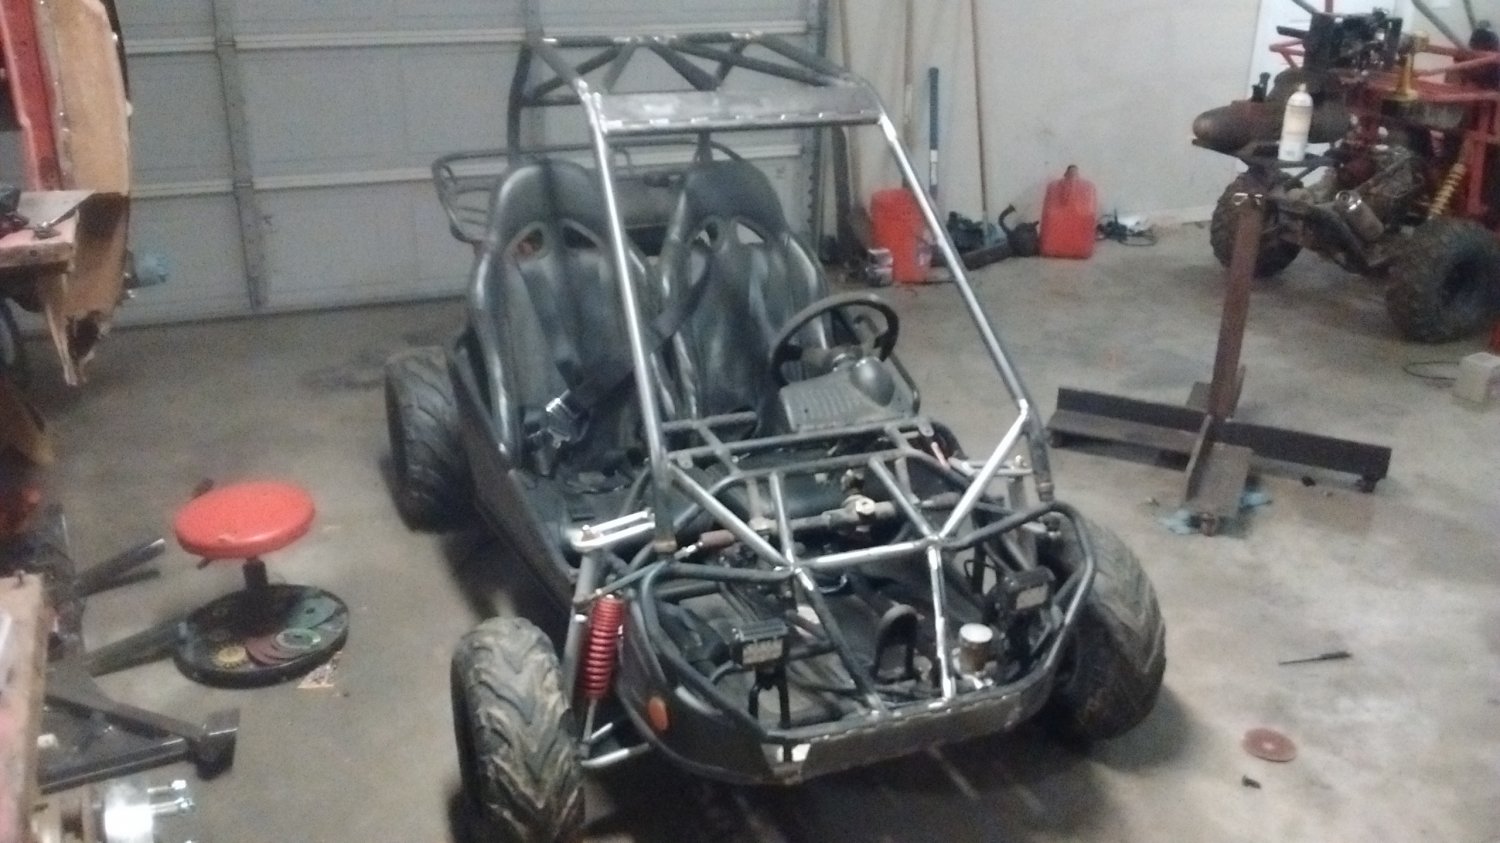
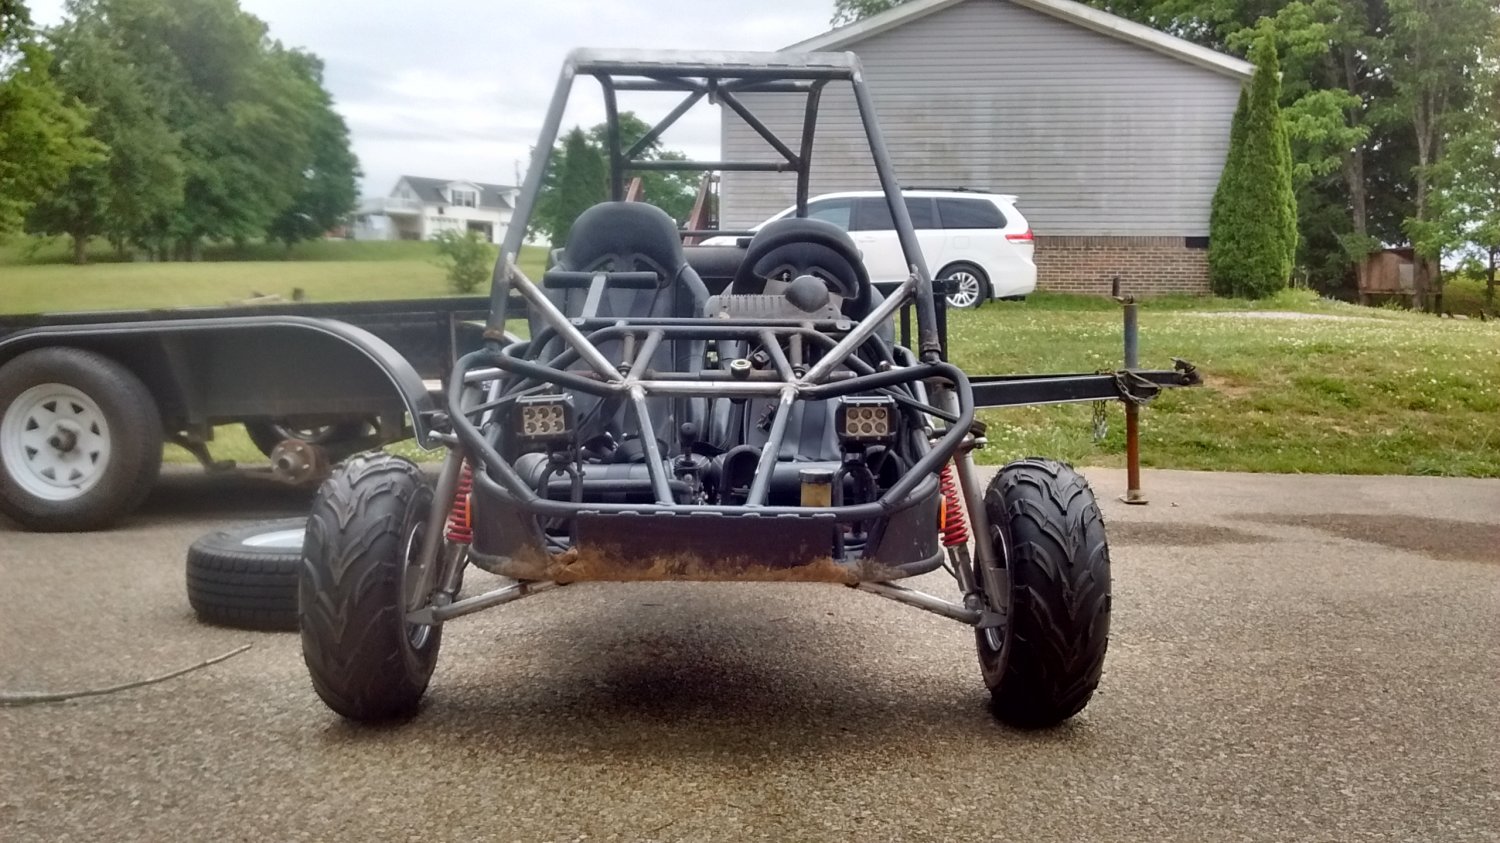
Next here is the Iron Cross Buggy finished product. This is actually not the original frame I was building as the Iron Cross Buggy but another frame and motor I picked up later on. All the other parts that were on the Iron Cross Buggy carried over to this new frame and motor.
I'll be throwing some videos of this thing up here soon. It is a blast to drive.
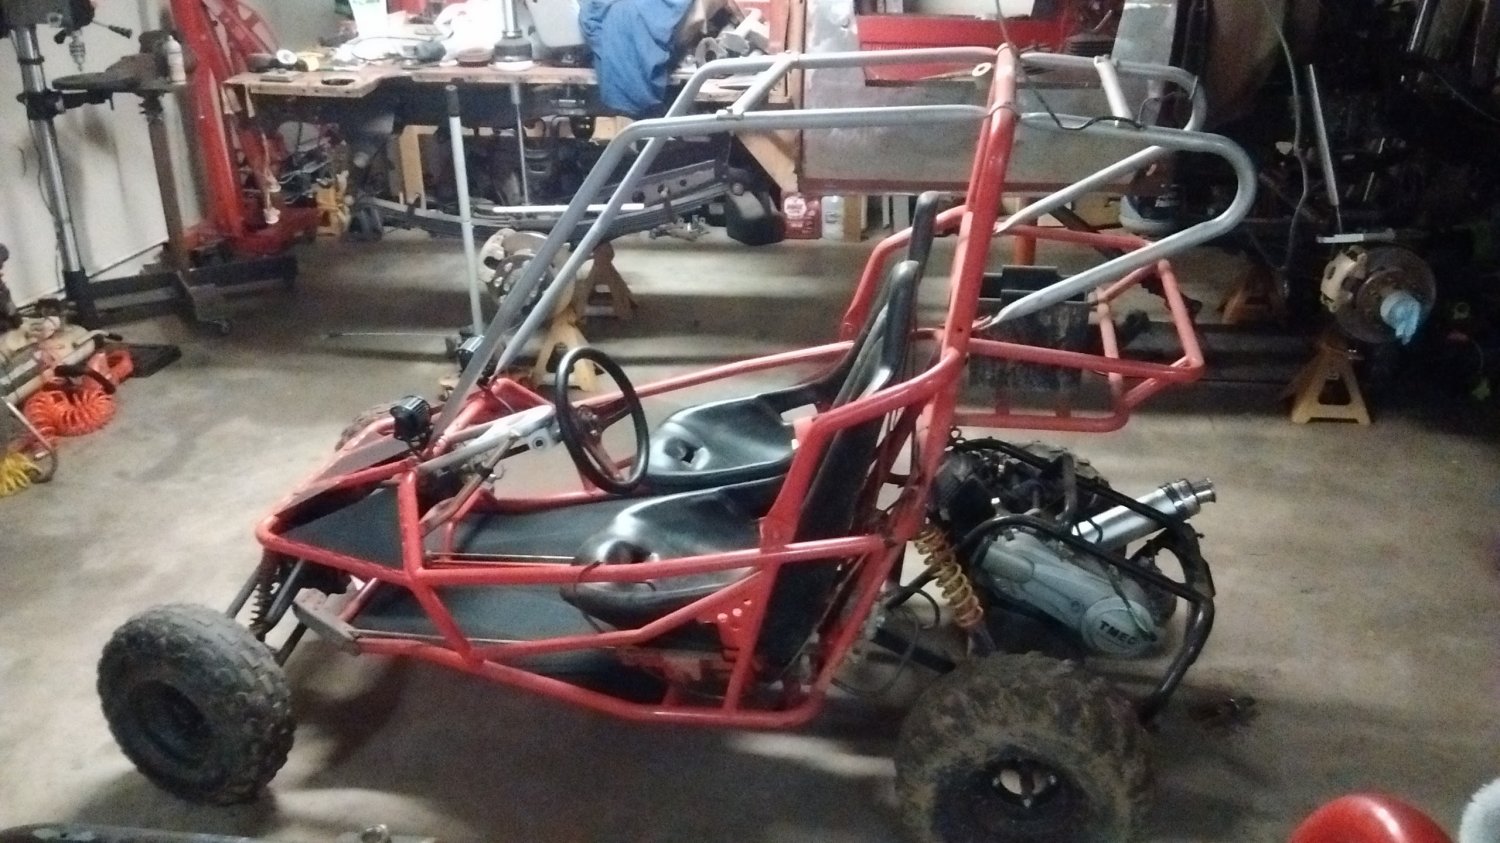
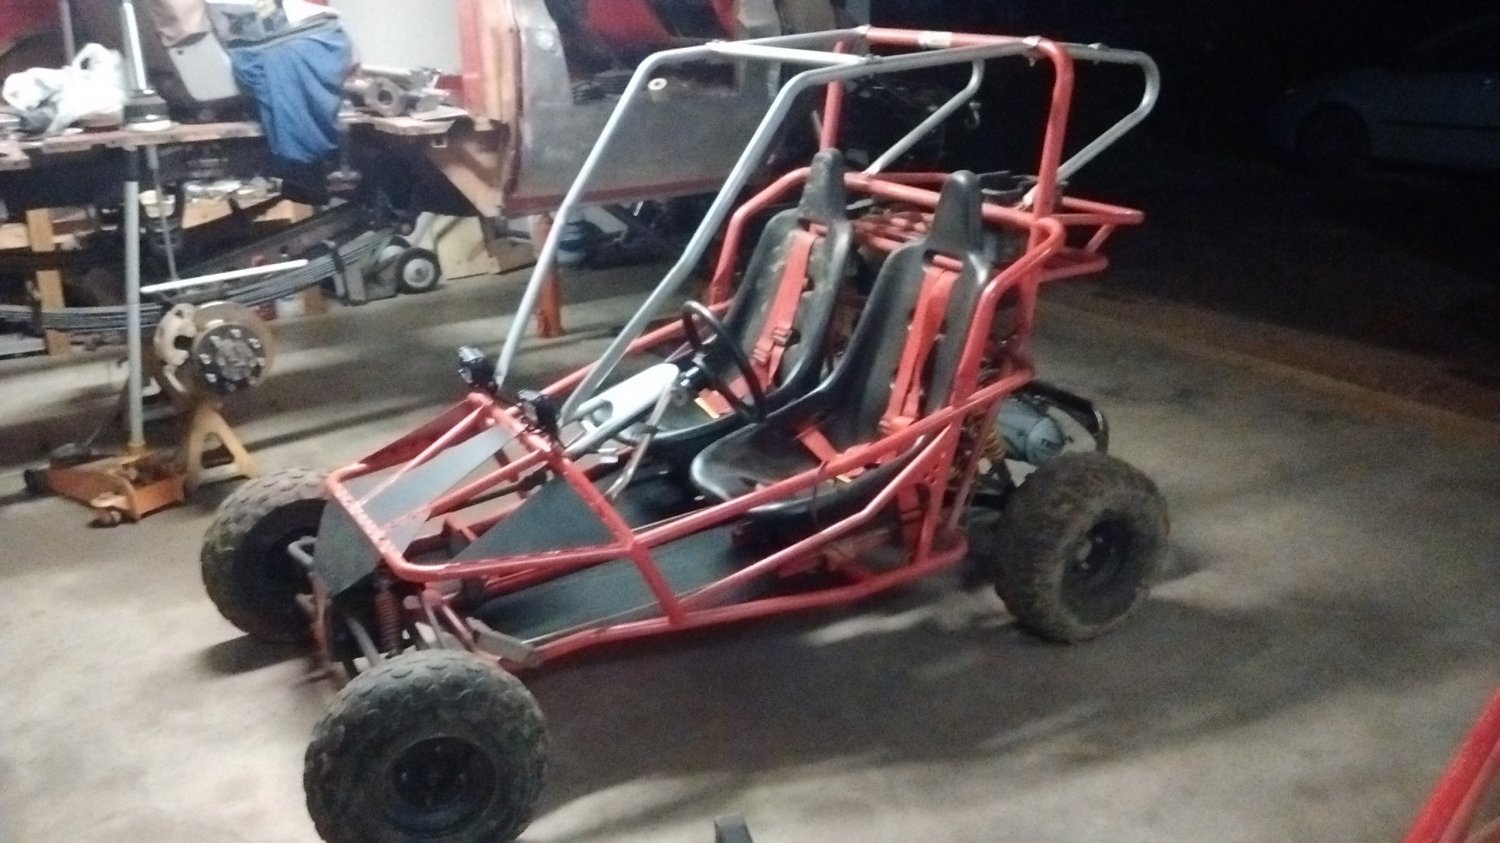
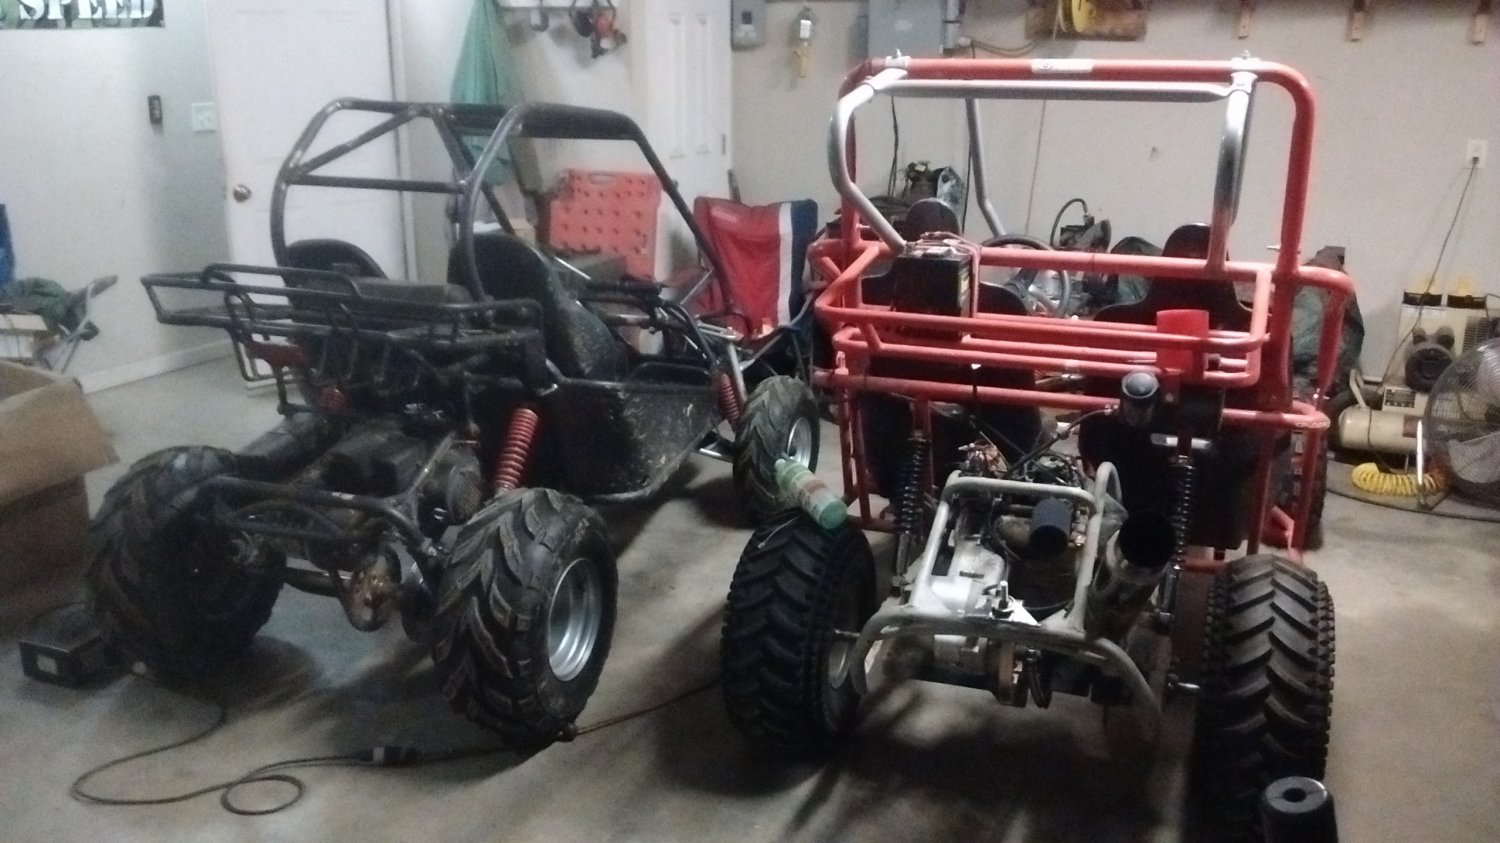
This brings me back to the original Iron Cross Buggy frame which will now be the Beast Mode Buggy. It is the all out, no expense spared build. It will have the 175cc big bore motor, reverse gear box, racing suspension seats, bigger rear axle, front brakes, ATV hubs etc etc.
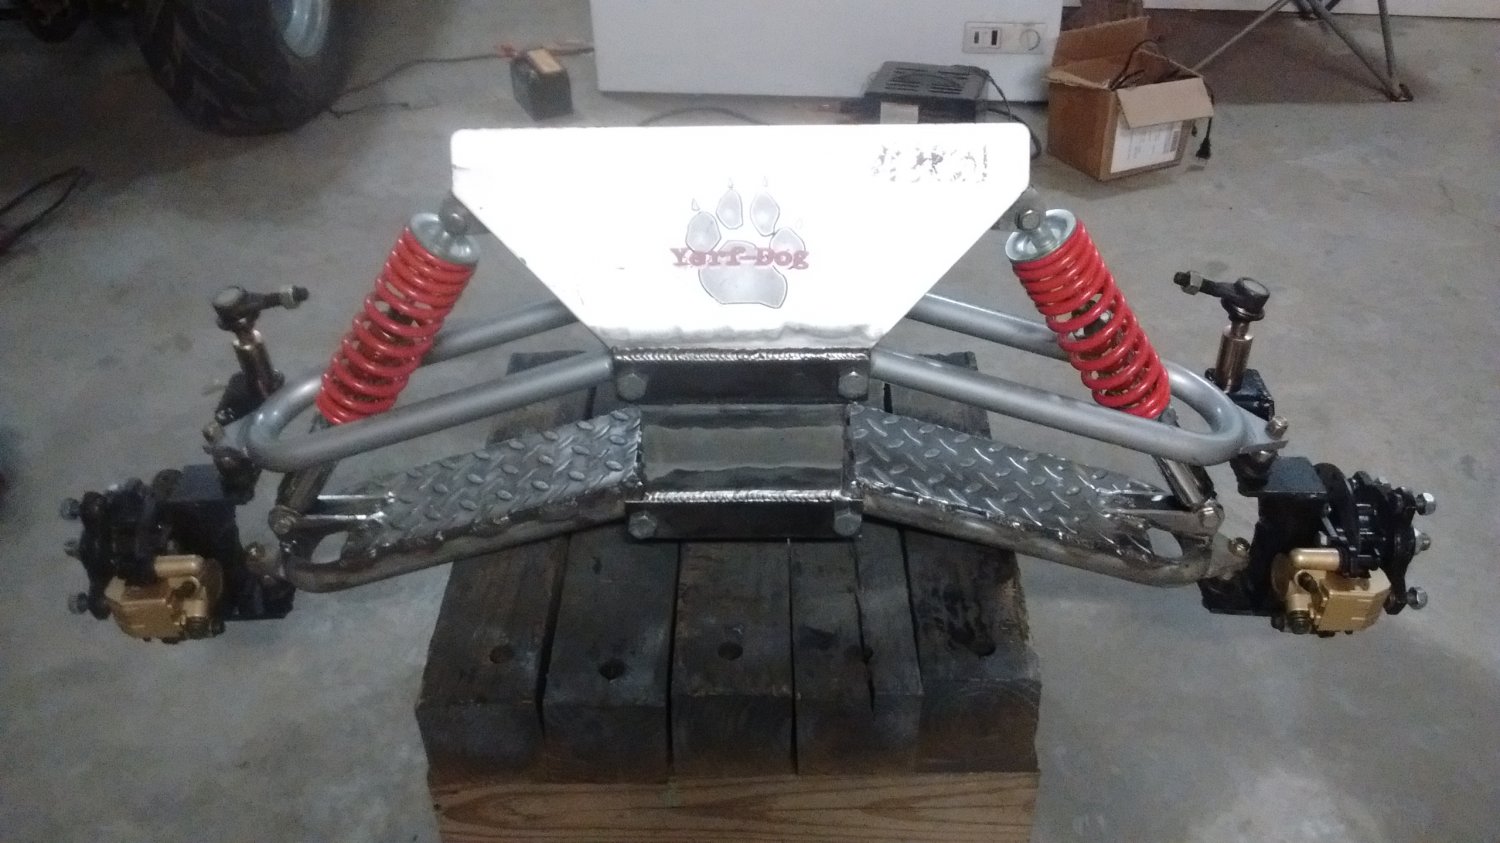
Here is the front end being built on the Beast Mode Buggy.
Went with a simpler, but stronger front suspension bulkhead reinforcement design on this buggy.
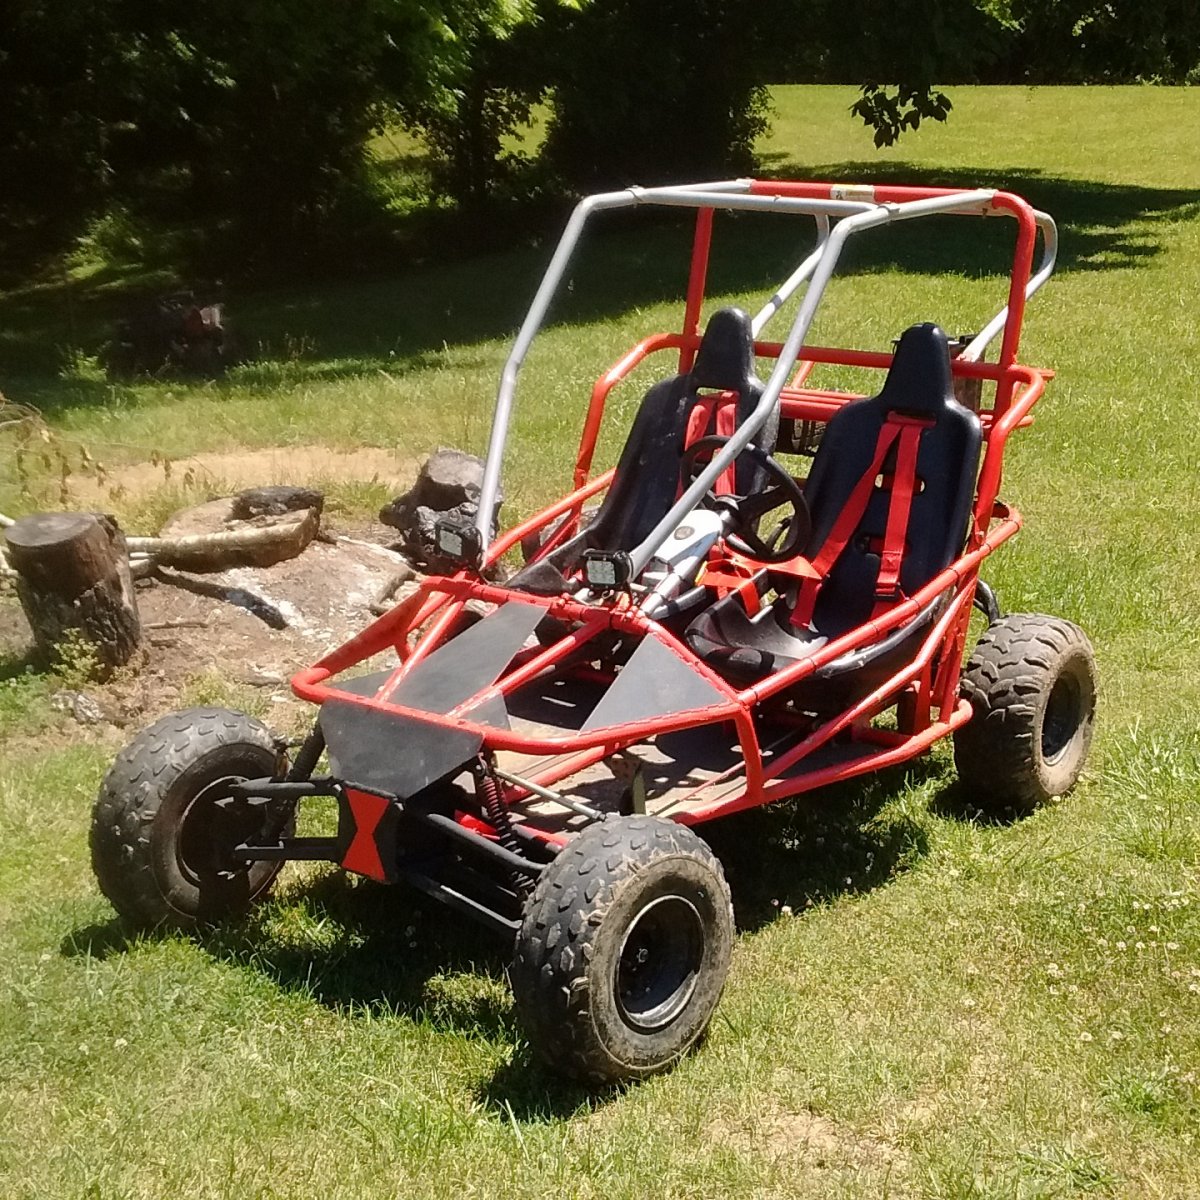
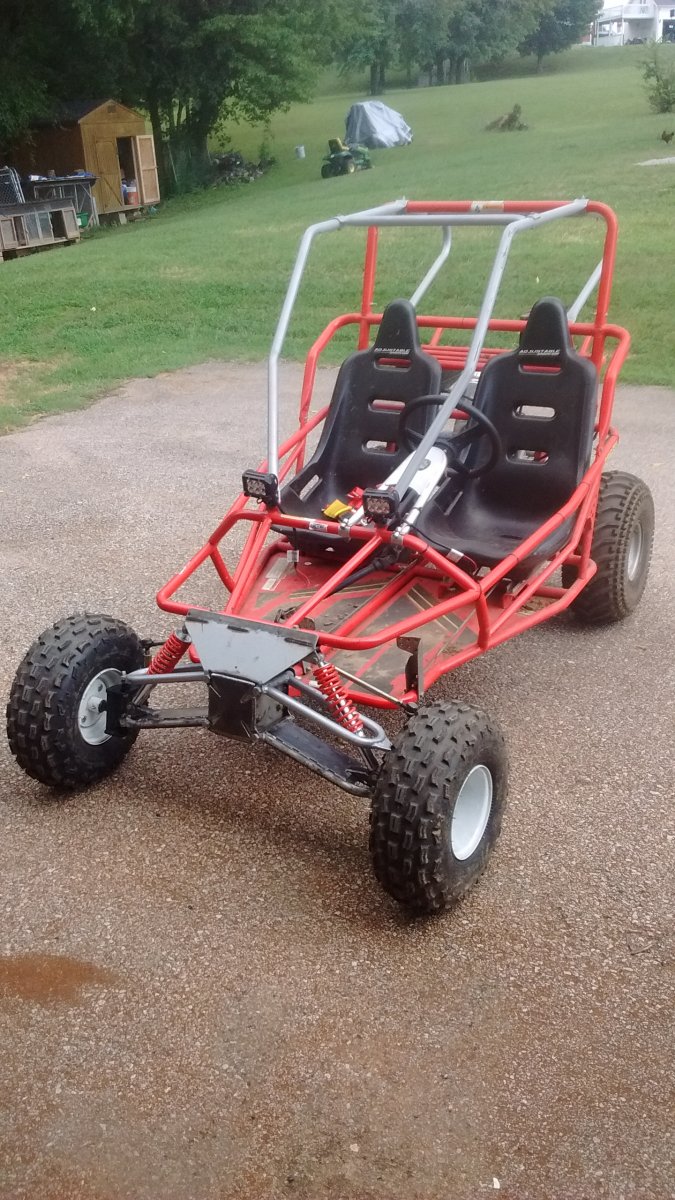
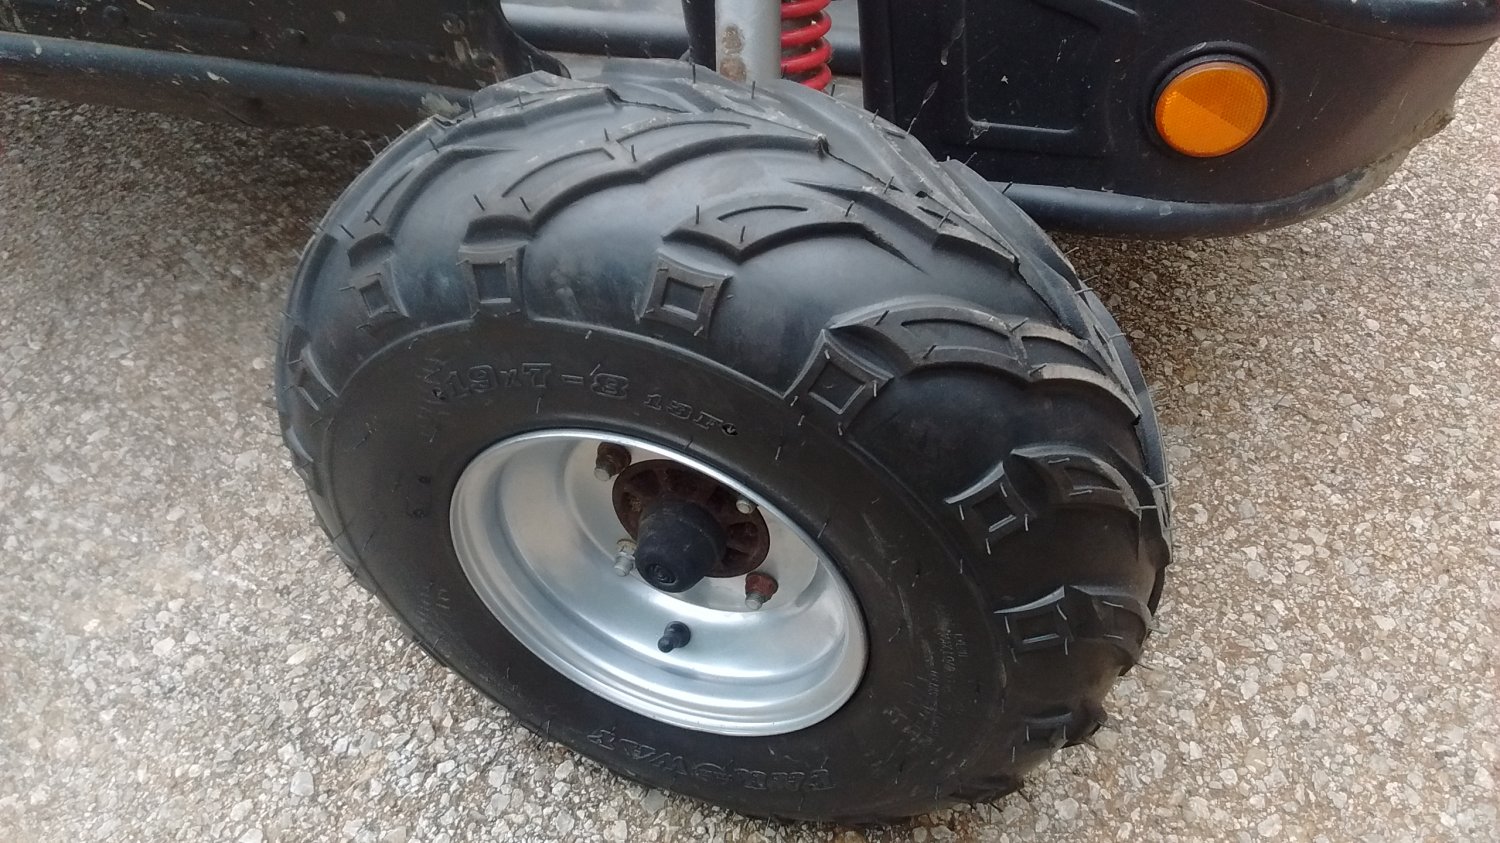
Here are the ATV hubs and front brakes installed. This took a bit of custom fab and modifying to fit properly. In the end I also wound up having to run 1.5" wheel spacers on the front for the new wheels to clear the brakes.
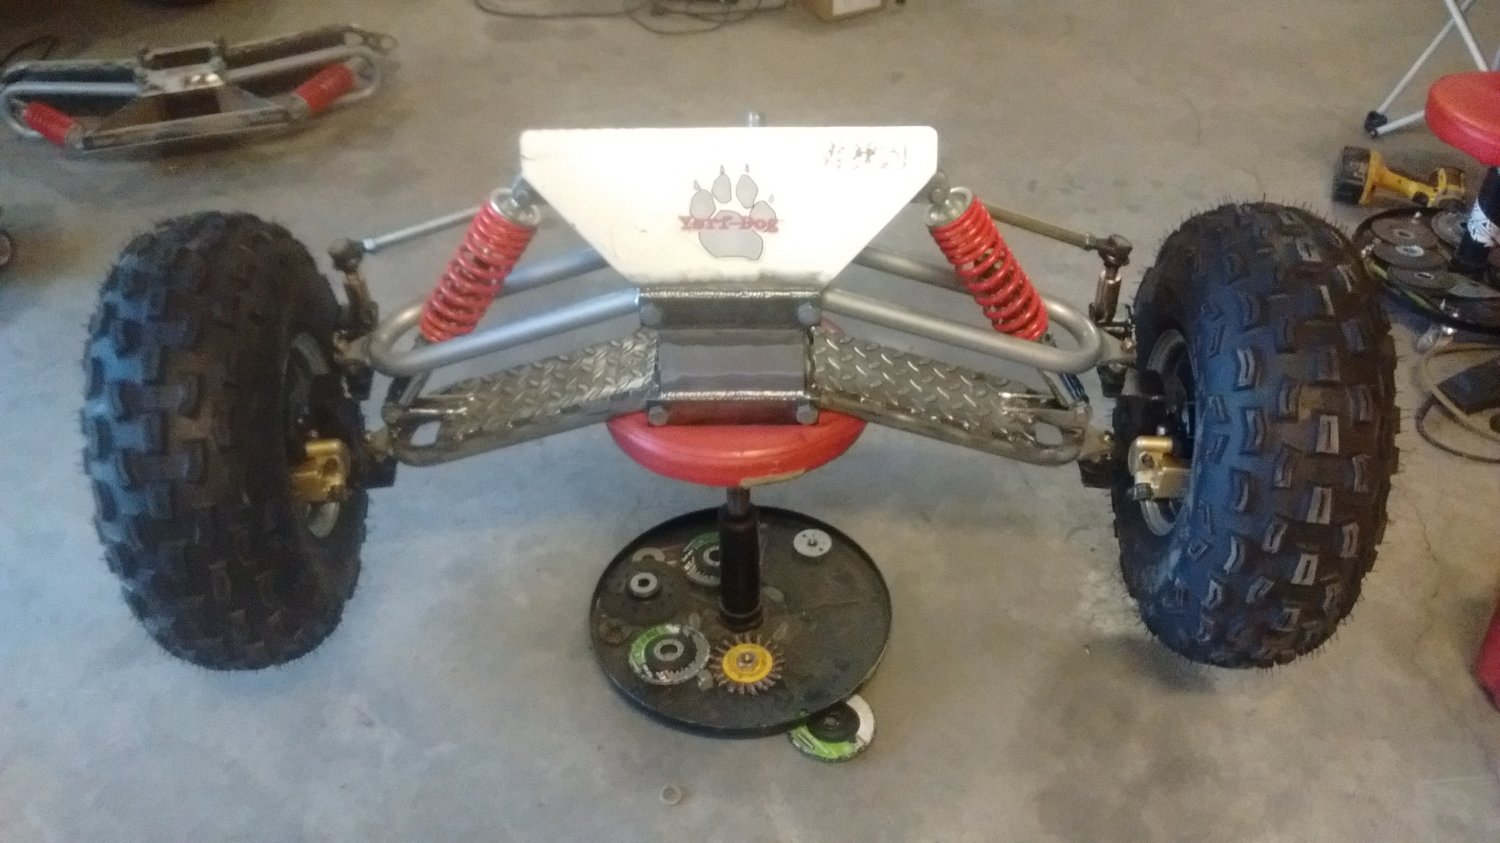
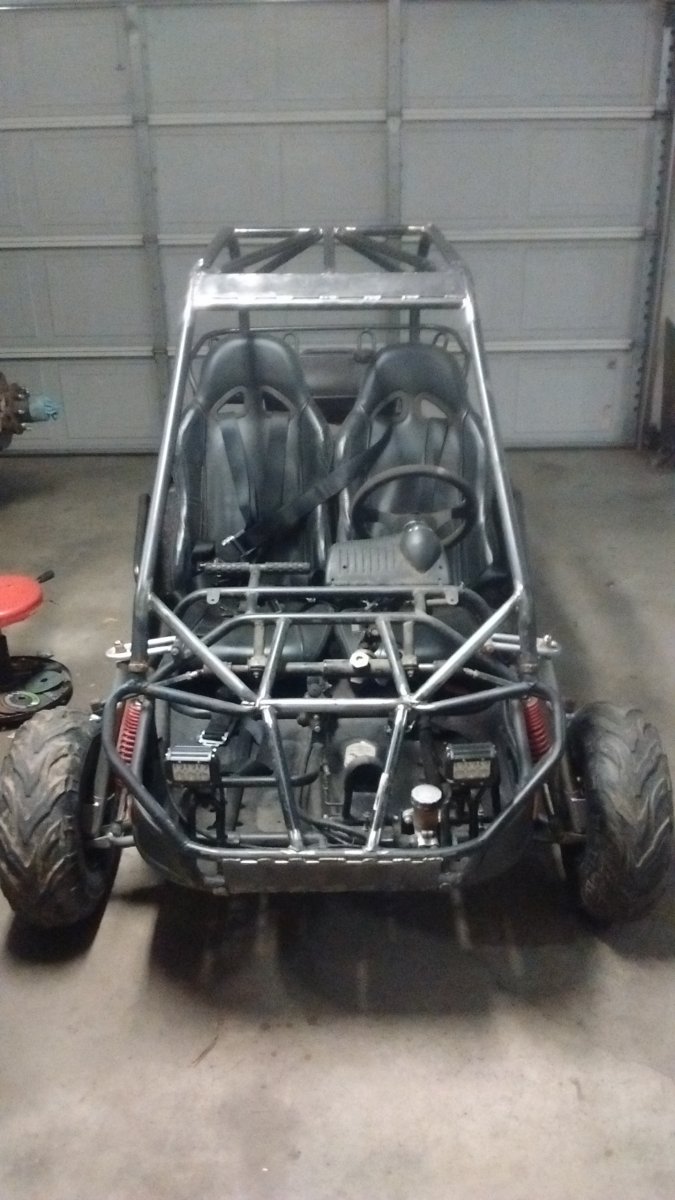
Here is the finished front end, complete with modified steering rack, wheel spacers, wheels & tires, etc etc.
I'll be throwing some videos of this thing up here soon. It is a blast to drive.
This brings me back to the original Iron Cross Buggy frame which will now be the Beast Mode Buggy. It is the all out, no expense spared build. It will have the 175cc big bore motor, reverse gear box, racing suspension seats, bigger rear axle, front brakes, ATV hubs etc etc.
Here is the front end being built on the Beast Mode Buggy.
Went with a simpler, but stronger front suspension bulkhead reinforcement design on this buggy.

Here are the ATV hubs and front brakes installed. This took a bit of custom fab and modifying to fit properly. In the end I also wound up having to run 1.5" wheel spacers on the front for the new wheels to clear the brakes.
Here is the finished front end, complete with modified steering rack, wheel spacers, wheels & tires, etc etc.
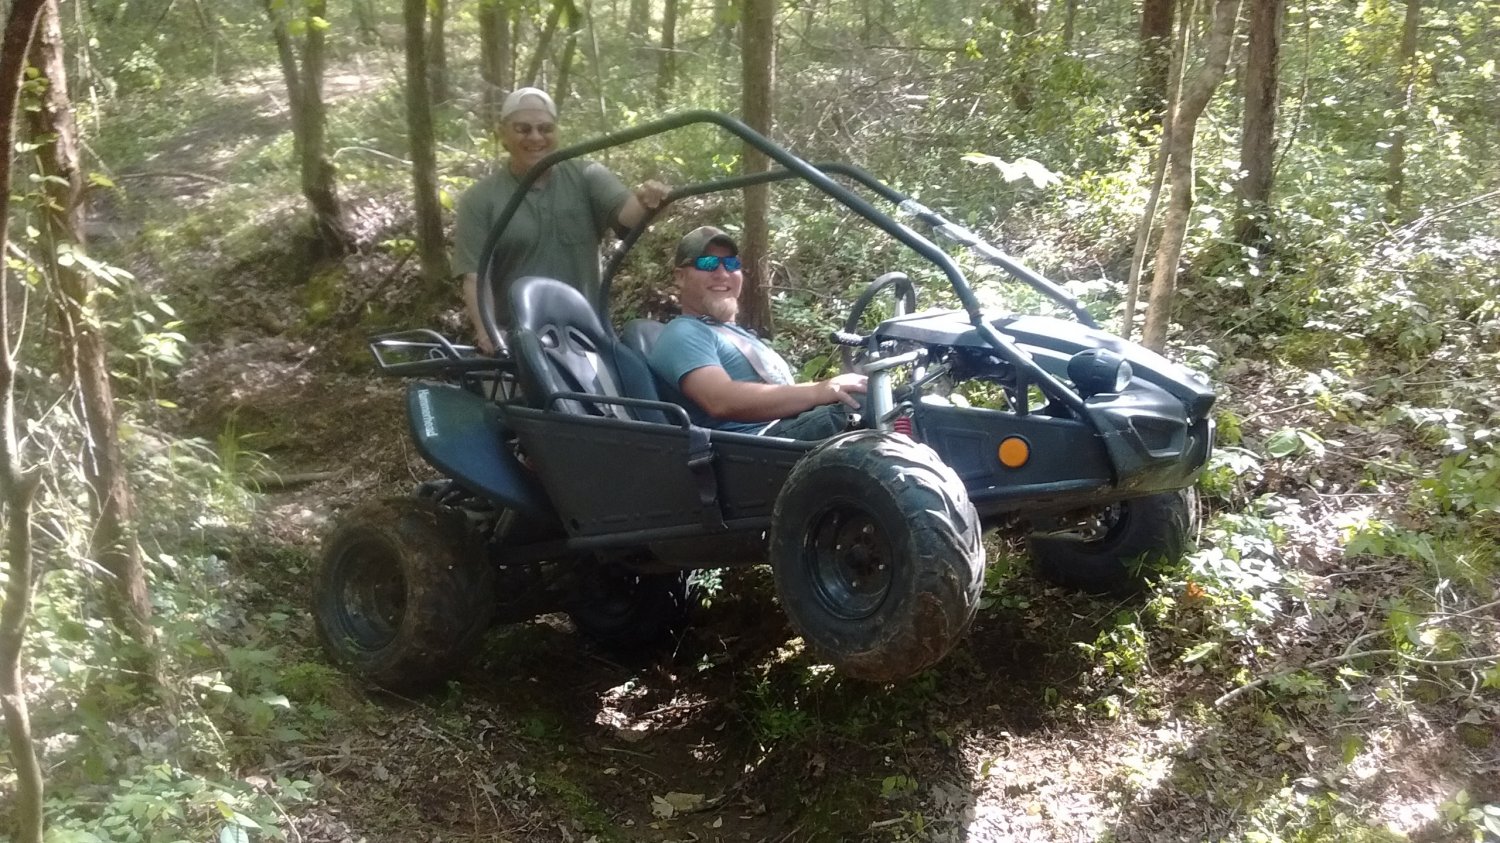
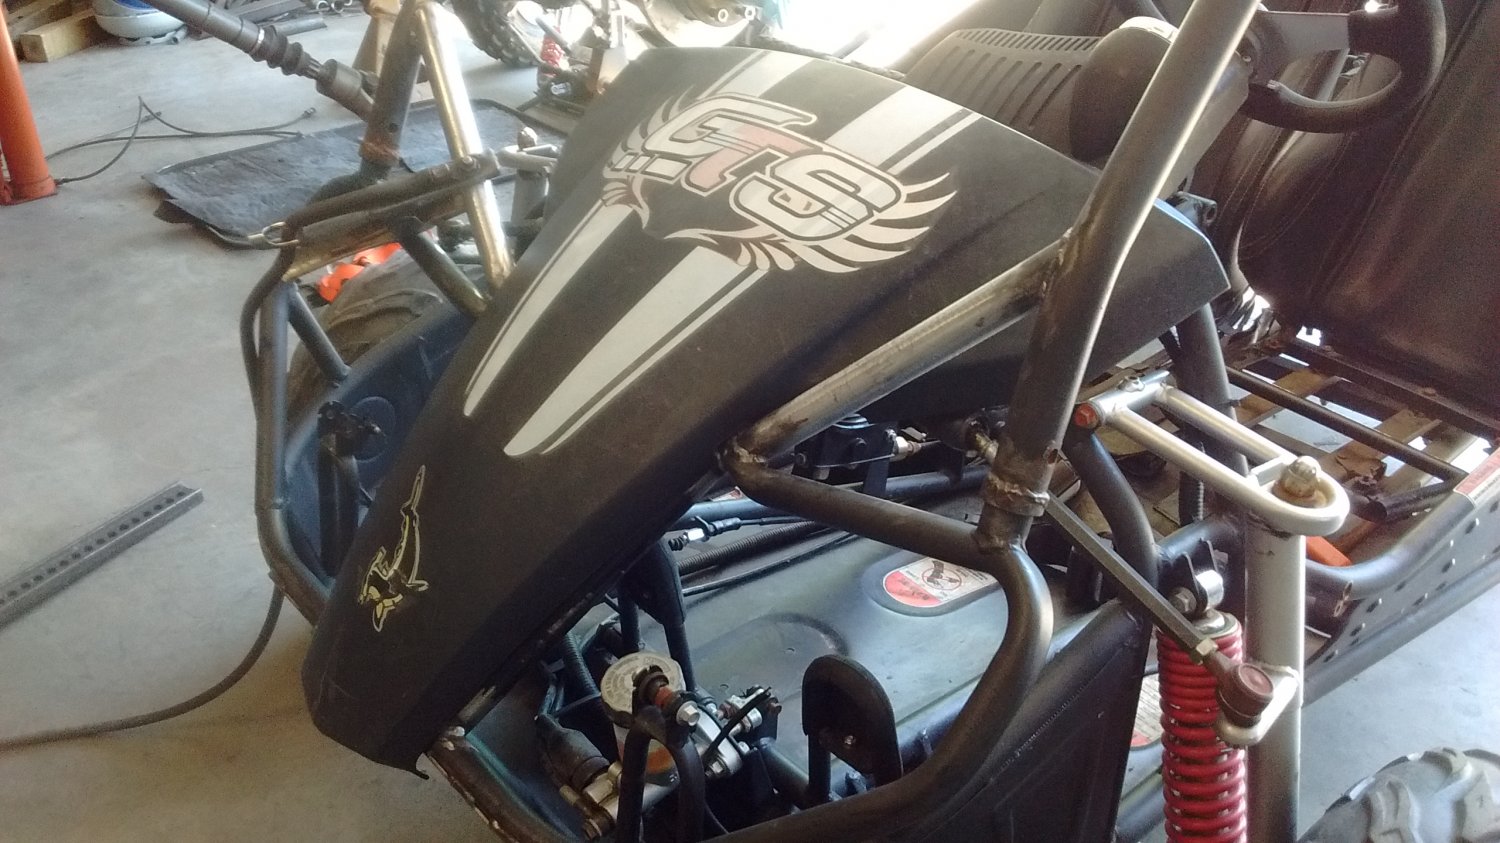
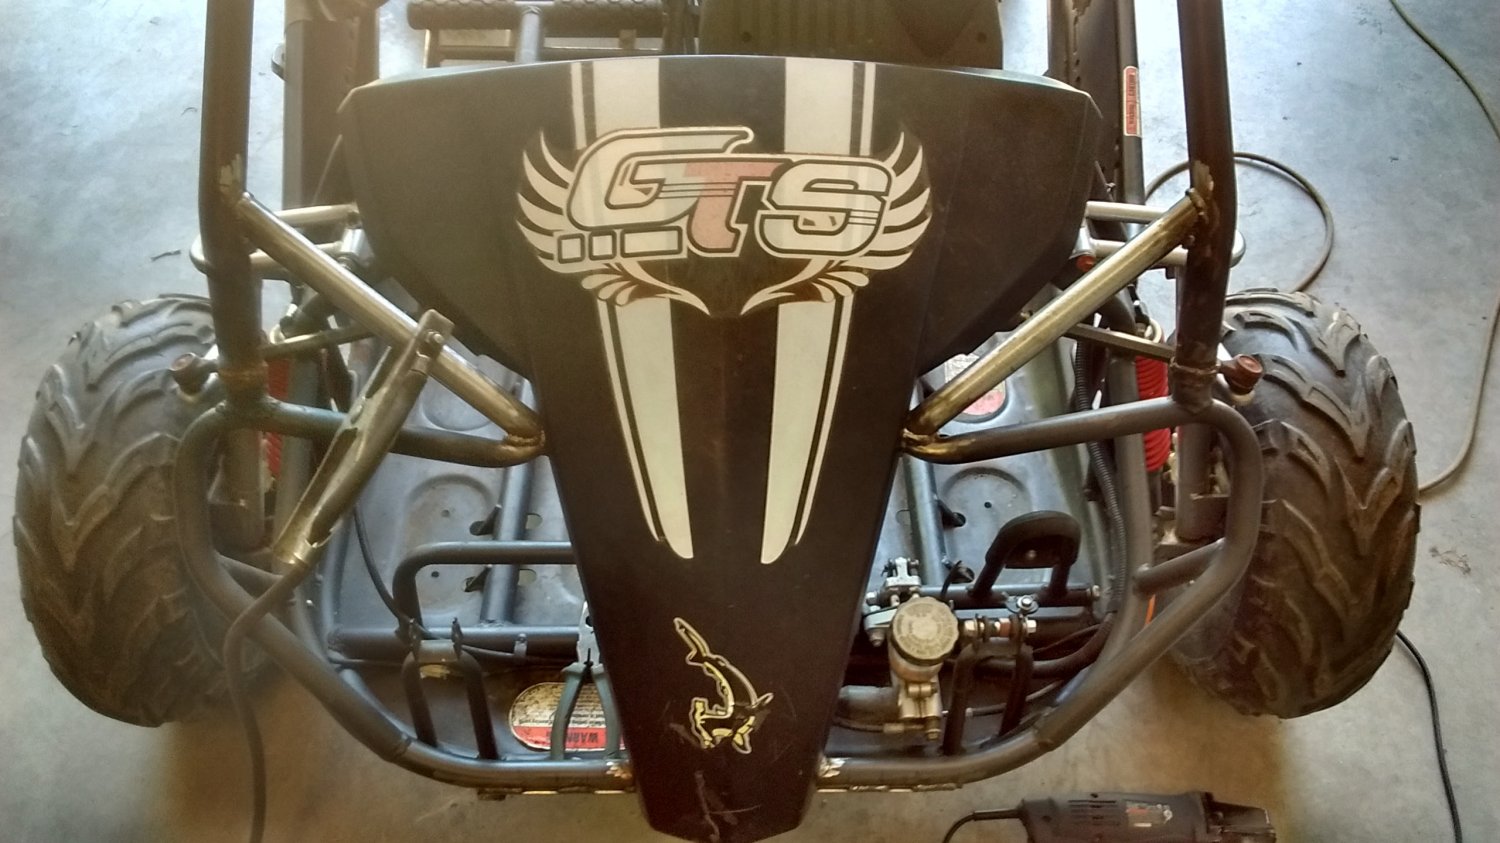
Ok, last project, the Pebble Bouncer Buggy. This is a Hammerhead GTS150 that I picked up on a whim for a seemingly good deal. Plan was to just replace a few things here and there and then flip it for some quick cash. Well, as you can tell by my other builds, I can't leave anything well enough alone. In the end, this thing got lots of upgrades, tube work, skid plating, new upsized tires, etc etc.
This was it's maiden voyage in stock form when I brought it home and had some buddies over to ride. This is one of the trails on my property. A lot of them are just like this one, lots of three wheel, off camber, hill climbs, ravines, etc etc. It's an AWESOME trail system for these things.
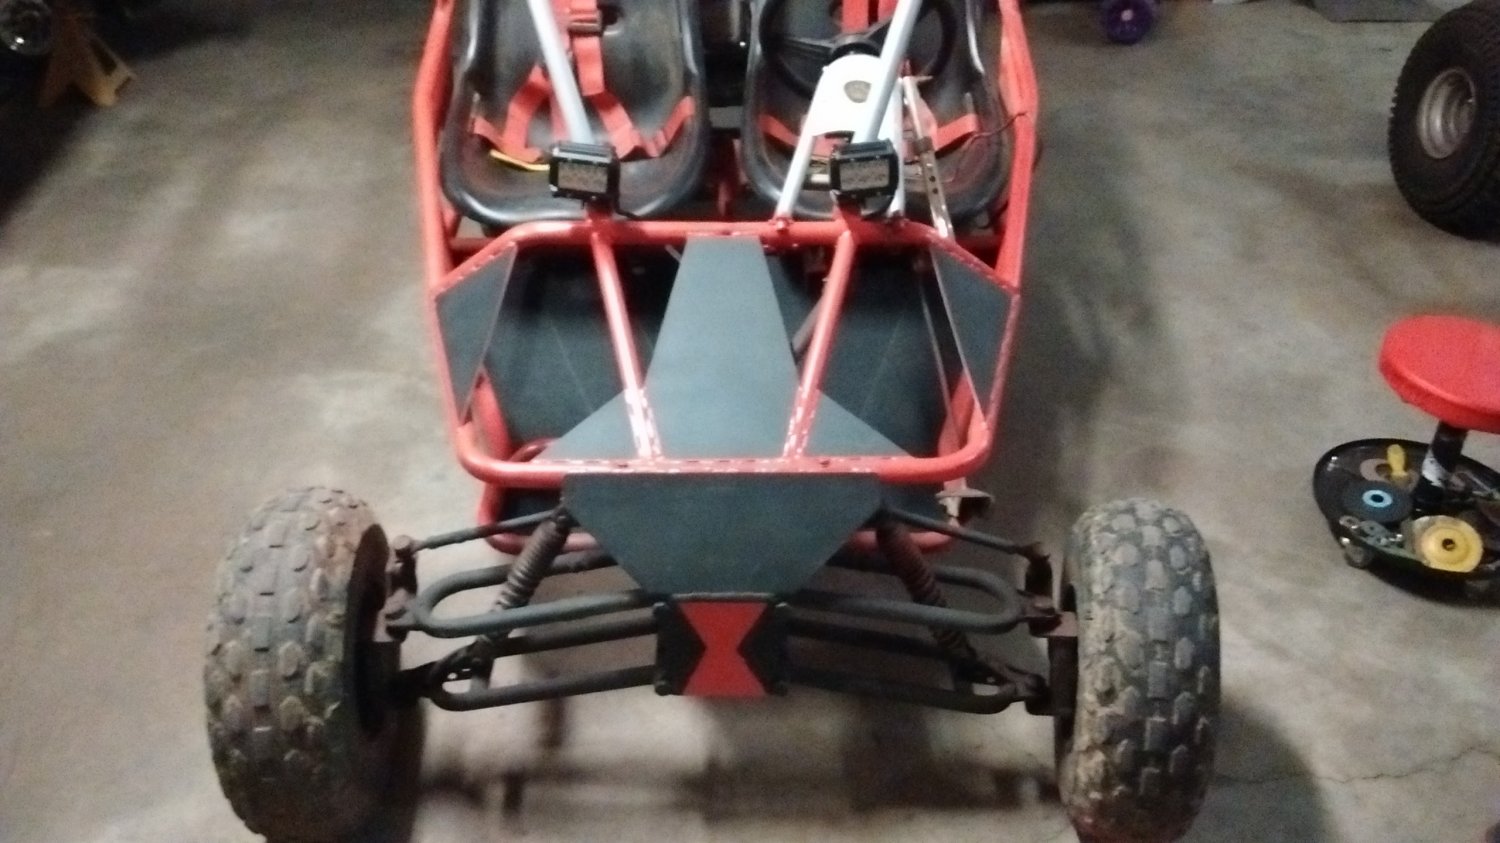
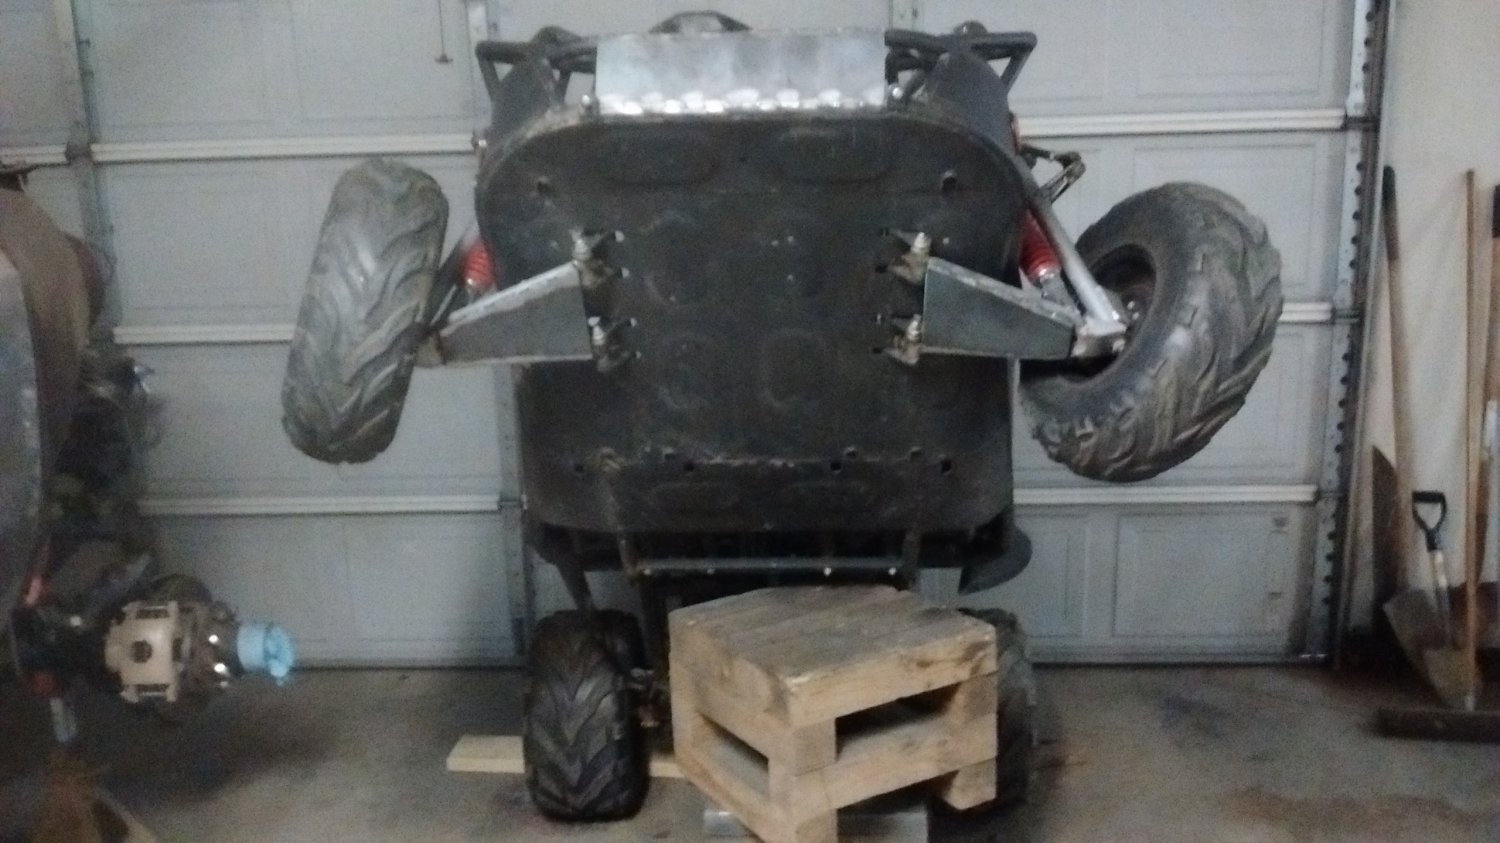
First thing I did was plate the lower control arms and weld a bumper skid on.
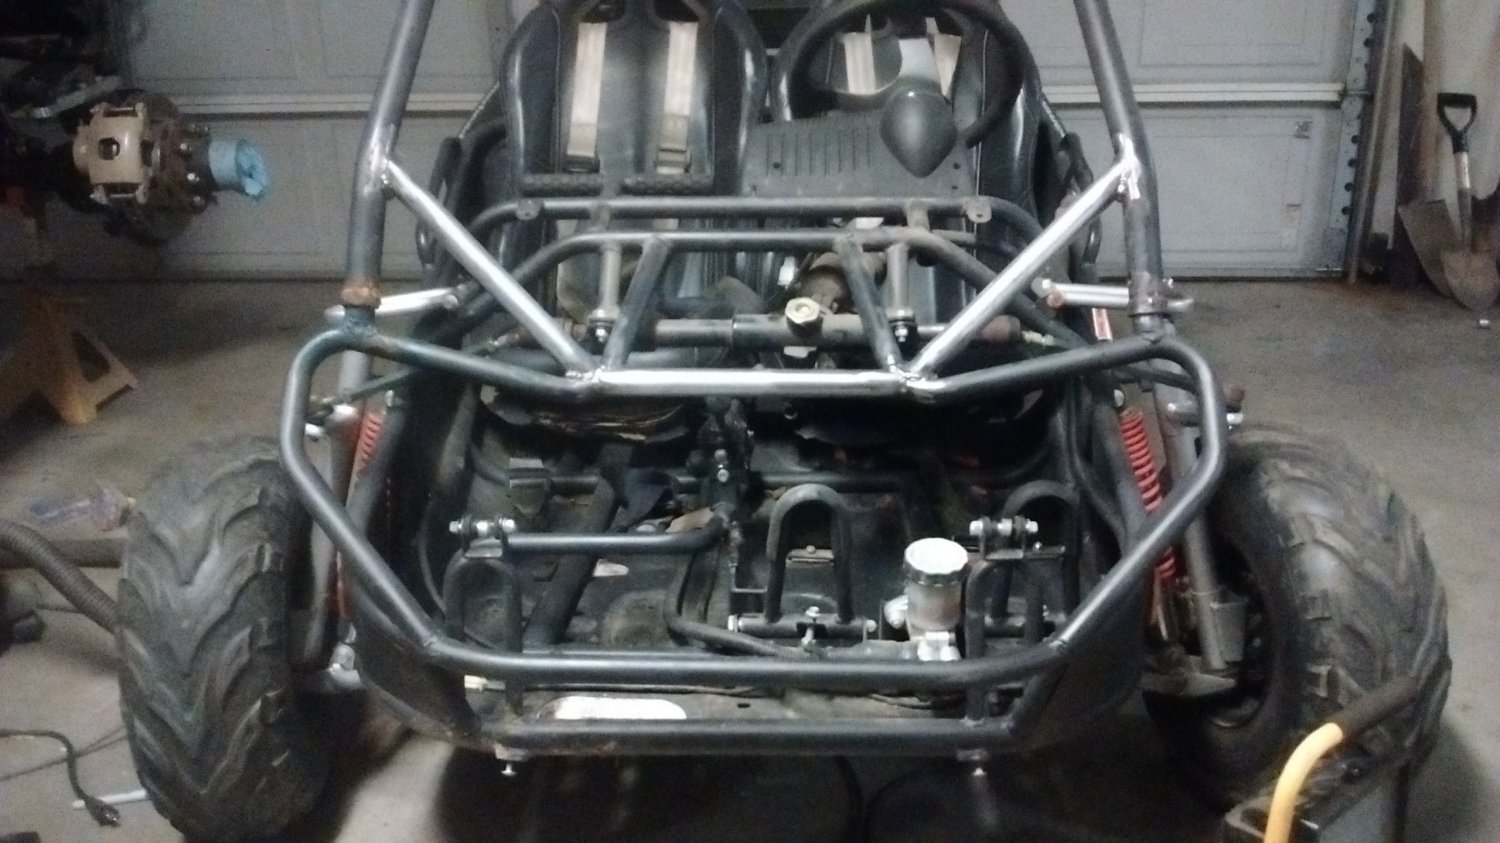
Next I started beef up the front end which was pretty lacking.
Added the cross bar and two diagonals to tie in the cage to the front end better
Then added some down bars from the cross bar to the front bumper skid
All of this gets hidden by the cut down hood.
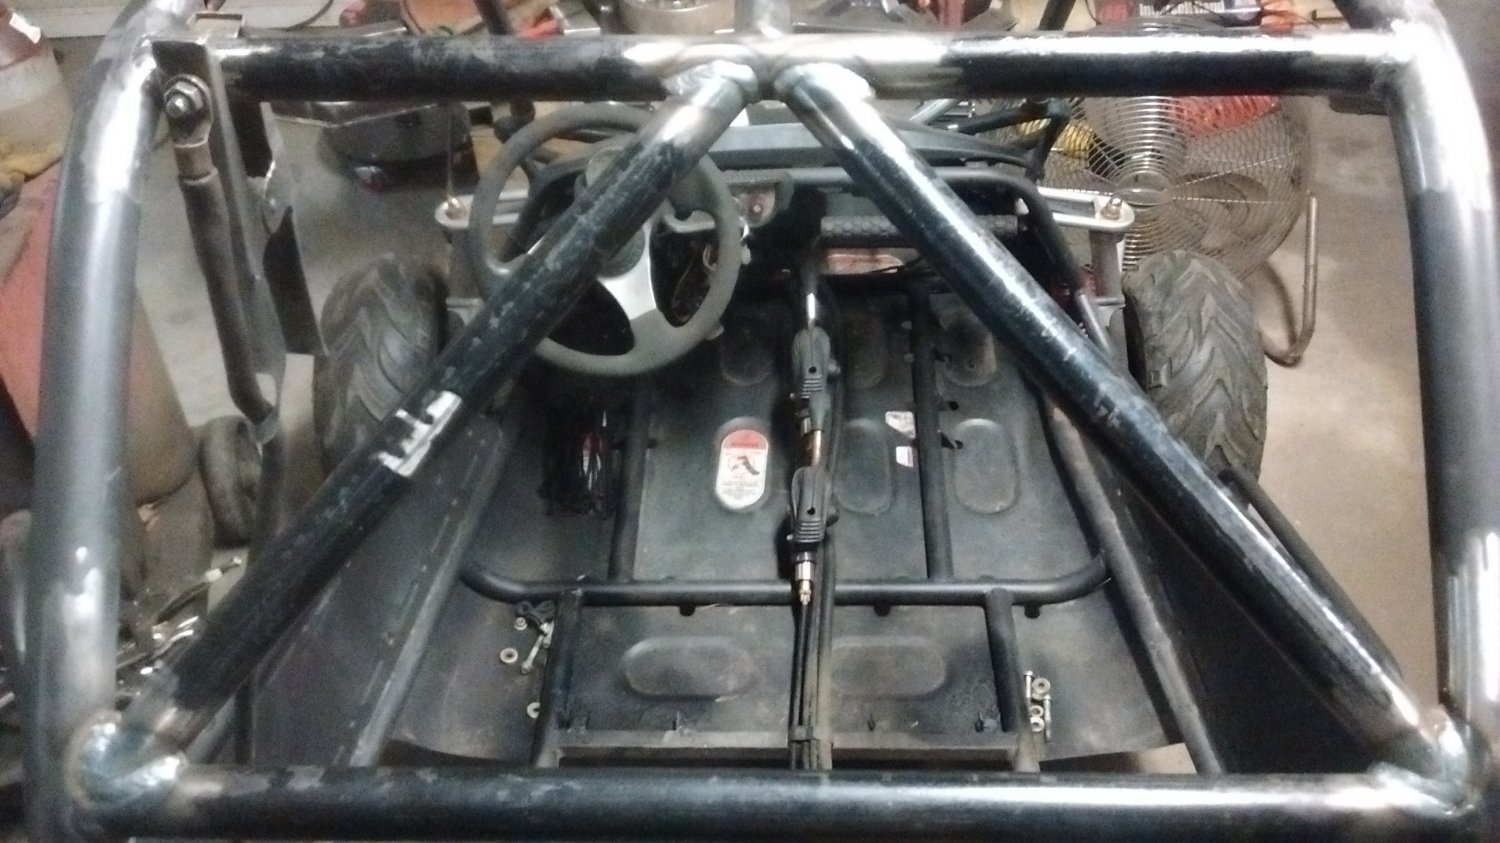
With that done, I turned my attention to the rest of the cage.
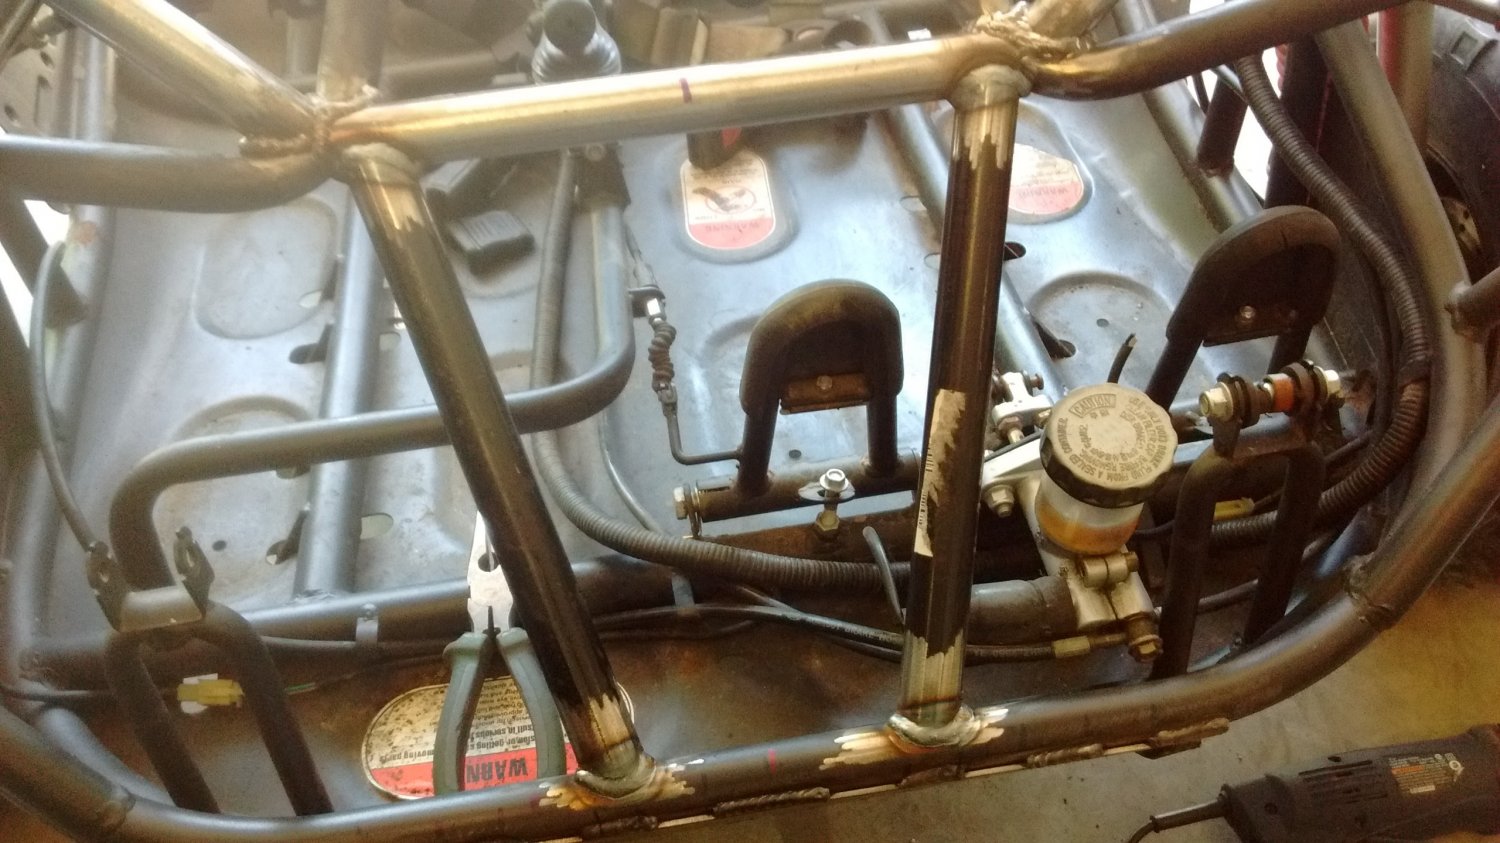
Added three cross bars to the open tube structure and then one down the center
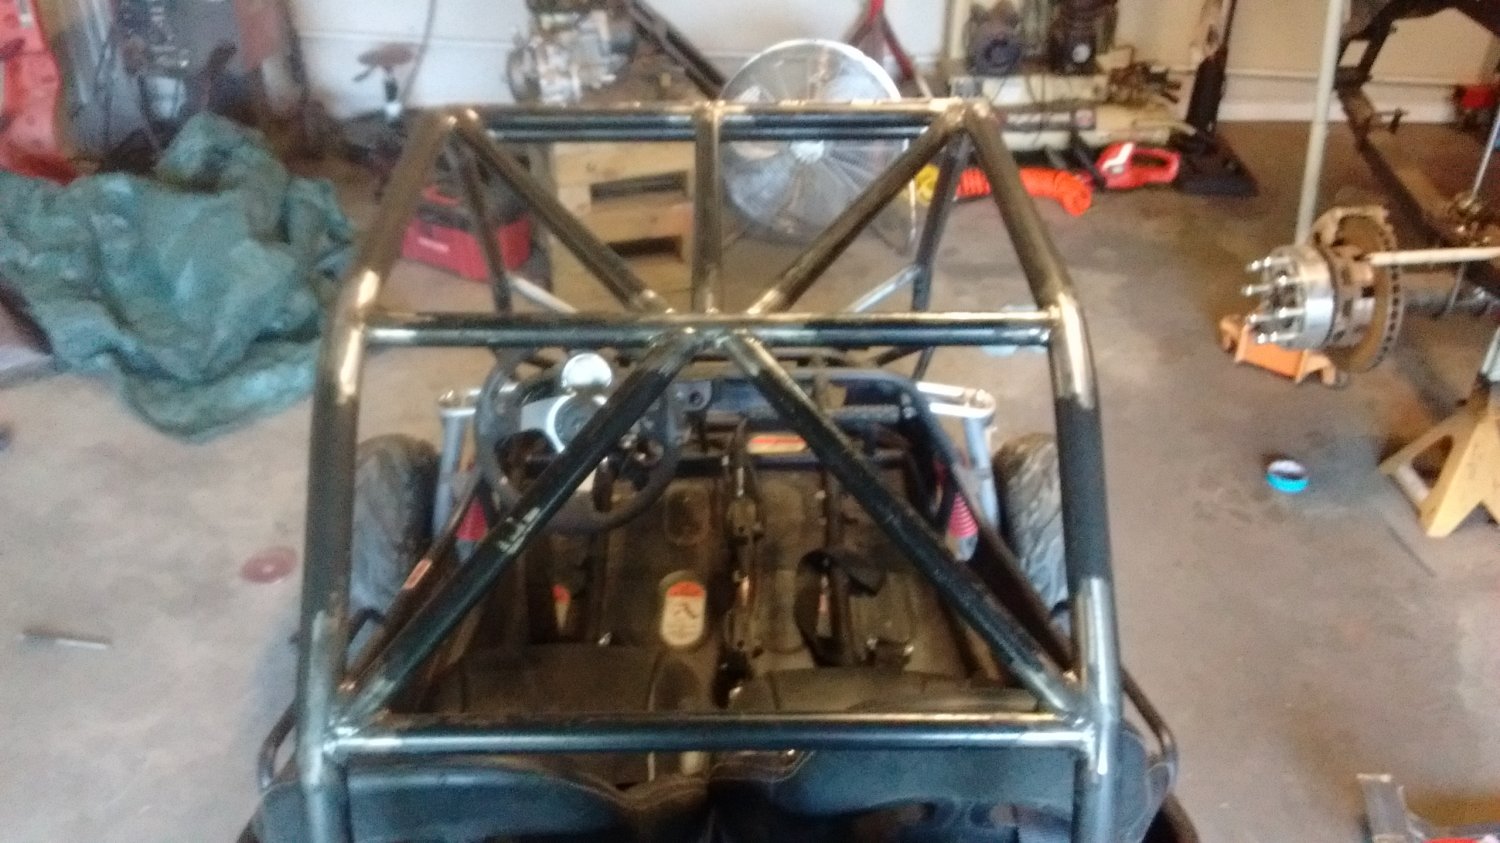
Then added some diagonal bars on the back
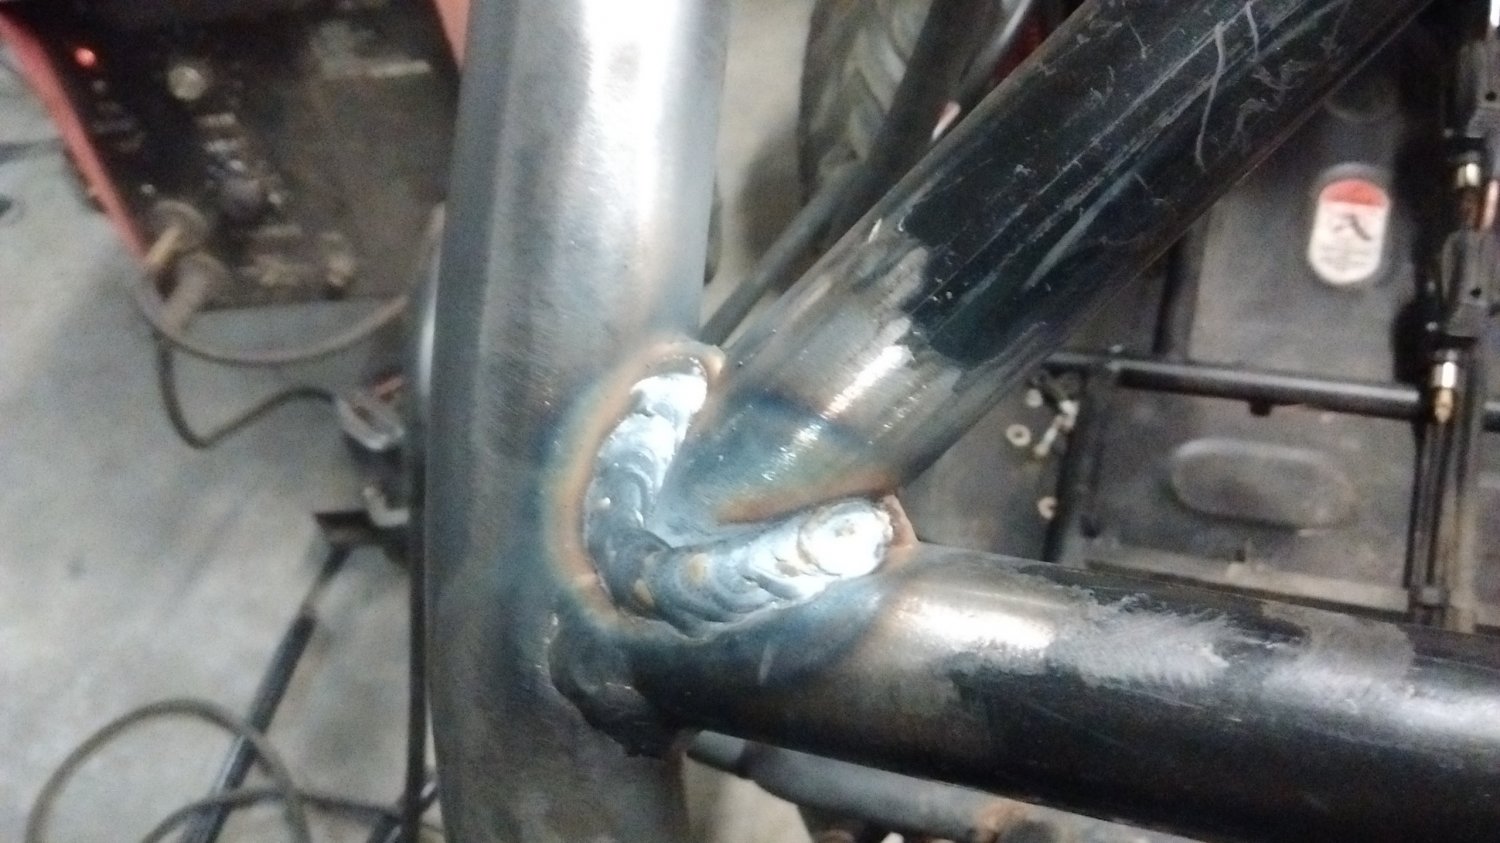
Close up of the diagonal bar intersection at the lower cross bar
Added more diagonal bars up top
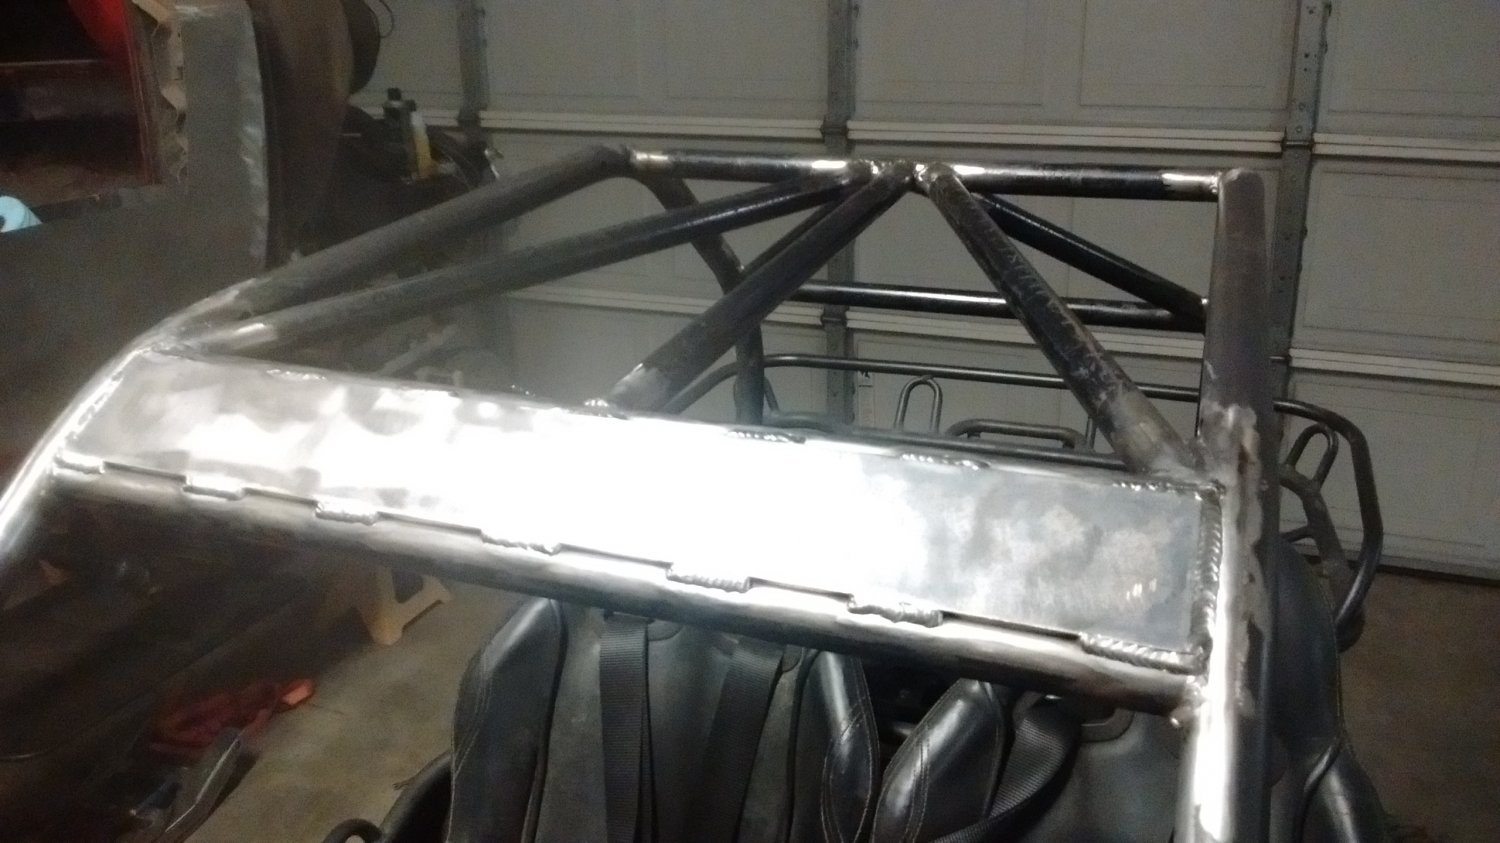
And added another front cross bar with some 3/16 plate to make a window banner visor thing
This was it's maiden voyage in stock form when I brought it home and had some buddies over to ride. This is one of the trails on my property. A lot of them are just like this one, lots of three wheel, off camber, hill climbs, ravines, etc etc. It's an AWESOME trail system for these things.
First thing I did was plate the lower control arms and weld a bumper skid on.

Next I started beef up the front end which was pretty lacking.
Added the cross bar and two diagonals to tie in the cage to the front end better
Then added some down bars from the cross bar to the front bumper skid
All of this gets hidden by the cut down hood.
With that done, I turned my attention to the rest of the cage.
Added three cross bars to the open tube structure and then one down the center

Then added some diagonal bars on the back
Close up of the diagonal bar intersection at the lower cross bar
Added more diagonal bars up top
And added another front cross bar with some 3/16 plate to make a window banner visor thing
Here it is with the tube work complete on the old wheels and tires
New wheels and tires
Finished product sans hood and rear fenders
New wheels and tires
Finished product sans hood and rear fenders