CK5
Register an account today to become a member! Once signed in, you'll be able to participate on this site by adding your own topics and posts, as well as connect with other members.

Project "Scope Creep" 84 K5 Crawler

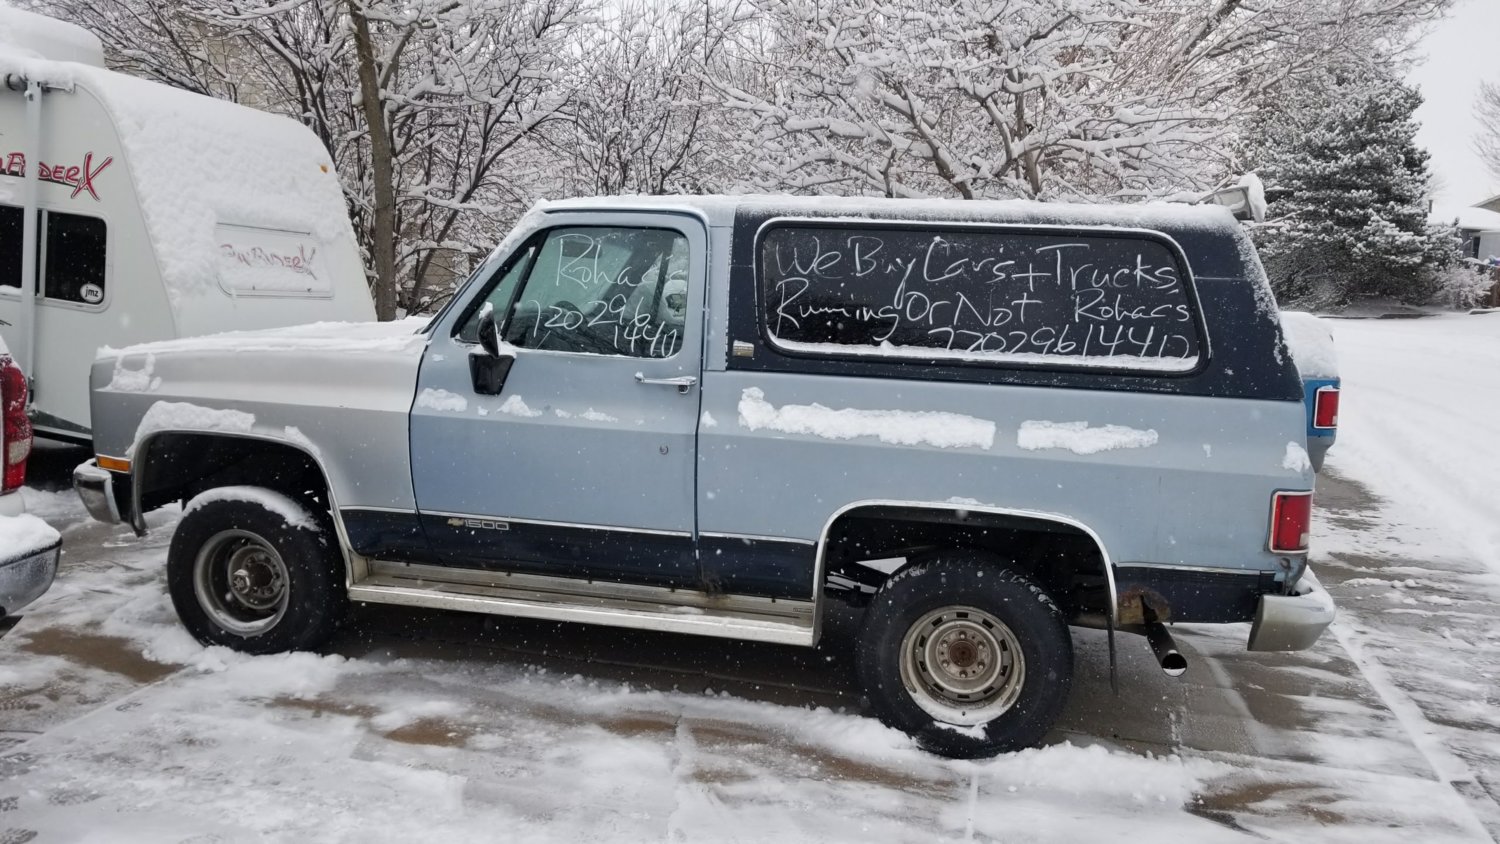
Well since you brought up pets and the build, my poor Border Collie slides all over the place in the bed, trying to think of something to put back there to give her more traction? Thought about buying either scrap carpet or one of those rubber bed mats that I could velcro in or something? Would be interested in your solutions!

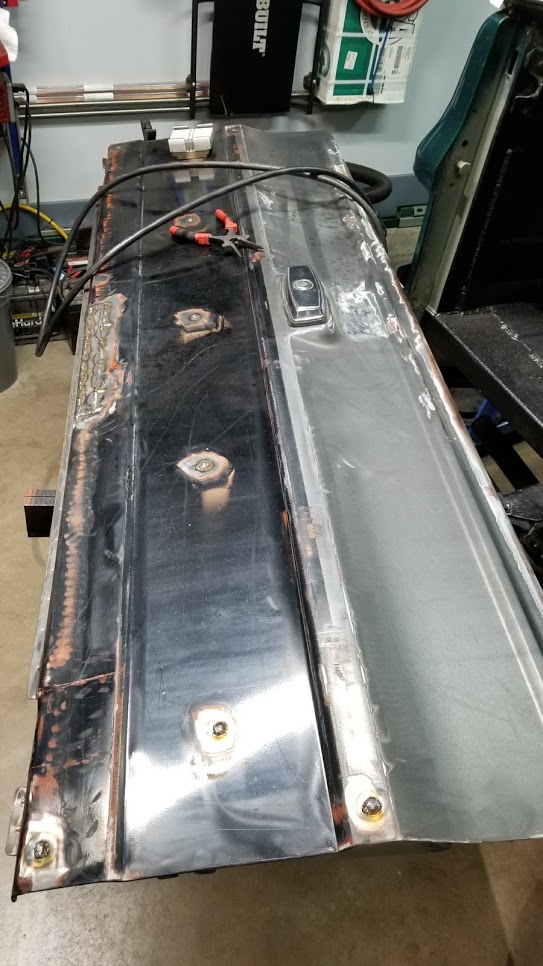
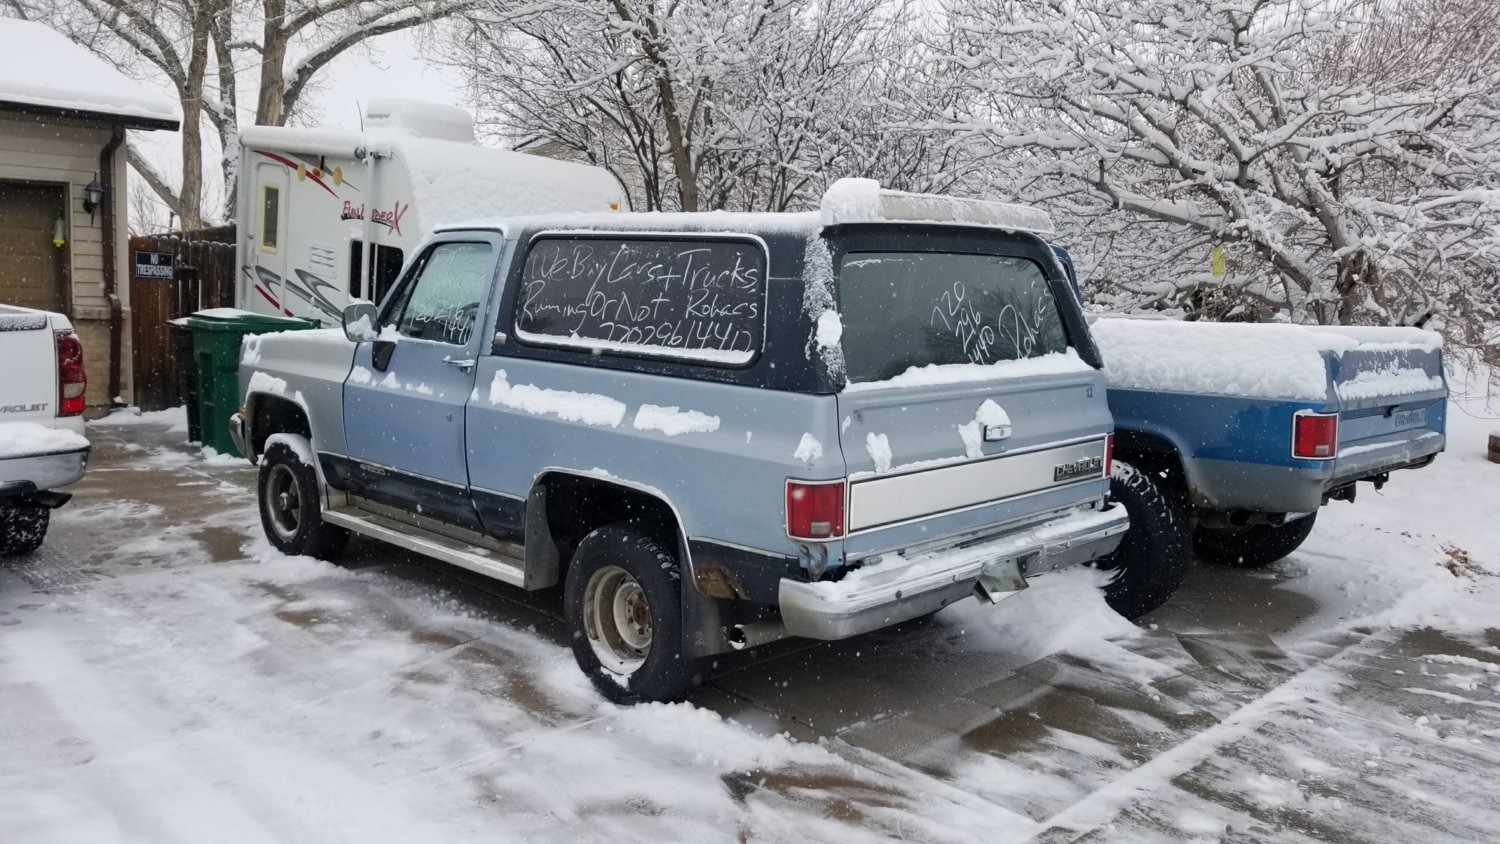
I'm still up in the air with what's going back there. I want wheel well toolboxes on both sides, then maybe some kind of wooden platform on the floor like those drawers everyone builds or a great way to stow the spare tire. Then I planned on carpeting everything, even the tops of the tool boxes. The lab likes to stick her nose out the window, so I know she'll hang out on the box with her nose out the slider.
 
So...this is also a thing. I'm swapping to an NP241c so I need an electronic speedo. I've found a few forums on this (that I still need to fully read), but I stumbled upon a G30 van and this cluster. I think there's a way to get this working on the 241c? I may just end up using my cell phone's GPS speedo. Not like I can speed in this thing anyway.

20170501_161406.jpg
 
It's been a while, had other things come up.

Latest project: replace tailgate. Below is one I found at a junk yard and the repairs that were necessary. I pulled all the trim and filled the holes. Smoothed out and painted.

 
I took the gas door to a local paint shop that matched the paint to a Fiat (yea, I wanted to vomit too). But it's a good color. This is my first time ever painting with real car paint, so be nice, haha.
I built the stand out of 2x4's to strip the old tailgate, then used it to paint the replacement.


This is after wet sanding the color


This is after the clear was applied, had quite a bit of orange peel


After sanding the clear with 2,000 grit and buffing with 3 different McGuire compoinds


Finally, checking the match. Not bad.

 
So...I happened to mention to my father that I needed a new key tumbler/switch for the rear glass. He called me last night and said someone was swinging by with a good tumbler. I asked for details, he said it was the whole assembly.

An hour later, this showed up.


Apparently he bought it from his scrap guy who thought it was worth more than sending to the crusher.
 
Last edited:
I'm seriously not sure what I'm going to do with this thing.

Parts vehicle? Nope, I already have all the parts I need, and then some.
Use the drivetrain? Nope, I'm already swapping 6.0L, 6L80E, NP241c, 14BFF, and D44.

I'm not scraping an entire truck for a nicer rear window and a set of hinges.

So here are the details:
1990 K5 Blazer
1 Owner
EFI
700R4
100% factory and complete
Silverado package
Runs, drives, good title
A bit rusty and beat
Came with factory owners manual, haha.

I have enough good parts I'm taking off project Hulk, I could actually make this thing a decent vehicle.

Here are more pictures.

 
Last edited:
Starting to design over-the-wheel-well toolboxes for the Blazer. I want to make a panel inside and mount all the chassis wiring inside, so I figured this would be a good time to focus on that. I took all the dimensions best I could, then designed a model in AutoCAD. Then built a wood-frame model for test fit. The wood, unfortunately, is 1.5" square, whereas the actual box will be 1"square aluminum. I had to adjust the drawing for the difference, but the exterior dimensions are exactly as they will be with the final product.

Dimensions and angles included if anyone wants to build their own. The drawing below is for 1"square tubing. I may play with the angles a little and see if I can get a tighter fit over the wheel well.

Also, it sits 2.5" under the bed-rail to utilize that space and should sit nearly flush with the wheel well on the inner-side of the interior.

View media item 32606View media item 32605View media item 32604View media item 32603View media item 32602View media item 32601View media item 32600
Back some years ago I was working on a diesel swap for a friend and he designed boxes just like you're doing. Except he did a wood/ Styrofoam blank and wrapped it in fiberglass. About four layers of the heavy mat and then smoothed it with body filler and painted it. Each box weighed about ten pounds and was extremely durable. They were also waterproof. Just a thought. Aluminum is good stuff but I always fear a rattle back there. His were as strong as any I have seen and cost about 100 bucks in material for both sides. If you want to try it pm me and I'll help get you going.
 
Back some years ago I was working on a diesel swap for a friend and he designed boxes just like you're doing. Except he did a wood/ Styrofoam blank and wrapped it in fiberglass. About four layers of the heavy mat and then smoothed it with body filler and painted it. Each box weighed about ten pounds and was extremely durable. They were also waterproof. Just a thought. Aluminum is good stuff but I always fear a rattle back there. His were as strong as any I have seen and cost about 100 bucks in material for both sides. If you want to try it pm me and I'll help get you going.

Don't take away my excuse to buy an AC/DC tig. haha.

In all seriousness, I had thought about wood and fiberglass as well, and I thank you for your input, but I really want to try my hand at aluminum on this project. With the right welds, and some more of that Russian Dynamat knockoff stuff I used in the doors, I don't think there will be a single rattle to be heard. Finally, I honestly cannot imagine this build will weight more than the factory rear seat, haha. But really...that thing is f-ing heavy!
 
I'm interested in seeing the boxes finished up.
 
I forgot to post these. I do have one minor update. I got the 14 bolt shaved and built with 4.56 gears and a Detroit. Also had the front D44 built with 4.56 gears from a Scout...but no pictures because no one cares about a D44 ;-)

PS: NEVER buy the shave kit from Ballistic Fab. Measurements are off and caused me to grind too much off the housing. The last picture shows the bolt holes not aligned in the diff cover. All but one...and that's the one I was using to gauge the grinding process.

View media item 33450View media item 33451View media item 33452View media item 33454View media item 33453
Not only did it take 2 months to receive over $1k in parts from Ballistic, but they F-D this one up.

View media item 33294View media item 33295
 
I'm interested in seeing the boxes finished up.

Those boxes are on the back burner for another year. I've decided not to build them for this project, but instead, I'm building a teardrop-style camper out of a wrecked K5 and will be using the boxes for that.
 
Any updates on this build

Thanks for getting me back into this. My priorities shifted to home remodeling. Then summer came, got a dirt bike, went camping, and 4-wheeling in my K10. Now it's winter and I can get back to the K5.
 
Top Bottom