CK5
Register an account today to become a member! Once signed in, you'll be able to participate on this site by adding your own topics and posts, as well as connect with other members.

1986 K30 6.2 Diesel Truggy Build - "The Mule"

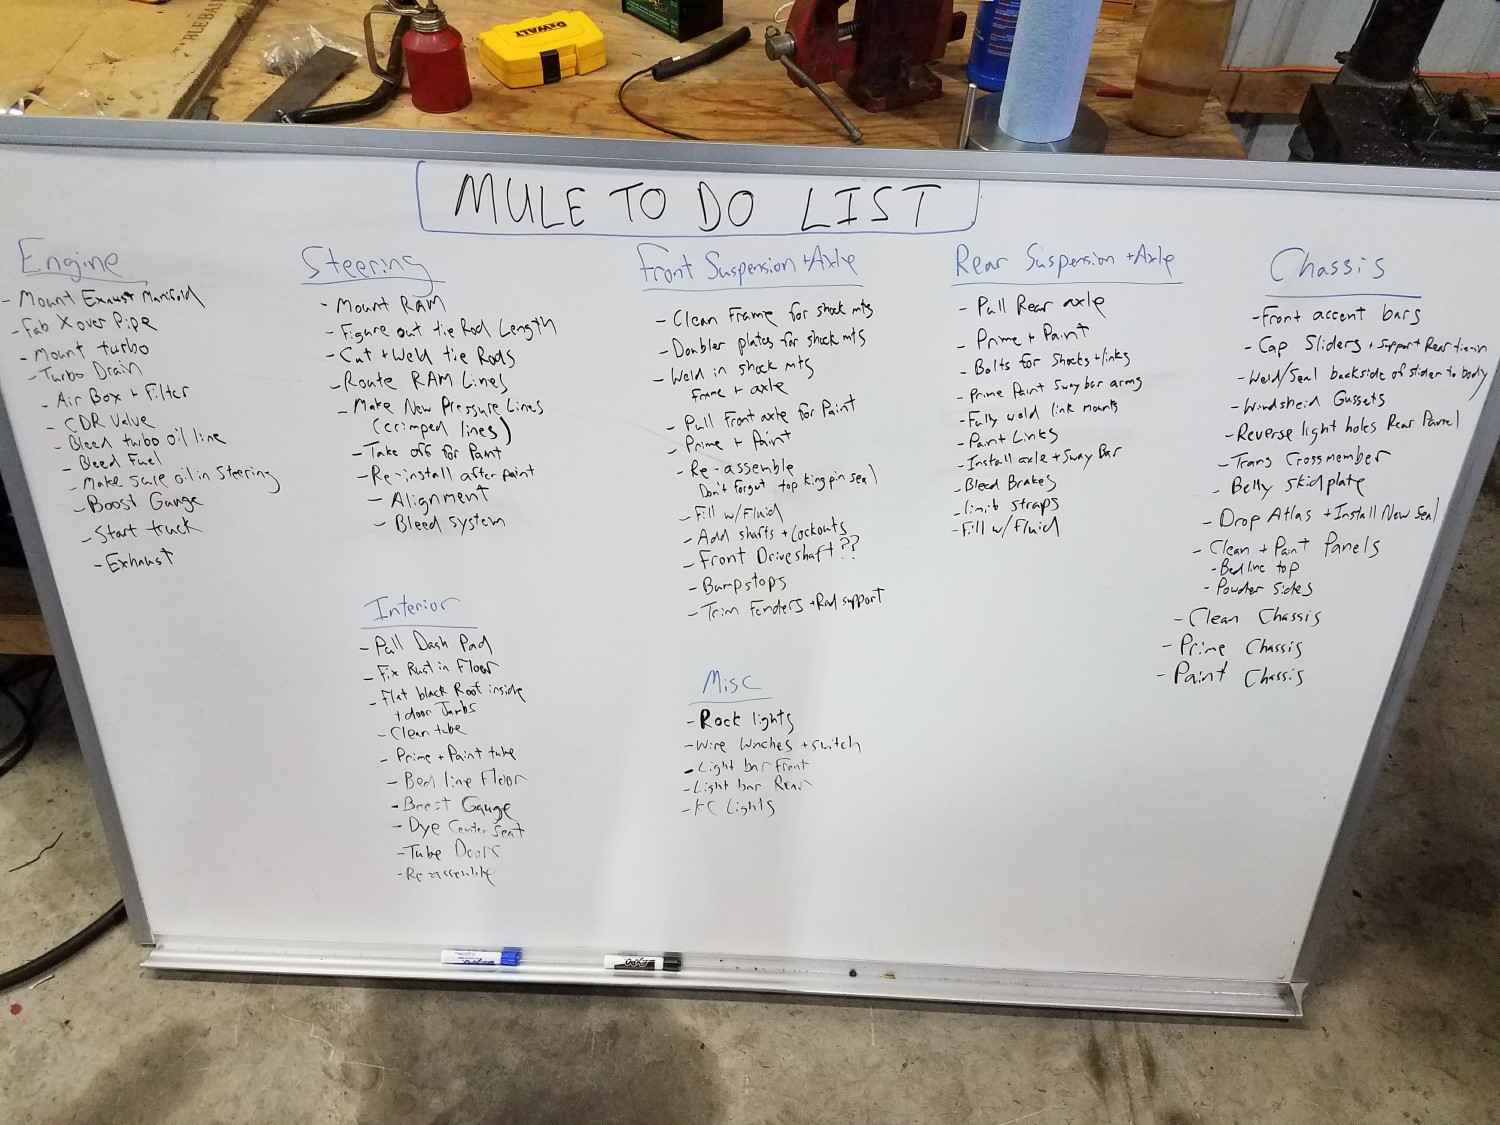
Have not updated in a while but things have been happening.

While I had the intake manifold off I turned up the fuel screw. I chose to go in from the side, some people go in from the top. By going in the side you do not have to worry about removing any linkages, it is just harder to access.

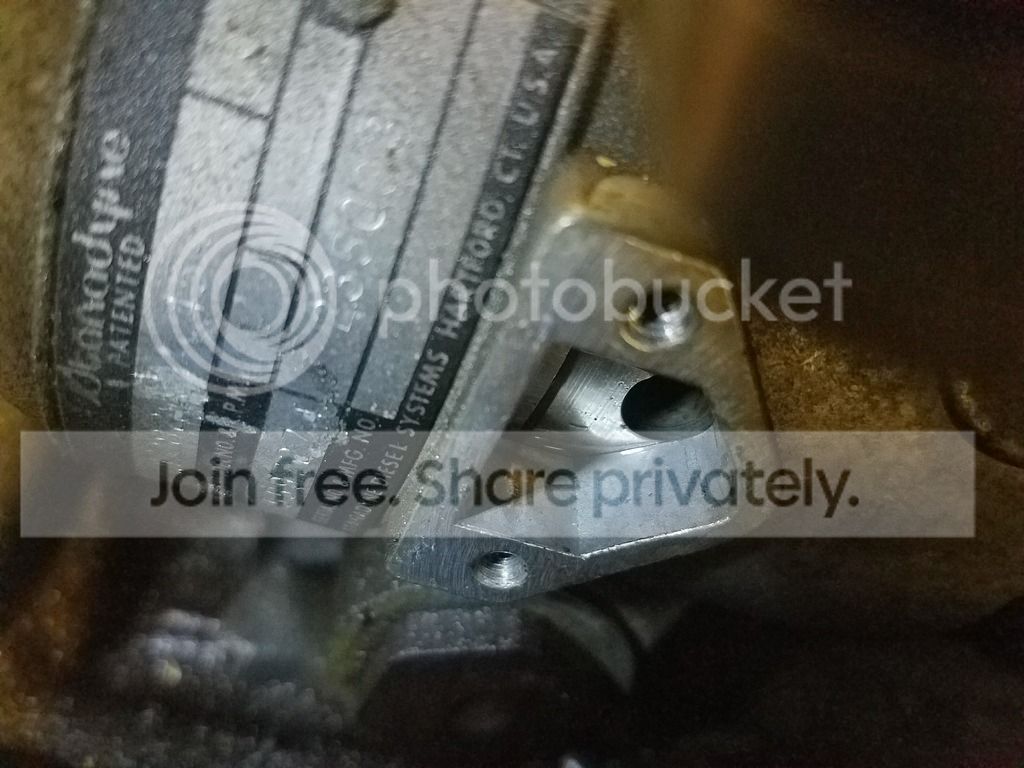
Here you can see the side cover removed and the hole where the allen head bolt resides.


You will have to line up the hole with the access by rotating the crank over and watching through the removed cover. Keep in mind the pump runs at half the crank speed so it could take two full turns of the crank to line up. This is what the allen looks like with a mirror.


Using a 5/32 allen wrench I turned the screw almost a 1/4 turn clockwise to increase the fuel for the turbo. This would be very difficult with the intake manifold in place.


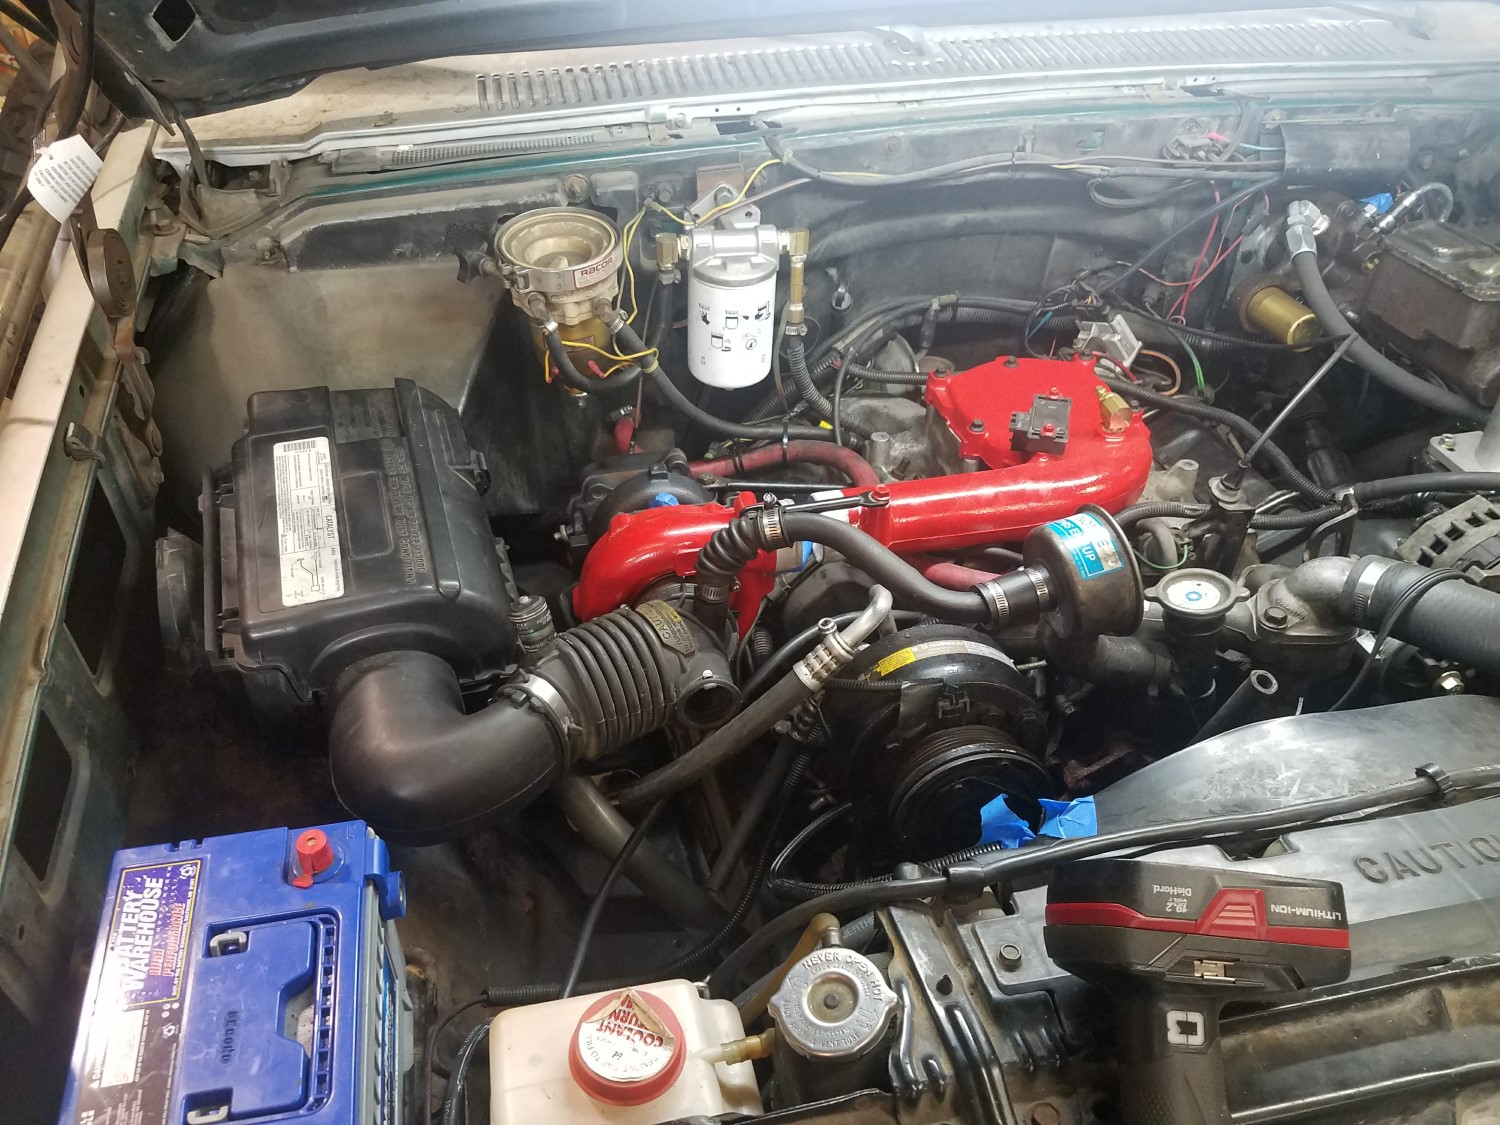
I decided to tee off the oil pressure sender for the turbo oil feed. I actually ended up with two tees. One for the truck oil pressure sender and then a second for the lift pump oil pressure switch. I am running Kennedy Diesel's stand alone lift pump harness that uses an oil pressure switch similar to the stock 6.5 lift pump harness. One nice feature this harness has is a pump over-ride button that turns the lift pump on to bleed filters. From the second tee i bent a piece of 5/8 line and then attached the stock 6.5 braided line. I will get some pics once everything is hooked up.

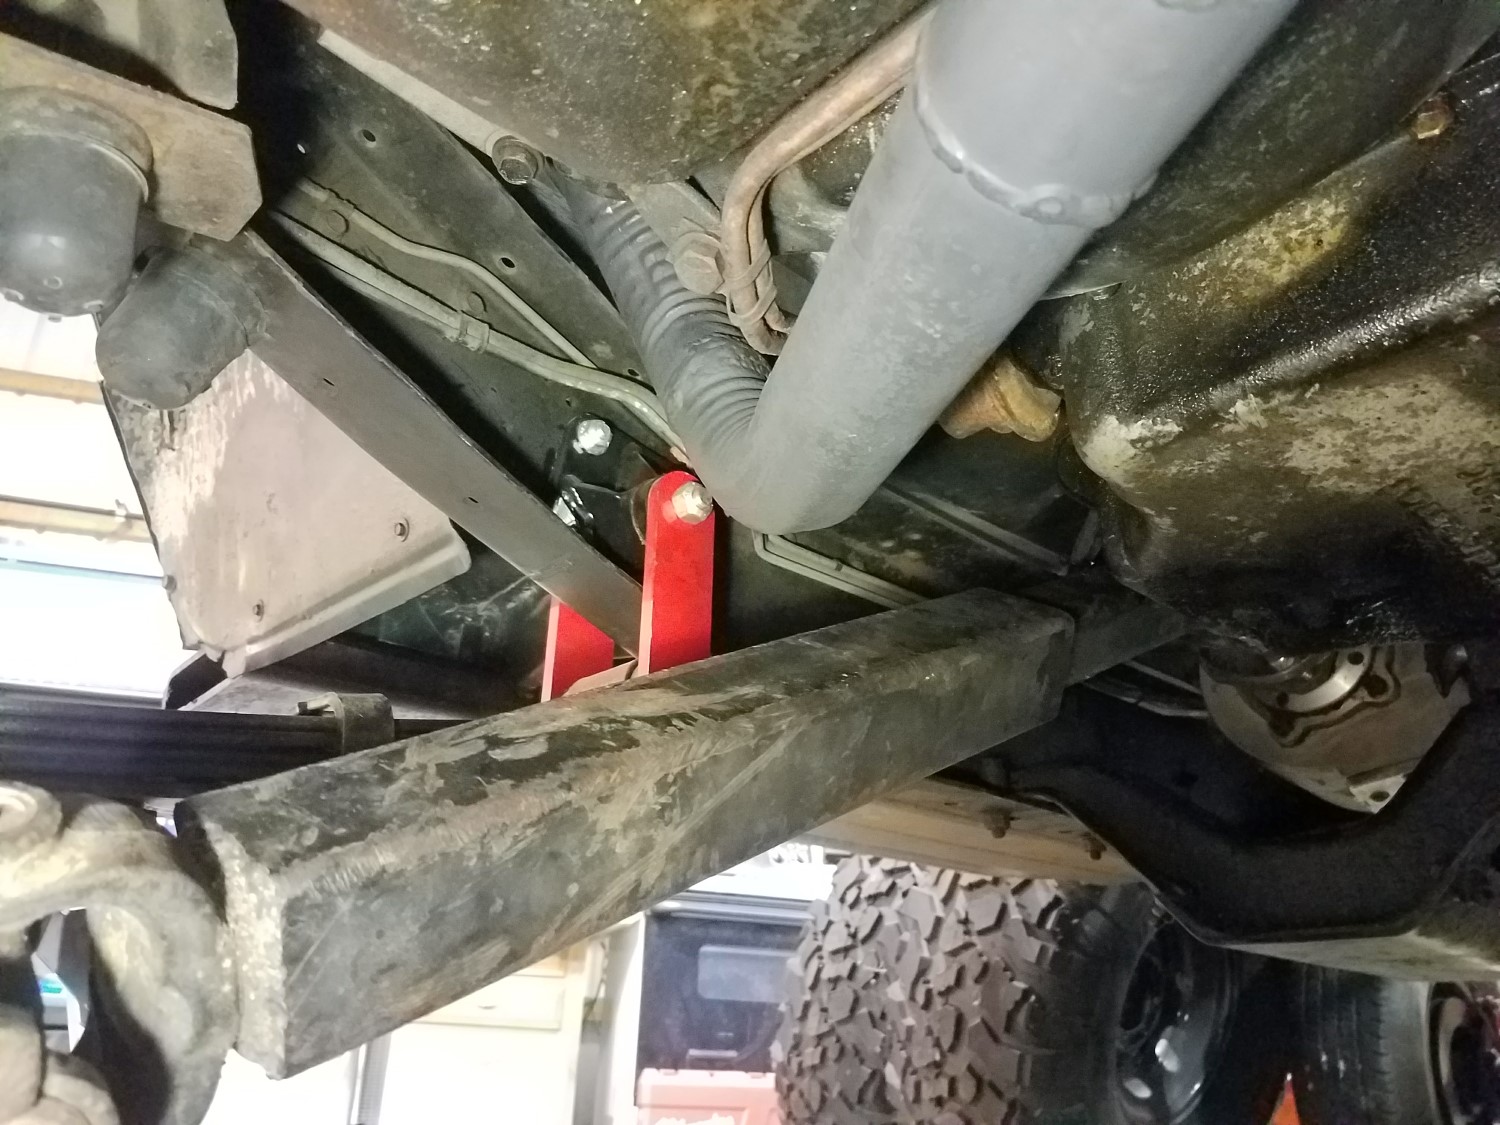
Did a run of black powder coating for a customer so while I was at it I blasted and powdercoated my Dana 60 brake brackets and the brake dust shields. They turned out really well.


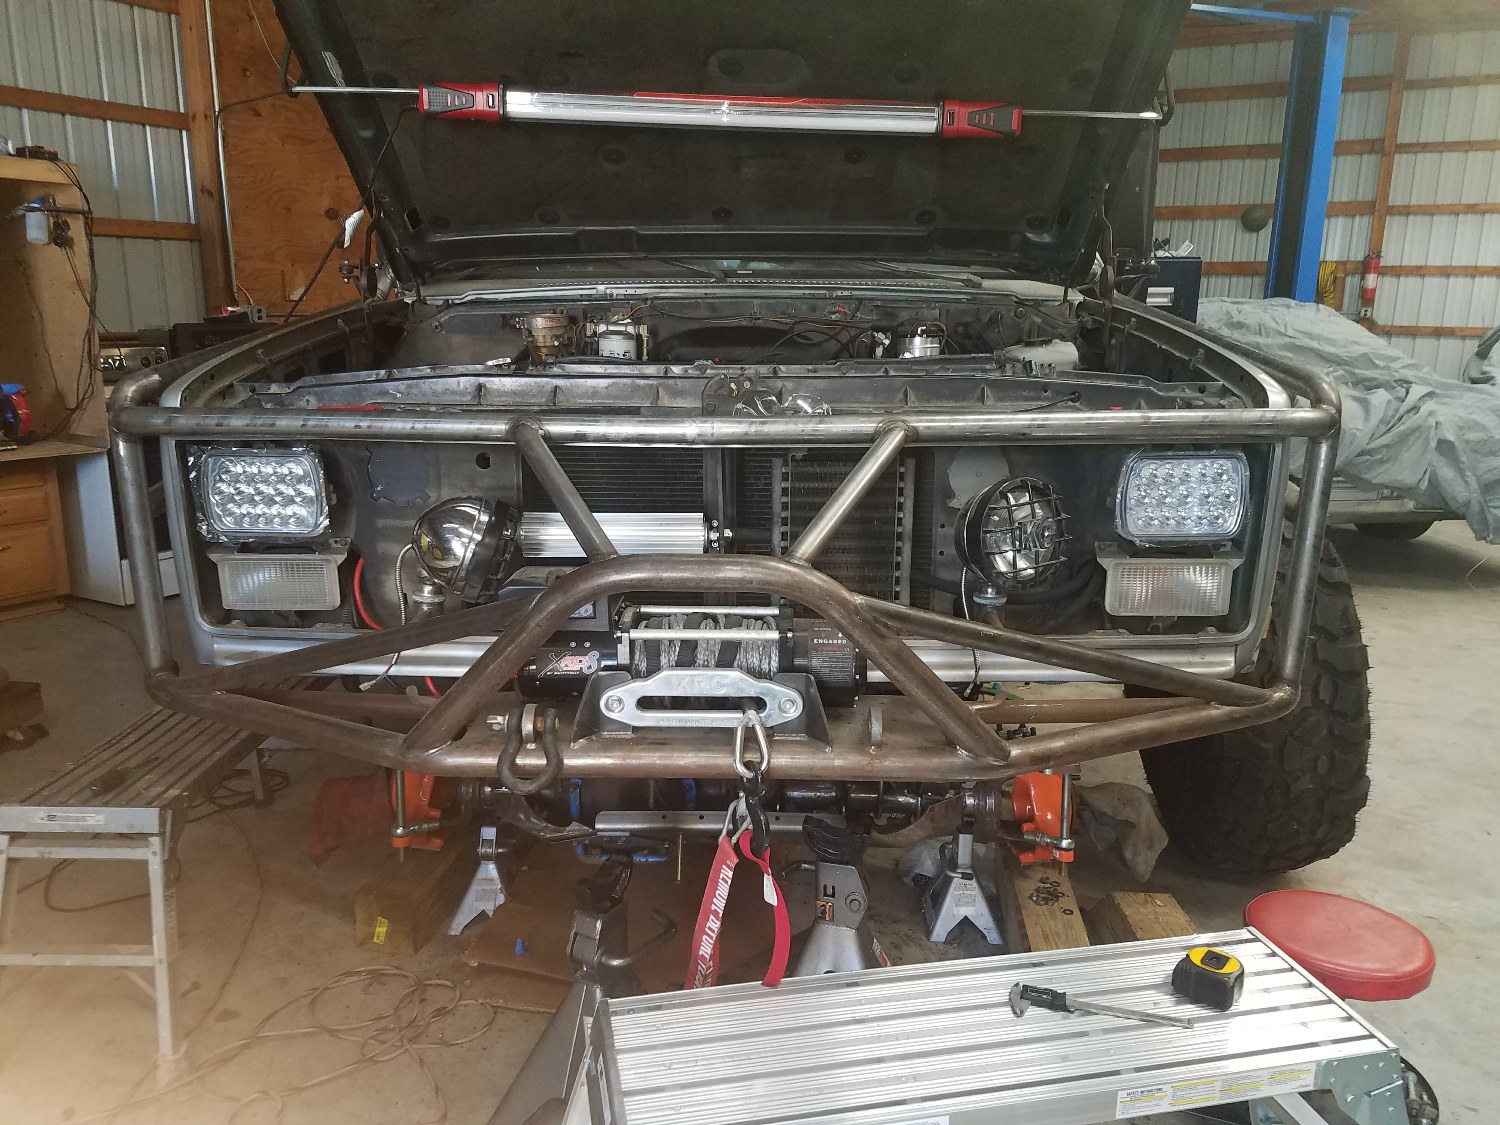
Finally decided on some shock hoops from Ruffstuff. I also ordered some tube disconnects so I can add an over engine bar to connect the shock hoops.


I think they should work out just need to get the turbo mocked up so I can see about clearances on the passenger side.


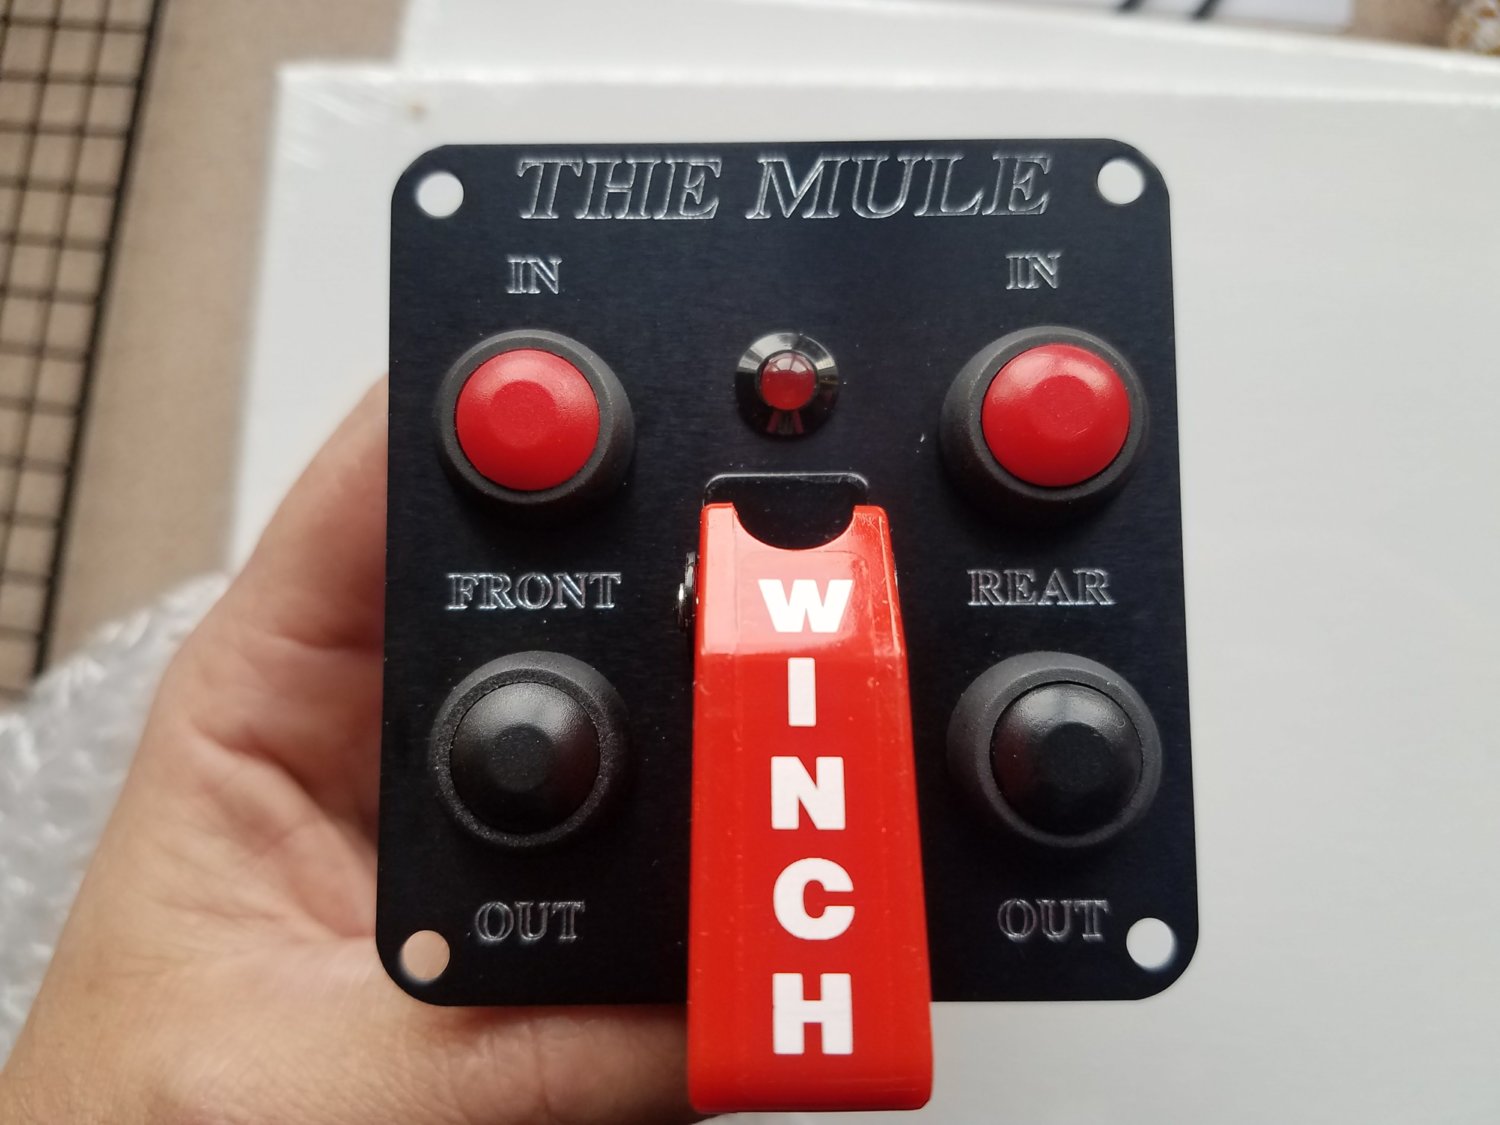
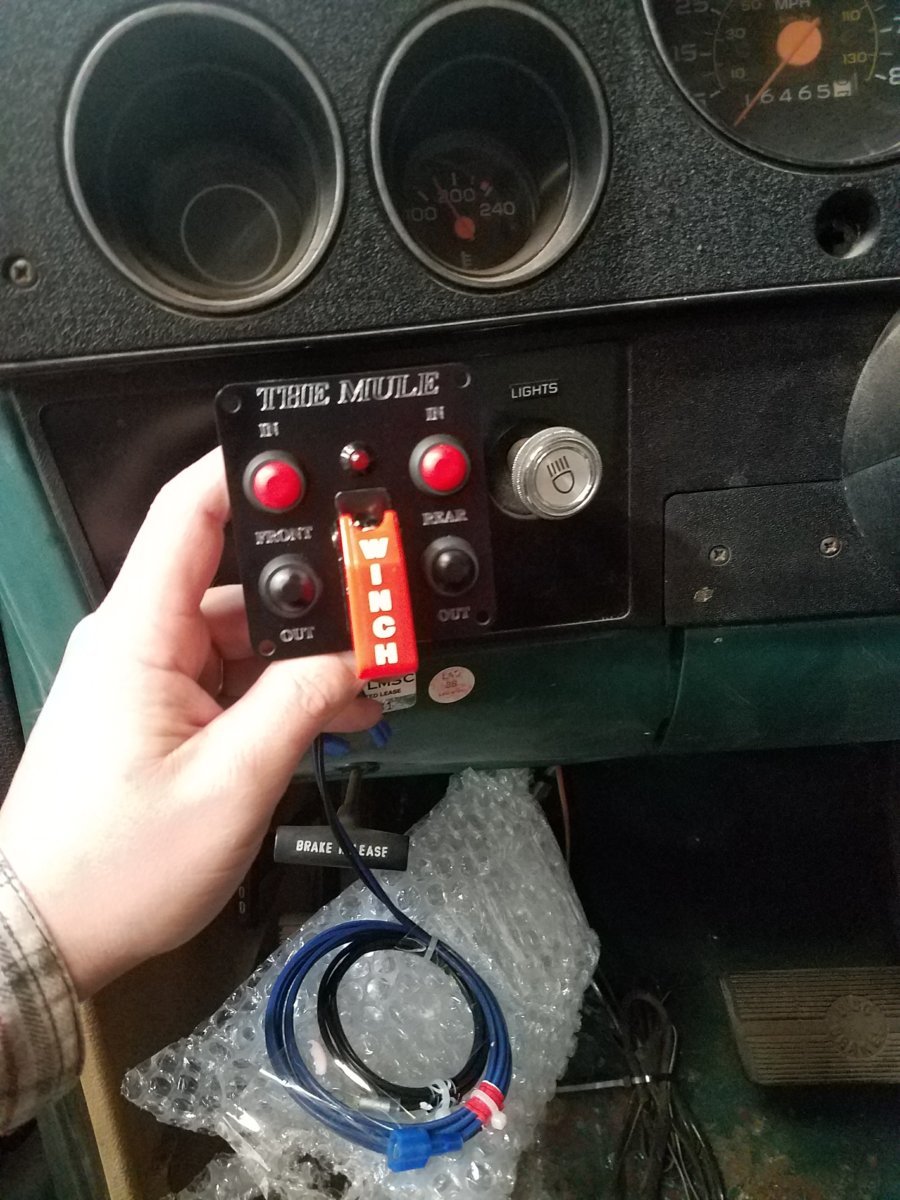
Did some interior work and mounted the middle seat seatbelts and also pulled the rest of the rubber mat off the floor. In doing so I found a small rust hole on the drivers side. Guess I have to fix that before I bedline the floor. I suppose I should not complain because that is the only rust in the cab.


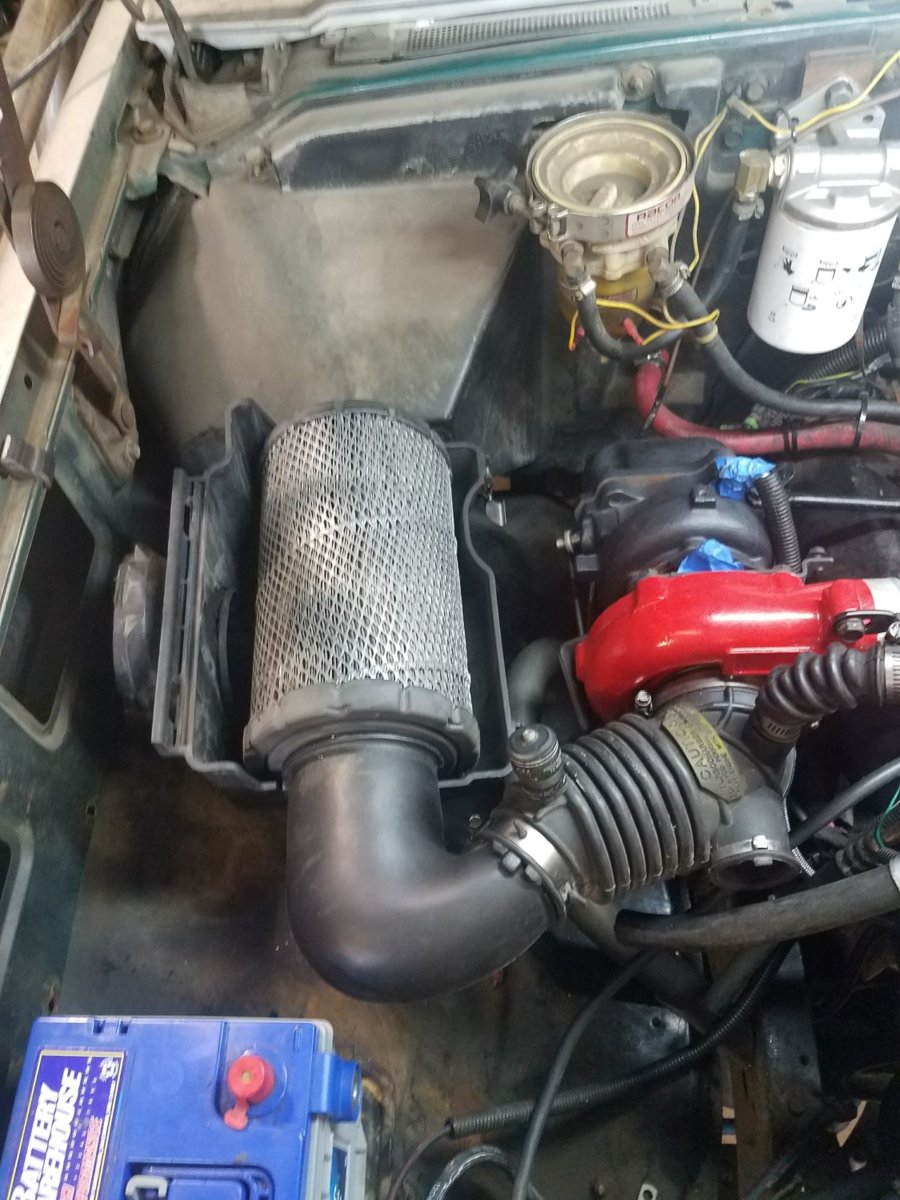
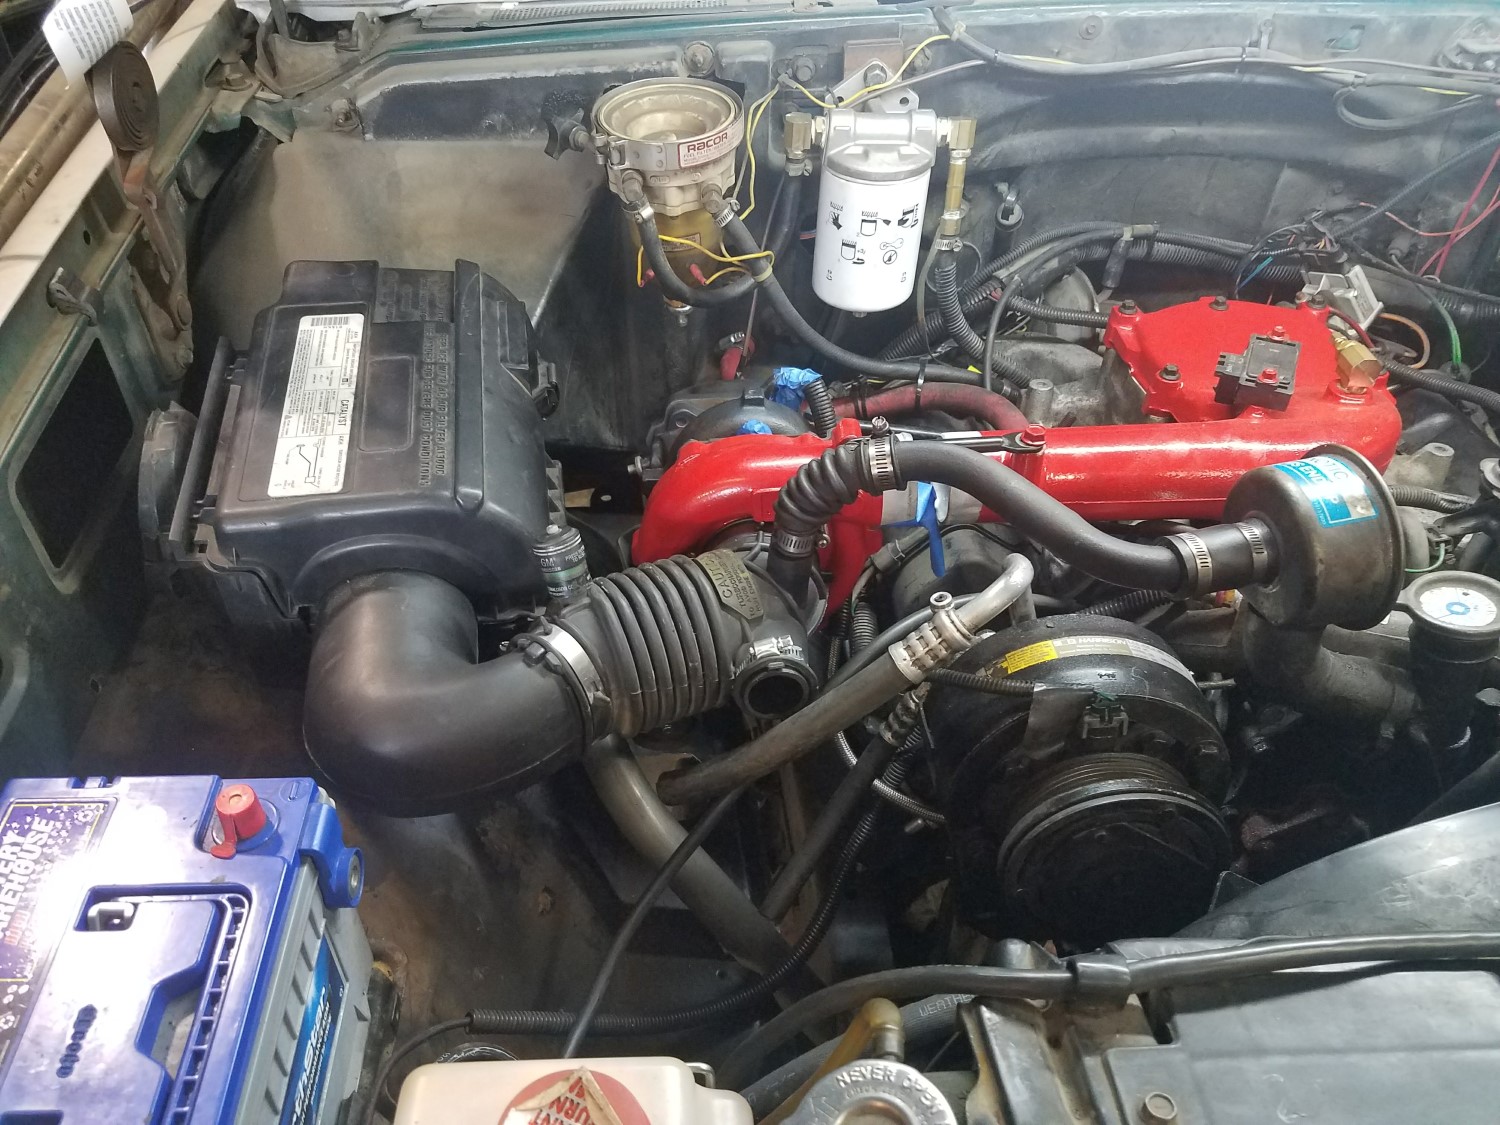
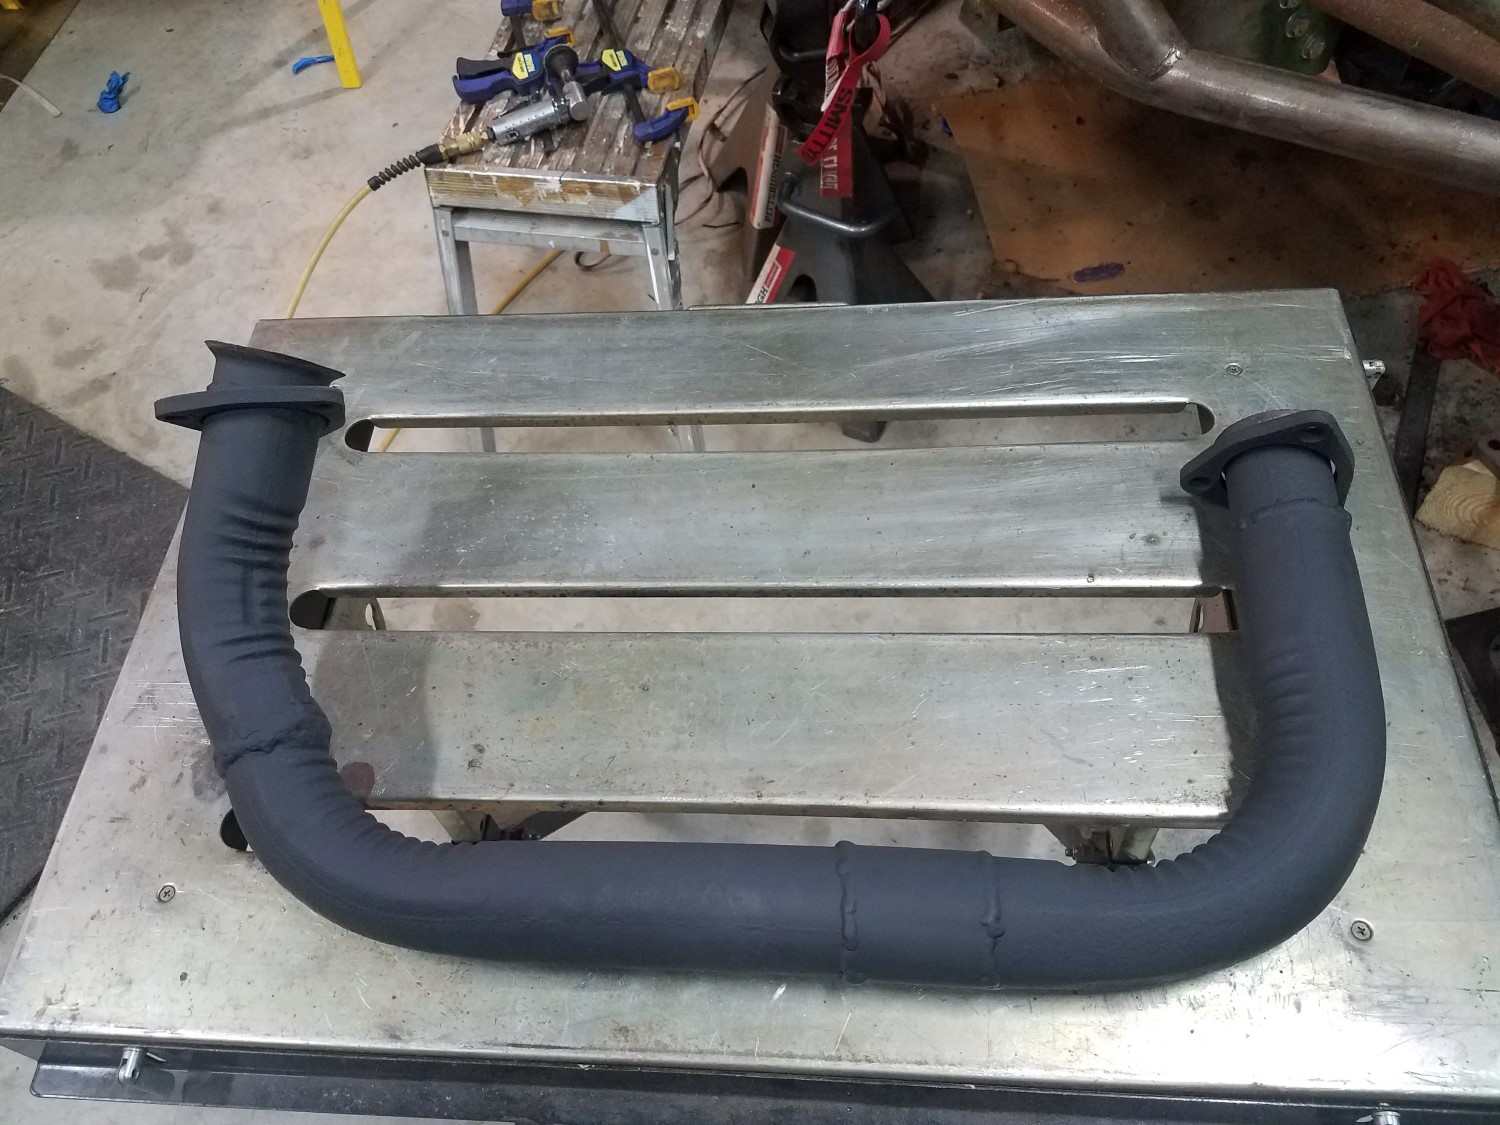
Got my parts back from ceramic coating and they turned out great. Hopefully the coating will help reduce some of the under hood heat.


Tonight I assembled the turbo with the new rebuilt center section. Everything went together well and looks great.


In this last picture you can see the homemade turbo master. I did this by cutting the end off of the canister and cutting the rivet that held the end cap to the rod. I then removed the rod and threaded it for a 5mm nut. I used a locking nut and now will be able to dial in the boost.


Just waiting on my custom manifold spacer that should be done this week and I can finally get this all mocked up.
 
I had to turn my fuel down a little on mine. Some PO had turned it up too high. I also went in from the side after much research. It wasn't too bad fully assembled. I pulled the cruise or throttle bracket, can't remember, and took out one screw and loosened the other to swing the cover out of the way. You need just the right length Allen wrench and just take your time to not drop the screw.
 
Nice work that has to be the prettiest GM diesel turbo setup I've seen!

Probably the prettiest part on the truck!! Definitely prettiest part under the hood. I did the ceramic coating to help control heat. The nice finish is a plus.

I had to turn my fuel down a little on mine. Some PO had turned it up too high. I also went in from the side after much research. It wasn't too bad fully assembled. I pulled the cruise or throttle bracket, can't remember, and took out one screw and loosened the other to swing the cover out of the way. You need just the right length Allen wrench and just take your time to not drop the screw.

That is good to know. I am hoping I don't have to adjust mine again but with my luck I probably will.
 
What's the point of the manifold spacer? Is it just for clearance, or is there a performance benefit too?
 
What's the point of the manifold spacer? Is it just for clearance, or is there a performance benefit too?

The spacer is just for clearance of the 6.2 long injectors. I know lots of people are getting by stacking exhaust gaskets but I did not love the idea of that. I am getting a 1/8" and a 3/16" one cut out of copper. Hopefully I will have it today or tomorrow.
 
The spacer is just for clearance of the 6.2 long injectors. I know lots of people are getting by stacking exhaust gaskets but I did not love the idea of that. I am getting a 1/8" and a 3/16" one cut out of copper. Hopefully I will have it today or tomorrow.
Ok, I remember hearing something about that now. Setup looks good. Nice work!
 
Probably the prettiest part on the truck!! Definitely prettiest part under the hood. I did the ceramic coating to help control heat. The nice finish is a plus.


That is good to know. I am hoping I don't have to adjust mine again but with my luck I probably will.
Mine smoked like a train all the time. I turned it down maybe 1/8 to 1/6 of a turn (no turbo) and it just barely has a little black haze at full throttle getting on the highway now.
 
Good to know! I have a turbo mechanical 6.5 out of a '92 that I was debating robbing all the turbo stuff to install on my 6.2 or just rebuild the entire engine and install it complete. I will have to go back and read but are you running a non-a/c heater box or none at all? Mine has a/c that works and I'm wondering how the clearance will be.

This was a non-a/c truck. It would interfere with the a/c box if it were there. I believe that I have read people grafting in an S-10 a/c heater box for clearance but I am not sure.
 
Manifold spacer complete.


I modeled it in CAD after the exhaust manifold gaskets.


Made of 3/16" thick copper. Believe it or not these parts were punched out on a CNC sheetmetal punch. They are really neat to watch. Look up Trumpf punch on youtube. Pretty crazy that they can punch complex shapes. This copper is not very soft so I am planning on running two manifold gaskets, one on either side of the spacer. If anyone needs these spacers I can send the .dxf file and you can have them cutout locally.

I did a quick fit check to verify clearance on the injectors.


Hard to see in the pictures but there is now plenty of clearance on the lines and the injectors. This fit check was done with no manifold gaskets so that will add even more clearance. I will add that it is going to suck getting all those bolts in with the gaskets and spacers. Some of the manifold bolt heads are sort of close to the frame but there is still what I would consider sufficient clearance.

I dropped the turbo on to do a quick check on the passenger side shock hoop. That wastegate may be pretty close but at least now I know where it will be and can work around it.


Also it seems to be right in the way of the air intake. But the shock tower has to be cut down shorter so it may be OK in the end.

 
I'd love to get a copy of that dxf! Mines on the chopping block and I want to try this with steel and see how it turns out.
 
Making progress slowly. First I finished routing the oil feed using a ridiculous amount of fittings. We will see how that works out. The hard line runs to the front of the block and then is attached to the factory 6.5 braided oil feed line. If you look closely you can see the second oil pressure sender that is used for the lift pump harness. I am using the Kennedy Diesel lift pump harness that has a relay and prime function.


I built a bracket and attached the fuel pump on the frame and ran and routed the fuel lines and wiring. I had temporarily plumbed the fuel lines so I could drive the truck. Now they are all tied up nicely and the lift pump is wired and up and running.


Lower and upper intake manifold installed and torqued down. I was checking the turbo brace fit and even with the 3/16" spacer the braces both fit. Not shown I finessed the turbo oil drain to work as well. With some creative bending I got it to clear and fit.


I had been looking for a new steering wheel since mine is not a tilt column and with the high bolster seats it is hard to get in and out of around the steering wheel. @primerk5 gave me an old Grant he was no longer using so I polished it up and got it installed. Much better now with the 12.5" wheel vs. the factory 15". Thanks!


Started mocking up the front shock mounts. Lower shock mounts are the DIY4X knuckle gusset shock mounts clearanced around the Artec truss.


I have the shocks mocked up at about 5.5 inches of up travel. Tonight I trimmed the inner fenders to see where they will end up.


Shock hoops need some trimming for sure. Hope to get them roughed in soon.
 
Is it up and running?

No sadly it is not. Life got in the way and not a ton of stuff has happened since my last update. Last summer and fall did not provide me with much time to work on it. Winter means cold and no heat in the shop = no motivation to work on it and freeze. I did however get some time to work on it recently in some unseasonably warm weather.

First some random stuff. The shock mounts are mocked up and cut to length and angle. Thanks @newoldscottsdale77 for the help. I don't have any pics but they are ready to weld in after I clean and prep the frame.

12voltguy was running a great sale right before Christmas so I picked this sweet winch switch setup


Couldn't resist the free personalization


Next some new LED headlights that I got for Christmas. Super easy install and super bright even DOT legal not that this truck will see much road time but it will see some.


Snagged a huge 4x6 whiteboard from work and started a running list.


I have already knocked a few things off the list.

Started by final installing the turbo exhaust manifold. Manifold and spacer seem to fit well but man was it a pain to get the spacer and gaskets and bolts all lined up. Also went ahead and zip tied all of the glowplug and injector return lines out of the way. I plan on some type of heat shield on the two middle injectors where the manifold is really close.


Next on to the airbox and CDR valve. I had the airbox from the 1997 6.5 and it happened to bolt right on the fender into an existing hole.


I will grab some sort of ducting to run it the rest of the way into the fender. I made a plug to block off the air silencer hole in the rubber boot and clamped that in place. Note to self buy new air filter.

The CDR valve I did not want to change out the valve cover so I kept the 6.2 oil filler with the hose attached. From there I trimmed down the 6.5 steel line and with some bending was able to connect it right up to the 6.2 old CDR hose.


Next was the crossover pipe that ended up being a hybrid of 6.2 and 6.5. Since I am running the 6.2 driver side manifold it has a smaller bolt flange than the 6.5 so I cut the end of that off and welded it to the 6.5 crossover. Some more massaging and welding of the 6.5 crossover and I got something that I hope will work.


I replaced the gaskets and mounted it up. It is tucked very tight to the oil pan and turns up sharper than the 6.5 pipe originally did to help clear the driveshaft. Right now at ride height I have about 3 inches of clearance to the driveshaft at the crossover pipe which I hope to be enough since I am limiting axle up travel to about 5 inches.


Also started mocking up my exhaust on the outside of the passenger frame. I started with a factory 6.5 downpipe and cut it right after the first bend. Then by adding a straight piece in and some more trimming I was able to mate it back up to the rest of the downpipe and run it right under the front body mount.


The factory pipe is 3" and should be plenty. I plan on welding another v band clamp on the end of the down pipe so it can be easily removed. From there the exhaust will turn up into the space between the slider and the cab floor and have room for a muffler and 90 out in front of the rear tire. The exhaust will never be below the bottom of the frame so it should be out of harms way for the most part.

Another thing I want to mention is this project has now reached the 5 year mark. I do really hope I can get this truck done and wheeling this season but time will tell. Next project is to get the shock mounts on and then the steering finished.
 

Latest Posts

Top Bottom