CK5
Register an account today to become a member! Once signed in, you'll be able to participate on this site by adding your own topics and posts, as well as connect with other members.

1986 K30 6.2 Diesel Truggy Build - "The Mule"

Got a tip about some Tube Doors on Facebook Marketplace earlier in the week. Was looking at Kurt's doors but these were the ORD doors. Anyway they were brand new, painted but never installed on a truck. Got them for a great deal only had to drive 200 miles round trip to pick them up. Driven farther for less lol.


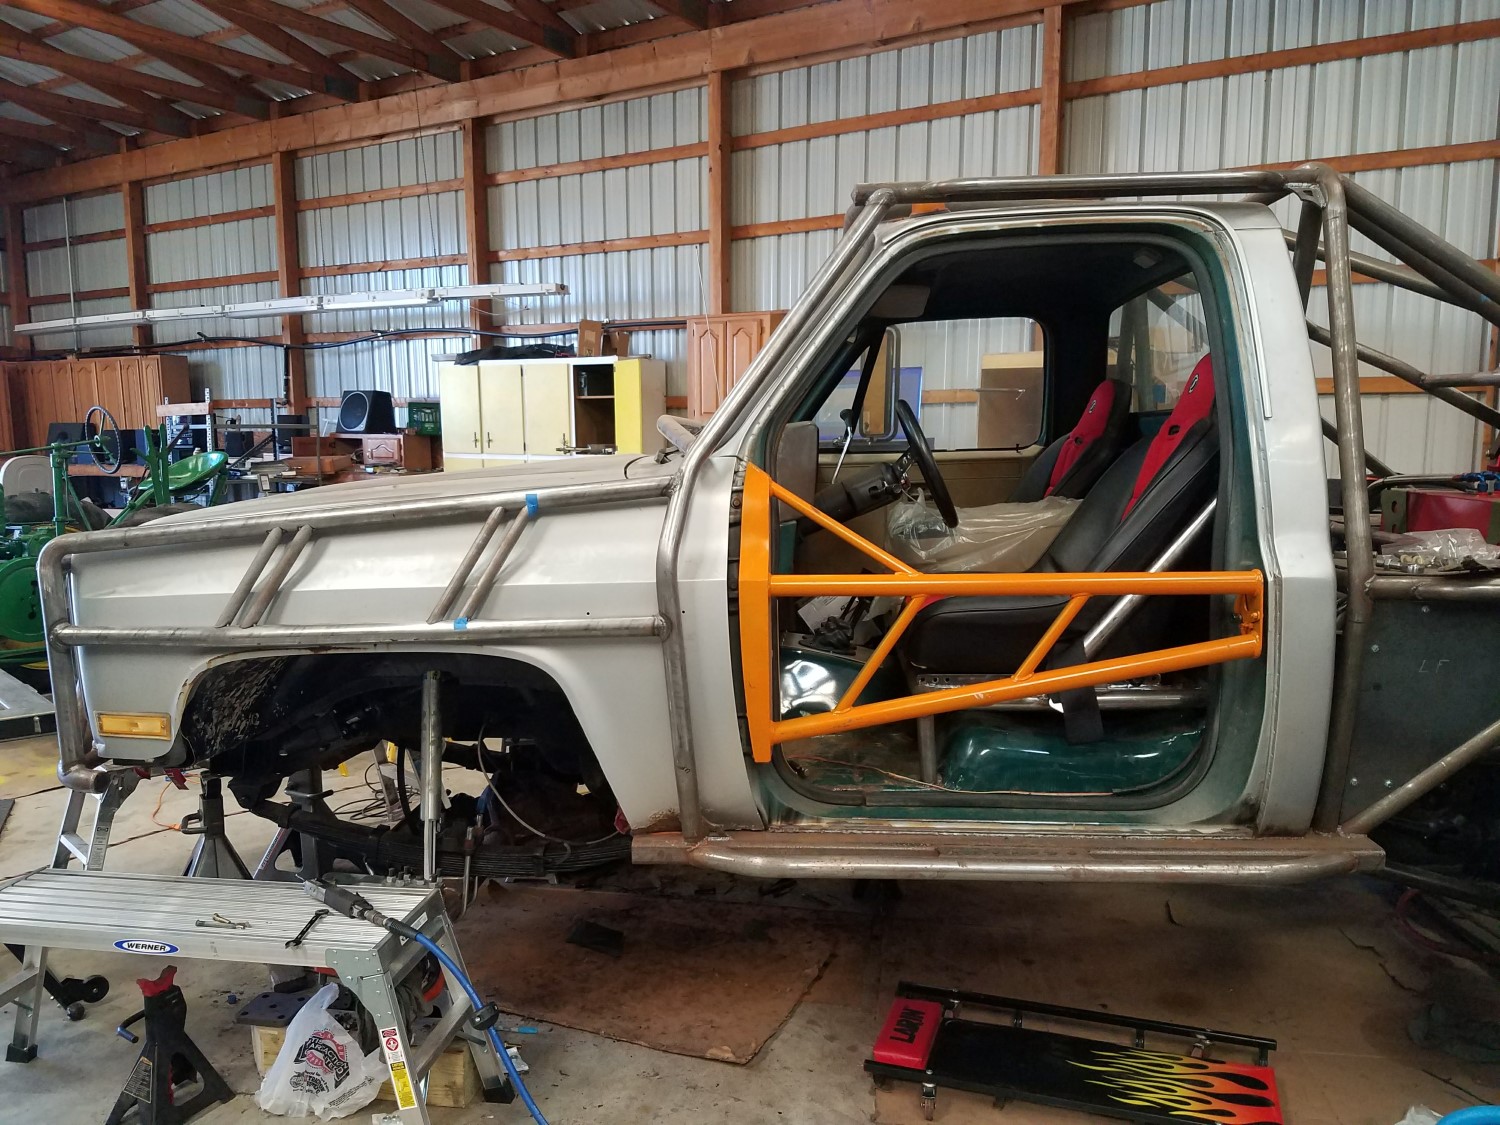
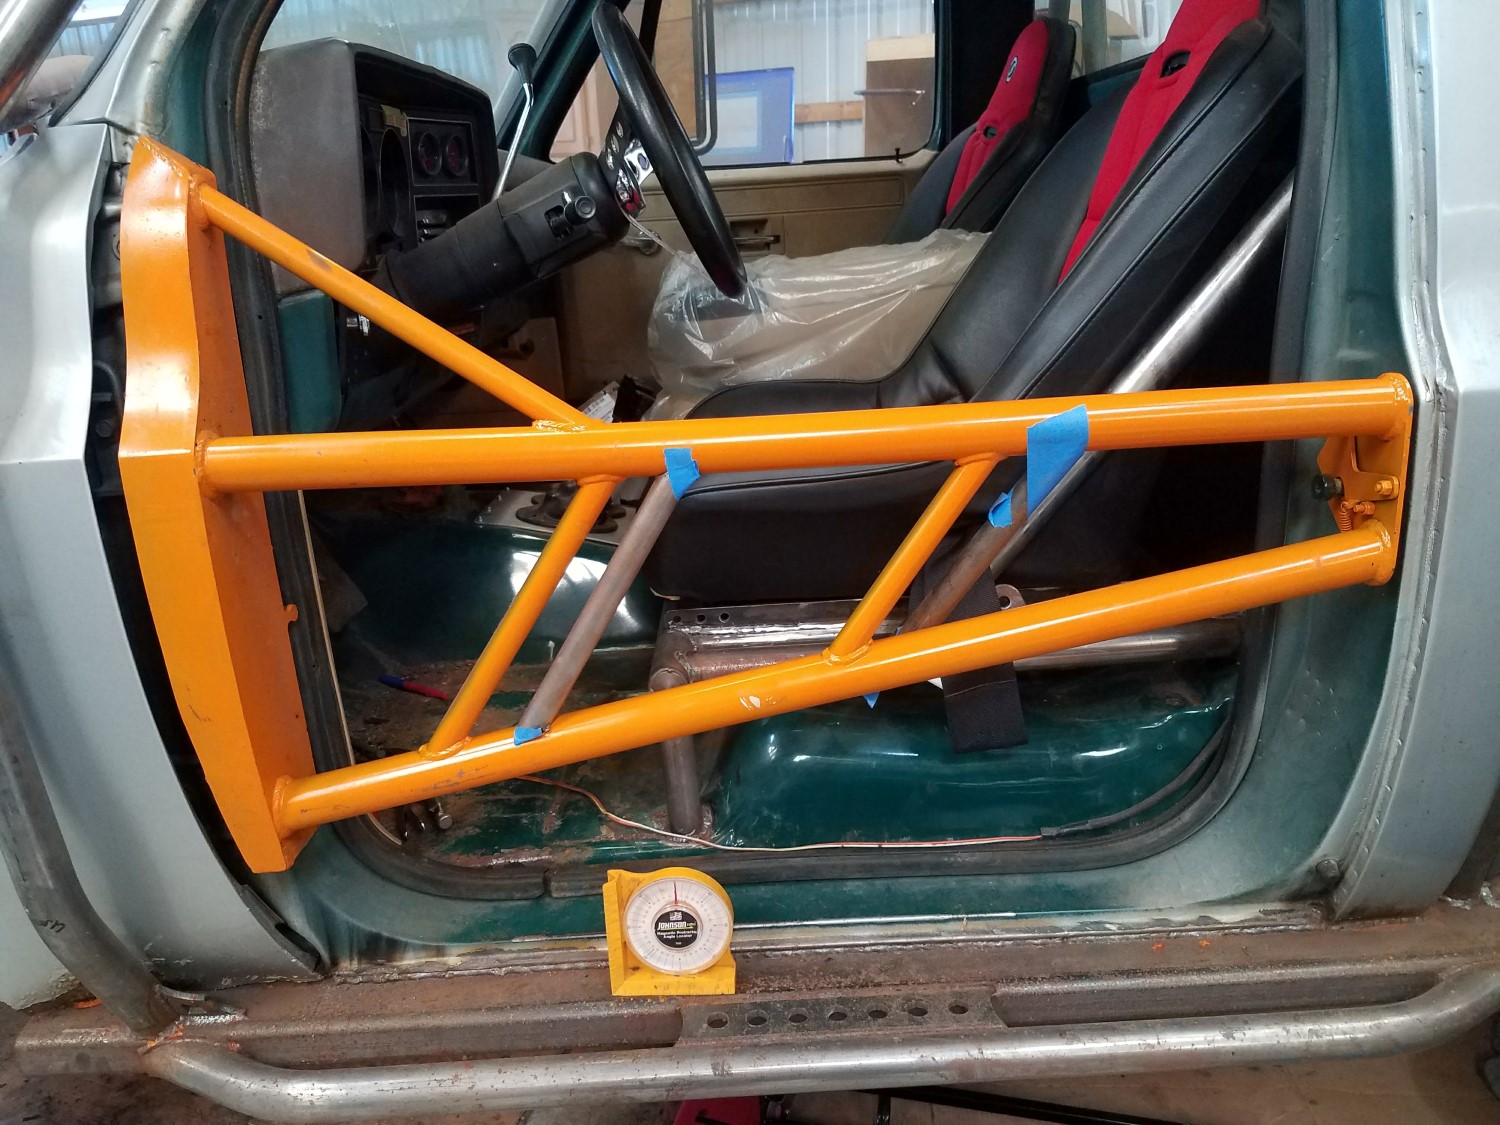
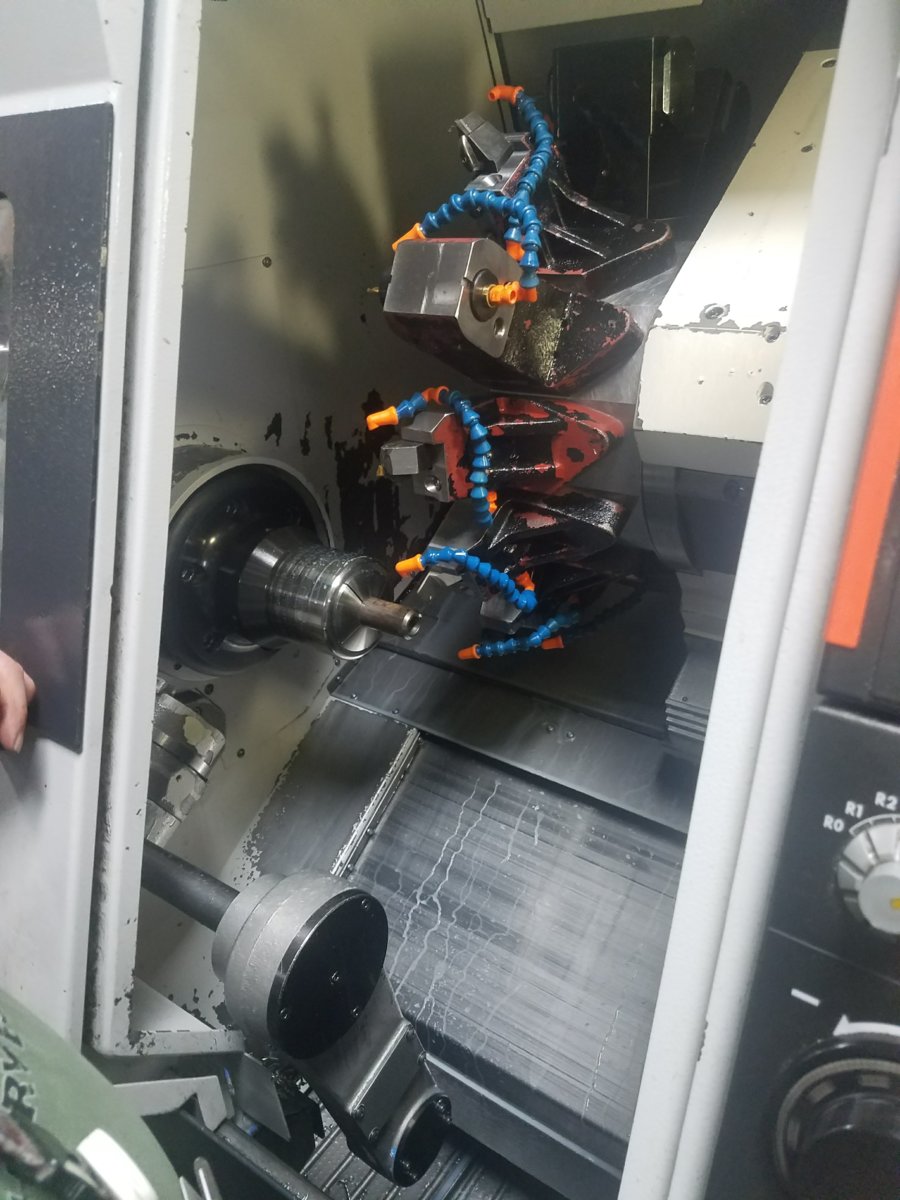
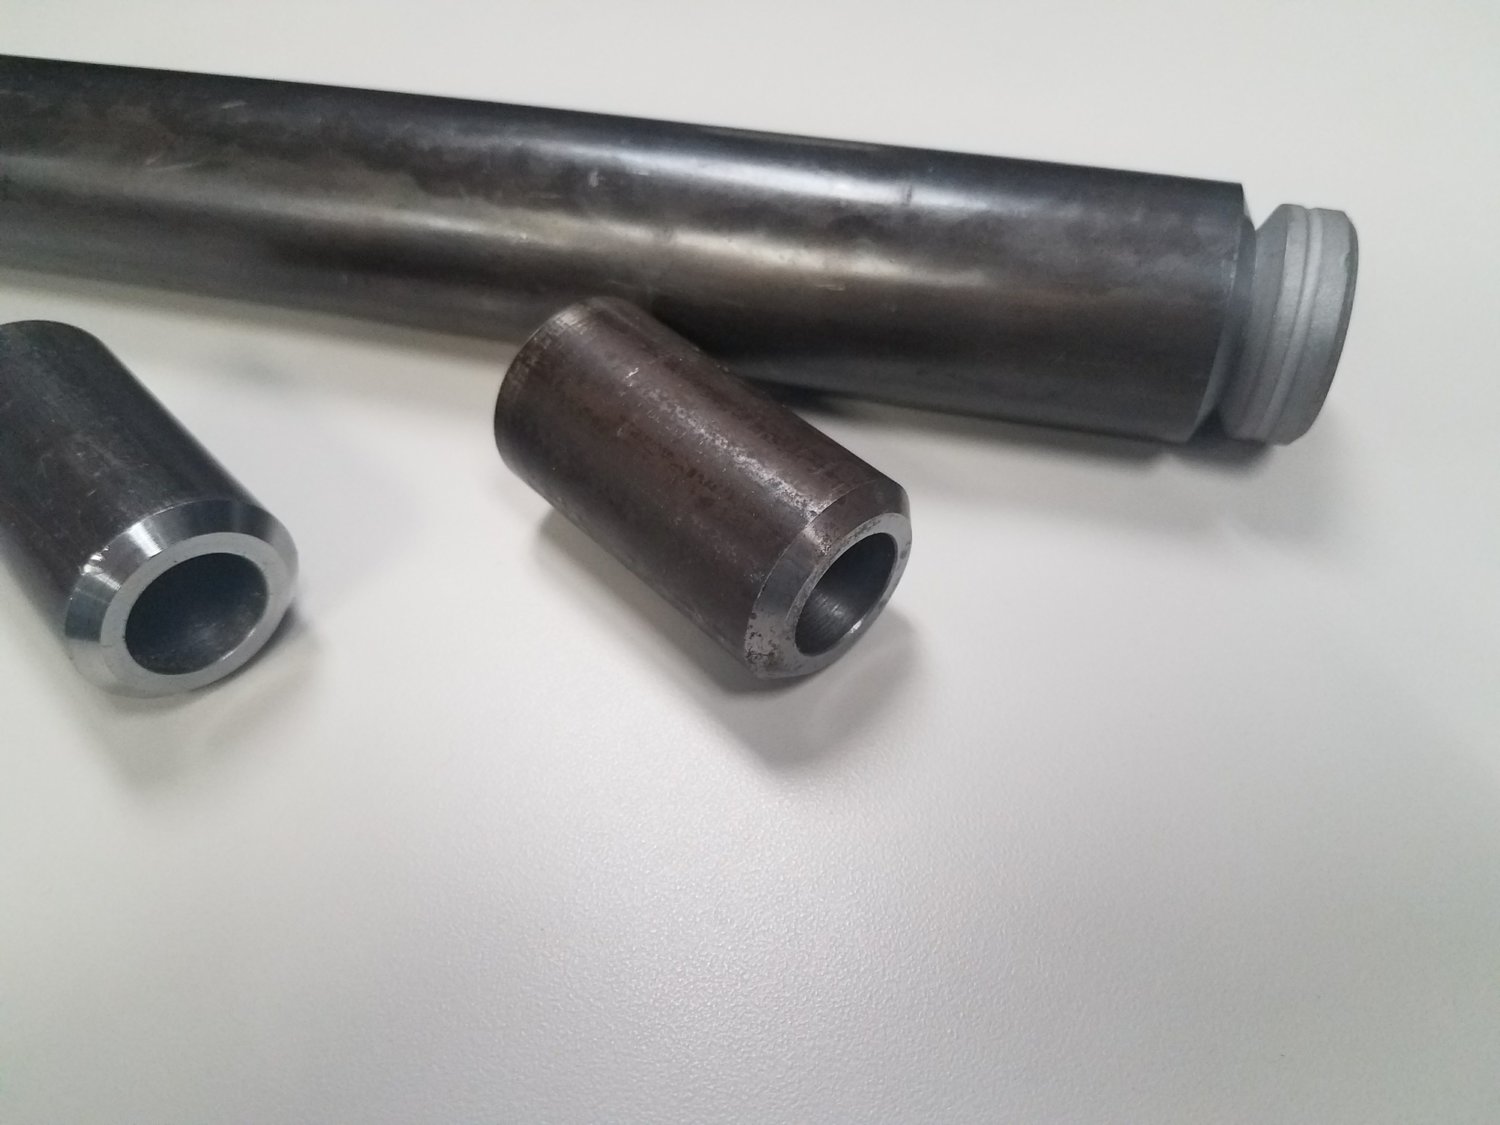
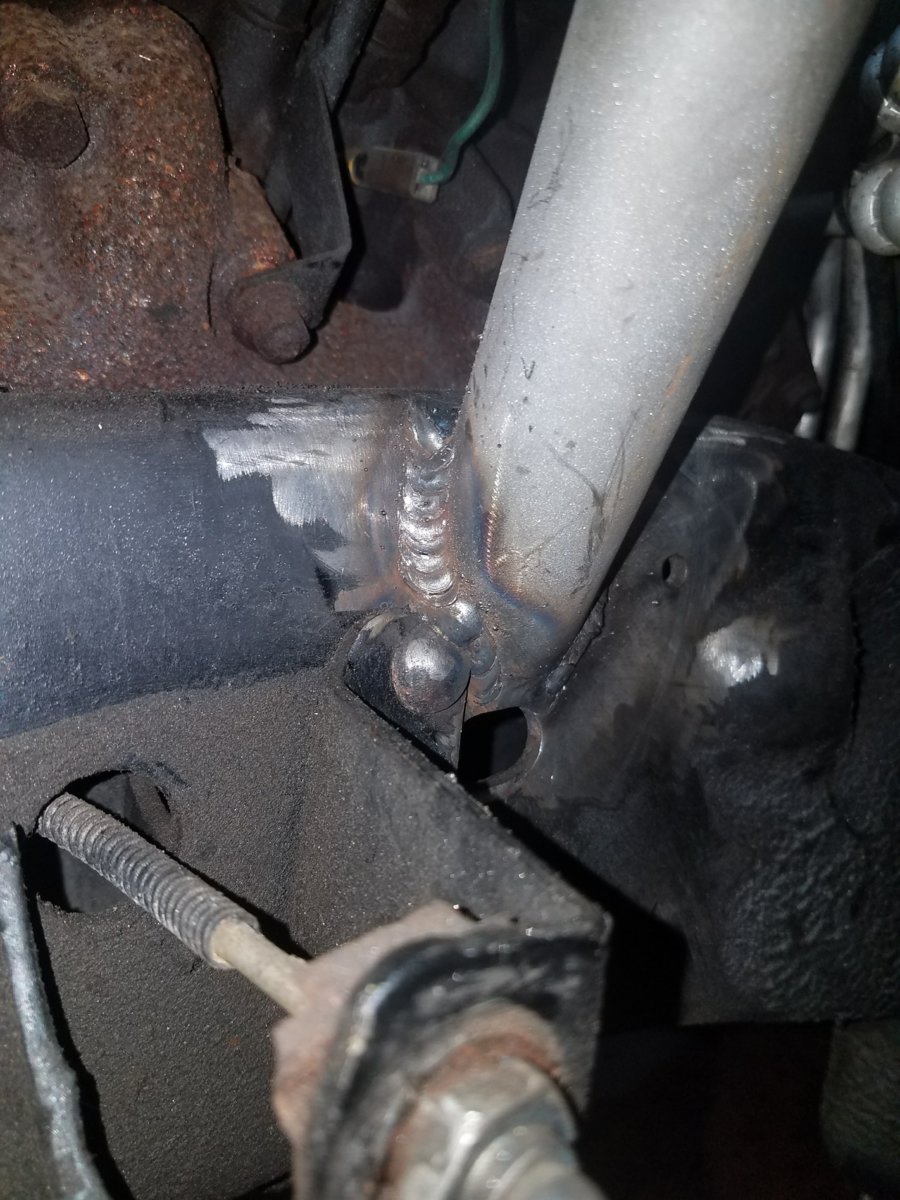
They were a pain to install. Had to pull the old doors off the hinges and then cut the hinge pins and extract them (easier said than done). The ORD doors do not use the door side of the hinge they are pre-drilled for the hinge pin. Also the factory pins are not long enough for the bottom pin due to the ORD door design. I will turn some longer pins at work this week and drill them for cotter pins so they will be quick release. The latch is easy to use but they seem like they might rattle.


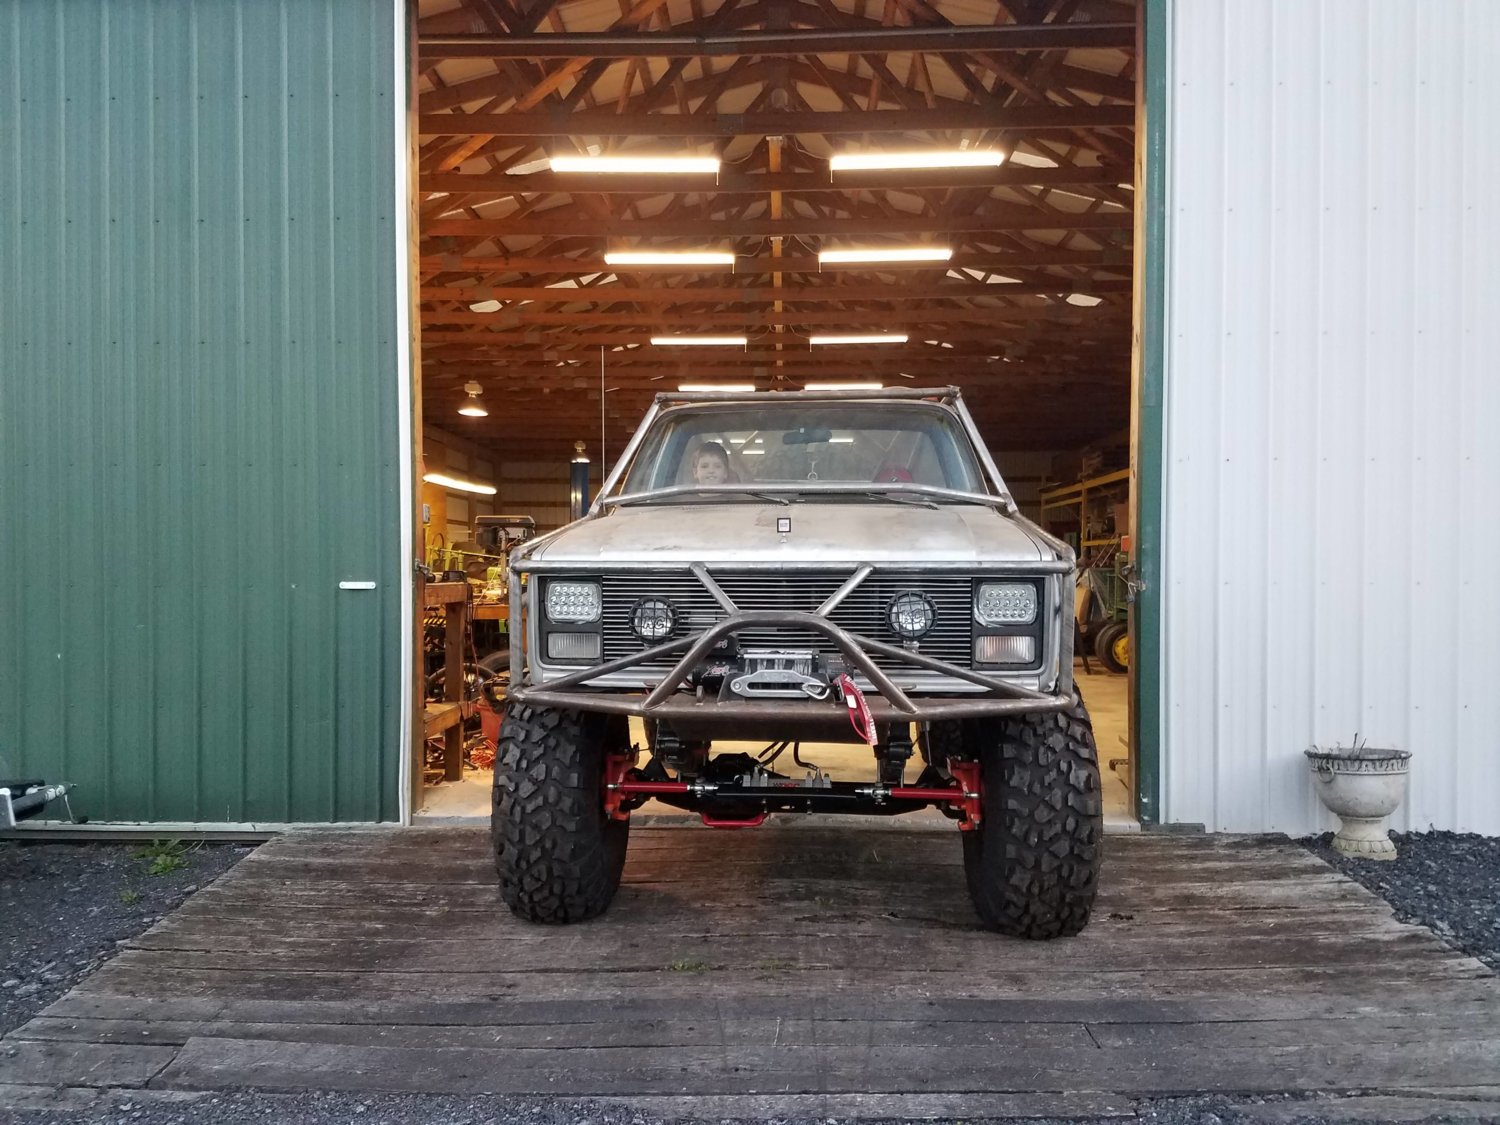
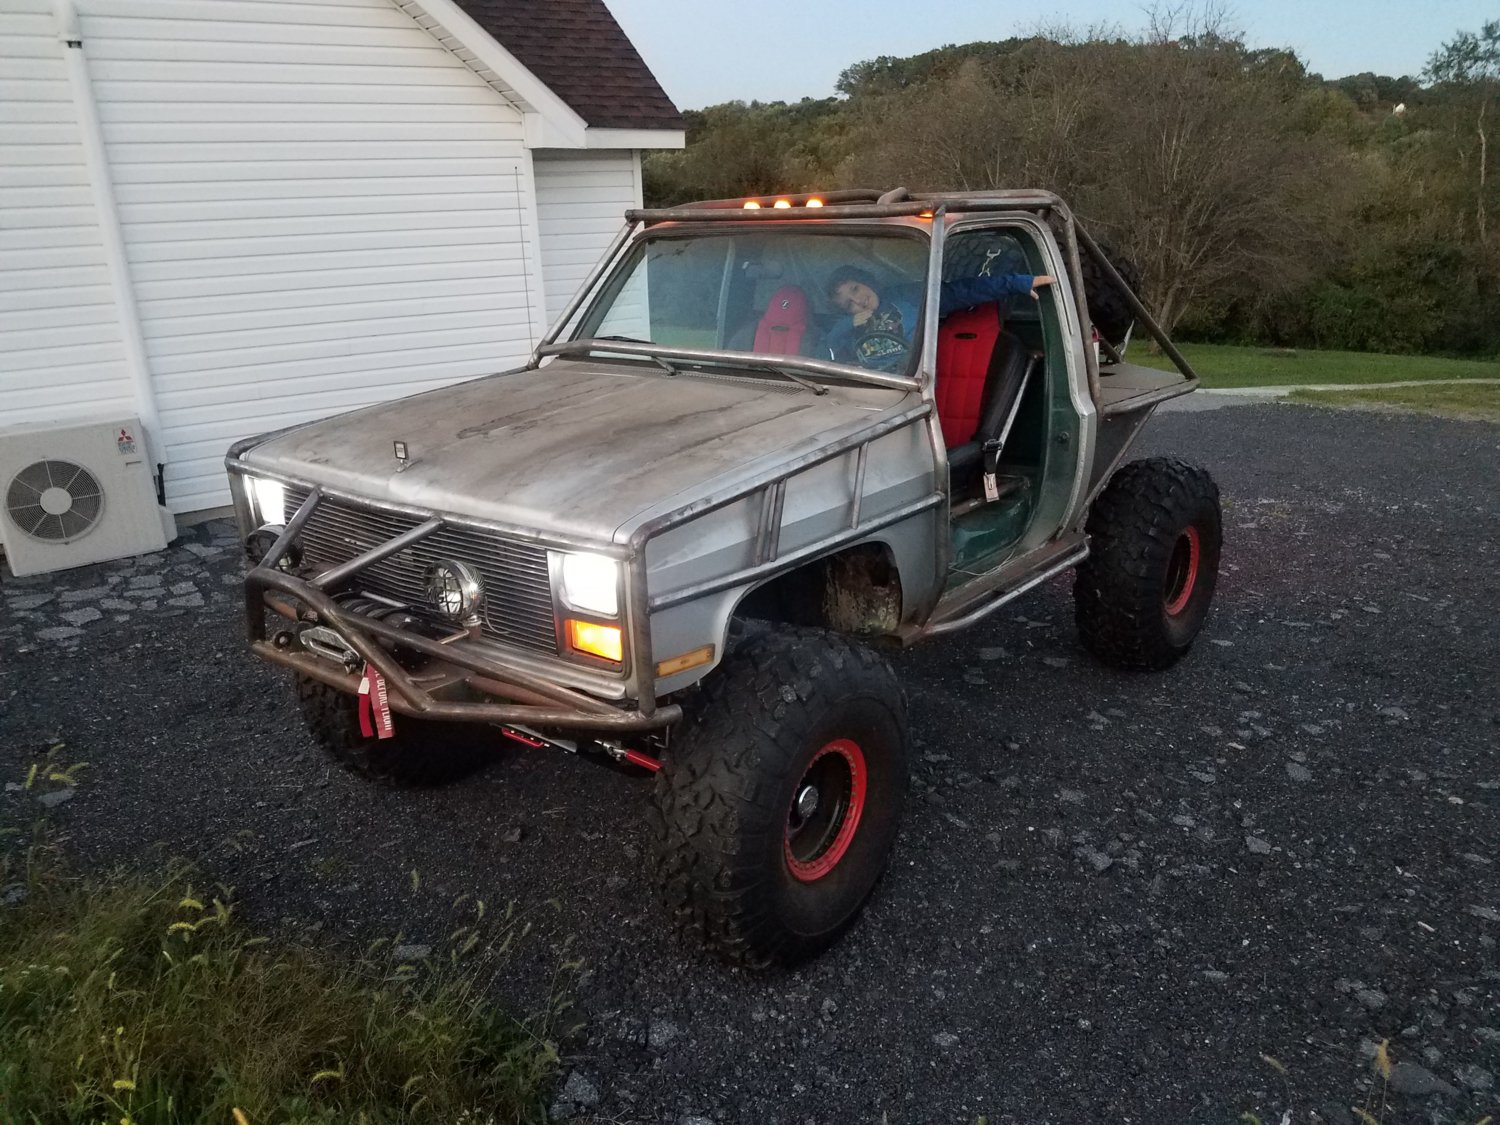
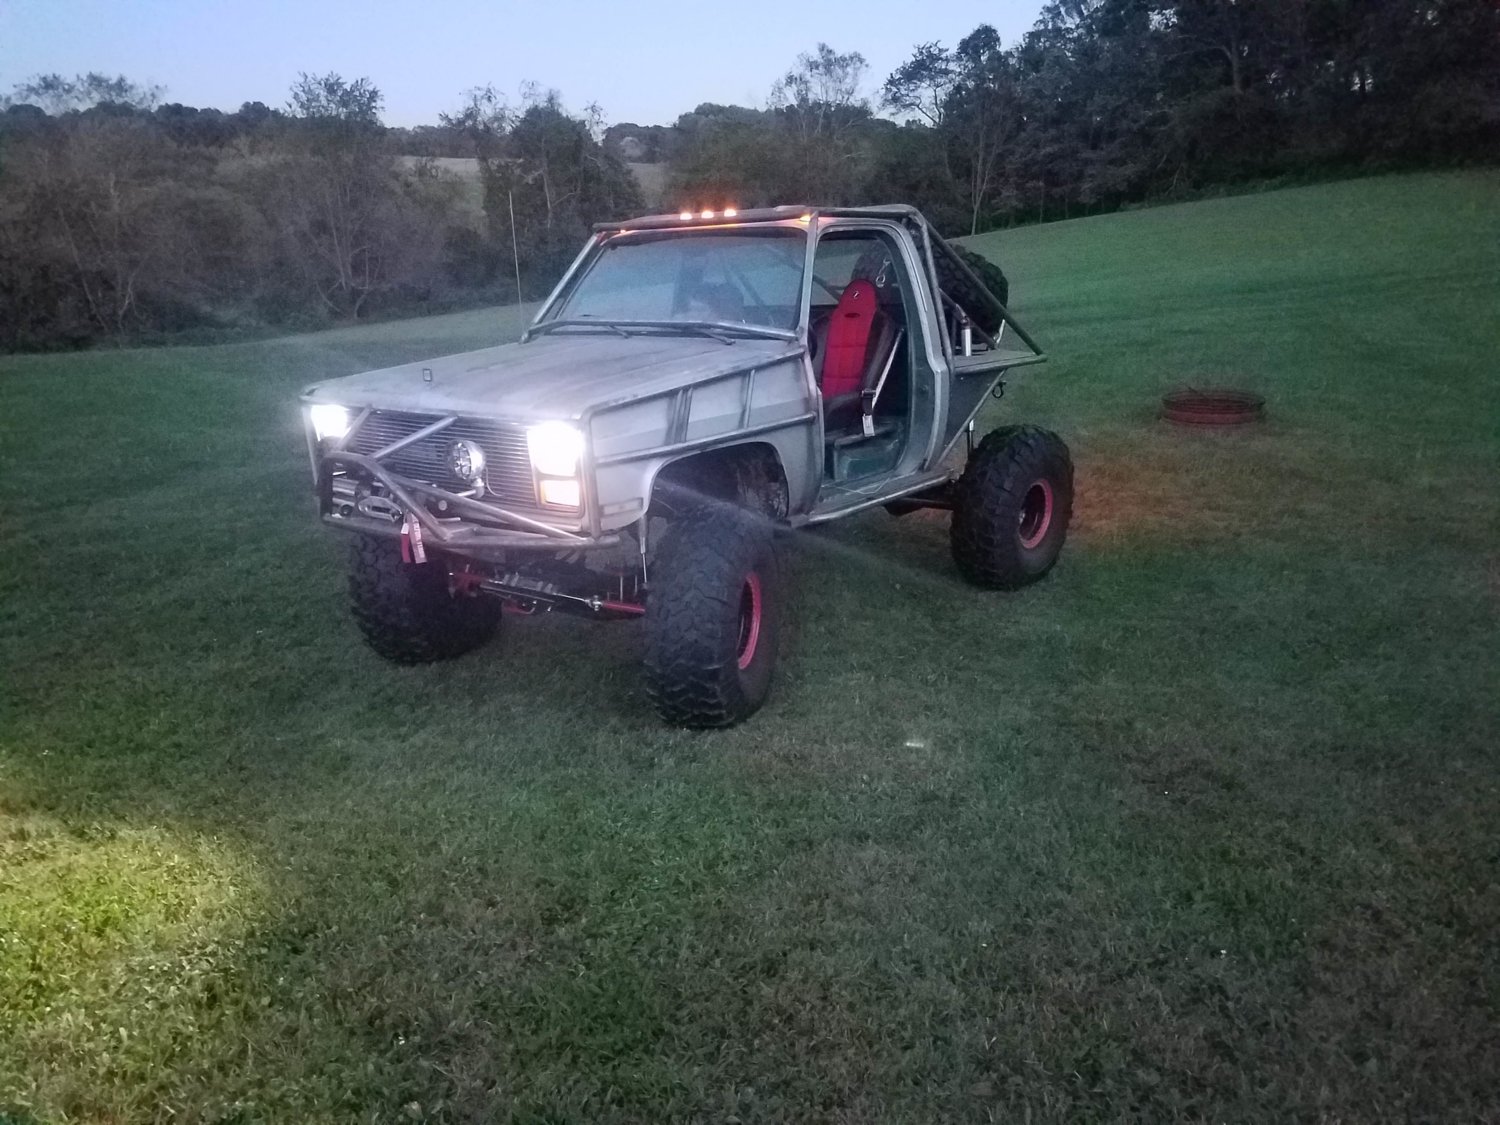
Pretty happy how they flow with the truck. Thinking about adding the second bar to the doors so they will match the front part of the exo. Thoughts?? Also gotta add some mirrors.
 
I think you should skin them on the inside so it keeps the tube/sheet metal thing going. Other than that I think the lines flow pretty good!

I like the skin idea maybe some aluminum skin behind the tube.

Definitely do the double bar. The angles even look the same from the cage to the door.

Yeah I think I will plan to add the second bar. As far as the angles they do not quite match. They are about 5 degrees off. I have not welded the exo bars yet so I may cheat them to match.
 
Awesome build! spent my free time today reading the whole thing. Keep plugging away at it. Mine is going on 8 years and it's not near as ambitious as yours. I can relate to life getting in the way of a truck build.
 
Not much of an update but some work. Winter keeps trying to stick around and the temps have been cold.

One thing I want to clarify is that the ORD tube doors do use a custom hinge pin. When you buy the doors new from ORD they come with the pins. My used set of doors did not come with the pins. A quick call to Chris at ORD and the correct door pins were purchased and on their way. They are nice pins and come with locking clips as well.

Took some time to clean up the frame and shock hoops and prep everything for welding. I also fit the turbo again to make sure everything will clear. It is tight but it all fits.


Had some tax return money come in so I decided to chromo out the entire 60.


I had purchased chromo inners years ago (I hate saying that) but was lacking 35 spline stubs and U joints. I splurged and bought the Yukon Super joints. And now my weak link is the ring and pinion lol.

I want to give Dave at Dave's Offroad Supply a shout out for great prices and also for resolving a UPS damage claim where the first set of Super joints came in damaged. Dave got me a new set out the same day.

Hopefully it warms up soon and I can keep hacking away at that big list.
 
Practically indestructible ujoints. Ups ****s em up.

Yeah really. The box was mangled and the one 35 spline stub was actually laying next to the box on my porch. The stubs were ok but the U joints came out of the package and banged around into each other leaving dings on the bearing surfaces. But new set came in undamaged.

The week before this I ordered Opti-Lube diesel additive for my Duramax and the dumb FedEx guy placed it in the middle of our two car garage door. Not on the edge or not at the front or side doors one of which he had to walk past to get to the garage. My wife was even home and he never rang the bell or anything. Once the garage door was open it was directly behind the tire to my wife's Trailblazer. So wife goes to pickup kids and proceeds to back over 2 gallons of diesel additive exploding both gallons all over the driveway making a huge mess. Now I blame that partly on my wife but who puts packages in the middle of the garage door??

After complaining to FedEx they replaced the additive and when the replacement package came guess where I found it? Yep right in the middle of the garage door again.
 
PVC Tie rods? They should work.


Happened to have the right size PVC just laying around that was perfect for mocking up the tie rod lengths and the spacers for the knuckle bolts.


I put the hubs back on so I could do a rough alignment. To do this I clamped some 6 foot pieces of angle onto the rotors and used them for a poor man's alignment. I just needed to get in the ballpark to get my tie-rod measurements. Tie rod lengths worked out to be within a 1/4" of each other using my super accurate alignment technique so I just made them both the same length.

Today I took the tie-rods and spacers to work intending to just part them to length on a lathe after work so everything would be nice and square. But our machinist would not have it and put them on our Mazak turning center.


He settles for nothing less than perfection so he programmed them up and even made awesome bevels for welding the tube adapters on.


Hopefully TIG the tie rods up tomorrow and then some powdercoat and they will be done.

Also picked this freebie up for my shop.


Maybe next winter I can have some heat while wrenching. . .
 
Spent time in the shop getting the shock hoops finalized today. Big thanks to @newoldscottsdale77 for all the help.


Threw one big tire on the front to double check some clearances. Mainly wanted to check the tire clearance on the Artec high steer arm which there is plenty. Going to need more clearance on those fenders though.

Then on to the shock hoops. We decided to carve out some more clearance on the steering shaft so we used the old notcher and sleeved in a piece of 1" DOM to give some extra clearance.


Worked out well and plenty of clearance now.


We tacked everything in axle and frame side then cut the tacks to fully weld in the shock tabs.


Picture makes that tab look close to the wastegate can but it has plenty of clearance,

Tabs are fully welded and and hoops tacked back in and ready for final weld. Finish up some gussets and call it good. Looks like the weather is turning cold here again for a few days. Crazy Maryland Spring.
 
Been a while but slowly chipping away at it. Tie rods all tig welded and prepped for powder. Guess I didn't get a pic of them but I will once they are done.

Hoops welded in. Welds are OK but vertical MIG is not my favorite lol (P.S. the big glob is a rivet not all weld)

Had to mock up my crossover bar so I could get my local offroad shop to bend me one. So I did a little CAD (Cardboard Aided Design) with some wrapping paper tube and tape. It worked out great.


Or well enough to at least get the bends I needed.


Using Ruff Stuff tube disconnects so I can take the bar off to remove the engine


The crossover bar is a tight fit but I got it worked out around everything pretty well. While I was welding on the frame I went ahead and welded in Kurt's adjustable bump stops.


Couldn't resist painting the hoops and crossover bar red. Masking was a real pain.


All painted up.


You can see the gussets I added to the hoops as well.

Today I decided it was time to finally mount the turbo. Got the oil drain on and turbo totally mounted including the charge pipe and heat shield.


Spent the morning assembling my front shafts with the Super Joints. Full Circle clips are a pain.
I remember seeing a rig in Four Wheeler Magazine years ago where the guy took the time to paint the front shafts a contrasting color and I thought it looked awesome so I could not put the red spray can down . . .
I am hoping to bleed the fuel and get the truck fired up with the turbo shortly and then on to pulling the front axle for primer and paint and final assembly. Steering assembly and bleeding and the truck with be mobile again!
 
Been awhile I know but I have been traveling a lot for work so that slows down progress.

Got the 60 pulled back out and the shock tabs on the axle welded in. Cleaned it all up and got it ready for paint.


Of course the obligatory Ryoken green primer is next (This is the real deal Moeller Zinc Chromate too I stockpiled 4 cases which will hopefully be enough for my exo)


Then some John Deere Blitz Black Semi Gloss


While that was drying I got to powdercoating the steering arms, knuckle bolt spacers, tie rods, and diff cover protector.


Then on to final assembly!!


Almost too pretty to get dirty!!

Got it back under the truck and repacked the bearings and installed Yukon Locking Hubs. Also mounted the shocks.


Next on the list is finishing the downpipe off the turbo and plumbing up the steering then time to fire it up with the turbo.
 
Last edited:
It's alive!!!


Second real start with the turbo. So much easier to bleed fuel system with the electric lift pump and prime button.

No serp belt on since the steering lines are not done. Never got the downpipe finished so fired it with just a small piece of the downpipe.

Didn't let it run long but happy to hear it running again.
 
Time for an update. Most of the summer I was traveling for work so not much has happened until recently. @newoldscottsdale77 and I have decided that we are going to Fullsize Invasion at Moab in April of 2019. So I now have a deadline to finish this thing. I also now have every other Friday off from work so that will help. Anyway on to the updates.

Steering was the first thing to finish. Ram, pump, and orbital were mounted I just needed to connect them with the pressure hoses. The return hoses and cooler were already plumbed. I started out by making the -8 feed lines from pump to Hydroboost and Hydroboost to orbital. Then the two -6 lines to the cylinder. I used the field repairable hose ends and hose provided with the PSC kit. These hoses would probably be fine but I have heard not the best things from those field repairable fittings. They work like an AN compression fitting. Field repairable on left, new crimped on right.


Anyway they probably would be fine but I wanted to go with traditional crimped end lines. I went to my local hydraulic shop and forked over more than I wanted to for a crimped set of lines. This gives me a set to throw in the toolbox for spares too.


New lines to the cylinder installed with spiral wrap to keep them from chafing.


So many hoses and lines :D


Filled it up with Amsoil Tractor fluid and bled it out manually working the wheel back and forth. Threw some water in the radiator for the first time since doing the serp swap and fired it up. It bled out no problem and with minimal mess.

Next it needed at least a rough alignment. Found some youtube videos on how to do a string alignment.


Seems to work pretty good I guess we will see once I get it on the street.

Next on the list was the exhaust. I reused part of the old 6.5 downpipe and went outside of the frame under the body mount and up into the cavity between my cab floor and slider supports. Basically I made it from parts of the 6.5 downpipe, 3 premade 45 degree bends, a cheap thrush muffler and a tip I had laying around, all 3" diameter.


Muffler tucked up high and tip behind the cab.

I was worried about clearance on the downpipe and the tire a full lock so I "had" to throw on the big tires.


Plenty of clearance on the down pipe, yes I will need to do other trimming. I am happy to report the 42s turn with 1 finger at idle. Exhaust has to come out and get fully welded and some hangars made. I will grab some more pics when I do that.

Just over 6 months until we leave for Moab so I have to keep moving. Will try and update the thread when I can.


PS I forgot how tall this truck is on 42s :saweet: 
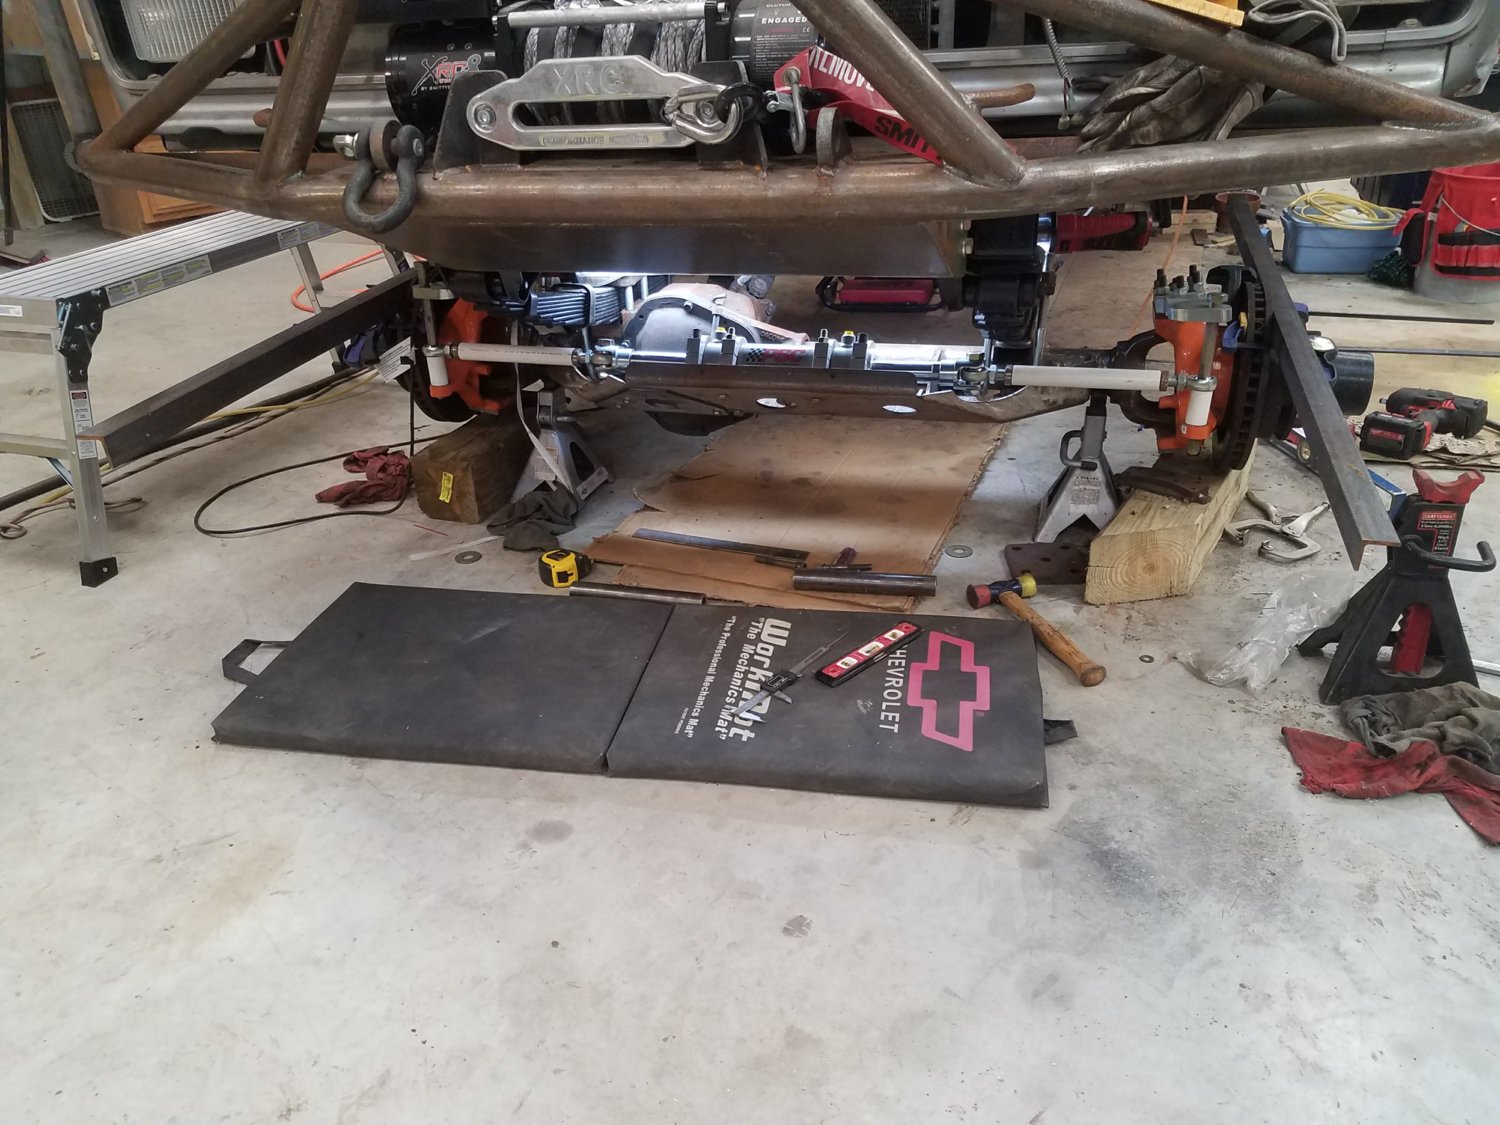
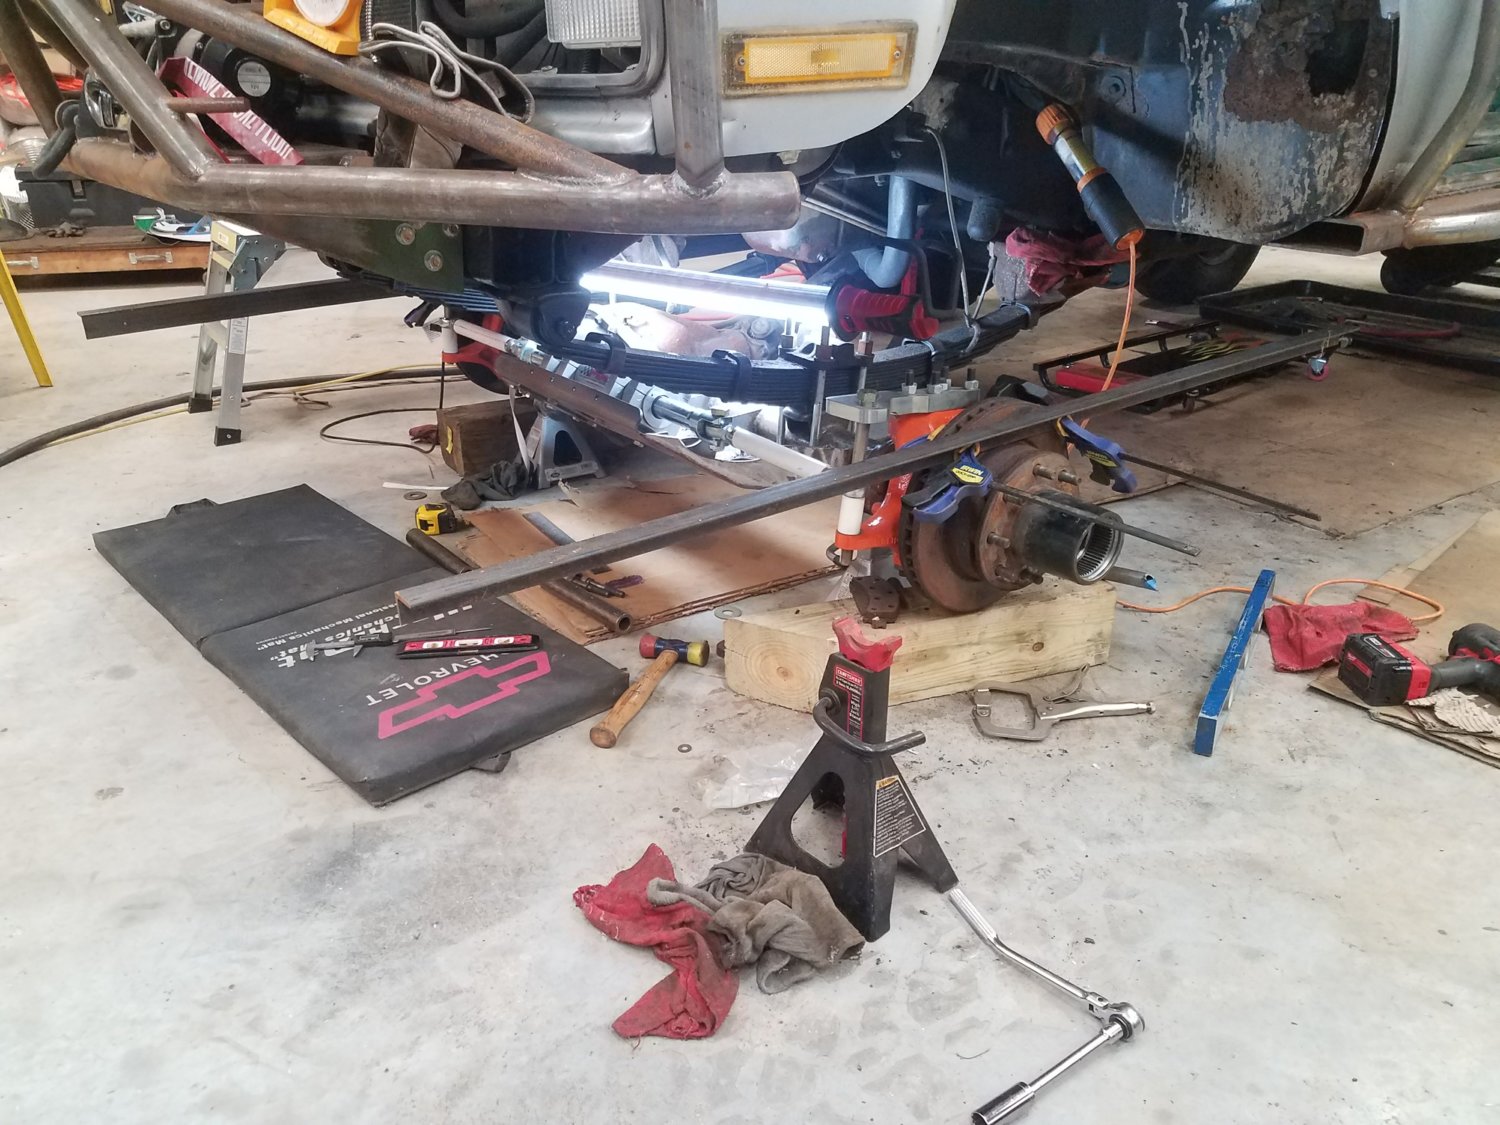
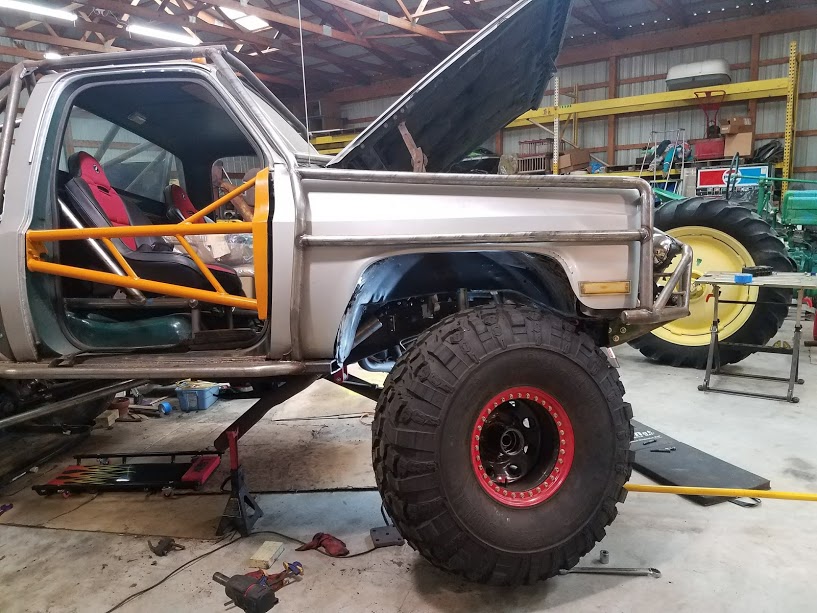
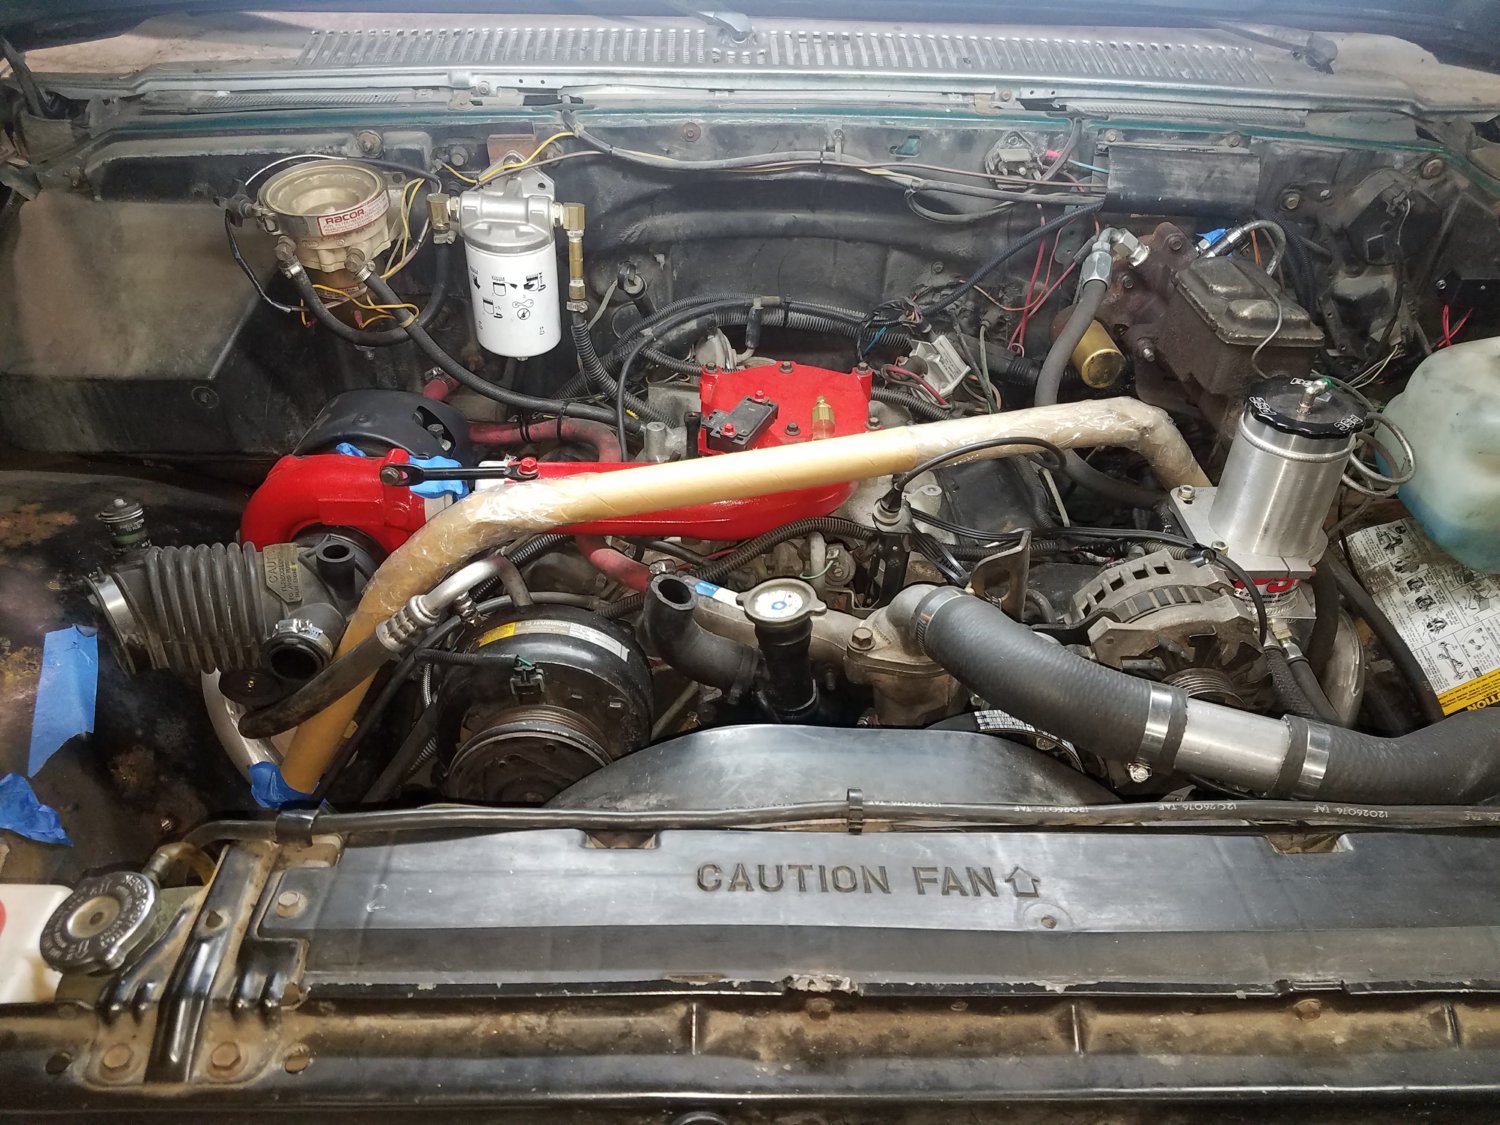
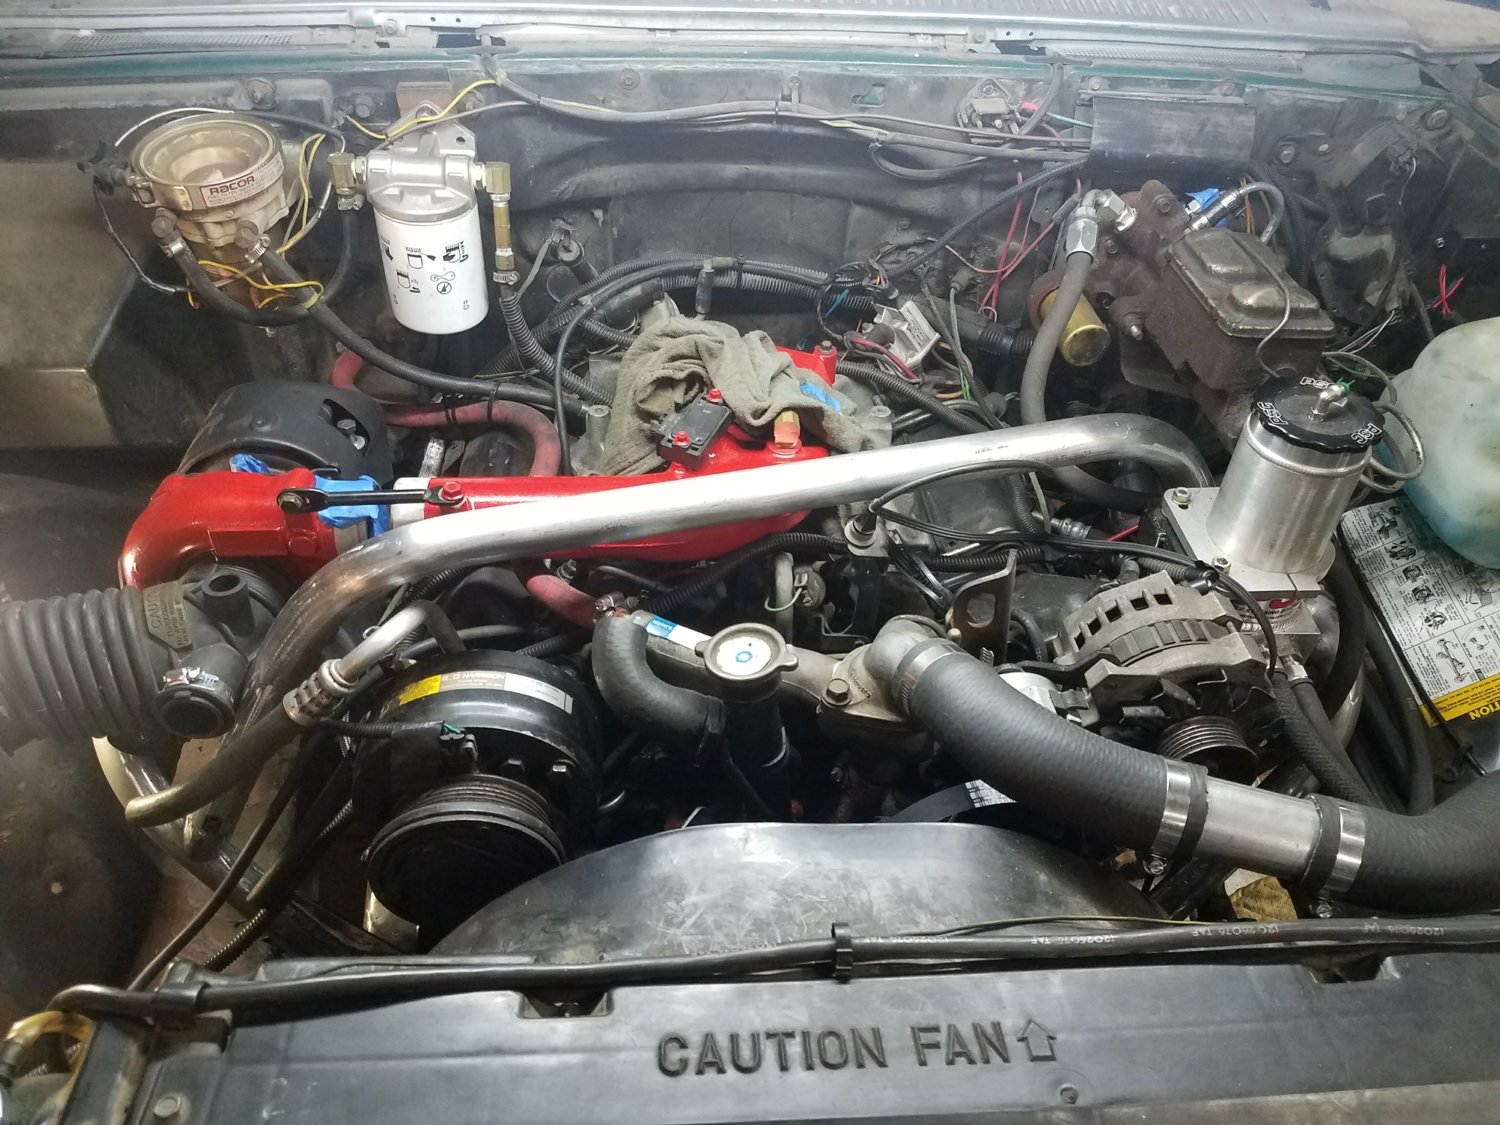
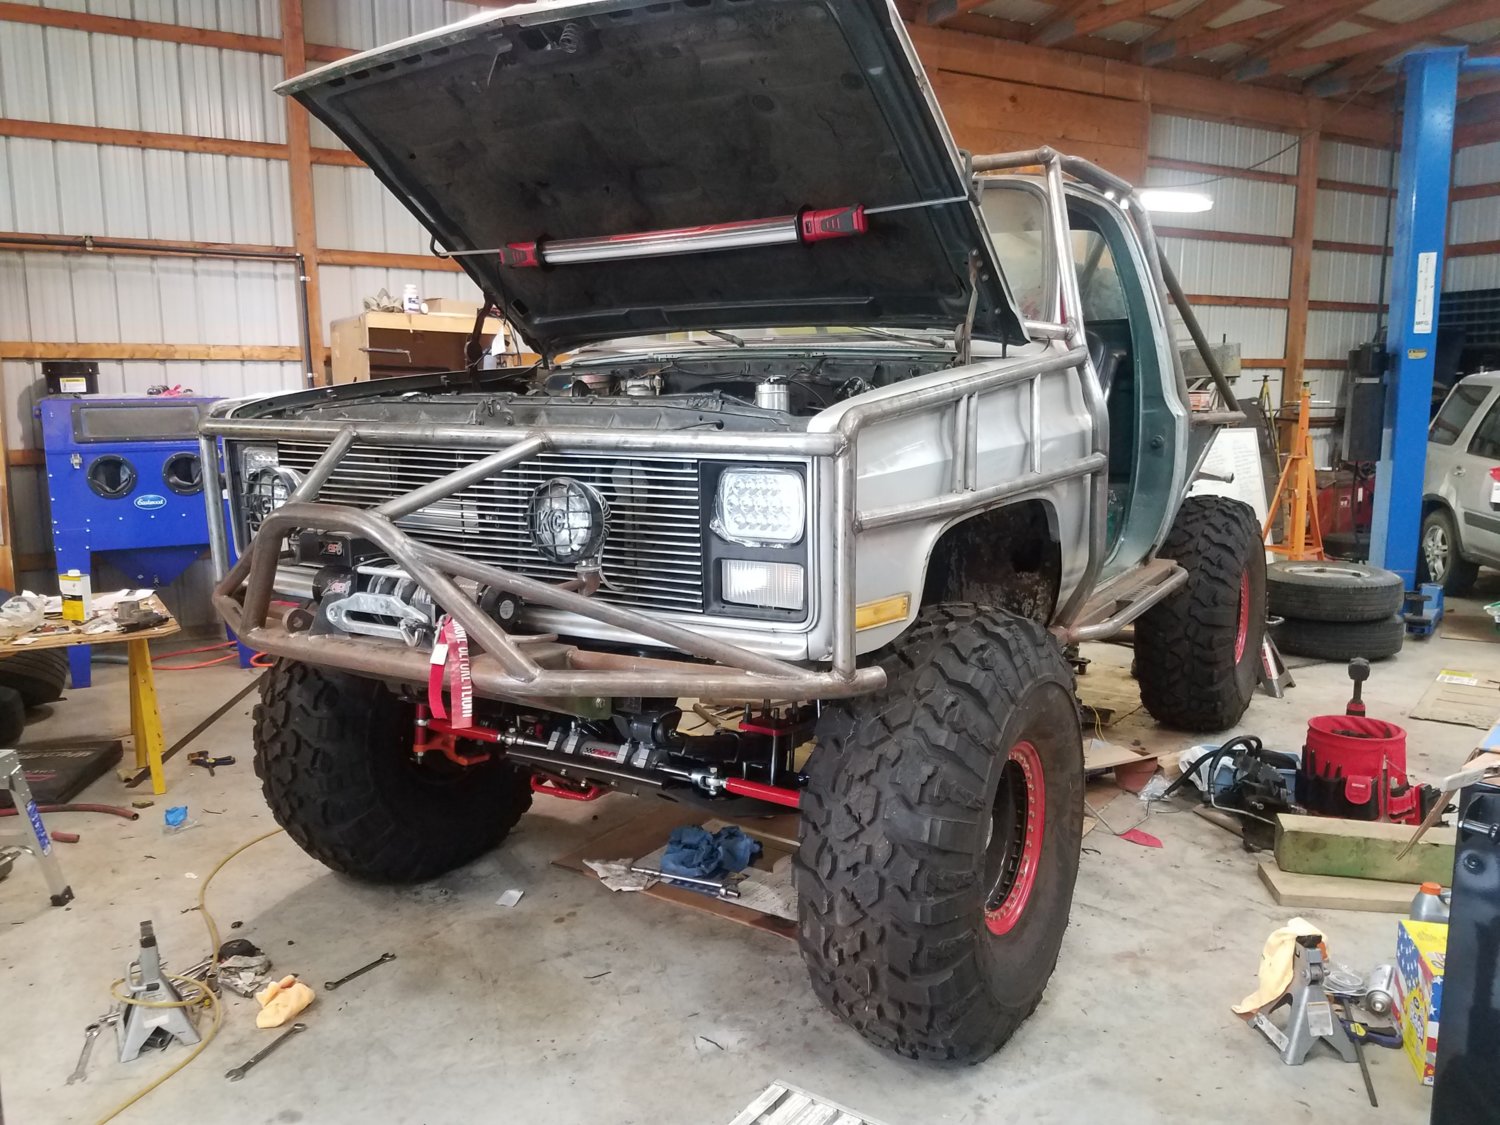
Ignore the messy shop. . .
 
Got a few things done this week.
Exhaust is finish welded, hangars mounted, a coat of high temp paint, and re-installed on the truck.


Forgot to take a pic before I put it back in but here you can see how it just clears the body mount and never goes below the frame. Before the muffler you can see a second V band so it is easy to remove.


Pretty happy how the exhaust tip came out.

I also worked on a bunch of misc weld clean up on the sliders and seat mounts. The guy that did some of the initial cage work did these and many were not welded all the way around. Finally got around to capping the rear of the sliders.


Was pretty happy how that weld came out :coolblue:

So anyway after almost 2.5 years the truck emerged from the shop under its own power.


When it went in it was a non turbo, stock, V belt 6.2 with stock steering and a bone stock Dana 60. Now it has a GM3 turbo, serpentine belt setup, PSC Full Hydro Steering, and a built to the hilt Dana 60. When you list out all the changes it makes me feel a little better about taking over two years, but only a little . . .


My son was super stoked to ride around in it. He was so small looking back at the start of this build.


Anyway the truck seems to run and steer well. I was playing in the back yard in low low 2wd because I was having trouble getting that bluetooth front drive shaft to connect. Surprisingly in double low it takes pretty high RPM to build boost. But when it does build it comes on strong. I didn't have a ton of room or time but max boost I saw was around 5 PSI. I need to get it on the street and play with the wastegate and see what kind of max numbers it builds. EGTs were super low so we shall see I may be able to turn up the fuel some more as well.


Crikey lookie here a truggy in the wild out of its natural garage habitat :D. What a rare sight.

Anyway got to keep moving. Some more cage final welding and gusseting in the near future. Gotta try and get this beast painted before it gets too cold.
 
*** 6 months until the first day of Full size Invasion in Moab ***

Some issues cropped up after my little drive around the yard:

1) I forgot to tighten the pinch bolt on the steering shaft at the orbital valve. It is now somewhere in my backyard. Luckily the steering shaft stayed put. I believe to have sourced another bolt because of course it is a weird 12 point bolt.

2) There is a leak at the hydro steering reservoir. After looking for a bit I am wondering if one of the o-rings got cut when the adapter fittings were installed. I guess I will have to drain it and see.

3) The steering wheel is not centered. I should be able to change that at the steering wheel since I am running an aftermarket wheel.

4) After starting the truck this morning it decided to leak coolant at the thermostat. Guess I will have to change the gasket and hope it seals the second time.

5) When the truck is still fairly cold if you rev it up and let off it just dies like you turned the key off. Some google searches suggest changing the fuel filters and making sure the return line is clear. Seems it could be sticking plunger in the injection pump could just be from sitting and from 3 year old fuel. Hopefully a fuel filter change and some additive cures this. It never had this problem before and once the truck warms up it seems to go away.

6) The fuel gauge is wacky and does not seem to work. Could be a bad sending unit because the original one that came with the tank was bad brand new and acting the same way.

Just a growing list of more things to do with less time to do them
 
Last edited:
My grandpa bought a 93 3500HD with a 6.5/NV4500 and it was also dying if you suddenly let off the throttle. The governor gets gummed up and can’t cut the fuel back in fast enough. I got his good and warm and drove the hec out of it for a bit with good new fuel. Made a world of difference.
 
I’m really enjoying your build. Great work, and congrats on the payoff.

David
 
Top Bottom