CK5
Register an account today to become a member! Once signed in, you'll be able to participate on this site by adding your own topics and posts, as well as connect with other members.

1986 K30 6.2 Diesel Truggy Build - "The Mule"

My grandpa bought a 93 3500HD with a 6.5/NV4500 and it was also dying if you suddenly let off the throttle. The governor gets gummed up and can’t cut the fuel back in fast enough. I got his good and warm and drove the hec out of it for a bit with good new fuel. Made a world of difference.

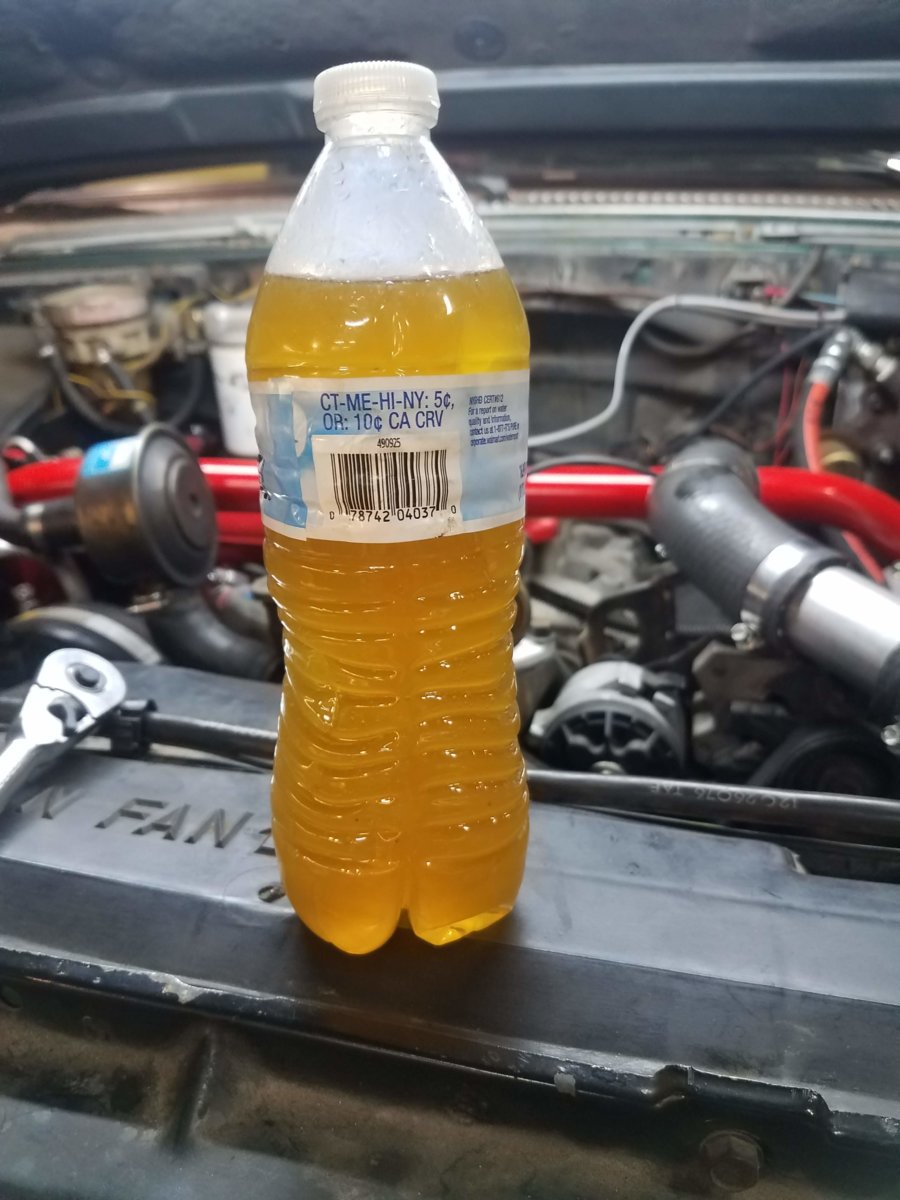
Good to hear I dosed it pretty heavy with half a bottle of Power Service Diesel Kleen and a few gallons of fresh diesel. Drove it around a bit today and it already seems a bit better. I am guessing that sitting almost 3 years did it no favors.

I’m really enjoying your build. Great work, and congrats on the payoff.

David

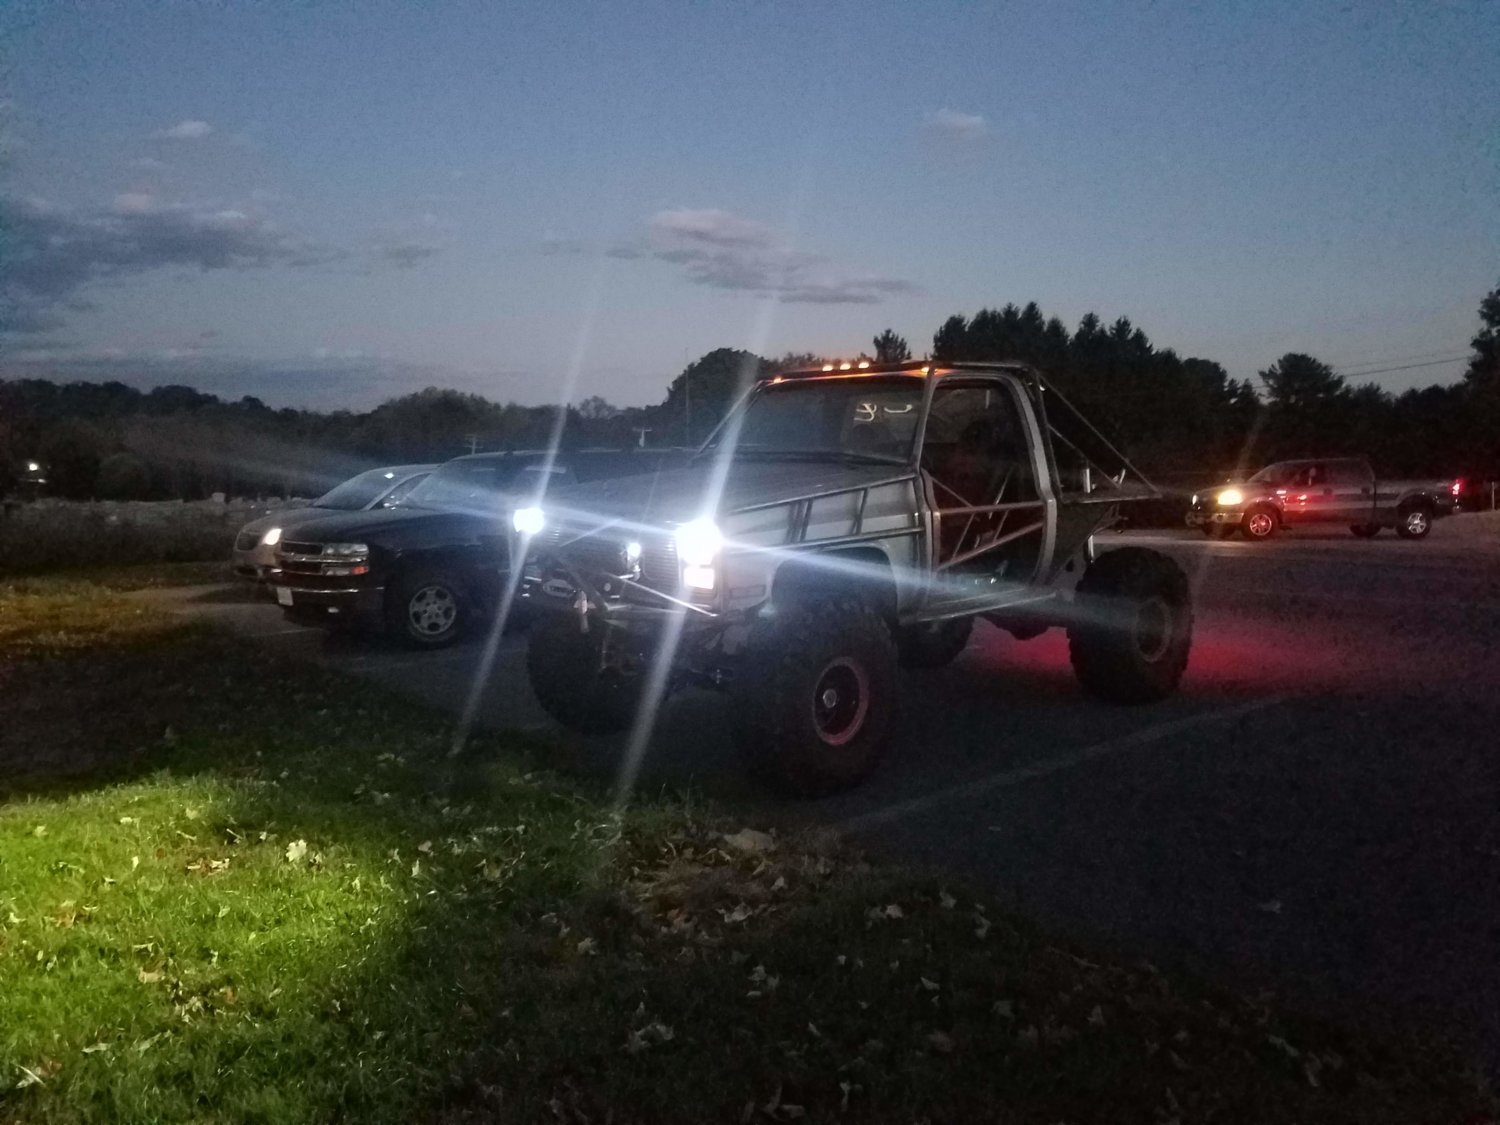
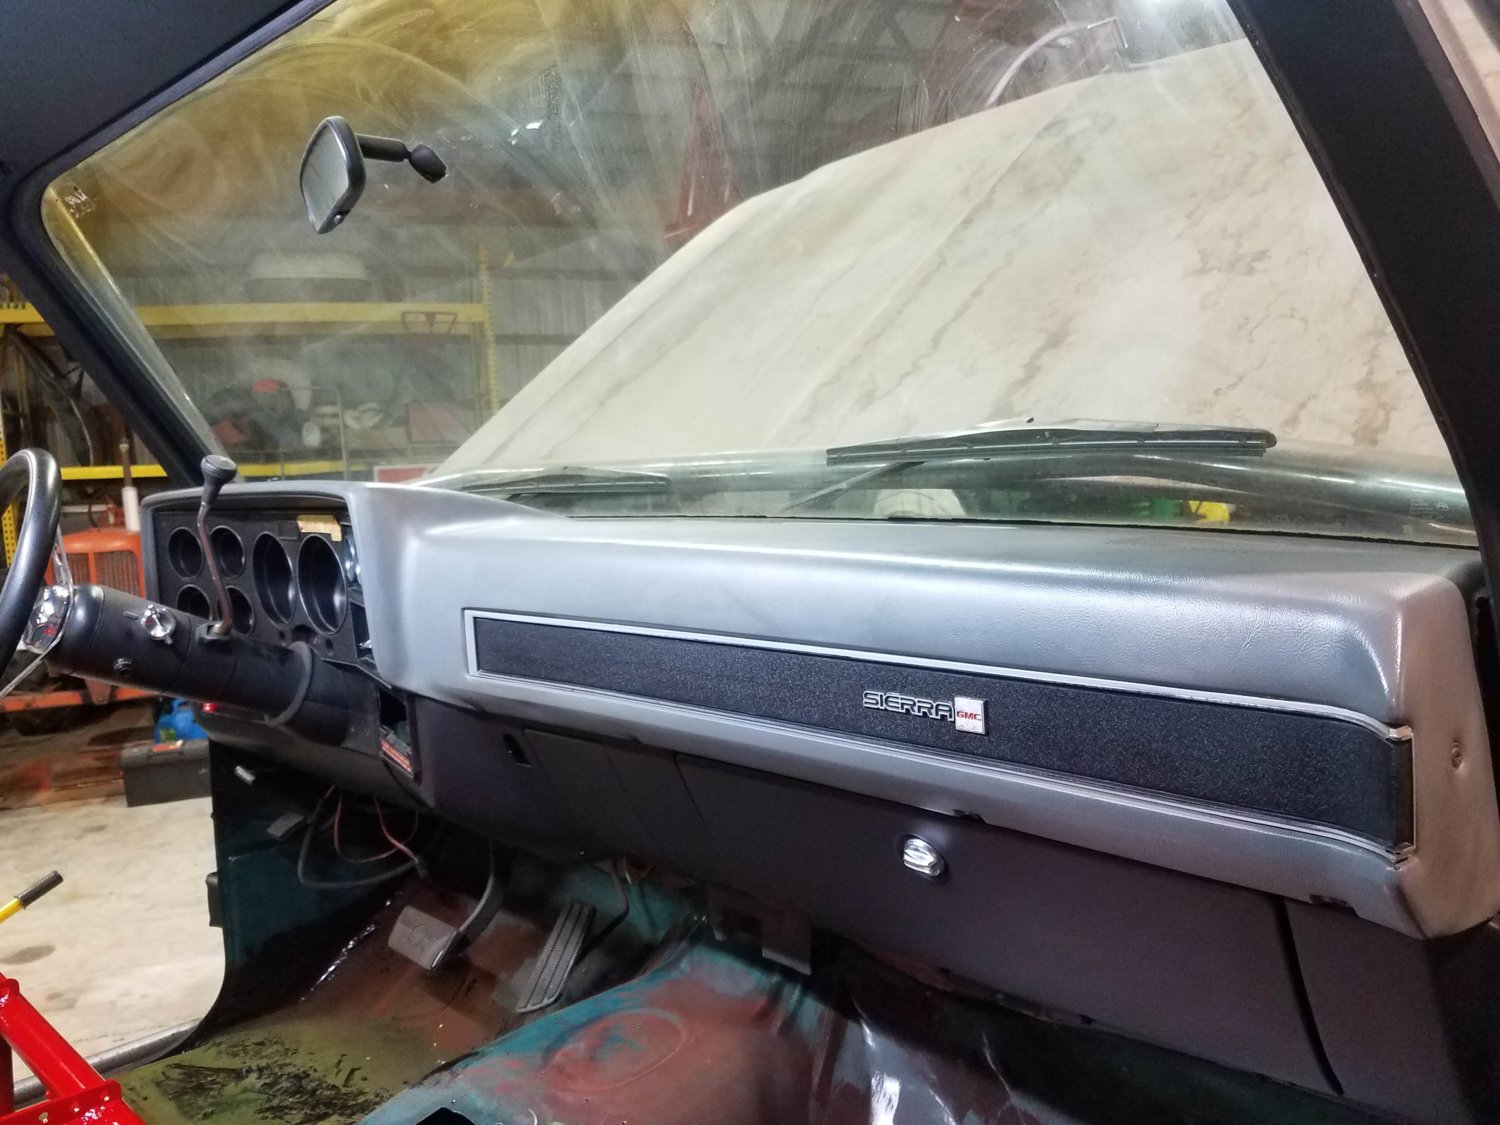
Thanks David Going to try to keep this thing moving. I think having a goal date is really helping to keep me motivated.

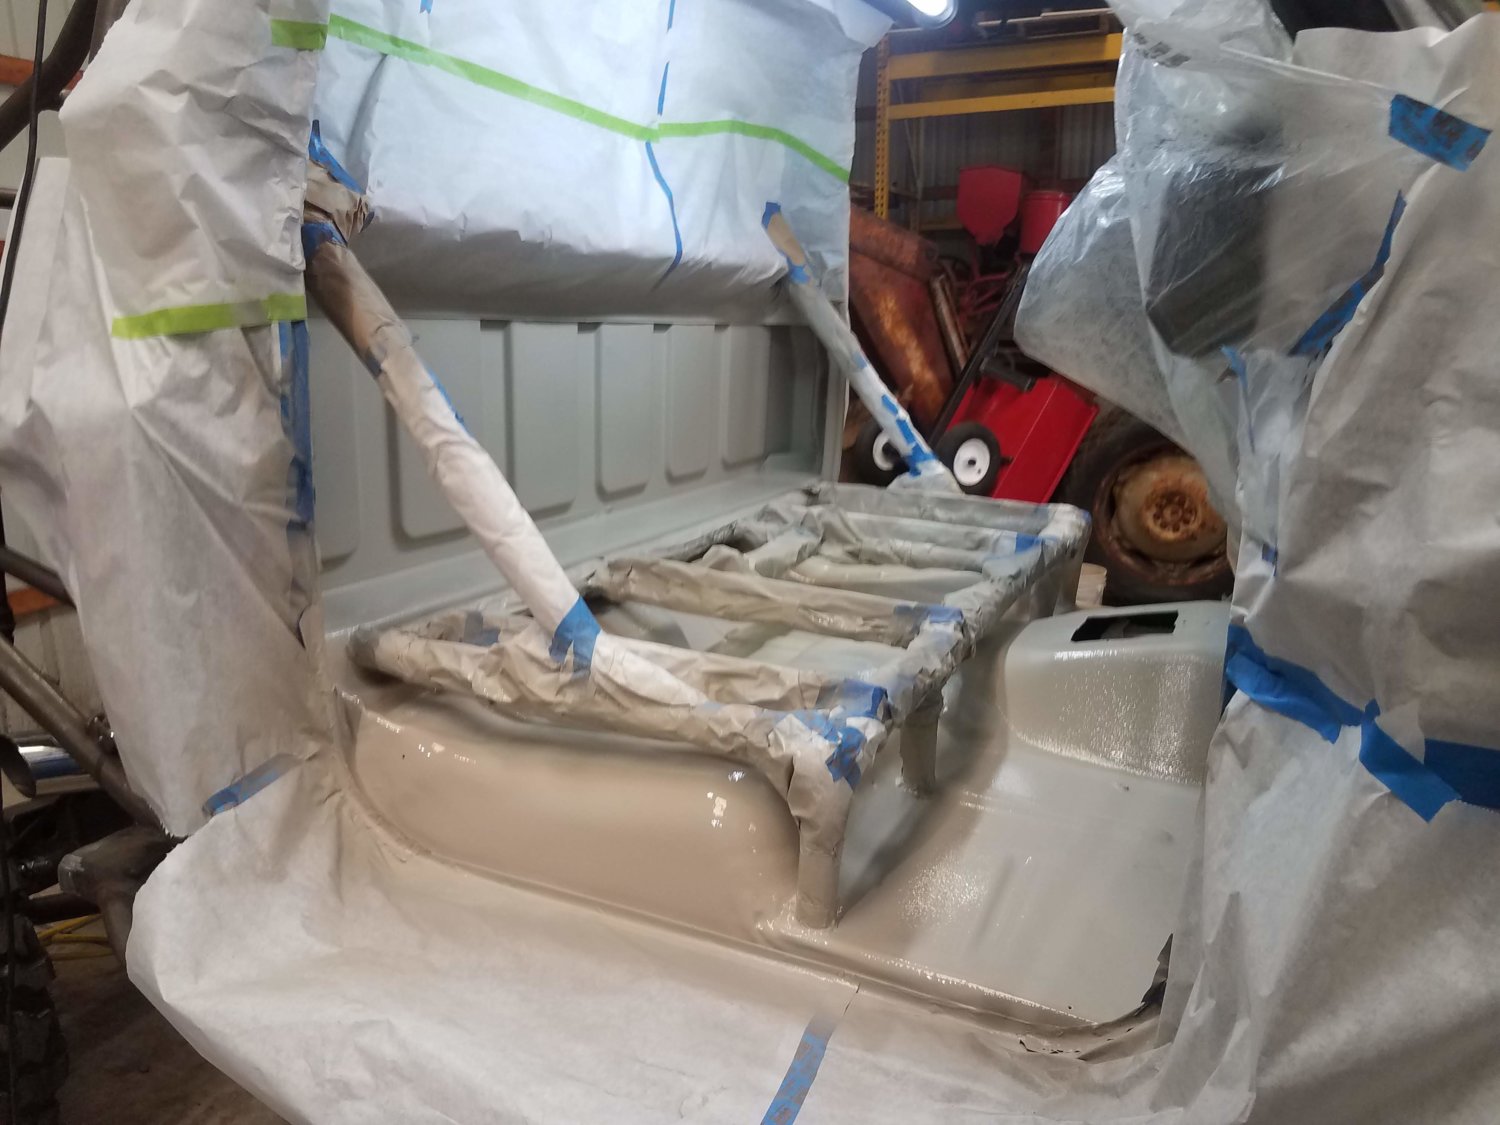
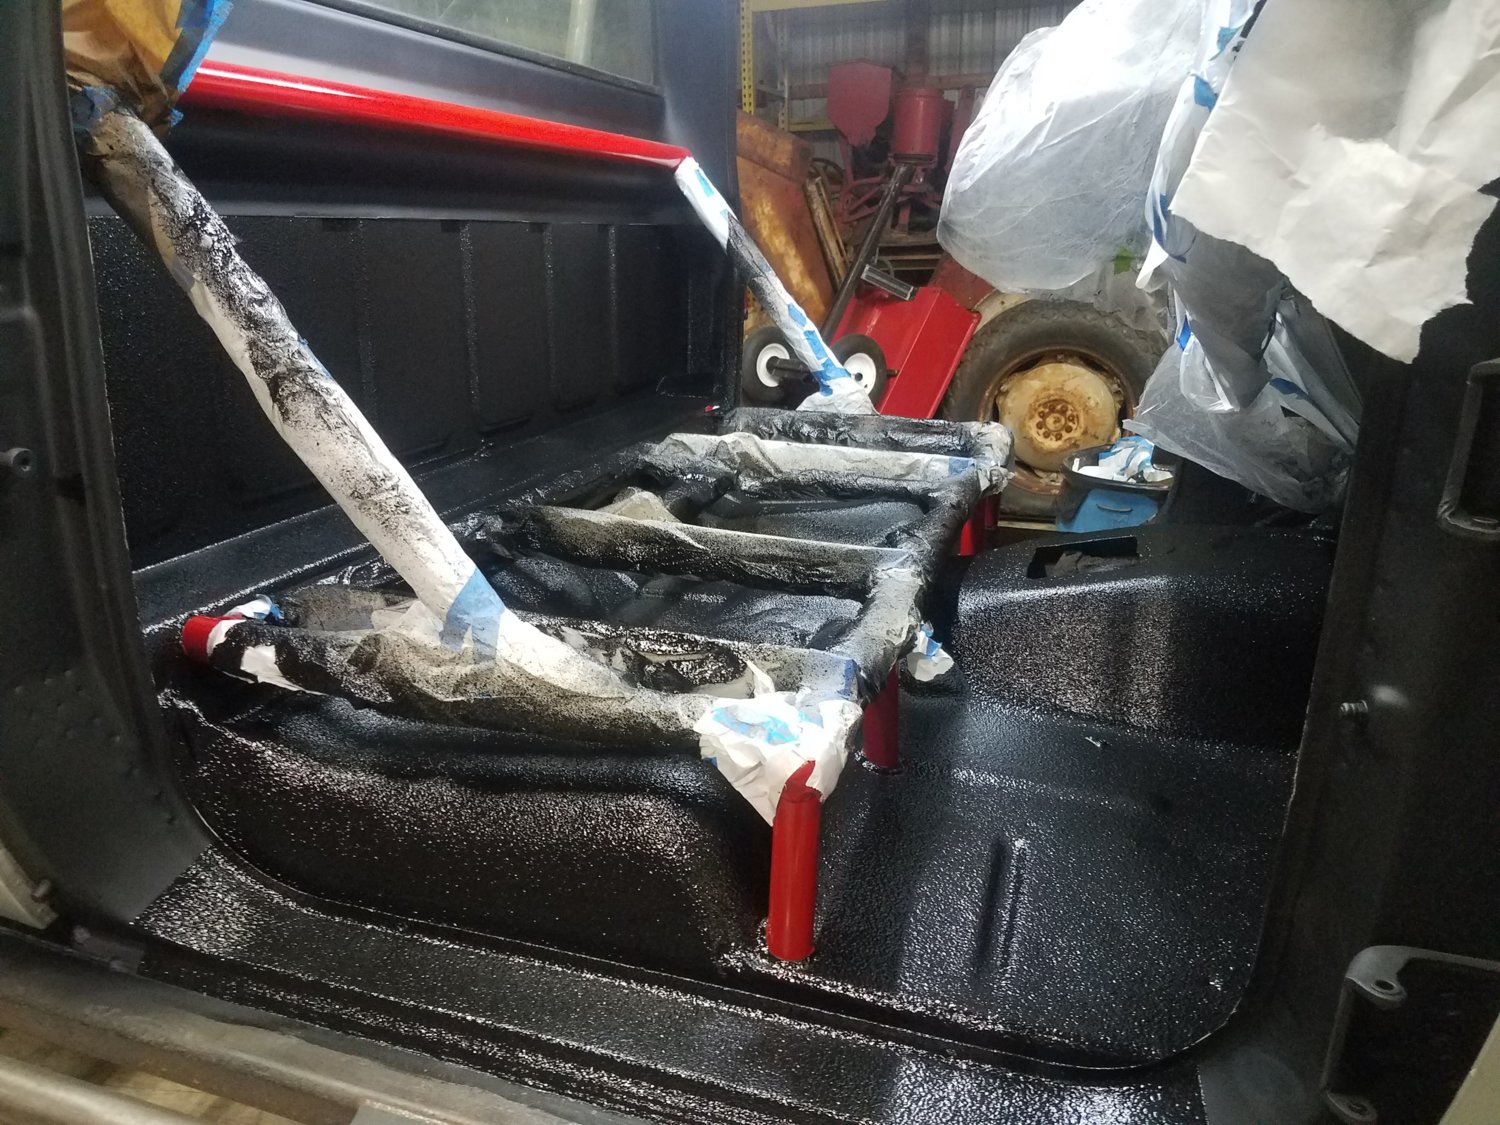
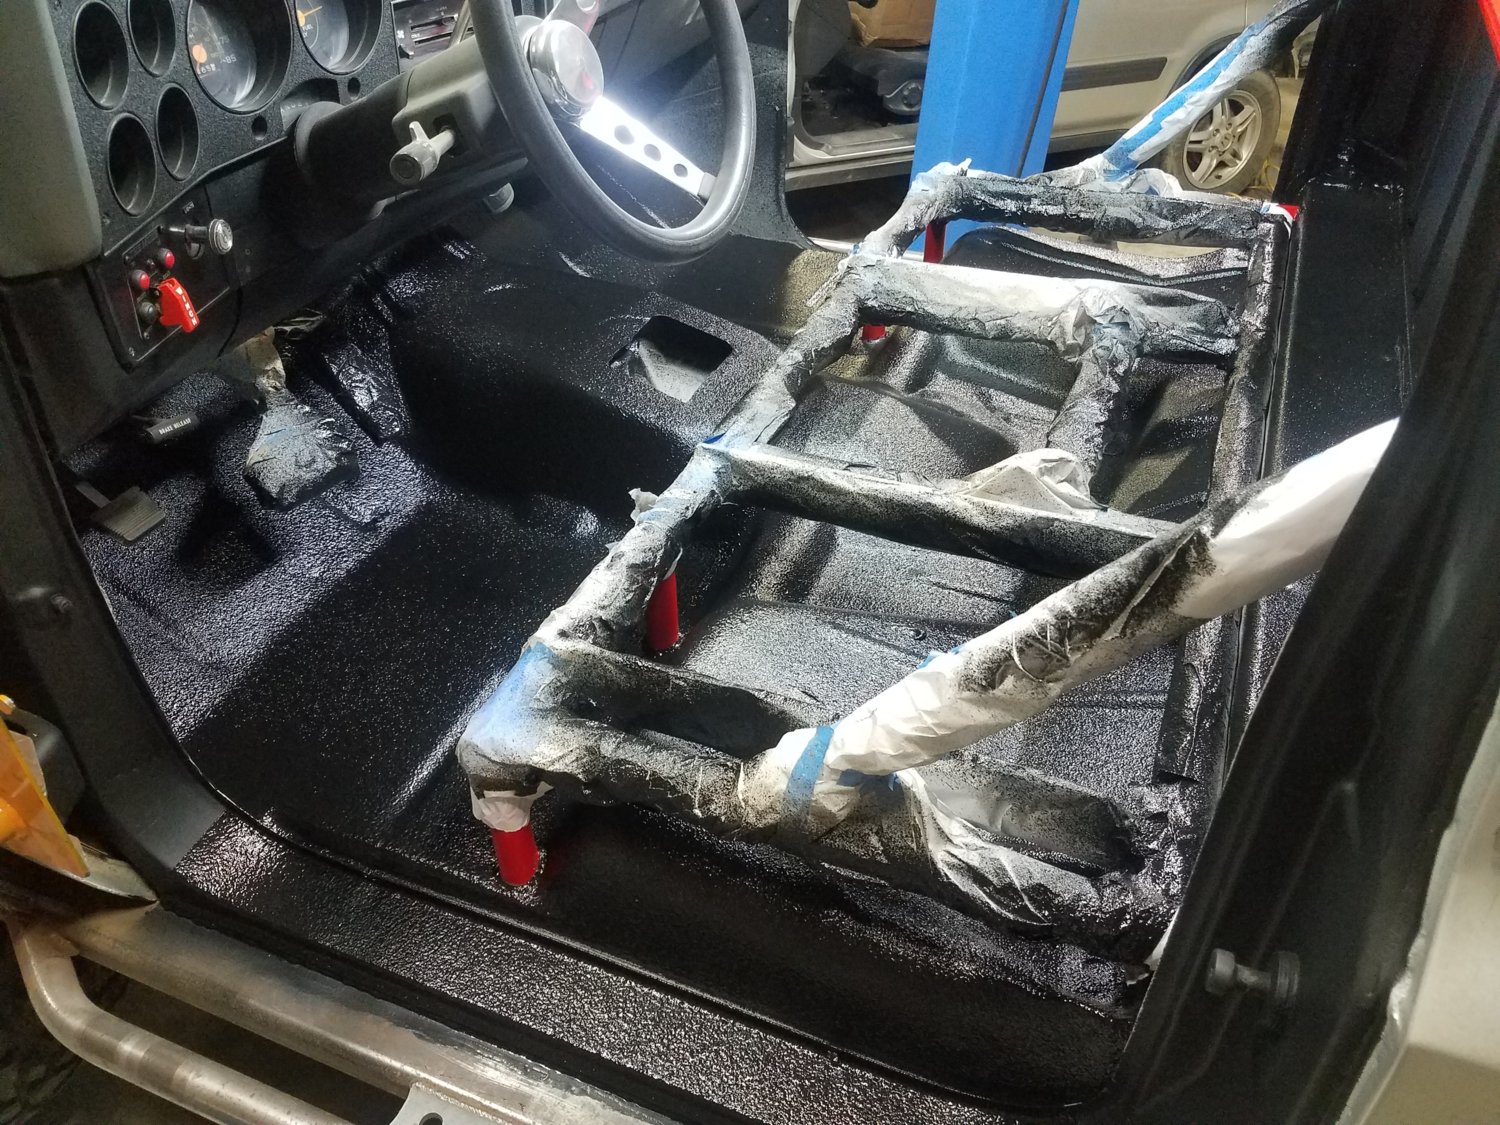
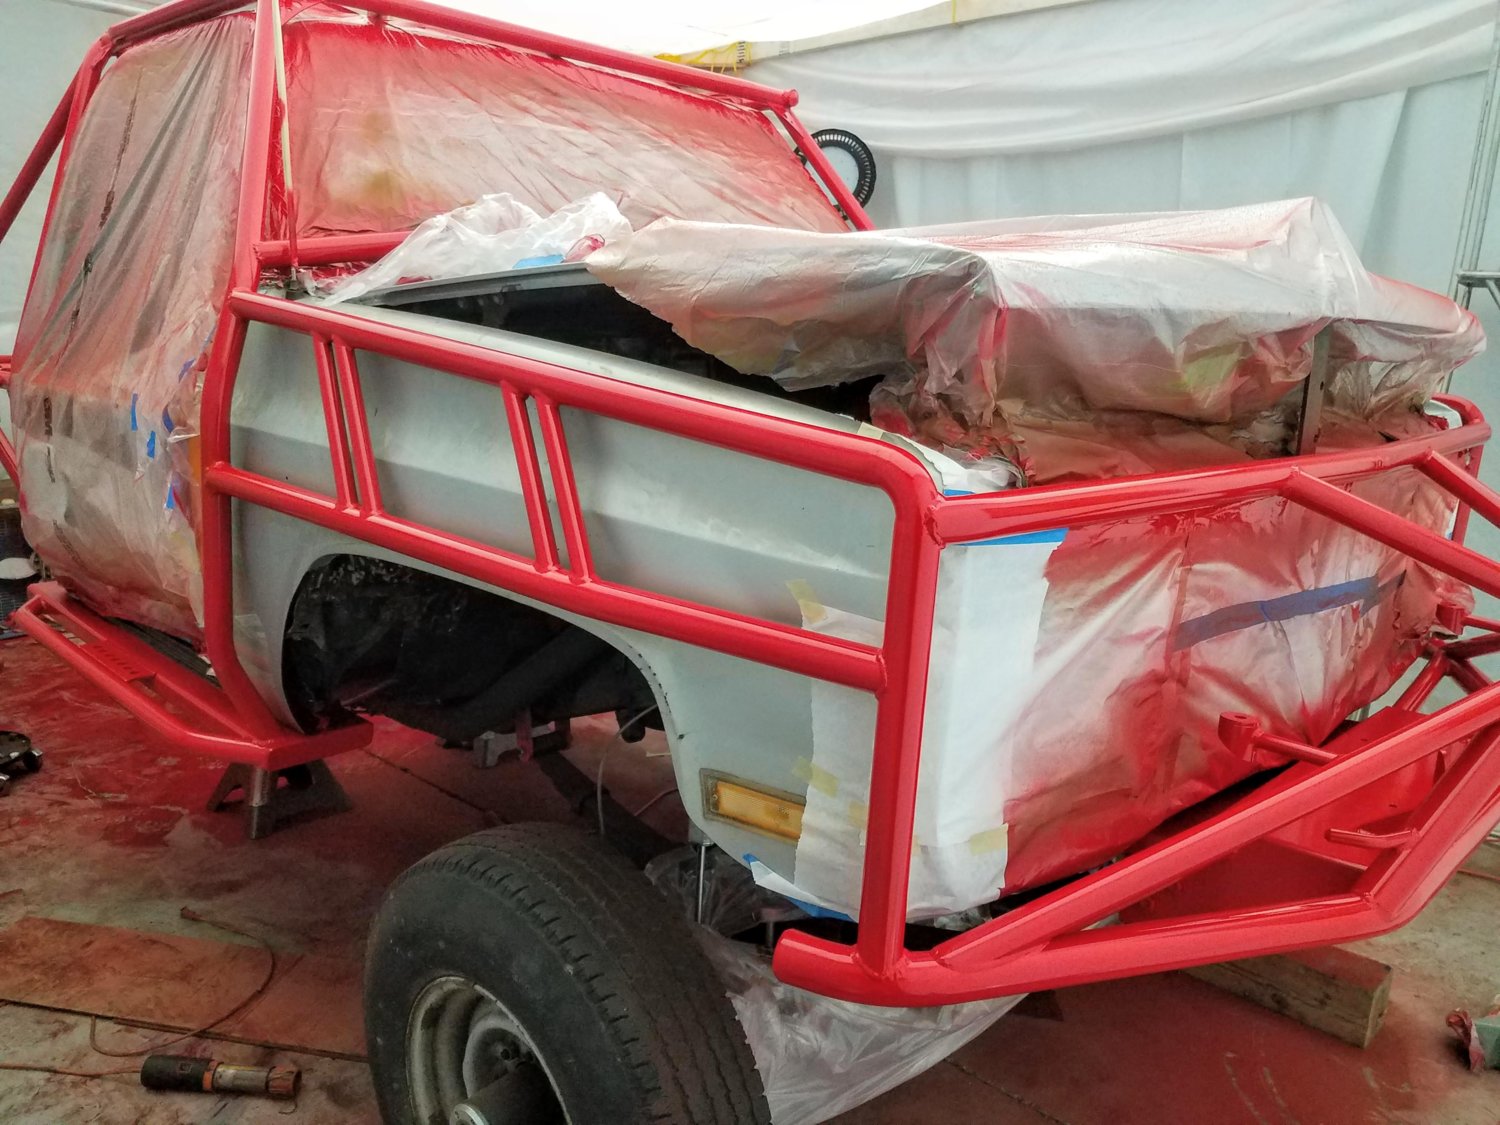
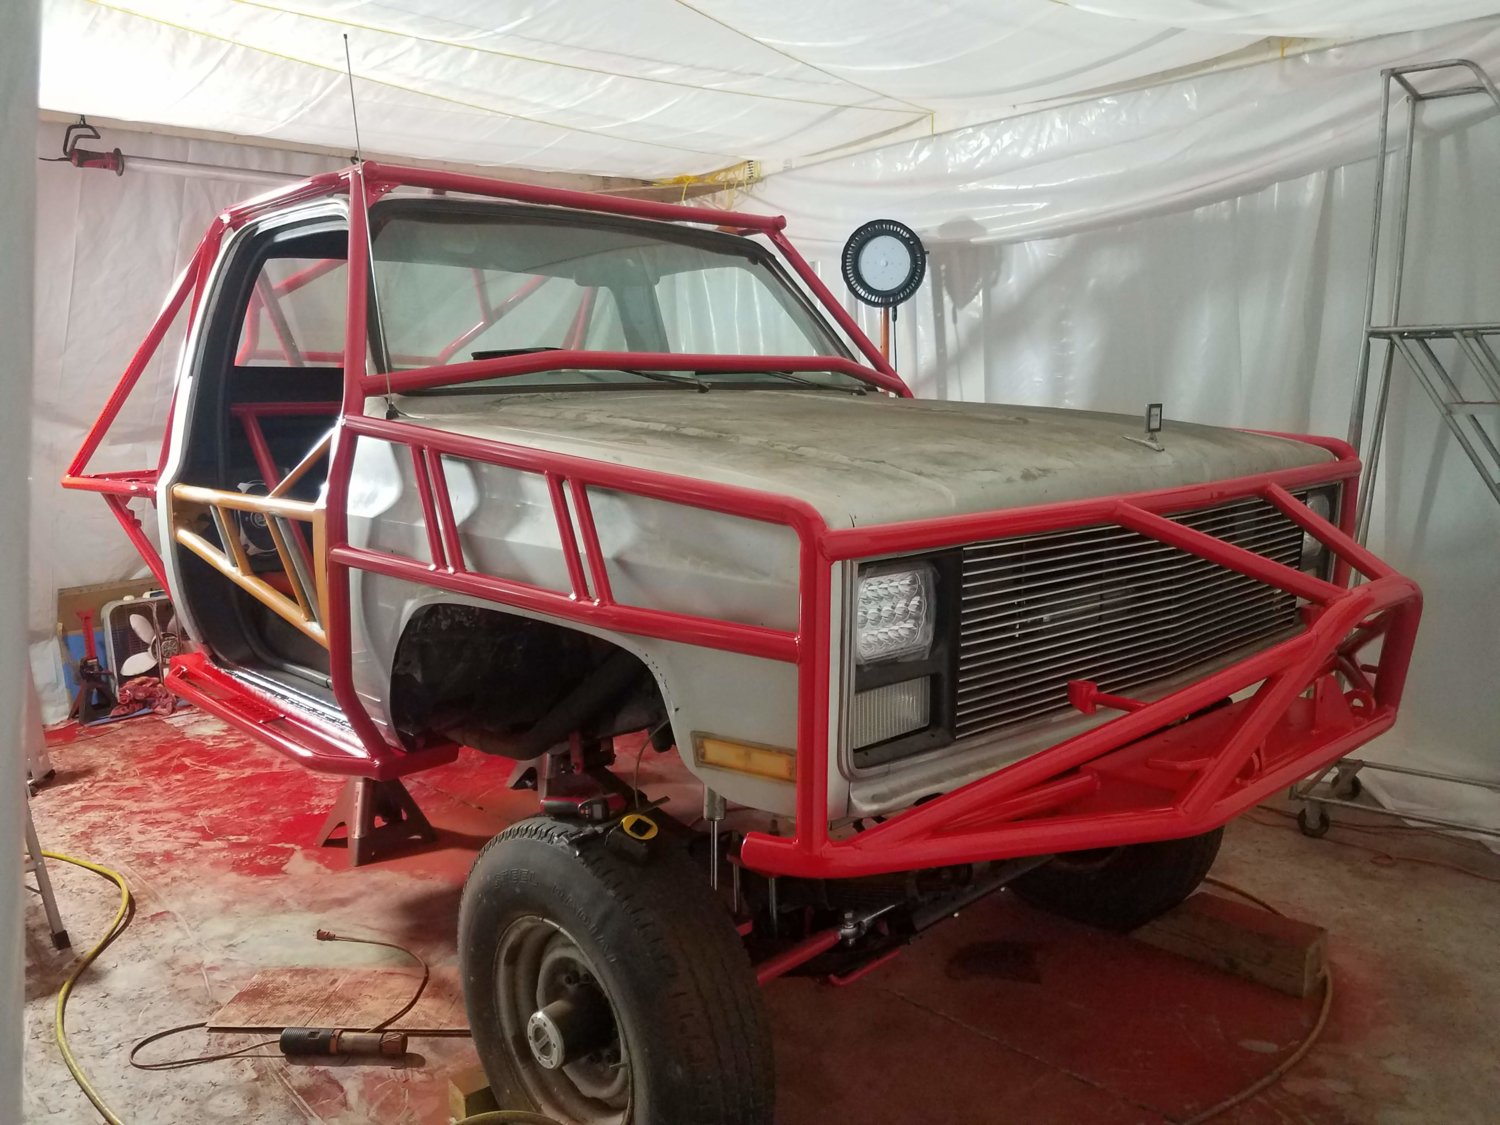
Back to my list from yesterday I investigated a few of these and got some crossed off.

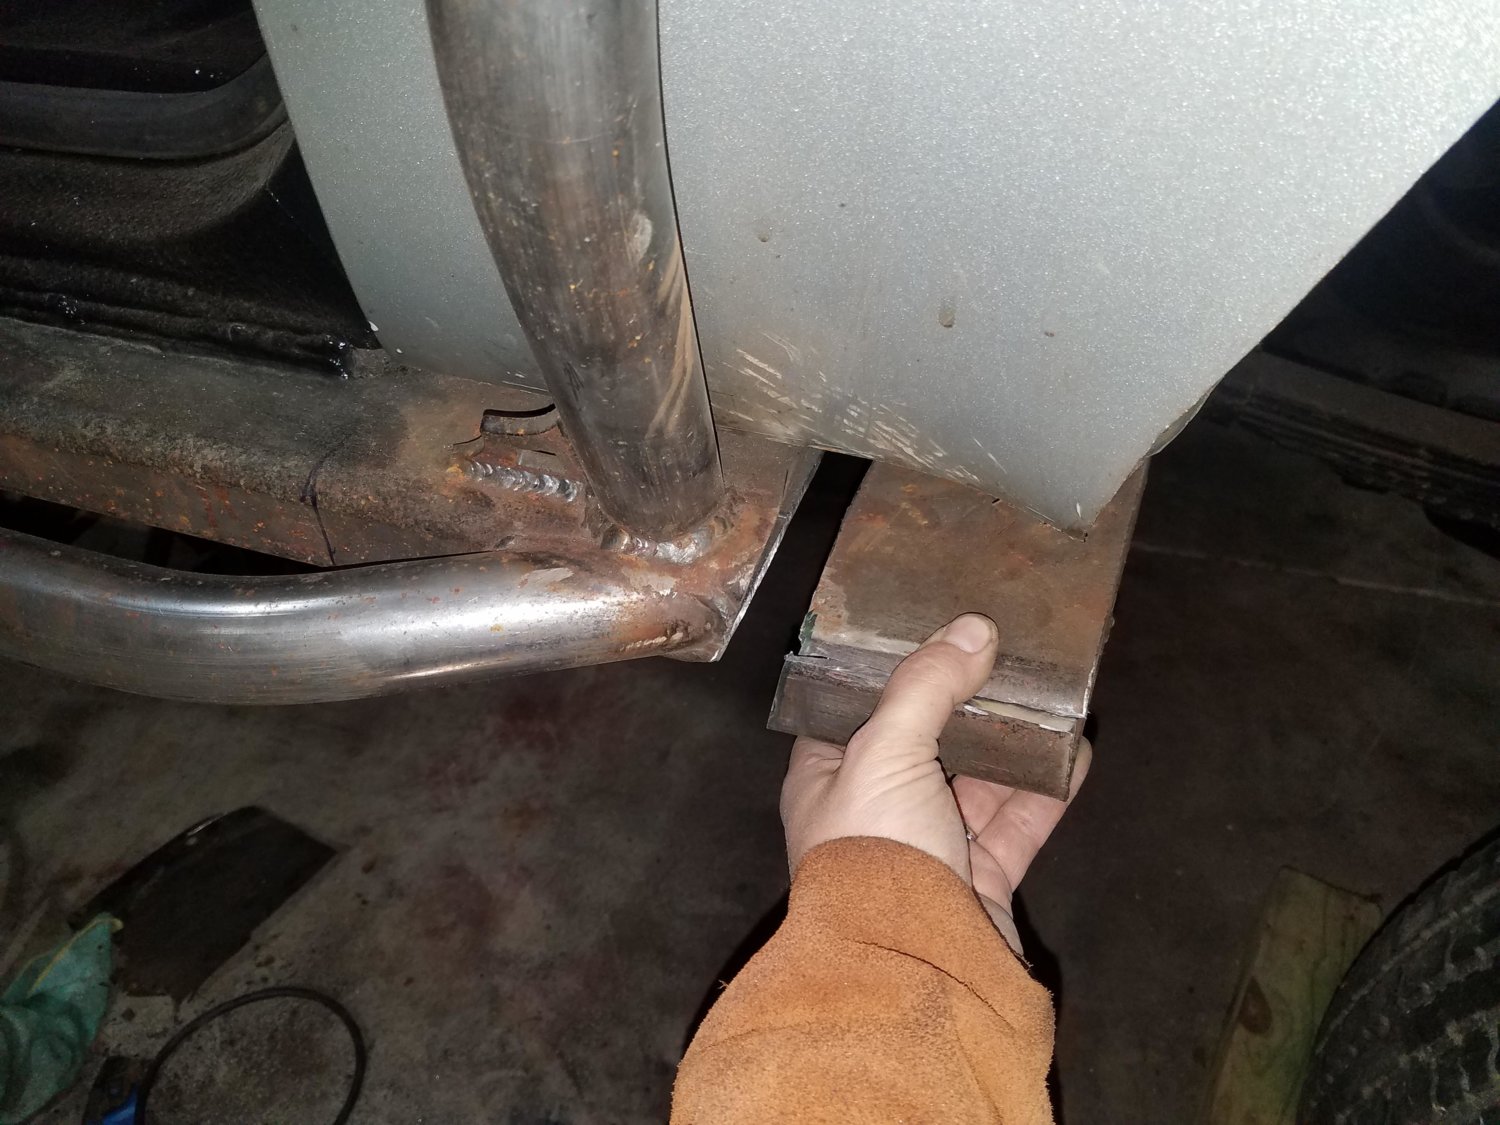
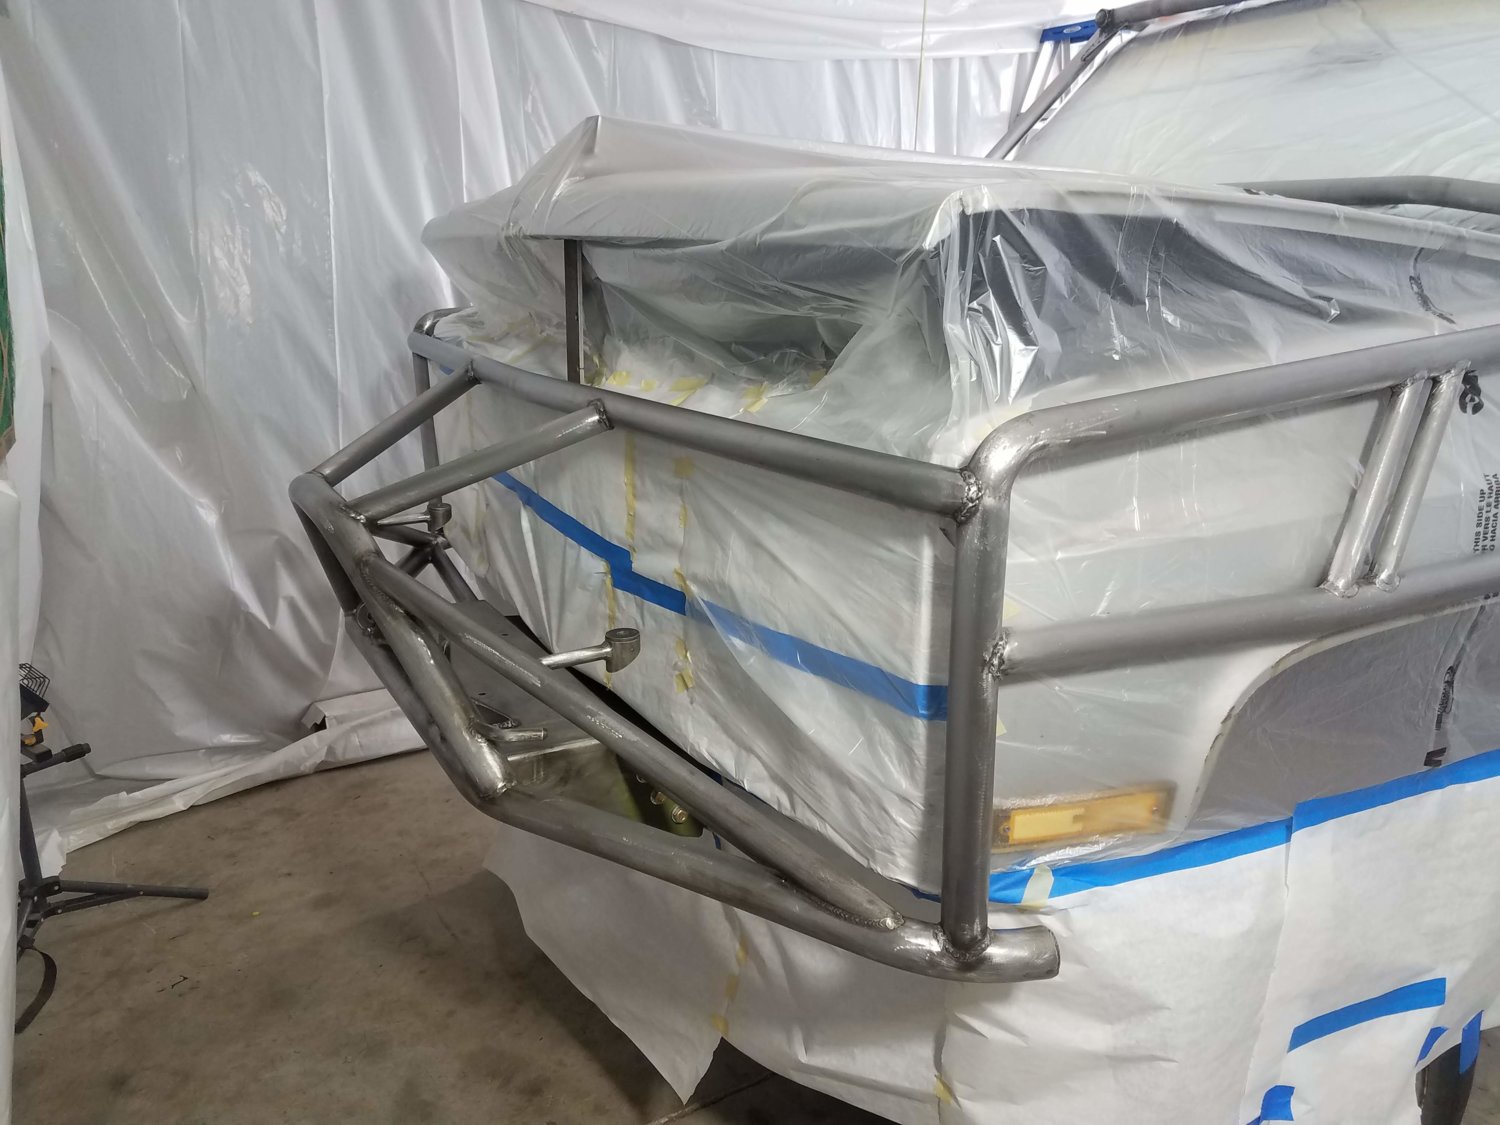
1) This bolt the the bane of my existence.


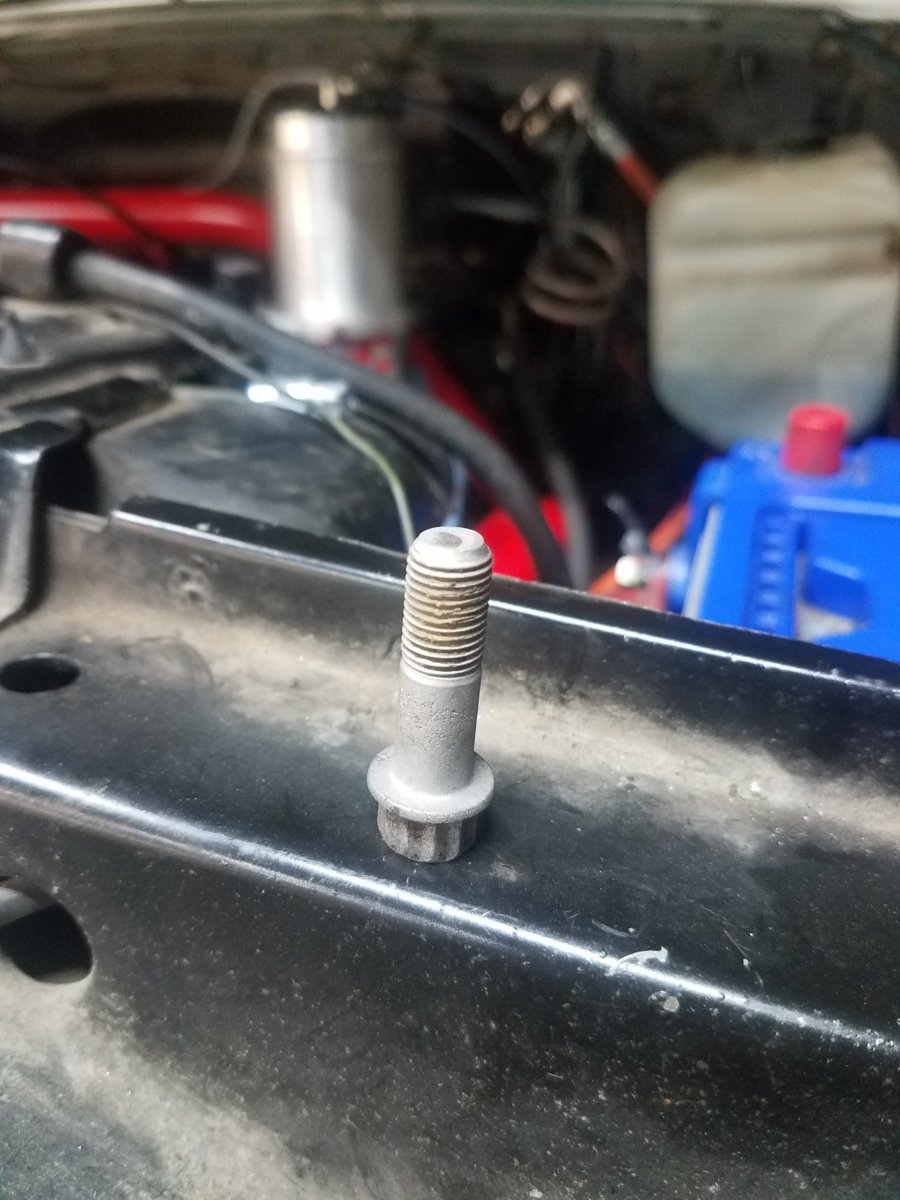
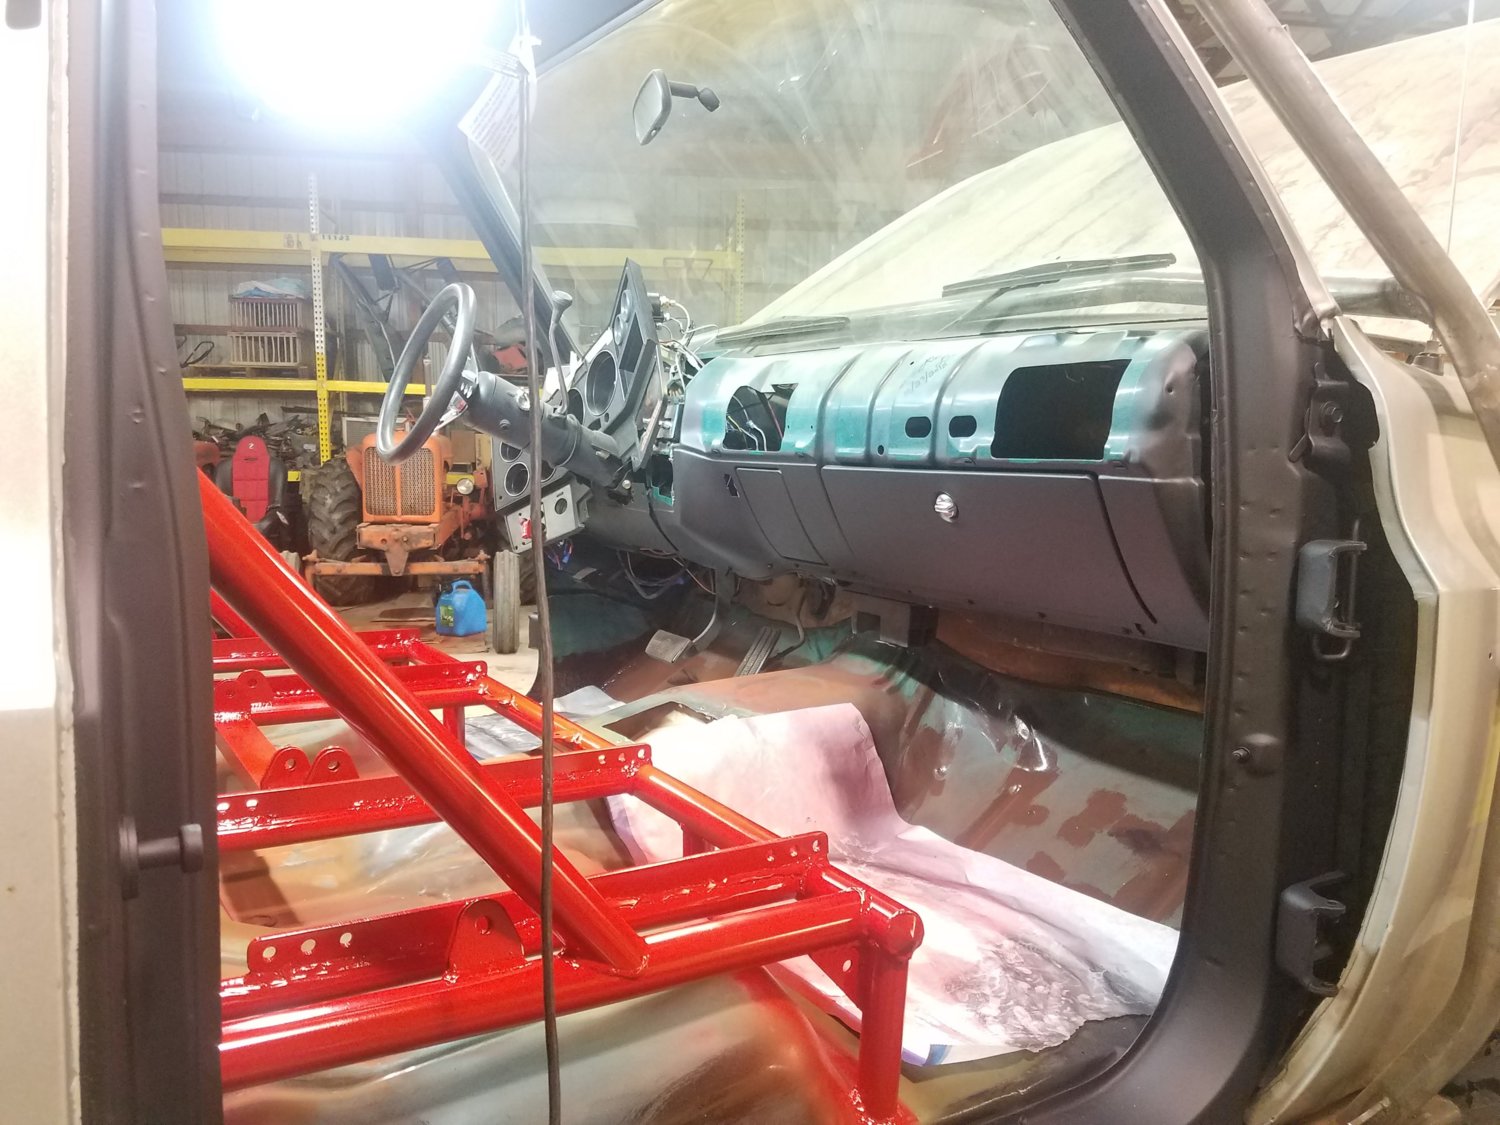
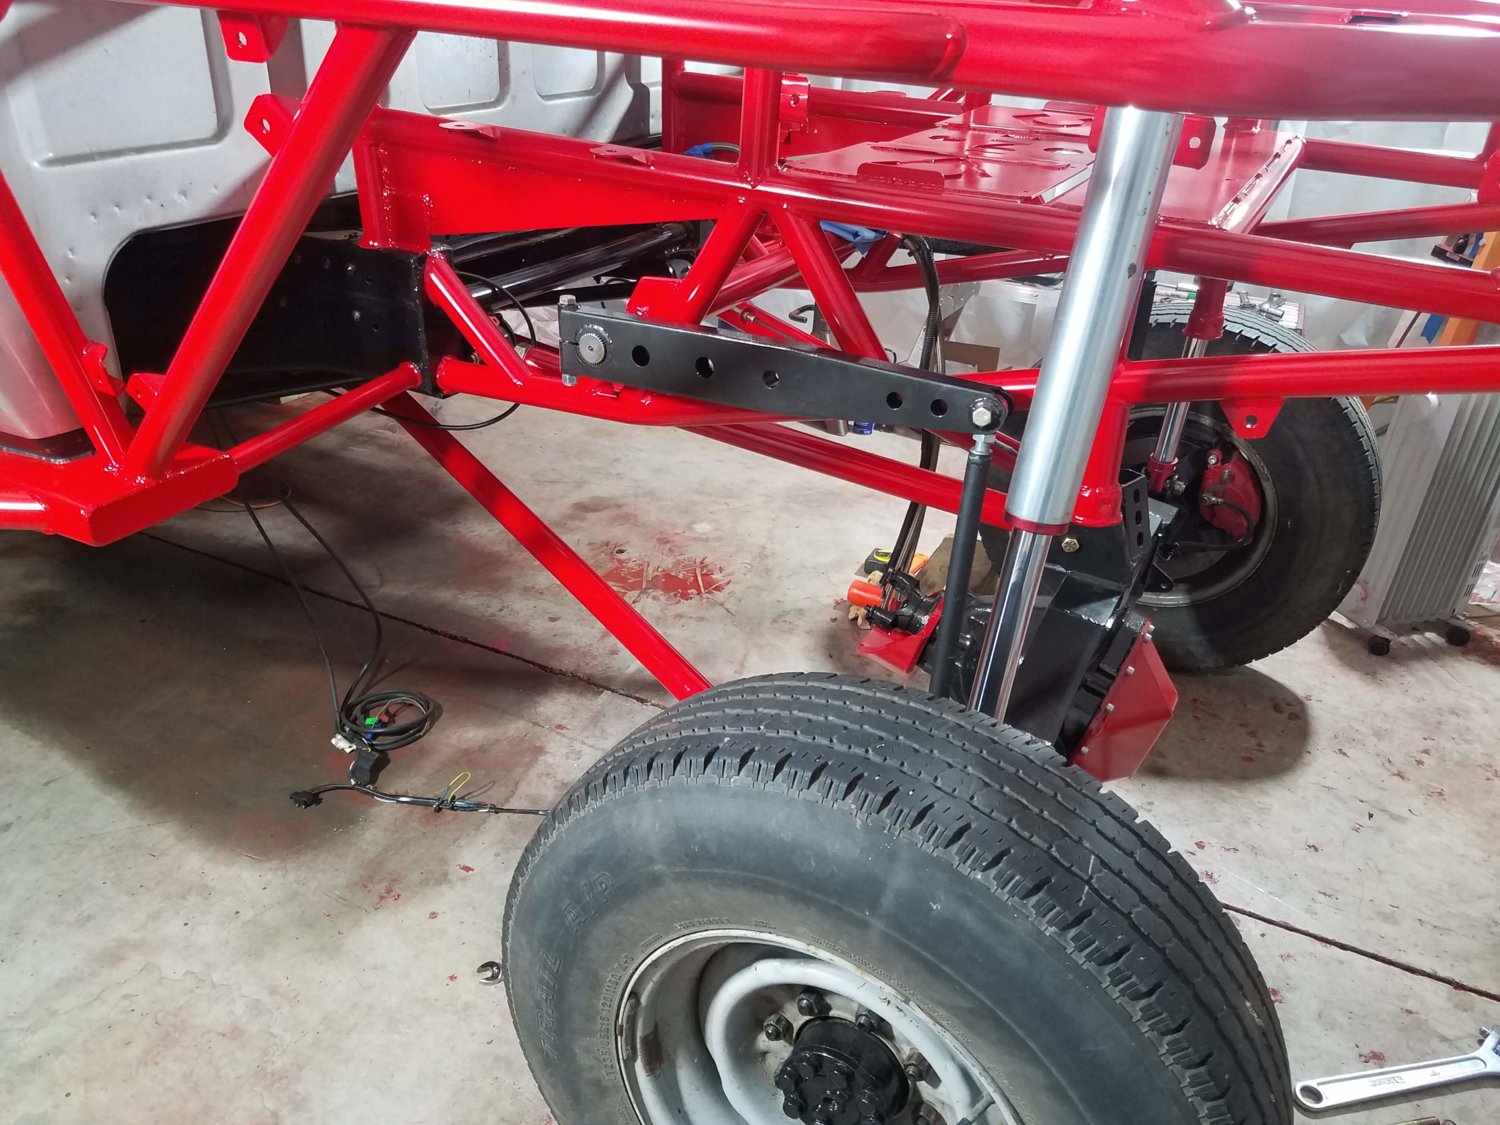
About a month ago when I was about done mocking up the hydro I lost this pinch bolt for the steering shaft. I tore the shop apart for like 2 hours and realized I stuck it in an open hole in the core support and could only see the head of it. So wisely I put it in place and turned it in like 2 turns.

Fast forward to last week when I went to drive it I forgot to tighten it and it fell out in my yard. Figured I would hit up some friends and see if they had any and low and behold @primerk5 had one laying around in his shop and texted me back within 5 mins. Great to have fellow square body enthusiasts as friends. So new bolt is installed and all good to go.

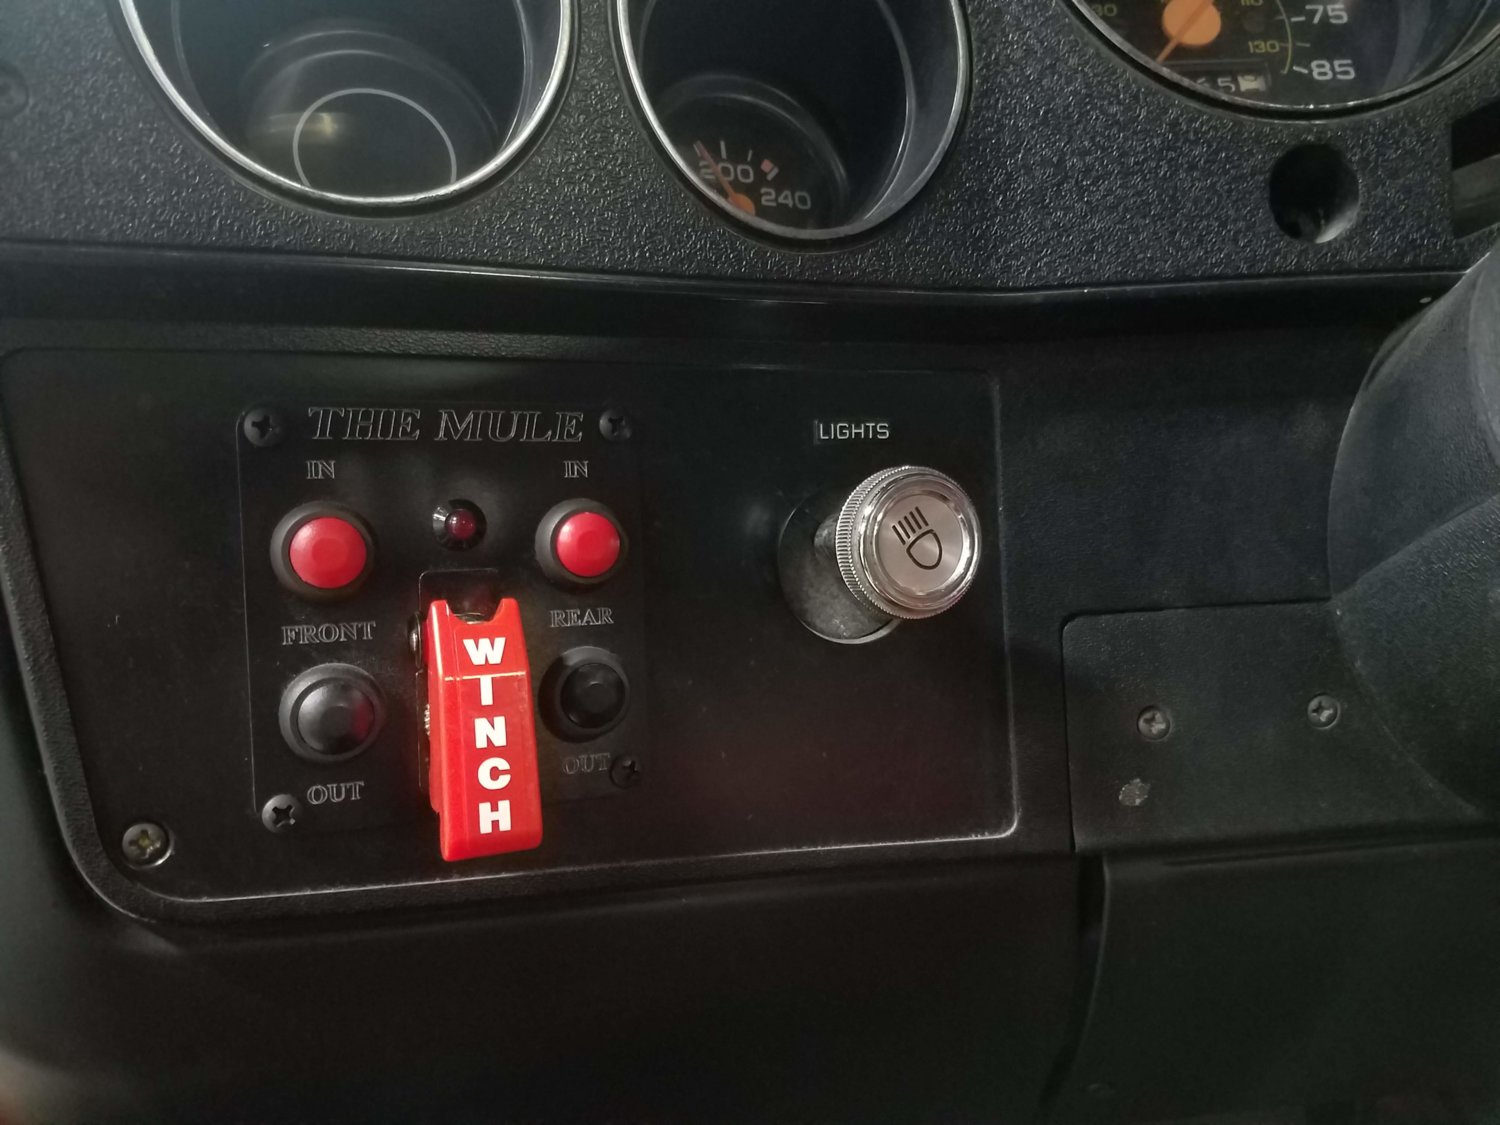
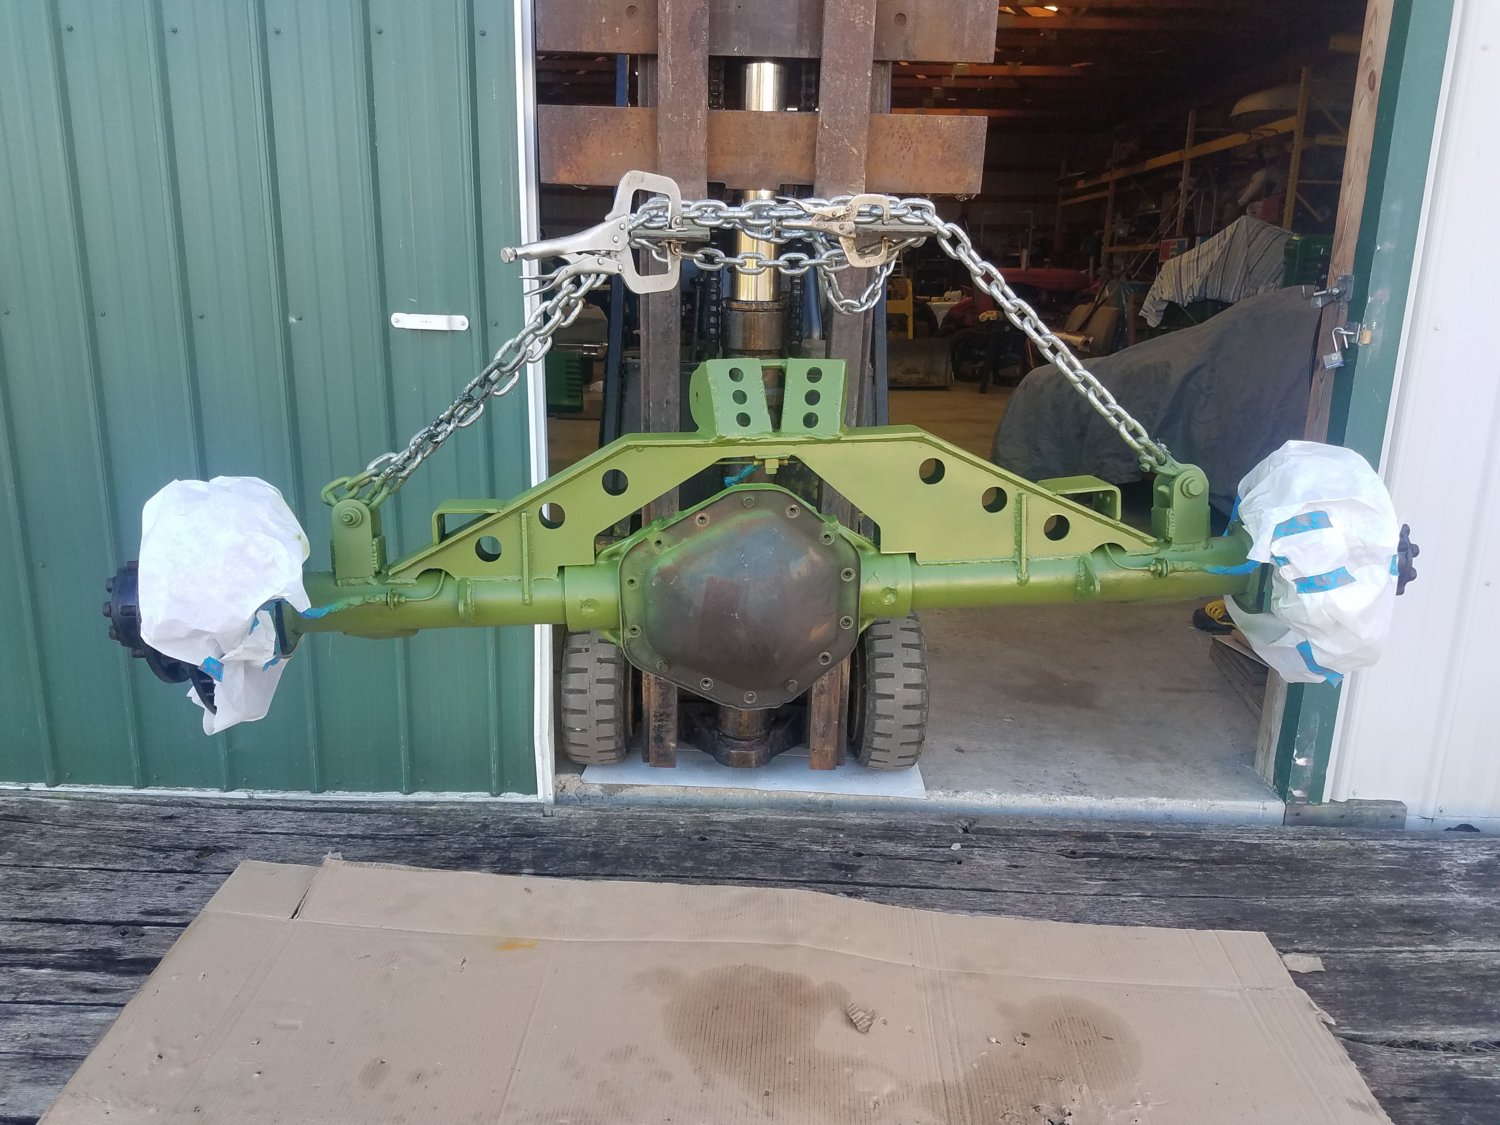
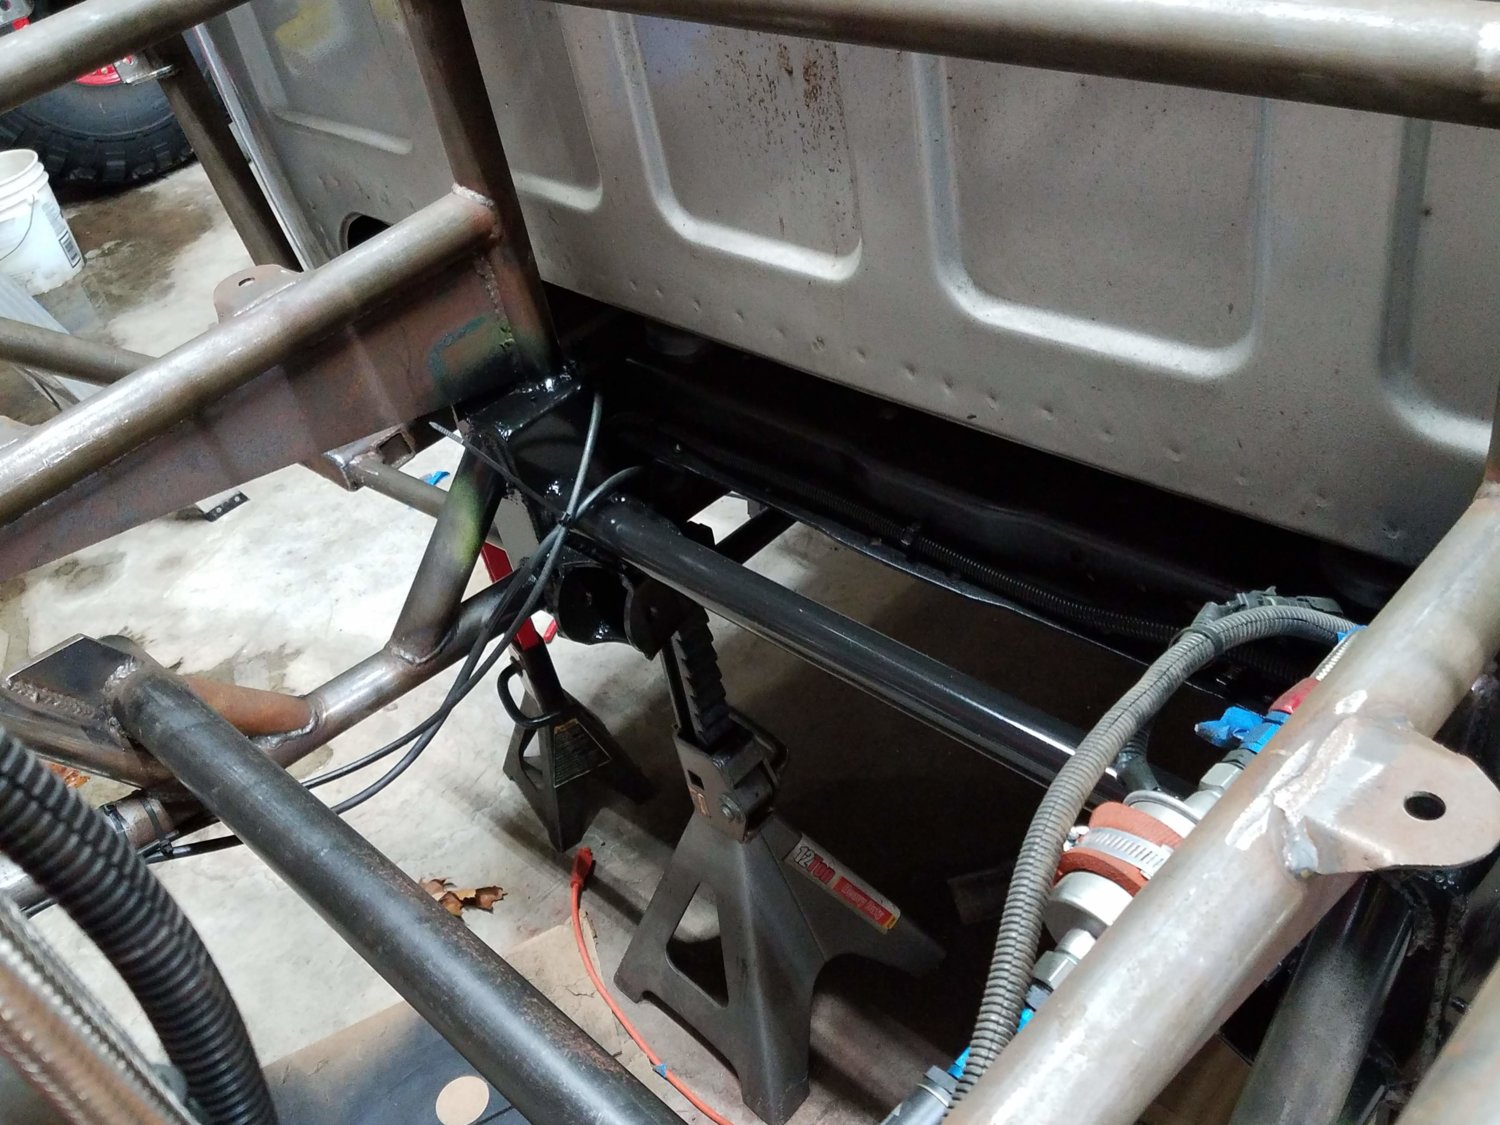
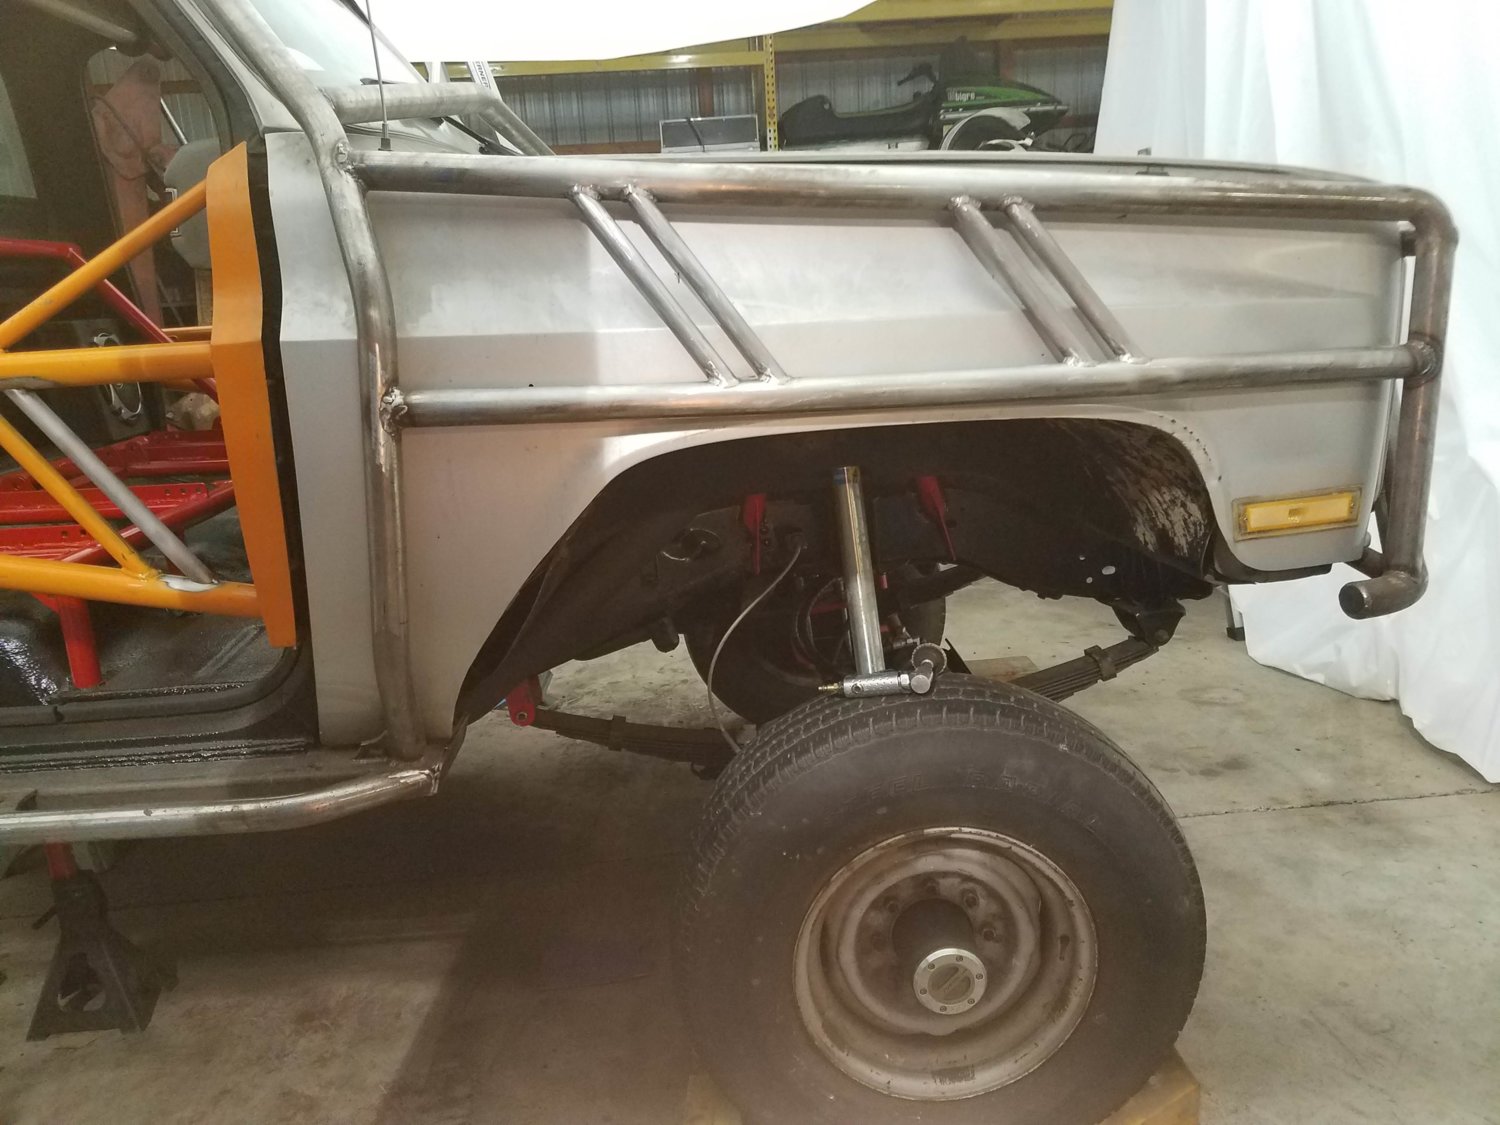
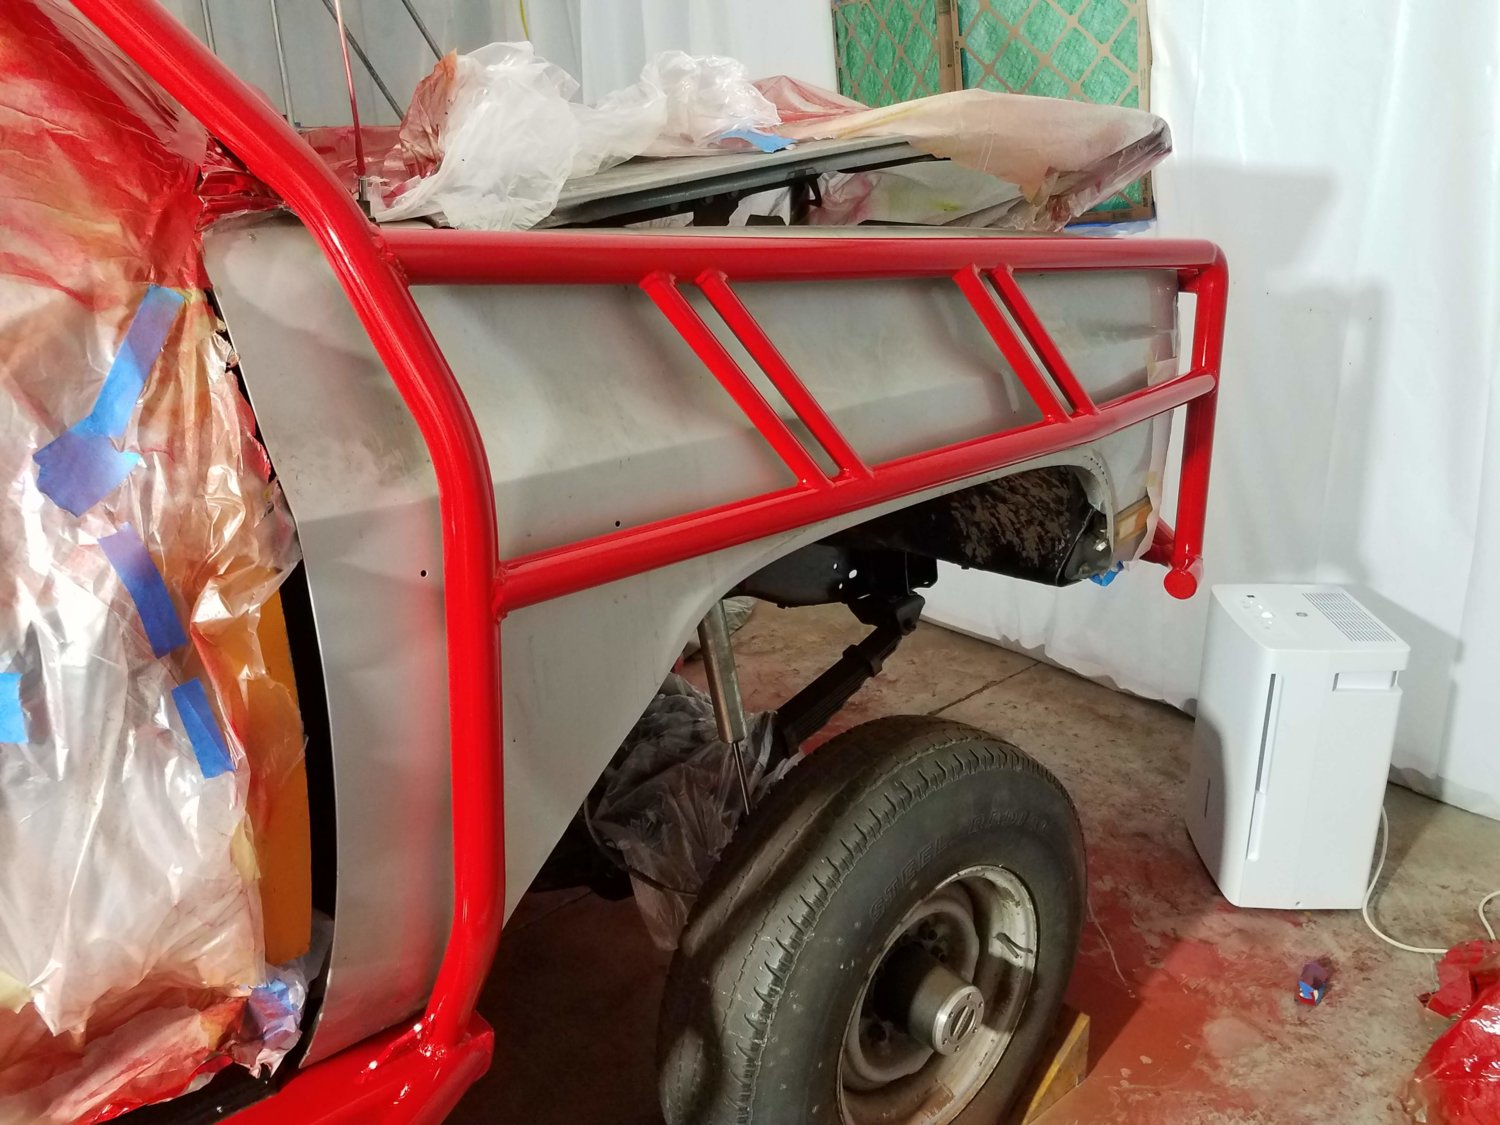
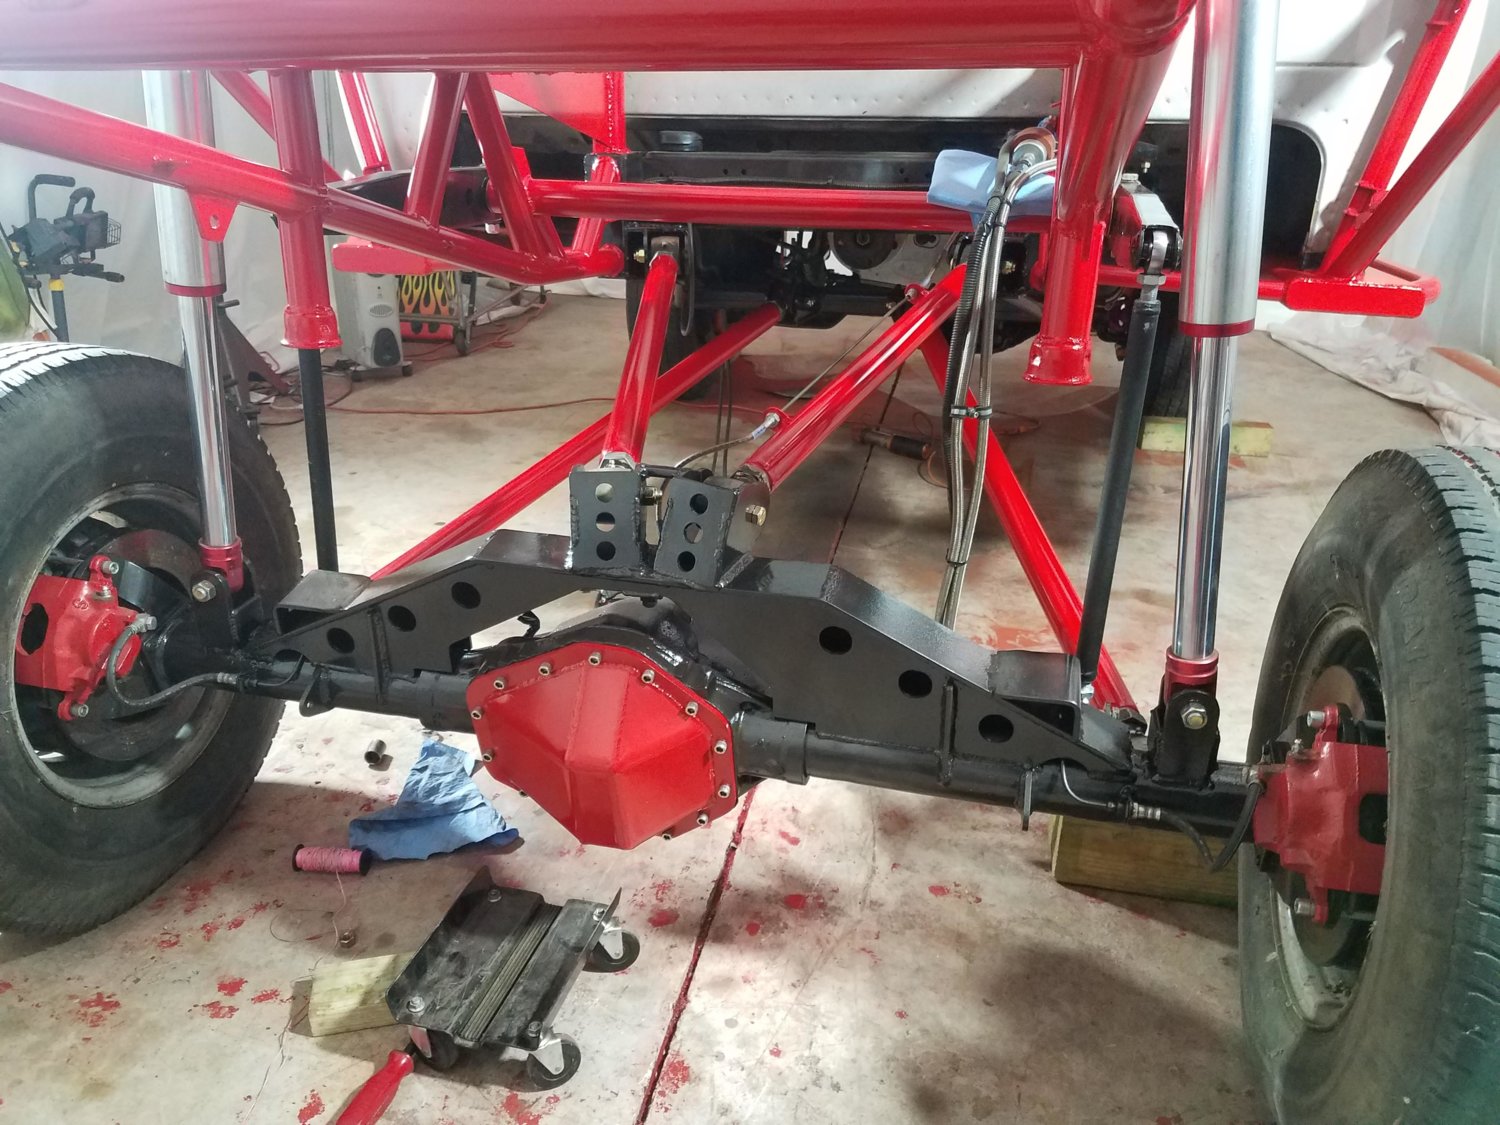
2) I drained the Hydro Steering reservoir and found the JIC to o-ring boss adapter a little loose. The o-ring looks fine so I re-installed it and tightened it up. Hopefully that solves this problem, if not I may need to get a thicker o-ring.

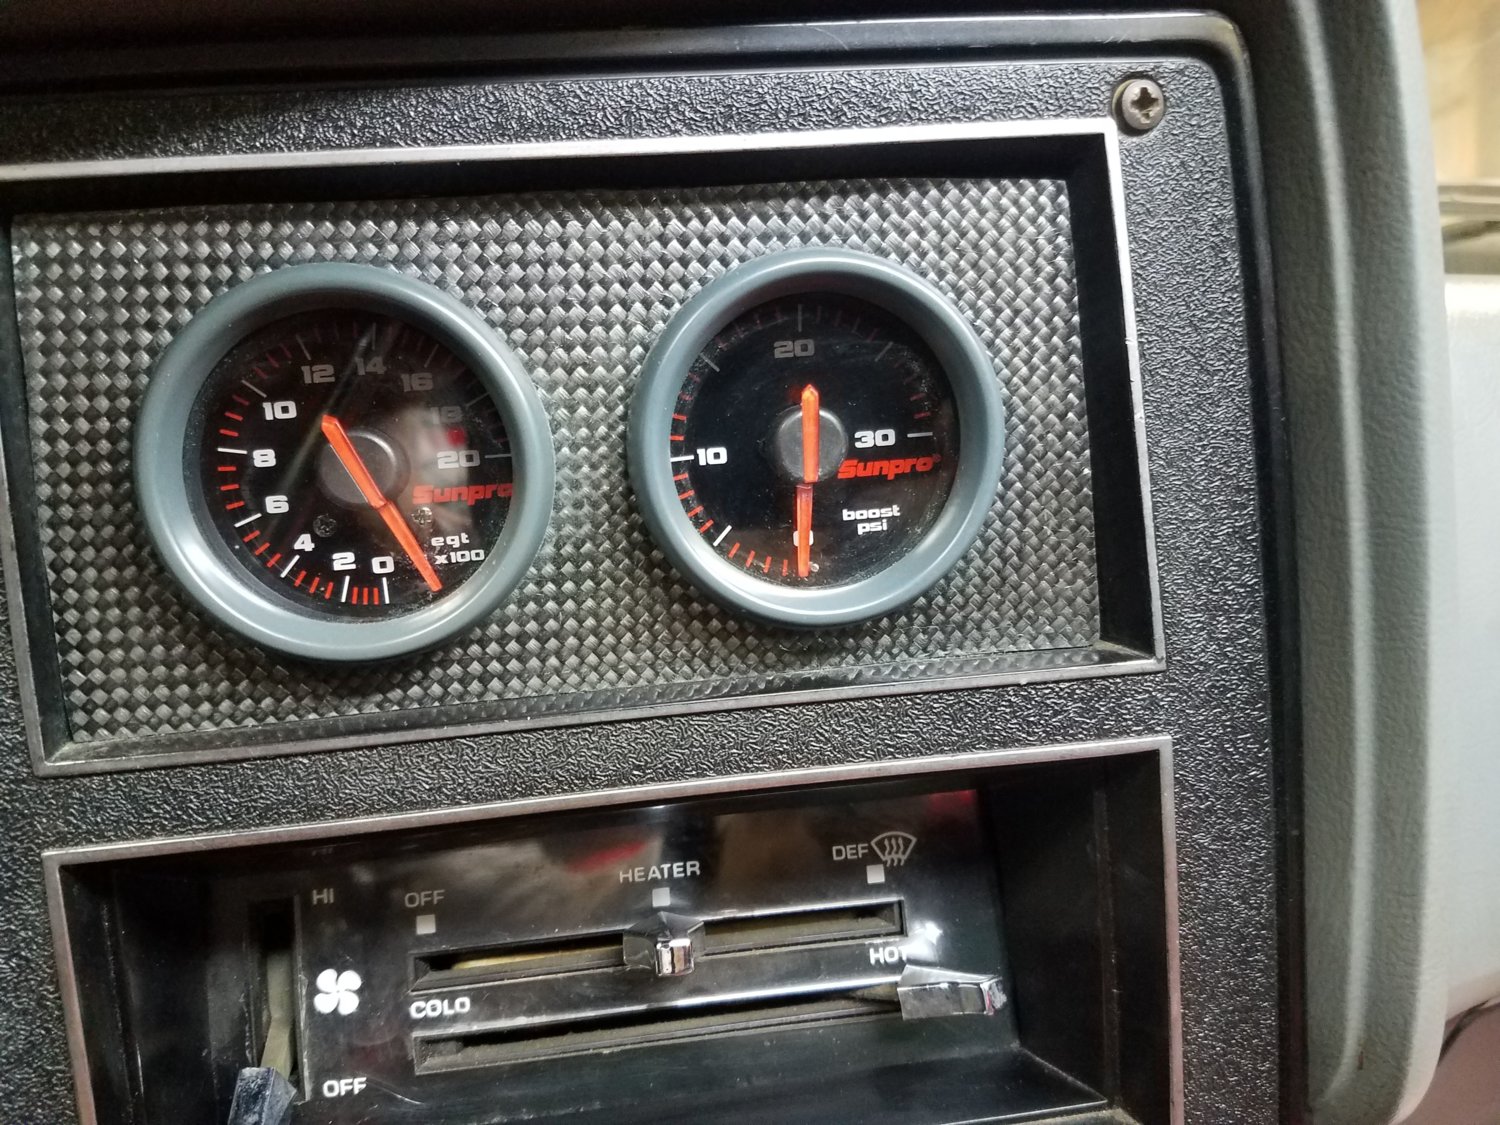
3) Decided to wait on this one as it is not important.

4) Thermostat leak is on tomorrow nights docket.

5) Like I said above I dosed it pretty heavy with Diesel Kleen today so time will tell if this solves that issue. I also ordered all new fuel filters and will change them soon.

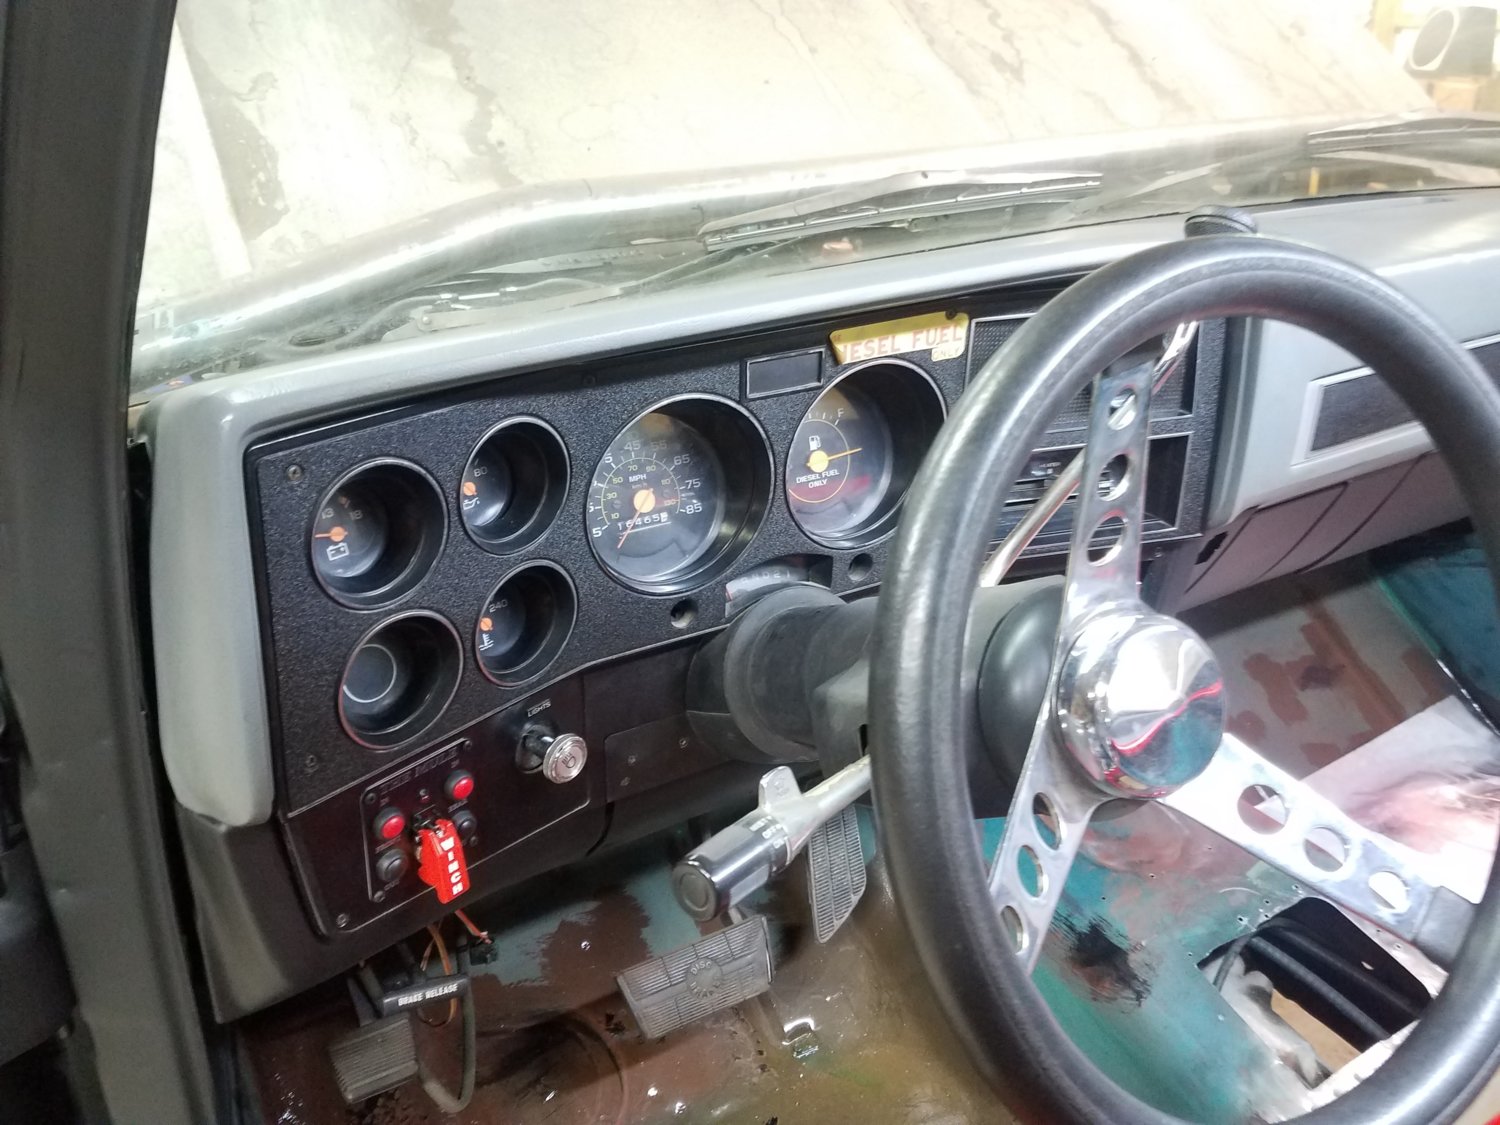
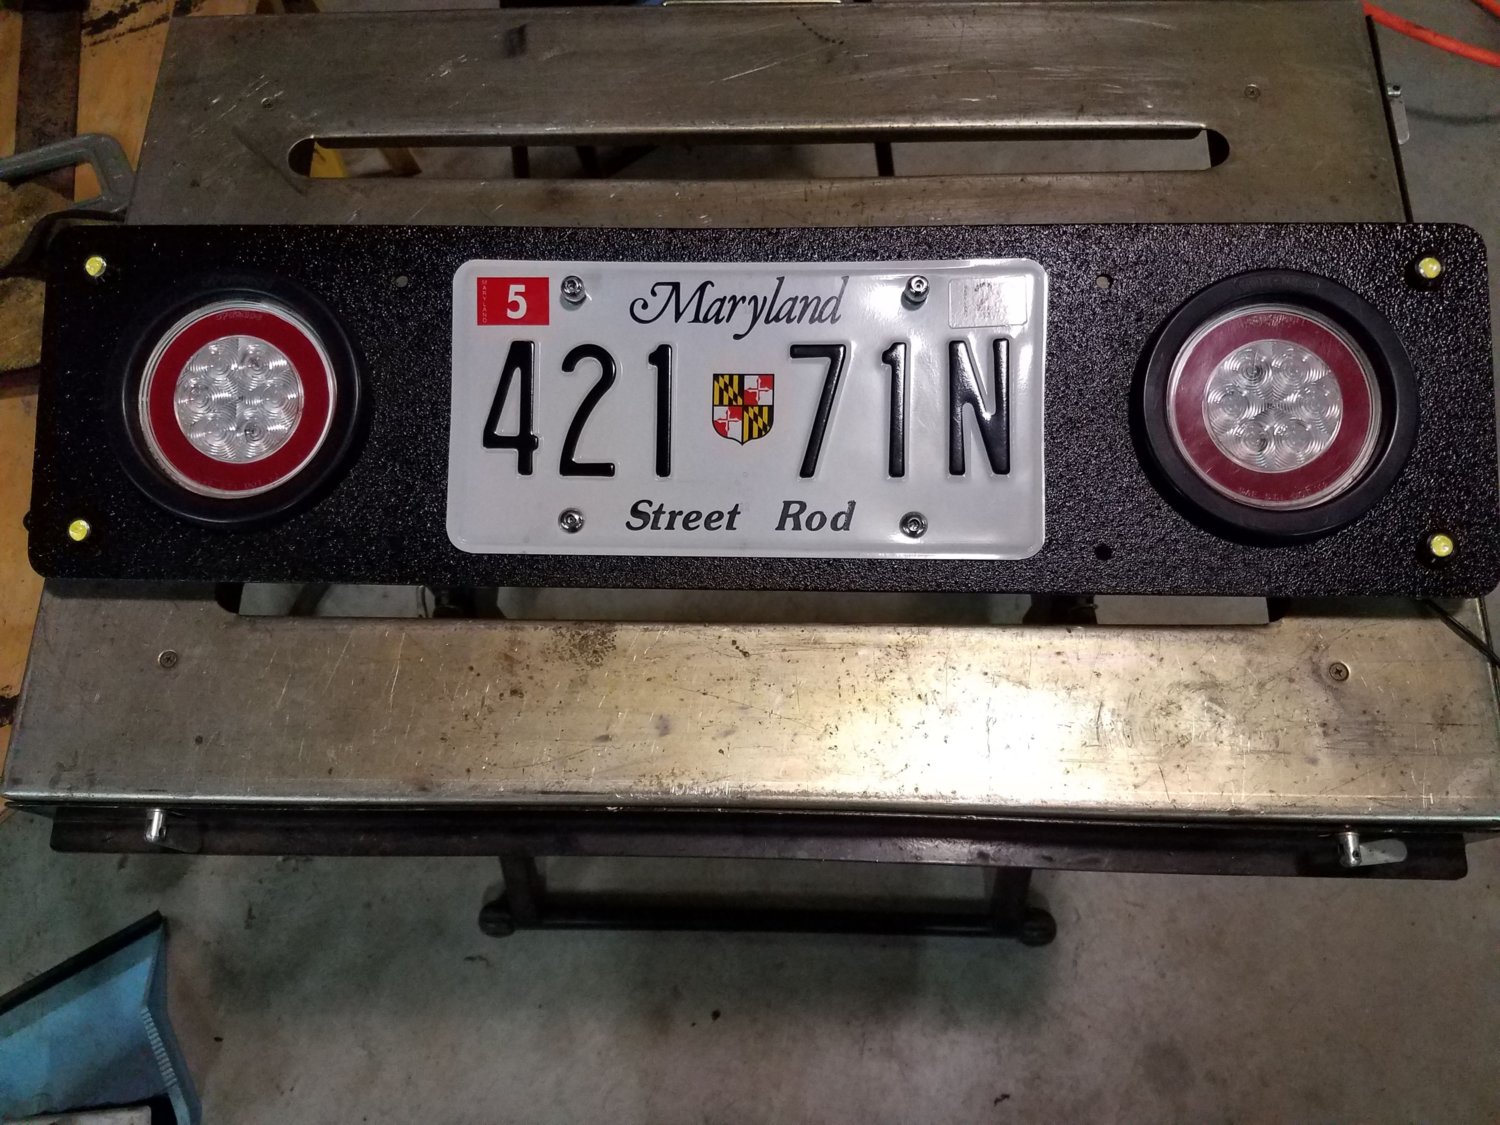
6) After I added the Diesel Kleen and drove it around tonight the gauge magically started working. I like problems that fix themselves.
 
Last night I took out the thermostat and cleaned off all the old gasket material. I think I found out why it was leaking. I seem to have used longer bolts than were in there originally. They bottomed out on a bunch of crap in the holes and the thermostat cover was not even that tight. So after cleaning the holes out and using the Right Stuff for a gasket I put it back together.


When I drained the coolant at the start of the serp and water pump swap it was really nasty. I would swear it was original to the truck in 1986. I recently just put water back in it because I knew it needed to be flushed out. Well after a bit of running this is what that water looked like. Promise it is not a bottle of pee.

Tonight I flushed the rad and block out a few times and it was still running not as clear as I would like so I dumped in a bottle of the Prestone coolant flush. Since it needed to be run around I decided to take it on a road trip to get it up to temp.

My boy had a football game so I drove it the 2 or 3 miles.


This is the first time on the street with the full hydro and it is definitely different especially with the cold bias ply 42s with flat spots. I also did not have the sway bar and I know that will help with the street manors.


The turbo seems to build boost well on the street and I may need to adjust the turbo master down some. I saw 8 PSI pulling a hill and my foot was not in it hard. It for sure has more power than it did pre-turbo. EGTs were great but I did not pull any big hills and it was cool out.

The hydro steering leak seems to be fixed and so does the thermostat leak. Going to flush out the cooling system a few more times and then I have to get anti freeze in it because Sunday night it is supposed to be 32 degrees.
Get the evaporust flush.
It will remove the rust once and for all
 
Turned my focus to some body work.

I had a rust hole in the drivers floor pan right at the door sill. Not super big but it needed to be fixed. I forgot to get a before pic. I was scrounging for some metal to fix it with when I came across a piece of inner fender we trimmed off of @Richcz28 blazer.


So I used it to make the piece I needed. Genuine square body raw material.

Welded it in and threw some seam sealer over top.


The rest of the driver side did not look super great after it was cleaned up but it was not rusted through anywhere else. The passenger side was solid and only had some surface rust.


While I was doing this I decided I wanted to color change the entire interior. The truck was originally green and was then sprayed silver at some point. It always bothered me that it was a different color especially now with tube doors. So I took some time to scuff the entire interior and I am going to change it to black. All scuffed and ready.


After two quick coats of POR-15 on the rusty areas.


Had to dip into my stash of the good stuff @ryoken Green primer Hopefully the 17 cans left will be enough for the exo :whistle:


It was quite time consuming to tape that interior off. I finally got that done and got some primer on it.


And then two coats of color.


Once that dries for a few days I will mask the red off and spray the black interior. Then the floor will get Al's HNR (Heat and noise) then Al's liner overtop. Hopefully the weather will hold out.
 
Last edited:
Got some more paint work done.
Masked off the red tube and the door jambs and got the flat black sprayed.


Very happy how it turned out. The green you see on the floor and back wall will get bed liner.

Could not wait to get the new silver dash in. I picked it up a few years ago off of Craigslist. Not perfect but way better than the old one.


Love the contrast of the silver with the flat black.

Mounted the boost gauge where I had originally put a trans temp gauge. Going to put the trans temp gauge in a pod on the pillar or down low on the dash.


Also got my winch control panel mounted.


Got the block and radiator flushed out. I could not believe the amount of crap that came out. It took me over two hours of flushing to finally get clear water. I guess that flush stuff must do something. But then again I would swear this had the original anti-freeze from 1986 still in it. Finished it off with some fresh anti-freeze before it gets too cold here.

Started work on some accent tube pieces but the weather is looking warm for the first part of next week so I am going to turn my attention to prepping and priming the rear bed panels for bed liner and hopefully get the cab interior and panels sprayed next week.
 
Some more progress on the interior.

First my awesome temporary seat that I have been using to move the truck around with.


The stool was mine when I was a kid. Anyway moving on I started to prep for spraying the bedliner.


It took sooooooooo long to tape everything up. Hours of masking. Anyone reading this make your interior cage removable!!!

Next step was spraying the Al's Liner HNR product. It is a thick latex paint that has ceramic "micro spheres" that help reduce noise and heat. It was not expensive and sprayed easily.


The HNR feels gritty to the touch and I sprayed it with the Al's liner gun. The gun is a huge hopper gun and was not fun to use around all the tube. But it went down nice with a little bit of texture. That had to cure 24 hrs before top coating. The pictures are right after spraying, it dries a flatter light tan color

After that was sprayed, I dipped into my primer stash and primed the bed side and top panels. I was going to powdercoat the side panels but decided to bedline them instead.


This afternoon I scooted out of work early and setup to spray the Al's liner. My plan was to spray the cab and the panels. Following the instructions I set everything up and mixed half of the 1 gallon 3 part mixture at a time. I was nervous because you only have a 20 minute pot life. Well lets just say it took almost the entire gallon to get coverage on just the cab.


Very happy how it came out. There are one or two thin spots but overall turned out really well. I ordered a second gallon for the panels and it will be here Saturday so I am hoping to get those done by the end of the weekend if the weather cooperates.

Tips for using the Al's Liner.
1) It does skim fast 20 minutes is no joke plan everything out. But 20 mins is plenty of time if you plan well. 2) The gun is big for tight spaces plan ahead how you are going to get it in there and don't put too much material in the gun at once. 3) Use the LMR mold release on the gun and take it apart and spray it everywhere.


It really works and the dried liner pulls right out. I went for a pretty textured look but the gun is very adjustable by varying the air pressure and the feed trigger. 4) Pull the tape while the liner is wet or not very dry it comes off cleanly it is messy but I found after about an hour it pulled nice and cleanly. 5) You will probably need more than you thought. 6) Acetone with get it off your skin, mostly. . .

Overall very impressed with the Al's products hopefully they hold up.
 
Pulled off the rest of the masking this morning.


I did find a few light spots. Mostly under the seats. I hope to touch these up on Sunday when I spray the bed panels. Al's says it bonds well to its self and you can touch it up as needed.


Then I spent some time pulling the rear axle.


The center cast housing still had plenty of caked on grease that needed to come off before paint so out came the pressure washer. I wanted to get it cleaned while it was still 65 degrees out.


Going to work on prepping it for paint and a bit of a shave using the Barnes 13 bolt cover.
 
So since there was a tornado at the Amazon facility in Baltimore on Friday and apparently my second gallon of Al's liner was there it did not get delivered. They ordered me another gallon but are now saying Friday at the earliest. Just in time for the cold weather. . .

Anyway yesterday the 14 bolt got shaved. I have had the Barnes 13 bolt cover for ever so I decided to just do it and start hacking away at it.


Using a combo of grinder and sawzall I cut about 3/4" off. That got me right to the bottom of the 14th bolt. I continued to remove the bottom lip and blend it all together. I did not want the cover to be the lowest point so I left an extra 1/4".


The 14th bolt hole was showing and I didn't like it. I had only cut through part of it so I had the bright idea to red loctite a bolt in the hole and then grind it flush as seen above.


There is still more that could be take off. But I did not feel comfortable taking too much more off. I would bet at its thinnest it is at least 3/8" if not 1/2". I continued on cleaning the axle and prepping it for paint.

Today I got it hung by the forklift and a coat of primer on it.


While I had some time I threw a coat of paint on the sway bar arms. I tried out some Rustoleum hammered and they turned out pretty good. Sorry for the terrible picture they are hanging in my guest house to dry.


Last but not least I fired up the old oven and threw some red powder on the 13 bolt cover and Kurt's pinion guard.


Fresh out of the oven. Turned out good. Slowly crossing things off the list.
 
Not as much progress as I would like lately. Weather turned cold and then I spent a week in Germany for work.


Rear axle got painted just need to bolt on the pinion guard and 13 bolt cover.

My new gallon of Al's liner finally got delivered and I got the panels sprayed yesterday since it was warm.


They turned out pretty well. I even was able to save a quart out of the gallon so if I need to touch something up I will have some. Speaking of touching up I was able to touch up the light spots in the cab. Turns out when you brush the Al's liner it ends up more shiny than when you spray it. I am hoping it will even out once it all cures and gets dirty.

Got to keep chipping away what I can when I can. This weekend looks warm again so planning to get more painting done.
 
Been a month since I updated last. I got some painting and some fab work done. Ended up in San Diego for like 10 days for my real job so that cut into my truck time.

First I cleaned up and painted the links and some misc stuff.


I setup my guest house as my heated drying area.
Also painted the fuel cell hold down brackets with the hammered black


I moved on to some interior parts that need to be color changed. I bought this takeout center seat in tan because it was over $100 cheaper than the black version. I have heard good things about the SEM color paint so I decided to give it a try.

This is how the seat started


And it comes apart into a million pieces


I cleaned up the visors and the kick panels to be color changed to black too


Everything seemed to spray really well including the cloth seats


After letting it cure a few days I re-assembled the center seat. Turned out great.

I did run into an issue. While the paint worked great on the vinyl, cloth, and plastic of the console it did not stick to the kick panels. It scraped right off with the slightest touch. It is totally my fault because I did not use the adhesion promoter. I used the cleaner and did all that correctly I just did not think the adhesion promoter was necessary. So let this be a lesson to you, read and follow all the instructions not just some of them. After talking with SEM I tried to remove the coating off the kick panels with alcohol as they instructed but it would take forever. After some looking around I bought new kick panels in black from Classic Industries. I didn't get any pics but the quality was not great. They were much thinner than factory and felt brittle. They did fit pretty well.

I wanted to see how the rear panel would look assembled and I think it turned out great


Painted the rear part of the frame and lower link cross member black


On to the fab work!!
Finally got my accent bars on the front of the exo all finished up and welded in. All 1" DOM and matched to the ORD Tube Door angle. I added the second bar to the doors and I am really happy how it turned out.


I find it interesting how straight on you can clearly see the angles match but when you look at it from an angle they look like they are at different angles.

Threw in some gussets around the windshield just because


This afternoon I welded on some zip tie tabs to tie the rear harness up to. I did not want to just wrap zip ties around the tube so I found these nifty weld on tabs.


Last major fab before paint includes cutting and capping the front of the sliders. Then I need to build a trans cross member.

All I have to say is April is coming soon I need to keep moving.
 
Well not much to report. I did cut one of the sliders off.


Man was that a pain to cut that 2"x8" 1/4 wall.


Going to have to trim some more fender at some point.

Then I got sent back out to San Diego for work for another 12 days straight. . .

At least it was not a total loss. On our day off we drove the 2.5 hrs to Glamis. All I have to say is WOW. This was my first time in the dunes. It is amazing the size of the dunes and bowls and just the acres after acres of sand.


We rented a pair of CAM AM 4 seater Maverick X3s. I was really impressed. Tons of power but the suspension was just amazing. It ate up whatever we thew at it. 2-3 foot whoops at 50 no prob. Bombing the dunes at 75, or carving the bowls it just plain worked. If I were closer to the desert or dunes I would have to build a go fast truck next.


Back to reality and cold temps here in Maryland. Temps are looking quite cold for the next at least week. I have a feeling it is going to be mad scramble to get this truck ready for Moab in April.
 
I braved the cold and got a little bit of garage time in today. Last weekend I picked up supplies to make my "Paint Booth" out of 2x4s and plastic. I got the frame made and some plastic on it but then it turned really cold.

Today was not too cold so I got the other slider cut off and the caps tacked in place.


Before I could really reach the top side to weld the caps on I needed to trim the fenders some more. Using the airsaw I carefully trimmed another 3 or so inches off the rear of the fender and blended them in.


They still need a little clean up but they turned out ok. I plan on patching the inner fender and attaching the inner to the slider to help keep mud and debris from laying on top of the sliders. The front of the fenders and core support still need to be trimmed but I will wait and do that with the big tires on.

Earlier this week @newoldscottsdale77 and I officially registered for Fullsize Invasion and got our hotel booked.


The clock is ticking. Tomorrow my dad is coming over to help finish the "Paint Booth" and prep for paint. Weather is looking warm for a few days I am hoping to get this thing painted.
 
Well some good progress this week

Paint booth finished and hung from the ceiling


Then I spent many hours (about 10) sanding and prepping the tube


Next the tedious process of masking (another 4 hrs)


Then on to the primer


Unfortunately I ran out of Ryoken Green primer. Well I did not run out but I had a bad 6 can case. It has been in my basement but it had a date code of late 2015. The cans from that case did not spray right and kept clogging. I gave up and luckily had a few cans of Rustolem primer on the shelf and it was just enough to finish the rear cage. Took me about 3 hrs to prime.

Time for some color


The third picture down you can see my furnace filter intake and the last picture shows my box fan exhaust fan with furnace filters in front. The booth worked well. You can also see how much is on the floor. That is not the only place it ended up . . .


I was quite red and my family and Facebook friends got quite a kick out of how red I was. It mostly came off after about 2 hrs of scrubbing.

So took me about 5 hrs for 2-3 coats on the cage and guess how many cans of paint?


That's right 16 cans of paint. I have had heaters in the booth since the temps decided to drop here. It seems to be drying quite S L O W. The top layer is dry but you can put finger prints in it like the layers under it have not cured.

I pulled a little masking to see how it looked and I am pretty happy.


Now I just need this thing to dry so I can re-assemble.

Monday I need to make some calls to Advance Adapters and Tom Woods to make a decision on what yoke I am going to run on the front of the Atlas and get the part number for the input seal that is leaking on the Atlas.
 
Slowly chipping away at stuff.


Pulled all the masking. Paint turned out pretty good. Some places are a little rough because of over spray but the important thing is it is painted. I let it cure for about a week before I assembled anything. First thing I did was re-assemble the links. Then put the axle back under.


Weirdly the axle is sitting slightly off center. I guess the links just need a little adjustment. Bolted the roller tires on and pressurized the shocks and she was back on all 4 tires. Put the sway bar on there too.


After it was back on all 4 I started working on a trans cross member. I had bought some steel that I was planning to use months ago. Well after mocking it up it was not going to work. So I quit on that until I get more steel. Hopefully that will be Friday.

Also talked to Tom Woods about a front driveshaft and got that planned out. It will be a U1 long travel non CV with 1410 superflex joints on both sides. The angle of the tcase means that at full droop the T case U joint will be like 35 degrees!! Their superflex 1410 will flex to 40 degrees so should be good. That means that I needed to buy a new yoke for the front output of the atlas. It currently has the GM Saginaw flange. So a call to Advance Adapters and I got a 1410 U bolt style yoke on order.

My dad came over and we got the fuel tank back in and some little other odds and ends done.


So that brings me to the Atlas. I am going to do a separate post on that.
 
So the Atlas

Well months ago I noticed that the Atlas had too much fluid in it. It has a sight tube so it is easy to see the fluid level. This case was almost all the way full and it was red with trans fluid. When we moved to this house I loaded down the truck tool box with parts and it sat with the "Cali Squat" for a month or two before I had time to unload it. Talking to Advance Adapters they said it was most likely a faulty input shaft seal no big deal.

Well while my dad was over on Sunday we pulled that Atlas out so I could swap the front output yoke and the input seal. That was a pain. I had used the Right Stuff RTV to seal the case to the adapter and it was stuck fast. We finally got it broke loose and down to the ground. I moved it over to our guest house much to my wife's dismay but it is warm in there and we don't use it very often.


I pulled the input seal retainer and the front output seal retainer along with the front yoke. Here is a side by side of the 1410 yoke and the GM Saginaw flange.

I have to change the seal for the front output because the 1410 is a different diam but Advanced Adapters included a new seal and new nut with their yoke (that was very competitively priced)

Moving on to the leaking input seal. After removing it no evidence of leaking at all. :sign19:
It looked brand new!! I did some inspecting and tried to see determine where else ATF could be entering the case. I discovered that inside the input shaft are two bearings one which is closed ended and provides the seal inside this shaft. Much to my dismay that bearing was loose in the shaft and was my leak path.

Next day I called Advanced Adapters and spoke with Steve who was great and spent 45 mins with me and even sent me drawings. He explained they had issues with these bearings on the gen 1 four speed cases especially if they saw a shock load into the rear output like if the rear driveshaft was too long. Steve gave me step by step instructions and part numbers for everything I might need. There is also a BillaVista article on swapping an input shaft out on a gen 1 four speed which was helpful.

So deeper into the Atlas I went.


Reduction box off


Input Shaft and planetary set.

The video shows what I was dealing with. The front most bearing is capped off and pressed into the shaft but it was loose. This was causing my leak.


After pressing both bearings out here is what I found.
The shaft has a undercut after the tight press diameter.


Basically the shock loading walked the bearing forward and it fell into the undercut. There is a slight bit of scoring on the shaft but it is pretty hard material.


Here you can see the wear on the only partially installed bearing and where it was rubbing against the spinning shaft


I finally found a source for the bearings and they should be here Monday. So hopefully early next week this case will be back together and ready to put back in the truck. An unexpected delay but one that is hopefully handled.
 

Latest Posts

Top Bottom