CK5
Register an account today to become a member! Once signed in, you'll be able to participate on this site by adding your own topics and posts, as well as connect with other members.

1986 K30 6.2 Diesel Truggy Build - "The Mule"

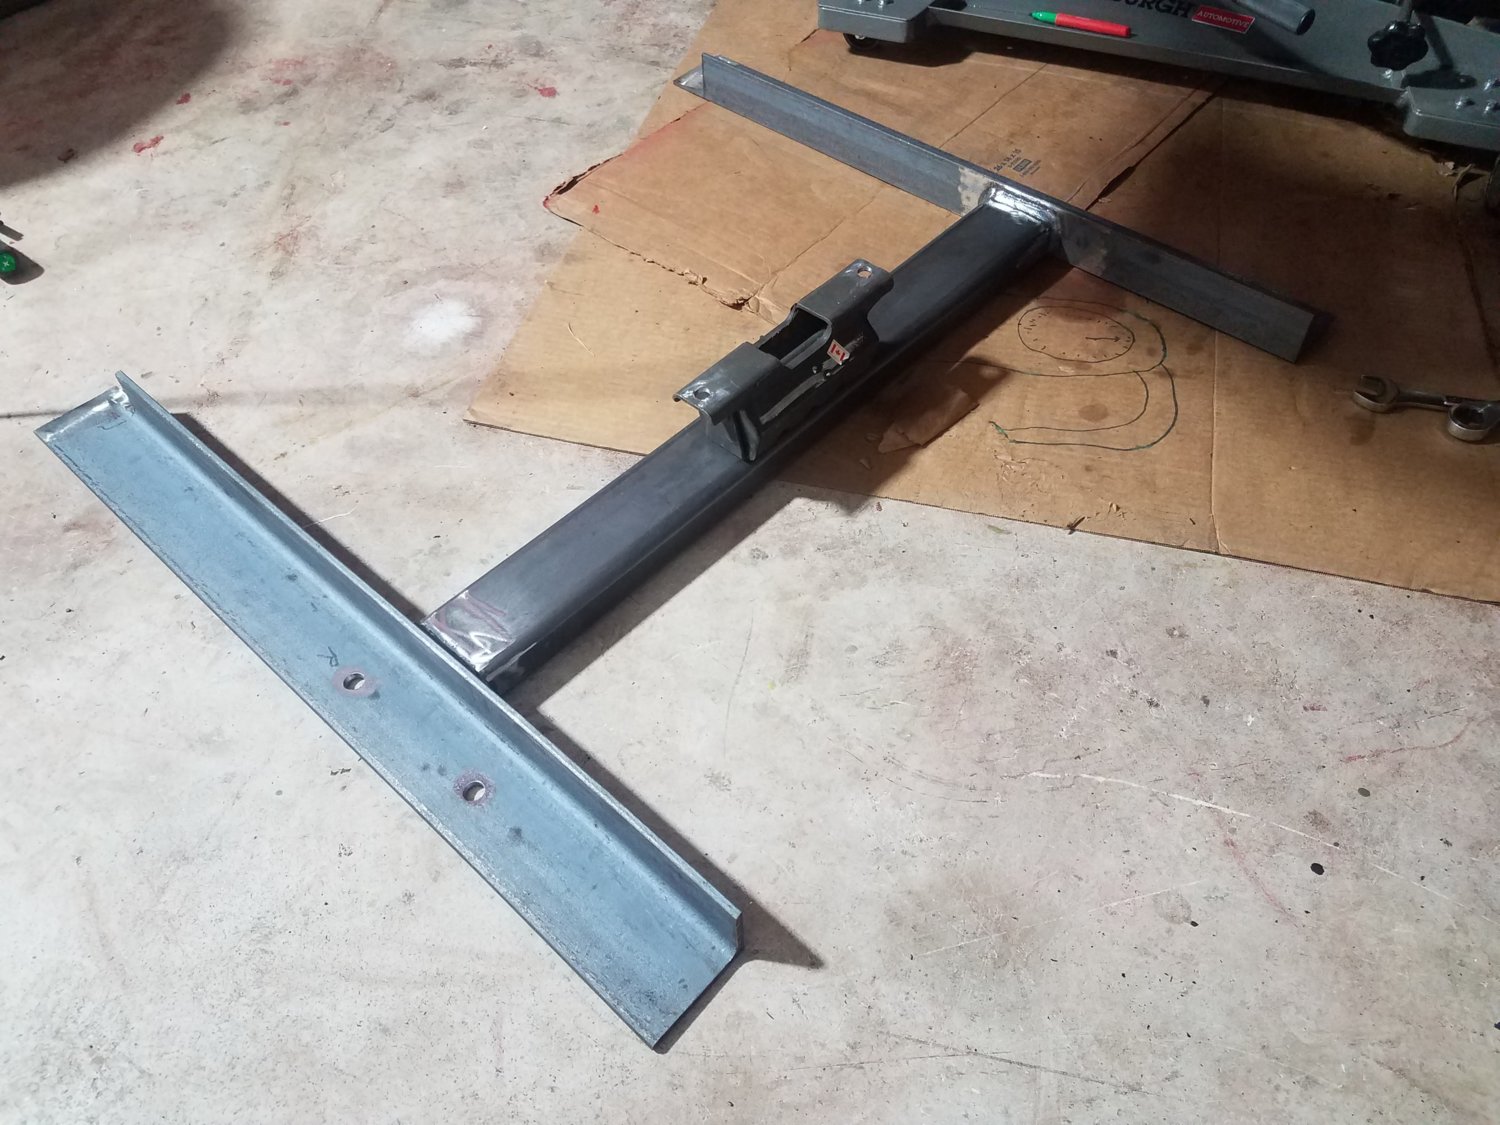
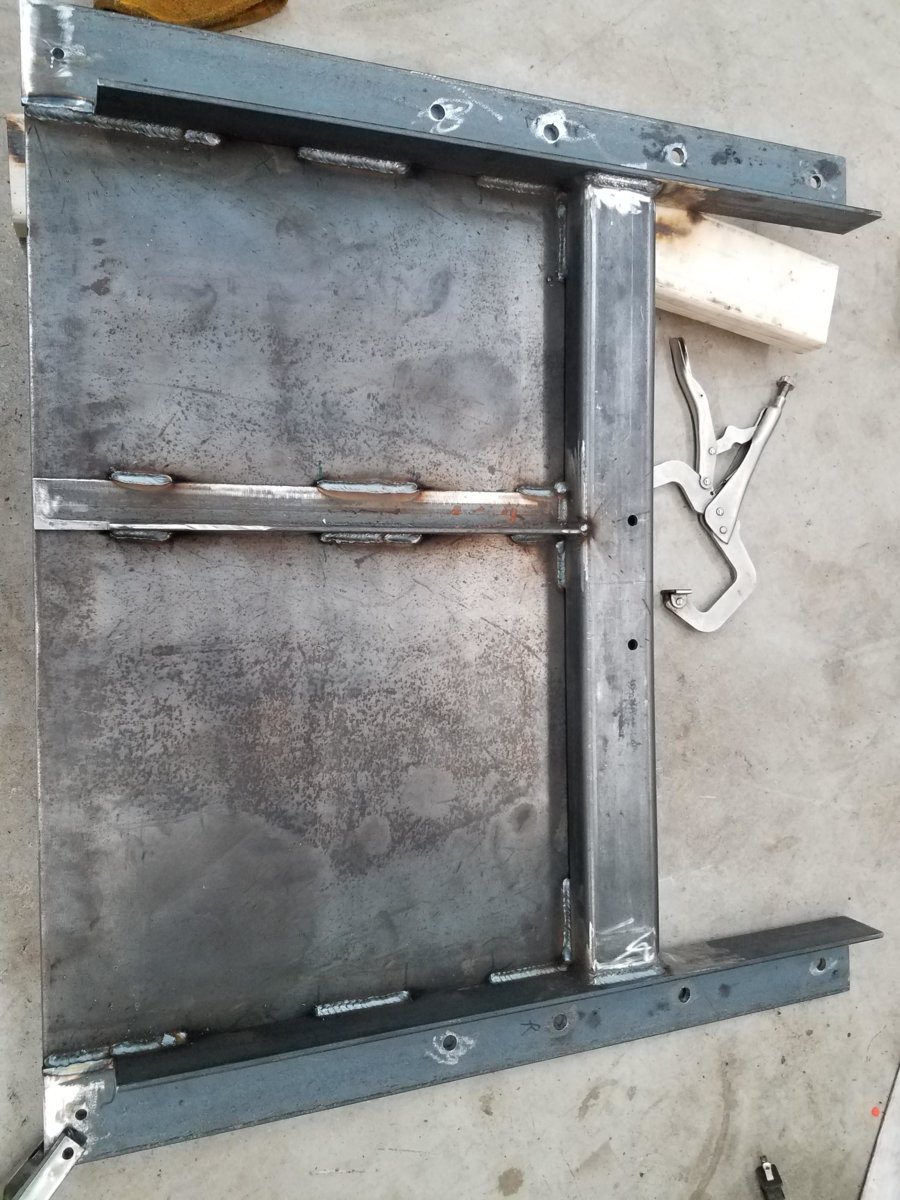
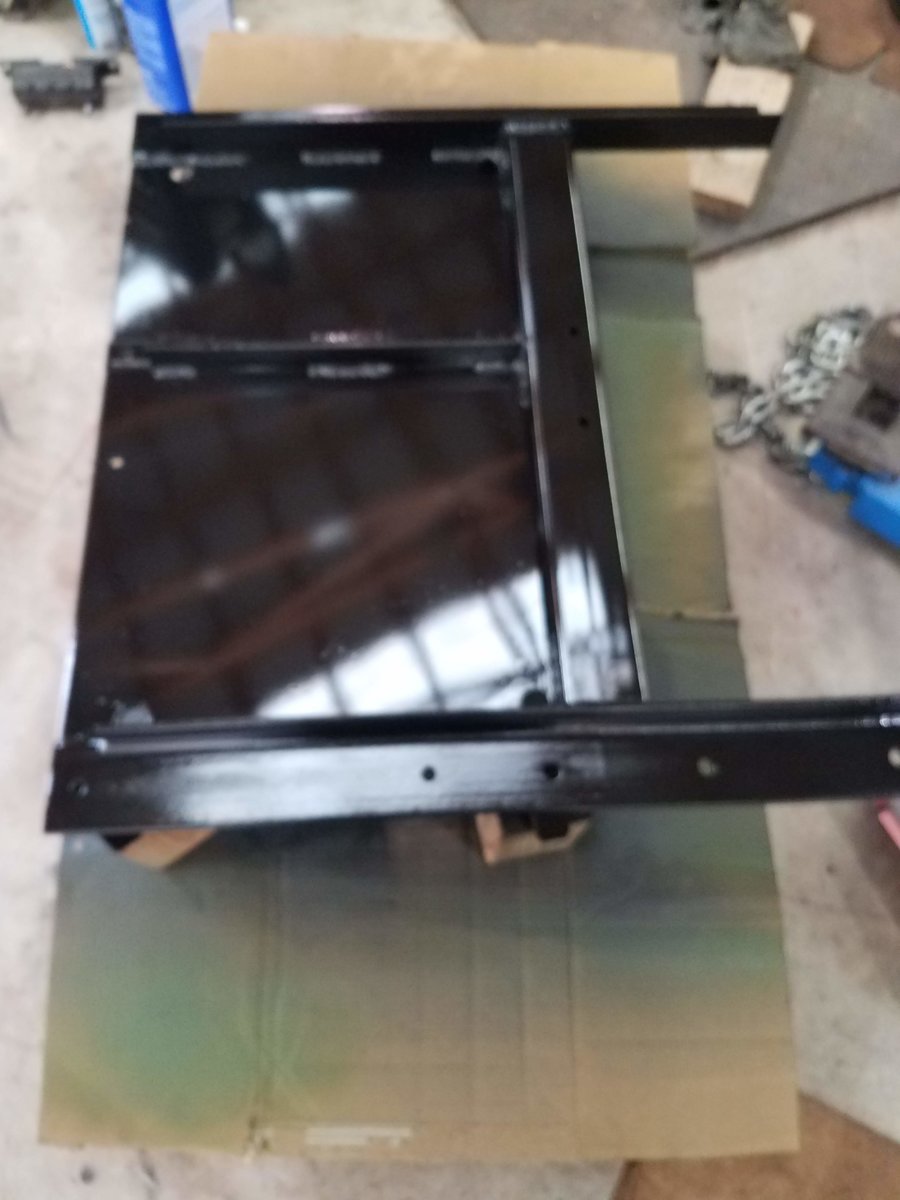
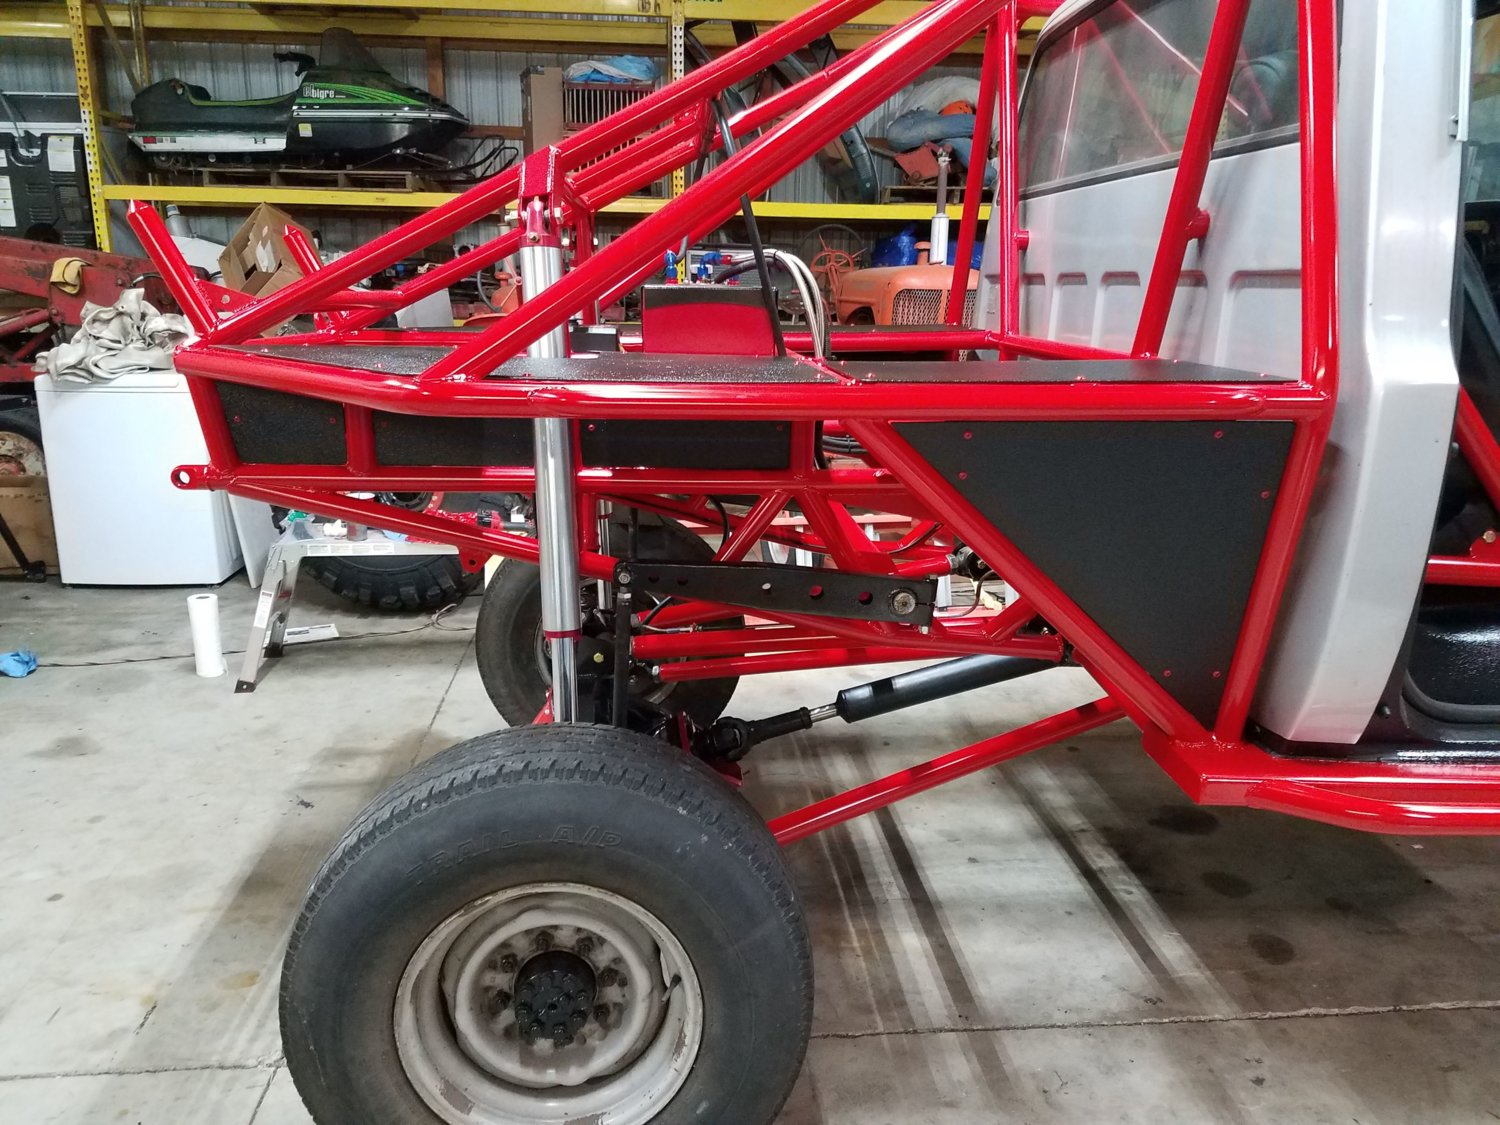
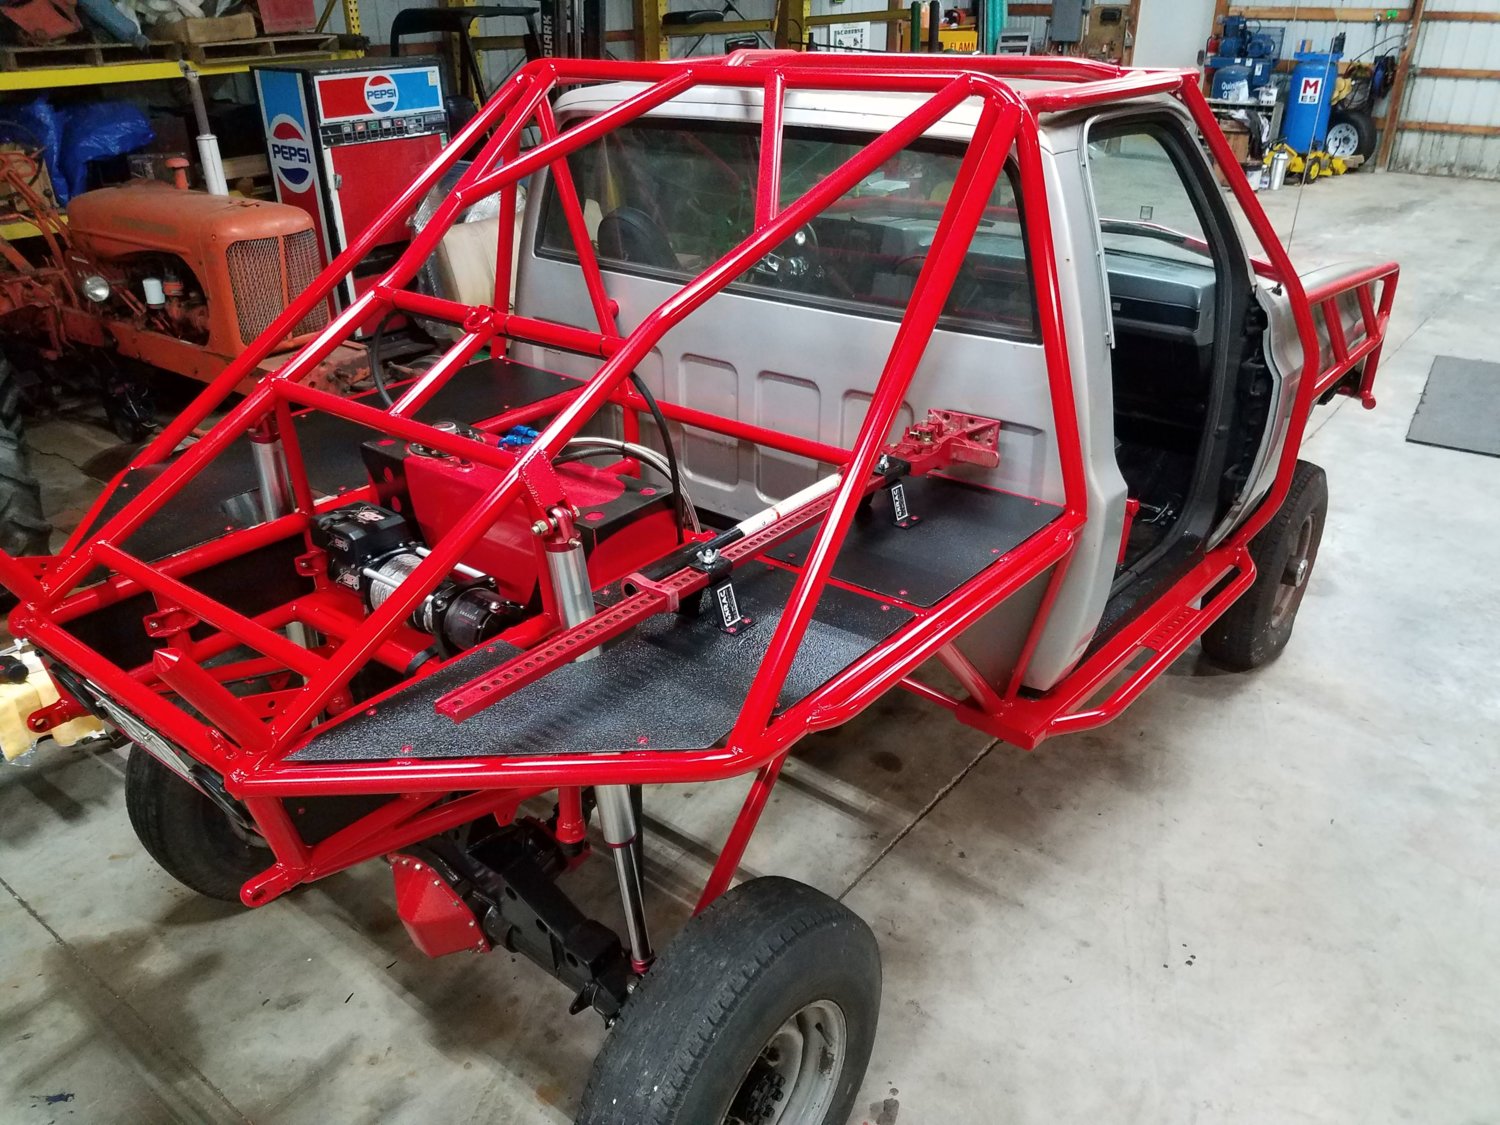
Since I was waiting on bearings I could not do anything on the Atlas or crossmember. Well I did buy some more steel for the crossmember.

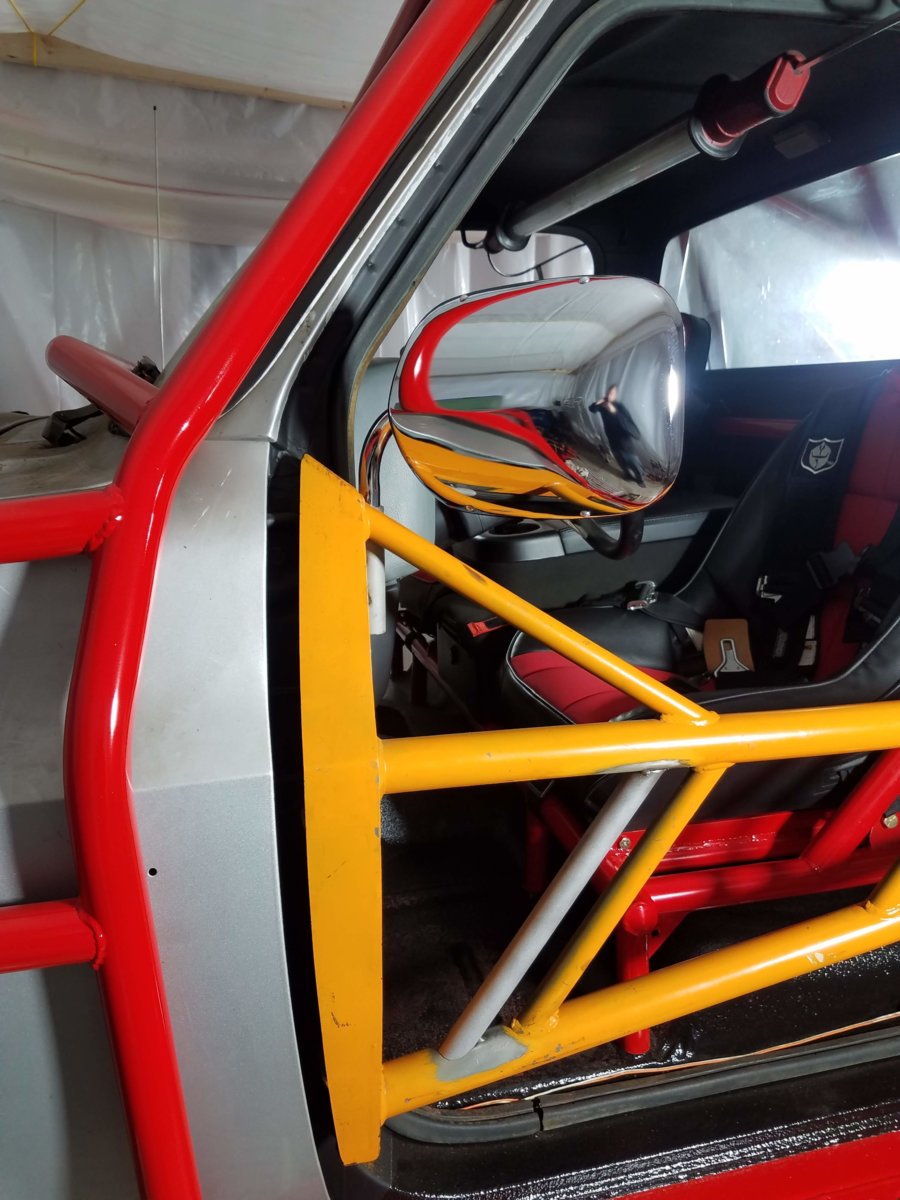
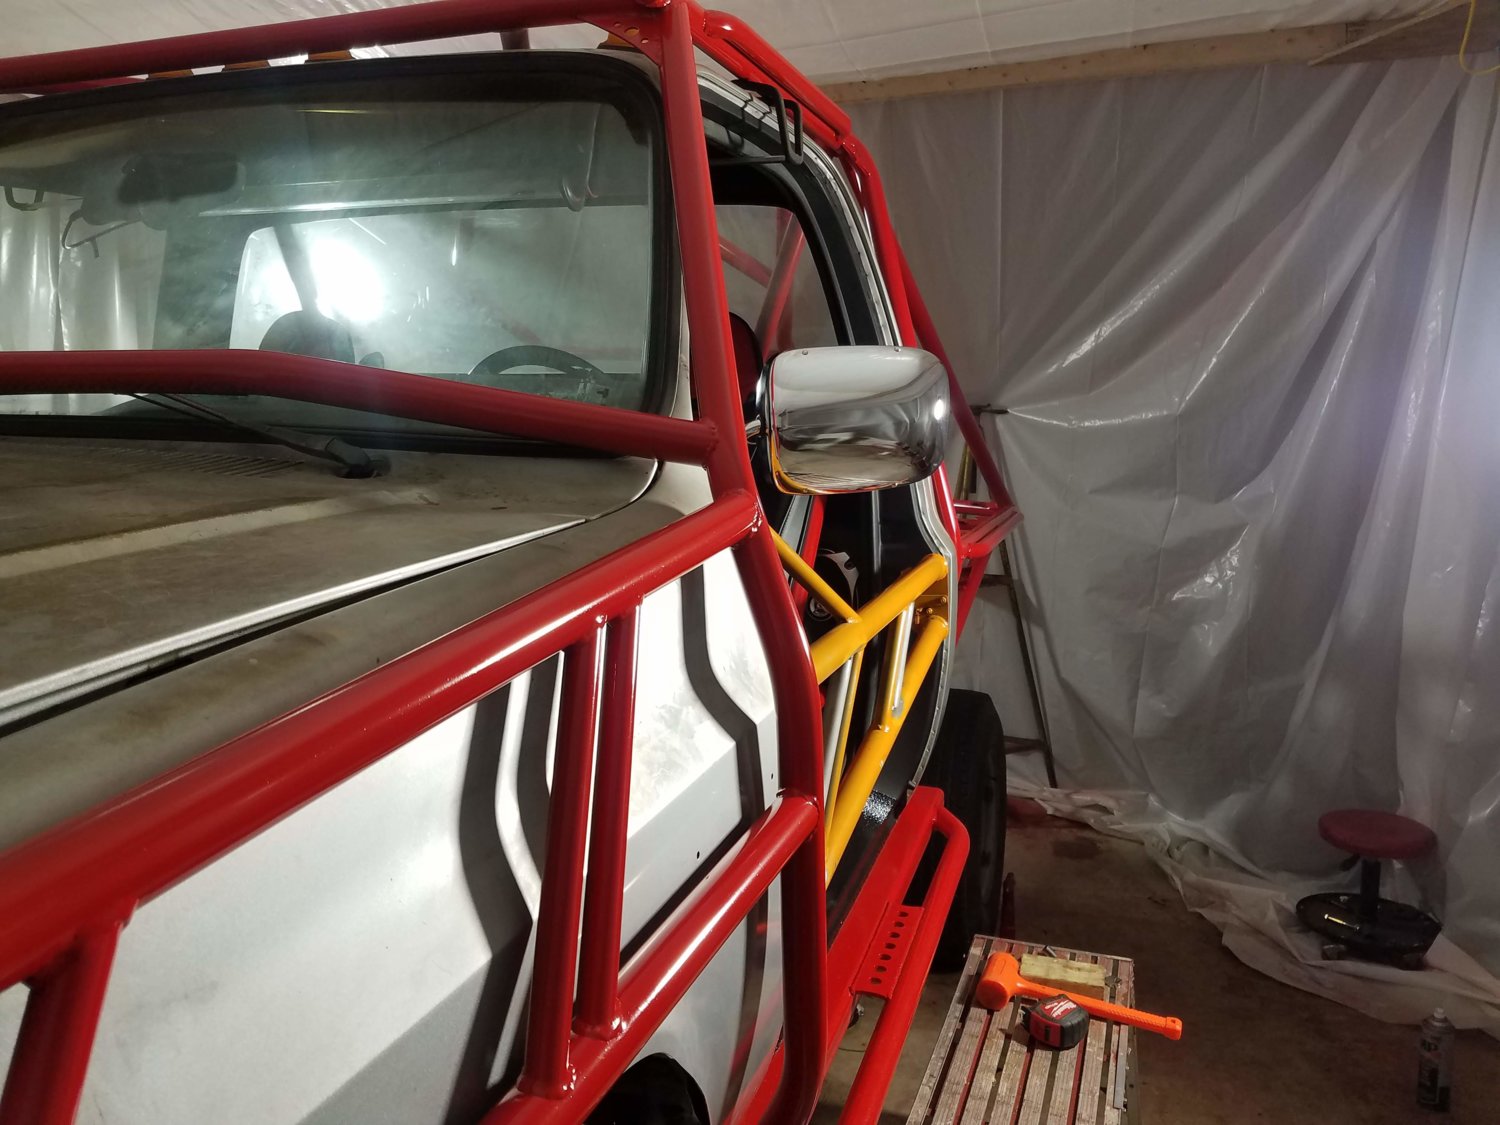
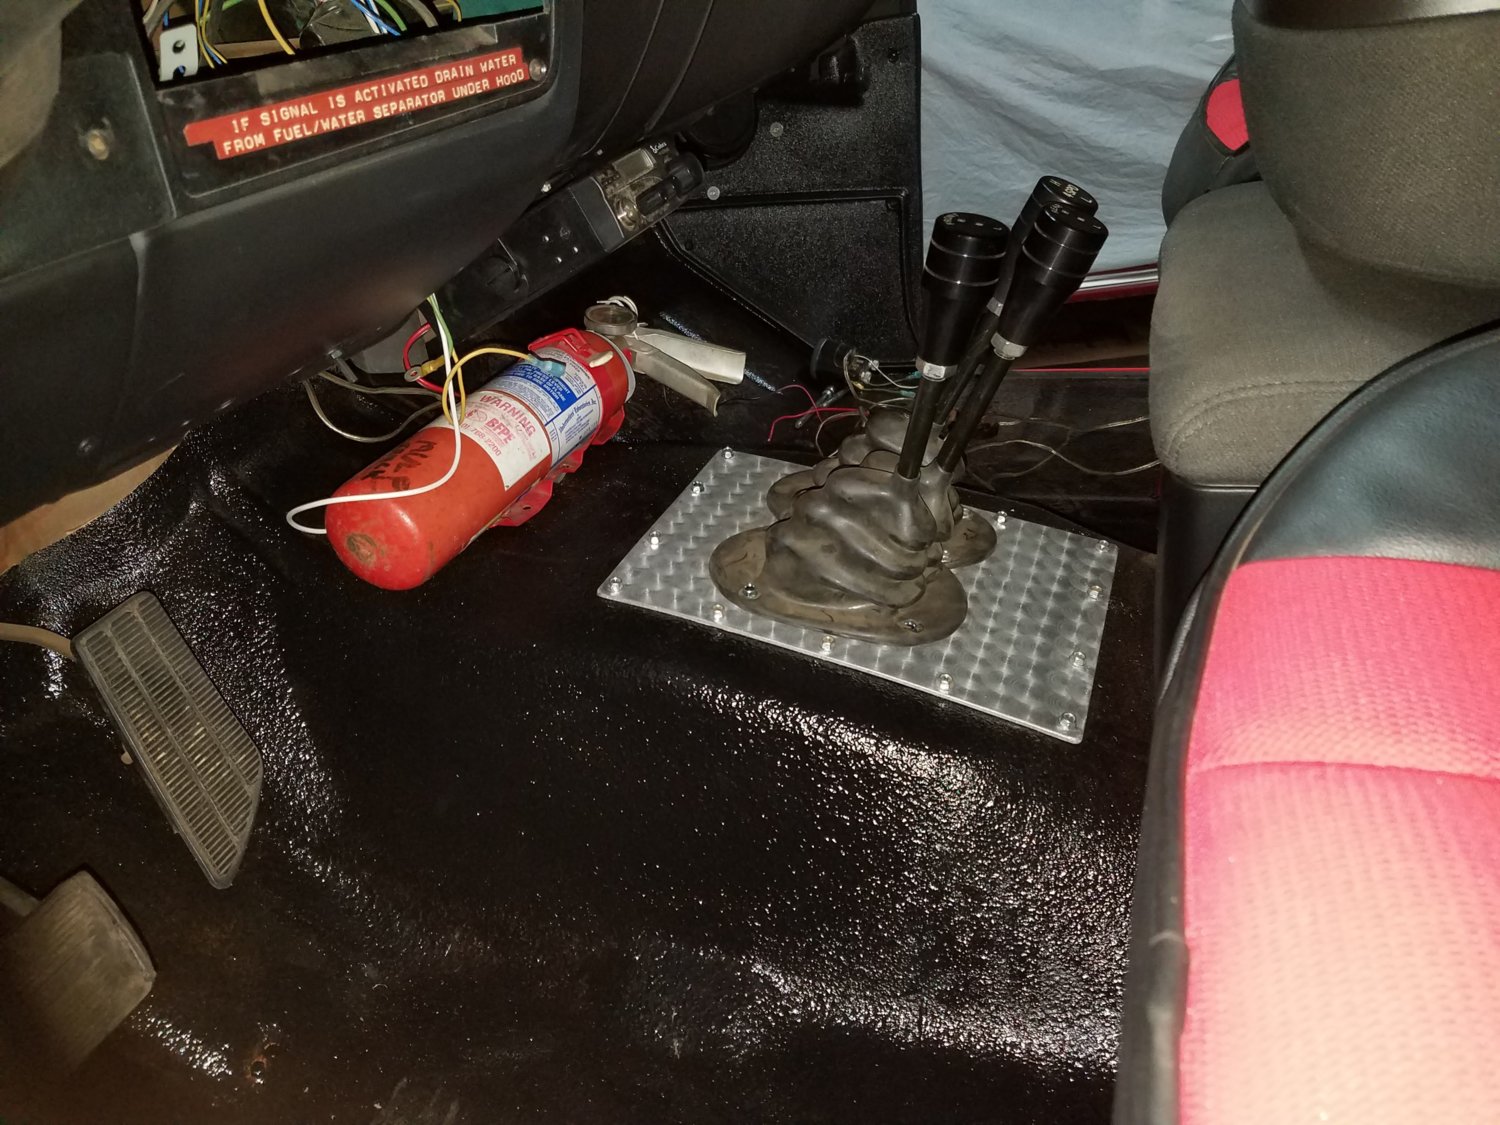
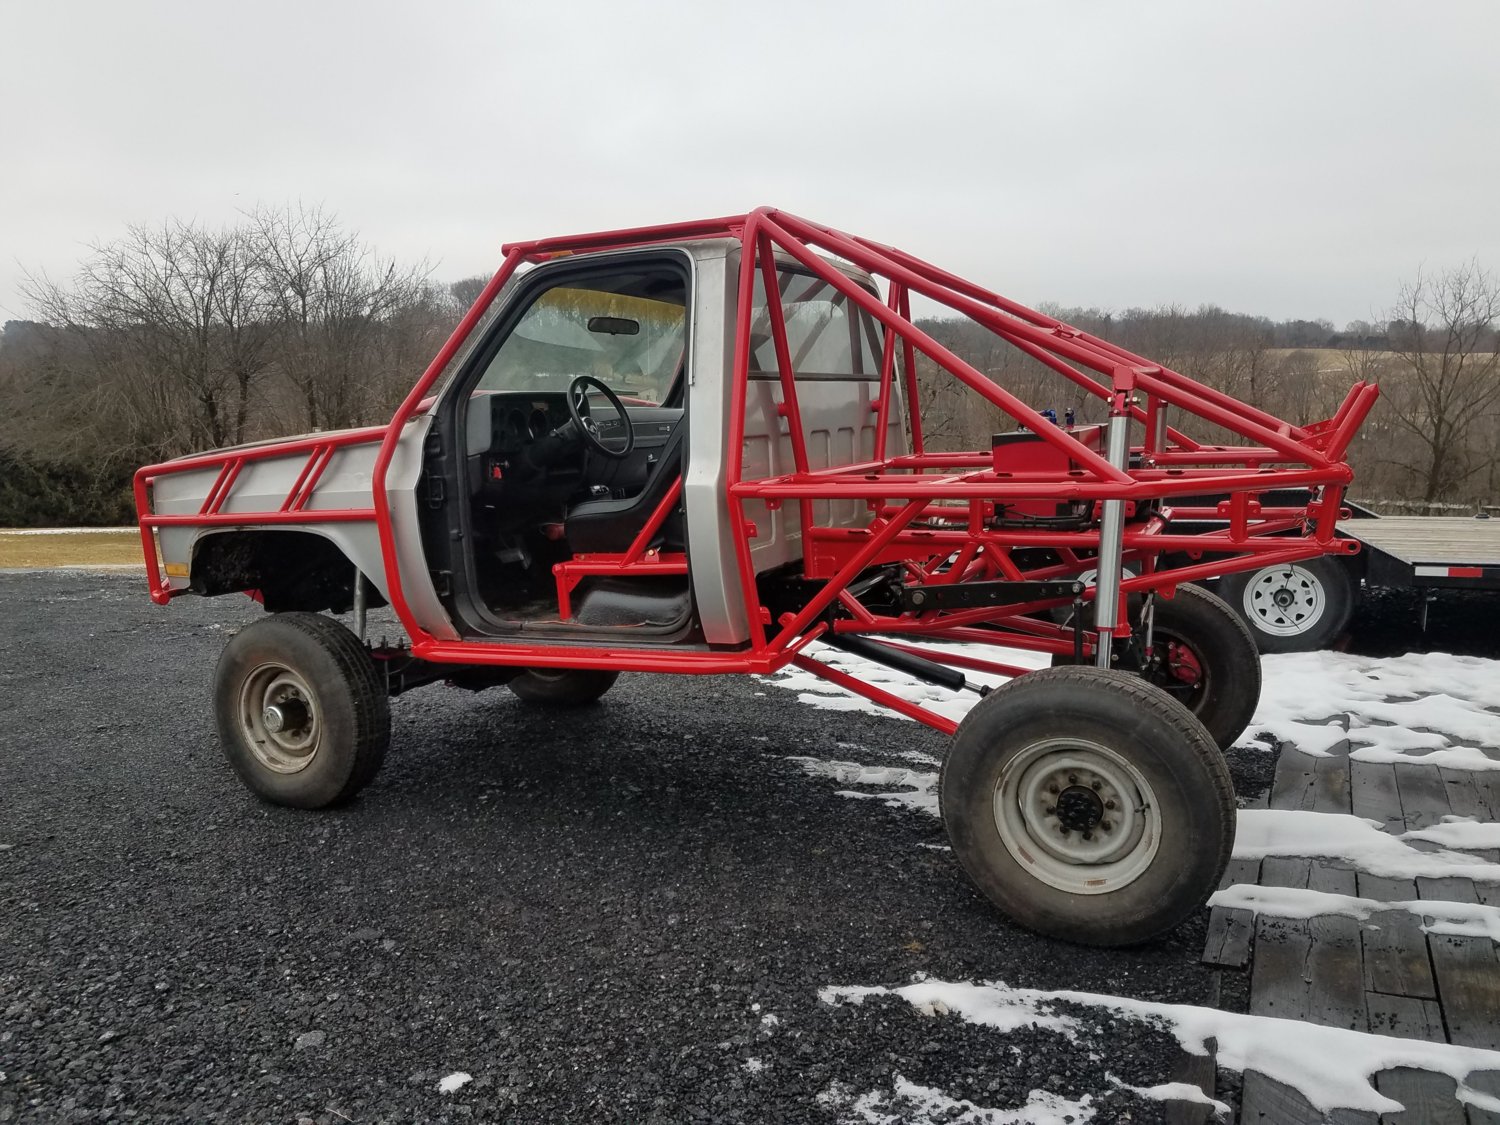
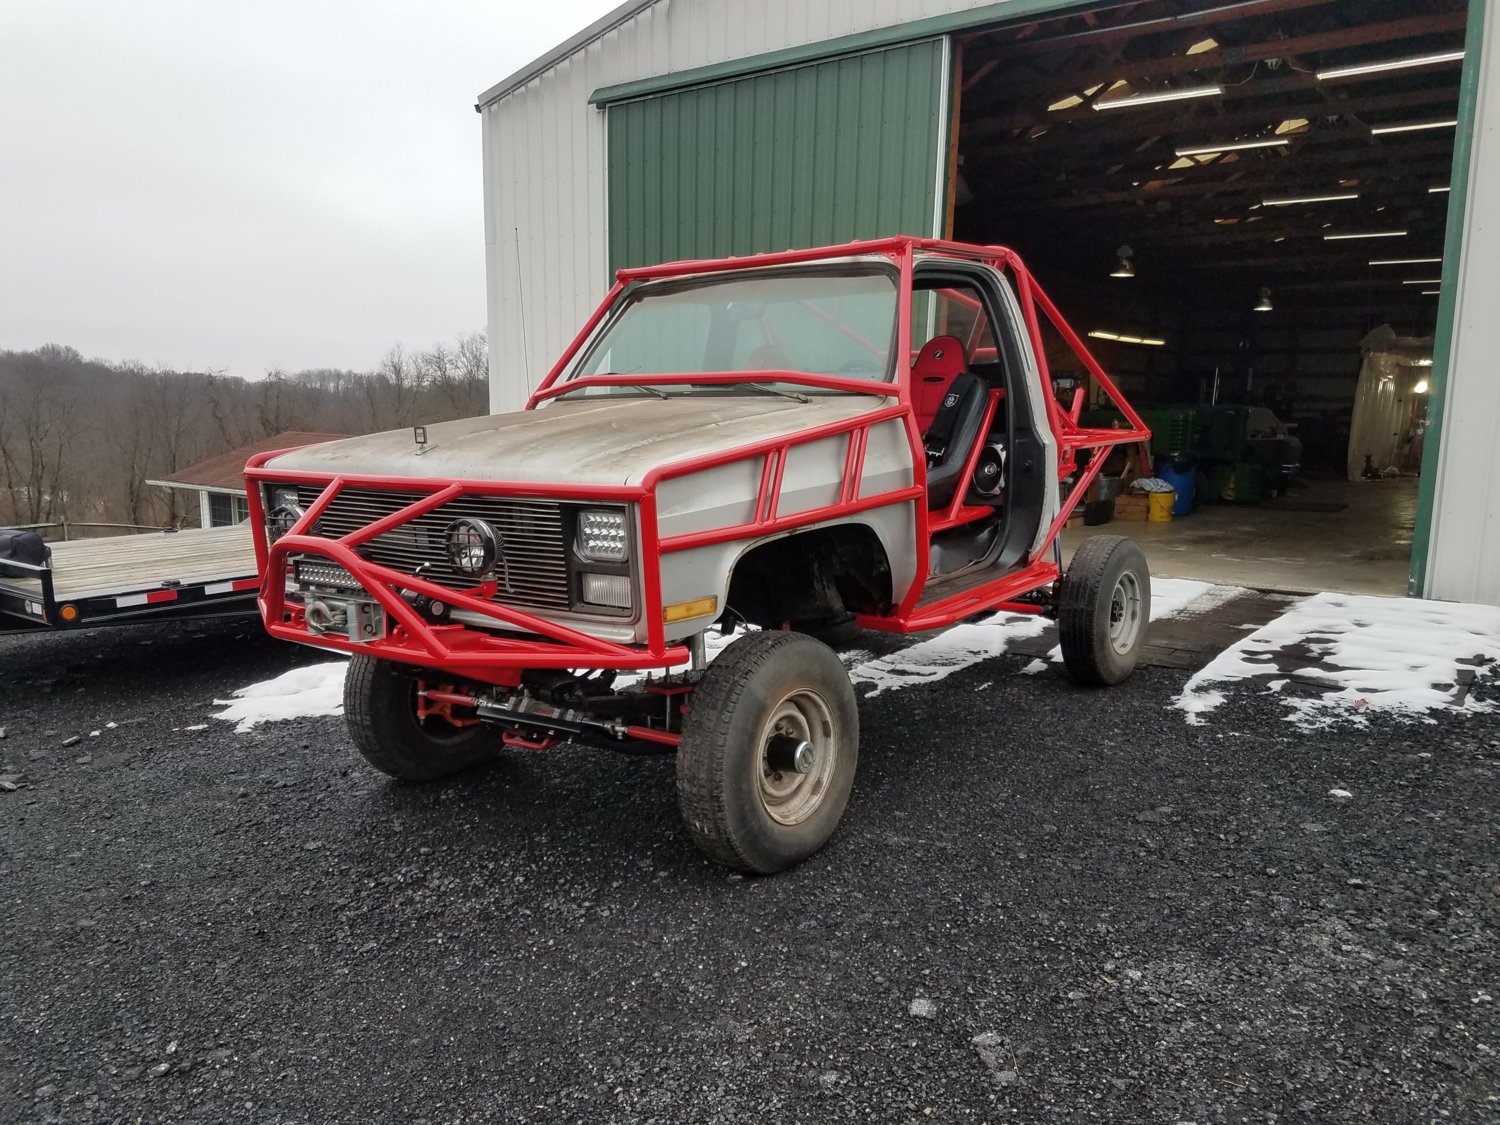
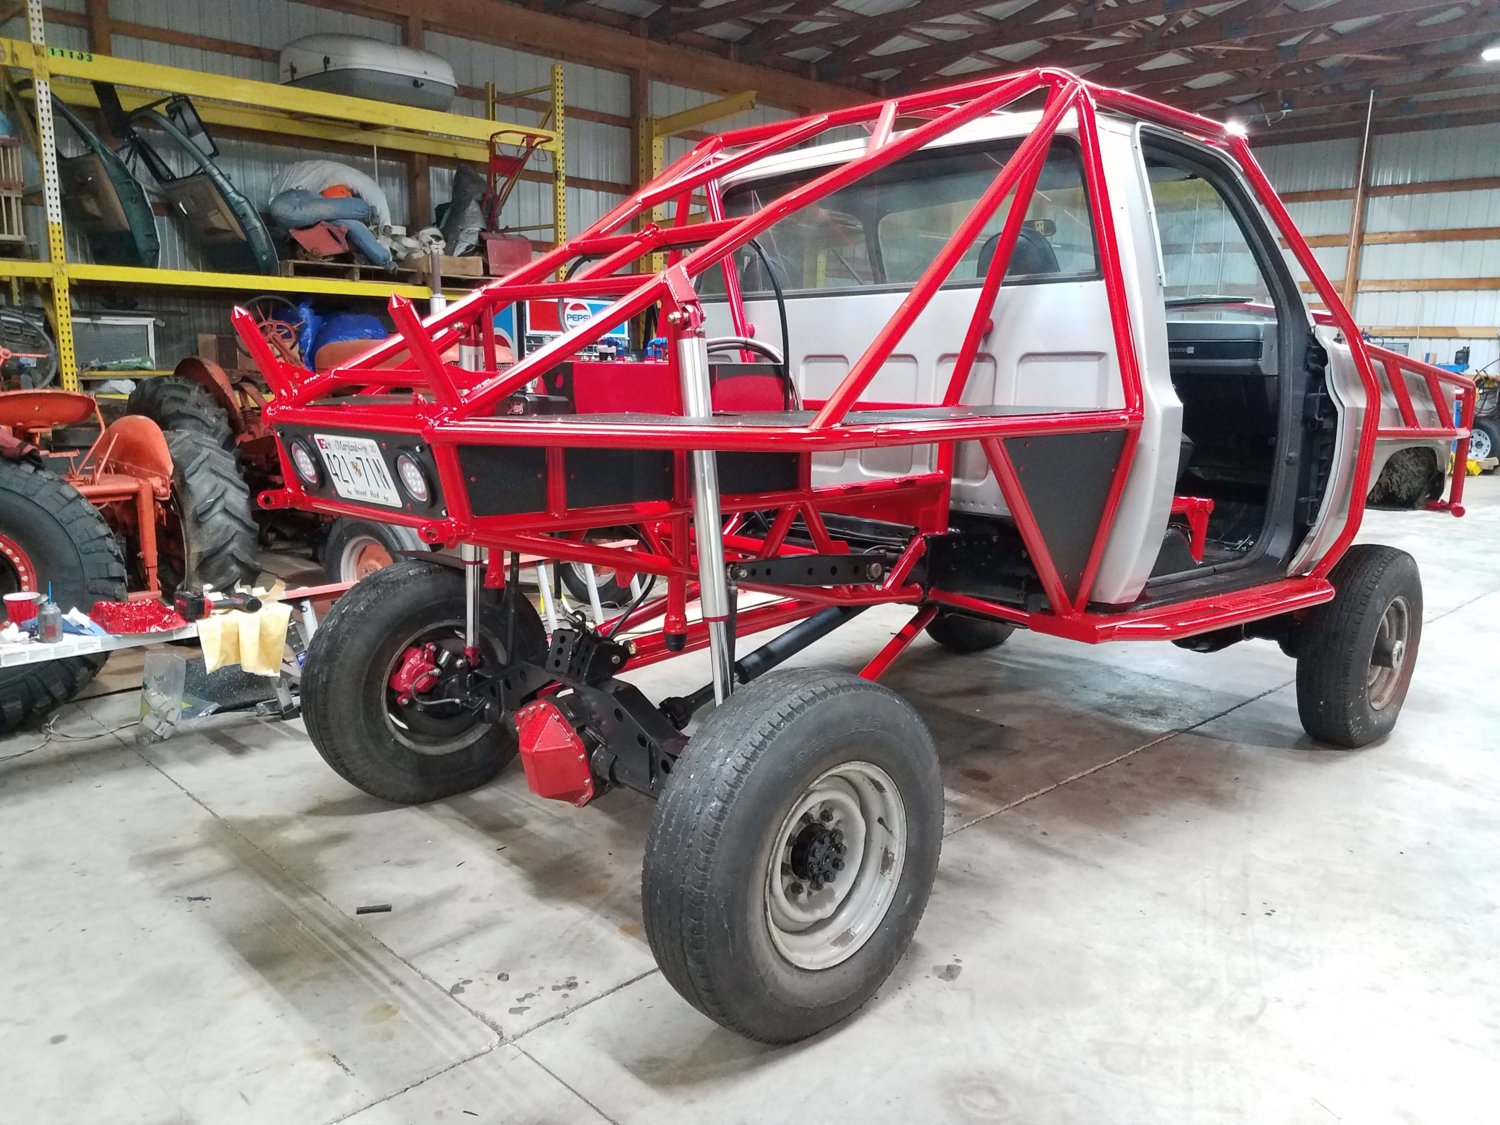
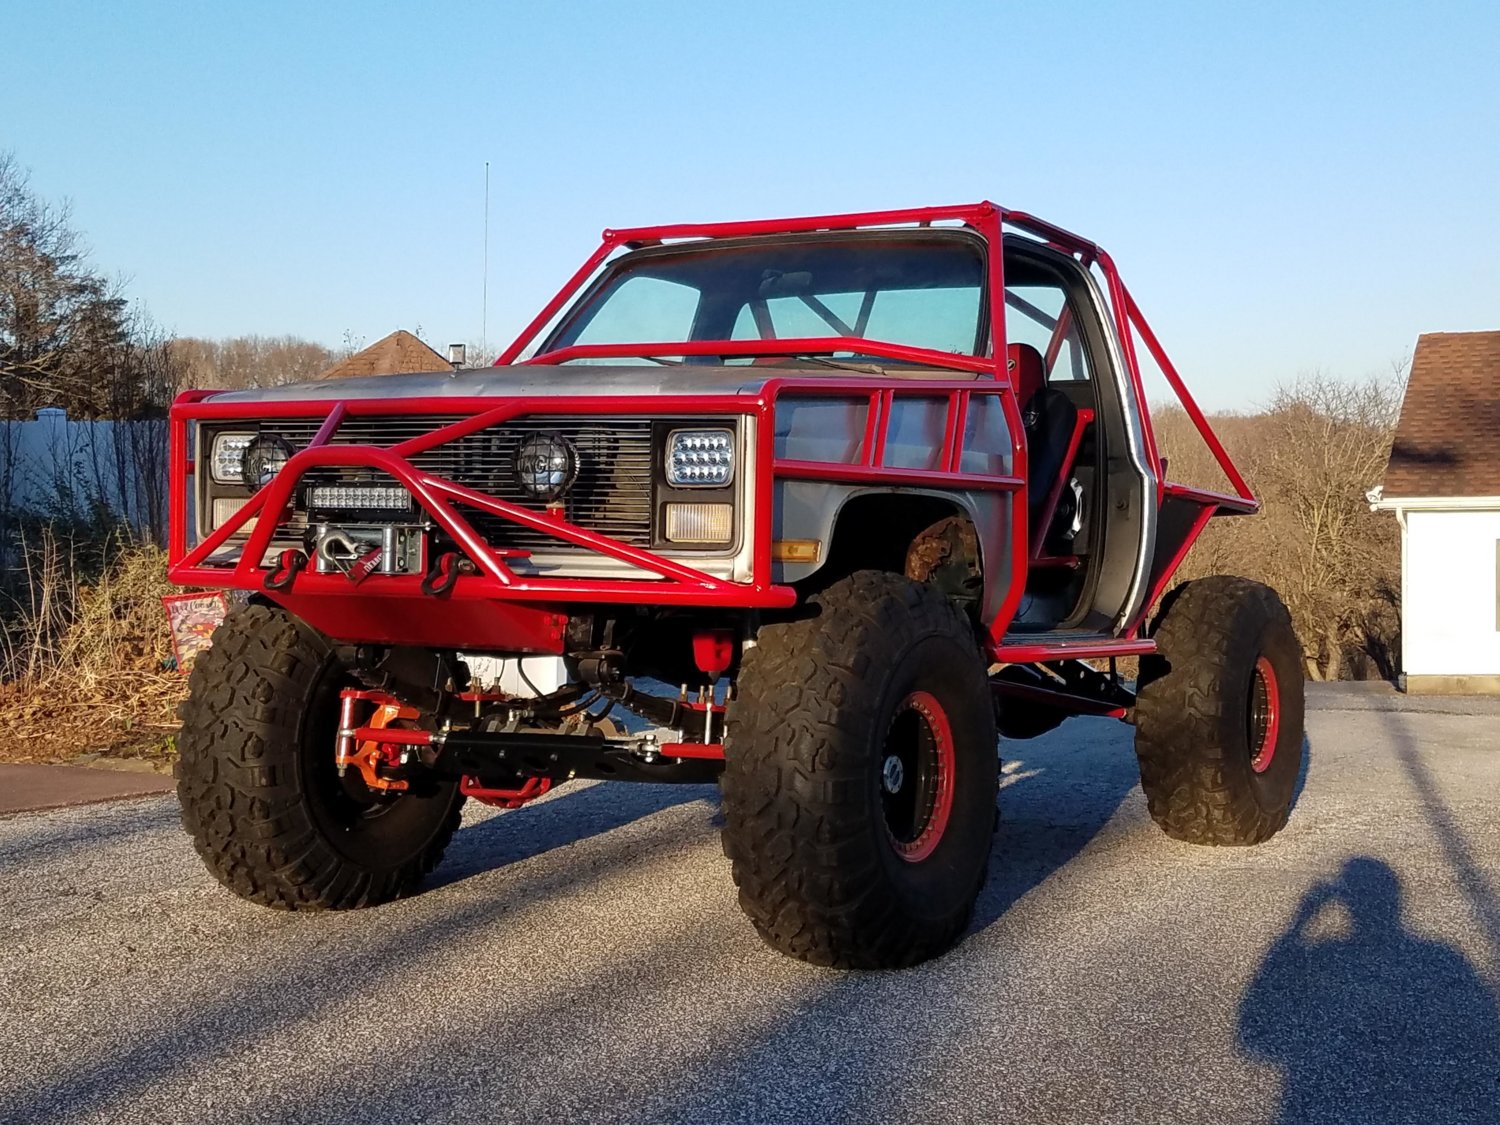
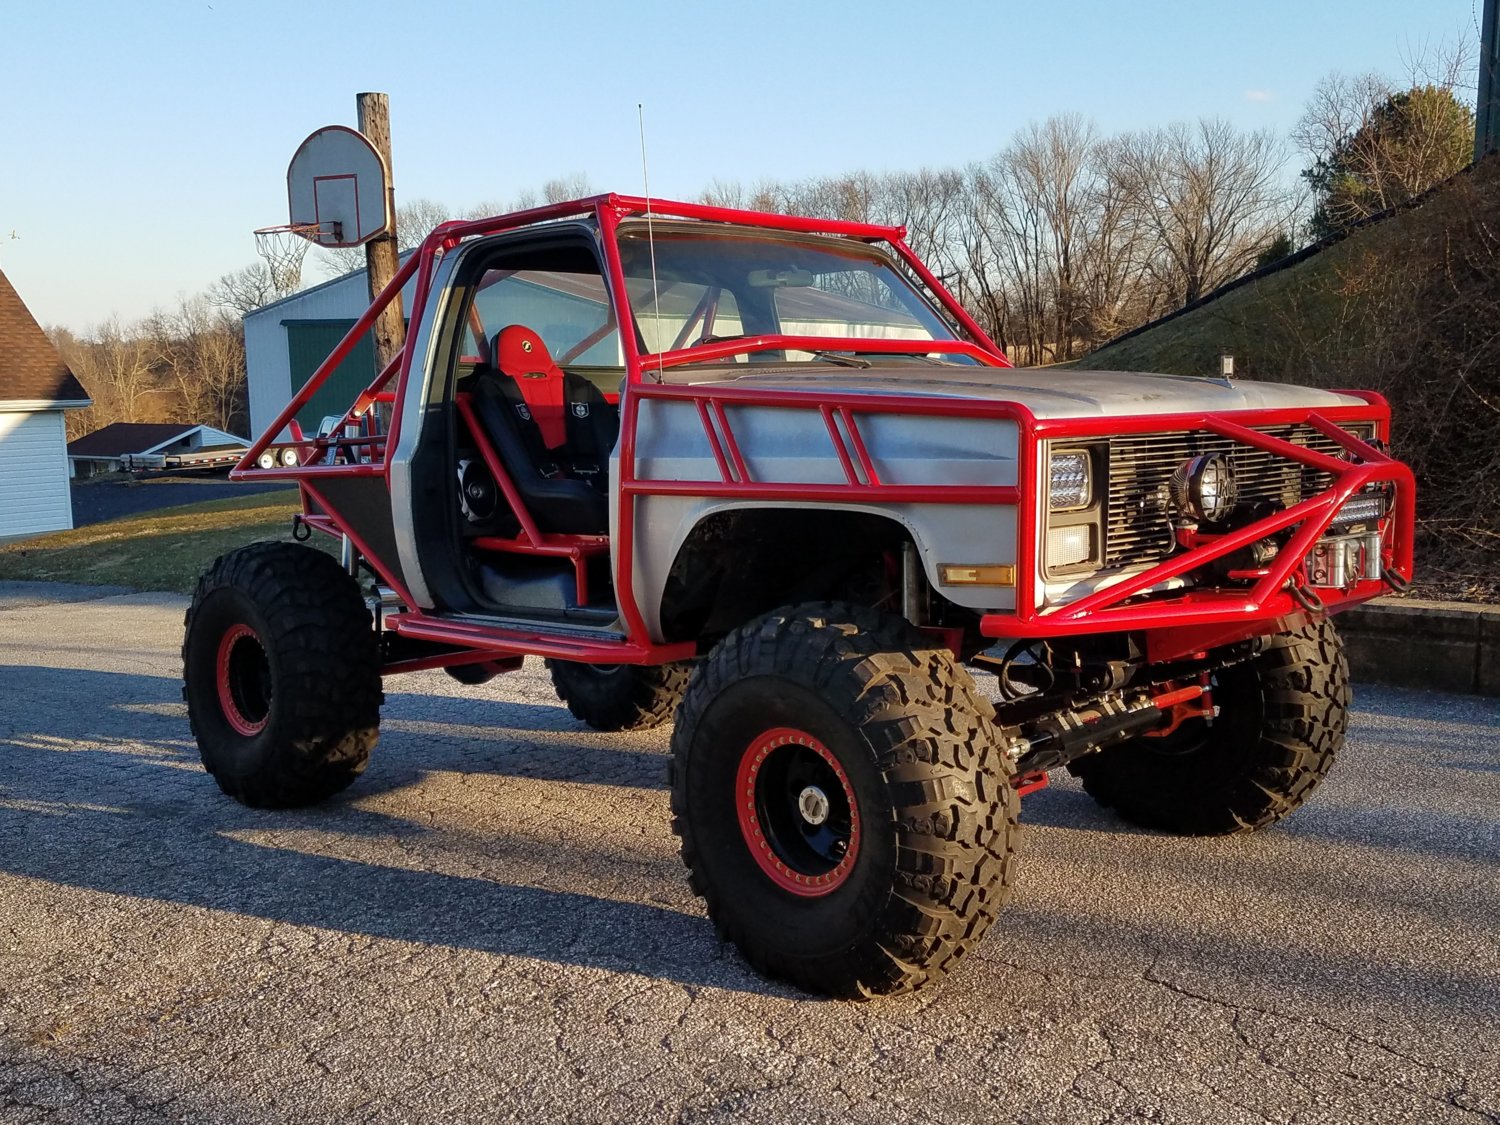
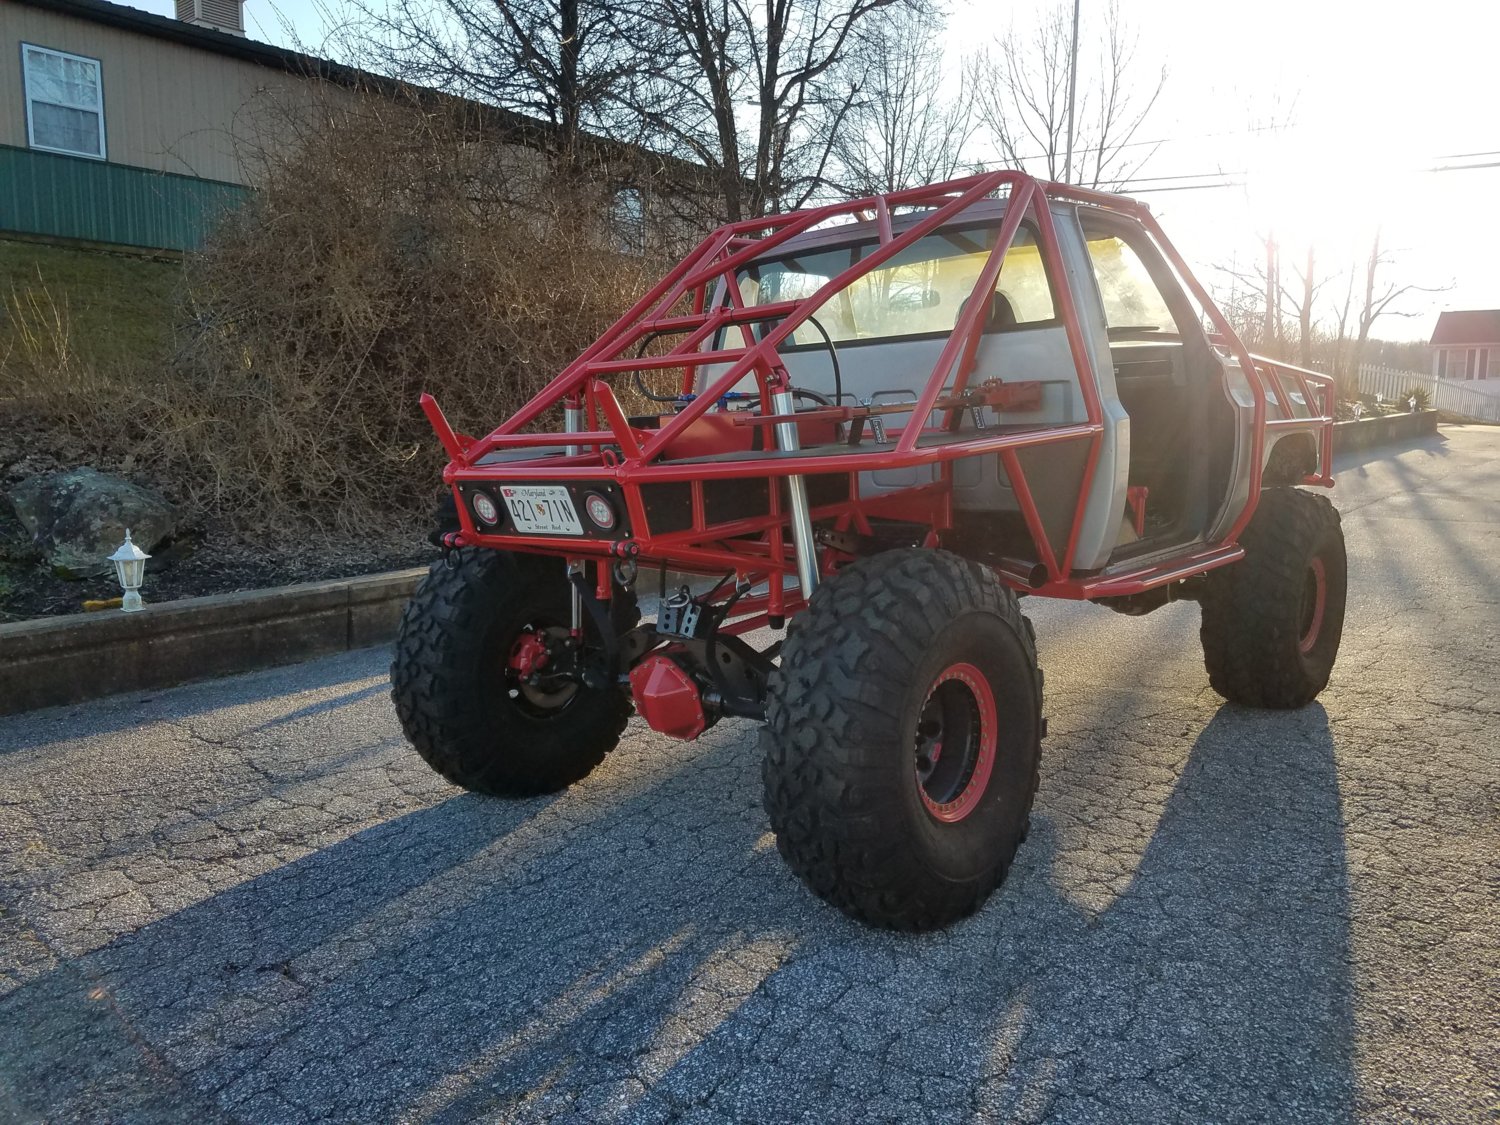
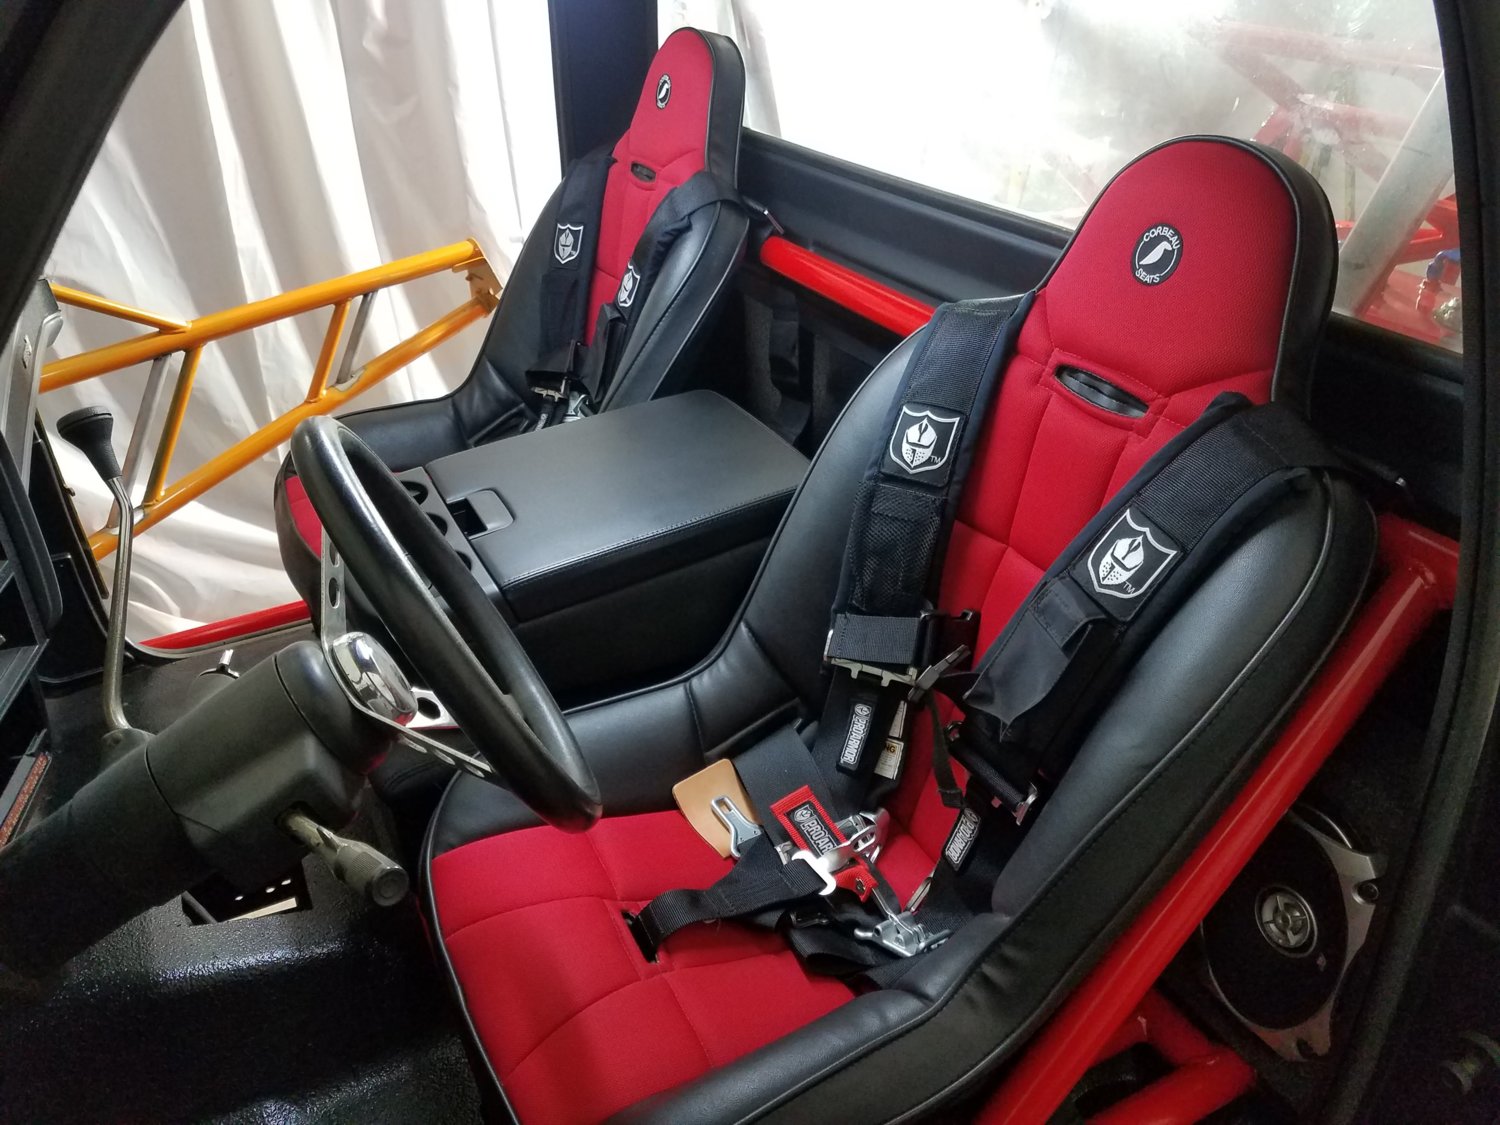
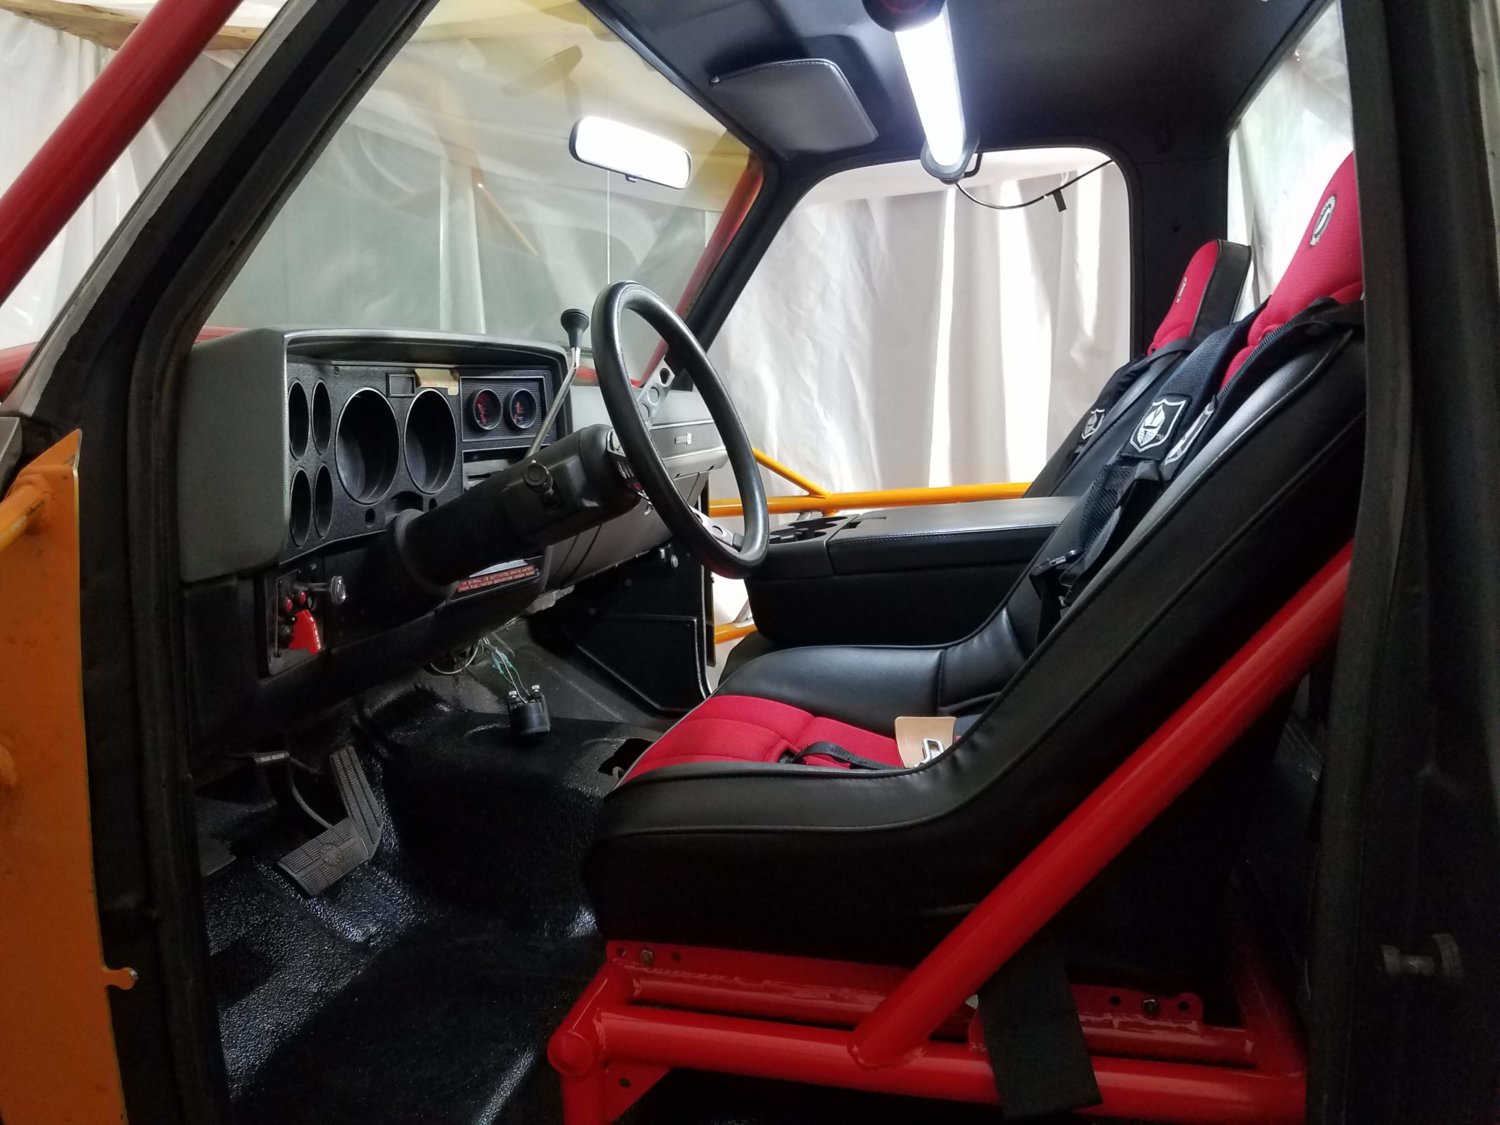
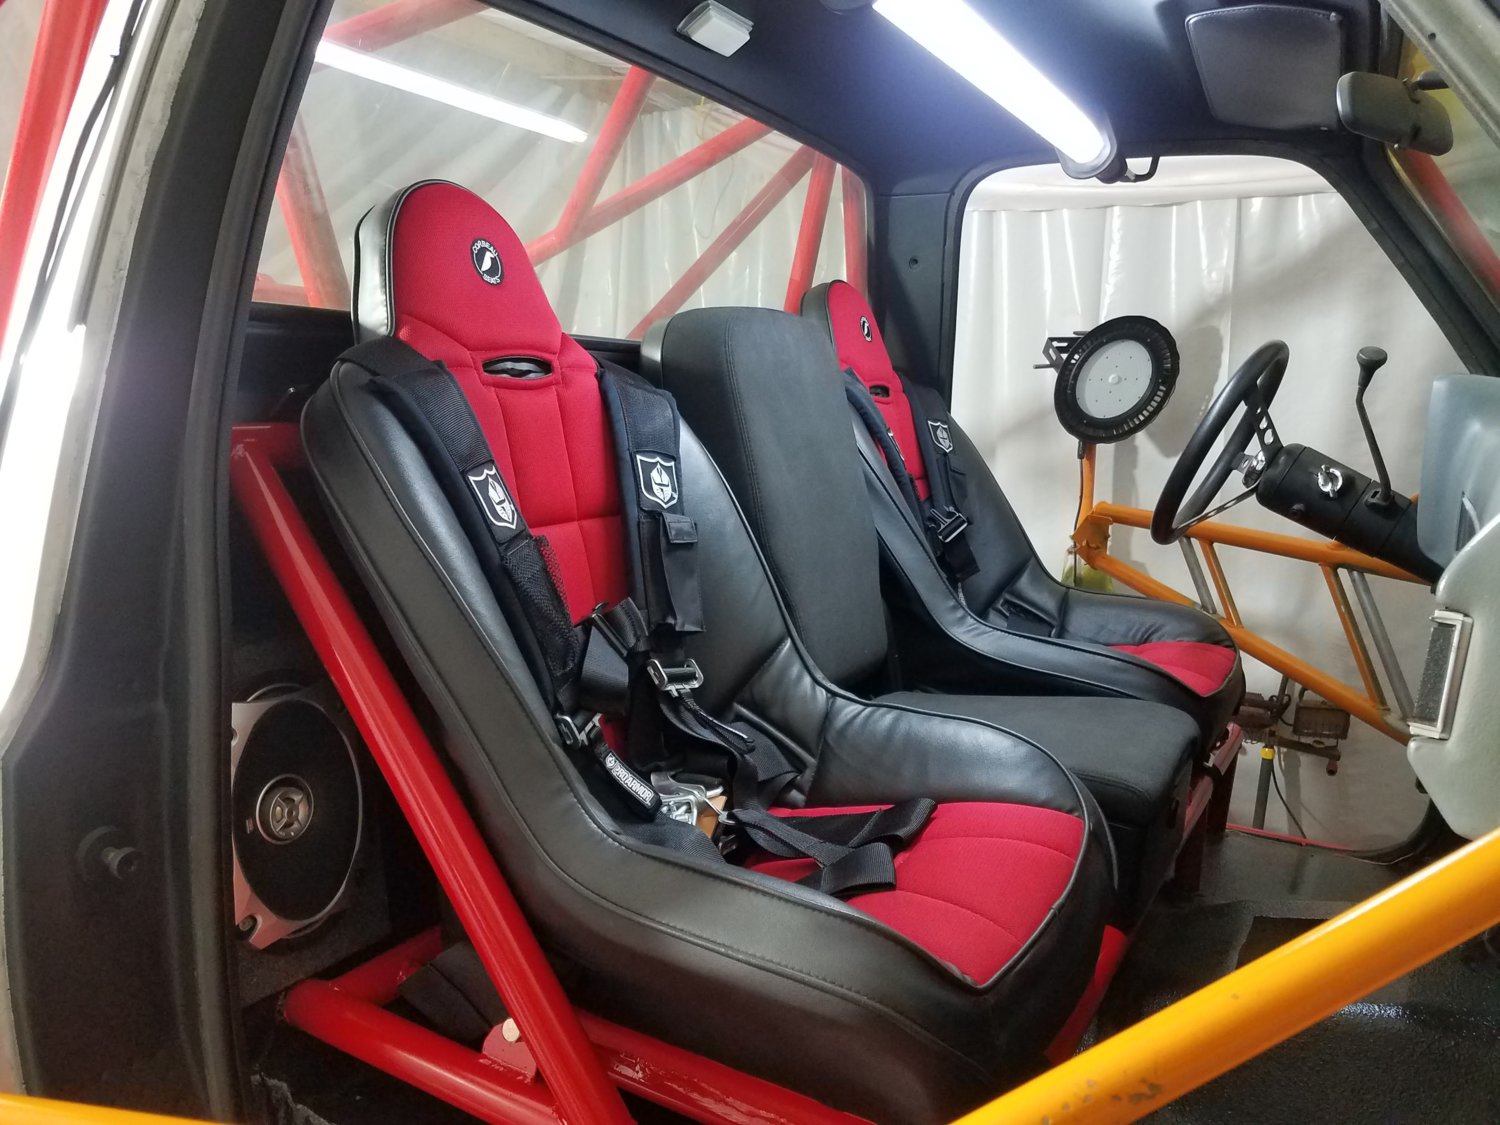
I decided to put back the interior. Center seat and both seats in. Harnesses installed. Visors back in place.


The last pic shows the center seat in the up / seat position. Really liking how it all turned out.

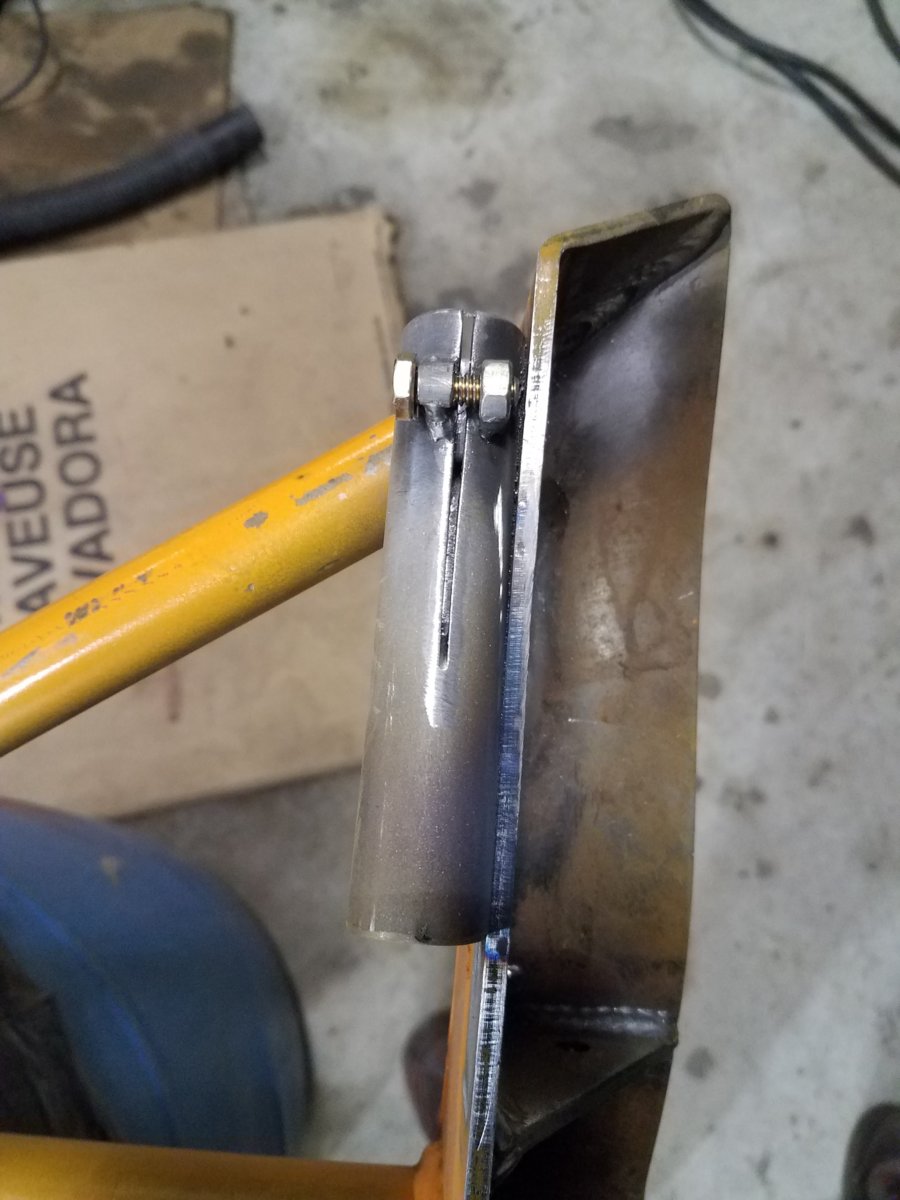
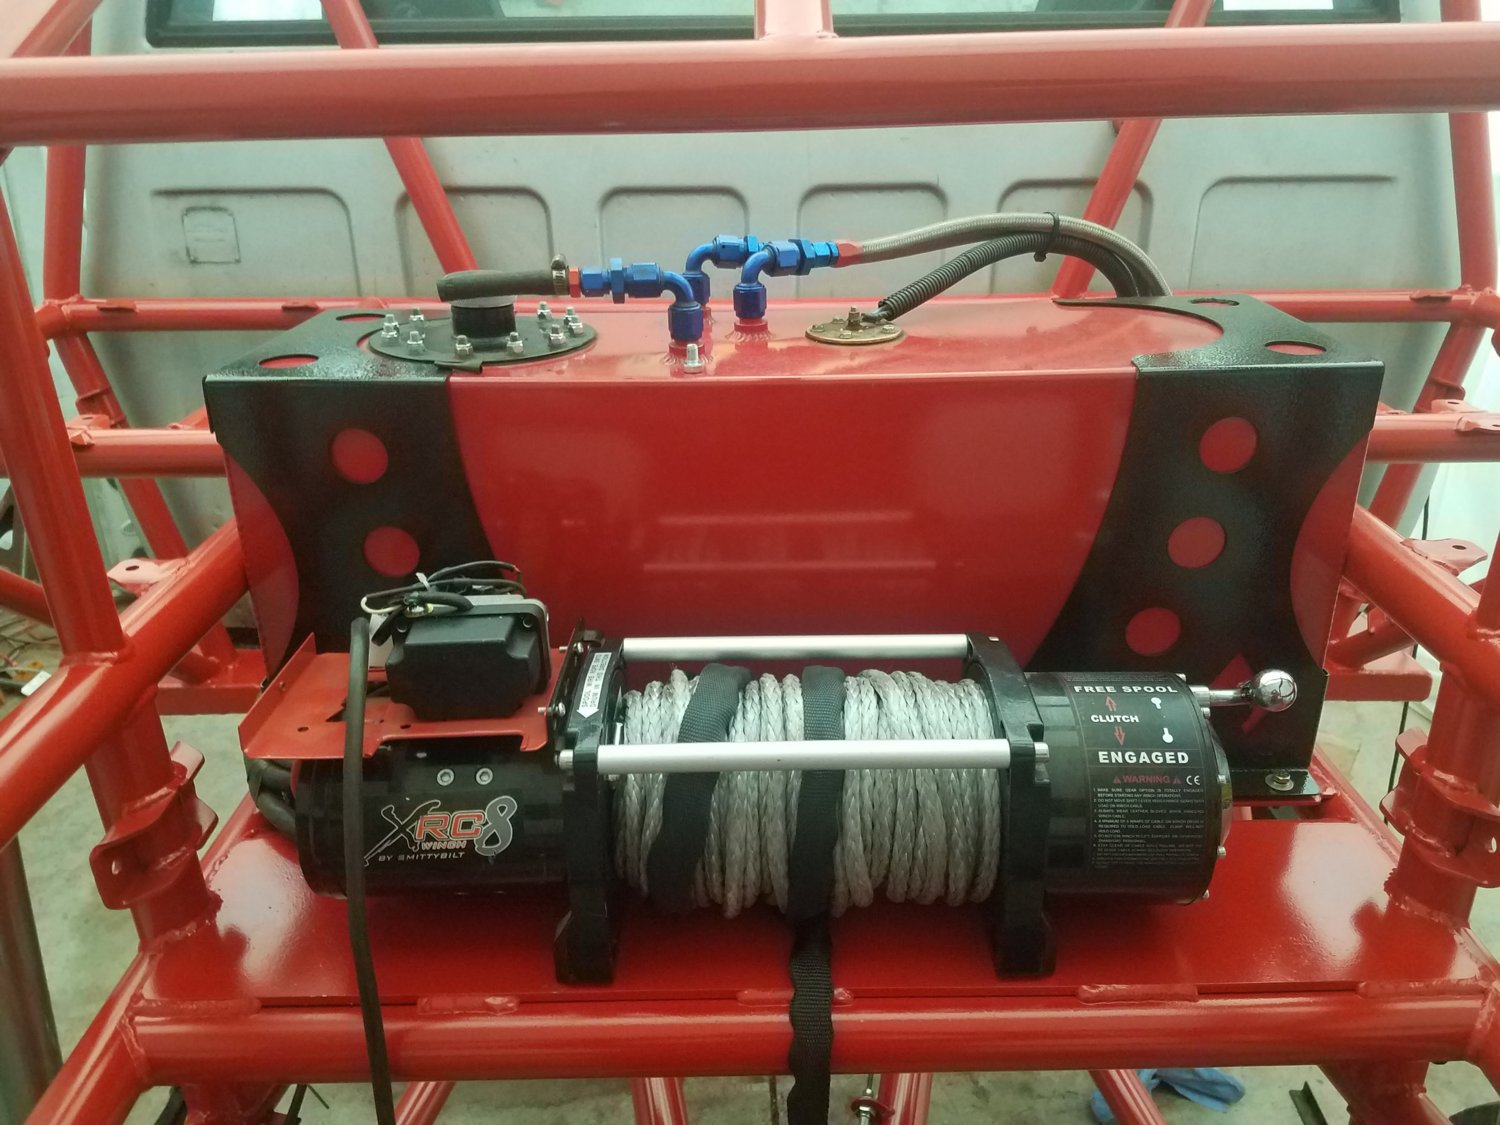
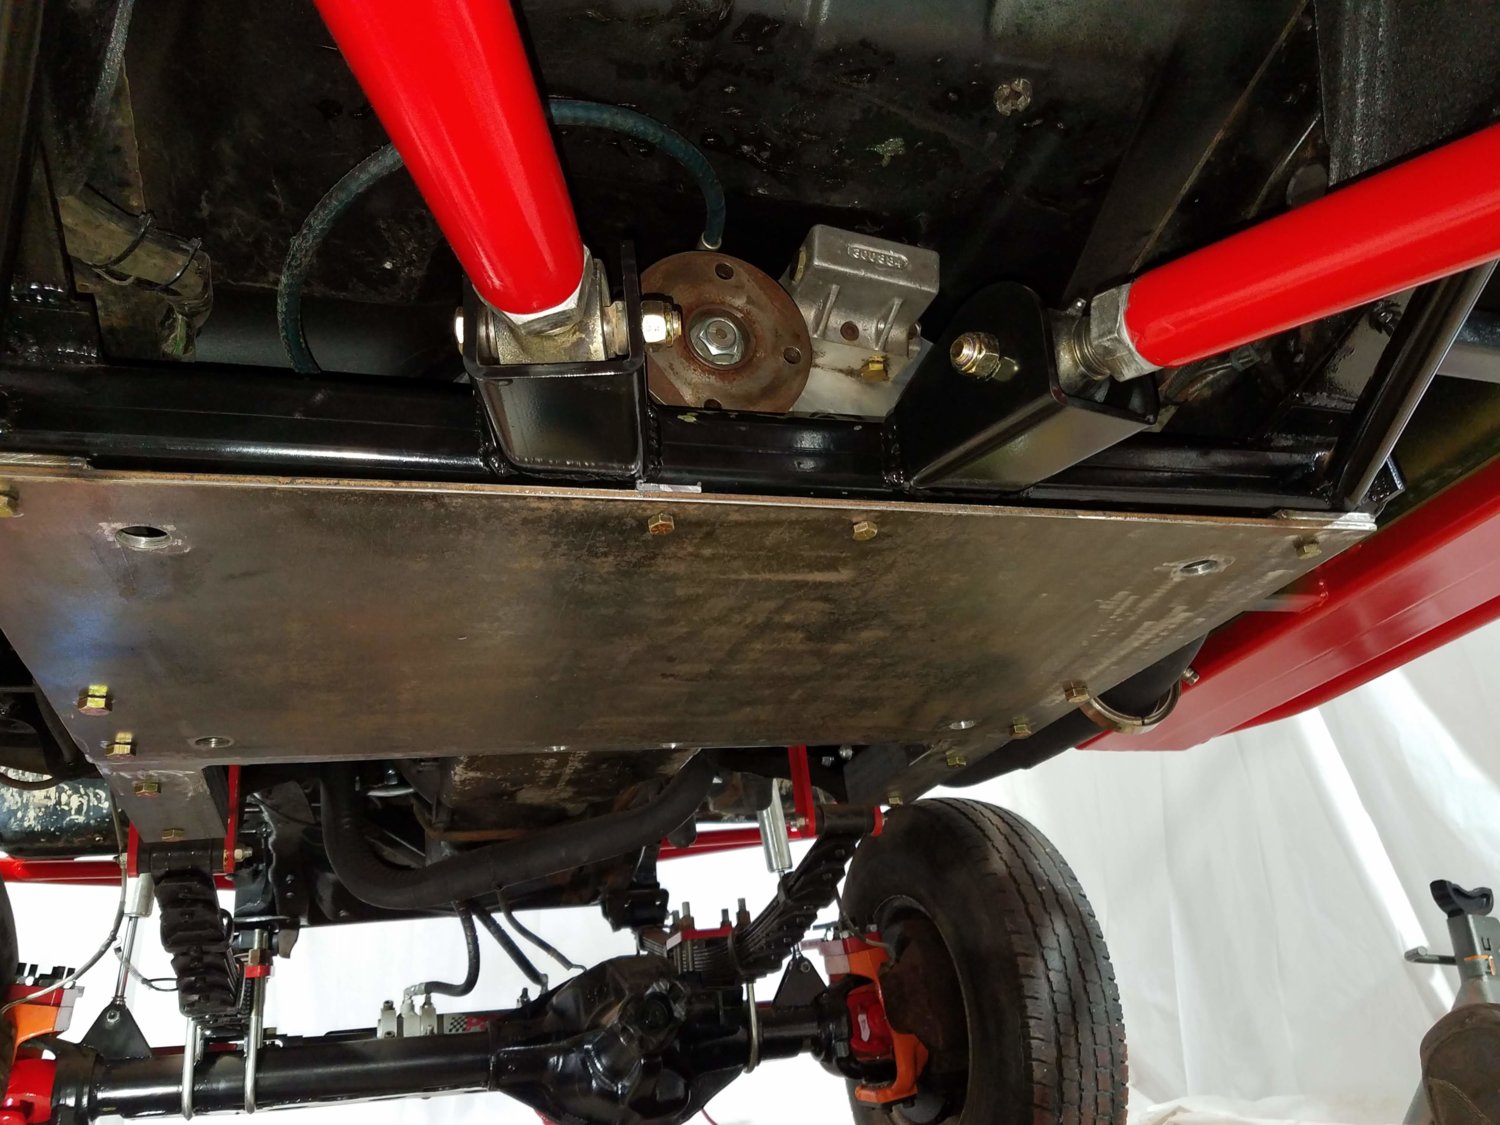
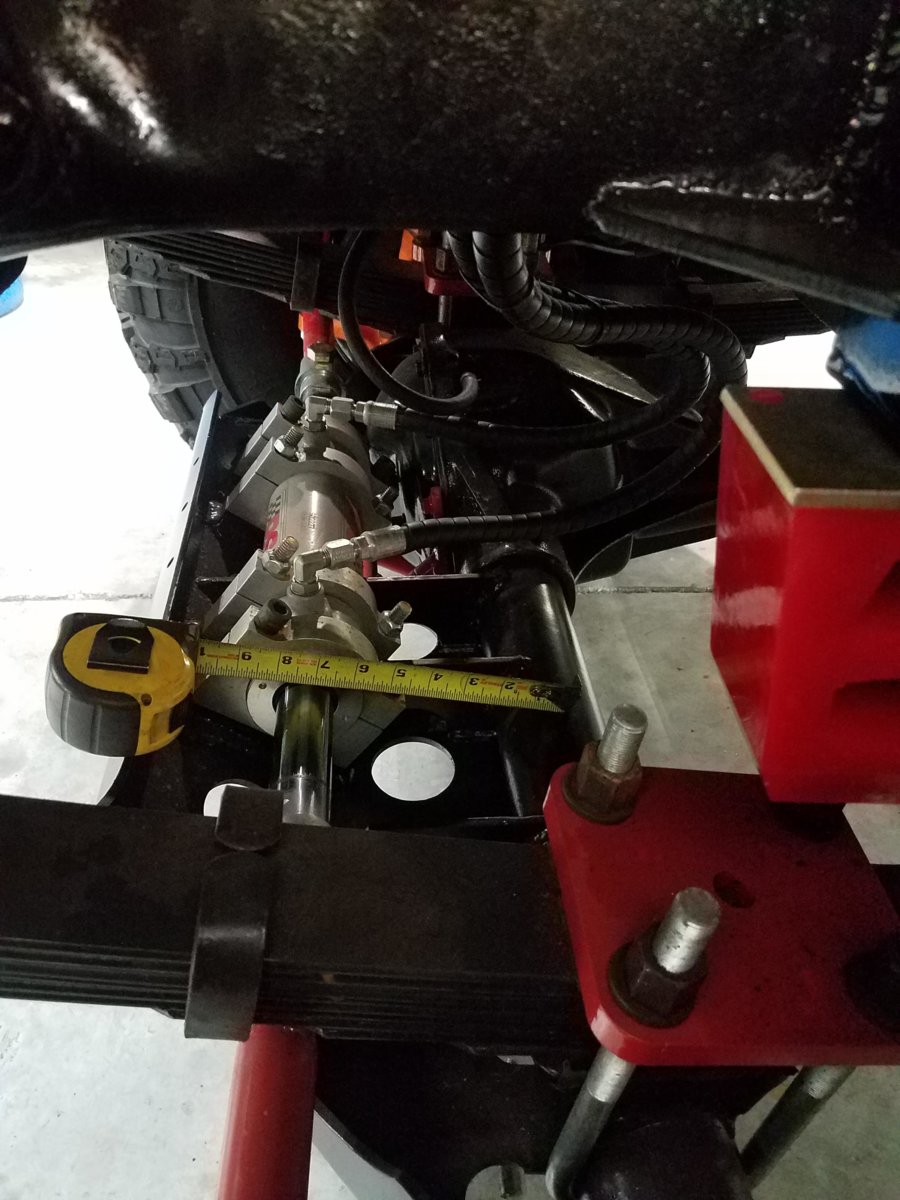
Finished a couple other little things. Got the fuel tank bolted down and lines hooked back up


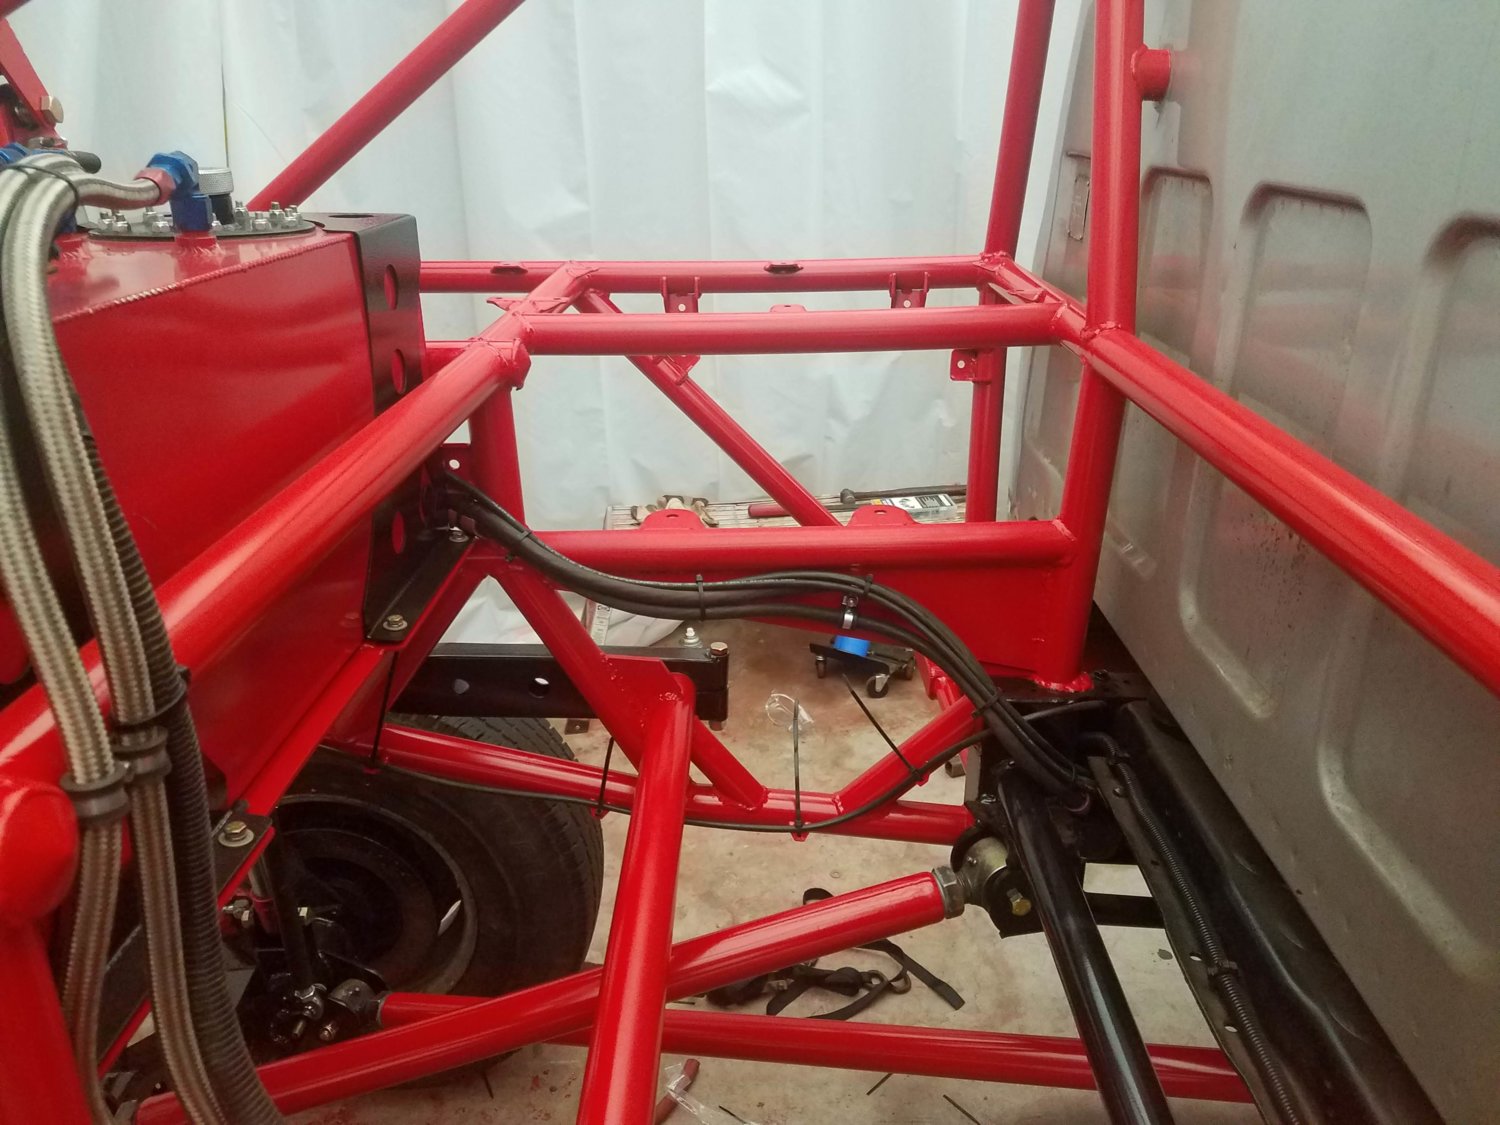
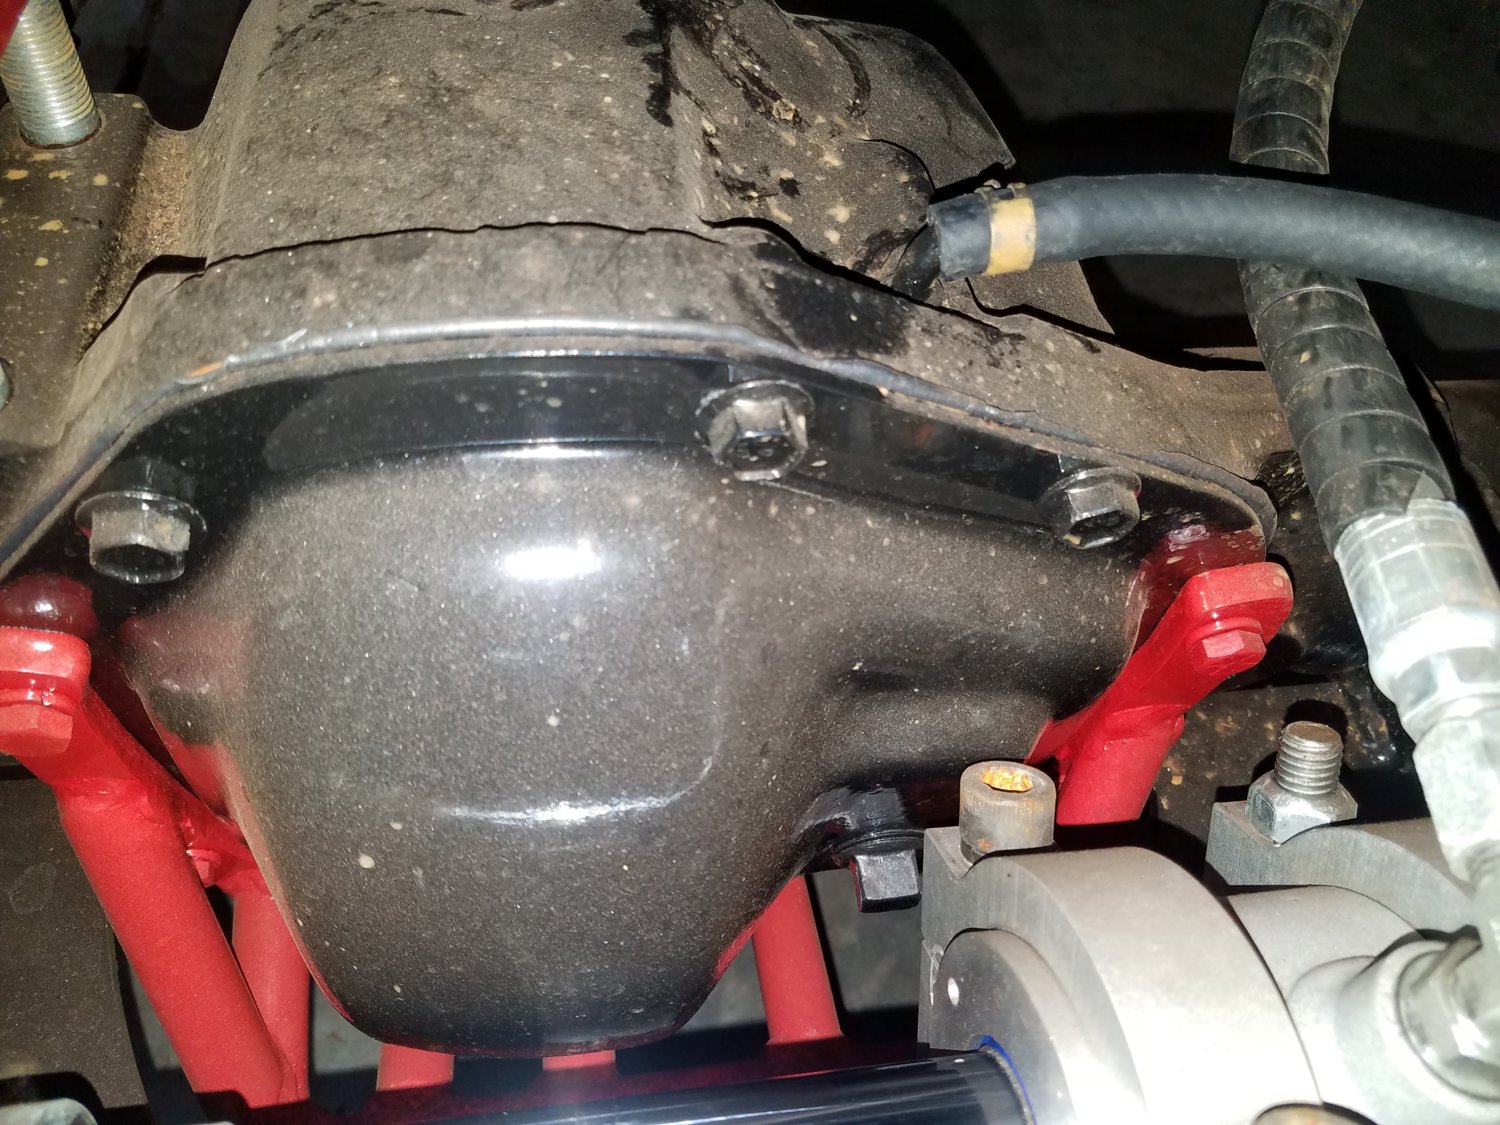
Also got the rear brakes re-connected and bled.

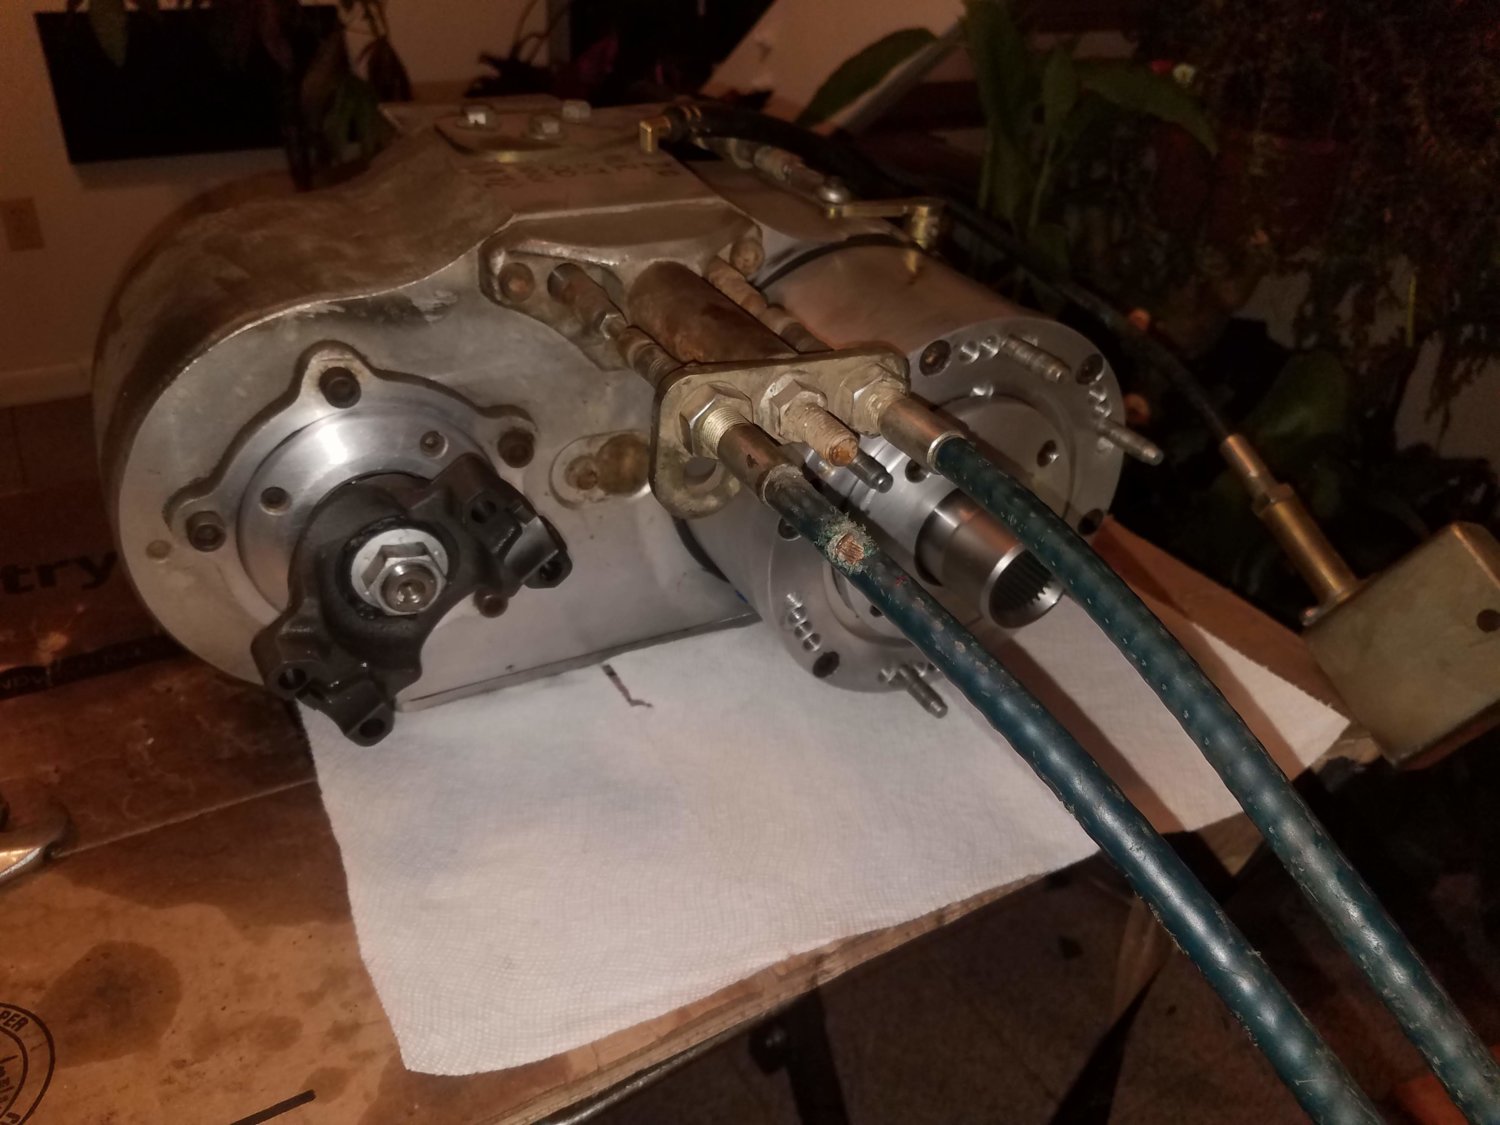
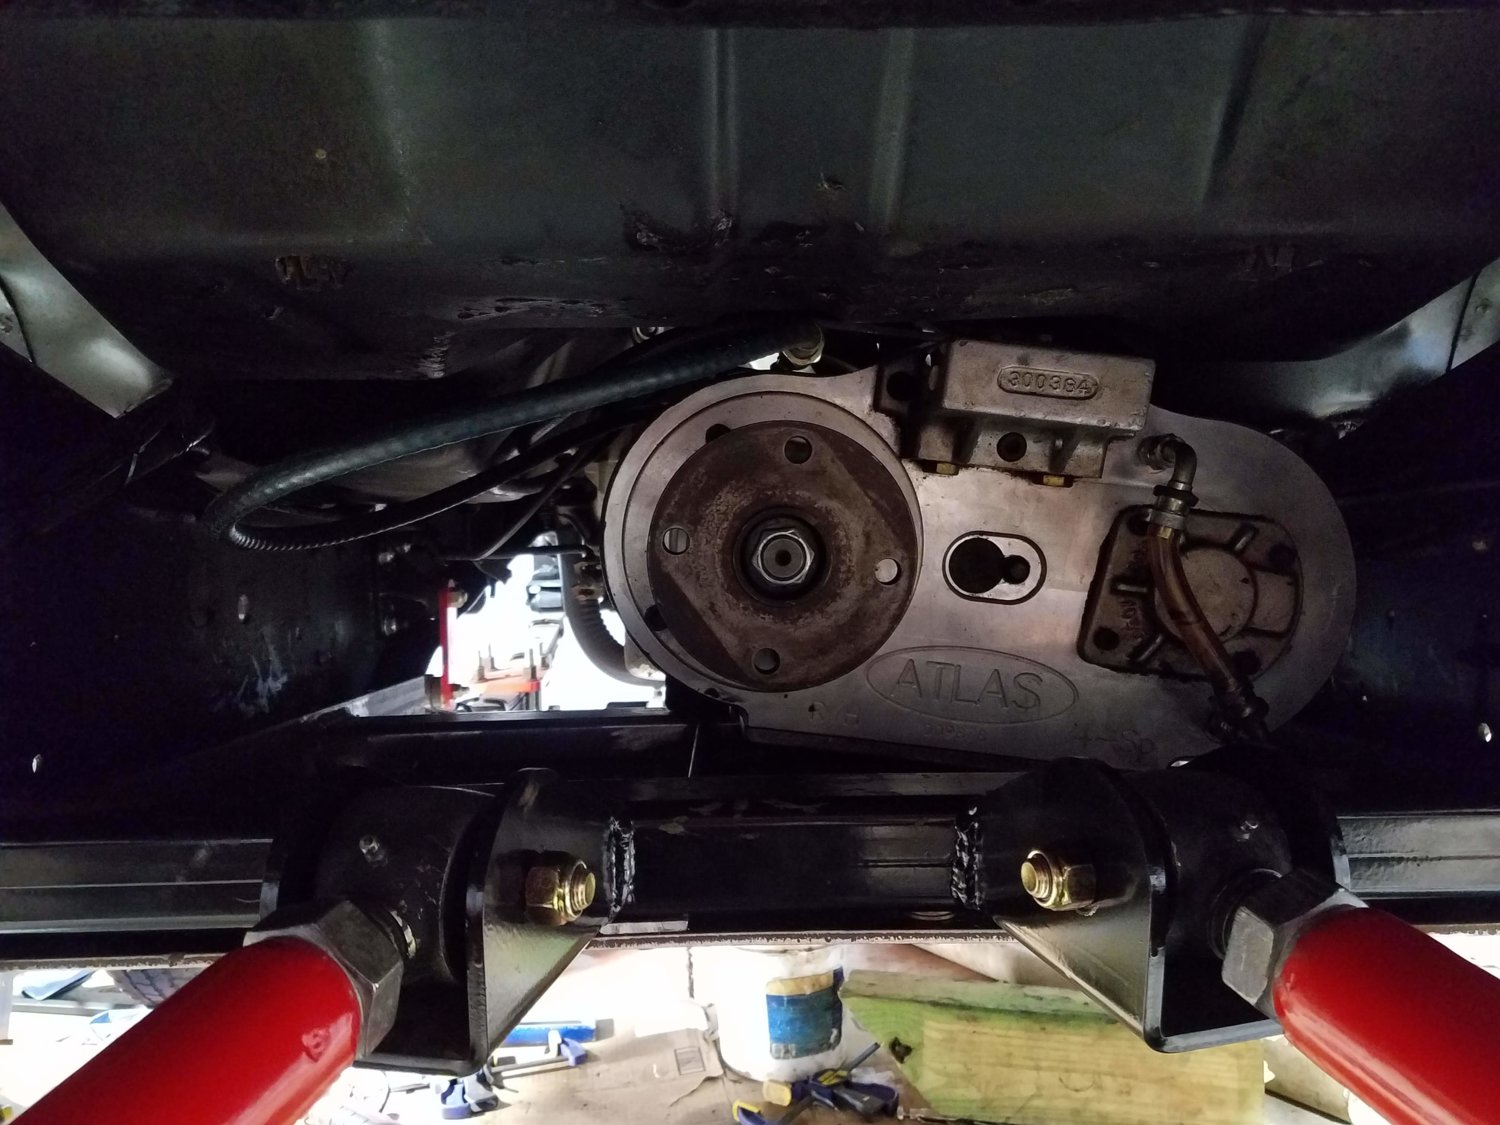
Much to my surprise my bearings showed up for the Atlas. Unfortunately I am still waiting on the input seal. I forgot to grab more Loctite so hoping to re-assemble the Atlas on Monday.
 
Few updates.

Worked on adding mirrors to the tube doors. Really wanted the square body mirrors on them. So I welded a tube that the mirror slides into.


Ended up that the mirrors just slipped into some 1" .120 wall snug. To make them adjustable in tightness so I could fold them in I slit the tube and then welded a nut and a sleeve so I could pinch the tube.


Works great. I also fully welded the extra tubes in and then finished sanding the doors and getting them ready for paint.

Finally got all the bearings and seals for the Atlas. It went back together uneventfully. I used some loctite 609 when I pressed the bearings back in so hopefully it will not come out again. You can see the new 1410 front output yoke in the pic.


It was quite the fiasco to get it back in the truck. I could not get it back in with a regular jack because it needed to be tilted to clear the crossmember. After dropping it twice I gave up. I figured I was going to go have to buy a harbor freight low trans jack. But after a text to my neighbor he had one. I ended up bolting a piece of angle to the jack and using a ratchet strap to hold it to the jack. I wish I had some pics of it going back in but I didn't get any.


You can see the scratches on the crossmember from getting it out and back in . . .

Front 10K winch is mounted and here I was mocking up the front 12" light bar.


Rear winch is all mounted


And the 0 gauge wire run to it


Also because I am crazy I powdercoated all the button head screws that will hold the top and side panels on.


Stupid weather is not cooperating and it is crazy cold here. This weekends plans is to get the crossmember done and hopefully get measured for the front driveshaft.
 
Progress continues I have just been lazy to update.

First up was the transmission crossmember. To get flat belly I needed something thin that would bolt up to the bottom of the frame. I decided on 2" x 3" x 1/4" thick angle with a 1 1/2" x 3" x 3/16" wall rectangle cross member.


I am going with a factory GM trans mount. FYI do not buy aftermarket mounts they suck and are nothing compared to the GM ones. I wanted a belly skid to protect the Atlas. I went back and forth between aluminum, or UHMW plastic, or steel. I decided on steel for simplicity and weldability.


I had some 1/4" steel plate laying around so that made the decision on what to use. I hate cutting 1/4 plate with a grinder lol.


Welded the skid to the crossmember so it is all one piece and that will help strengthen the crossmember. Welds turned out pretty good too.


Atlas and skid all in place.


Four 1/2" bolts on each side hold the quite heavy skid/crossmember to the frame. Four additional 3/8" bolts tie the skid/crossmember into the 4 link crossmember. Pulled it out again and got some black paint on it.

..
Spruced up a dull shifter plate with the drill press and a wire brush.


Shifters all back in the truck and working great.

Rear driveshaft got put back in and the truck was mobile again and ventured out of the paint booth and the shop.


Don't skip leg day kids.
 
Progress continued. . .

Still needed a front drive shaft so it went on the lift to measure for droop and then on the forklift to measure for bump.


Only got alittle over 24" before a rear tire wanted to pick up. But the springs are not broken in and the rear is really light and messing with the weight balance and sway bar. Anyway I got the measurements I needed and a call to Tom Woods and a lighter wallet the front shaft is ordered. It should be here Tuesday.

Started putting the side panels back on. Wife and kids helped.


Some nice weather gave me time to paint these guys:


Waiting for them to fully cure before I install them.

Most of this weekend I worked on electrical. Had lots of little things to sort out. Relays and fuses and switches.


Grabbed these off of amazon thought they look cool. the LED ring lights only when the accessory is on. Got the Light bar, and the KCs all wired up. CB is mounted just need to put the antenna on. I have to remount the radio and speakers and then wire in some rock lights.

Today I decided it was time to put on the big tires.


It was great to get it outside on the big tires. Hope to get it on the street to get some run time on it shortly. One of the last big efforts will be trimming the front of the fenders and core support. Looking forward to enjoying this thing. 24 days before we leave for Fullsize Invasion in Moab.
 
Hey myhichevy4x4, first off I'm loving the build man. I just came across it today and have read through it a couple times now. I have similar build going on with my 89 Jimmy right now. I'm hoping you might be able to answer a question for me. I have a chevy dana 60 in the front with the same artec ram mount and same psc double ended ram but not sure where to position the ram on the mount to acheive correct tie rod geometry. Any tips or pointers you could give me to help out? How far is the center line of your ram to the centerline of your axle?

Thanks!

Thanks it has been a long time coming but the end is in sight. So the center line of my ram is about 7 inches from the center line of the axle.


I am not sure how ideal everything is but from what I have read at the center of the steering the tie rods should not be parallel with the axle but should be slightly back, You can see that in the above pic. This way as they travel through the full range you get better geometry.

The ram is centered on the axle but this puts it really close to the diff cover as you can see.


Yes the cover will come off and yes you can get the fill plug out. I opted to put the removable cover piece on the outside because it would be in the way of the ram mount on the inside like it is supposed to be. I also did a quick check to make sure the carrier would fit out the opening (9.25") once everything was in place just in case you needed to do a gear change down the road.


The height of the ram I set so the tie rods would clear the leaf springs. I also notched out for the U bolts on both sides. One other thing I had an issue with were the fine thread bolts they supplied. After welding I guess the threads shrunk and the bolts galled up and got stuck. After talking to Stephen at ORD he says they thru bolt theirs so that is what I did too.

It seems to steer great with this system but it has yet to be trail tested. Let me know if you have any more questions or need anymore info. Sorry it took me so long to respond work has been crazy.
 
That's awesome man, just what I was looking for so thank you. I'm a high school auto shop teacher and off-road enthusiast trying to learn a few things about building rigs and teaching the kids at the same time. I love your build man and look forward to seeing it progress!
 
Front drive shaft came in from Tom Woods
1410 superflex joint on each end, Ultimate travel U1 (8.5" of usable stroke)


Here is a close up of the offset Superflex joint


Shaft installed at ride height leaves about 3 inches of spine out.


This is a bit more than I wanted but that is what Tom Woods recommended. I know the front springs will settle with time so it is probably not a bad thing.


On the lift with tires off the ground full droop I have 6.5 inches of shaft showing so another 2 inches of usable travel should be good.

I will say this driveshaft vibrates like crazy over like 7-8 MPH. I mean it rattles the whole truck.
I found the front joint loose in the yoke after this. Even after I tighten the joint back up it still seems loose. I am afraid the used yoke I put on the D60 years ago may be spread a little and contributing to the looseness. I just want to note that I was told the shaft would vibrate but I didn't think it would be that bad at that slow of a speed. Hoping that if I do need a new yoke that might help lessen the problem.

I also found some oil on the 60 around the pinion seal so somehow that new seal is leaking.

Checking out the 14 bolt inspecting for leaks I found the pinion loose on that. Not sure what is going on there. When the detroit was installed it was gone through. I am thinking that the pinion pre-load was just not set correctly. So now I have to run around and see if I can get that and the front driveshaft issue fixed in a hurry.

I did get the tube doors and mirrors on.


Pretty happy how they turned out.

Did some playing around on my flexin rock


Even at night lol


Flexes great and climbs right up. Still need to trim some inner fender. That is tomorrows job . . .

18 days left . . .
 
Looks good dude. Maybe give the guys at Wood's a call. We deal with them a lot at work and they are great
 
Looks good dude. Maybe give the guys at Wood's a call. We deal with them a lot at work and they are great

Thanks man. Getting there. Yeah I plan on giving Tom Woods a call tomorrow morning to see what they say. Also trying to swing by my local shop Appalachian Offroad and see what his thoughts are.
 
Last edited:
Man that red cage just pops out in the daylight. I think the fullsize invasion guys are going to be using pics of your truck on Instagram during the event. I'm all for it, that thing should look awesome out on the red rocks.
 
Nice!!!!


Re: the Trumpf, we have one at work that's been parked since new, 7 years ago come Aug.
What a waste of a magnificent machine...
Clicky
 
Moab was awesome and I will get to that but lets first get caught up on the build thread.

When we last left off I had just got the front driveshaft back in. After talking with Tom Woods they said it will vibrate and there is nothing that can be done. That being said if at higher speeds you put the front axle in neutral it does not vibrate that bad at all. Mike found the 1410 yoke on the Dana 60 to be spread a bit and contributing to the vibration so that was replaced with a Yukon yoke. Turns out it is good that 3 inches of spline is exposed at ride on the front shaft because it uses it all if you hit whoops or try and jump it in the sand dunes (we will get to that later)

On to the loose pinion in the 14 bolt. Mike at Appalachian Offroad has helped me out before and is a great guy. He was able to squeeze me in and replace the pinion bearings in the 14 bolt, replace the 1410 Dana 60 yoke, and make sure there were no other issues. He also helped me get the rear axle better aligned in the truck.

On to the inner fenders. I had some rust spots in both inner fenders but overall they were still pretty solid. Starting with the rear of the inners I massaged the mounting holes with a hammer to lay closer to the firewall and was able to re-use the bolts along with some rivets to hold the new pieces in.


I made the new pieces out of some .060" thick Aluminum so I could bend and contour it a bit better.

In the front I slit the core support and trimmed it back for more tire clearance and then massaged the inner fenders up to the lip that I trimmed the core support to.


You can kind of see what I did in that picture and it shows my front "patch". I sliced quite a bit out of the inner side of the fender for clearance.


Leaving the actual outer fender as the closest thing to the tire. Which worked out great and I had no interference in Moab.


Some seam sealer and some paint and the new patches blended right in (I forgot to take a picture after paint)

One thing I was not expecting was having to modify the battery trays. Since I moved the inner fenders up or extended them forward if you will neither battery tray fit. After some modifications and cutting the lower brace to the inner fender and fabbing up new braces the battery trays and batteries were re-installed. Overall the inner fender work took much longer and was much more involved to get the clean look I wanted.
 

Latest Posts

Top Bottom