CK5
Register an account today to become a member! Once signed in, you'll be able to participate on this site by adding your own topics and posts, as well as connect with other members.
2009.07.16 - UPDATE! - NEVER ASSUME ANYTHING....

OK, I'll admit I got embarrassed on this one but it's because I made an assumption about one very important aspect of the cage build:

The tub is 100% squared to the frame underneath it... :yikes:


It turns out that when I got the first engine cage bar installed where it looked good and straight, it wasn't. Just for fun, I dropped a few plumb lines from a couple of spots down to the front axle and realized that the cage was almost 3/4" further to the driver's side than it was supposed to be. How could this be?

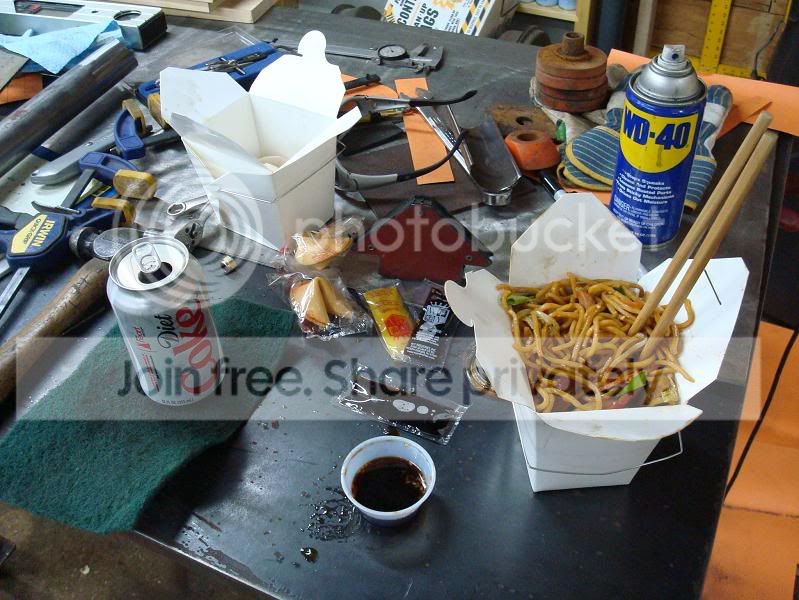
I decided to get some "brain food" and start working it out...

DSC01676.jpg


The trouble ended up being that even though the front cab support bolts/mounts were snugged down, there's quite a bit of "leeway" in the adjustment. The rear of the cab was spot-on, but the cowl area was tweaked...so I pulled out the front bolts and gave it a scientific "shove" into position. After dropping a few more plumb lines to confirm everything was now perfect, it was time to re-install the front engine cage bar (AGAIN) this time in the correct alignment.

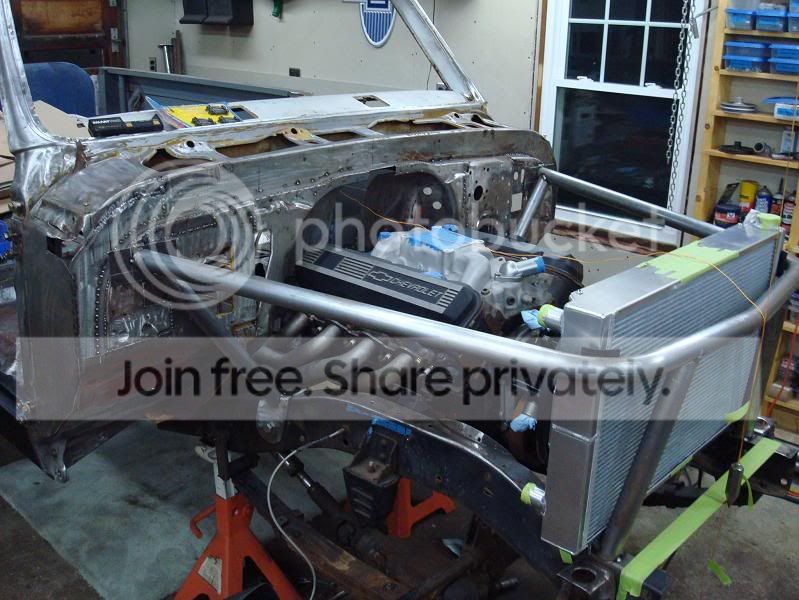
It was definitely time to "lock in" that alignment, so I decided to build some additional cowl braces that tie the cowl to the frame and engine cradle bar....

DSC01678.jpg


I re-used a factory frame hole on each side to insure that everything was symmetrical, and it worked like a champ.

Once I had the passenger side completed, I was able to steal the dimensions and notching patterns to transfer it to the driver's side (as a mirror image)... the difference was about 3 hours vs. 15 minutes

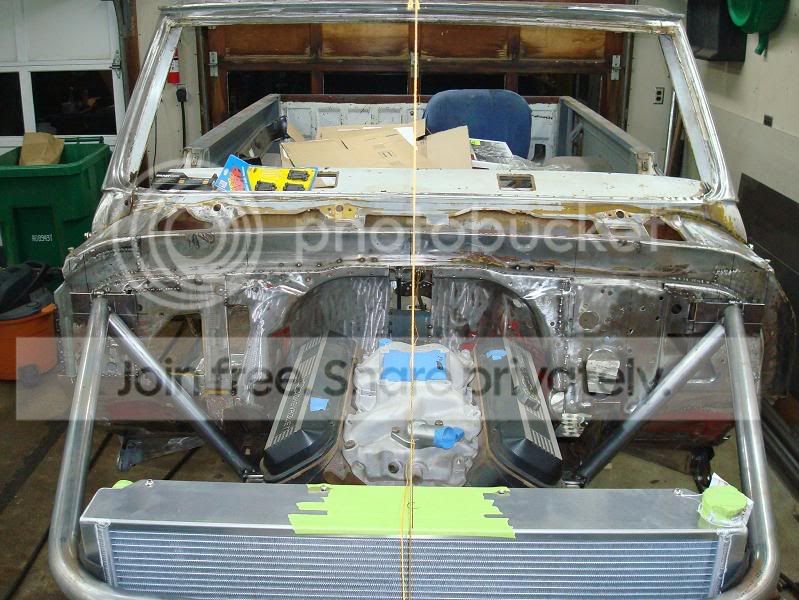
Another shot from head-on...

DSC01680.jpg


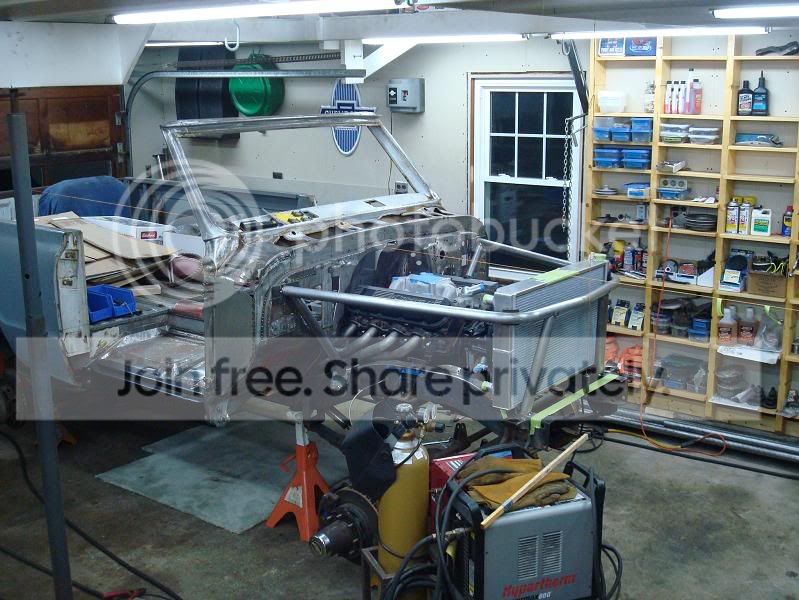
Here's the parting shot for the evening with all the plumb lines stretched tight and confirming that FINALLY, everything is straight, plumb and true.

DSC01685.jpg


It's an old expression but: Never assume anything. :D


:usaflag:
 
Last edited:
And for those that don't understand what assume stands for i'll explain....when you Assume it makes an Ass out of u and me. :D

Greg, that is starting to come together very nicely. :thumb:
 
That's 'cuz I use all the soy sauce for my hole saw notcher!!! :D


:usaflag:
 
2009.07.18 - UPDATE! - WAKING UP AT 5AM MEANS SERIOUS PROGRESS!!!


I couldn't sleep.

The thought of working on the a-pillar bars today had me both excited and concerned. It's a very precise set of measurements to get the bar installed the way I wanted it, so I knew there was going to be zero room for "fudging" things. Instead of rolling around in bed thinking about it, I just got up and drank some coffee....did you know that at 5AM there are only about ten people total on CK5? :D

Anyway, I'm starting to get more confident with BendTech Pro and now that I've got a good sample of acurate springback values for various bends, I can hit my marks REALLY well.

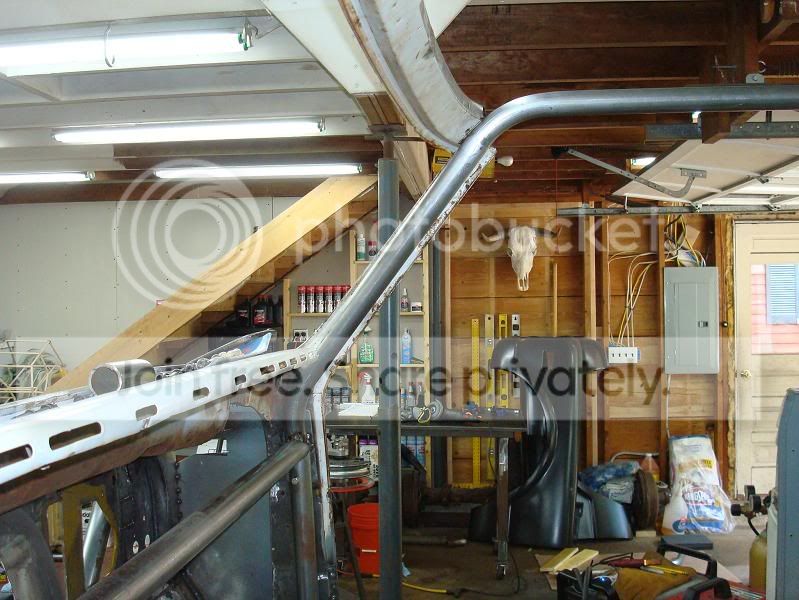
I held my breath and bent up an 84" length of 1.75" DOM and got this:

DSC01699.jpg


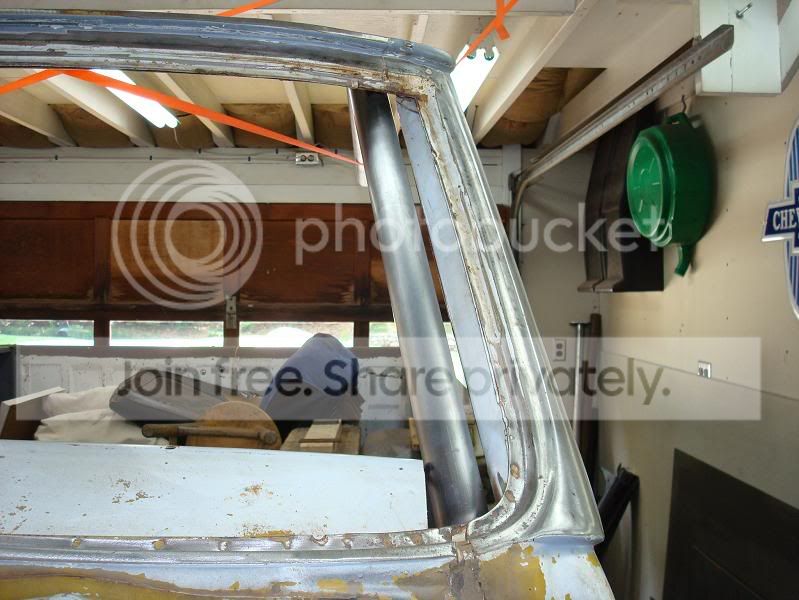
Pretty freakin' sweet! :saweet: The tubing hit the existing crossbar perfectly, and it follows the existing windshield frame within fractions of an inch. I set it up to extend 3/4" higher than the existing windshield header to re-create the factory-type side profile (the hardtop sits higher than the windshield frame)...and when everything was tacked into place, the upper part of the tube was perfectly level to the ground (and side bedrails) too! :waytogo:

I'd always insisted that when I did my own rollcage, I would NOT block the window cranks or glovebox and the a-pillar bars would somehow go THROUGH the dash, not in front of it. After years of wondering how it would look....now I know. What a relief. (I didn't put the dash front back in for the photos, so for now you're just going to have to trust me that the cage really does sit behind it :deal: )

I wanted to leave just a slight 1/2" gap on each side to make it easier to install the windshield rubber and glass with the cage installed. It wouldn't be fun to have to remove the cage to change out a cracked windshield later on...

DSC01705.jpg


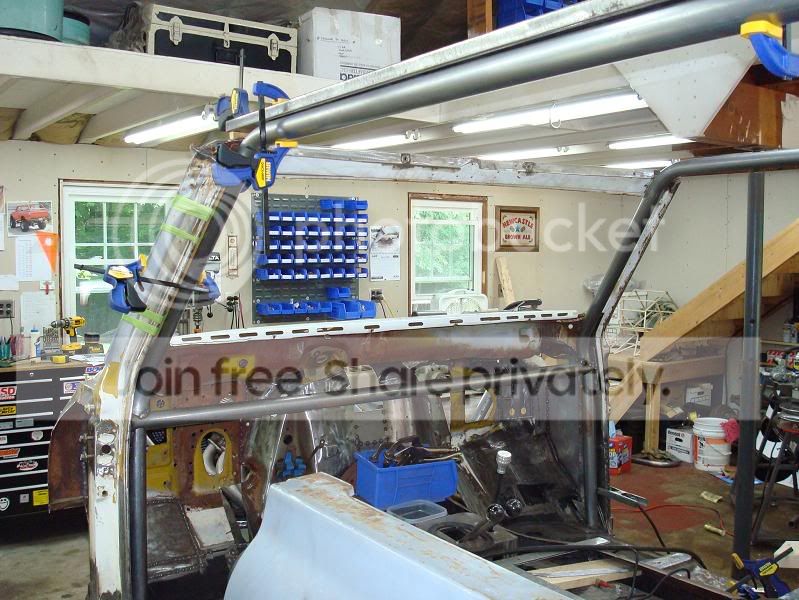
As usual, the first side (passenger) took a couple of hours to bend and to fine tune the notches....once that was done, the driver's side took only about half the time.

Here's a parting shot for the morning's progress:

DSC01701.jpg


Got to spend the rest of the afternoon on some "honey do's"....but after making such stellar progress in the manspace this morning, I'm not complaining.

Besides, I have a strange feeling that I'm going to wake up early again tommorrow!!! :D


:usaflag:
 
Last edited:
deja vu......... :haha:


outstanding.....:bow: insomnia can be fun!! :wink1:
 
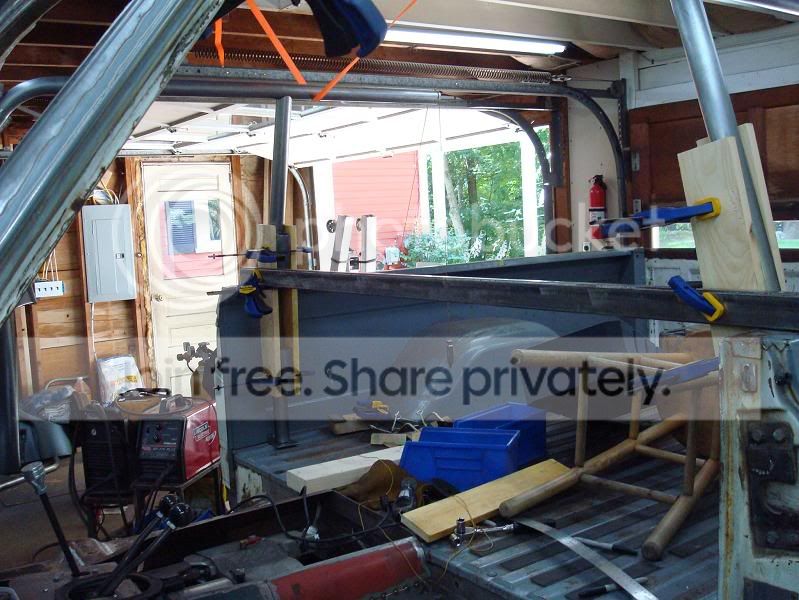
..... a little more progress this AM with the addition of the B-pillar bars.

1 simple bend each... Here they are in place for welding with lots of bracing to force them "square" to each other and to the bedsides.

DSC01706.jpg


More honey-do's this afternoon, so that's all the progress you're going to see until some night this week when I get back out there. I'm really anxious to keep going and to see the rest of the cage take shape :saweet:


:usaflag:
 
Last edited:
Very nice! What happens as they go back? It looks like they just stop at horizontal near the back seat at the moment.
 
They just end...

I was going to throw some tassels on the ends, like kids do on bicycle handlebars, whaddaya think? :D

:usaflag:
 
No pics = no proof that said windshield bar is done.
 

Latest Posts

Top Bottom