Very cool!
Have fun!!
Oh... what pump did you go with?
thanks.
Melling 10774 pump
Melling 305S pickup
Summit Racing SUM-G3533 oil pan
Fel Pro 1884R one pice rubber gasket

Very cool!
Have fun!!
Oh... what pump did you go with?
thanks.
Melling 10774 pump
Melling 305S pickup
Summit Racing SUM-G3533 oil pan
Fel Pro 1884R one pice rubber gasket
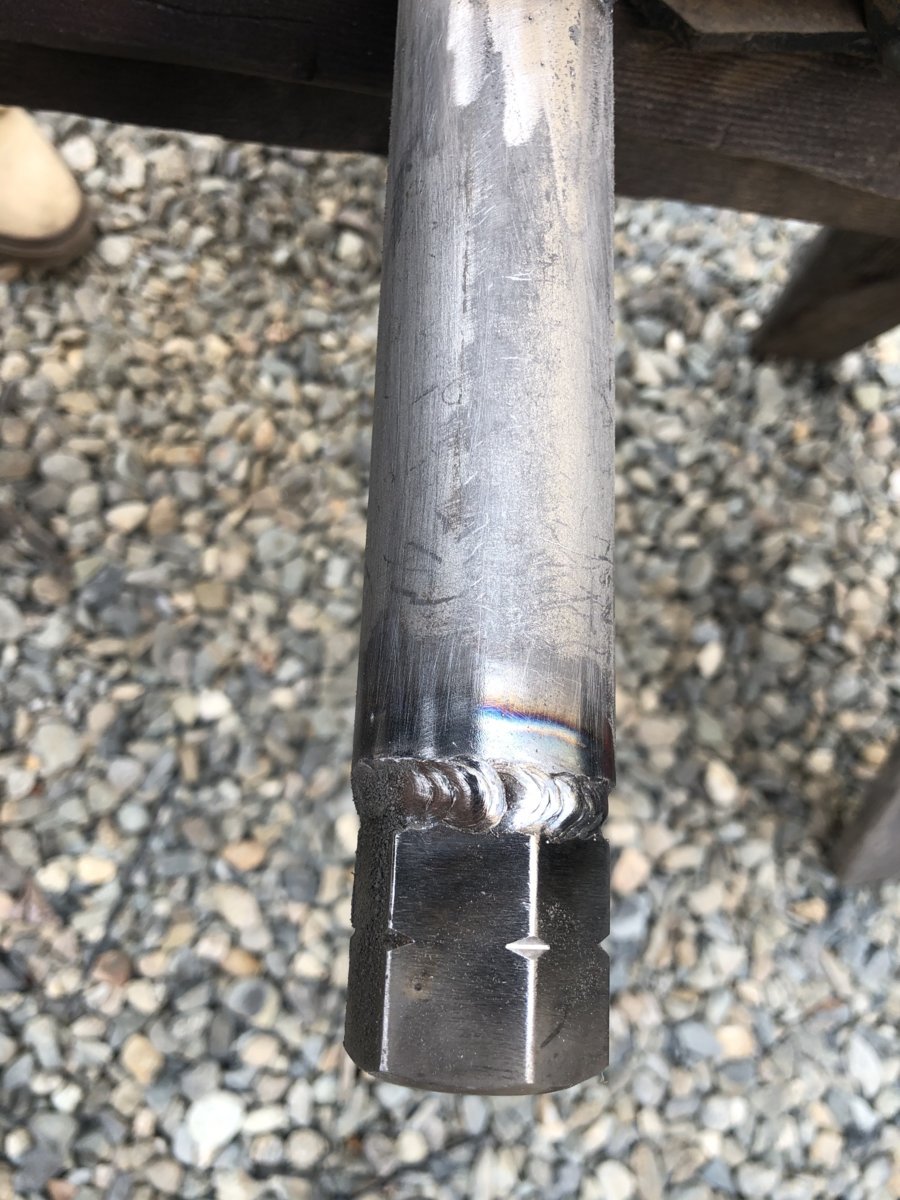
And you tacked it with a wire feed?
Good info man! I would like to update my pump on my 454... you are the test mule! Lol!


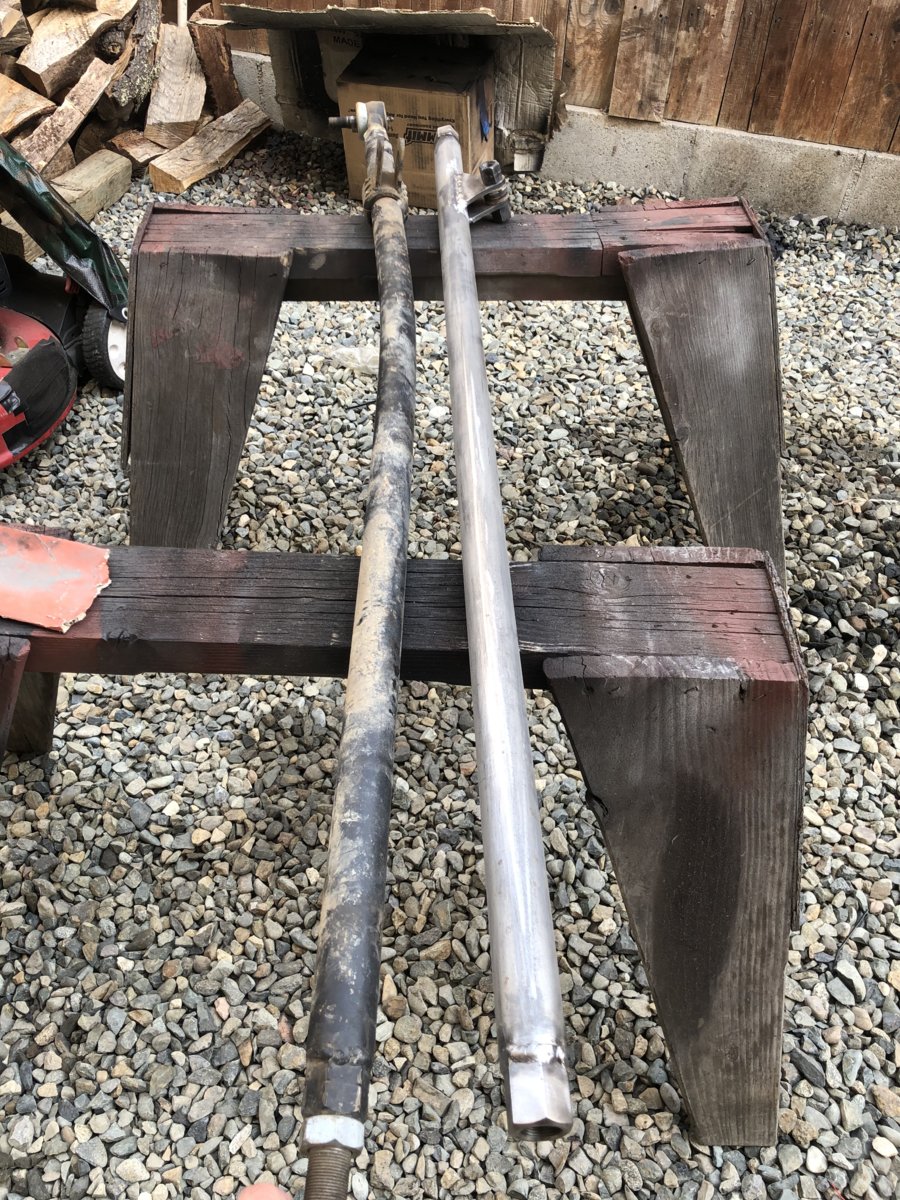

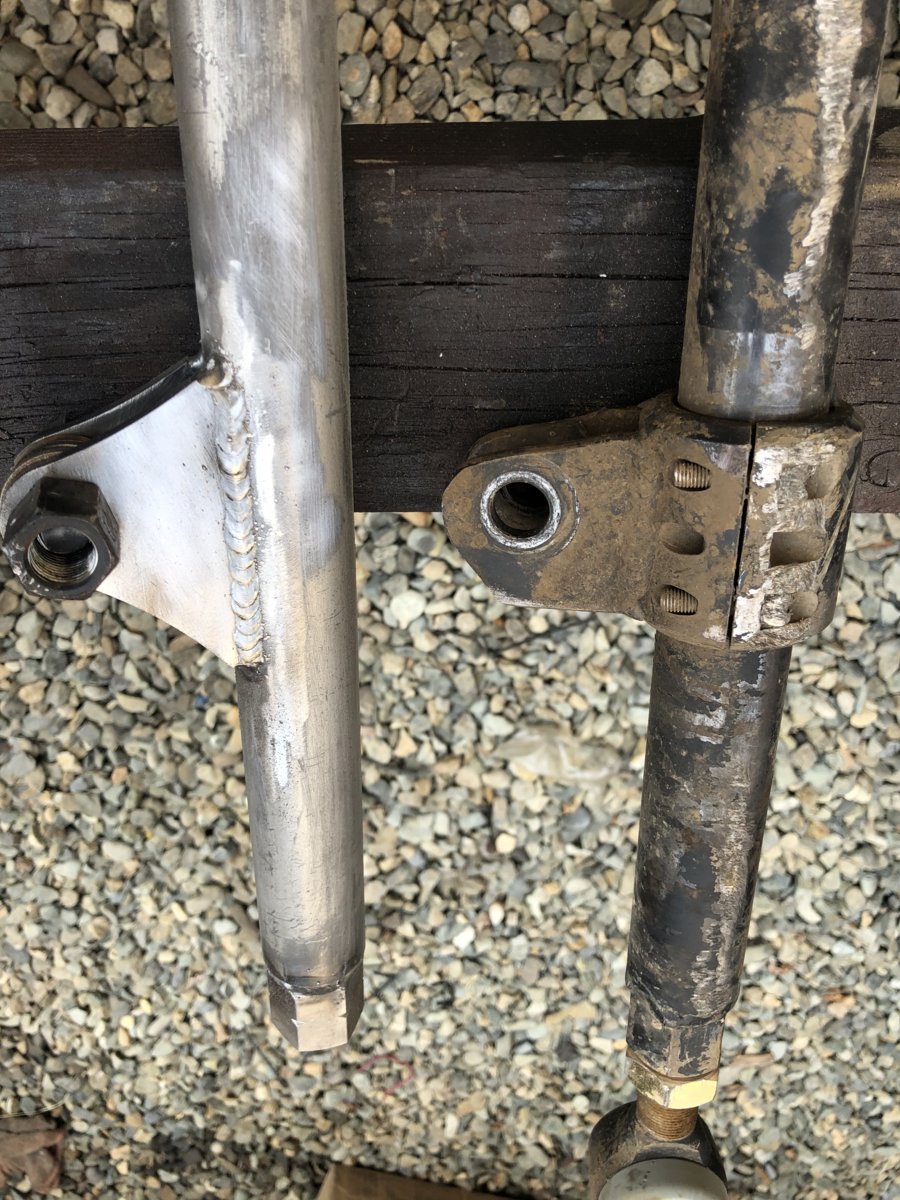
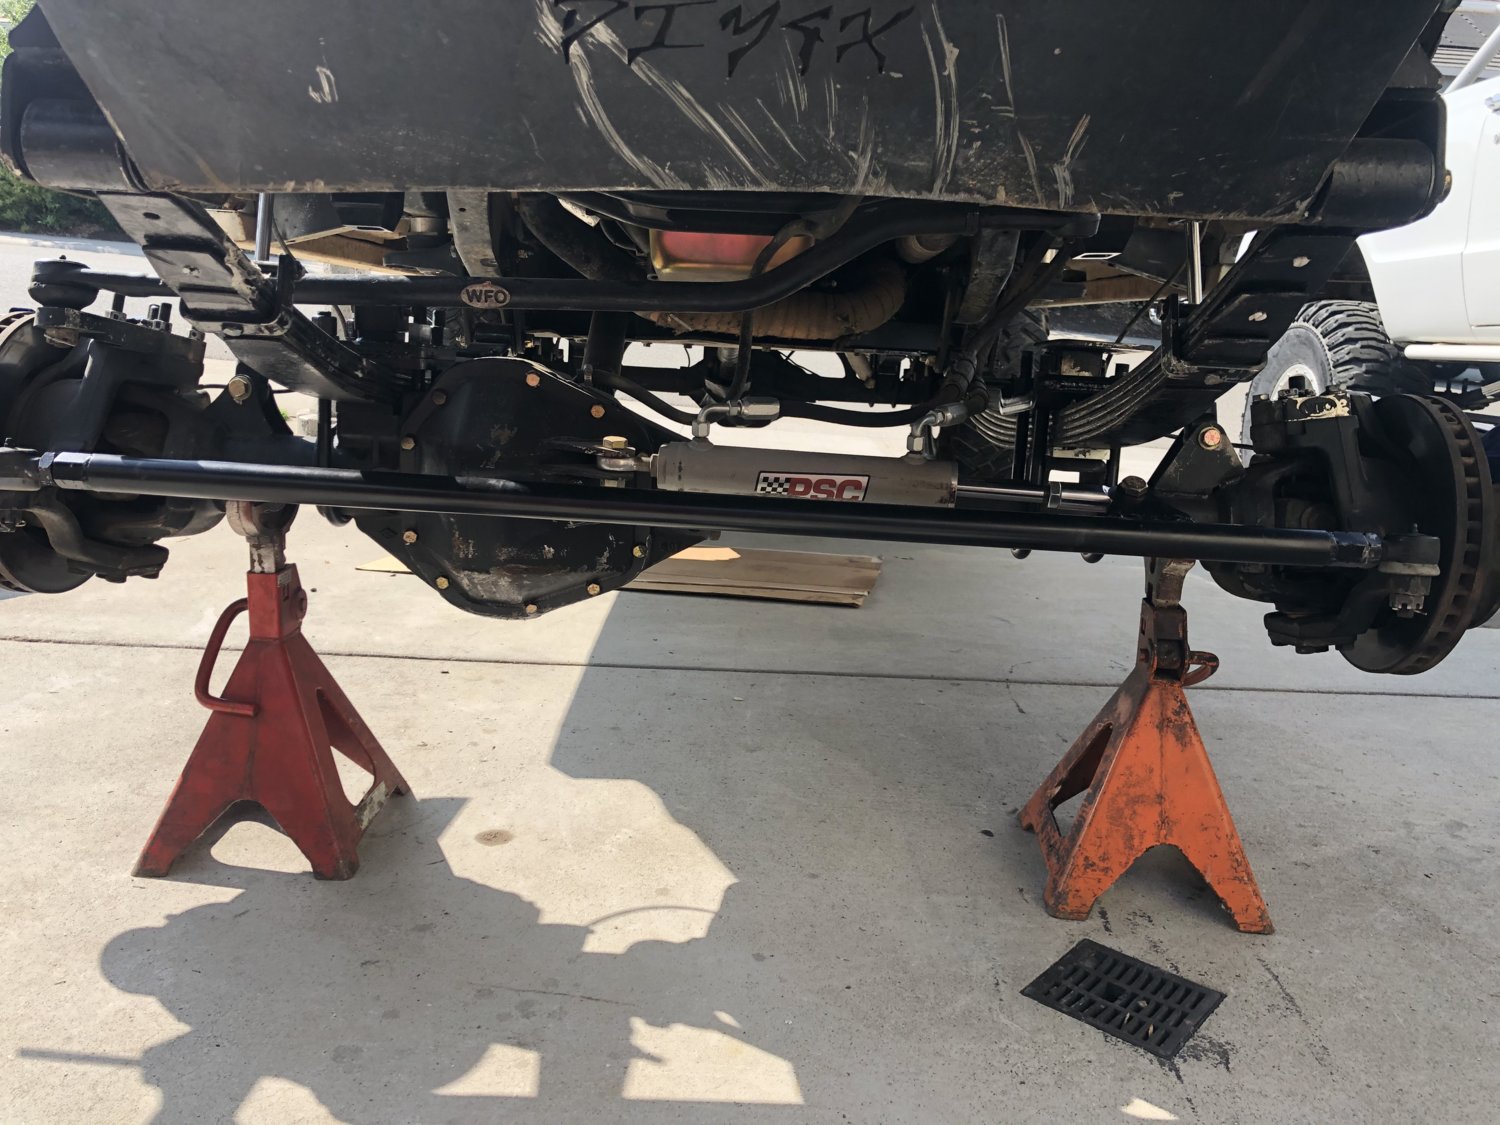
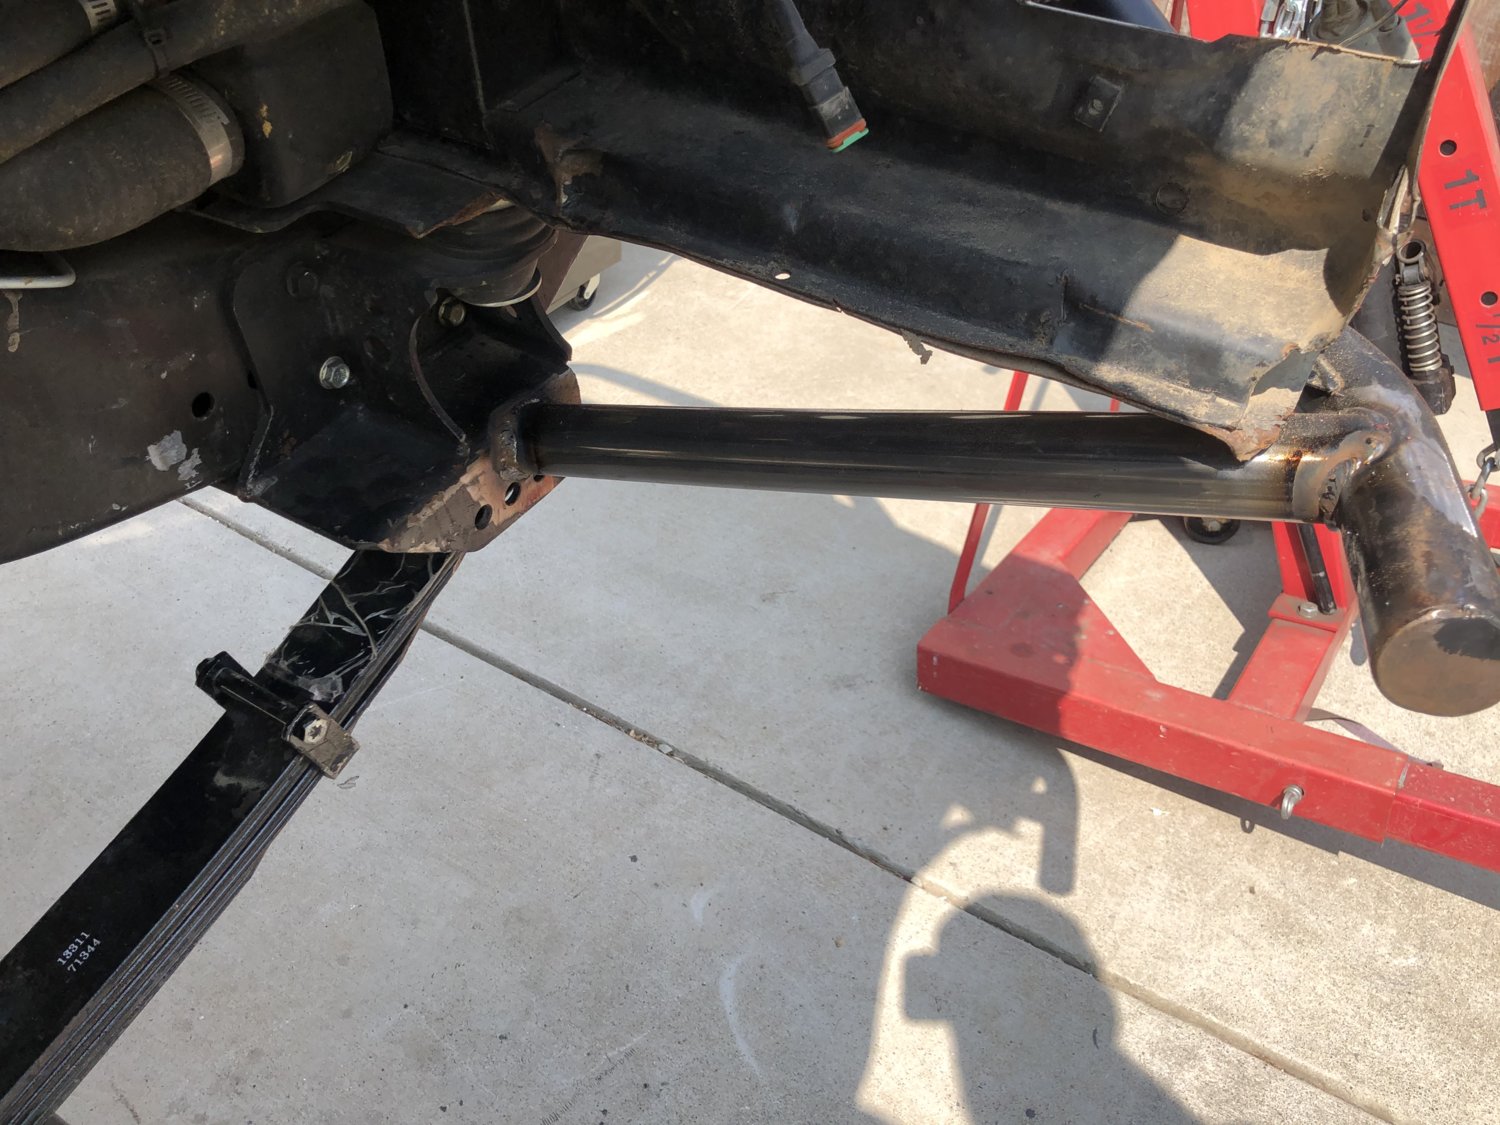
Looks good dude! And damn that tie rod was tired
The thing I’ve liked about the clamp has been the ability to service a bent tie rod in the field. However, I’ve never damaged one so severely that I couldn’t adjust it, but I have slipped the clamp more than once. I’m pretty sure I’ll make the change along with you.
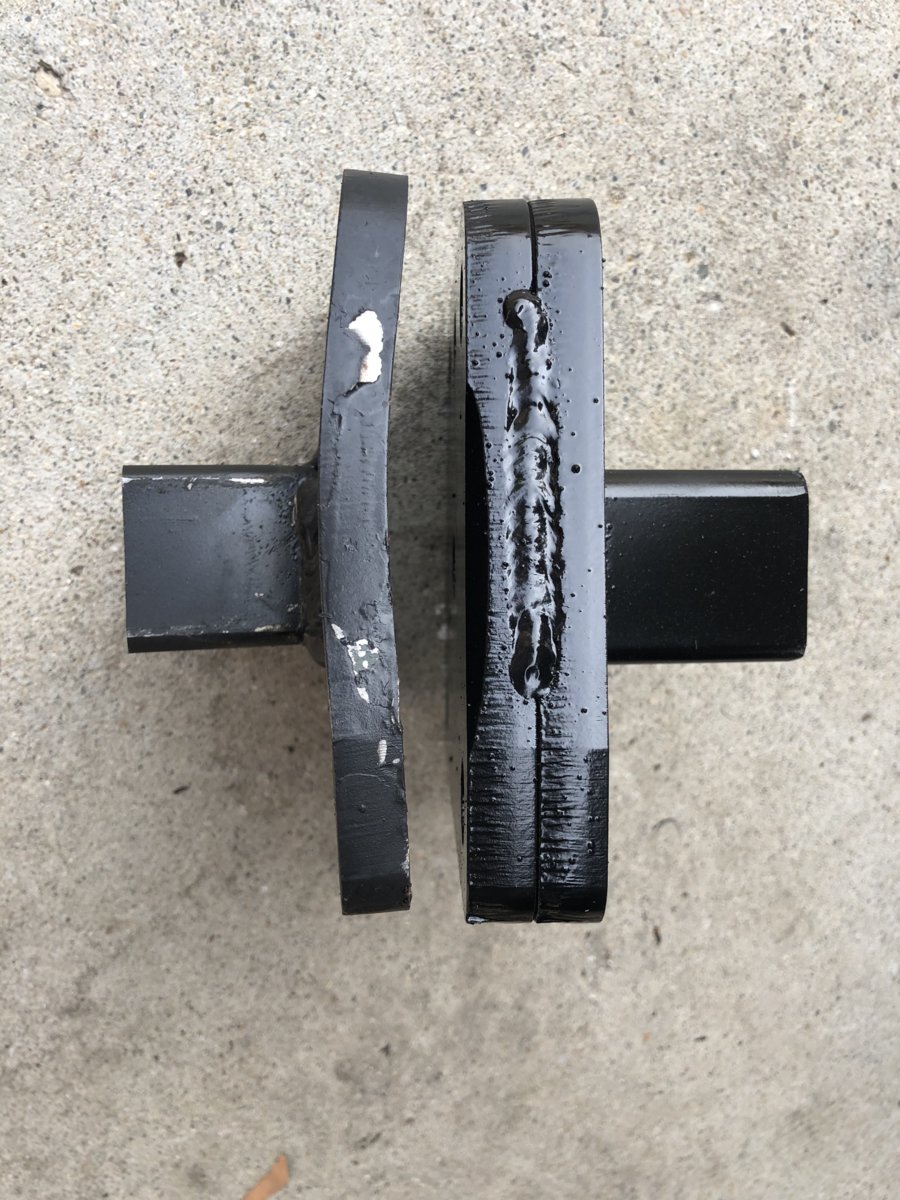
Also, very nice looking welds.
David
Nice work! I though I was the only one left still running a stock placement tie-rod.")


What about just welding simple stops on the tie rod to keep the clamp from sliding back and forth but still leaving it removable.
Stock placement = no high steer tie-rod. Keep thinking of doing this in the future but so many other things to upgrade still.
I'm running the old Rock Stomper tie-rod. Its double sleeved but I'm sure its bendable with enough force.
I added a set screw to one of the clamp halves, and I haven't had any trouble with it moving in 6 years.
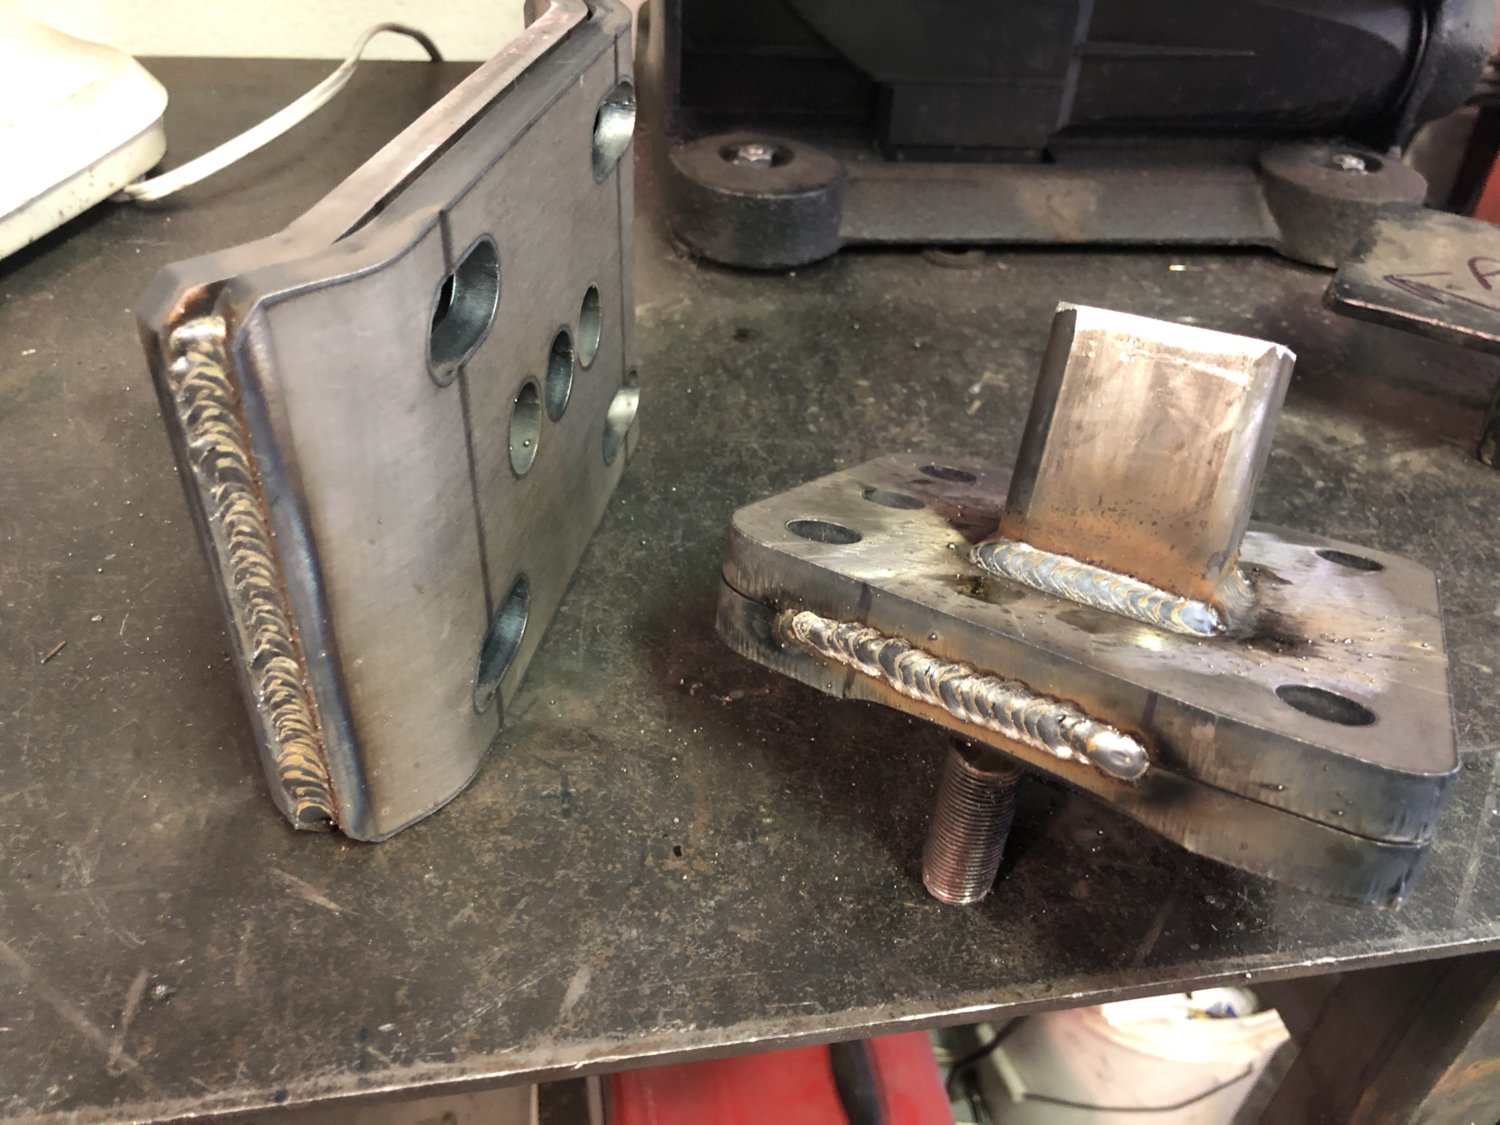
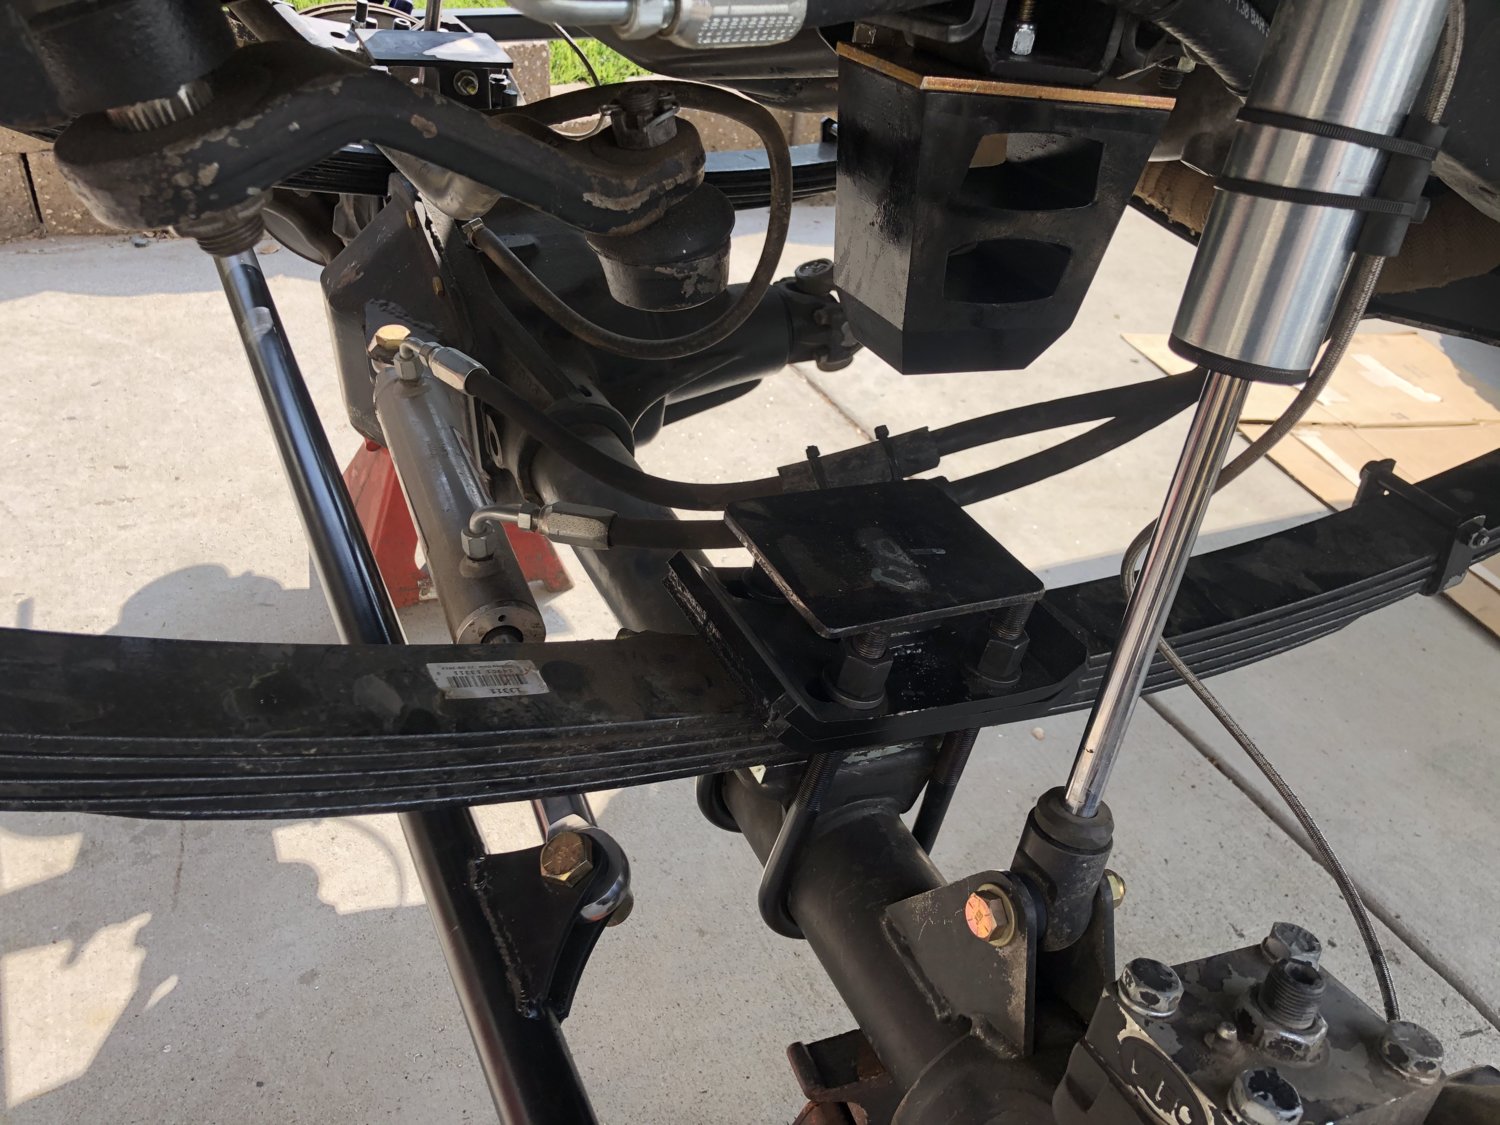


You need to have a set screw in the clamp.The thing I’ve liked about the clamp has been the ability to service a bent tie rod in the field. However, I’ve never damaged one so severely that I couldn’t adjust it, but I have slipped the clamp more than once. I’m pretty sure I’ll make the change along with you.
Also, very nice looking welds.
David
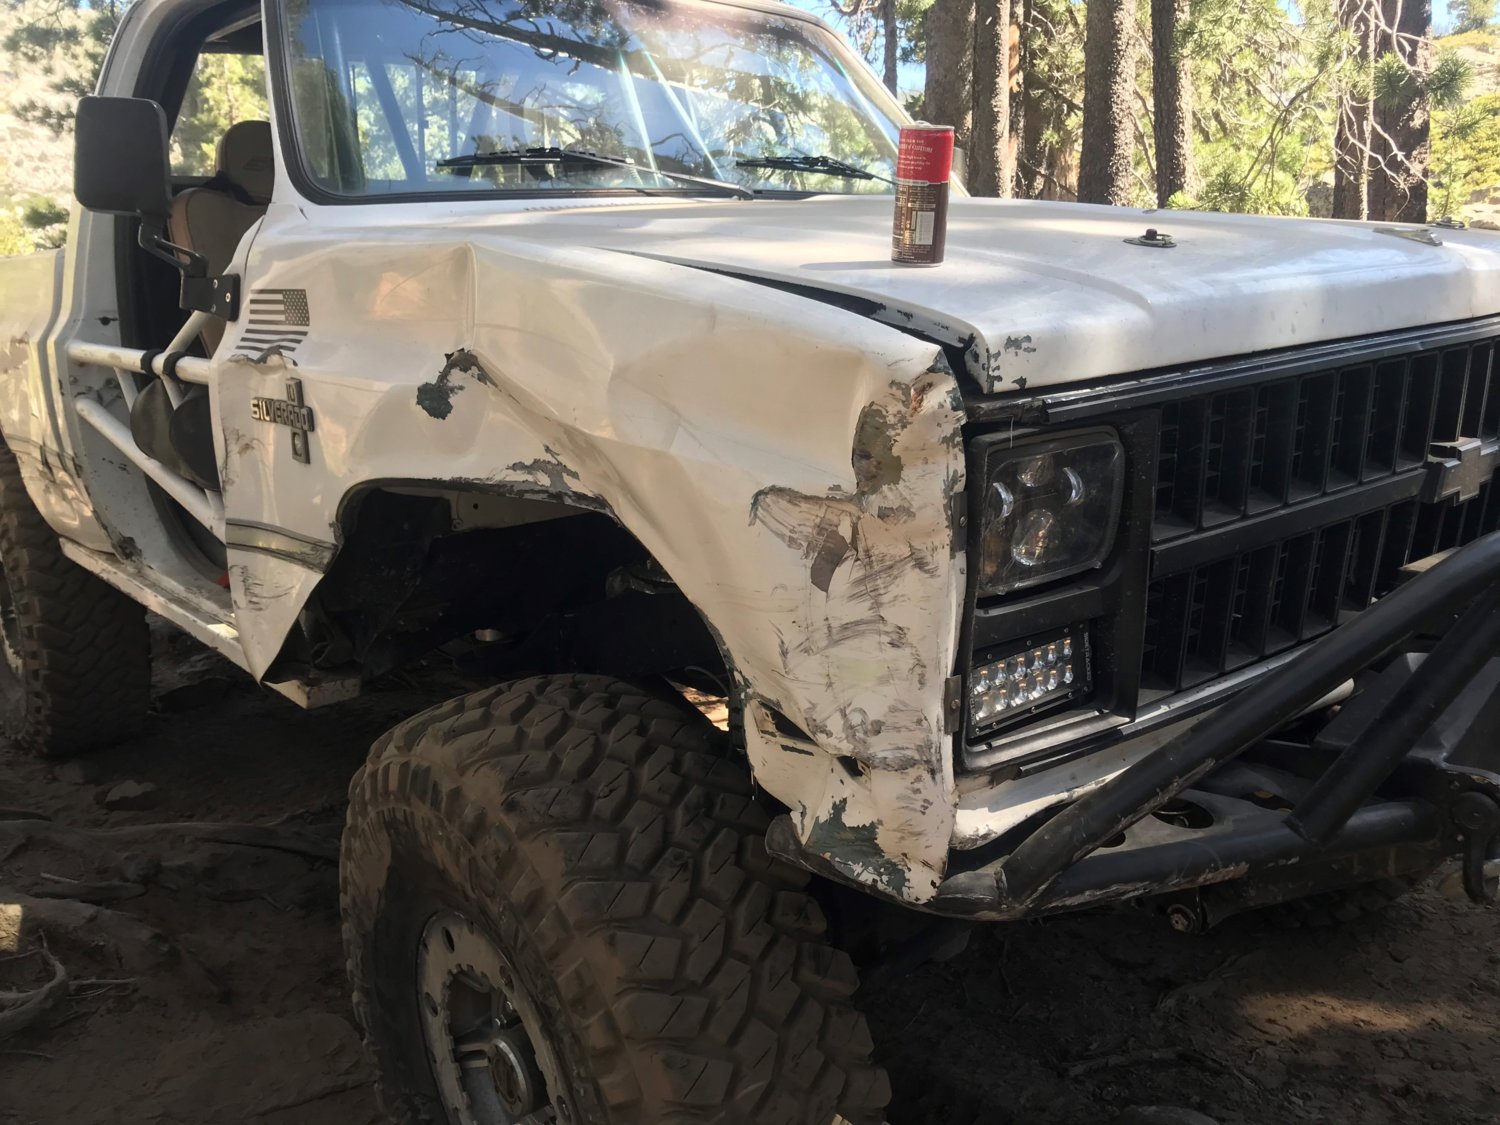
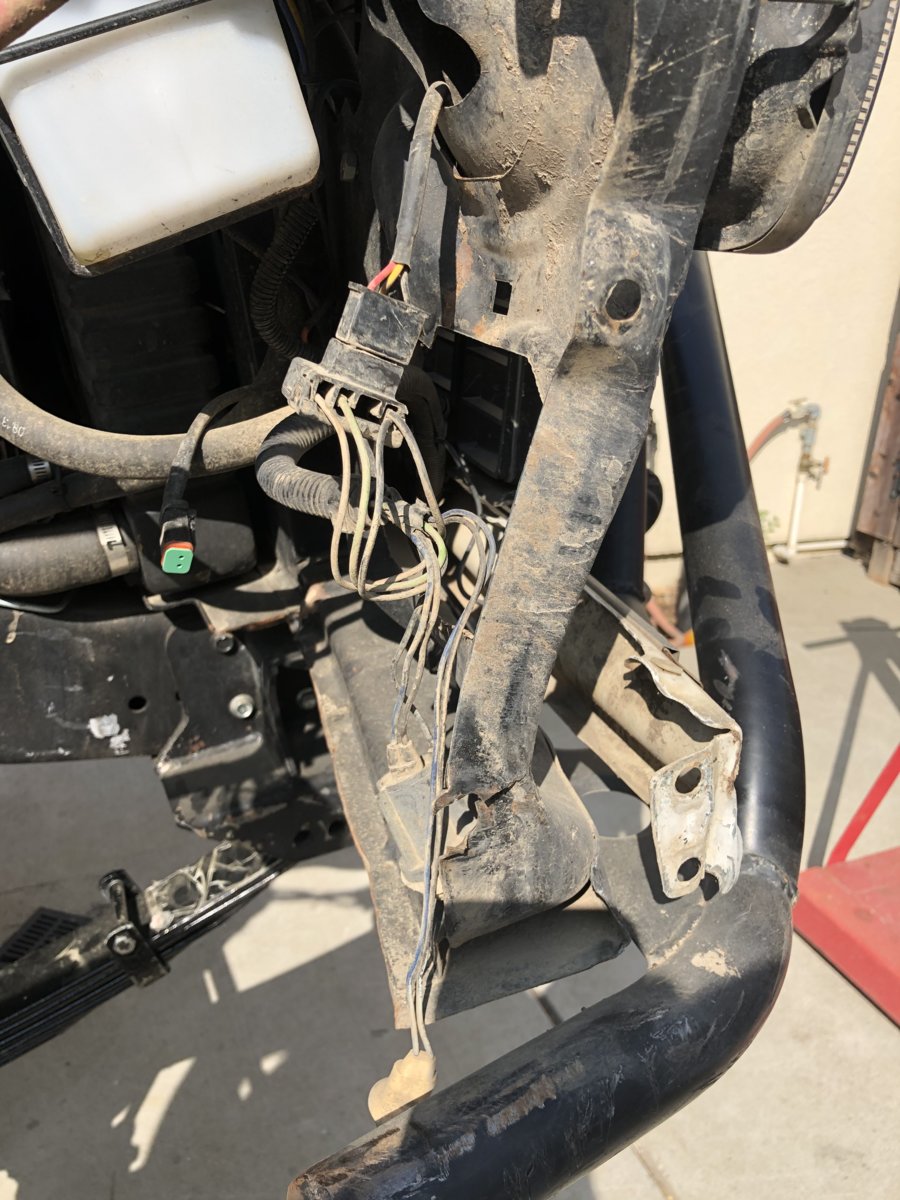
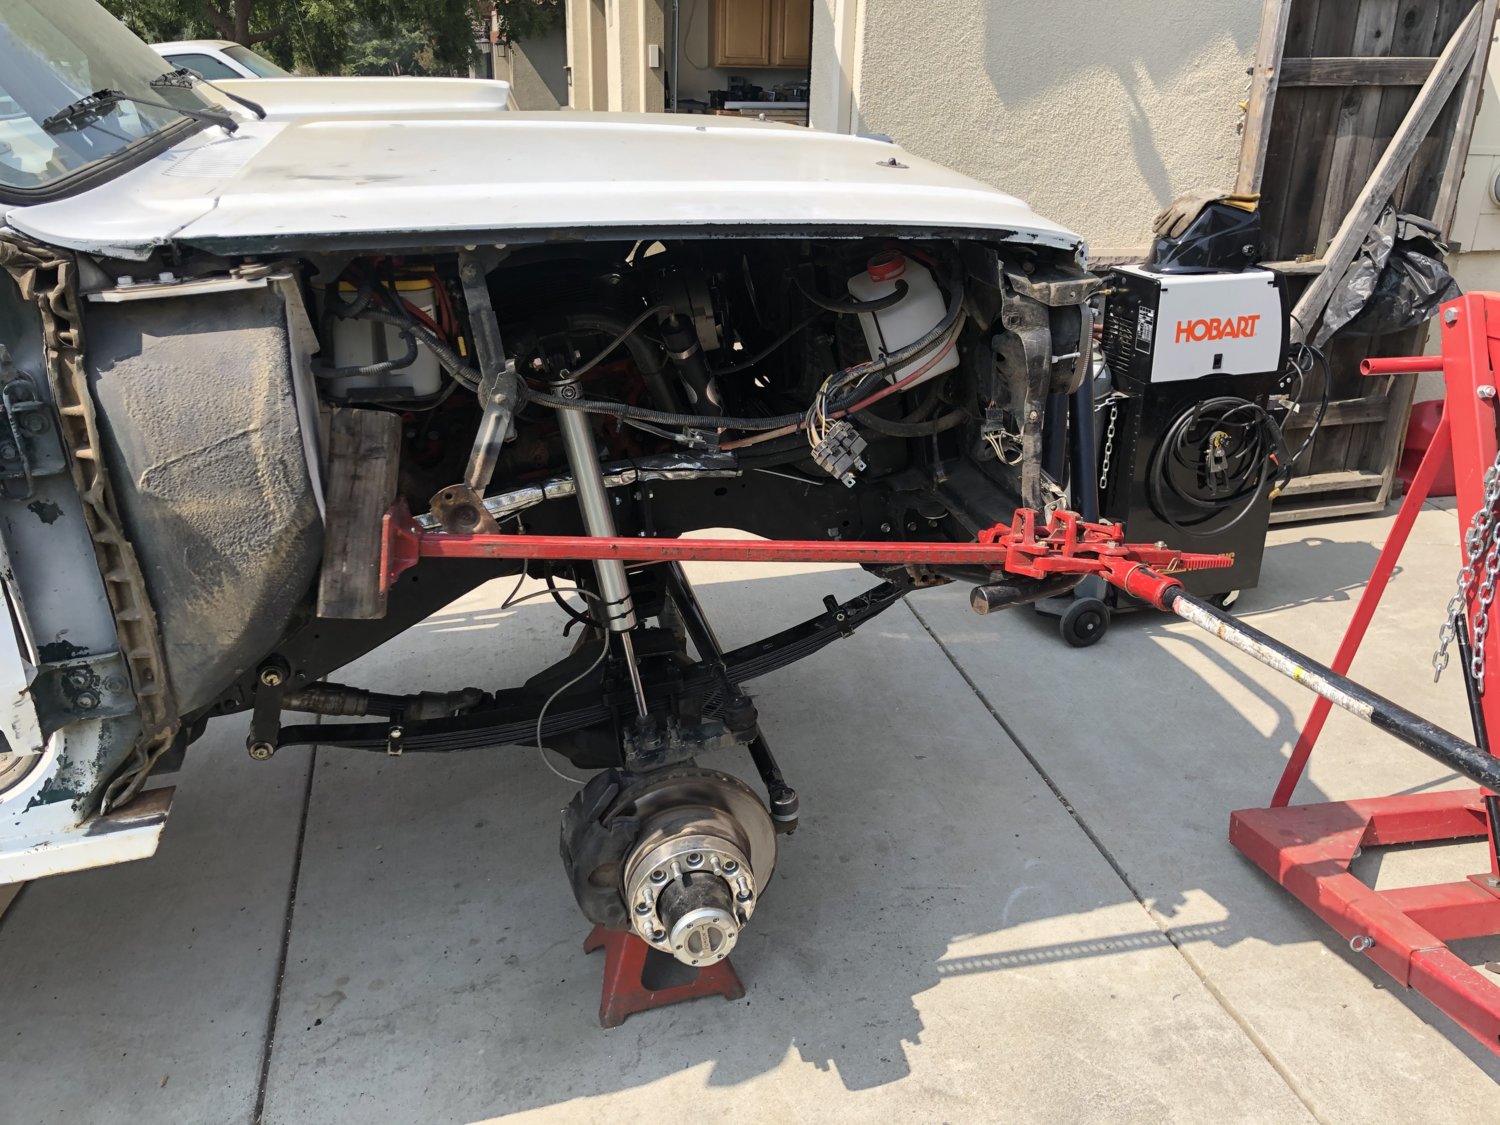
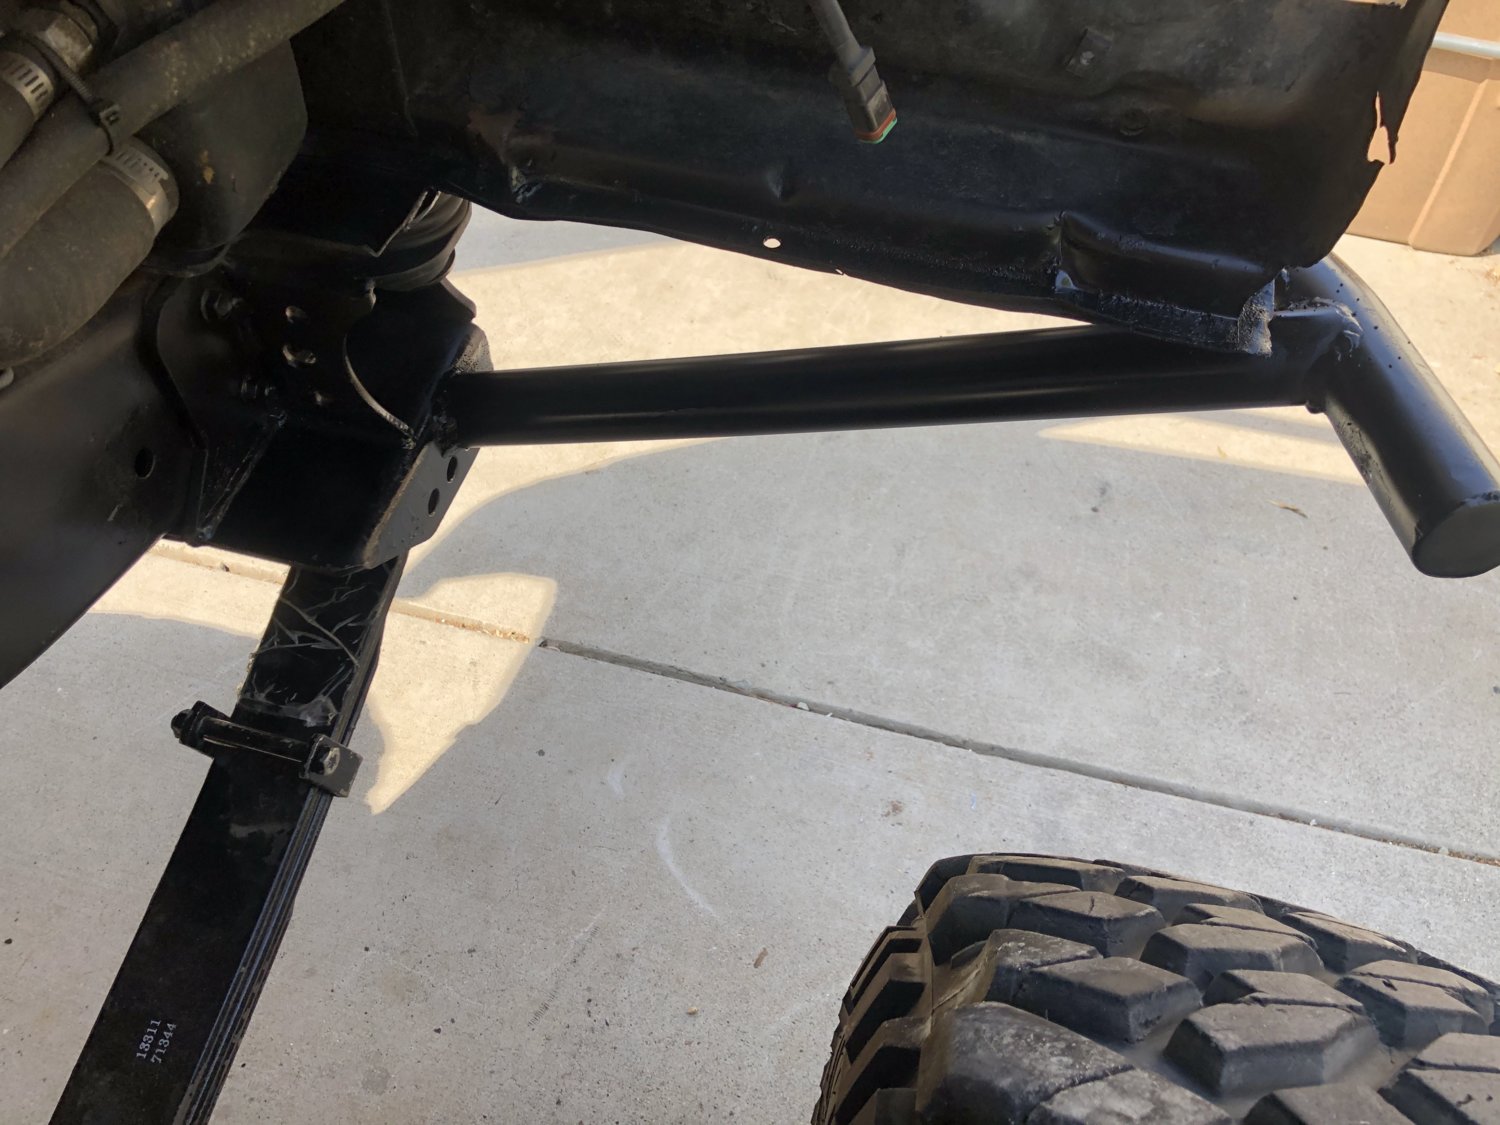
On the last fordyce run I smashed the shit out the passenger side front fender and bent the bumper again on WH1. The bumper was bent enough that @Chevk587 and myself had to bend it out (hi-lift) and keep it off the tire so I could finish WH1. I should have added supports for the bumper corners long ago so I went ahead and did that after bending it some more.
Damage from WH1 (after we bent the bumper off the tire)
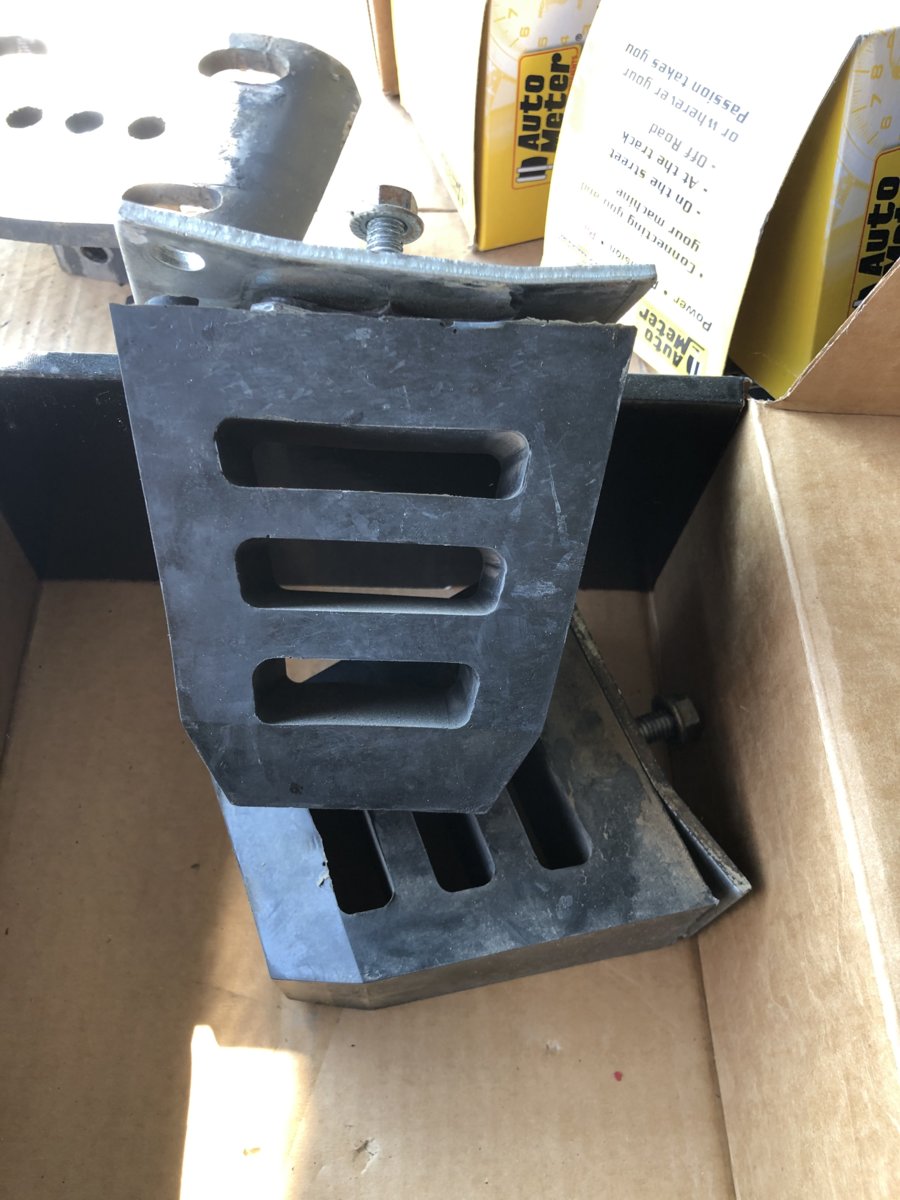
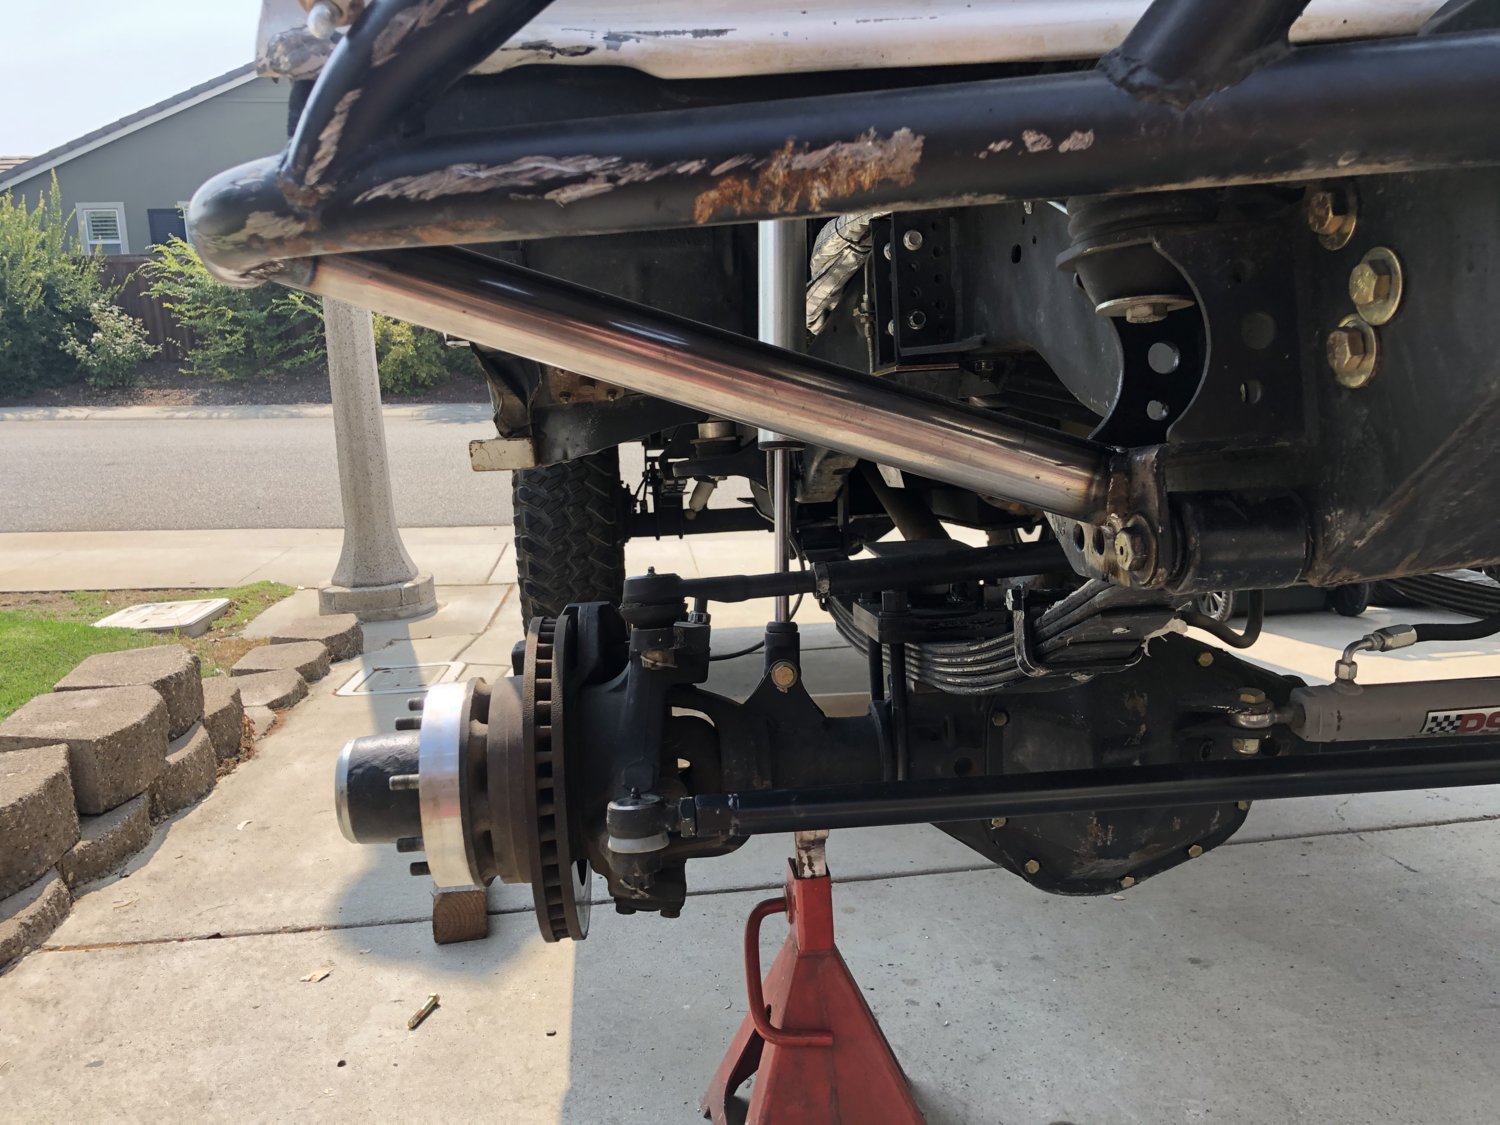
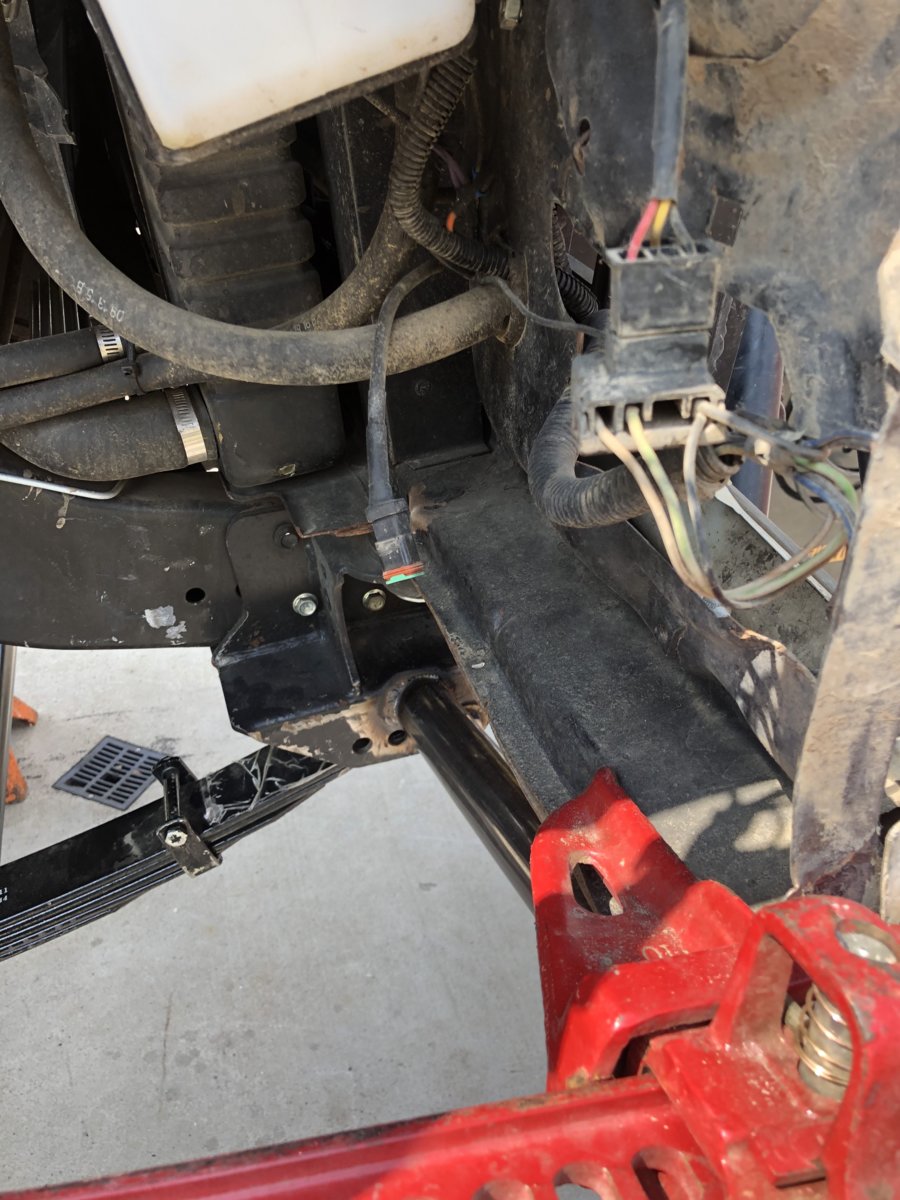
new support
the radiator support was bent so I had to massage that back into place too.
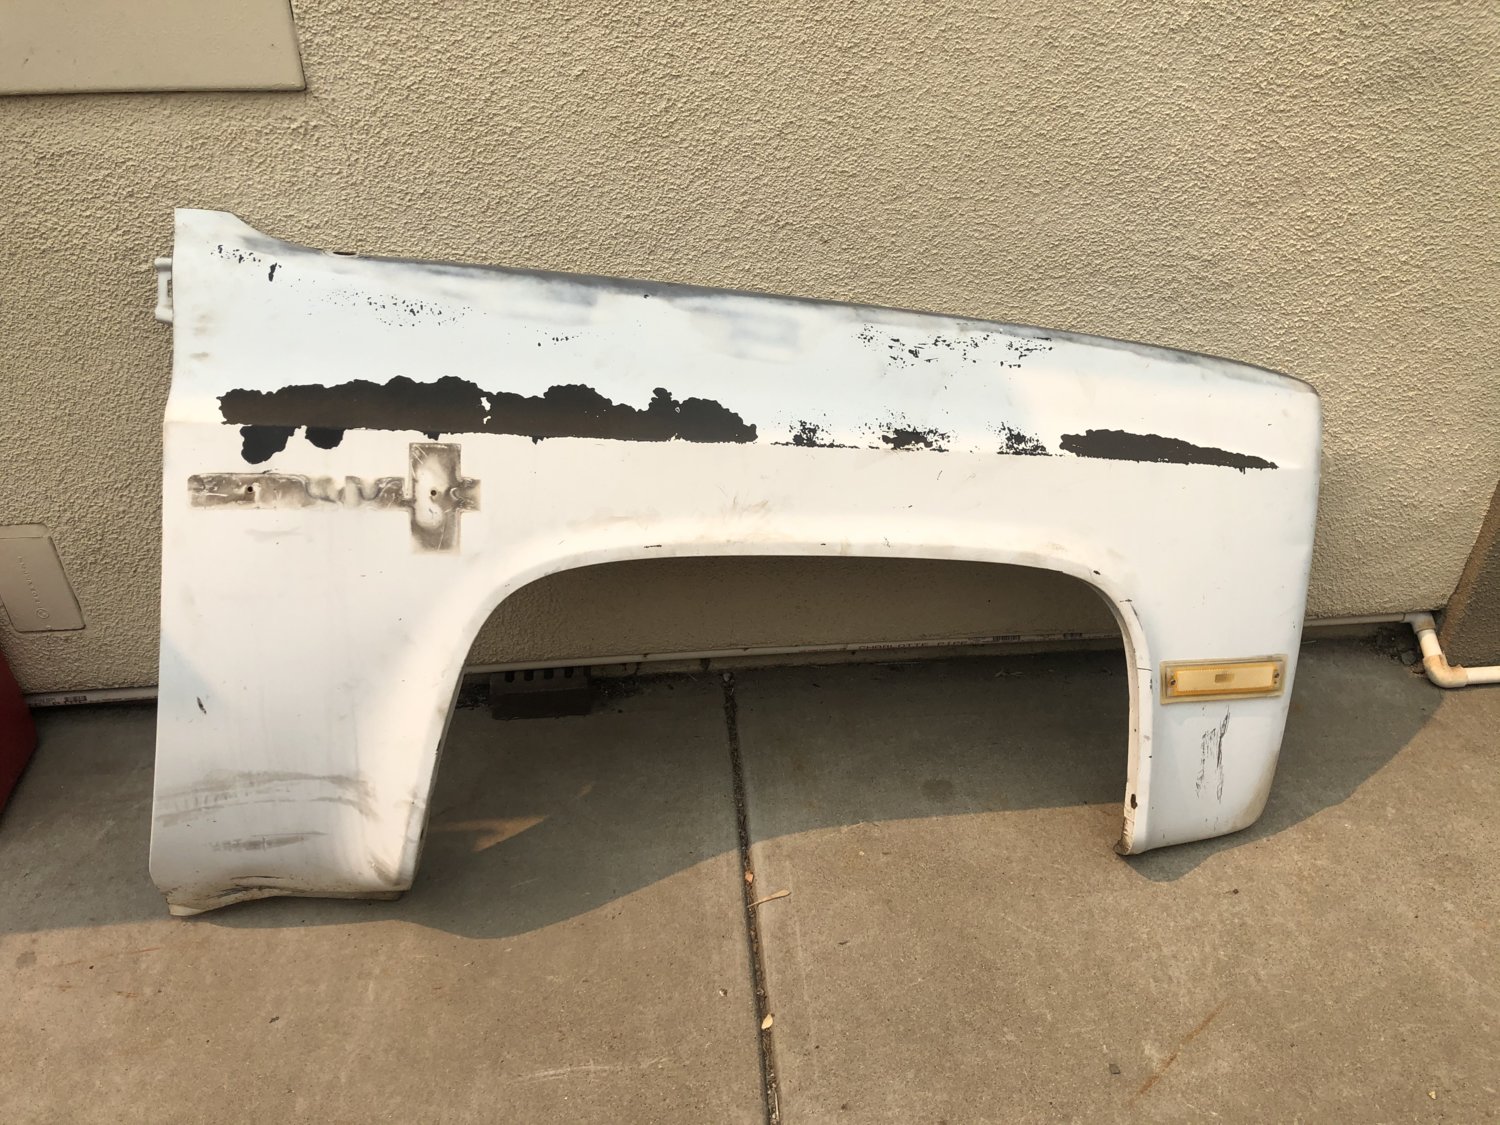
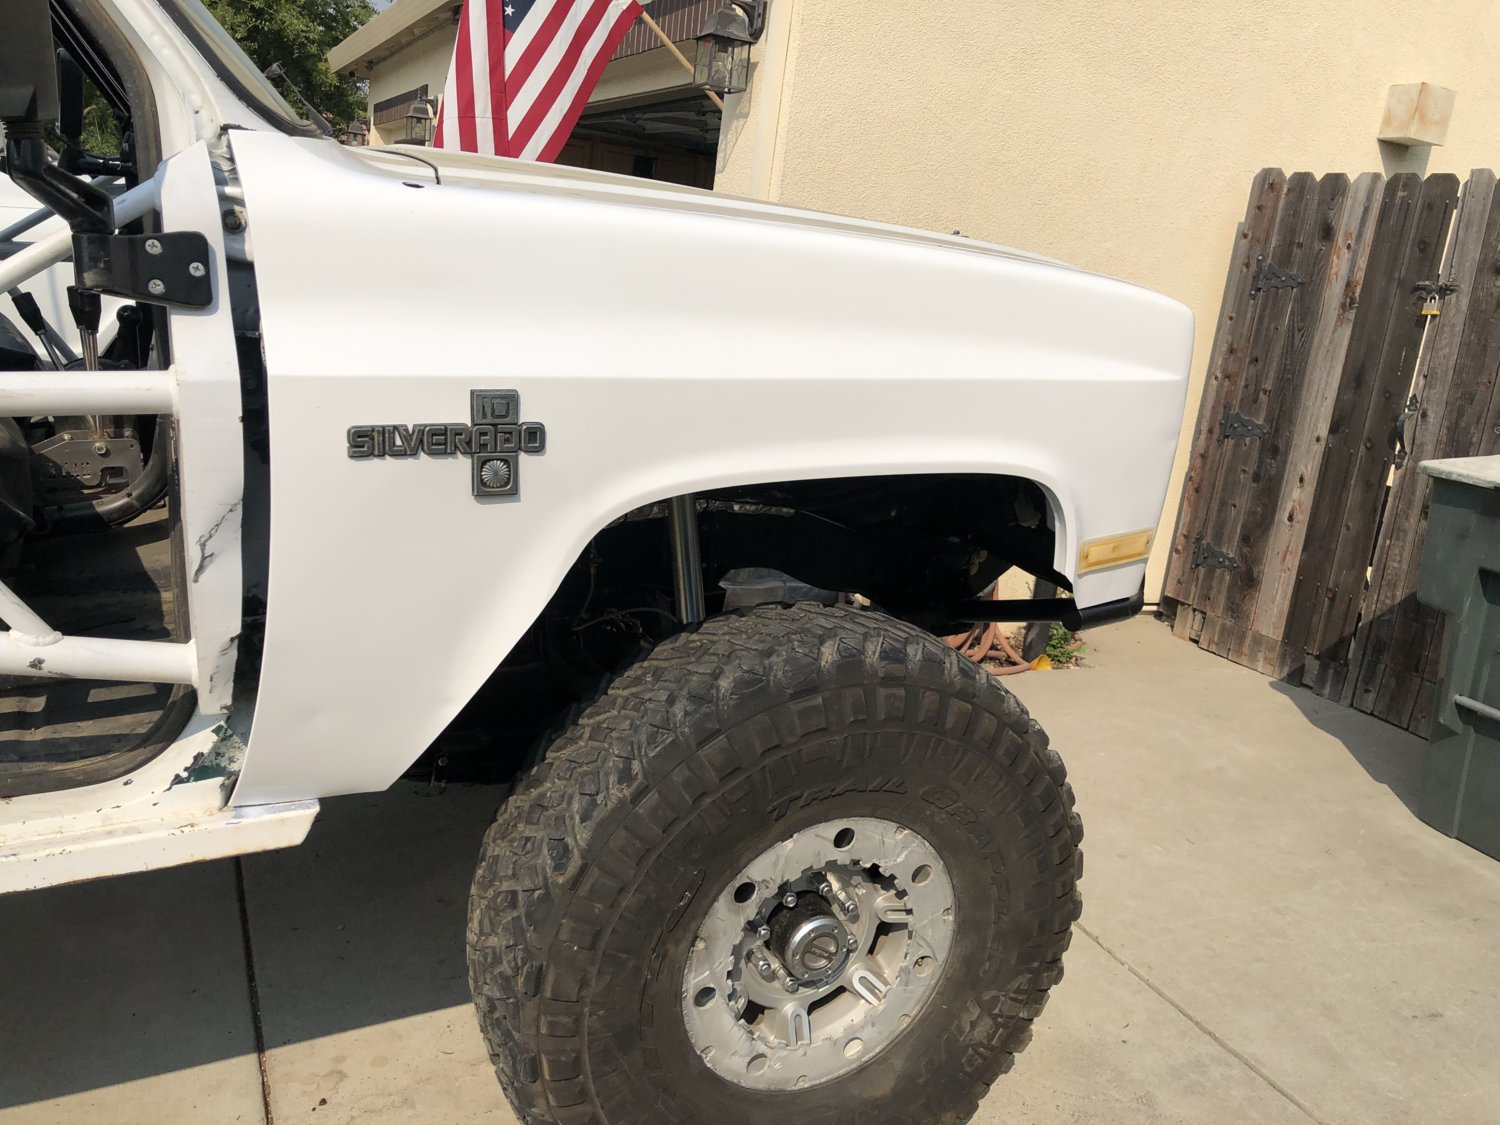
I saw a squarebody hit the local pick n pull so I ran over and scored this.
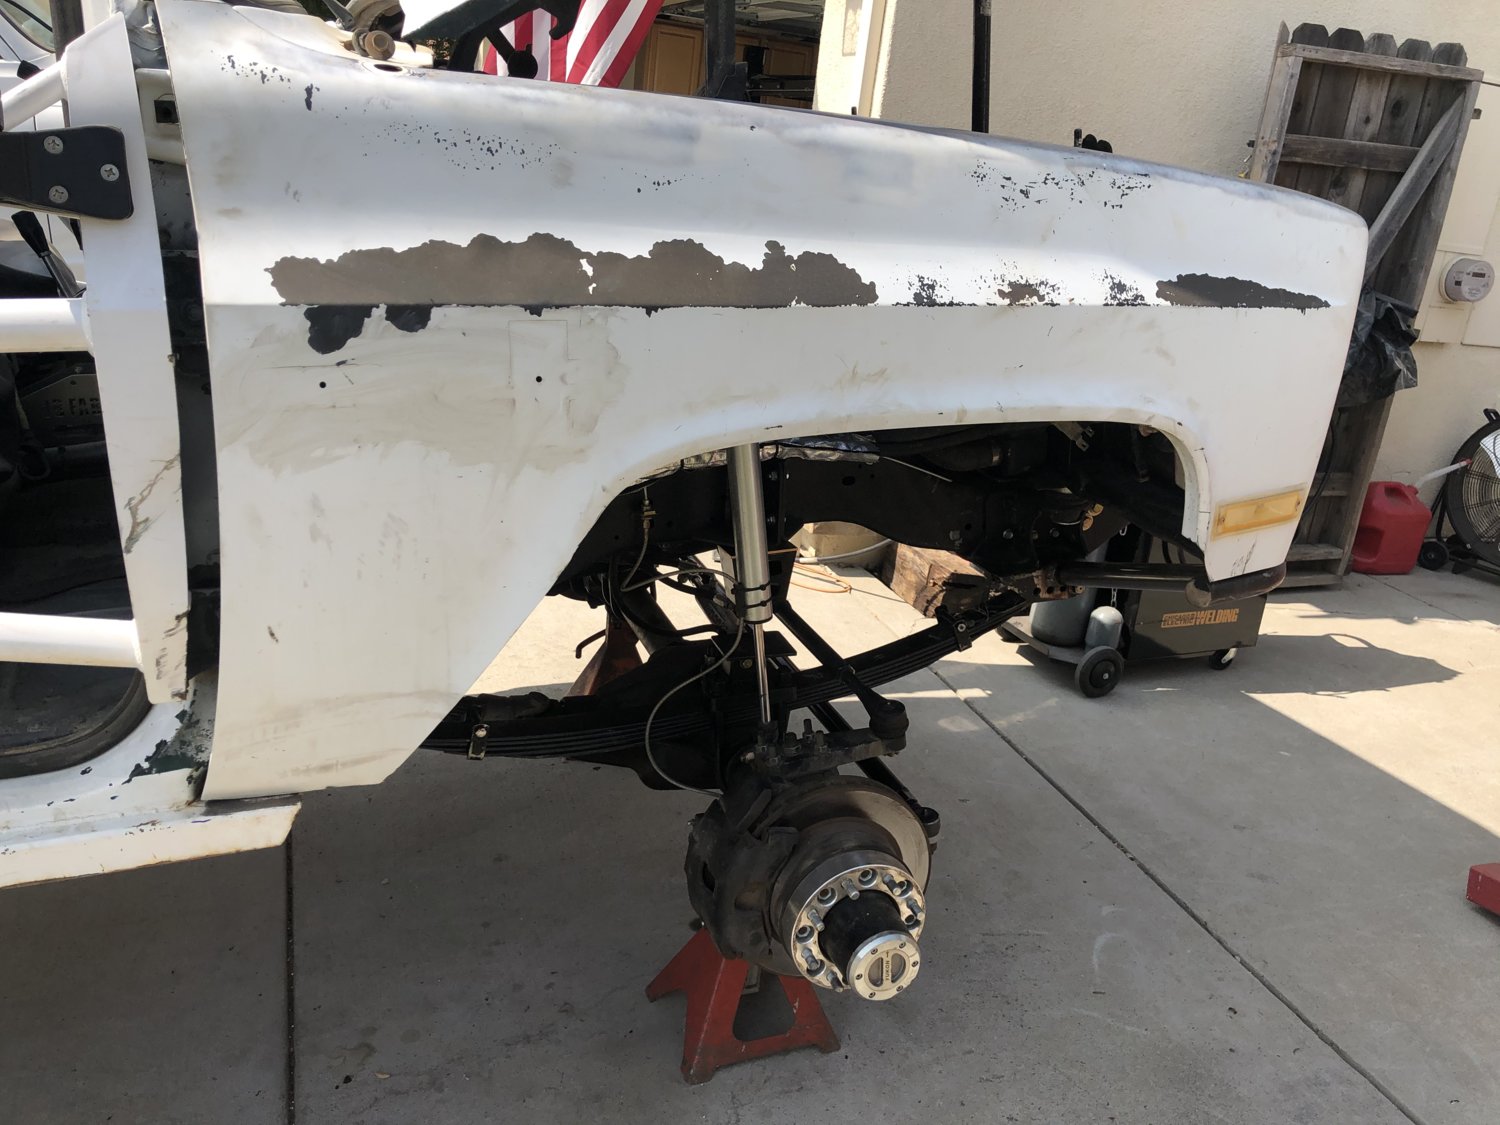
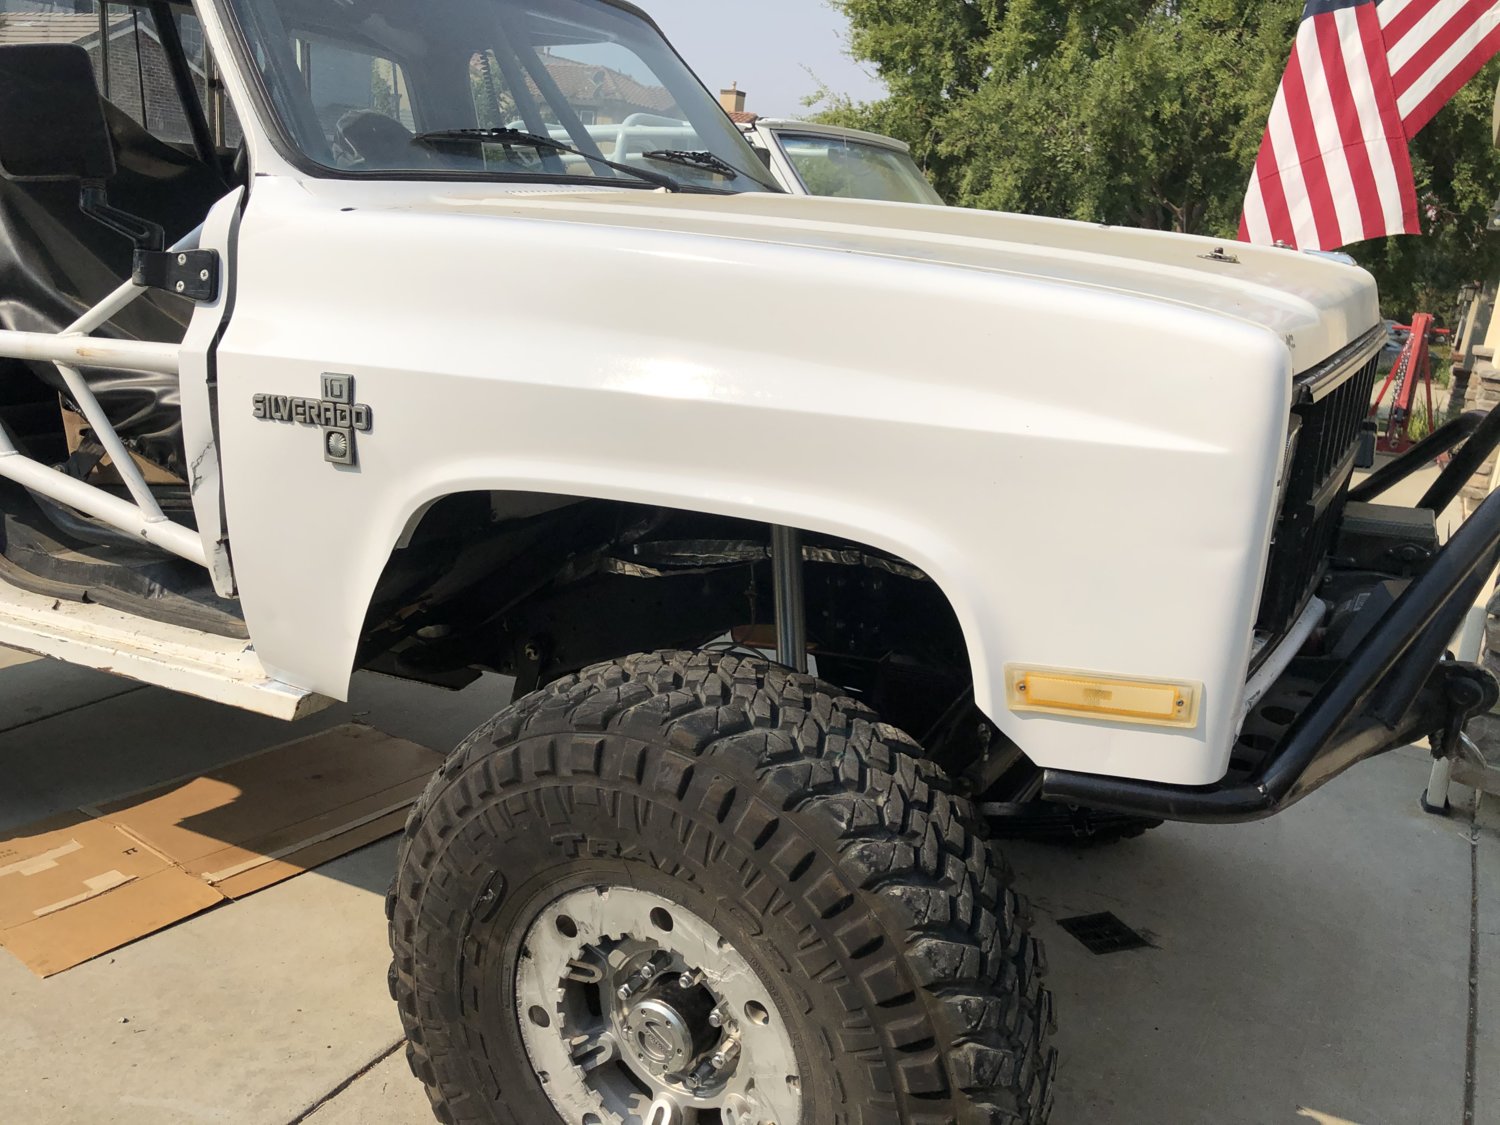
After some trimming, paint and a badge it looks pretty good IMO.
I need to track down a piece of trim, reinstall that along with the LED light and bezel but it's pretty much done. I also need to add the same bumper support on the drivers side at some point too.
Time to go back lolOn the last fordyce run I smashed the shit out the passenger side front fender and bent the bumper again on WH1. The bumper was bent enough that @Chevk587 and myself had to bend it out (hi-lift) and keep it off the tire so I could finish WH1. I should have added supports for the bumper corners long ago so I went ahead and did that after bending it some more.
Damage from WH1 (after we bent the bumper off the tire)
new support
the radiator support was bent so I had to massage that back into place too.
I saw a squarebody hit the local pick n pull so I ran over and scored this.
After some trimming, paint and a badge it looks pretty good IMO.
I need to track down a piece of trim, reinstall that along with the LED light and bezel but it's pretty much done. I also need to add the same bumper support on the drivers side at some point too.

