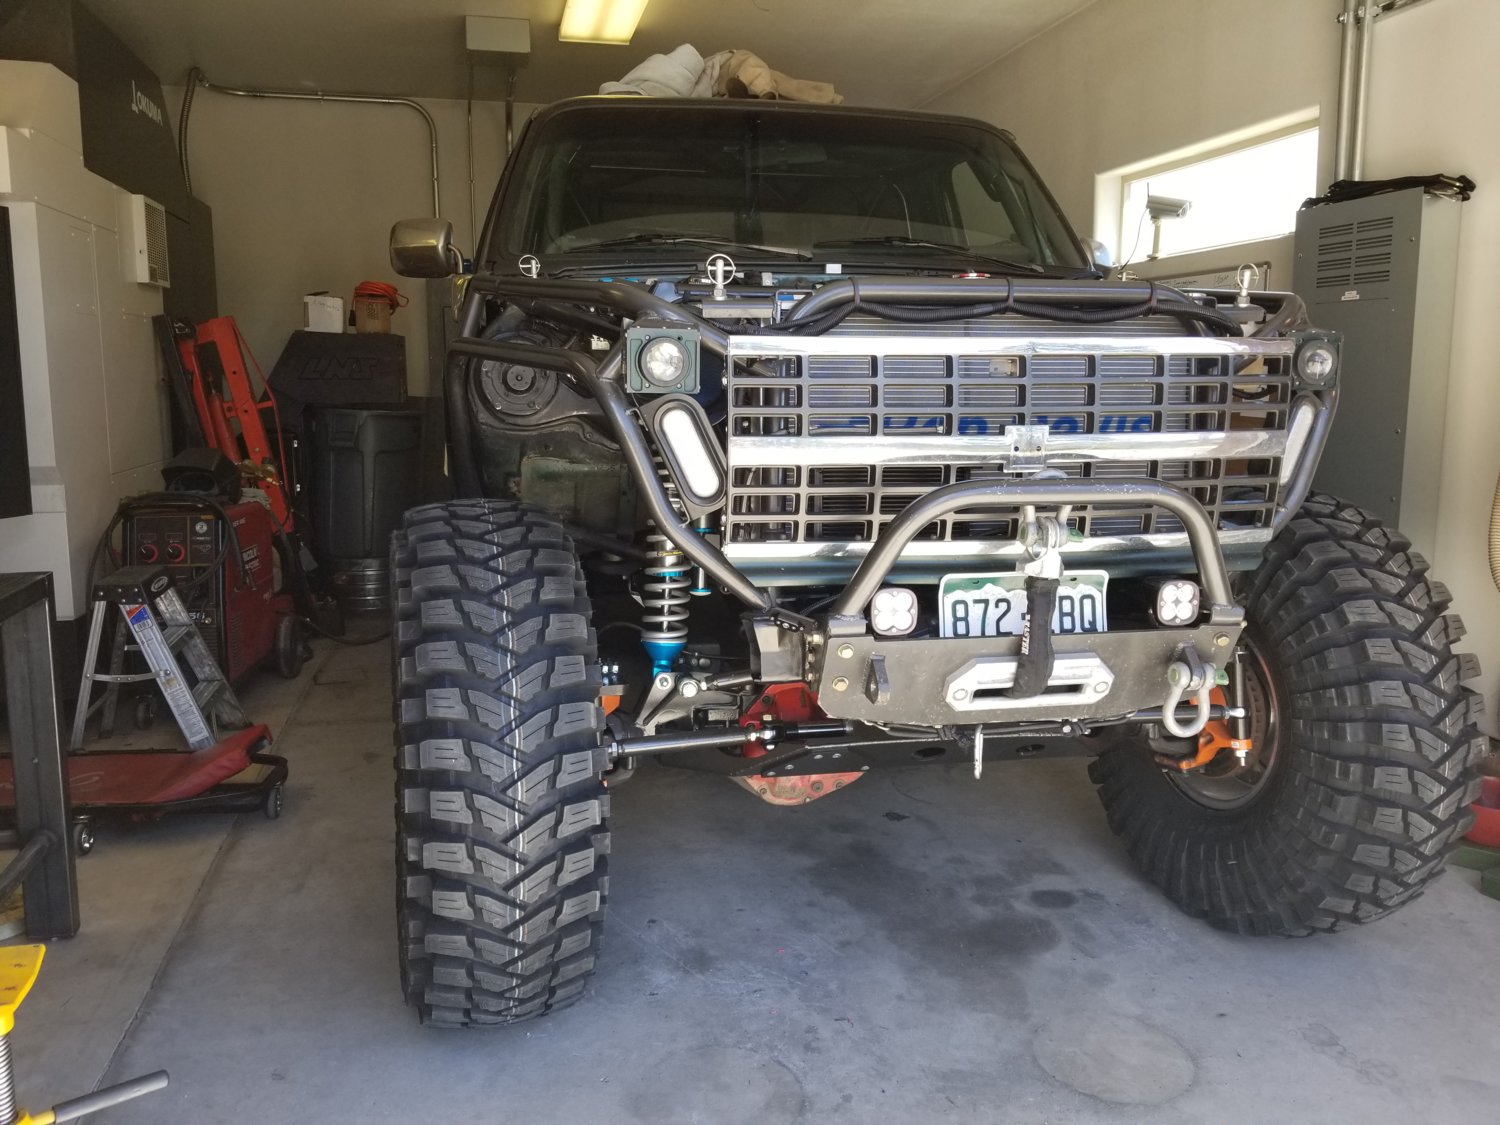
4th pic down looks like you were up on Blanca. Great truck dude. Love the build.
Yup, that was Blanca. We camped up there, was a great trail.

4th pic down looks like you were up on Blanca. Great truck dude. Love the build.


")
Hell yes! I love manifold burritosMy normal shakedown trail is Eagle Rock and Saran Wrap as its really close. Its also starting to get nice and dug out as its pretty much everybody's shakedown trail around here. You can almost guarantee at the very beginning of the season you see other cool rigs that just got built from around the area out there testing their junk before hitting hard stuff.
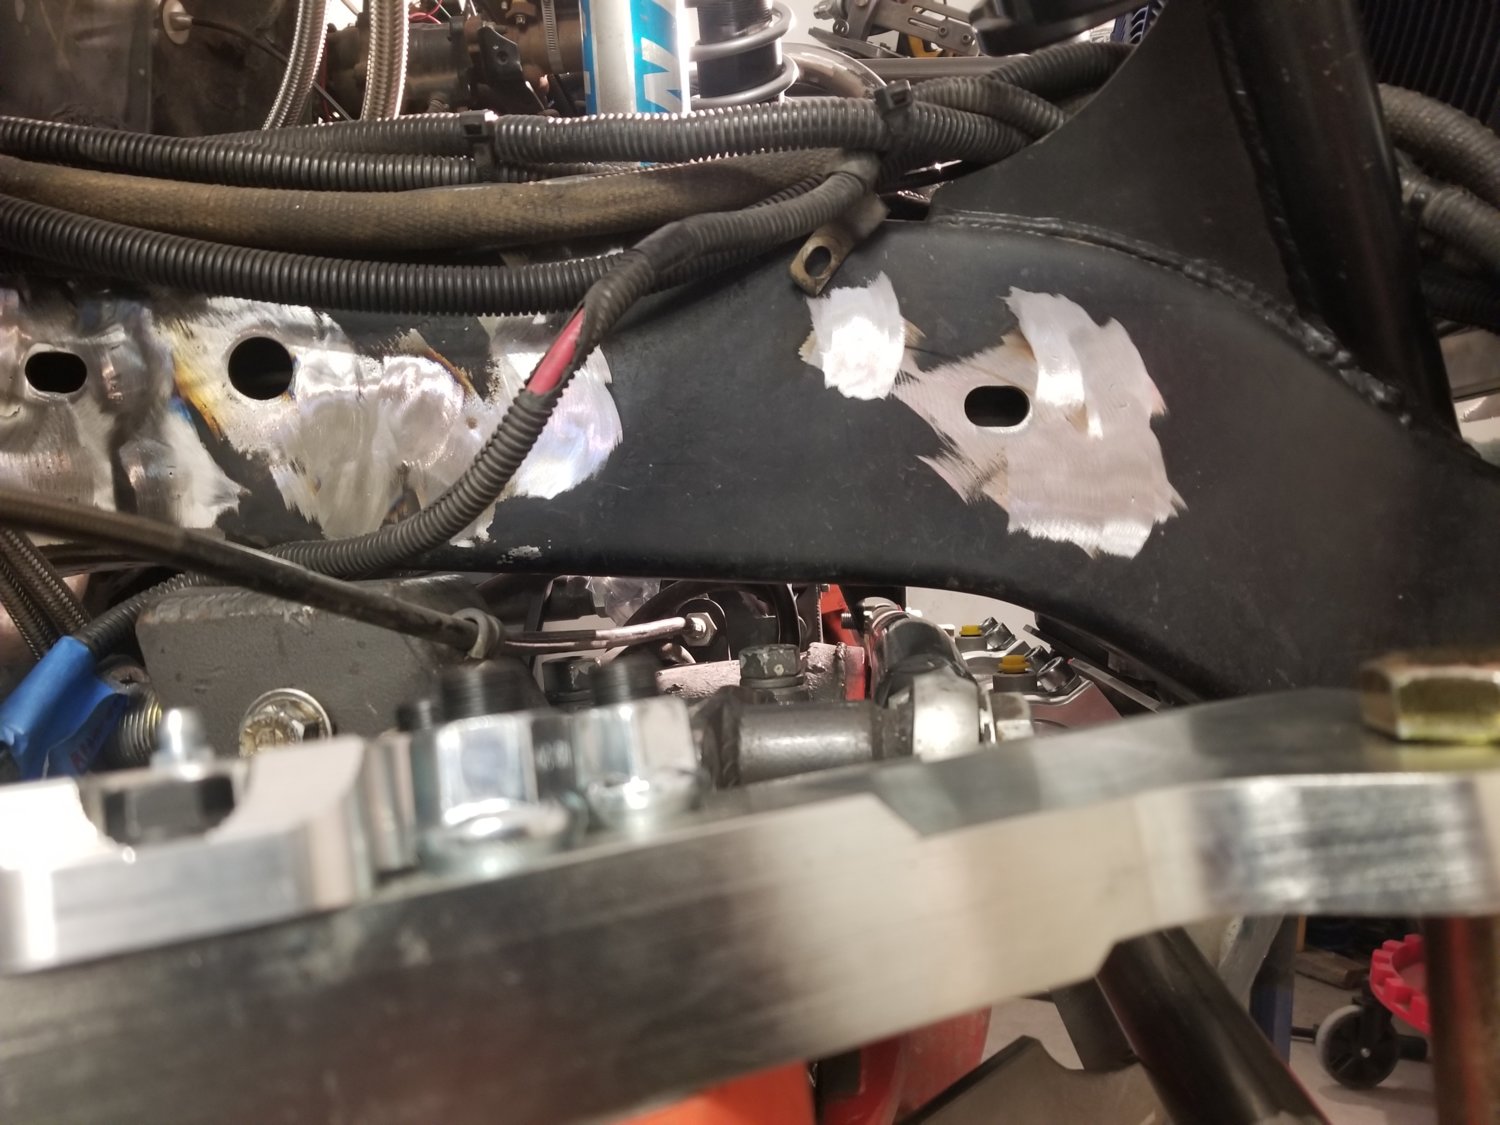
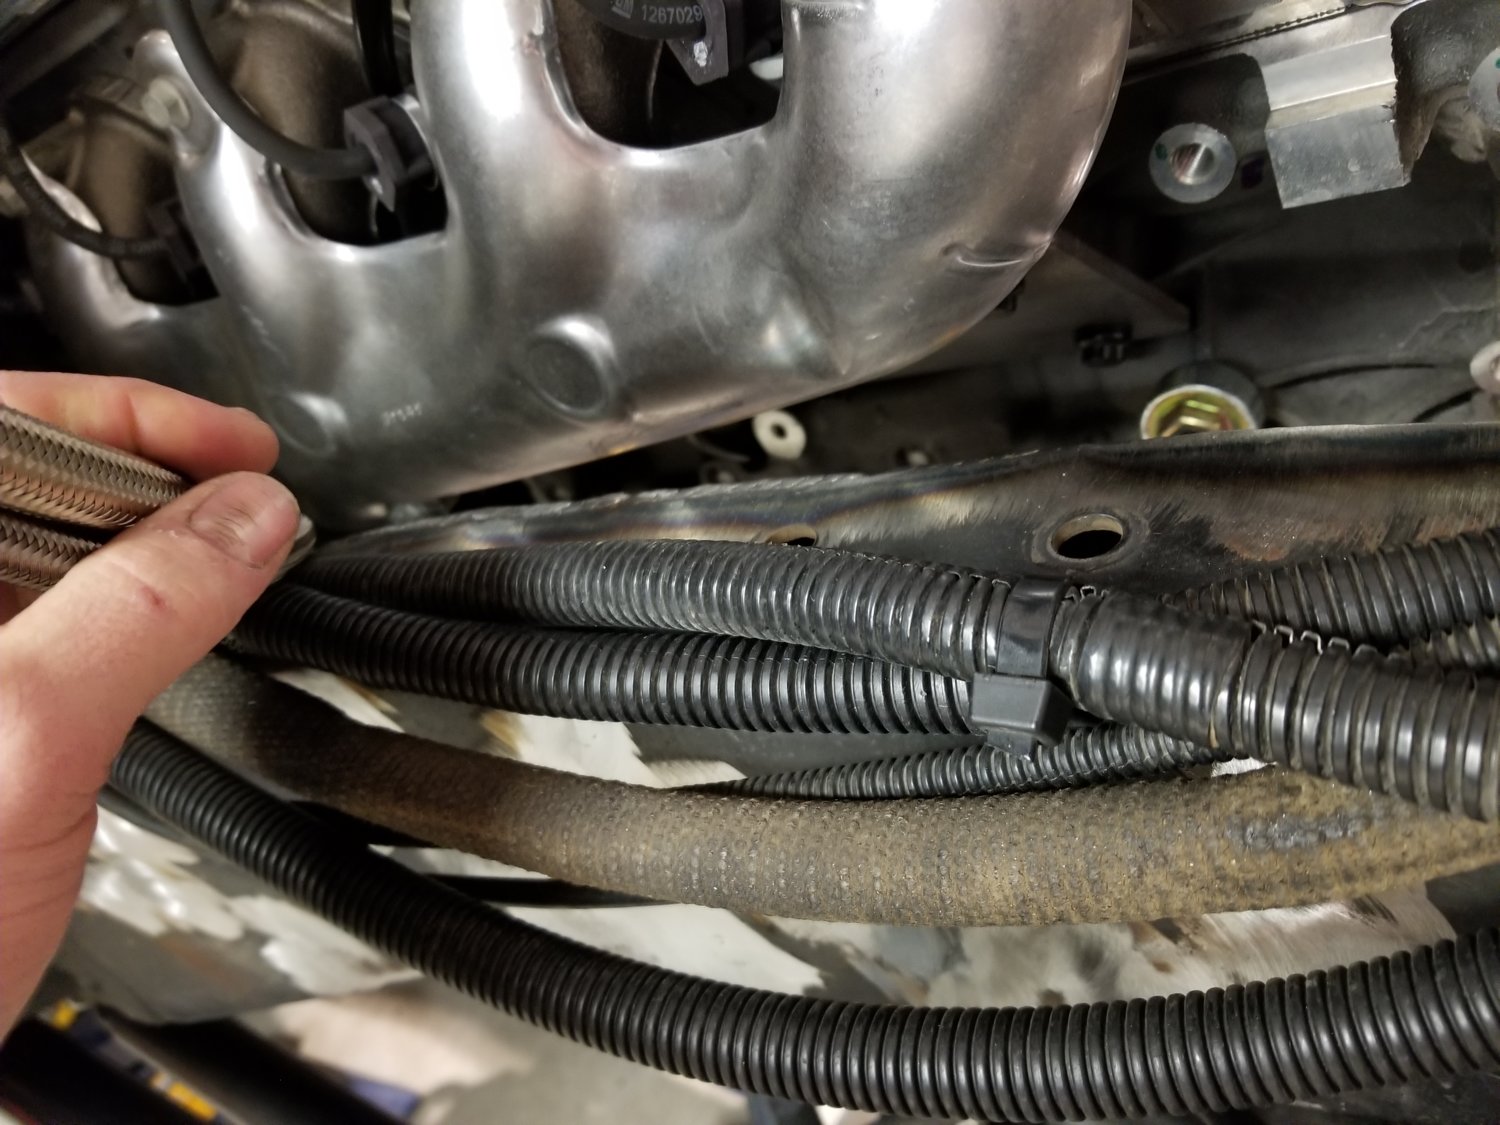
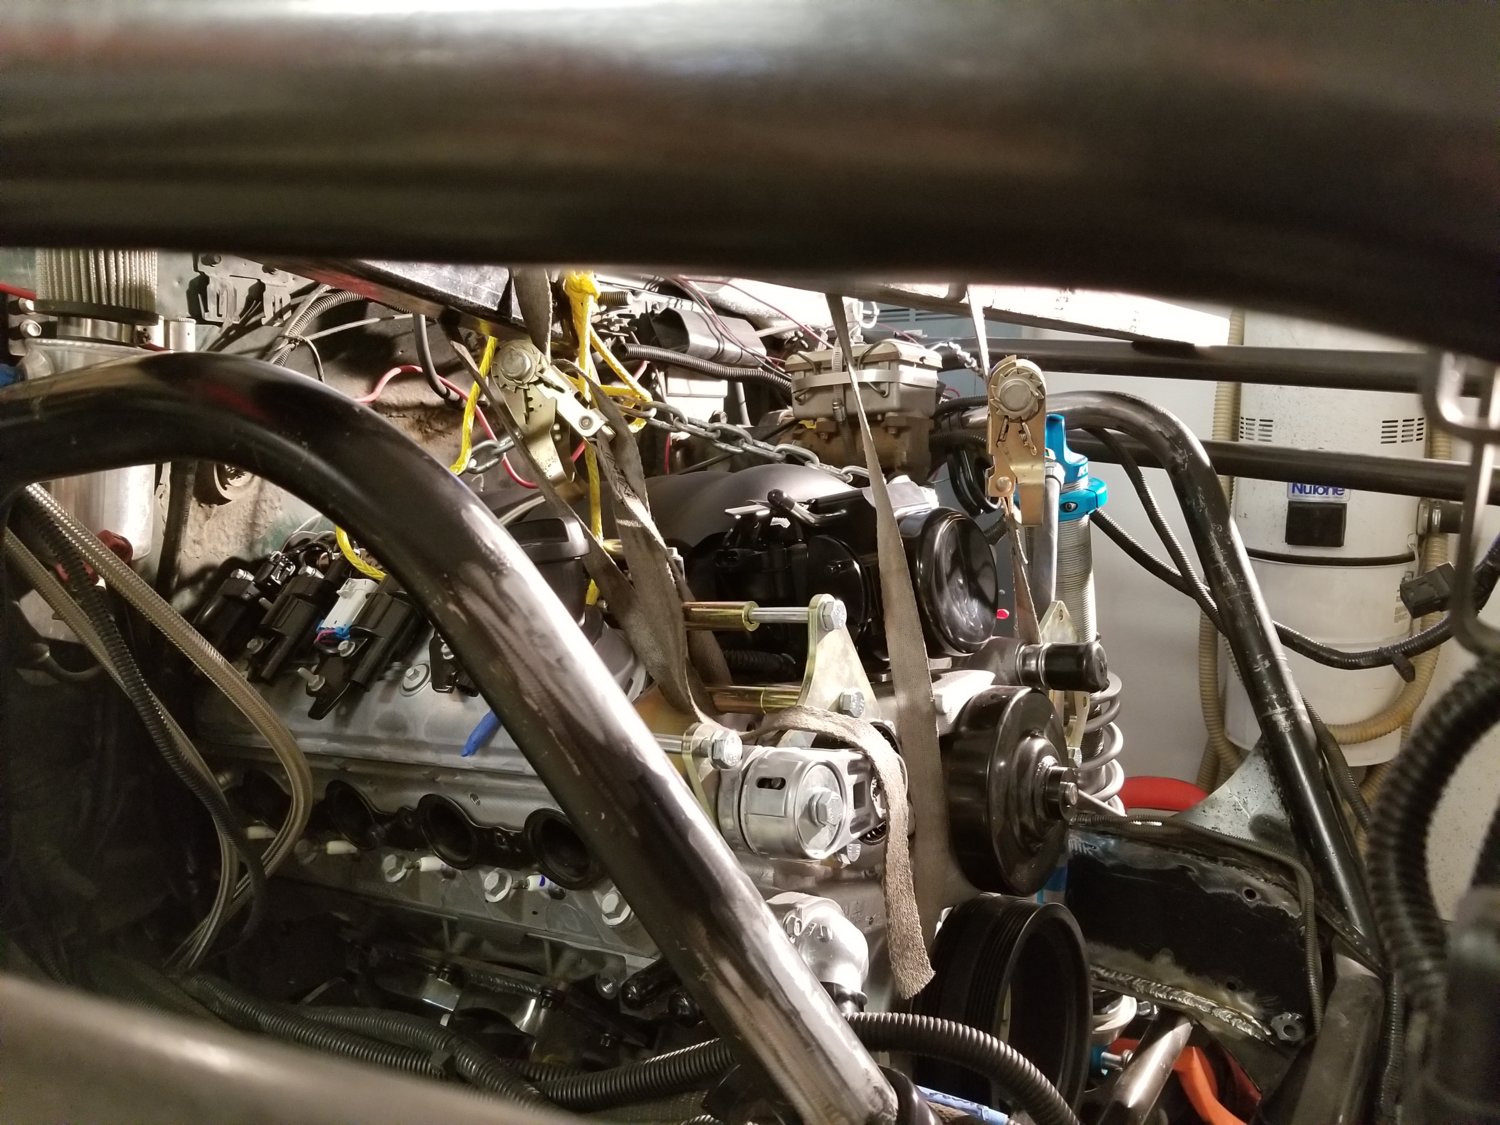
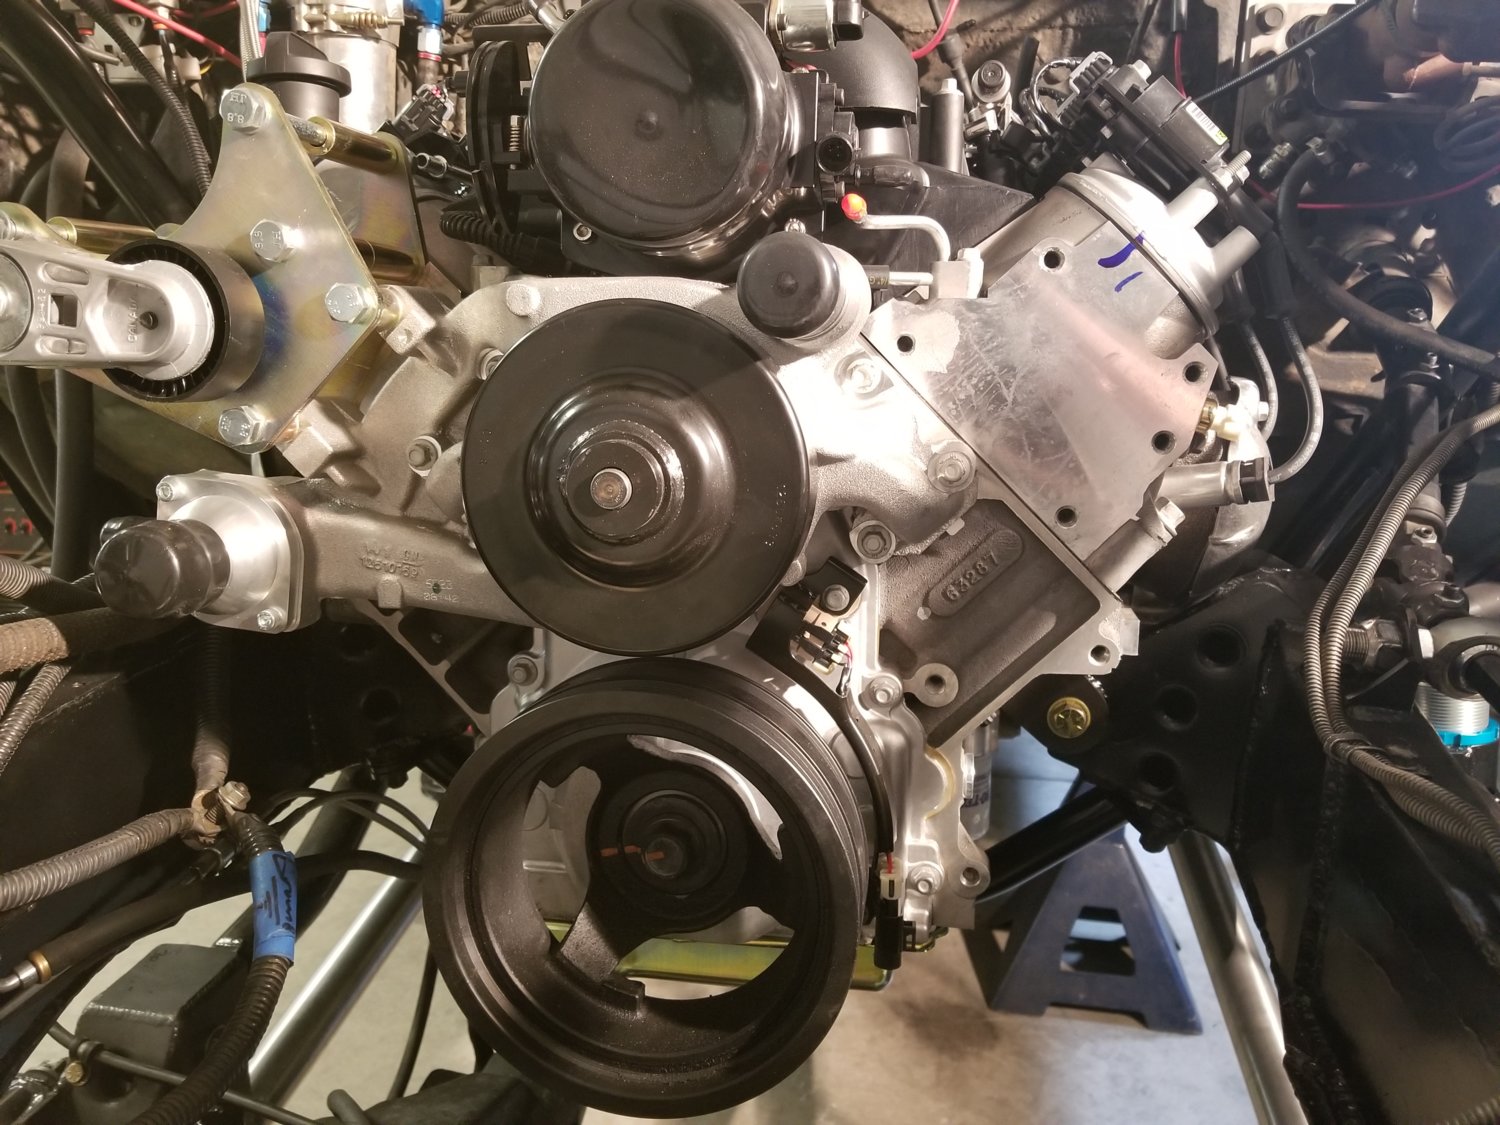
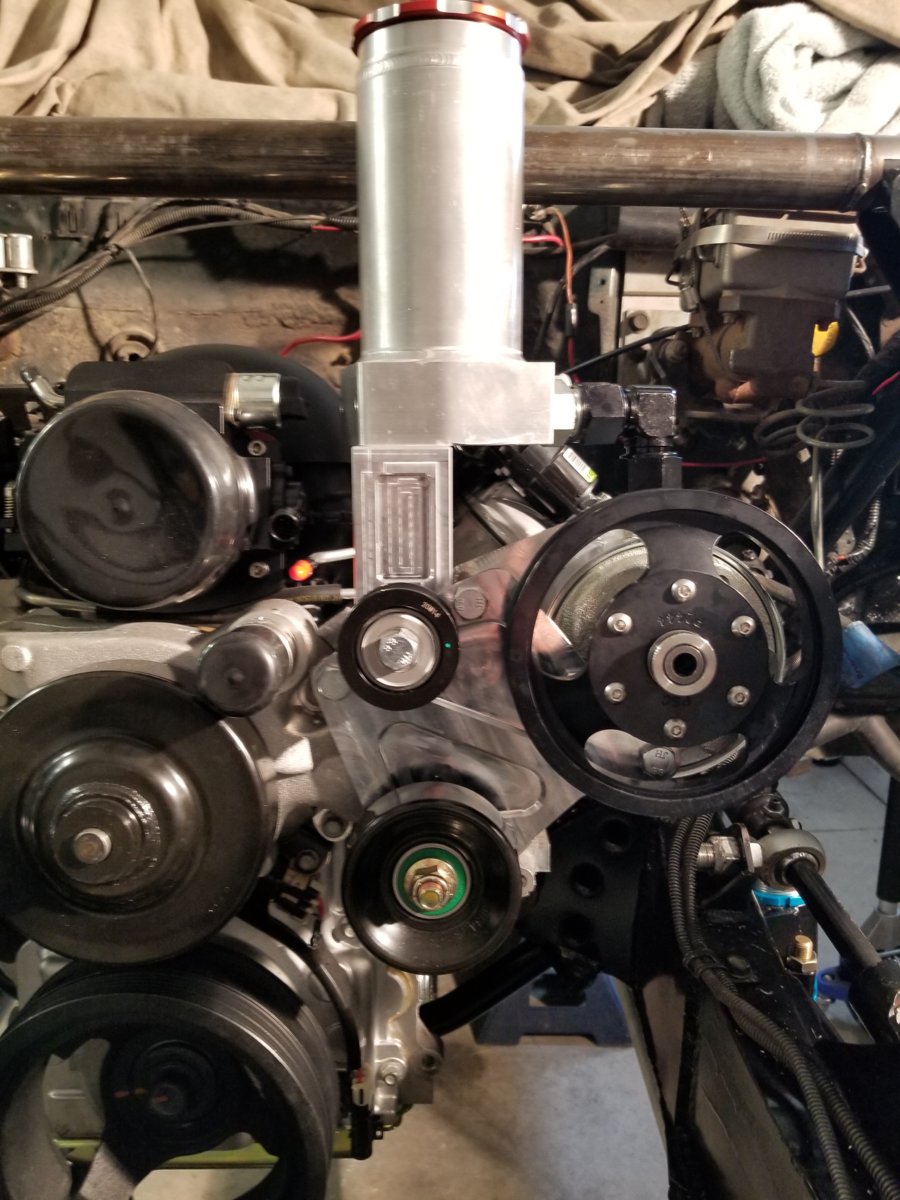
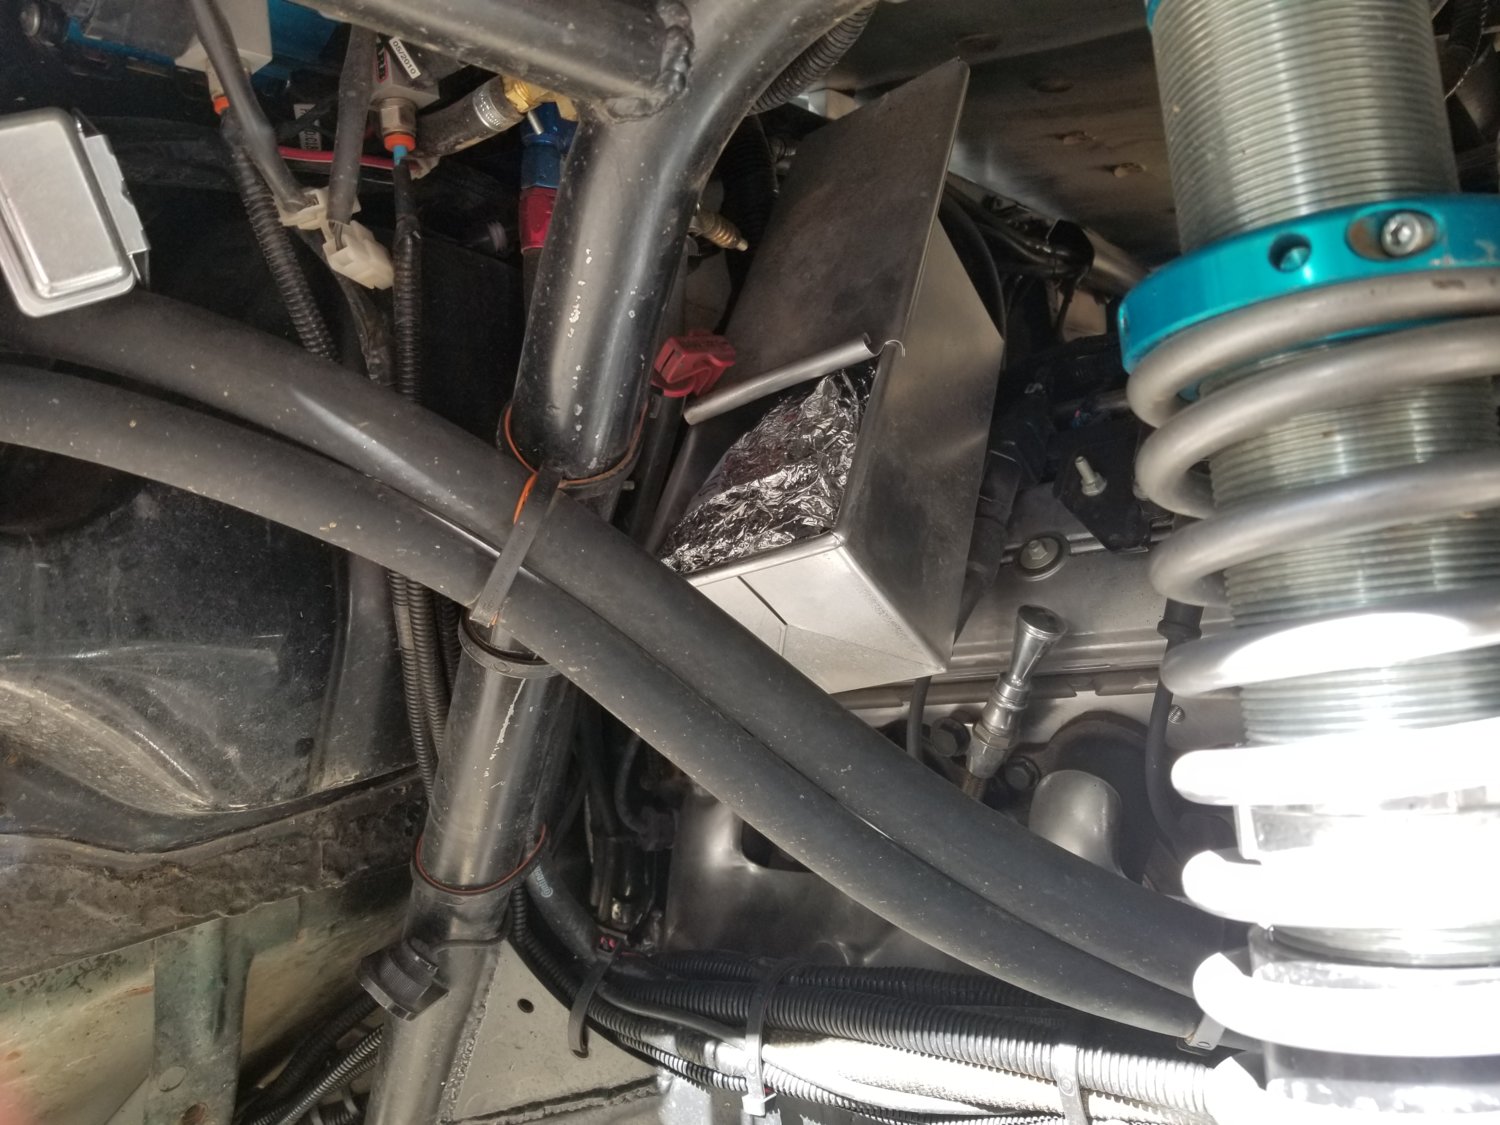
So before I went out I needed my cooker. I've always heated lunch on my manifold but the LS has no area for that. So bolted a breadpan thing onto the valve cover. It doesn't get as hot as the intake manifold on the 5.7l... but it beats cold lunch.
Hell yes! I love manifold burritos
Nice work Todd! I have no advice on the venting.
@Capt Ron if we could ever get @Tnsejed to come to Blazer Bash a lot more people could appreciate his K5 and he'd be a shoe-in.
The floor boards by the transmission tunnel in my old K5 would get hot enough we could warm burritos sitting them there on the floor.

