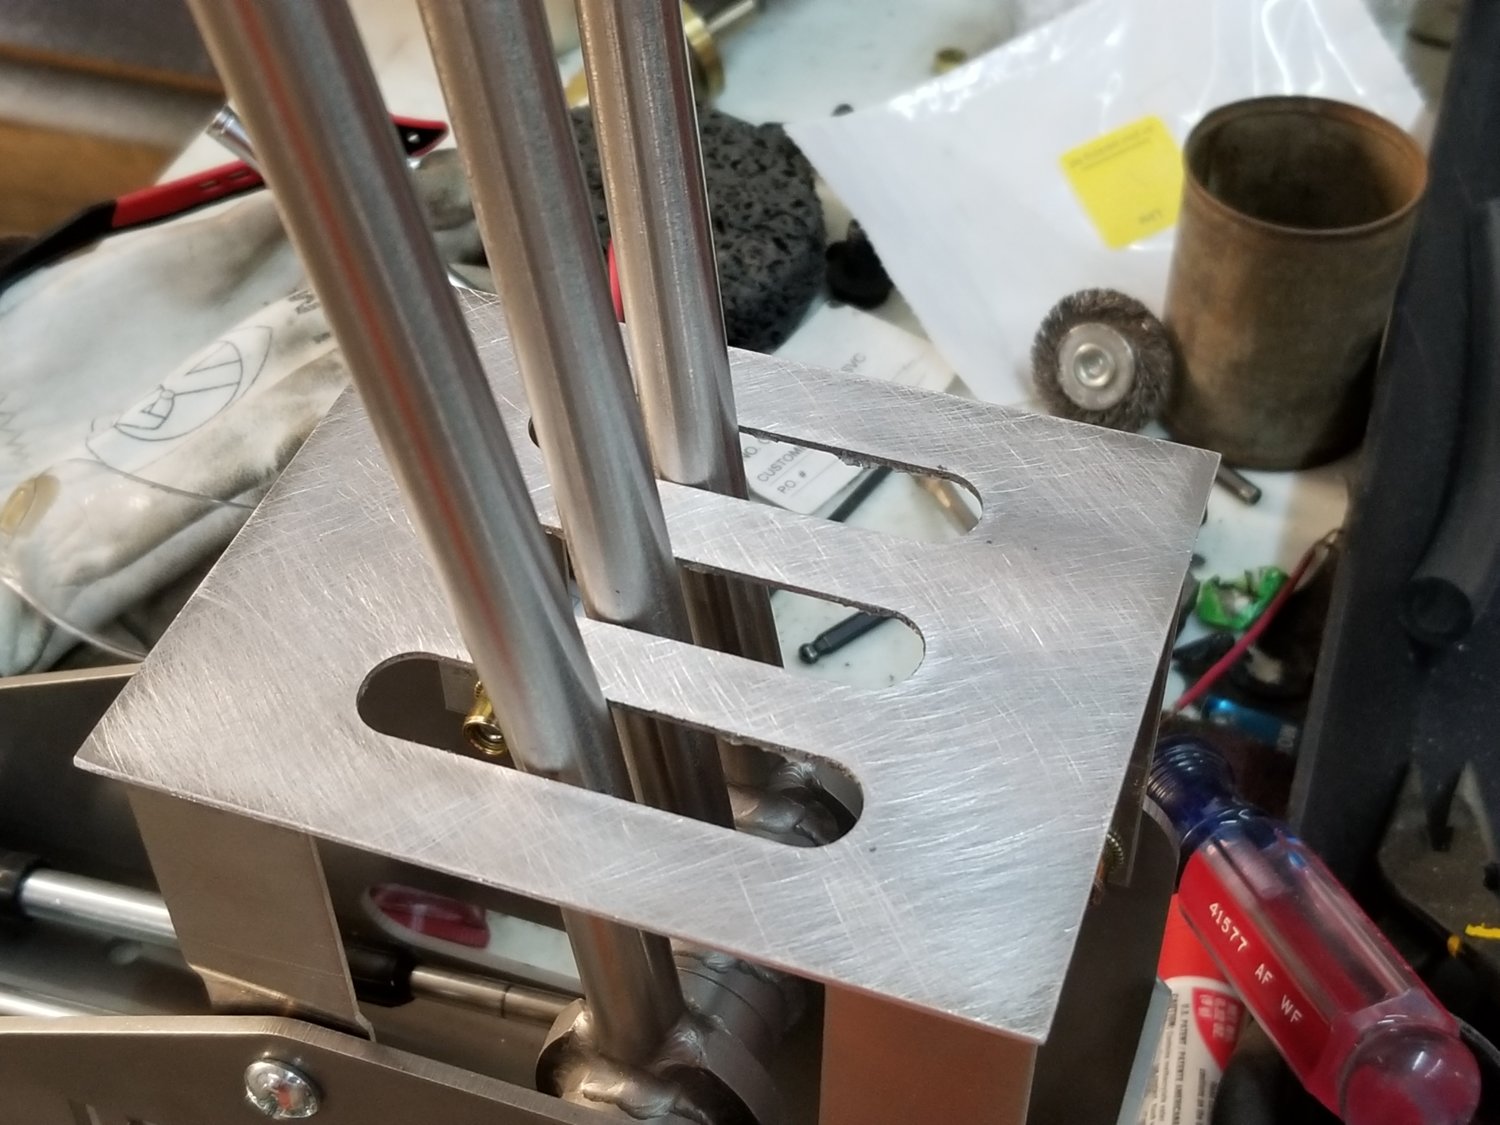
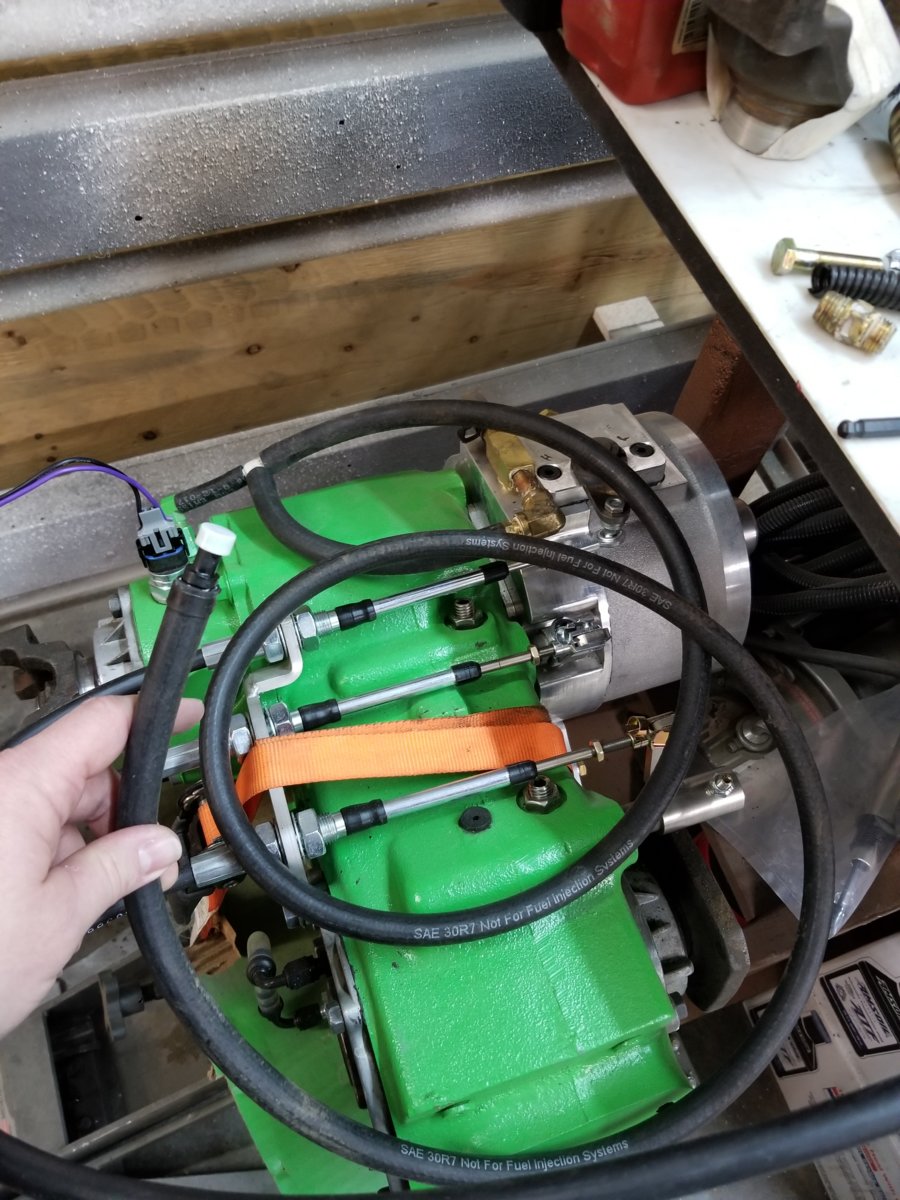
I used a flap disc and took some off the bottom of the bracket so I can get the jam nut on the bolt.
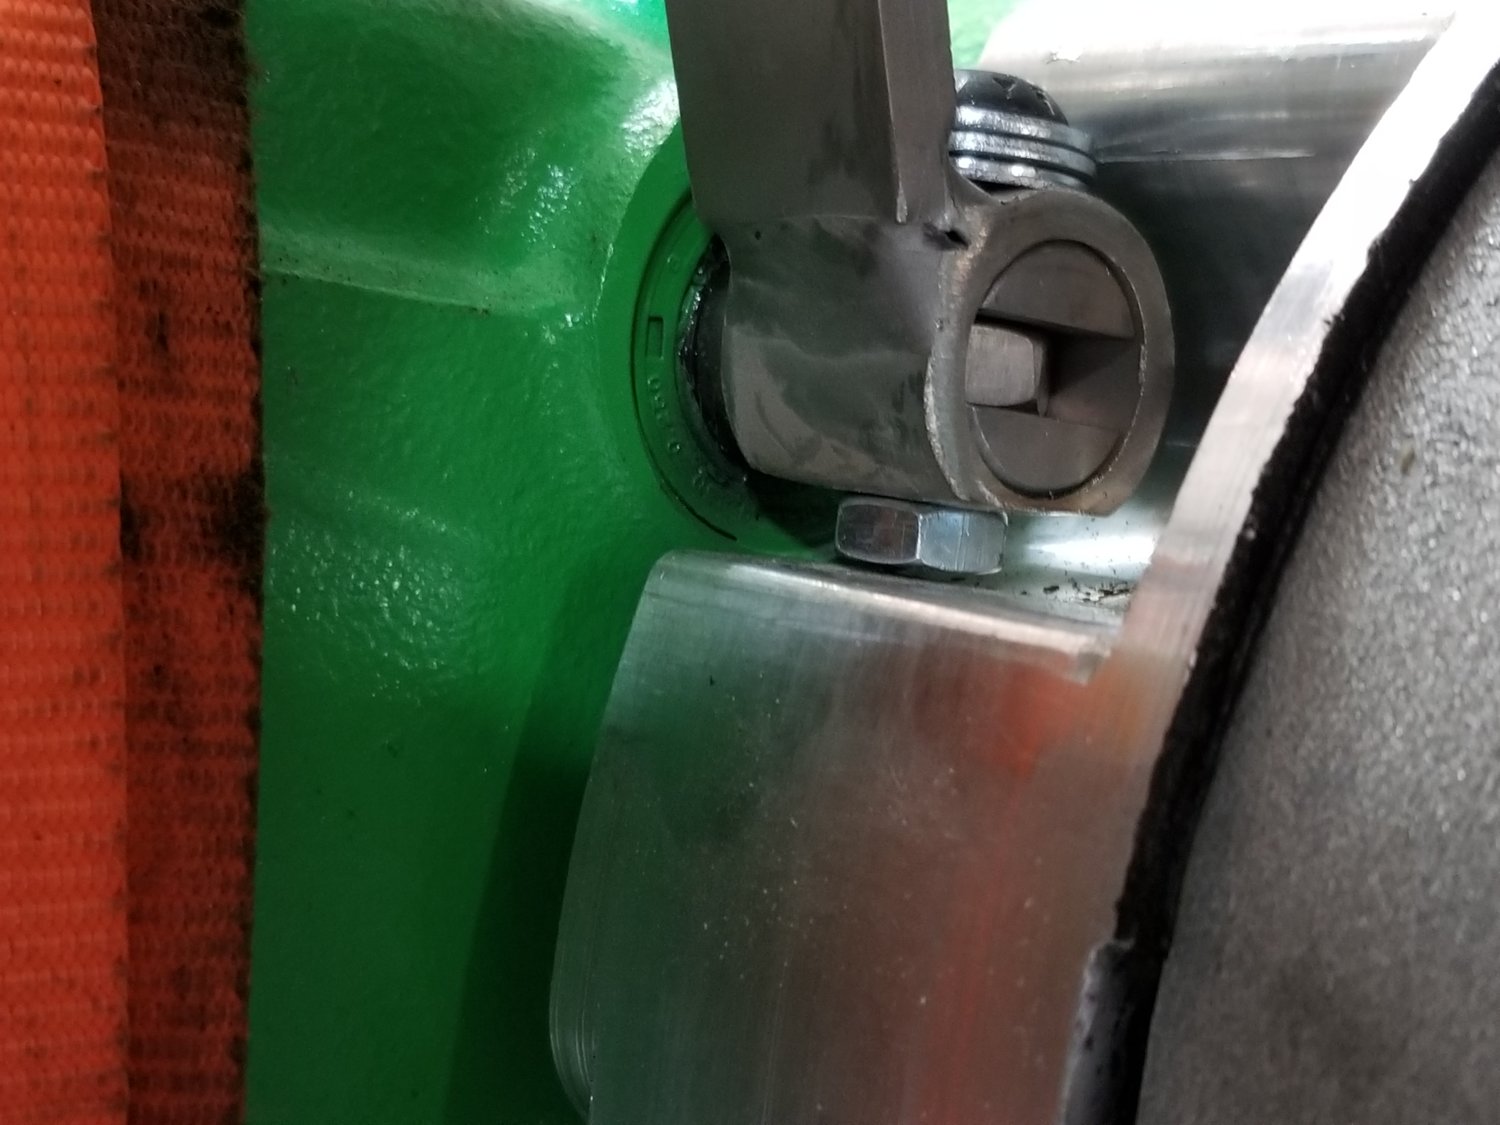
I had to add the washers to get the bolt far enough from the Magnum. As tight as the fit is, I didn't want to cut the bolt and then have to mess with trying to get the threads started on the nut. My experience is the threads on a cut bolt never quite turn out right even after running a die over them.
You can see the washer leaving a little mark on the Magnum but it doesn't hinder the movement.
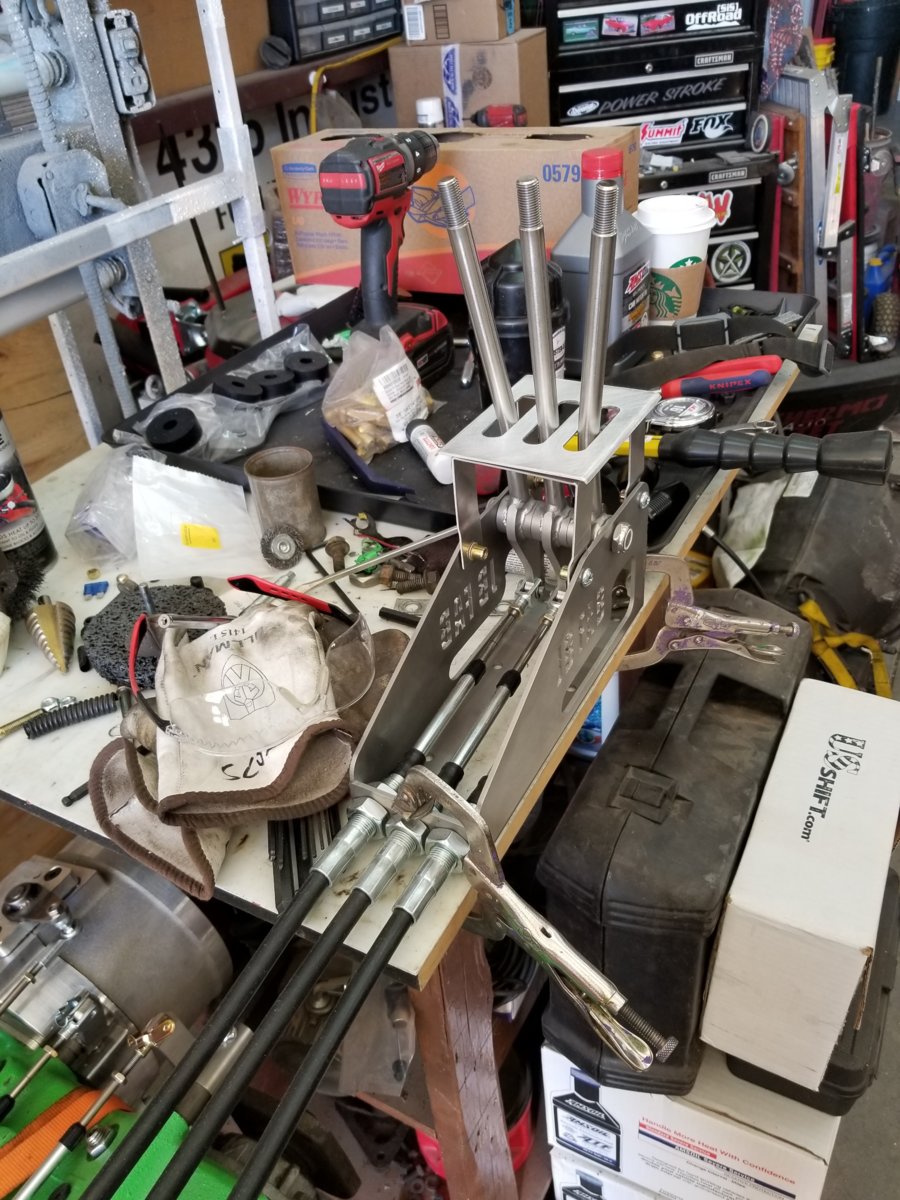
I received the Quick 4 controller. It has 3 harnesses; 1 for vehicle connections, 1 for the speed sensors (2 in the case of a 4l80e), and the third for the harness the plus into the big cannon plug on the transmission.
The wires for the "vehicle" harness are all well labeled. These are the wires that will be unique wired to your vehicle and how you want to set it up.
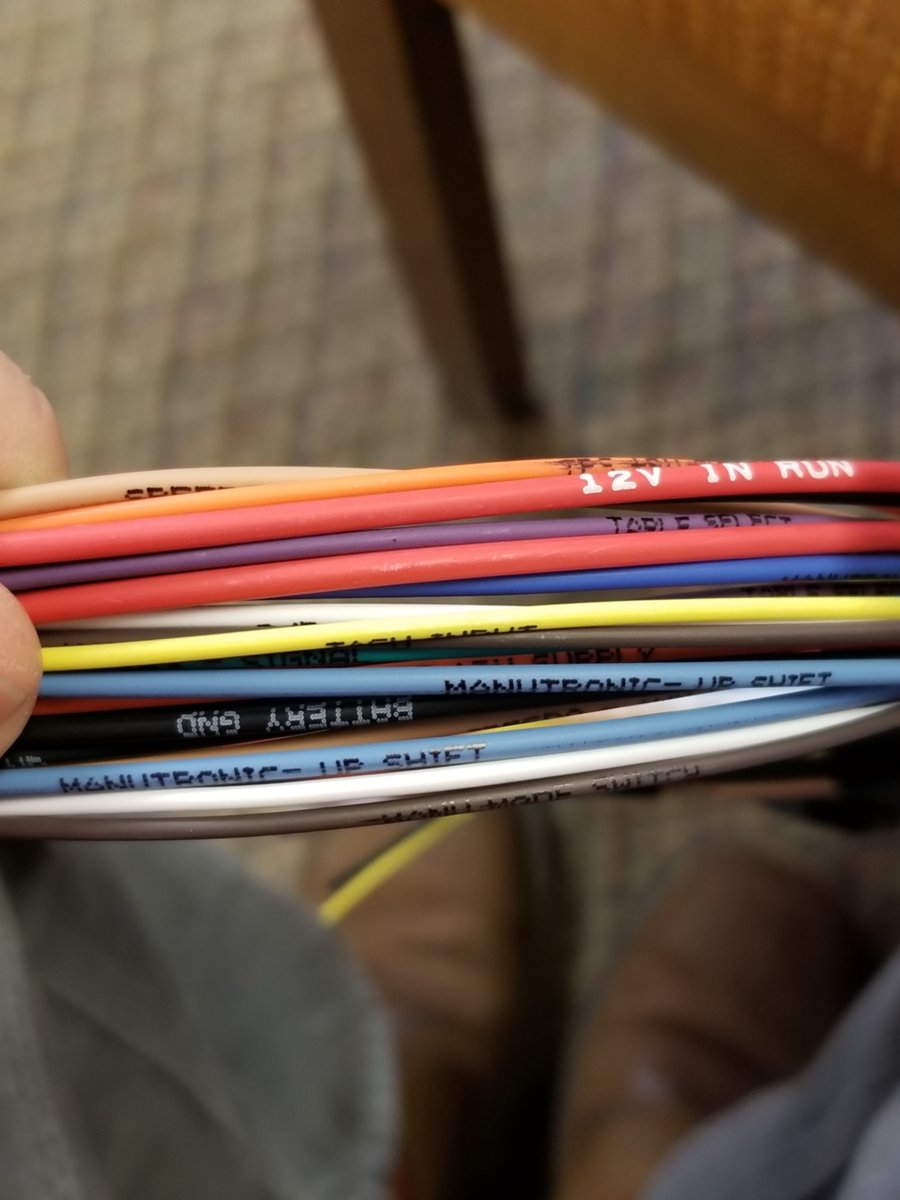
The length of this harness is 60" plus there's an extra 19" of length on the power lead. You need a 1/2" loom to cover it.
For what it's worth, this is the harness for the 2 speed sensors.
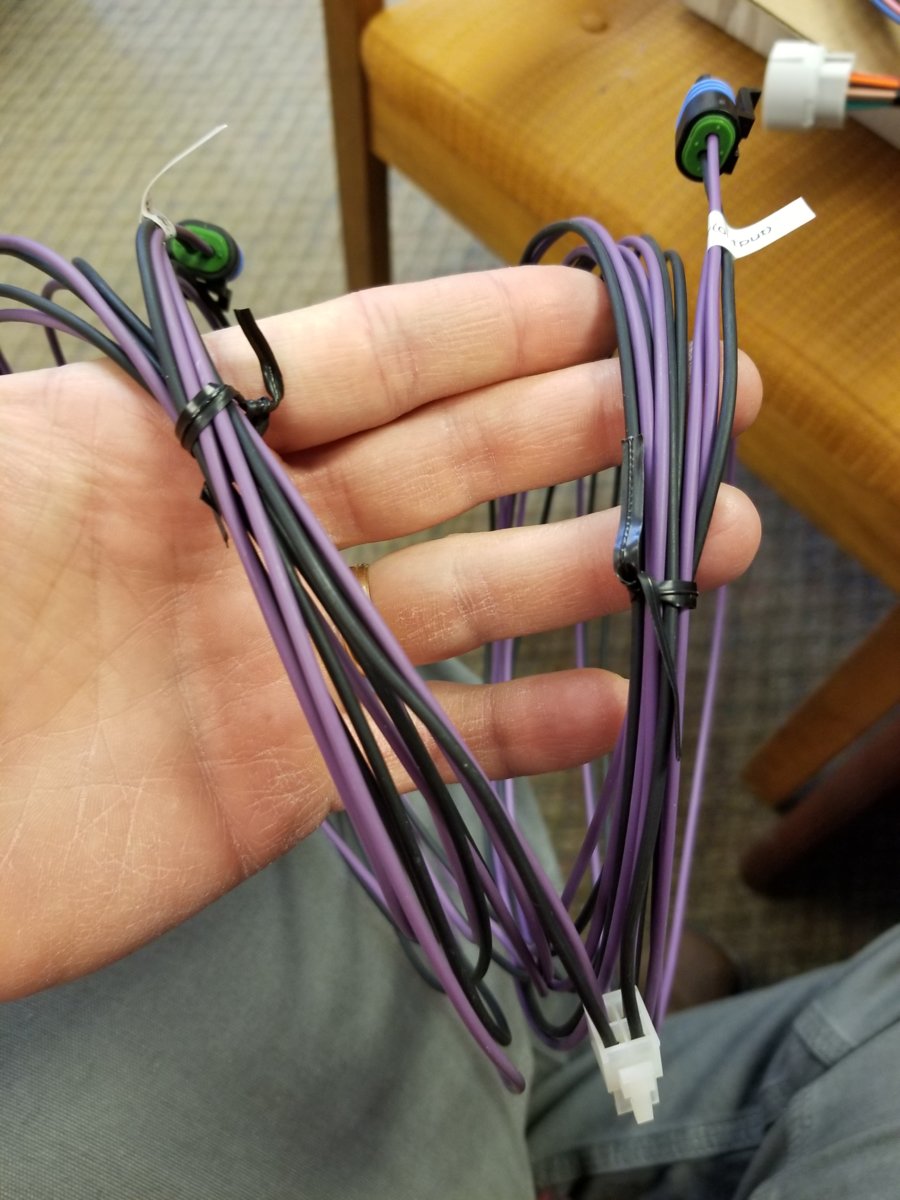
This harness is 10' long and you'd only need a 1/4" loom. The plugs match the transmission mounted speed sensors, I will have to cut one off and add the pigtail with the plug that matches the transfer case output sensor which is bigger.
The harness that plugs into the transmission for the solenoids and PRNDL is not labeled because it can only go one place. This harness is 8' long and you'd need a 1/2" loom. I plan to bundle the transmission and speed sensor harnesses together so I'll need a 3/4" loom and then I'll drop to the smaller looms when the speed sensor harness parts company.
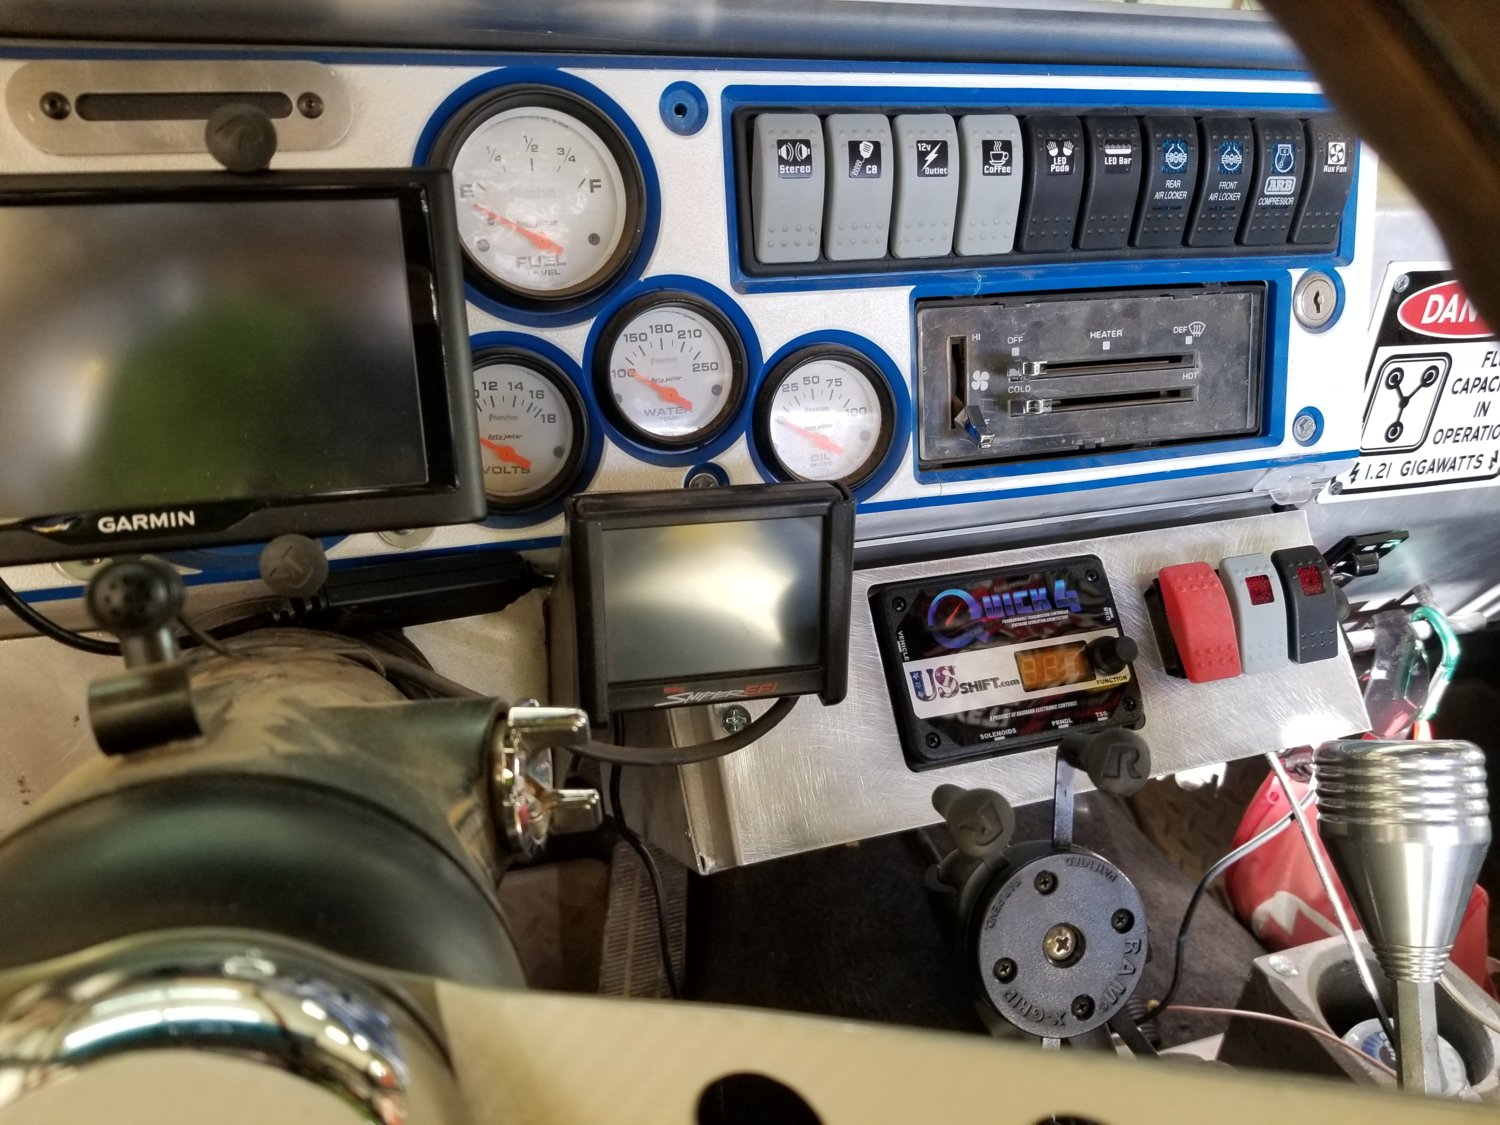
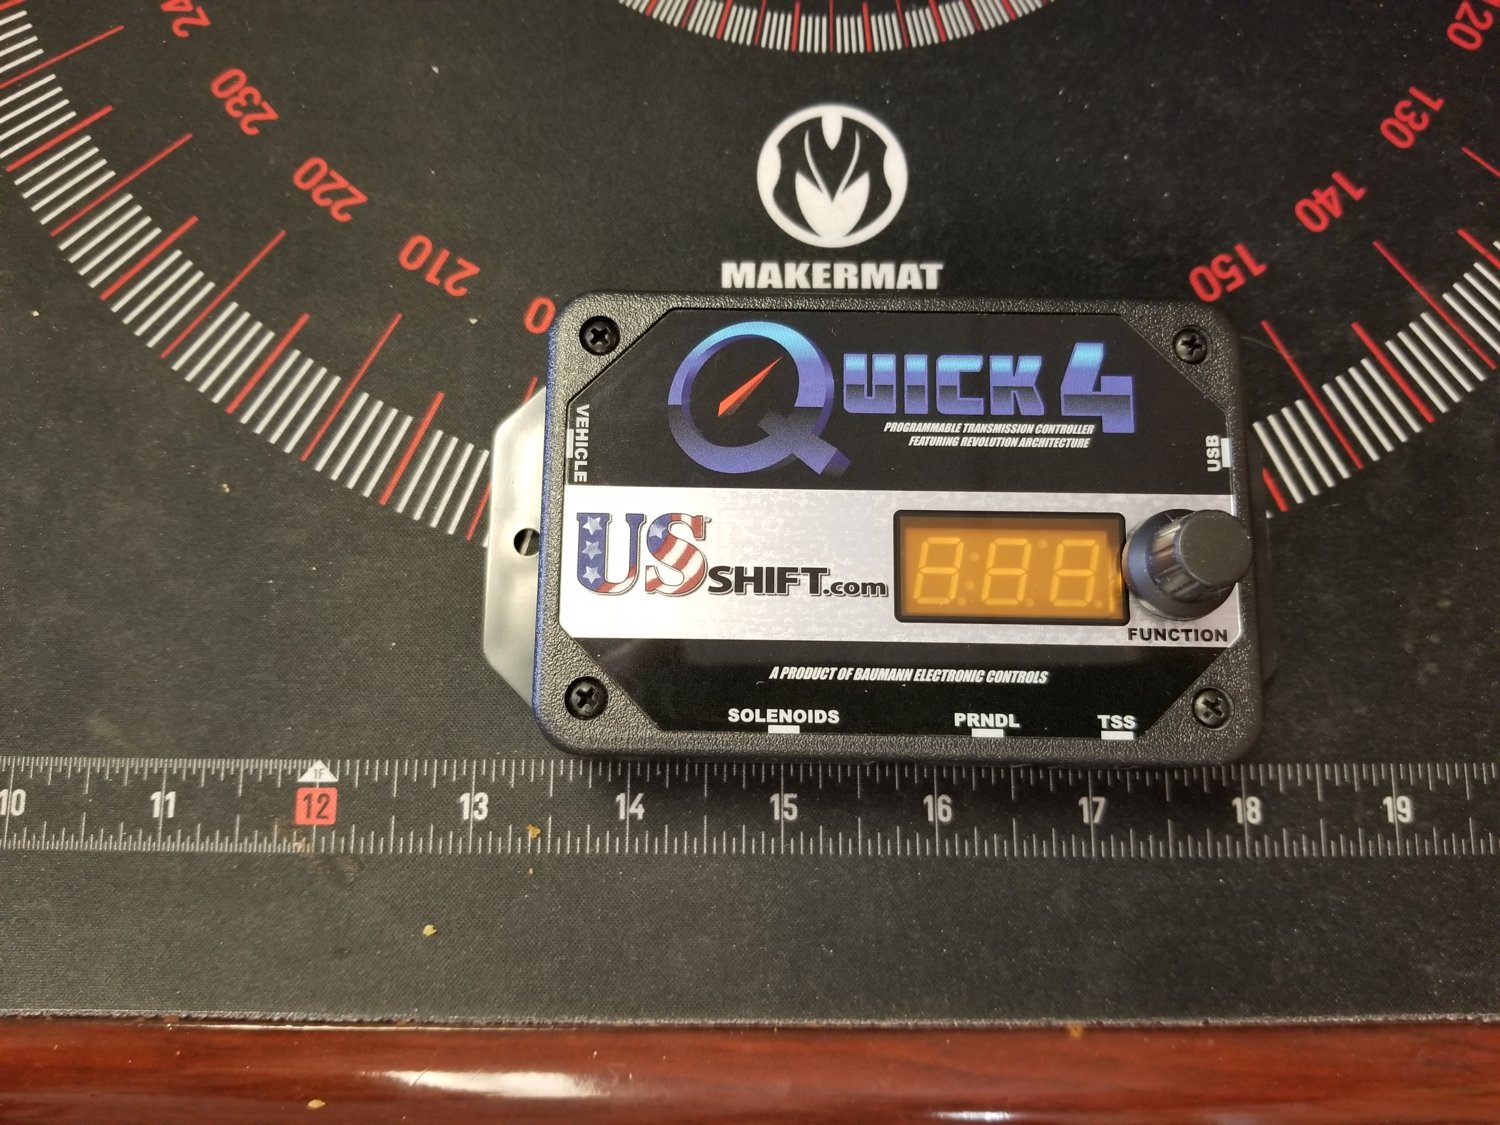
Here's a picture of the controller itself with a ruler for scale.
I had to add the washers to get the bolt far enough from the Magnum. As tight as the fit is, I didn't want to cut the bolt and then have to mess with trying to get the threads started on the nut. My experience is the threads on a cut bolt never quite turn out right even after running a die over them.
You can see the washer leaving a little mark on the Magnum but it doesn't hinder the movement.
I received the Quick 4 controller. It has 3 harnesses; 1 for vehicle connections, 1 for the speed sensors (2 in the case of a 4l80e), and the third for the harness the plus into the big cannon plug on the transmission.
The wires for the "vehicle" harness are all well labeled. These are the wires that will be unique wired to your vehicle and how you want to set it up.
The length of this harness is 60" plus there's an extra 19" of length on the power lead. You need a 1/2" loom to cover it.
For what it's worth, this is the harness for the 2 speed sensors.
This harness is 10' long and you'd only need a 1/4" loom. The plugs match the transmission mounted speed sensors, I will have to cut one off and add the pigtail with the plug that matches the transfer case output sensor which is bigger.
The harness that plugs into the transmission for the solenoids and PRNDL is not labeled because it can only go one place. This harness is 8' long and you'd need a 1/2" loom. I plan to bundle the transmission and speed sensor harnesses together so I'll need a 3/4" loom and then I'll drop to the smaller looms when the speed sensor harness parts company.
Here's a picture of the controller itself with a ruler for scale.