
CK5
Register an account today to become a member! Once signed in, you'll be able to participate on this site by adding your own topics and posts, as well as connect with other members.

A low slung old chevy on rockwells... it can be done

Also a stupid update, but has been a lot of work so I am posting it. I am finally painting what I have done. Bare metal and muddy trails has taken on toll on the surface rust, so some wire wheels/brushes and elbow grease was needed to clean all the surfaces. It is coming slowly but I have the front and back done, the cab is next.
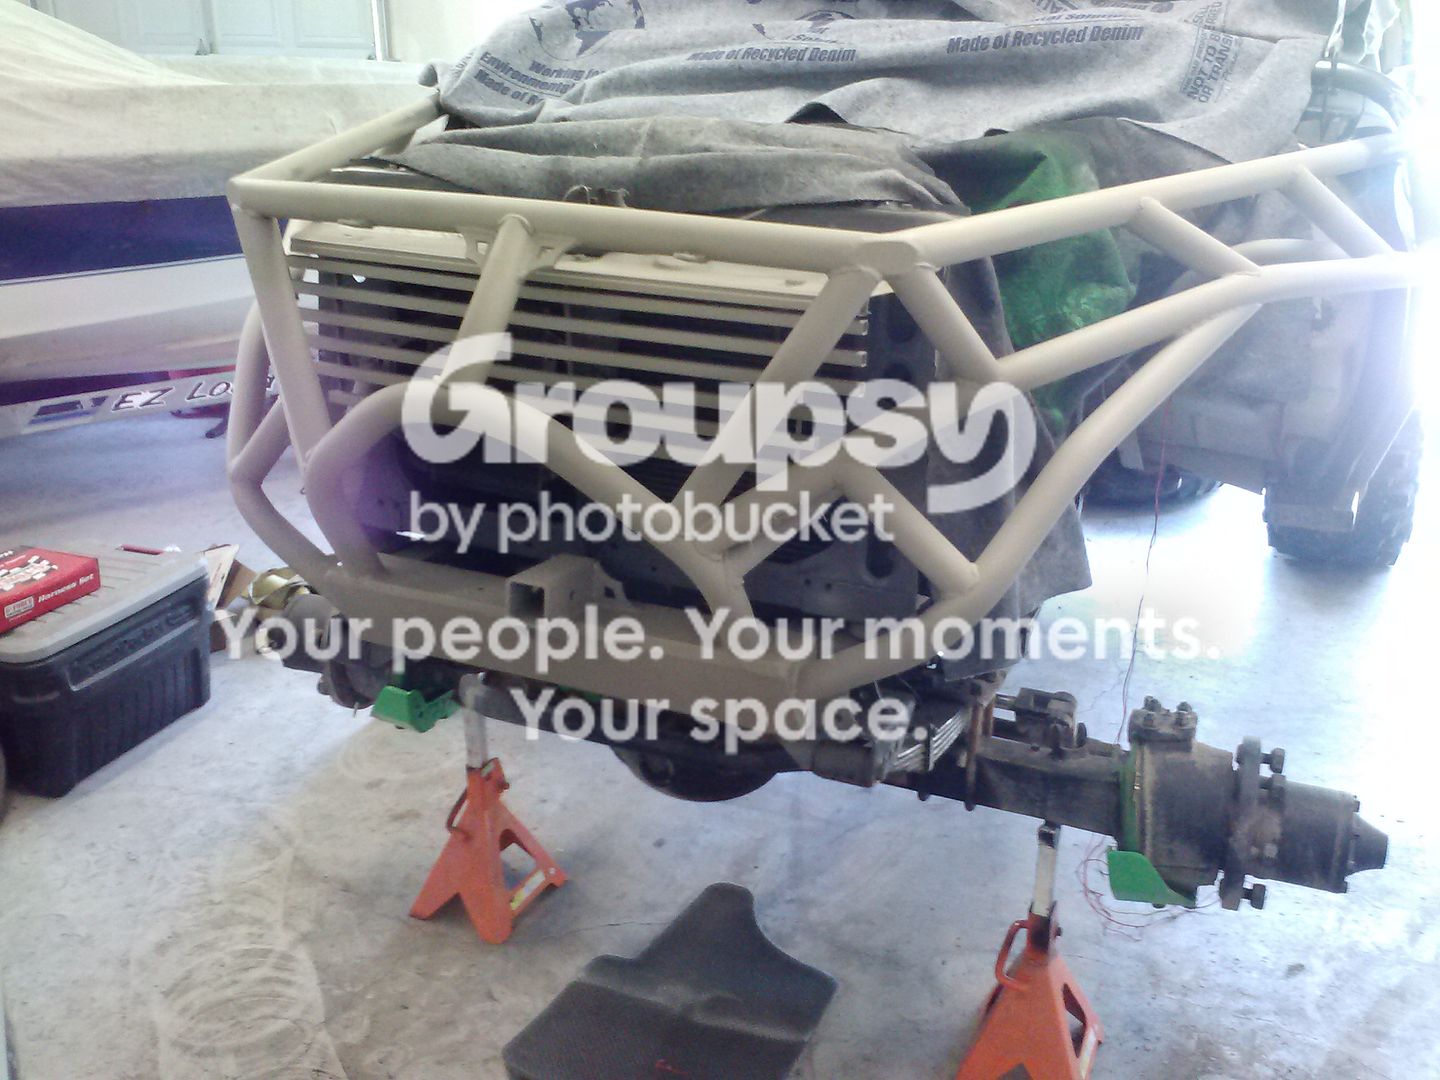


I am going with krylon camouflage paint "khaki" color. Looks like a military desert tan.
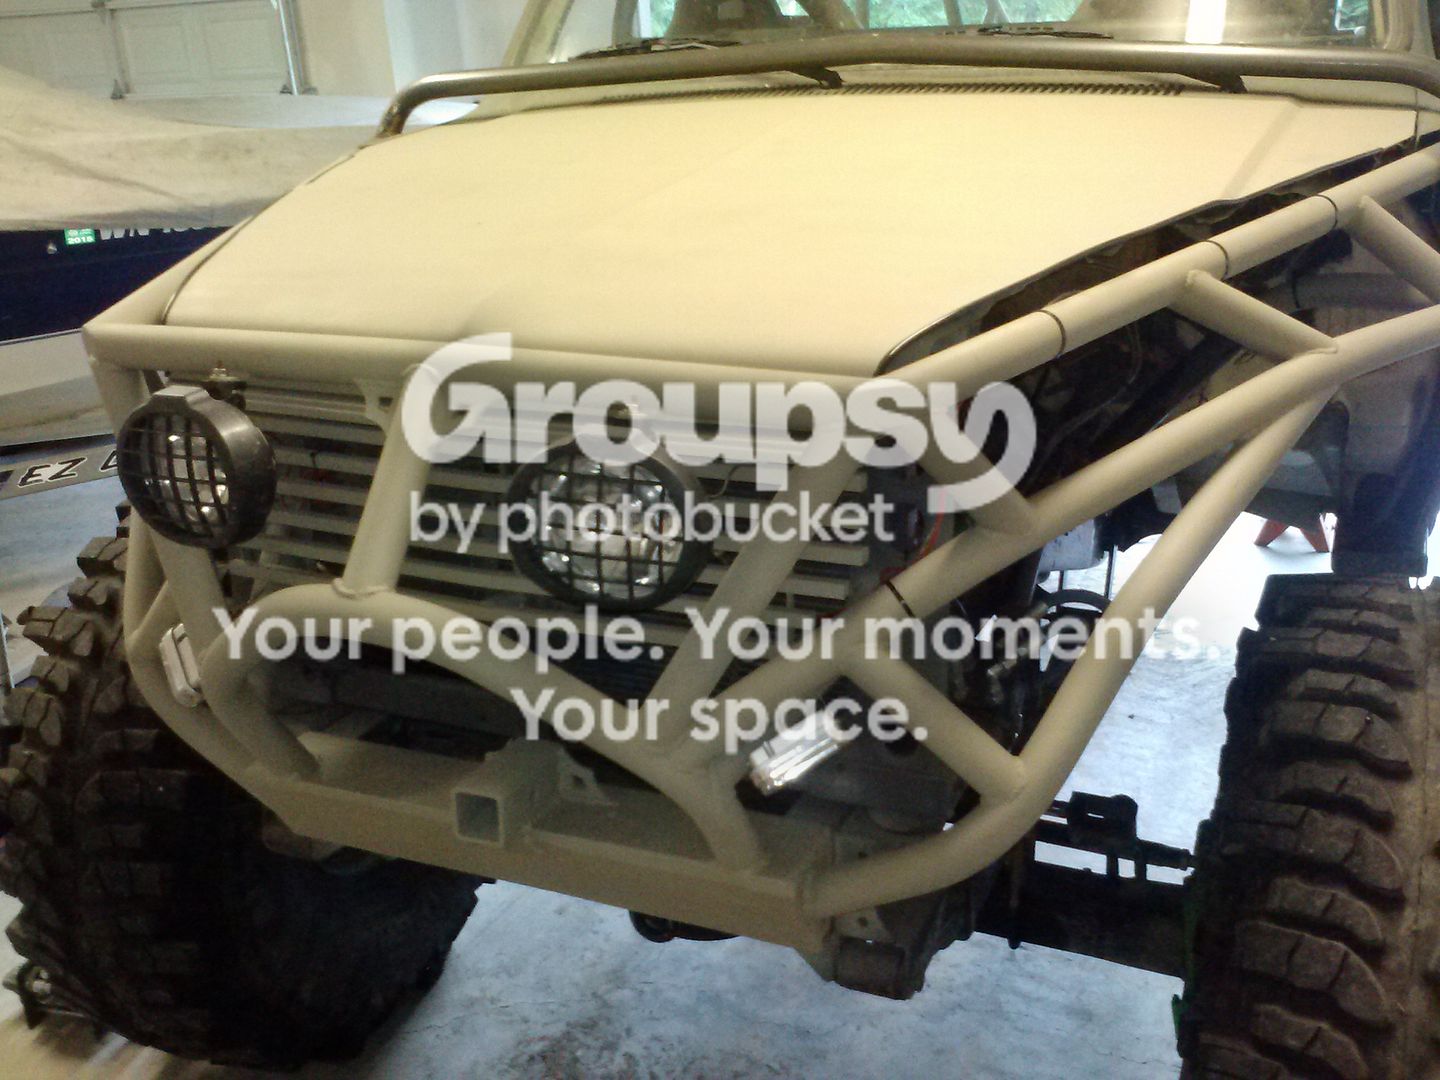


Spray canning all this tube is time consuming. And I used some door trimming so I don't cut myself on the cut metal. Makes things look a little more finished.

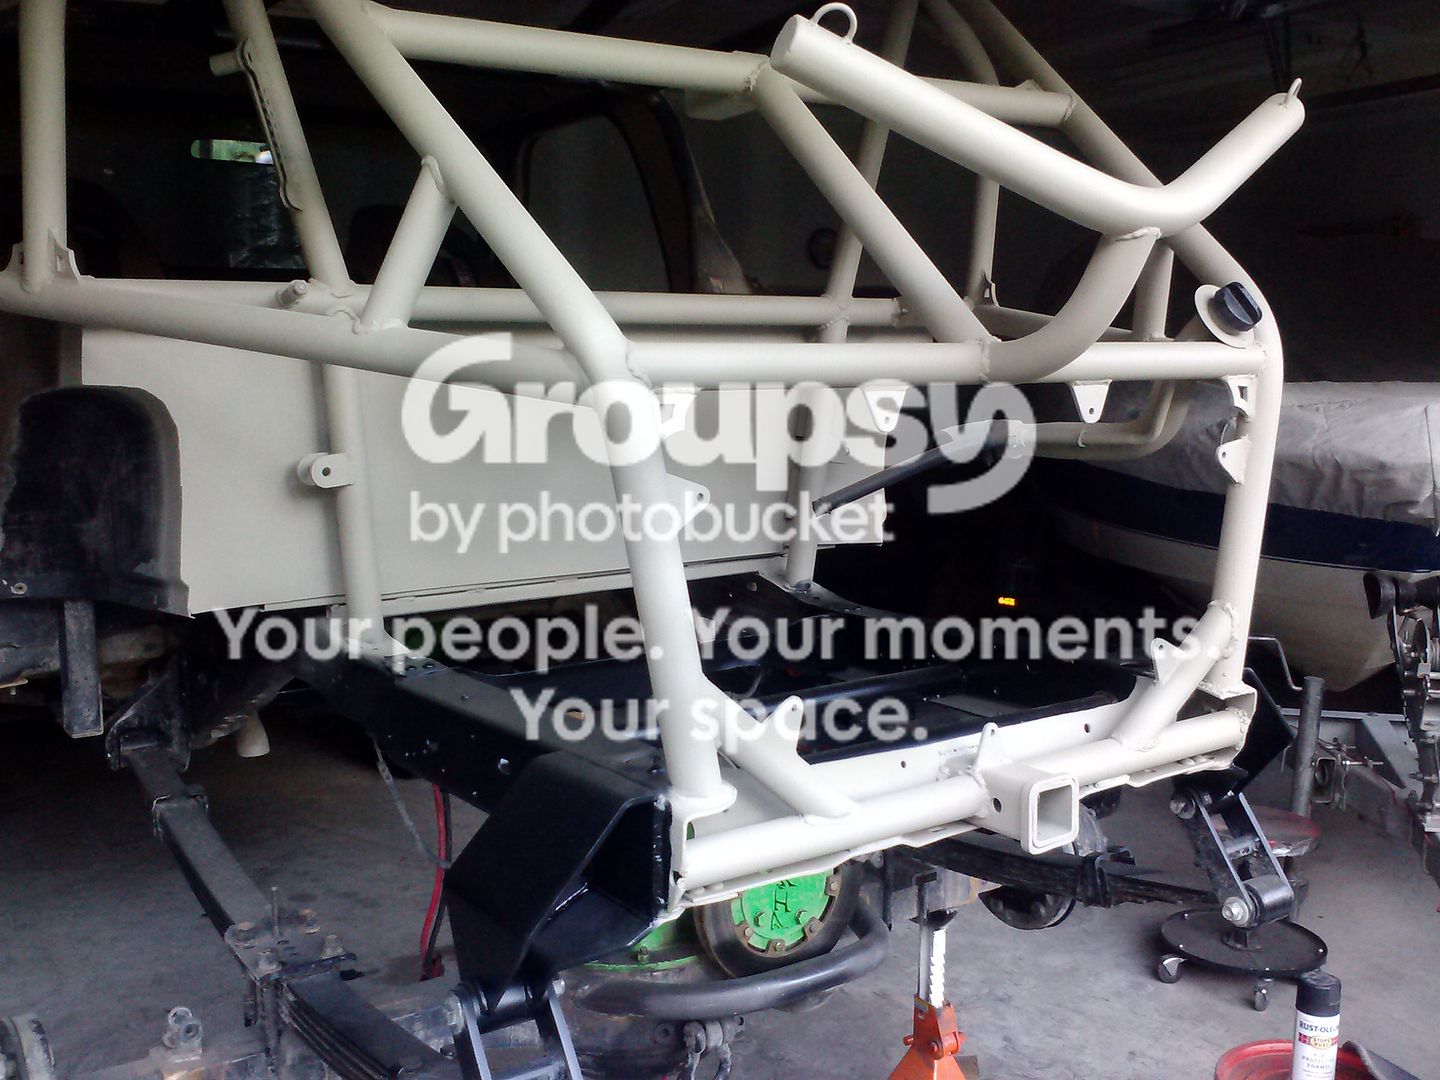

 
Wrap bar build.

I bought some stuff from ruffstuff. 7/8" heim, 2 5/8 width, 2 5/8" wide dom bushings with 9/16" bolts all around. 4" long 3/8" thick shackles, and 3/8" link tabs. Overall this setup was freaking cheap.


mounted a bushing off the back of the crossmember. Should be plenty strong, that is where a lot of stuff ties in.


Driving it around it is a huge difference. The tires definitely break loose easier. I have seen a few guys complain about how their rig crawls after putting on a track bar, but I think that was because they weren't good with the throttle. Can't wait to tell the difference on the trail.
 
Here is a little video I made and put to some music. Was last Saturday at Elbe hills. Ran into a TTC 2014 alternate up there with a 59 fiat. Really cool rig, them 43" tsl sx stickies worked amazing. Maybe that will be my next tire. Some of the shots are really weak but my wife is driving in most of them, she doesn't have much experience offroad, but she's getting better.

You Tube
 
Did a few things before that trip. Now I got some matching front fox ipf shocks.


My front rockwell has been tapping my ord crossmember when I come down of rocks/ledges so I got some small poly bumpstops and added them to the crossmember. Better to destroy this than the crossmember.


So far it has been working great.

 
I have been waiting for my winters shifter to show for a few weeks. Apparently winters was backordered on the 700r4 version so it took about a month to finally show at my door. I will say this shifter is really pimp, but to fit it I have to shift the battery around a little bit. I remounted my battery in the cab between the two seats with just the stock battery tray trimmed down and bolted through the floor. Has worked fine but now I am going to solid mount it to the cage in a battery box from barnes4wd. I know a bunch of companies make these but the barnes4wd one didn't have holes cut in it so that will make it easier to weld it in.

A reminder pic of my battery setup.


Other than that I have been dicking with my tow rig way too much this month.
 
I got my winters shifter installed. That thing is pimp. I really didn't even have to adjust it, just screw in the ends half way and start shifting and it is clicking perfect.

A pick of the mock up with the barnes4wd battery box that is welded to the cage on 3 sides. Also I just used 2 pieces of 1/4" plate and cut it up and drilled 2 holes in it.


This is how they are mounted.


some holes encircled by wire wrapping allow for good cable/wire routing. These +/- wires are for my winch when mounted to the rear.


front winch wires as well as to starter/alternator going through a hole in the plate i screwed down on the original np208 shifter hole. This way my cables are far away from the exhaust.


All these shifters feel really good while driving, they feel like the perfect place to me. I still reach for the column shifter every time I start the thing. That will take some getting used to.
 
Now I have some tail lights. These aren't wired up to the brakes, just to the rock lights. Are some standard LED trailer tail lights. I don't care if brake lights work, just want someone to see me on a trail. Plus they look good.

 
Here is a vid of yesterday. Reminiscent of a mini rubicon, just a bit wetter.
biggrin.gif


You Tube
 
The wife has been complaining about no coverage in the back seat... so time for a bikini top.

I bought all the materials at Joann's for about 70 bucks which included:

Black marine vinyl
1" straps and buckles
5/8" heavy duty snaps.

Lukily my wife likes to sew. I guess all the money she has spent on craft garbage isn't all a waste.
laughing.gif
And she has gotten pretty good at sewing, everything looks pretty professional. The only thing I had to put up with was feeling like a queer in line to get the vinyl cut at joann's.


And I cut out a few of the gates on the art carr shifter.... Soooooo much better. The shifter makes this thing a ton more fun to drive, and now I am not playing plinko on my way from 1st gear to reverse.

 
Follow up on the tie rod, here it is installed, It had gotten bent over time so I sleeved it with some 1 3/4 .120 wall dom. So now it is 1 3/4, 3/8 wall.

 
I reworked my front suspension. First I bought some new 70's 3/4 ton dodge rear springs to put on my front. They are 52's but have a 2" offset, so they measure 24" front, 28" rear. These are a bit stiffer and have my axle at exactly where I want it. Now I have overloads, which is better at keeping the rockwell out of my engine crossmember, however these springs sit flatter than my last pair so I had to rework some other things.

First, when I originally mounted the spring perches on the front I did it at dead center, the diy4x pinion brake is a big rotor and was rubbing the spring a lot, so I trimmed down the rotor, and shaved a little bit of the spring. It seemed like once I got 1/2" clearance it wouldn't rub regardless of the scenario, however that made my pad/rotor interface a bit wacky and would pulsate my front brake. I also was going through pads like a mofo. So I cut off the spring perches, bought some new ones from ruffstuff and welded them on 1/2" to the passenger side of the axle. So now my axle sits 1/2" to the driver side. (don't worry, I have a 1/2" wheel spacer on the passenger wheel to even everything out) Anywho here's a pic of the rotor spring clearance at ride height.


Second, I needed some blocks to get the height I want, so I have a set of 1" overloads from my rear 63's sitting around, I trimmed them down to the same length as the ez inch and welded them together to make 1 solid 2" block. To adjust pinion angle I have a 7 degree shim, all of this is bolted to the spring via a grade 8 leaf spring bolt.

 
To accomodate the blocks I needed longer u bolts, I also sourced these from ruffstuff, their rockwell u bolt usually are 10" long, but I had them make me some 2" longer so they would work with this setup.

Third, another issue I had was running the leaf spring at such an angle, high in front, low in back. I had 52's with 7.25" shackles. Really that setup is designed for 56's with a steep backwards shackle angle putting the spring in a flatter setup. Running 52's with that puts it almost vertical, which set me at good height with my old springs, but was causing my booggers to flex up into my wheelwell. To fix that I hacked up the front of the b52's and dropped the front spring eye down about 2" with some ruffstuff 3/8" link mounts. Then I redrilled and shortened the shackles down to 6" ones. Now the leaf spring sits flatter, and flexes more vertical and I can't even try to get these booggers to hit the cab/what's left of the fenders.


Oh yeah, if you are thinking about using these dodge springs, know that they use 5/8" bolts, so you will probably have to drill everything out and spend cash on grade 8 gold.
 
Somewhat stuffed boogger, I guess you can just trust me that it doesn't rub anymore.

 
So this is my current ride height, 4" from rockwell to crossmember, pretty much the same as before.


And here's my shackle angle at ride height, better than before.
9/16 bolt upper, 5/8 bolt lower

 
So now onto fixing some axle wrap. With pinion brakes and 44's that front axle has always had a bit too much axle wrap. The springs would load up when I would step on the brakes, and I was getting a little too much wheel hop for my liking, and now that I have 2" blocks I feel it necessary.

Now I have never been satistfied with front wrap bars I have seen before. I feel like all of them have caused too much binding and limit flex. After a great amount of thought I came up with the below picture. I reused one of the b52's remaining holes and used ruffstuff 5/8" heims, and some 1" sch40 poop pipe I had lying around and voila.


Now the location, angle, and relationship to the main spring was important, lots of suspension cycling and measuring in the garage determined the angle, length, and location of this "wrap bar". I understand that it doesn't eliminate all wrap, but let me tell you it has been working wonders. The pedal feel, wrap, and wheel hop are all improved.

More pics


Yes this front bolt is currently single sheer, but it is 5/8" and shouldn't see high stress, but I may just run a 5/8" bolt all the way through the b52.


An no it doesn't bind.


One thing it does need is to be notched to clear that main spring helper bolt, no biggy though.

 
So then I packed the family up and went to hilltop offroad park in Saint Helens, Oregon, 2 hrs south of me. I guess it's more like private property that the guy opens up to people every once in a while. Anywho I was pretty impressed with the park, had lots of fun hill climbs, log and rock sections. Obviously there was a giant mud bog, that most of the people stayed at all day, but I played on the few rocks they did have.

Here is a pic of my setup there.


A small fraction of how many people were there. There were actually a lot of trucks.


I met this guy, he competed in TTC11. Let me tell you that motor can scream!!! It may not idle worth a damn, but was pretty impressive when he stepped on it.


Their mud bog


This park I guess is pretty new, if they continue to build up the logs/rocks/hill climbs I will be back.

I think I am high centered.
thefinger.gif


Sorry, that's the only pic of my rig, I was too busy jogging my 3 toddlers and pregnant wife to get any more pics.
 

Latest Posts

Top Bottom