search my name and broken exhaust bolts . I have covered the plug weld trick lots of times . and most of them is for this engine problem like you have .
CK5

You are using an out of date browser. It may not display this or other websites correctly.
You should upgrade or use an alternative browser.
You should upgrade or use an alternative browser.
1968 C10 DD, project "New Tricks"
- Thread starter K85 Octane
- Start date
y5mgisi
1 ton status
Mine also has one broken off that I need to fix.
That is badass!!!!!!!!
search my name and broken exhaust bolts . I have covered the plug weld trick lots of times . and most of them is for this engine problem like you have .
I know I'm retarded, but I couldn't find the threads. This one popped up in one search.
 Tried only ones you started and found nothing. Ahh I'll try again when I get home, when I have my desktop in front of me.
I know I'm retarded, but I couldn't find the threads. This one popped up in one search.
Can't remember dudes name but the guy in nor cal with the utility bed. He had to the same thing and sweet k30 posted in there too
Can't remember dudes name but the guy in nor cal with the utility bed. He had to the same thing and sweet k30 posted in there too
NorCalKid I believe, or close to that.
Thanks for letting me know, I just read through it.
Question:
How are you grounding the nut? And do I just fill the center of the nut? This is gunna get ugly lol, no gas means I'm runny flux core ATM, but at least it will be HOT.

Luckily, I don't have any body pieces around the engine yet, except a painted frame and firewall
Last edited:
Can't remember dudes name but the guy in nor cal with the utility bed. He had to the same thing and sweet k30 posted in there too
 http://coloradok5.com/forums/showthread.php?t=309664&highlight=weld
SouthernYank
1/2 ton status
You could always drill the center of the bolt for an easy out. Drill a hole, heat up the broken bolt with torch then put a candle in the bolt hole it should suck up around the threads allowing it to come out easier.
That's if you don't go with what ^^^ they said.
That's if you don't go with what ^^^ they said.
You could always drill the center of the bolt for an easy out. Drill a hole, heat up the broken bolt with torch then put a candle in the bolt hole it should suck up around the threads allowing it to come out easier.
That's if you don't go with what ^^^ they said.
you try drilling these newer bolts yet ? ? ? not std hardness like grade 2 or 5 .
plus weld nut and let cool gets you 2-3 steps all in 1 .
but each to there own way
SouthernYank
1/2 ton status
you try drilling these newer bolts yet ? ? ? not std hardness like grade 2 or 5 .
plus weld nut and let cool gets you 2-3 steps all in 1 .
but each to there own way
Man the only wrenching I've gotten to do in the past 3 years is very minimal so I haven't tried any of the newer stuff.
I get what you're saying though. Is the bolt broken off flush?
the heads pop off the little suckers. 
SouthernYank
1/2 ton status
Exhaust bolts are the devil!
y5mgisi
1 ton status
Here's a good question, what should we be replacing these bolts with? Obviously we don't wanna go back with factory bolts right?
Here's a good question, what should we be replacing these bolts with? Obviously we don't wanna go back with factory bolts right?
x2
the guy I bought the motor from studded his own engine
All summit racing seems to have (via quick search) is zinc plated Dorman studs or bolts

Question:
How are you grounding the nut? And do I just fill the center of the nut?
Here's a picture of the firewall clearance and current position of the engine mounts. They are in the factory V8 holes. I can move them back to the factory I6 holes but the bottom one (not in picture) will need to be drilled. Luckily the holes in the upper rail are spaced the same, so it just leaves the bottom hole missing.  I can get it back another 2.5"


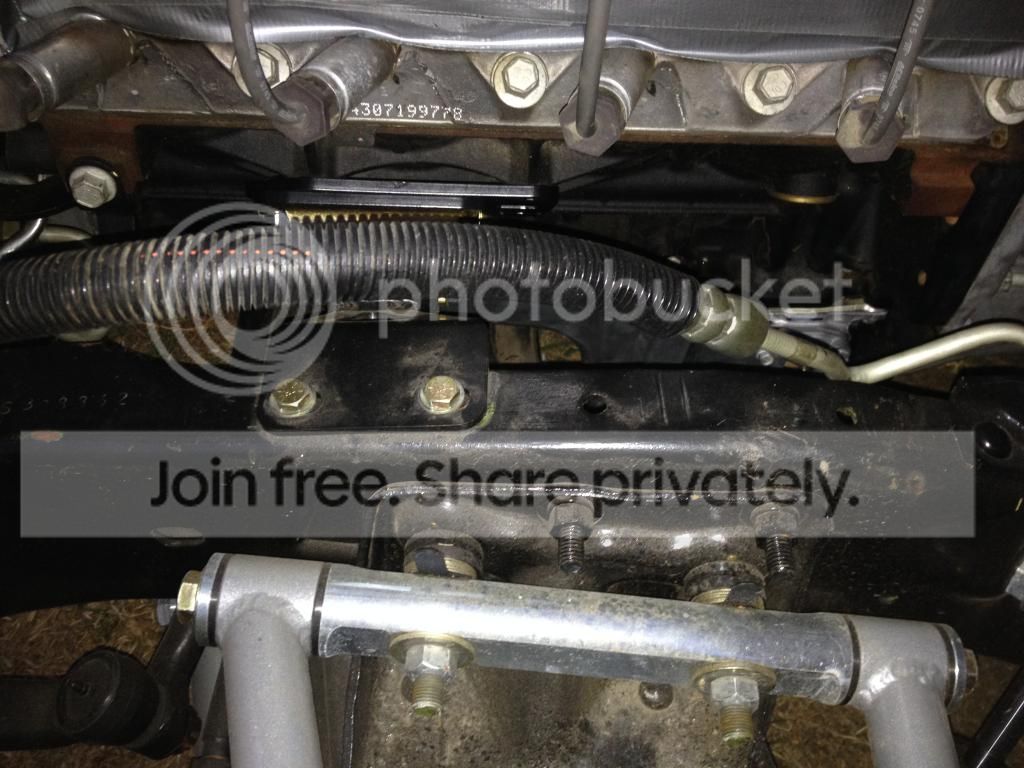
I can get it back another 2.5" 


I also did a lot of reading and found one of the biggest PITA parts to this swap is adapters. NorCalKid did what most everyone does and that's to tap the engine oil cooler cap. I was surprised to find out Dakota Digital included the metric oil pressure and coolant temp adapters with the gauges. (I guess LS swaps are finally popular in their eyes, AutoMeter also) So luckily I didn't have to drill and tap the cover. I also sprang for DD's OBDII reader for their gauge controller too. It plugs into the OBDII port and provides the gauges with Speed, RPM, Temp, and Volt. This means I've only got one CAT5 cable going into the gauges and only two sensors to wire up.....oil pressure and fuel sender. Those wires go into the controller and are also fed through the CAT5 cable.  oh thank you DD.
Wish I could have done that with the blazer. Oh man I hate wiring gauges and all those senders.

Those wires go into the controller and are also fed through the CAT5 cable. oh thank you DD.Wish I could have done that with the blazer. Oh man I hate wiring gauges and all those senders.

OMG I have to give credit where credit is due.
Page 14 has all this engine moving stuff covered already. Hahahaha I totally forgot about it. Started reading back over everything and came across it. Exactly what I'm going through right now, even down to the 2.5" measurement. Thanks guys!!!!
Page 14 has all this engine moving stuff covered already. Hahahaha I totally forgot about it. Started reading back over everything and came across it. Exactly what I'm going through right now, even down to the 2.5" measurement. Thanks guys!!!!
I ran flux core and a 3/8 nut to get my exhaust bolts out. They were a bitch but I had the full body on, shouldn't be too bad for you. I think it took me 13 tries?
Here's the pictures of the motor you asked for in my thread. I am running 73+ brackets with diy4x ls adapters, had to drill the bottom bolt hole but the top lined up. Sorry for the **** pictures

Firewall spacing. It's pretty tight in there

Here's the pictures of the motor you asked for in my thread. I am running 73+ brackets with diy4x ls adapters, had to drill the bottom bolt hole but the top lined up. Sorry for the **** pictures
Firewall spacing. It's pretty tight in there
Interesting. Those newer mounts and such got it way closer. Looks like I might be able to switch my Left/Right mounts and push it back even more. The frame mounts are offset and will only go in the way they are. But since I'm drilling a bottom hole anyway, I might just swap them side to side AND move them into the 6 cylinder holes. That's probably 3.5" right there.
When you welded, did you run the ground clamp to the vise grips? I'm just worried about where the ground goes and possibly shocking myself lol
When you welded, did you run the ground clamp to the vise grips? I'm just worried about where the ground goes and possibly shocking myself lol
When I put a 6.0 in my 72 Blazer I had it sitting much further back. I had to clearance the firewall a bit (I also ended up flipping the intake and running it into the cab).


