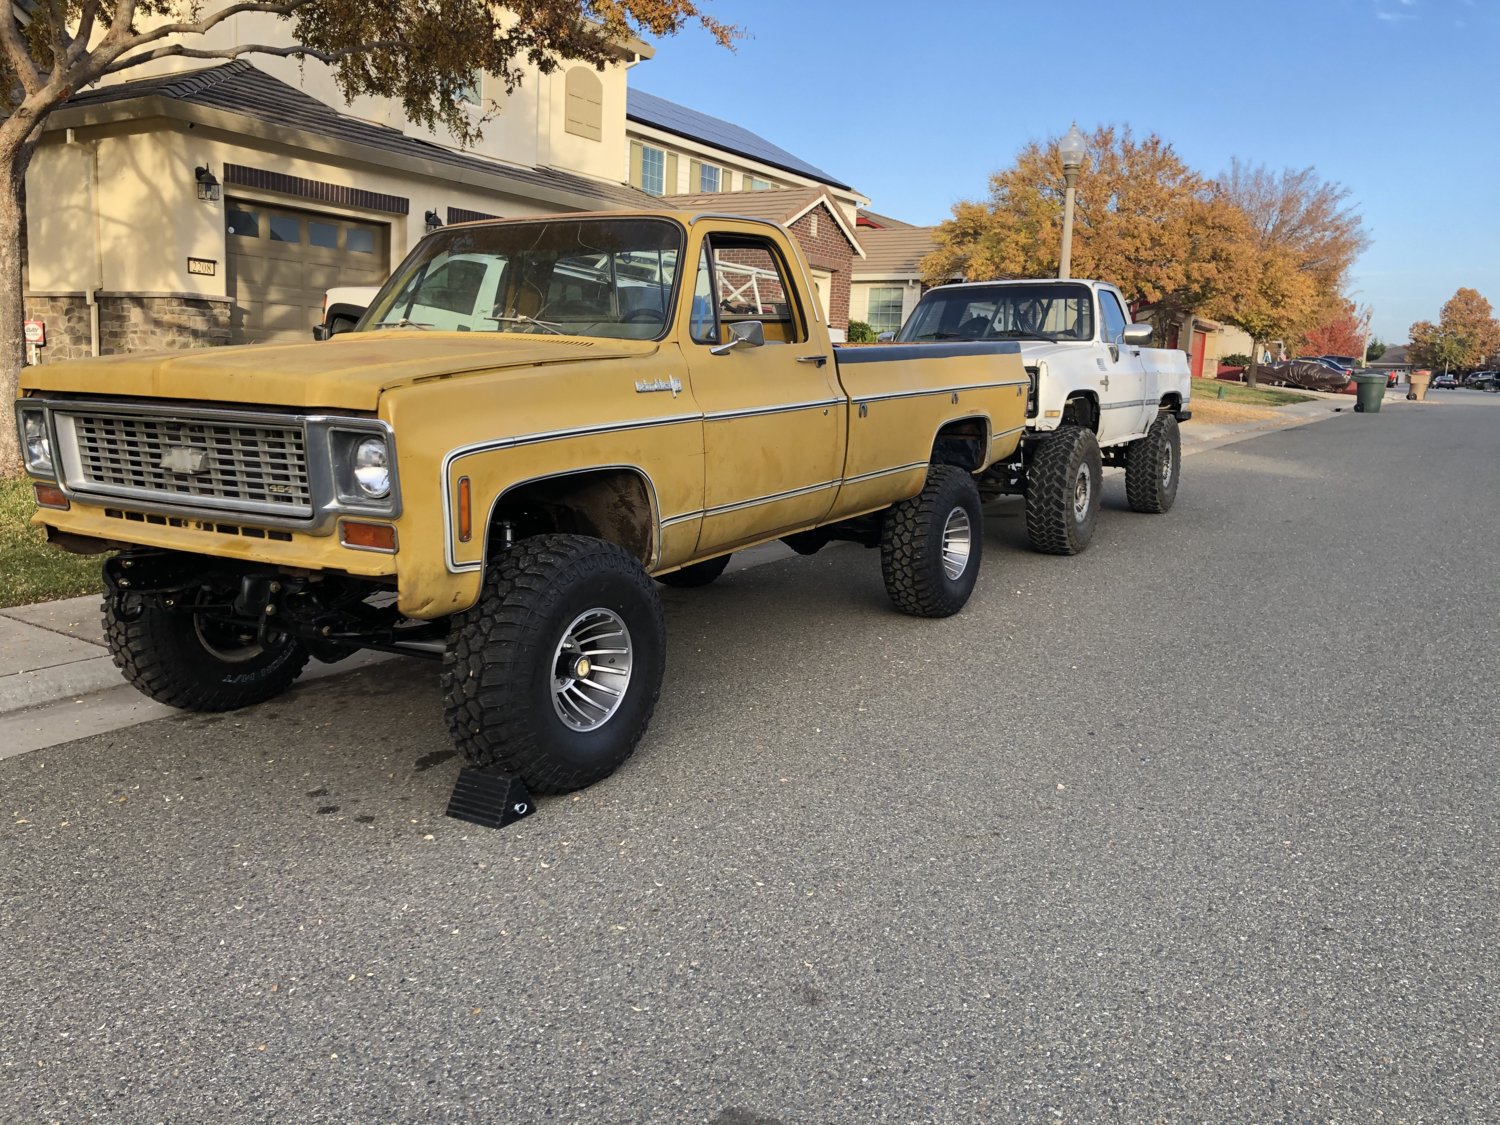
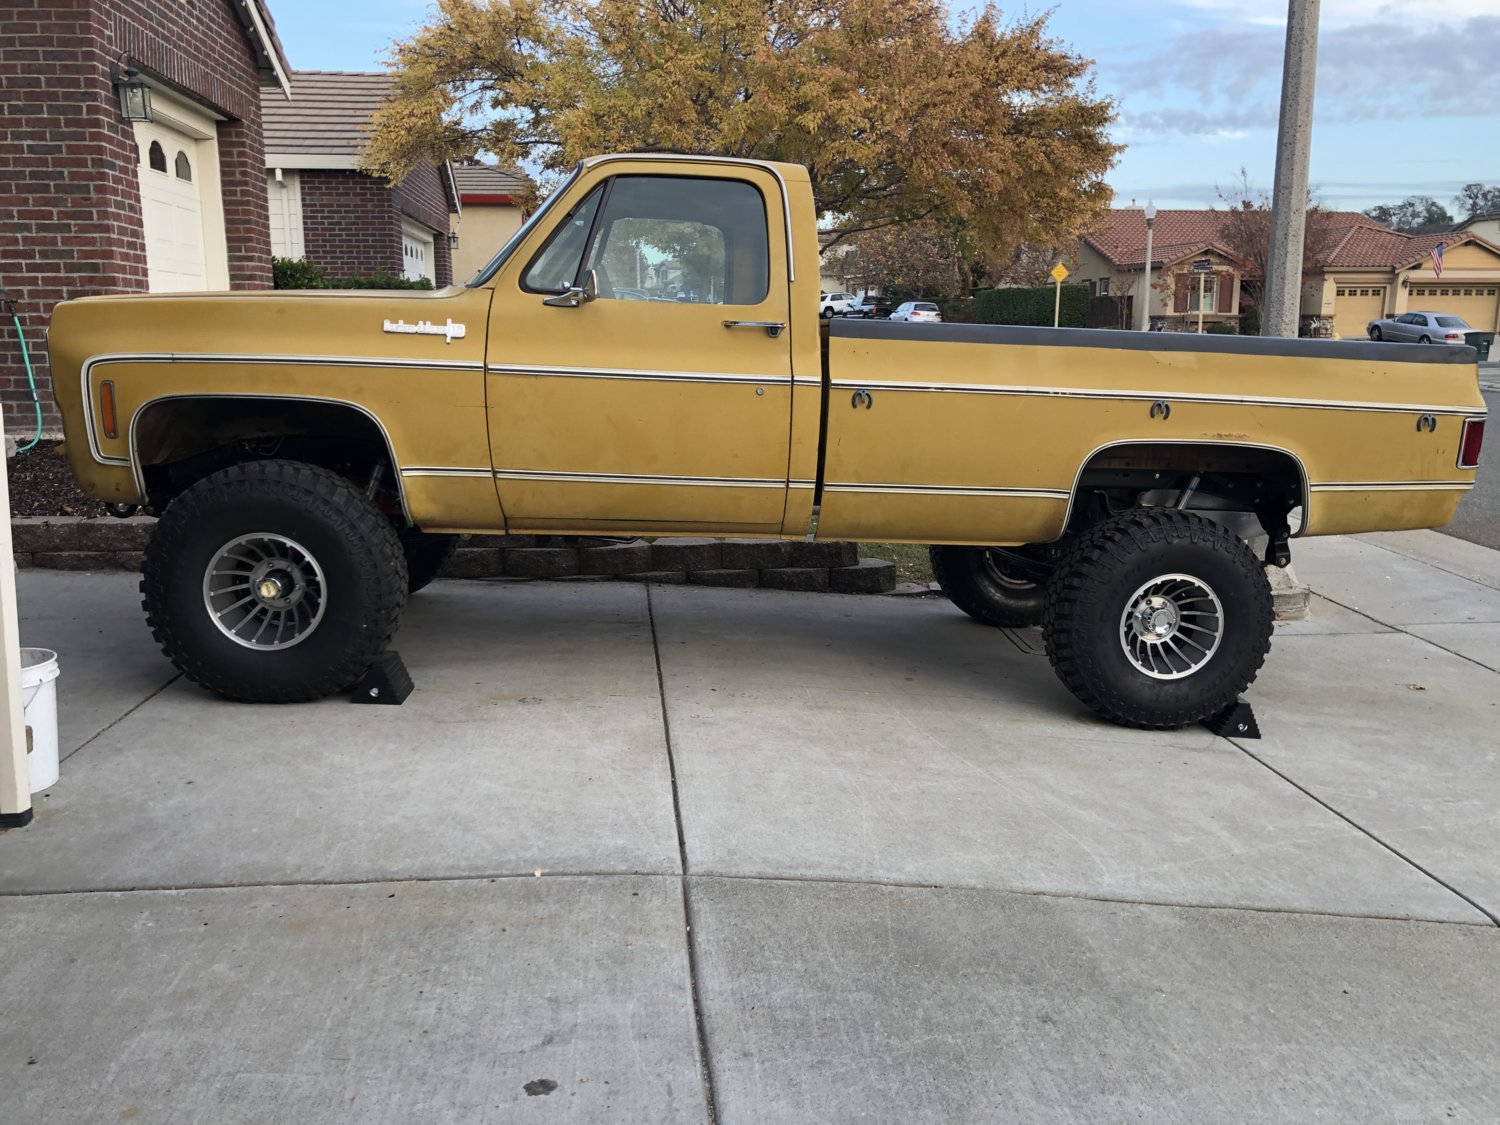
I pulled brake fluid through the lines with my mighty vac, installed a 11/32" vacuum line for the booster and pulled the truck out onto the street under it's own power. With the lockouts engaged, 4LO and my ass sitting on the cab floor which is somehow pretty comfortable. The EFI for some reason doesn't want to stay running for more than 10-15 seconds until it goes closed loop and then it runs fine. Tires rubbed the front fender coming out of the driveway so I'll be adding a EZ-Inch and/or a 1" pucks depending on how the springs break in. I'm still waiting on the output flange from ORD so I can order a rear driveshaft, hopefully it shows up tomorrow so I can place an order Monday. Lots of little parts on the way including lug nuts, radiator bracket, bumper bolts, door seals, e-brake cable etc.