CK5

You are using an out of date browser. It may not display this or other websites correctly.
You should upgrade or use an alternative browser.
You should upgrade or use an alternative browser.
A little bit of a hiccup yesterday when installing the new rotors. It looks as though the one that I ordered from Summit is a dually rotor, which unfortunately has slightly smaller holes for the wheel studs. I called around and a local O'Reilly had the right rotor in stock. Went over there and picked it up. Hoping to finish the entire front end today.
Trying to decide whether I want to take apart the locking hub mechanism and clean it all out today. I have done that before on my K5, so I know how it is done... and I really just want to get this K30 back on the road. I can always go back to it later.
Trying to decide whether I want to take apart the locking hub mechanism and clean it all out today. I have done that before on my K5, so I know how it is done... and I really just want to get this K30 back on the road. I can always go back to it later.
fyi the stud holes on DRW just need to open up a tiny bit to make them SRW spec . simple drill bit would of fixed this .
That knuckle is too far.@sweetk30 has offered a knuckle
I am sure he can find one in the Colorado area.
If not, sweet's deal is still there.
That knuckle is too far.
I am sure he can find one in the Colorado area.
If not, sweet's deal is still there.
He got a pair in Co. back together almost.
your way behind @imiceman44 . . . he already got a pair of them close from a member hereThat knuckle is too far.
I am sure he can find one in the Colorado area.
If not, sweet's deal is still there.

The other mistake I made first time I did brakes on a Dana 60 was to not put the clips on the ends of the brake pads.
@mrk5 I'm installing the new brake pads right now. The inner pads have clips on the ends of them. They came like that. But inside the packaging there are also two tiny abutment clips... do you know if I need these and where they would go? There are only two of them total so I figure it would be one per caliper.
you talking the 2 little stainless clips in this pic ?
if so 1 per inner pad i prefer to put them on the bottom tab were it sits in the knuckle . its a anti-rattle clip for the inner pad and a wear squealer point .

if so 1 per inner pad i prefer to put them on the bottom tab were it sits in the knuckle . its a anti-rattle clip for the inner pad and a wear squealer point .
just keeps the pad from chucking up/down in the brake bracket . i have torn apart a lot and most of the time there already gone . i my self have run with and with out them . but its just nice to know were they go and what there for .
make sure o use lots of anti-seize on the slide surfaces of the caliper to the bracket and lower wedge and u-shape arched spring . if they rust up the caliper wont slide and can be fun to get off later on .
make sure o use lots of anti-seize on the slide surfaces of the caliper to the bracket and lower wedge and u-shape arched spring . if they rust up the caliper wont slide and can be fun to get off later on .
I’ve got one caliper with the spring on and one without. The one without I couldn’t beat it in with a hammer.
Phase 1 is finally done. It took me 5 months and 2 days to do everything. THANK YOU to everyone who chimed in to help me. I couldn't do this without you guys, that's for sure.
The truck unfortunately won't start. Every time I crank it all I hear is a buzzing noise. The P.O. mentioned that the starter was messed up, has a shim in it or something, ring gear is messed up... gave him a call to ask whether he had any tips for me. Once I get it running I'll post a video.
Some photos:
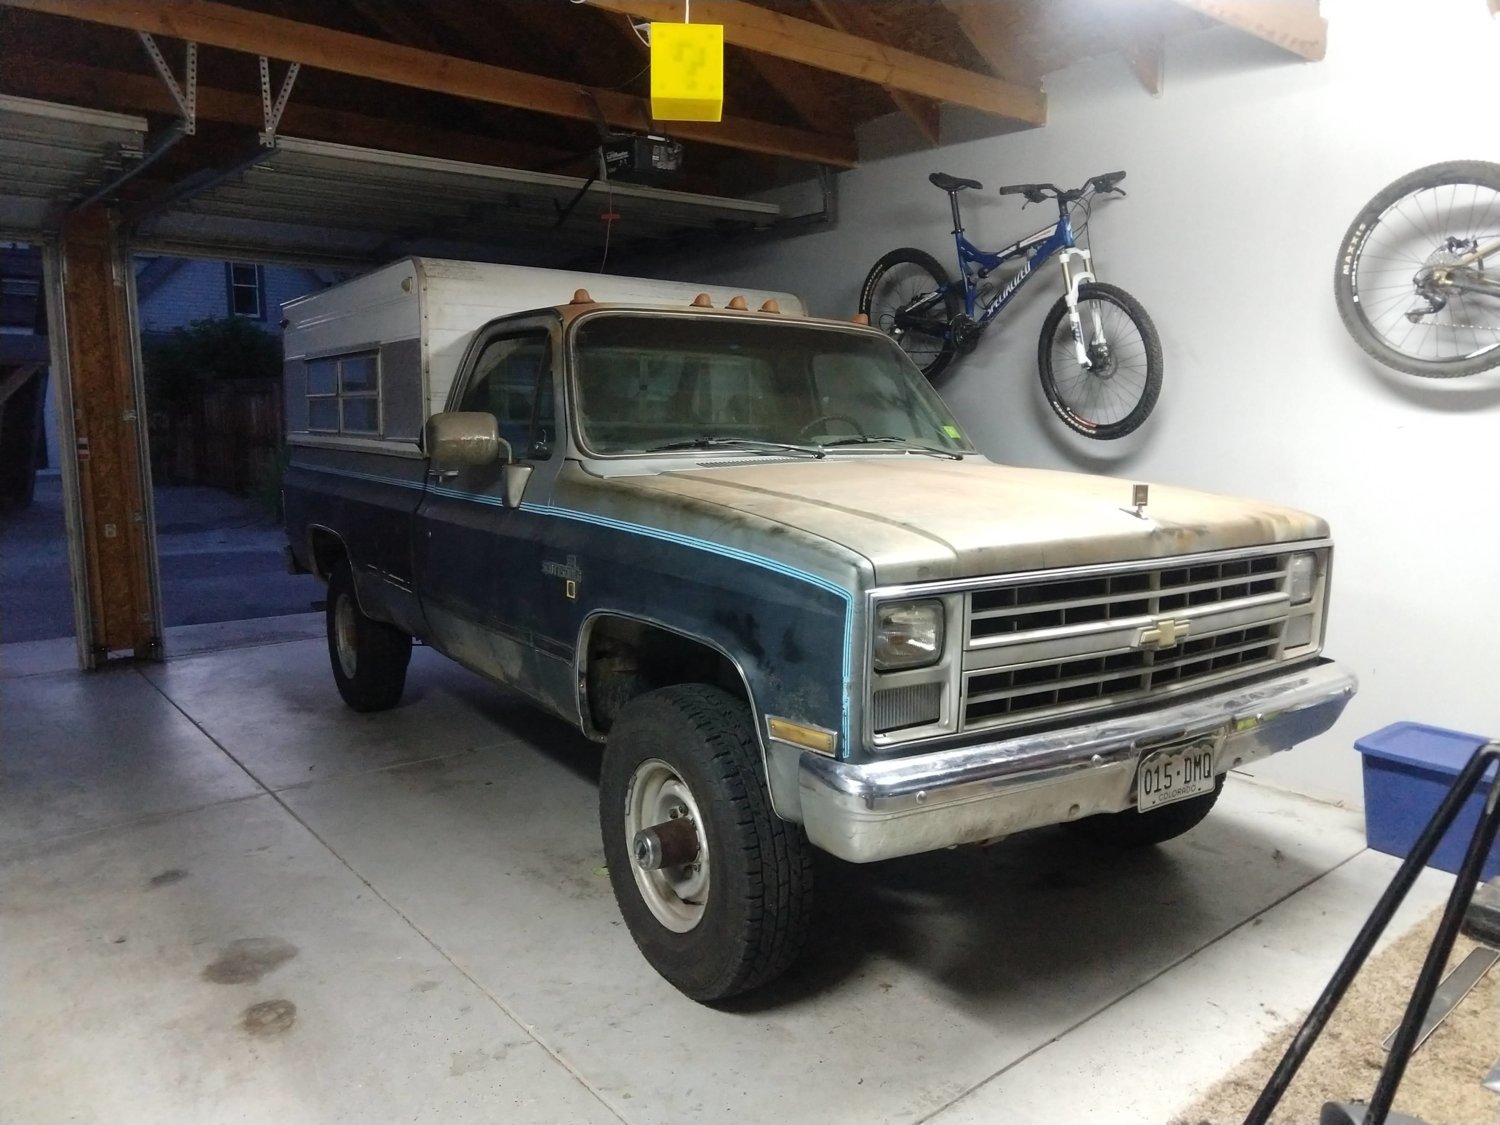
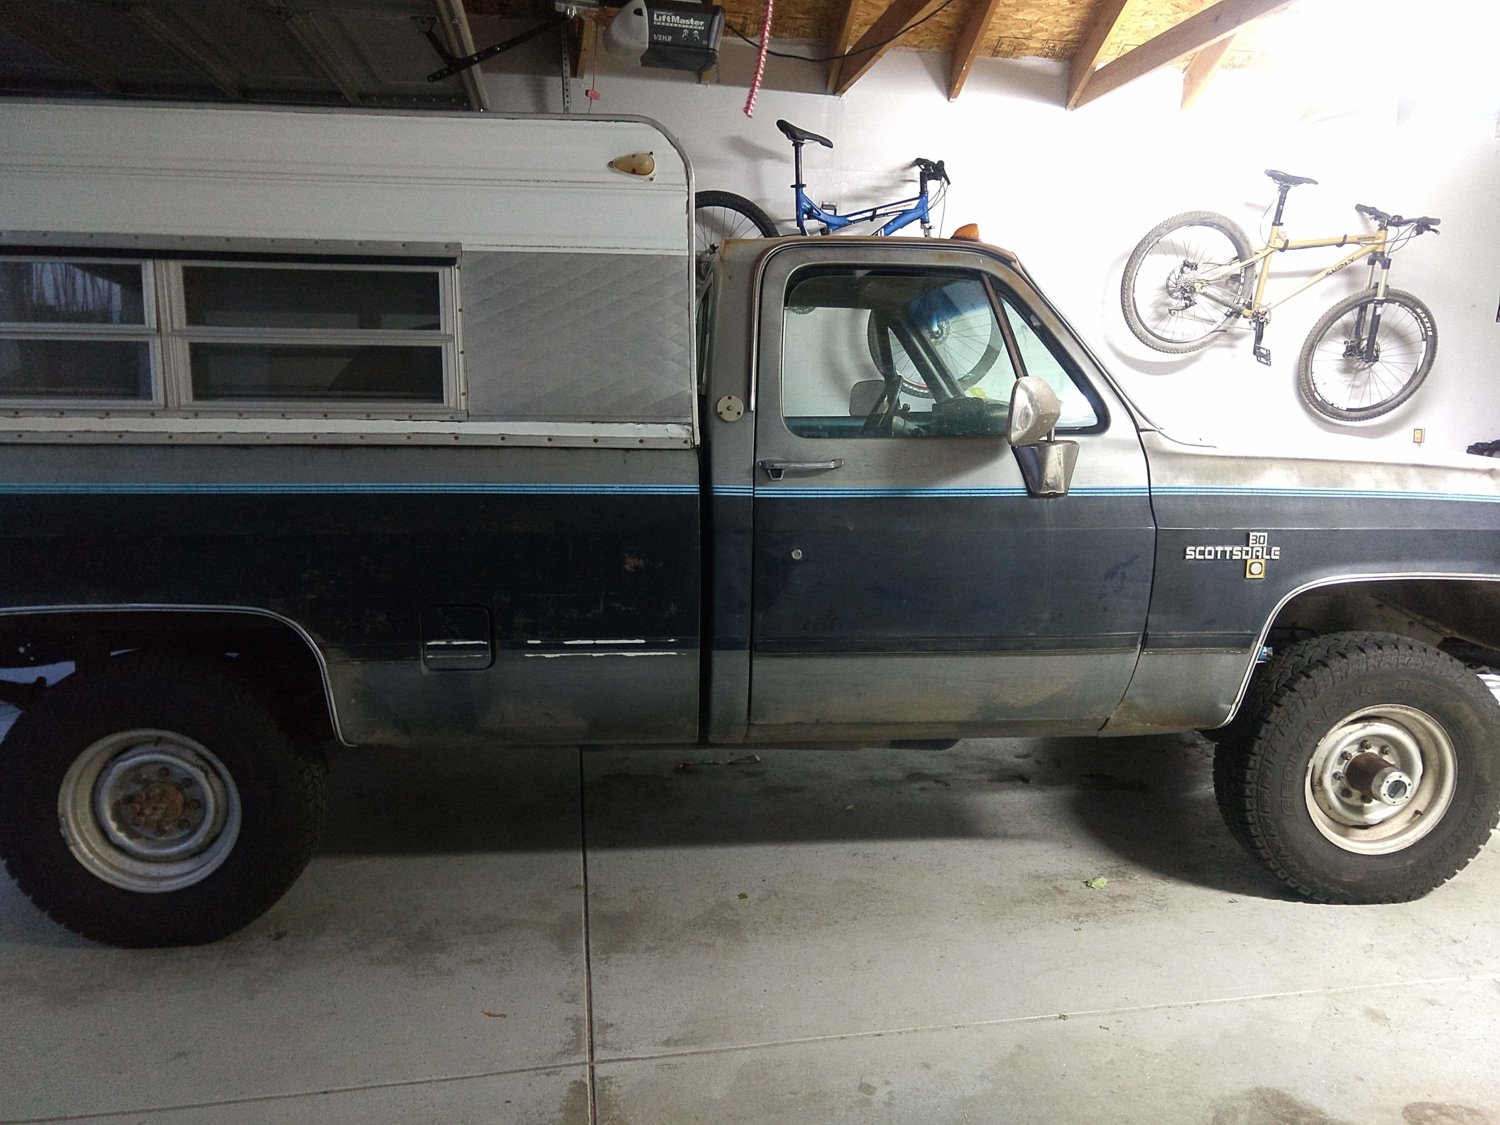
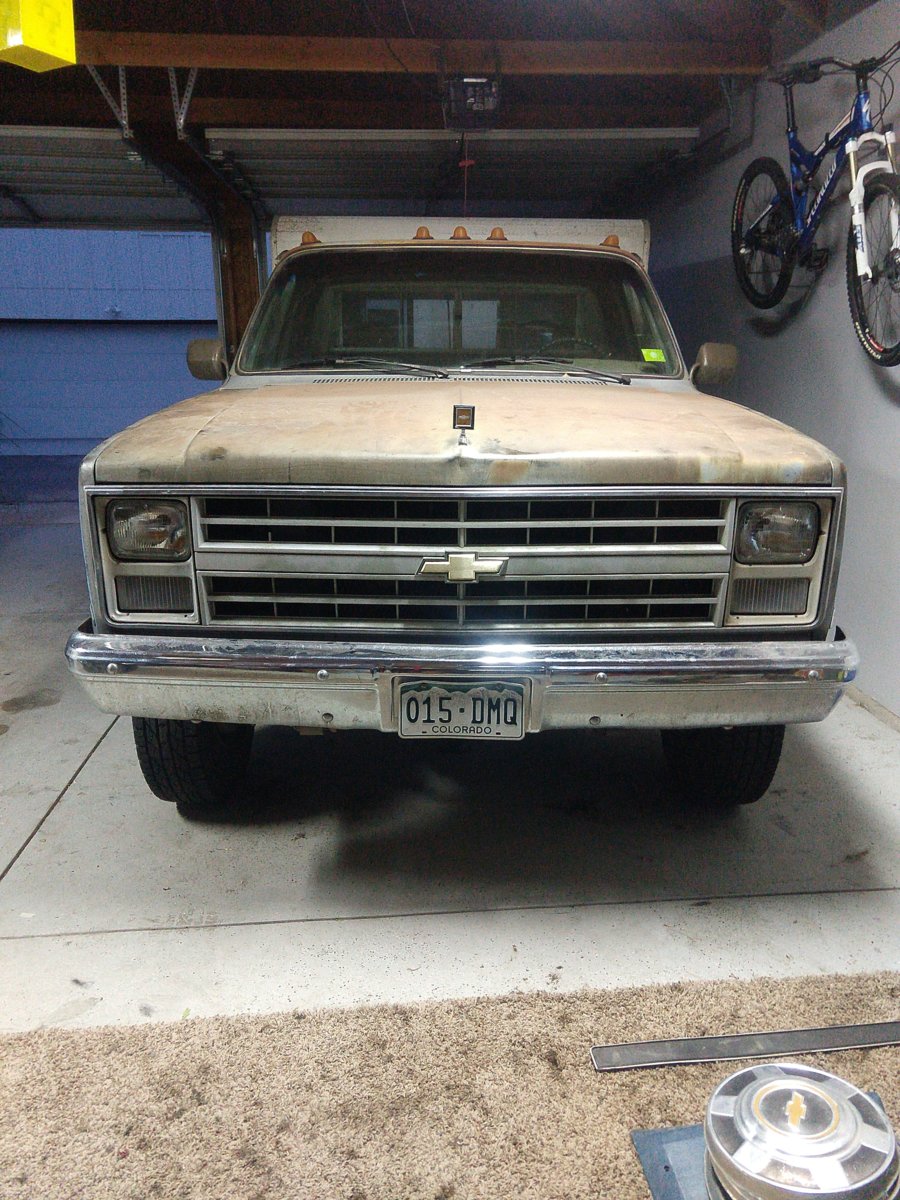
Things that I did during this phase:
The truck unfortunately won't start. Every time I crank it all I hear is a buzzing noise. The P.O. mentioned that the starter was messed up, has a shim in it or something, ring gear is messed up... gave him a call to ask whether he had any tips for me. Once I get it running I'll post a video.
Some photos:
Things that I did during this phase:
- New kingpin parts. Greased kingpins.
- New knuckles.
- New tie rod end boots. Greased tie rod ends.
- Greased drag link ends.
- New pads and rotors.
- New hub/wheel seals.
- Cleaned and regreased wheel bearings (inner and outer).
- New wheels and tires.
- Did not bleed brakes.
- Did not clean / regrease locking hub mechanism.
- Did not install abutment brackets on brake pads.
do NOT forget to pump the brake pedal good before you move it . make sure the pistions are up against the pads and rotors . hate to see you go OH CRAP 

and good job buddy . glad to help .


and good job buddy . glad to help .
Charge up the battery. The shim at the starter is to adjust the clearance, for the starter drive to fly wheel engagement. Correct way to set up starter. Not many people do this, or correctly.
I hope some teeth on fly wheel aren't missing. If starter spins and engine doesn't. Teeth could be missing or drive is not engaging flywheel. If this happens turn the crank by hand and try again if motor turns over, damaged teeth, if not starter drive engagement.
Good job on the front axle
I hope some teeth on fly wheel aren't missing. If starter spins and engine doesn't. Teeth could be missing or drive is not engaging flywheel. If this happens turn the crank by hand and try again if motor turns over, damaged teeth, if not starter drive engagement.
Good job on the front axle
It is embarrassing to admit, but I've never turned a crankshaft by hand. I'm sure it isn't rocket science - I'll do some reading on it today. The Haynes manual might have a section on it.
I usually put a pipe wrench on the crank pulley and spin it that way. They make tools that bolt to the crank to allow you to put a ratchet on it.
5/8ths deep 1/2" drive socket on a ratchet front center crank bolt. don't have to turn far just a few degrees.
You can pull the bell housing inspection cover and look at the the teeth, will need to turn crank to see them all.
You can pull the bell housing inspection cover and look at the the teeth, will need to turn crank to see them all.
its there turn the fan till you see the biggest gap. reach up and feel.

