CK5
Register an account today to become a member! Once signed in, you'll be able to participate on this site by adding your own topics and posts, as well as connect with other members.

1991 Chevy Crew Cab "R" / "V" Conversion

mckustomfab

1/2 ton status
Joined
Jan 24, 2005
Posts
317
Reaction score
306
Location
Carrollton, Tx
mckustomfab submitted a new Build:

1991 Chevy Crew Cab "R" / "V" Conversion

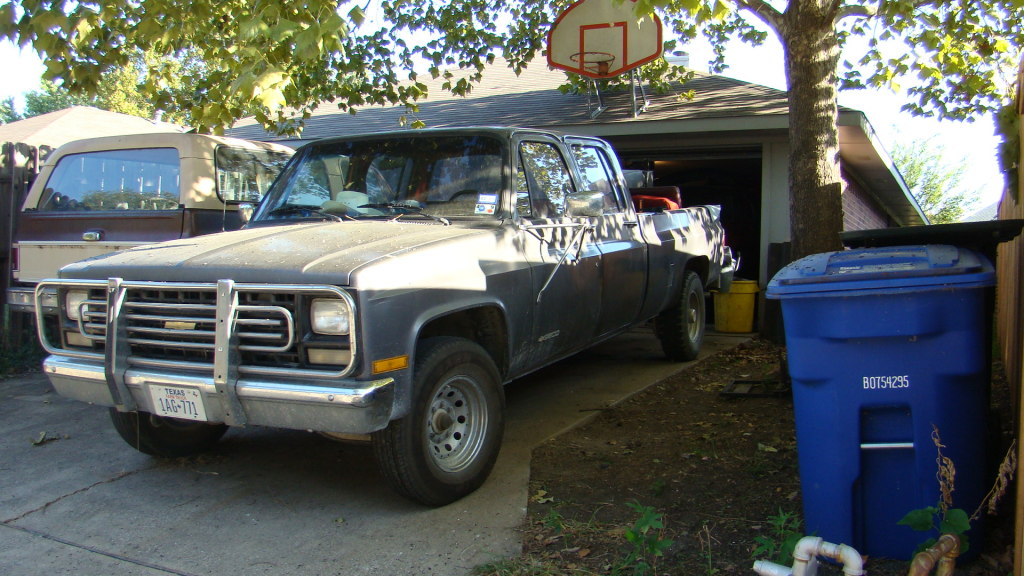
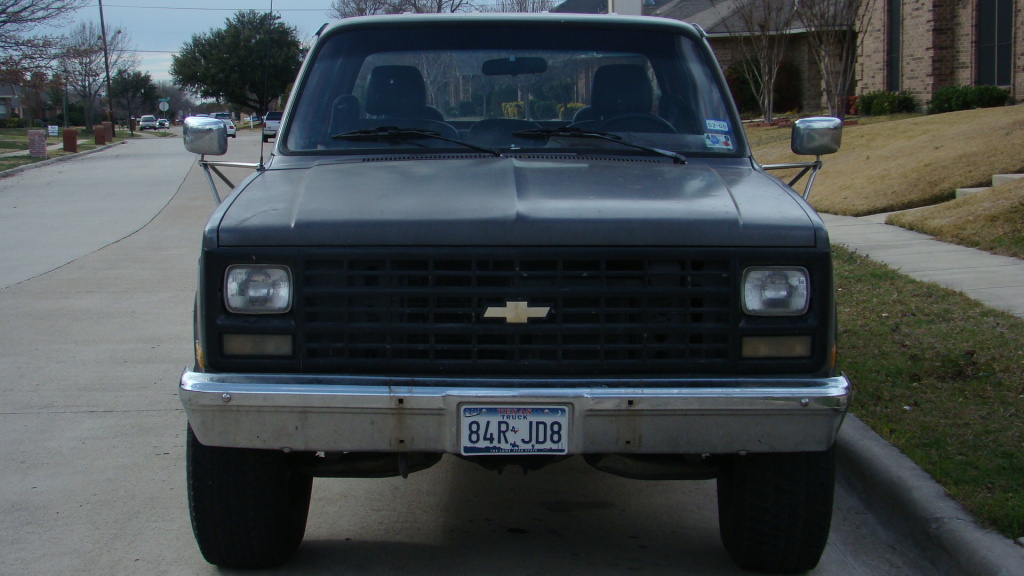
I have been a lurker here for a while and finally made enough progress with my project to start a build thread. Truck started out a 1991 Chevy R3500 Crew Cab with a TBI350 and a 4l80e trans. This truck is not going to be a "trail rig", it may see some trails but im not building it for flex etc. The end goals are a Cummins swap with a NV4500 & NP205 with 37-40" tires that can still pull a trailer when needed.

Nov. 2008ish - When i brought it home
full


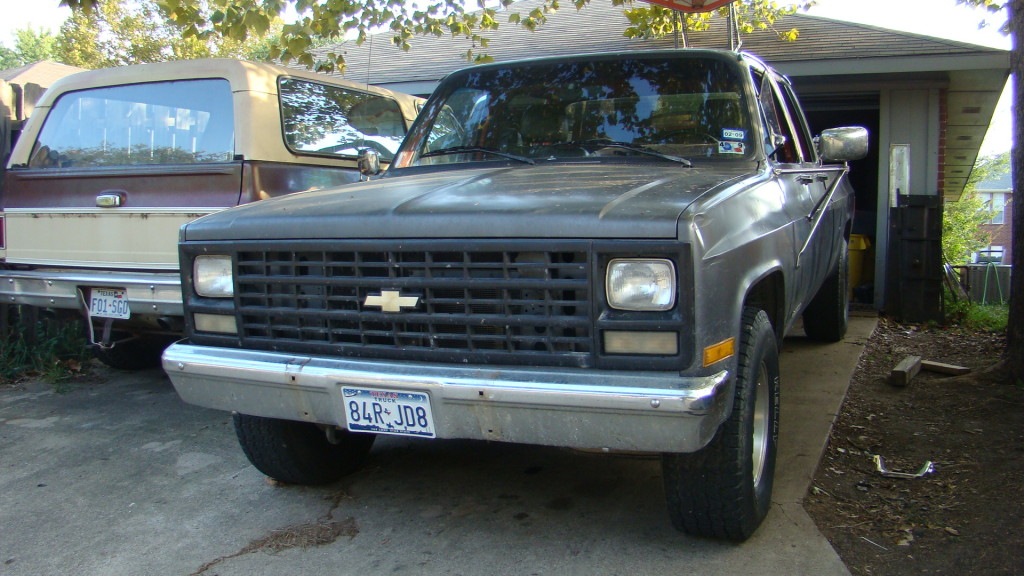
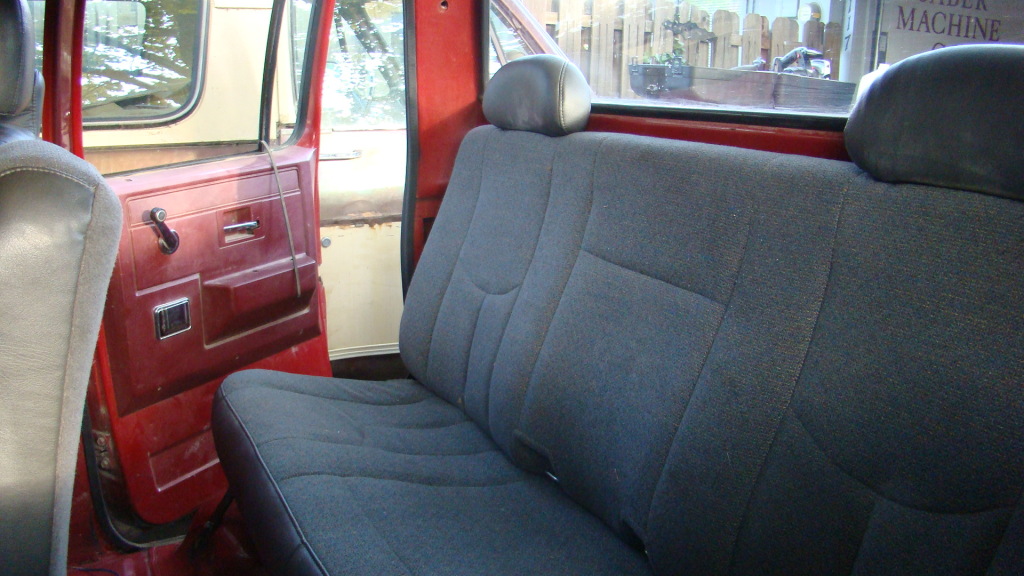
Dec. 2008ish - Then i cleaned out the cab and installed some 33X12.5X16.5 tires, installed seats from a 2004 Extended cab Chevy and removed the ugly grill guard.
full

full

full


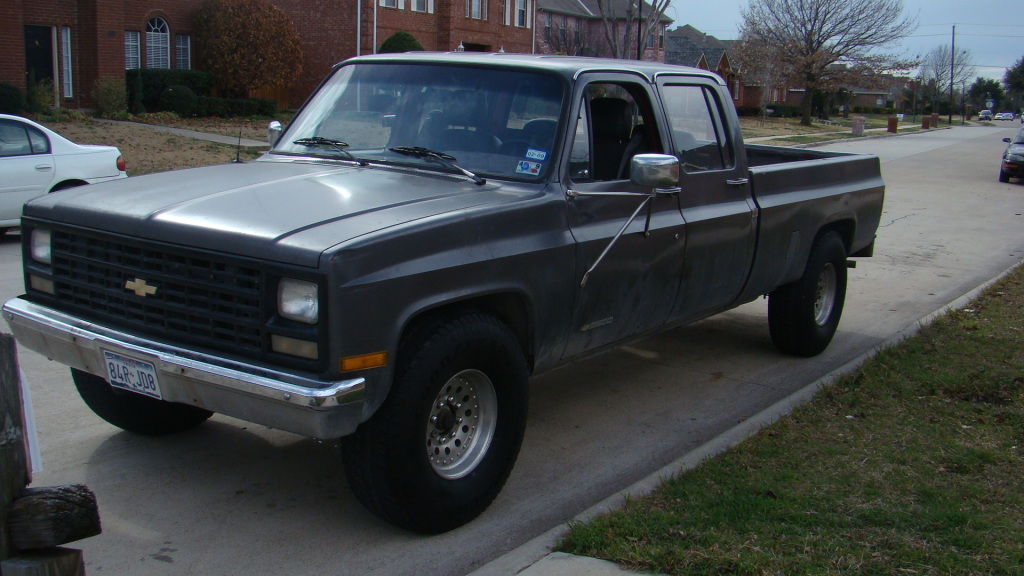
Found some 37X12.5X16.5 Military Good Years GSA and thought "Why Not" - Feb. 2009ish
full

full


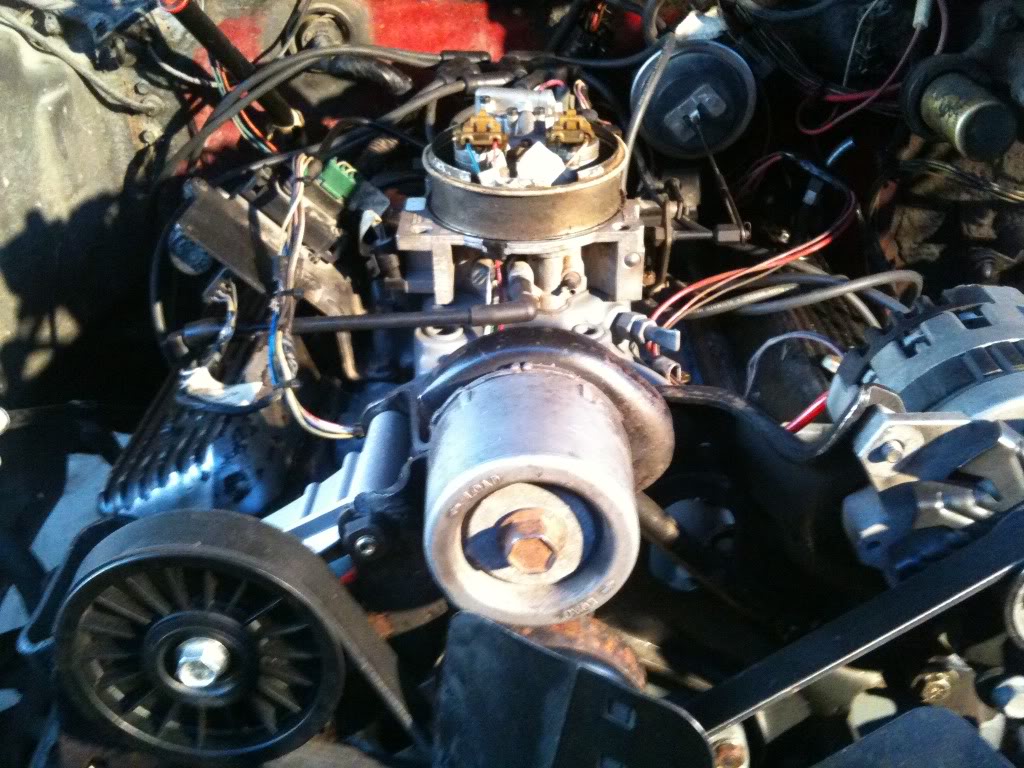
Sept. 2009ish - Swapped in a Reman 350 with Serp pulley setup
full


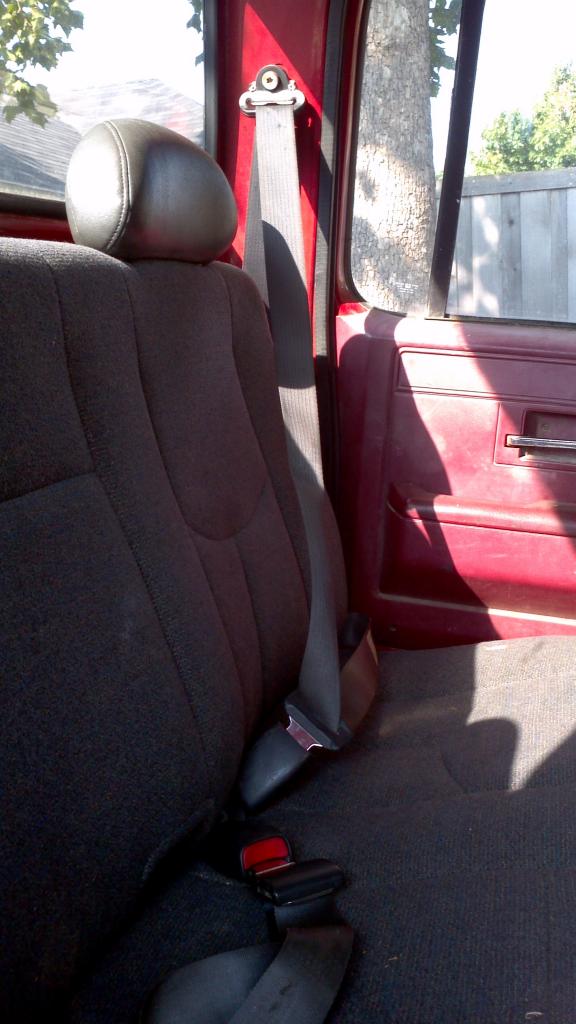
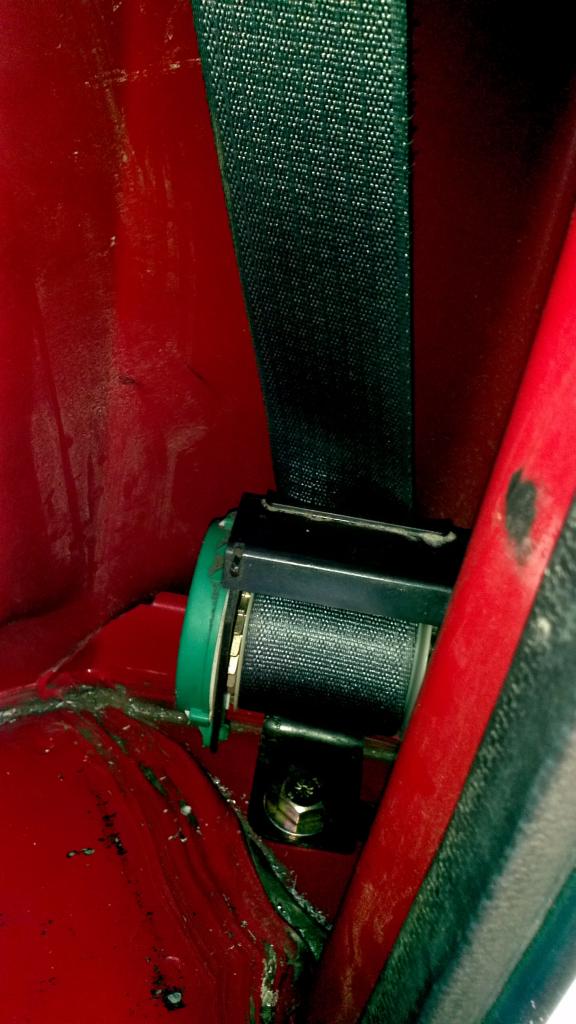
Oct. 2012ish - It sat that way for a while until I finally got the rear seatbelts installed
full

full


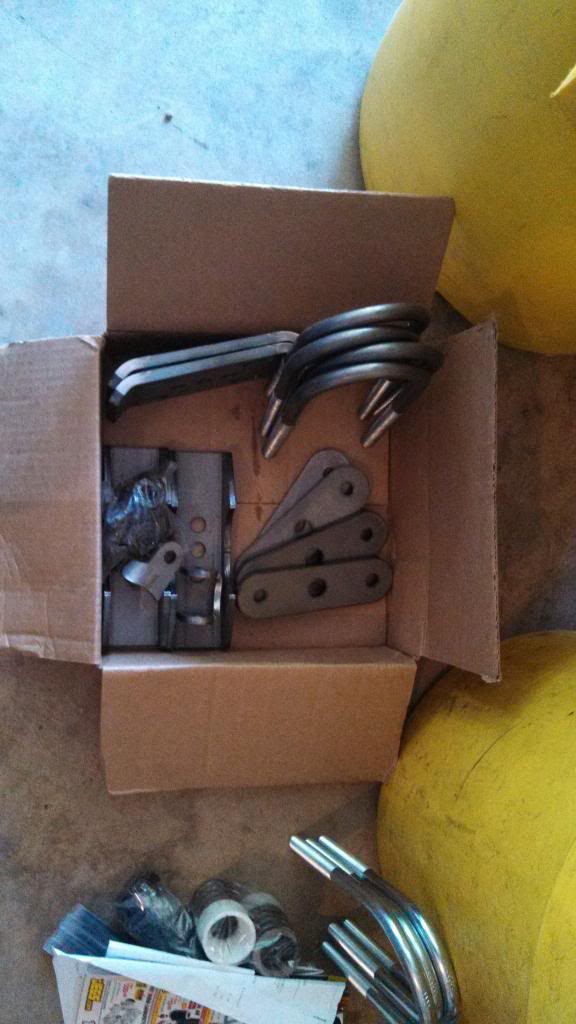
July 2013ish - Started getting parts together for the 4wd swap
full

full

full


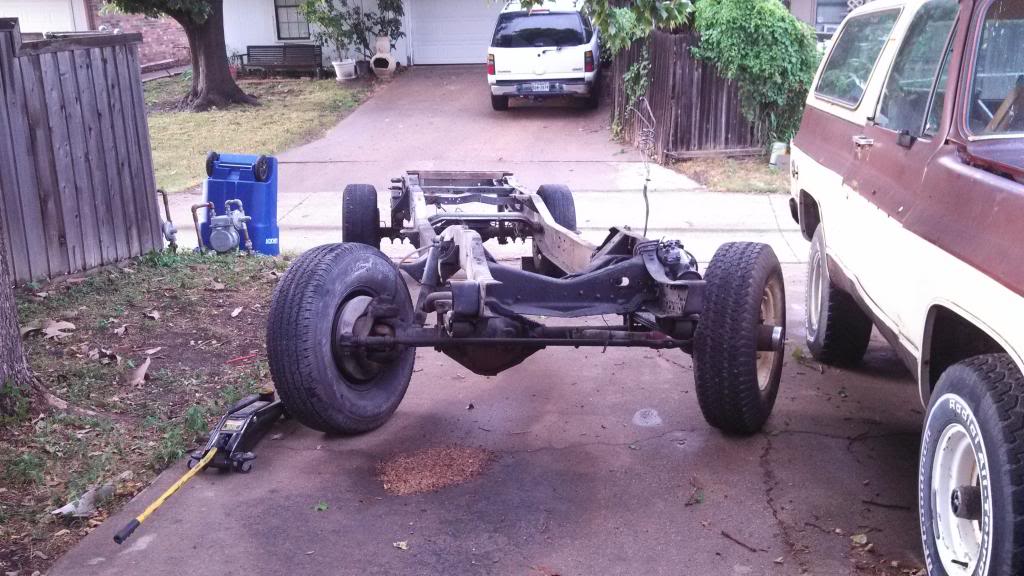
Installed some 64" rear springs
full


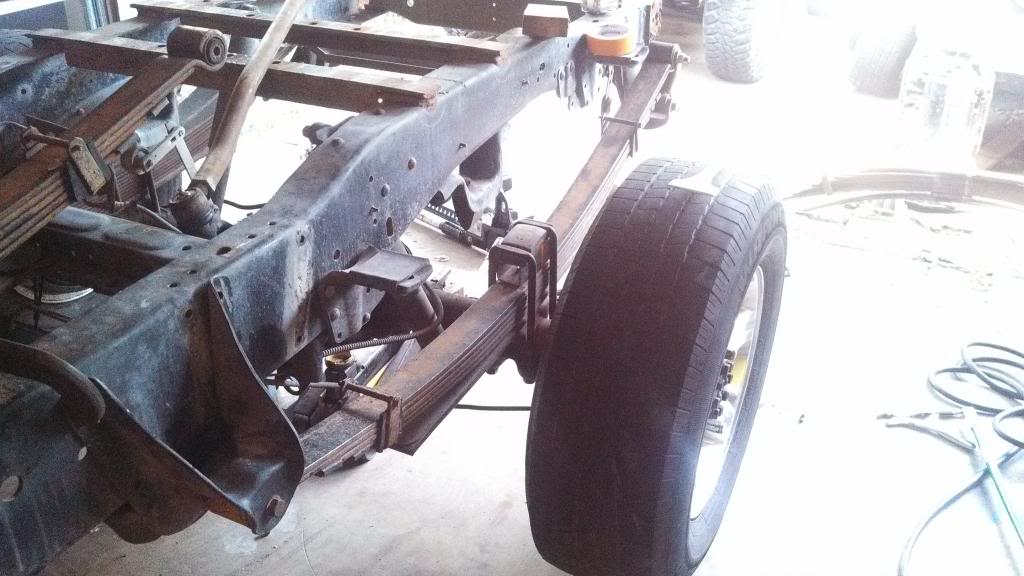
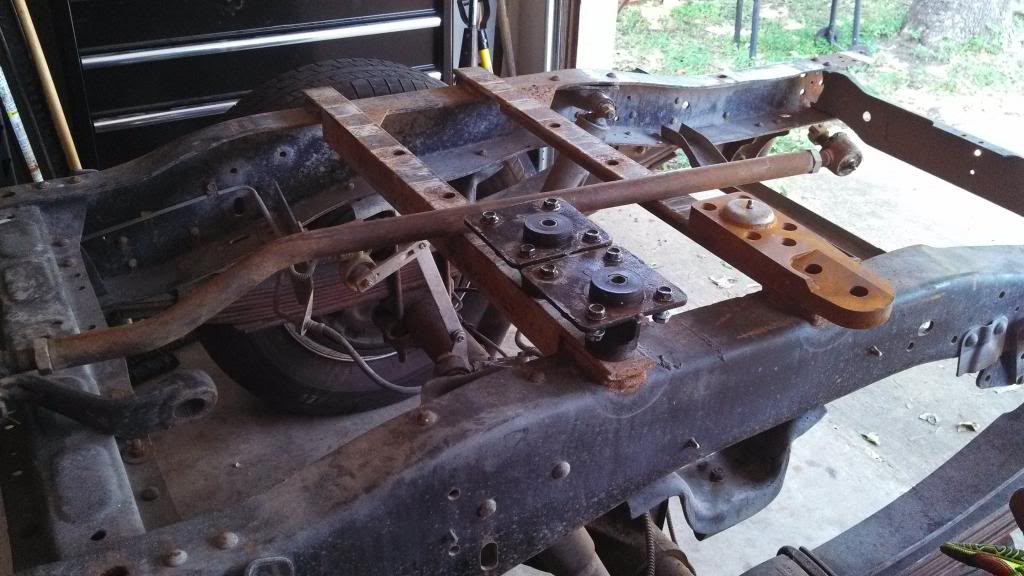
Sept. 2013 - Started moving brackets and installing my stock Superduty leaf springs up front.
full


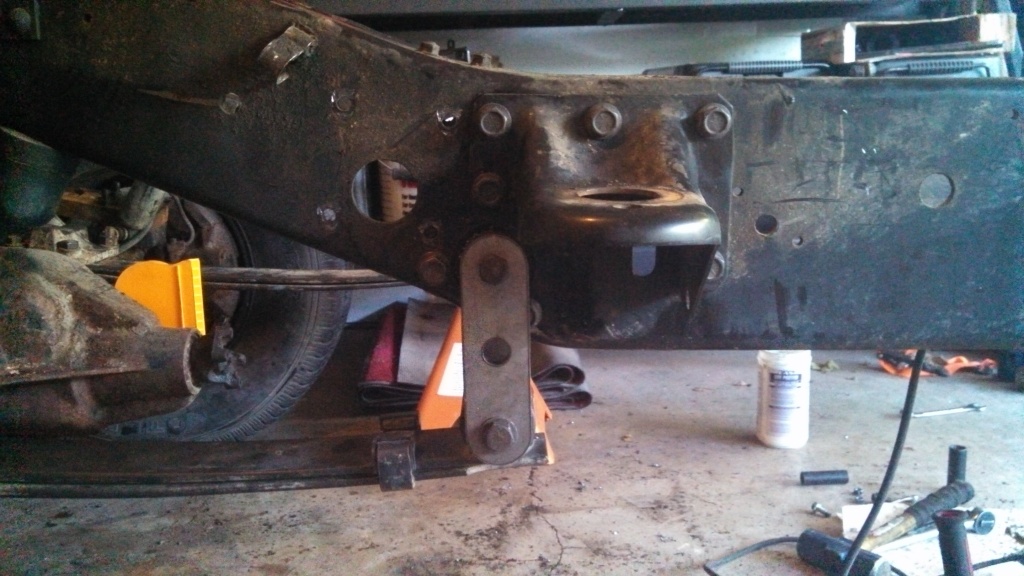
Jan. 2014 -Pulled the...

Read more about this build here...

View attachment 230324
 
Last edited:
I'm liking where this is headed sub'd! :popcorn:
 
Thanks everyone, and yeah seeing it on that 4wd frame felt real good. It was the completion of a stage. But for now it still has a 2wd drive train, where i live if i had left it tore down for very long the city would have raised all kinds of stink. So over a weekend My brother and I swapped the cab to the 4wd frame and then i spent Monday cutting up the 2wd frame. By Tuesday night you would have never known what happened except for the bed still sitting on the ground! Hopefully this weekend i will be able to get a 4wd NV4500, if it doenst get sold first. Then i have some ideas about bolting it up to my racetrack pattern NP205.
 
Cool build man. You get props from me doing a whole cab swap over an sas. I've seen a few guys doing interior swaps and they turn out great. I always wonder why you choose the ext cab seats over finding a crew cab rear seat? Any pics of how you mounted them?
 
Cool build man. You get props from me doing a whole cab swap over an sas. I've seen a few guys doing interior swaps and they turn out great. I always wonder why you choose the ext cab seats over finding a crew cab rear seat? Any pics of how you mounted them?

Thanks, I was going to do the frame conversion but i have a buddy that had a compete rolling chassis so i went that route. On the seats I got a screaming deal on them $200 bucks for the set (front and rear). I was also hurting for seat because the factory ones were trashed. Also the extended cab seats give a little more leg room with the way they are mounted. I will have to redo the way the front seats are mounted when i get into doing the interior. I am going to do one of two things. 1) Cut out the floor pan and run blazer floor pans but this will cause extra expense when i go to put rubber flooring in it. 2) just recess the floor under the sliders, atleast this way i can run a Crew Cab carpet kit.

I have some pics of the way the fronts are mounted nothing special just a 3/16" plate that is welded to the factory chevy brackets that tied the bench to the floor. Then the sliders are bolted to it, the rear i really dont have any good pics of but i will see if i can get some. The rear is sandwiched between the factory rear bench bracket and then some 1/4" strap to tie the front edge down. I will clean this up later.

Its kinda hard to tell but this is the rear bracket and i made a strap to sandwich the bottom of the seat frame.
50.jpg


On the front seat this bracket got welded to the 3/16" plate but i dont have any pics of it.
22.jpg


Like I said I will be redoing these when i get around to the Interior.
 
It moves on its own!

Well, got a little done over the last few days. I got a notice from the city, I guess someone didn't like my bed sitting next to my driveway. So I went ahead and installed the bed, mounted the fuel tank and bleed the brakes. I also made the factory front bumper fit back on. I couldn't resist taking it for a spin so I made a quick trip around the block. I took it very easy and didn't break 10 mph but it was a good feeling.

IMG_20140209_173542_412_zpsrxwc1jqi.jpg

IMG_20140209_173608_000_zpsqgmwyxba.jpg
 
I really like the gray color. Looking good!

Thanks, the previous owner painted this color over the factory red. When I get to the body work stage I am really thinking of going with a similar color with zero chrome and the bottom 12" of the doors done in color matched beeline.

Awesome man! Looks Great too!

Thanks man!

I eould be really interested in knowing how the stock super duty springs ride.

They seem like they will ride good, will have to wait till I get some shocks that are the right length and a few small things buttoned up. I have a little write up on texas4x4. My have to copy/paste it... http://www.texas4x4.org/axles-brake...-front-56-swap-question-different-take-44829/
 
Awesome rig! :waytogo:

Love seeing guys pull this stuff of in the driveway :thumb:


Also interested in more pics/details on the seat install...
 
Front suspension pics.

Awesome rig! :waytogo:

Love seeing guys pull this stuff of in the driveway :thumb:


Also interested in more pics/details on the seat install...

It's always interesting doing this stuff in the driveway, I have a garage but it is no where near big enough now that the cab is on. I will take some pics of the "temporary" seat mounts when I get back home. But that won't be until mid March.

I love it!

Looks great. Digging the build

Thanks guys I appreciate it.

Here are a few bad cell phone pics of the front super duty spring. You can see how flat they are, won't be a lot of up travel but with my purpose and as low as I am trying to keep it that's not a bad thing. You can also see how far it dropped the pinion, looks like I will need a 6° shim up front. It's kind of deceiving because my driveway slops down too but I think 4-6° will get me back to where I need to be.
IMG_20140208_172937_859_zpsxrqqqlhz.jpg

IMG_20140208_172947_913_zps91ms4iv7.jpg
 
So I have not done very much but I have got some parts and I'm waiting for a few other things to show up.

Parts ordered-
- Degree shims for front and rear
- U-bolt flip and a lift block for rear
- Front 2" lift springs
- Rear shocks
- Misc Poly bushings

I also got my front U-bolt plates worked out and picked up my 4wd NV4500. Had to change out my carrier bearing crossmember due to angle issues. And installed one side of my rear assist handles.

Pass U-bolt plate installed
20140323_160853_zps1vt9ukxm.jpg

Assist handle
IMG_20140322_141244_385_zpseirgtede.jpg

4wd NV4500
20140324_203317_zpsn3zfrhn3.jpg


Should have more progress when the other parts show up.
 
Top Bottom