CK5
Register an account today to become a member! Once signed in, you'll be able to participate on this site by adding your own topics and posts, as well as connect with other members.
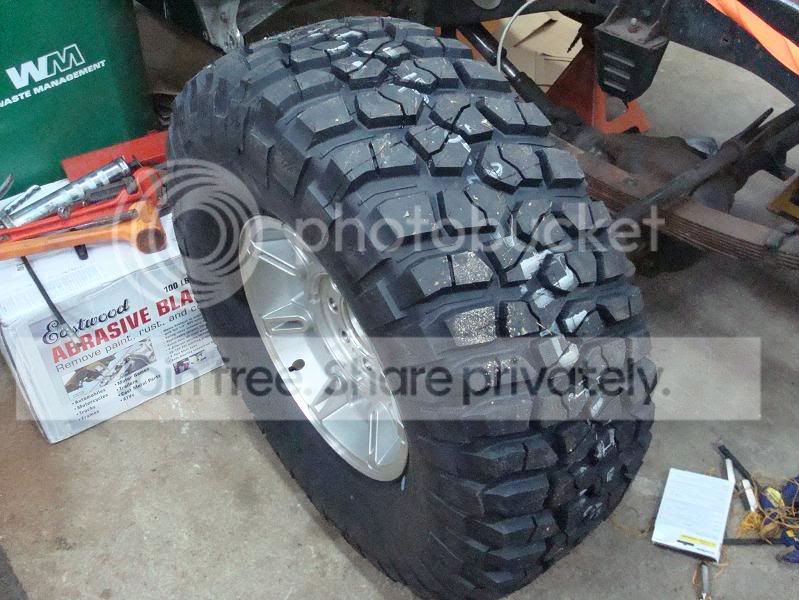
Test 2: Gnarly new KM2 tire!!!! BooYaa!! :saweet:

DSC01861.jpg


Photobucket experiment...


:usaflag:
 
2009.08.30 - UPDATE! - PHOTOS ARE PARITALLY RESTORED....

Well, I was fighting it but I've decided to migrate my countless photographs from the NCOR website (which has been under constant hacker attacks) to a more mainstream photo hosting service.

I've already dumped all the build photos there, and am now in the process of repairing all the broken links in this build thread to point them to my new Photobucket account. I've managed to work backwards to approximately Post #500.... but clearly there is a long way to go. :yikes:

I don't feel like spending the rest of today doing it, so I'll probably just do 100 pages or so each morning until it's all done. I'd rather get outside and made some forward progress on the build and get some NEW photos!!

New developments are that I now have a complete set of OEM style rubber body mounts (not easy to find) so before too much longer I am going to need to hang all the new sheetmetal and shim the body mounts to get the door gaps correct. THEN, I can lock-down all the final cagework and tie it to the body the way I want. If I do it too soon, the doors may never fit right or close at all.

The Eastwood media blaster arrived this week, so once I pick up some Black Beauty media and a lot of plastic sheeting I can start trying to get this truck to bare metal and then quickly into primer so that I don't have to keep dealing with flash rust when the humid weather rolls in.

As you already saw, I've got the one KM2 tire mounted now so I can also get back to the swingout tire carrier and get actual dimensions and clearances figured out.

Plenty to do.... so I'd better get out there and pick something to work on.


:usaflag:
 
diligence young man, diligence.... :waytogo:


um, sorry about that... :haha:

I'm heading down myself.... :deal:

try to keep the faith when ya get into the blasting.. it can be annoying... :(
 
Hackers attack your site? I didn't think NCOR would be big enough to get attention of hackers.
 
Hackers attack your site? I didn't think NCOR would be big enough to get attention of hackers.

We were getting hacked weekly and several times a day. Our bulletin board is old school stuff and is currently being updated to a more modern bulletin board that "should" be hacker free for a long time. This has been an ongoing problem for probably the last 3-4 years and was made worse after Jason passed away as he was the person who took care of the website.
 
greg awsome build!

question though,
You aren't keeping a hardtop on it are you?
 
greg awsome build!

question though,
You aren't keeping a hardtop on it are you?


No, the hardtop is long gone.

For a lot of years I'd been keeping the top "just in case", but the reality is that it's 350Lbs and it's a pain to store it......you can't wheel with it on because it will crack to pieces, and it's too many bolts to remove it on a regular basis. It's just not a practical solution unless you plan to keep it permanently installed....and who the heck wants a truck with a solid roof??!!! :D

I was looking at the new Softtoppers, but it's doubtful that it would work without some modifications so I'll just be having something custom-made when the time comes.

Later.....much later.


:usaflag:
 
I was looking at the new Softtoppers, but it's doubtful that it would work without some modifications so I'll just be having something custom-made when the time comes.


In the short, find your self a soft top that's basically been srapped and make a nice bimi out of it.

Something that protects 'good enough' and is easy/quick to take on & off would do the trick for awhile anyway.
 
In the short, find your self a soft top that's basically been srapped and make a nice bimi out of it.

Something that protects 'good enough' and is easy/quick to take on & off would do the trick for awhile anyway.


Hmmmm......didn't you deliver something like that to me already? :D


:usaflag:
 
Hmmmm......didn't you deliver something like that to me already? :D


:usaflag:


Yeah...remembered that minor fact right after I posted. :doah:

Eitherway, it's a valid band-aid till you get the final product made.
 
2009.09.07 - UPDATE! - NEW TAILGATE....S(CH)WING!!!

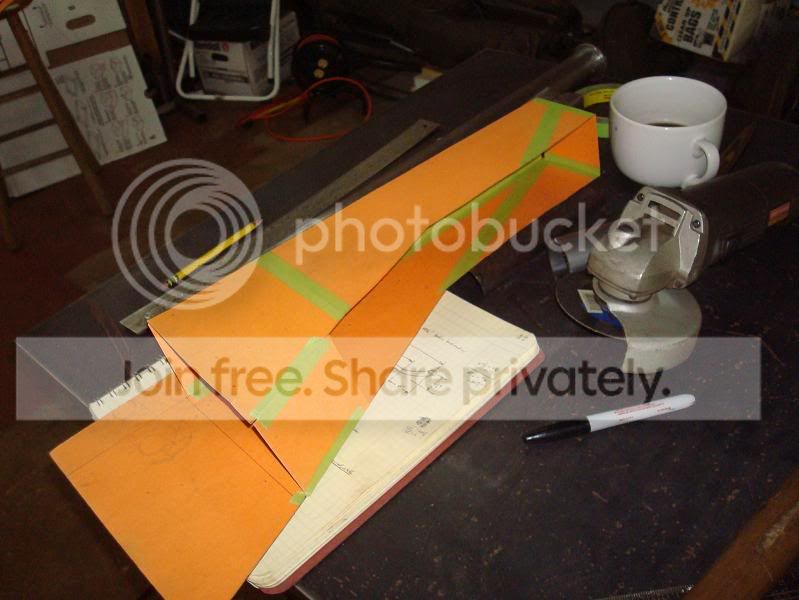
After much deliberation and numerous failed attempts, I finally came up with a hinge setup that I liked. Like most parts that are even slightly complicated, creating a paper template always makes life easier.

DSC01867.jpg


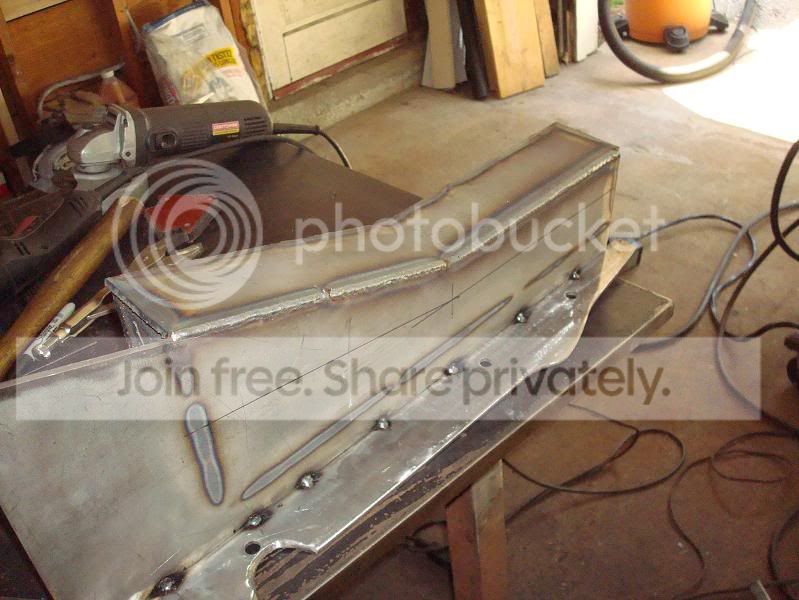
I kept thinking about the amount of leverage that a swinggate can generate and I wasn't happy just creating an upper and lower mount that used the flimsy C-pillar box structure to hold everything in place. I came up with this triangulated box structure that lays up in front of the factory C-pillar and bolts to the factory U-channel behind the bumper area. I also made a plate to re-use the mounting holes from the tailgate I'd removed so I'd have 4 bolts connecting things vertically.

Here's the early mock-up stage with a few tack welds to hold everything in place for test fitting.

DSC01873.jpg


Once I had everything verified in place, I unbolted it from the truck and burned-in all the edges...

DSC01879.jpg


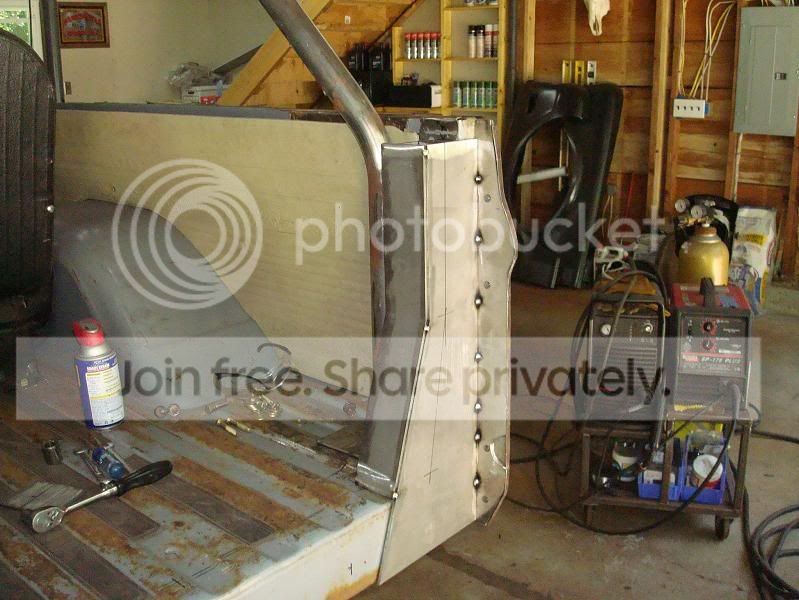
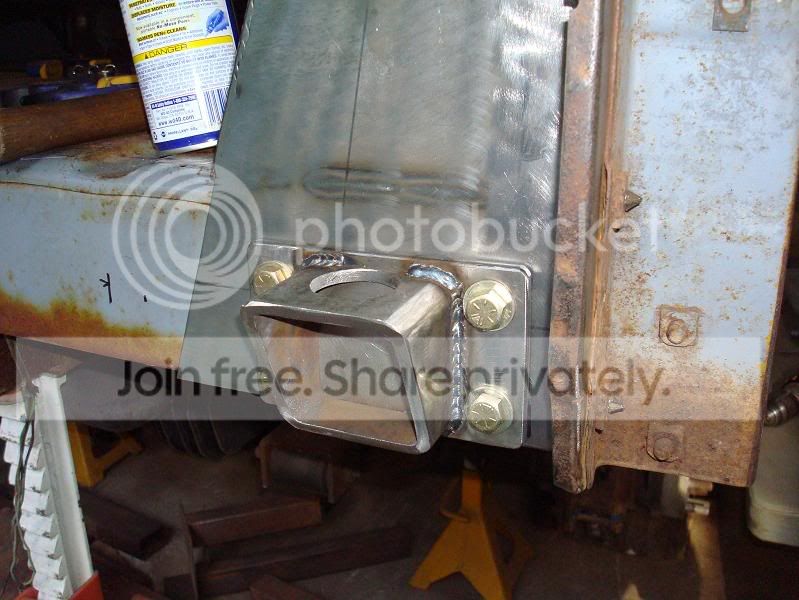
I needed a beefy lower hinge mount, and a small piece of 3"x3" box tubing made a good base... a little more 3/16" plate finished it off..

DSC01885.jpg


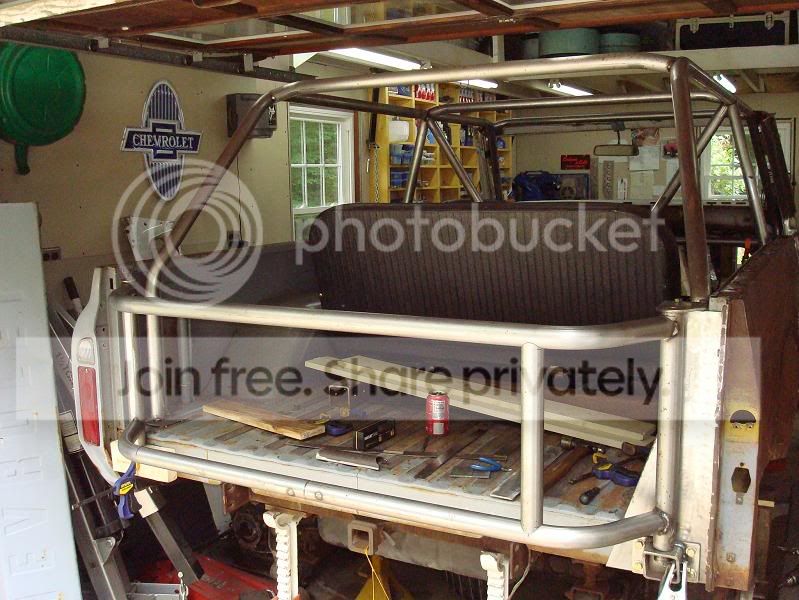
Here's the plate installed, with my new "kickout" tailgate. There's about 8" of extra room in the bed now, which is great for getting that 38" tire to lay flat in there...

DSC01891.jpg


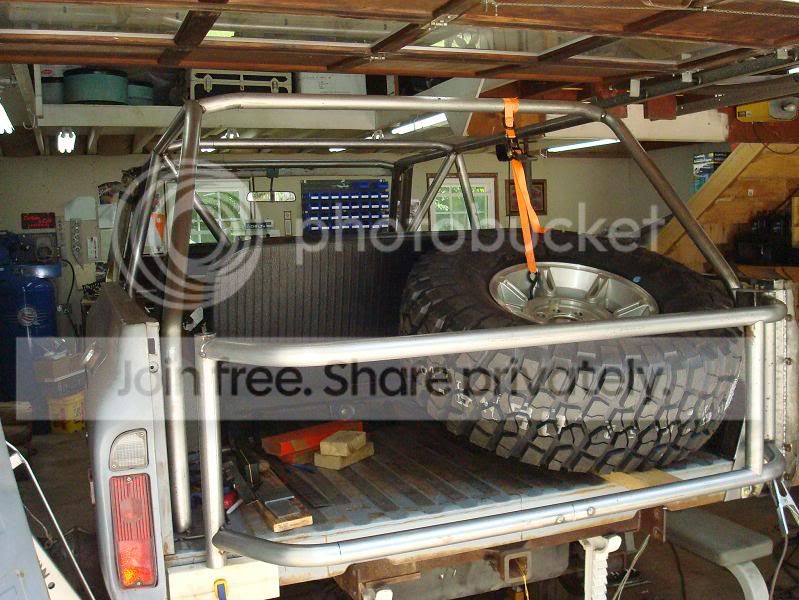
That didn't stop me from trying the tire with an angled mount too... Ultimately, it doesn't really add any benefit (except for looking cool) so I decided that it will get mounted flat after all.


DSC01894.jpg


Amazingly, after getting the swinggate installed I am able to lean REALLY hard on the far end of the gate and there is no flex at the hinge area at all. If I decide to mount the tire physically to the swinggate, I'm confident that it will be able to hold the weight.


:usaflag:
 
very nice..... looks like you had a productive weekend...
 
Two minor question's.

Will it swing out all the way once the rear bedside with the tail light/back up light is there & 2, why didn't you make it wide enough to go full width?

Must be another piece you have for the width I'm guessing.
 
Two minor question's.

Will it swing out all the way once the rear bedside with the tail light/back up light is there & 2, why didn't you make it wide enough to go full width?

Must be another piece you have for the width I'm guessing.


It will swing open to just over 90* with the setup pictured. If I go further it WILL crush the taillight and/or outer bedskin. Need to fabricate a gate stop for sure.

The location of the pivot was the part that hurt my head for a while...I wanted the pivot MUCH further toward the edges, but with the kickout in the tubing it was impossible to get the full 90* swing.... the bend in the tube would always hit the C-pillar/bedside. Ultimately, it doesn't matter that much from a useability perspective. Since the spare is on that side, it's not like having a couple extra inches would have given me loads of extra room for storage. I made the latch side the same dimensions just to keep the symmetry.

Brian,

The 1.5" DOM fits REALLY nicely inside the 1.75" DOM, but I did learn a valueable lesson today.... Don't assume that the fit will be as good once you pour a ton of heat from the welder into the adjacent tubes! :yikes:

The gate swung beautifully with the tack welds, but once I did the finish welding the tube shrunk as it cooled and the gate was impossible to open again (like an interference fit) :mad:. I had to take the gate off and smash the upper mount with a hammer for about 30 minutes to remove it...then I needed to carefully re-hone the tube to remove burrs, and grind and sand the 1.5" tube to get the clearances back. Effectively, I probably only removed a few thousandths of an inch, but those extra .00x" inches made a huge difference. Thankfully, everything is back to normal now and the gate swings like butta' again.

:usaflag:
 
Nice work Greg. What do you think of adding a similar triangular brace/gusset on the driver side? Mostly an esthetic (sp?) thing, but it would also serve to support the rear of the bedside better now that you no longer have a latched factory tailgate to help.

Rene
 
Yep, that's the plan.....basically a mirror image of what I already built and a latch to hold it shut.

VTBlazer suggested I use the factory catch from the original tailgate somehow, and that seems like a workable idea.

My welds are starting to get better these days too. Thanks for your advice along the way. :waytogo:


:usaflag:
 

Latest Posts

Top Bottom