CK5
Register an account today to become a member! Once signed in, you'll be able to participate on this site by adding your own topics and posts, as well as connect with other members.
Thanks All......Oh, Welcome to Page 8.

Probably nearing the half-way point of this build. :doah:


:usaflag:
 
Yep, that's the plan.....basically a mirror image of what I already built and a latch to hold it shut.

VTBlazer suggested I use the factory catch from the original tailgate somehow, and that seems like a workable idea.

My welds are starting to get better these days too. Thanks for your advice along the way. :waytogo:


:usaflag:

If i helped you at all, it was my pleasure. For a 'shadetree' fabricator i think your work is outstanding! :bow: Certainly better work than i see regularly from many that do it for a living.

I like re-using factory stuff when possible, especially in custom applications like your tailgate. One example i can think of was the tube doors i saw on "Canadiantrailblazers" first gen K5. Full tube doors similar to what i ran on my k5 at Moab, but he also had vinyl slip on covers using wire frame to mimic the body lines perfectly...and the factory doorhandle was re-used. It was very slick.

Rene
 
If i helped you at all, it was my pleasure. For a 'shadetree' fabricator i think your work is outstanding! :bow: Certainly better work than i see regularly from many that do it for a living.

I like re-using factory stuff when possible, especially in custom applications like your tailgate. One example i can think of was the tube doors i saw on "Canadiantrailblazers" first gen K5. Full tube doors similar to what i ran on my k5 at Moab, but he also had vinyl slip on covers using wire frame to mimic the body lines perfectly...and the factory doorhandle was re-used. It was very slick.

Rene

you dont happen to have any pics of that do you? that sounds really nice and clean! i would love to see that
 
I failed to take pics when he came by...but I will dig through here and see if I can't find something.

It was extremely slick. With the covers on it just looked like it had black doors, as you got within 10 feet or so you realized the "doors" were vinyl. Up close and with them open you saw they were tube doors.

Rene
 
2009.09.12 - UDPATE! - IT'S CHRISTMAS MORNING...

I love the smell of replacement sheetmetal in the morning.....smells like.....VICTORY!


Actually, I have aboot a 2 hour drive (each way) before I will be able to enjoy that new sheetmetal smell in my own workshop, but it still feels like Christmas to me. Picking up all new rear bedsides and all new Blazer doors too. Combined with the black EPDM-coated front fenders I already own, by Blazer is going to have a dramatic color change from grey to all black by the time all this sheetmetal is hung.

Photos later on today!!! :saweet:


:usaflag:
 
Last edited:
THIS THREAD IS WORTHLESS WITHOUT.....PICS!!!


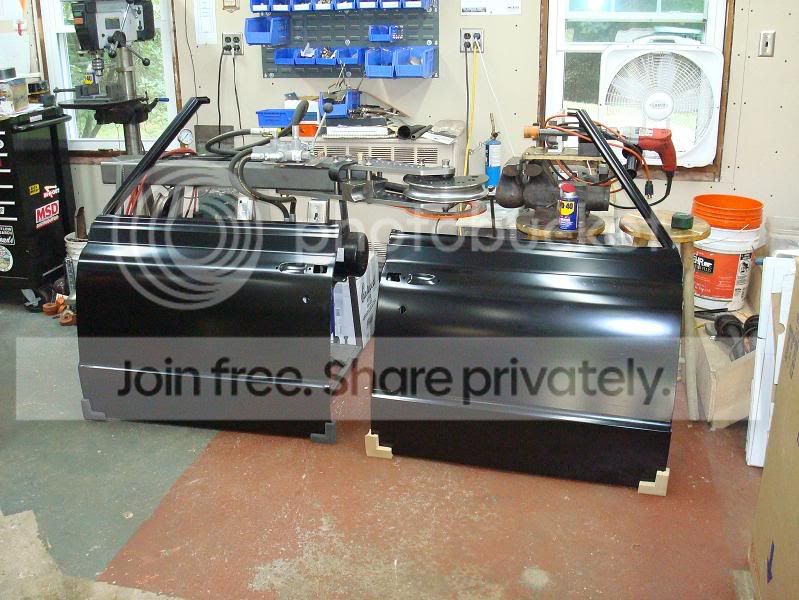
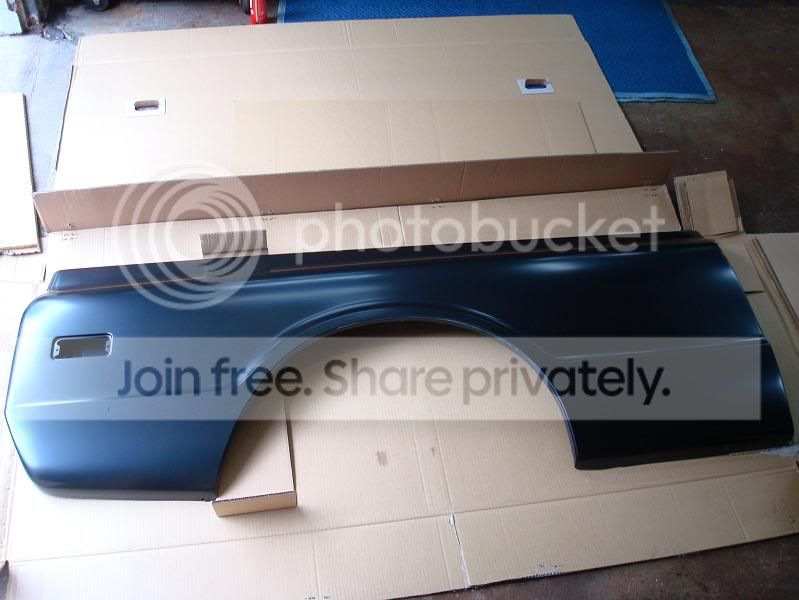
Here's a shot of the Christmas goodies that I picked up today....courtesy of VTBlazer:

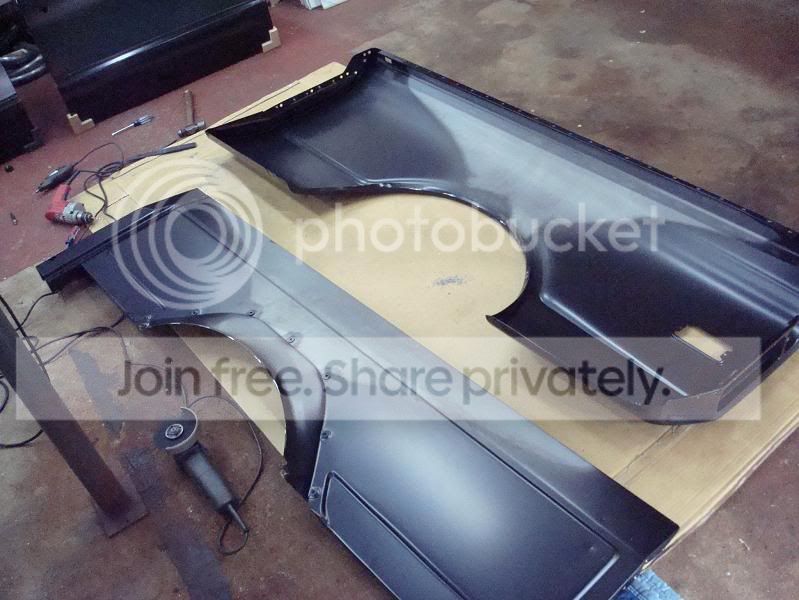
2 New Reproduction Blazer doors...

DSC01899.jpg


and 2 New reproduction SWB Bedsides....

DSC01901.jpg


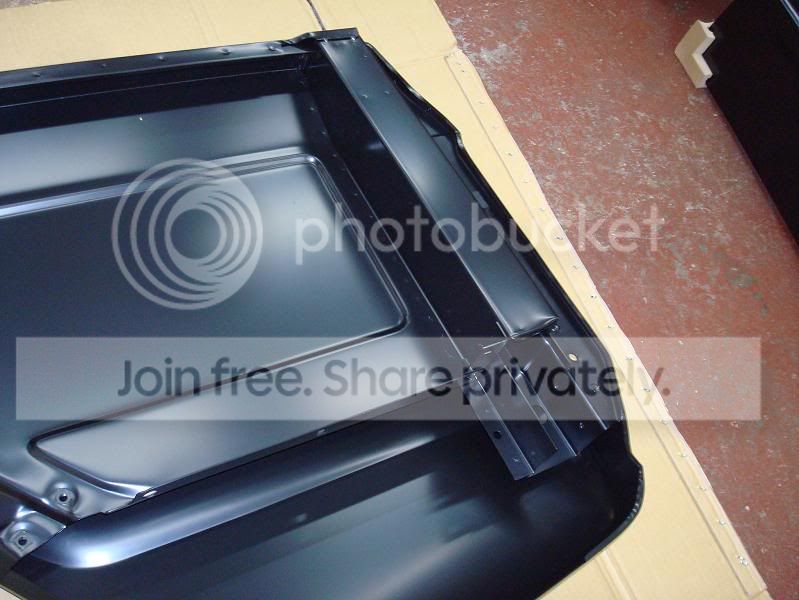
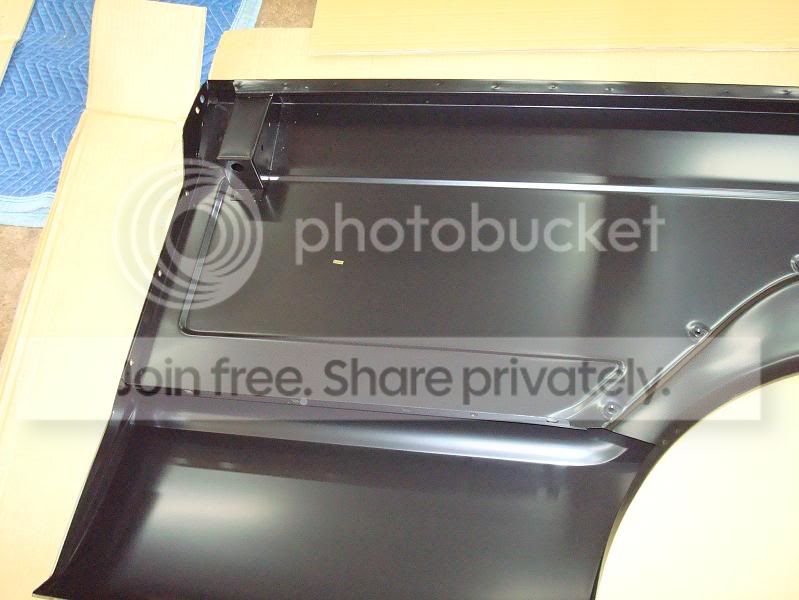
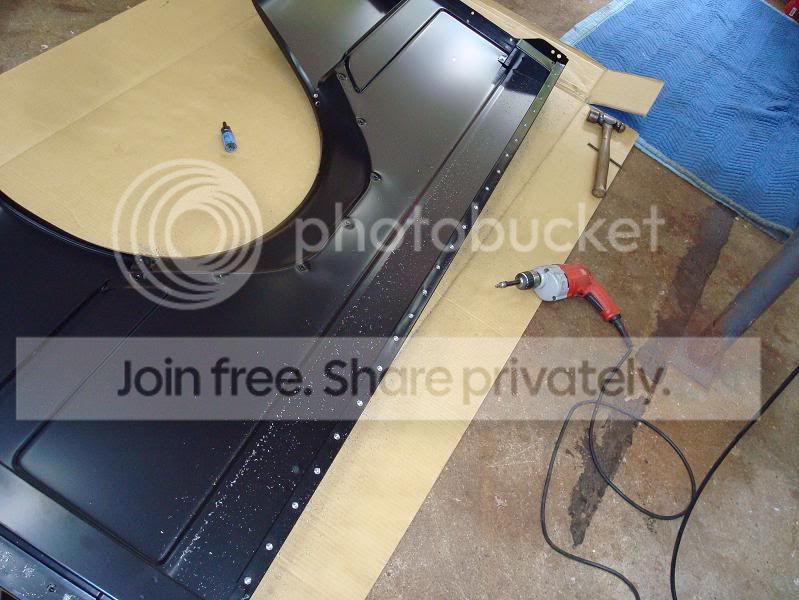
I didn't really understand how much of the internal structure was also included in these reproduction parts. It's not only the outer bedside panel, but also the complete inner bedside, and the complete c-pillar structure for the rear traillights too. Of course, since these are actually intended for a SWB pickup truck application, they include an unnecessary stake pocket that needs to be removed for the Blazer application.

Here's the rear taillight structure....
DSC01907.jpg


And here's the unnecesary stake pocket on the door striker side....

DSC01908.jpg


It's a weird feeling to take brand new metal that you've barely even paid for.....then immediately start cutting it all apart. I really only need the outer bedskin, so I drilled out all the spotwelds to seperate the inner bedsides and c-pillar structure...

DSC01912.jpg


After about 30 minutes of careful drilling and gently prying, the two halves came apart...

DSC01916.jpg


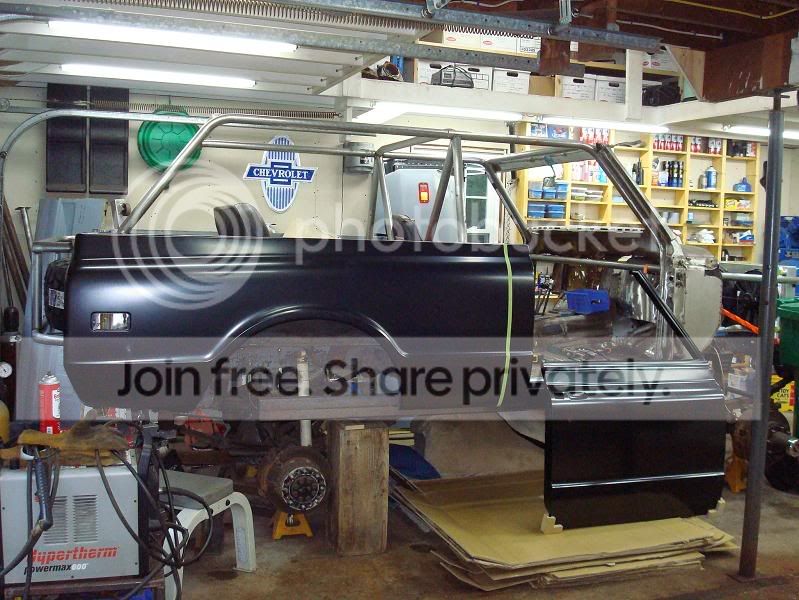
New new bedside already hanging on the original inner bedrail.... the green tape shows were the cut will need to be made to shorten them for the Blazer application. Otherwise, a perfect fit!!! :waytogo:

DSC01923.jpg


:usaflag:
 
Greg, this thing is starting to look sexy. :D Keep up the good work and keep the pics rolling. :thumb:
 
New quality repo panels sure look nice and straight, sexy! :D
 
Greg-

Are the SWB sides an exact match to Blazer panel? - (obviously other than being too long & stake pocket you mentioned)


I thought I remembered reading somewhere (maybe the 67-72 Truck Forums) that there was some subtle difference in the wheel opening shape between the Blazer and the trucks.... but now I'm not sure. They sure LOOK like a perfect match to me! Regardless, I'm going to have to cut the wheel arches and reshape them for clearance so for this project it's not particularly important. It would be an interesting bit of trivia to figure it out though.


C305,

Doors and bedsides are expensive, there's no way around that unfortunately. This reproduction stuff is still cheaper than NOS by a significant margin.... As an example, I had someone offer me a set of NOS besides recently for $2000, and I've seen NOS doors offered at $1000/pr.

No Thanks! :rolleyes:


:usaflag:
 
I was the one with a thread about the wheel opening differences. The swb and blazer have the same shape, but the longbed trucks have a slightly rounded off section on the front edge of the wheel well.
 
2009.09.20 - UPDATE! - PANEL HANGING BEGINS...

I've got almost 360* worth of new body panels now...so it was time to start hanging them to see how well (or poorly) they fit.

I started with the door:

DSC01949.jpg


That gap looked pretty sweet! Nothing like an early confidence booster! :waytogo:

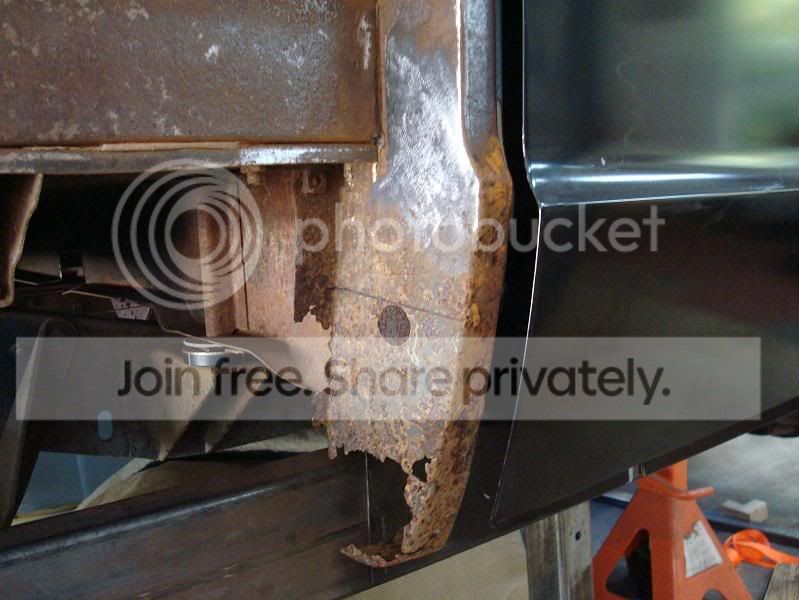
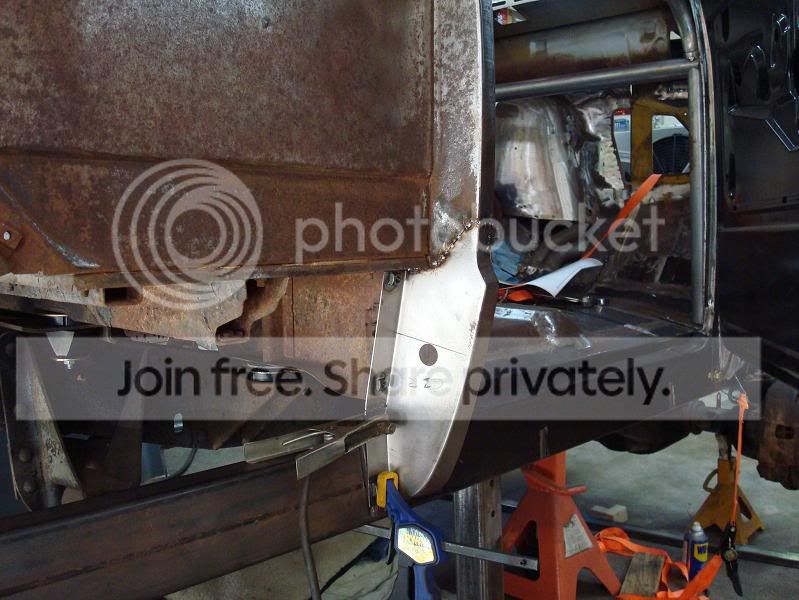
Since the lower part of that b-pillar is pretty seriously destroyed with rust, it was time to replace it with something solid:

Original:

DSC01950.jpg


New part fit like a glove.... really nice.

DSC01953.jpg


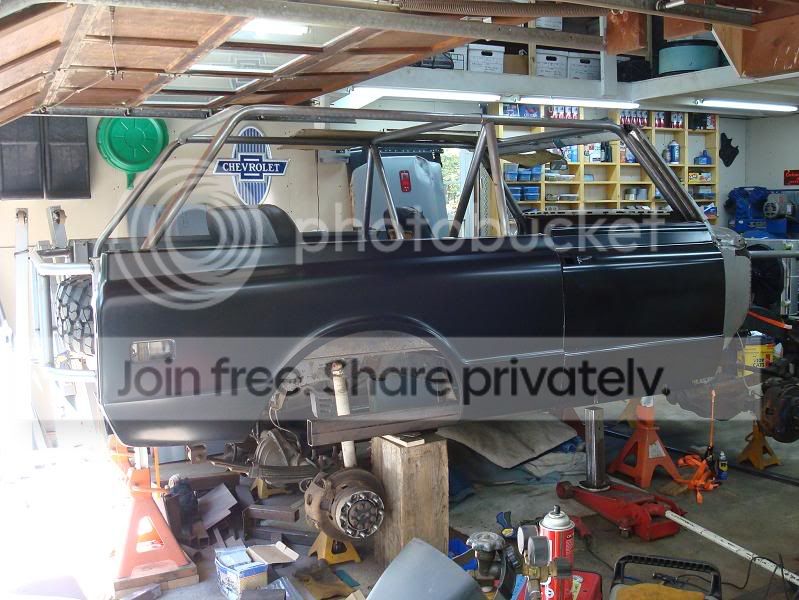
I hung the rear bedside (again) and things got a little more challenging. Turns out that there IS a difference between NOS sheetmetal and REPRO sheetmetal.....not that I was particularly suprised...

DSC01956.jpg


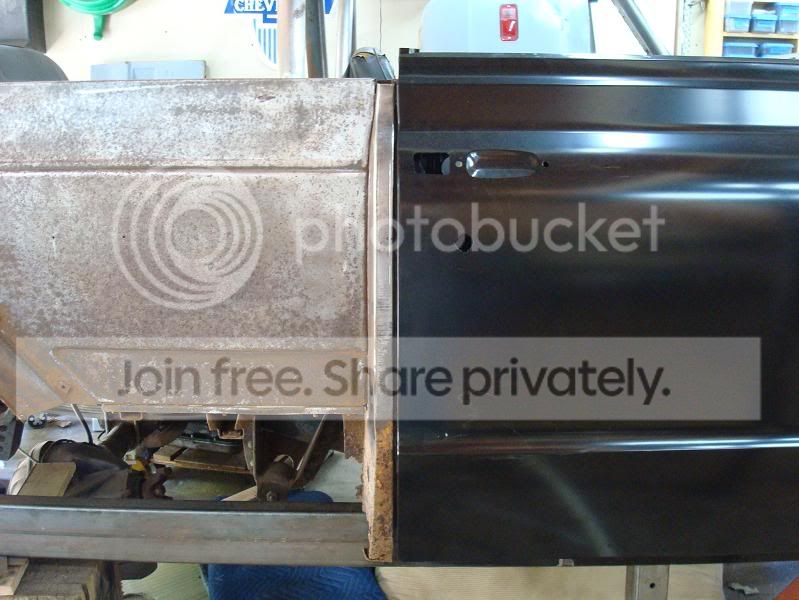
The door gaps stayed nice and straight, but the style line that runs about 12" up from the bottom was NOT lining up with the structural b-pillar behind it. After studying it for a long time I determined that the stamping is about 1/4" shorter than OEM between the upper bedrail and the style line, and it was NEVER going to sit flat and was certainly never going to look right with those lines so far off from each other....

I ended up cutting off the bedrail, and lowering it by 1/4" to get the panel to line up correctly. I'll take a photo of it now that it's looking good again and post it on my next update.

:usaflag:
 
Greg,

Is your door closed in the second picture? I ask because you can see the style line not lining up there even before the patch panel was in.

When I compare my door lines to your first picture, your door appears to sit lower than mine are. It's entirely possible mine are not correct, but the very top style line across the door (the one that's flush with the top of the bed rail) sits more than 1/4" above the bedrail line on my truck. The reason I suspect it's correct is that the curvature of the door matches the b-pillar curvature much better that way.

It could just be the picture not being accurate, but when I look at your first picture, you can see the reflections not carrying smoothly across the gap between the door and the b-pillar.

Edit: Here's a straight on picture with green lines added to show how the two body lines match up. I believe the door line is actually higher so that when the hardtop is bolted down (along with it's rubber gasket) the rolled edge on the hardtop is supposed to line up with the door line.
door lines 001.jpg

And this is the same gap with some streetlight "hotspots" running across the gap below the door handle to confirm the reflection doesn't shift up or down as it flows across the gap. If that last picture of yours is accurate, the reflection does appear to shift as it travels across.
door lines 003.jpg

One other way to check it is to add the door latch hardware. My door hardware won't even adjust downward enough to catch when the door is too low in the rear.

Sorry for the partial hijack, I've just been frustrated with the door gaps for a while on mine.

door lines 001.jpg

door lines 003.jpg
 
Last edited:

Latest Posts

Top Bottom