Burt4x4
1 Ton First Gen
Damn Greg! Crazy Cool what you are doing... sick workshop! Wish I was nearby to borrow yer manspace for a day or two lol!  Nice work my Brother!!

Nice work my Brother!!  Nice work my Brother!!
 Damn Greg! Crazy Cool what you are doing... sick workshop! Wish I was nearby to borrow yer manspace for a day or two lol!

It's not a vertical alignment issue.Josh,
Not sure what revision of the SWAG table you have, but on the V4 there is a small setscrew and adjustment procedure to square the blade (vertically) to the table surface.
That makes sense. I could see the bearings being worn on the portaband itself as being the issue. Still, it's a minor issue. The table makes the portaband so much more useful.Mine cut straight in the beginning and then a friend came over and started cutting curves with it a bunch of times, once you start twisting the blade then the little bearings get tweaked and it doesn't cut straight anymore.
That makes sense. I could see the bearings being worn on the portaband itself as being the issue. Still, it's a minor issue. The table makes the portaband so much more useful.

Yes, I think if we were to replace those little aluminum "C" shaped assemblies that surround the blade with roller bearings, that it might return the straight cutting again, but I haven't tried it...
Have it it Greg, Milwaukee makes replacement parts!
")
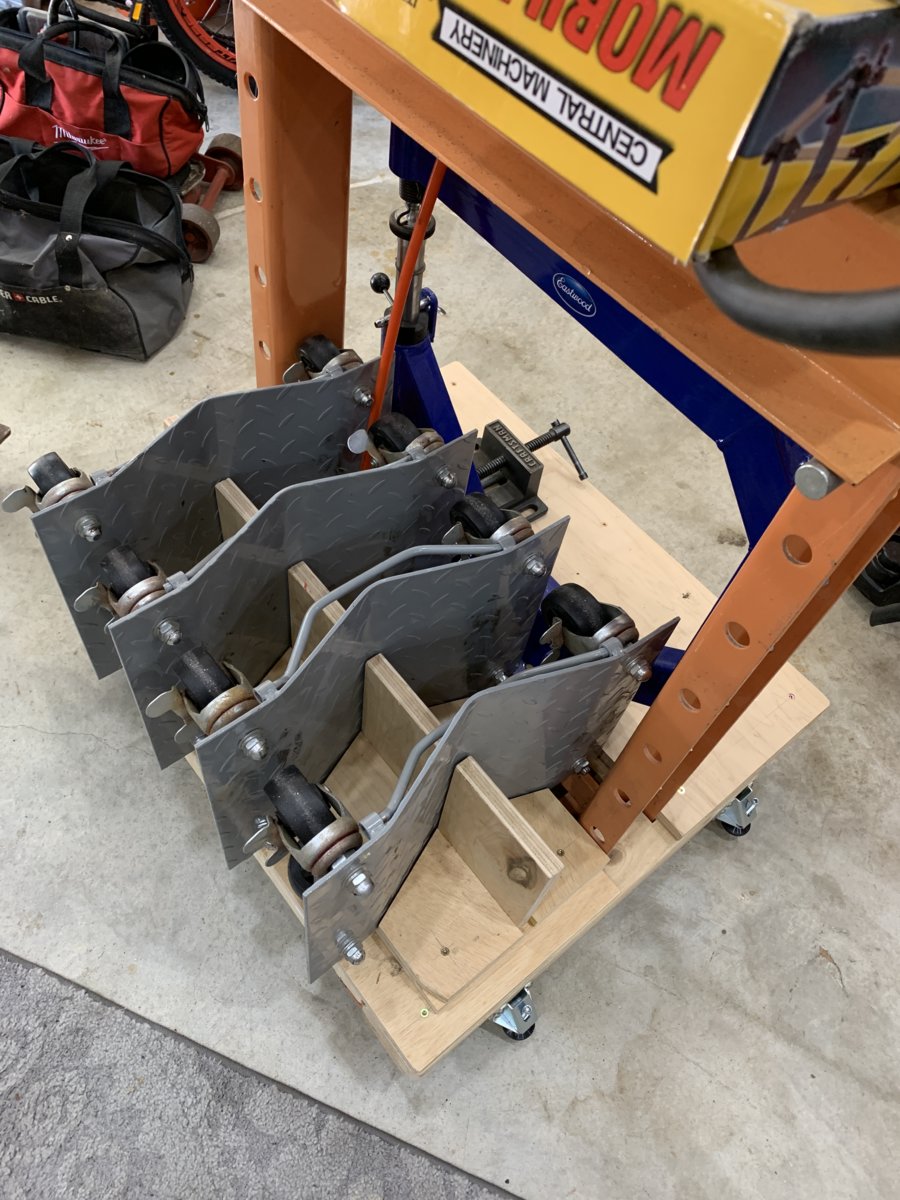
Hey, I was checking out your rock slider build on the previous page(which is amazing by the way). I have to make those same notched cuts in 2in pipe to brace up my welding table. Any advice on holesaw bits, how many cuts a bit will make, etc? I've really enjoyed checking in with your build to see what you're going to do next
Yes sir, low rpm and cutting fluid it will be, thanksNothing fancy... yellow hole saws (DeWalt?)
I find that high pressure and lowRPM with lots of cutting fluid is the truck to making them last. I cut through all 10 of those solid parts with a leftover hole saw and it did them all without issue. No broken teeth, no drama.
I think a lot of guys just rip open the throttle on their drill and run it at 3000+ RPM .... I run at maybe 200RPM
Might work for you as well.
-G

Very nice work Greg!2020.12.01 - UPDATE! - WHY MY PROGRESS IS SO SLOW...
It must feel like this tread never gets updated to the typical subscriber.... it feels that way on this side of the screen as well, but there is a good reason.
LIFE.
Crazy work hours for the workweek and lots of projects on the #TURNKEYHOUSE on Saturdays makes it tough to show steady progress. It happens a little each week but it's been a long time since the #MightAsWellK5 had a true "hero day" and knocked out something major.
To start, here's a series that shows the "other side" of life.... which is equally important and gives a tremendous amount of satisfaction as well. Many of you have said that this stuff is actually just as interesting to you as the truck-related content so we'll start here and will add another post with the latest truck updates too.
FLOORING DEMO & INSTALATION:
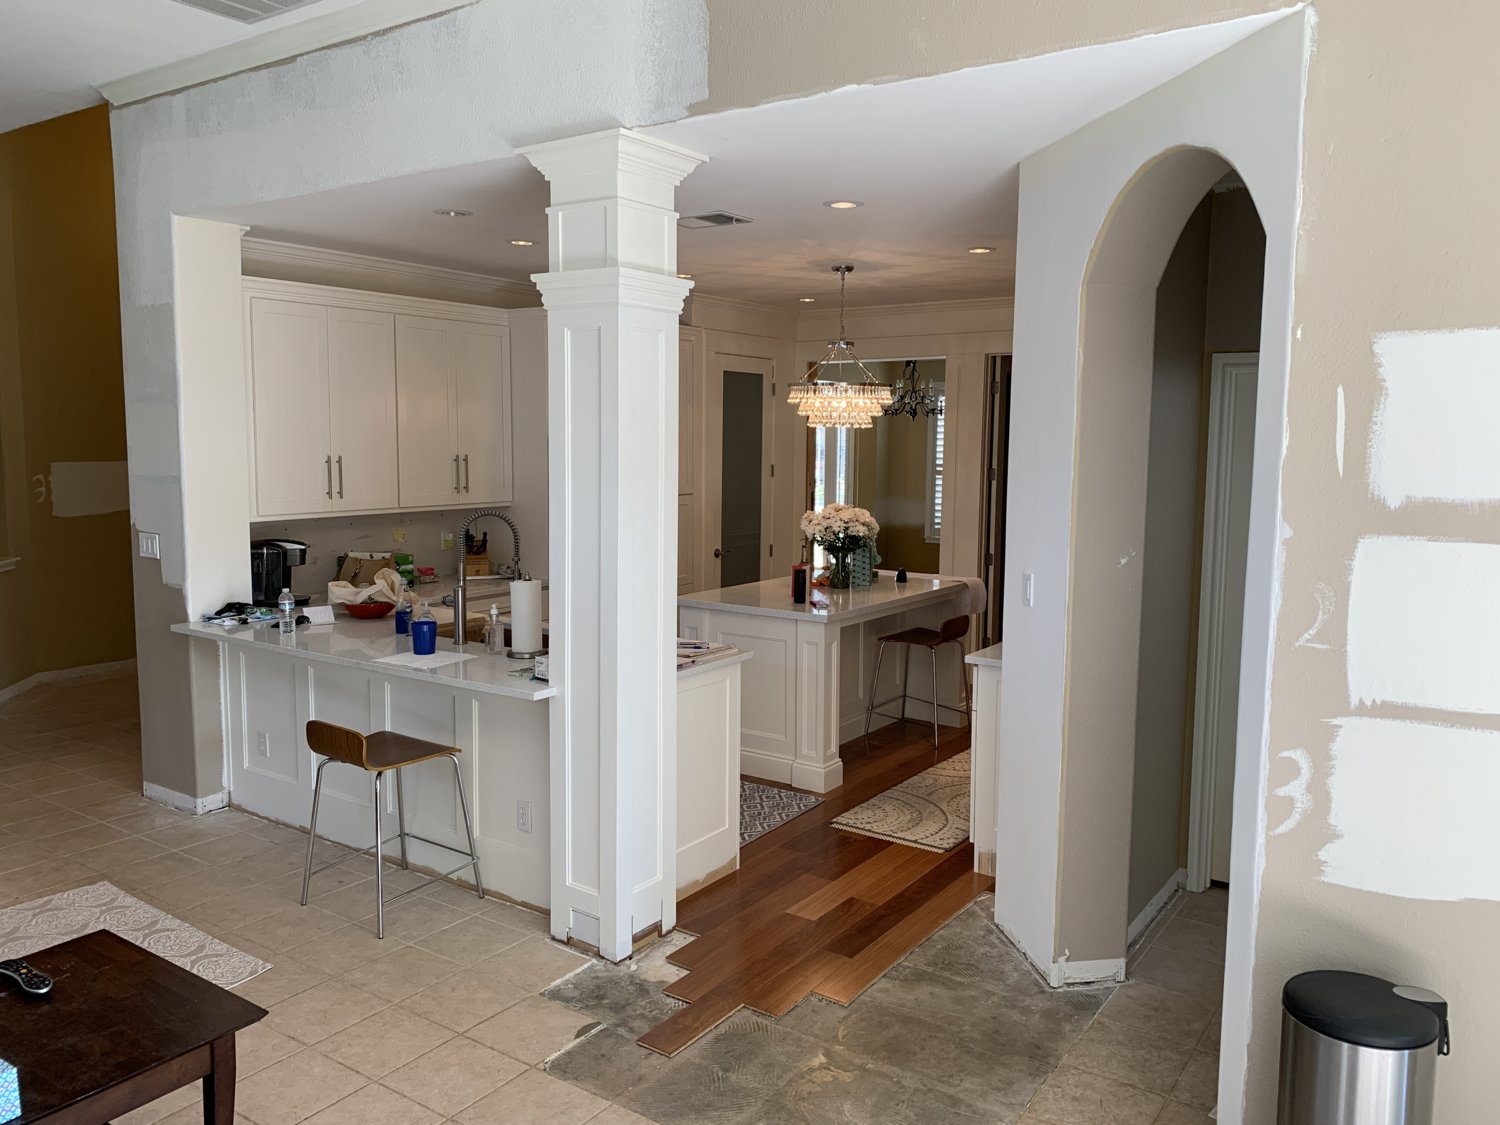
Our house was built in 2000, and the style at that time was tile....lots of beige tile, and beige walls, and builder-grade moldings and boring trimwork. Basically, build it as BIG and as inexpensively as possible and move on to the next unit. Don't get me wrong, the house seems to be well-built but it's not a "custom" home by any stretch of the imagination... and "stock" is boring, so here we go:
The kitchen was a project that completed a while back.... new floors, cabinets, island, etc. the tile was removed only in that room to accommodate the work, but it left an IOU for the rest of the downstairs for a LOT more tile removal.
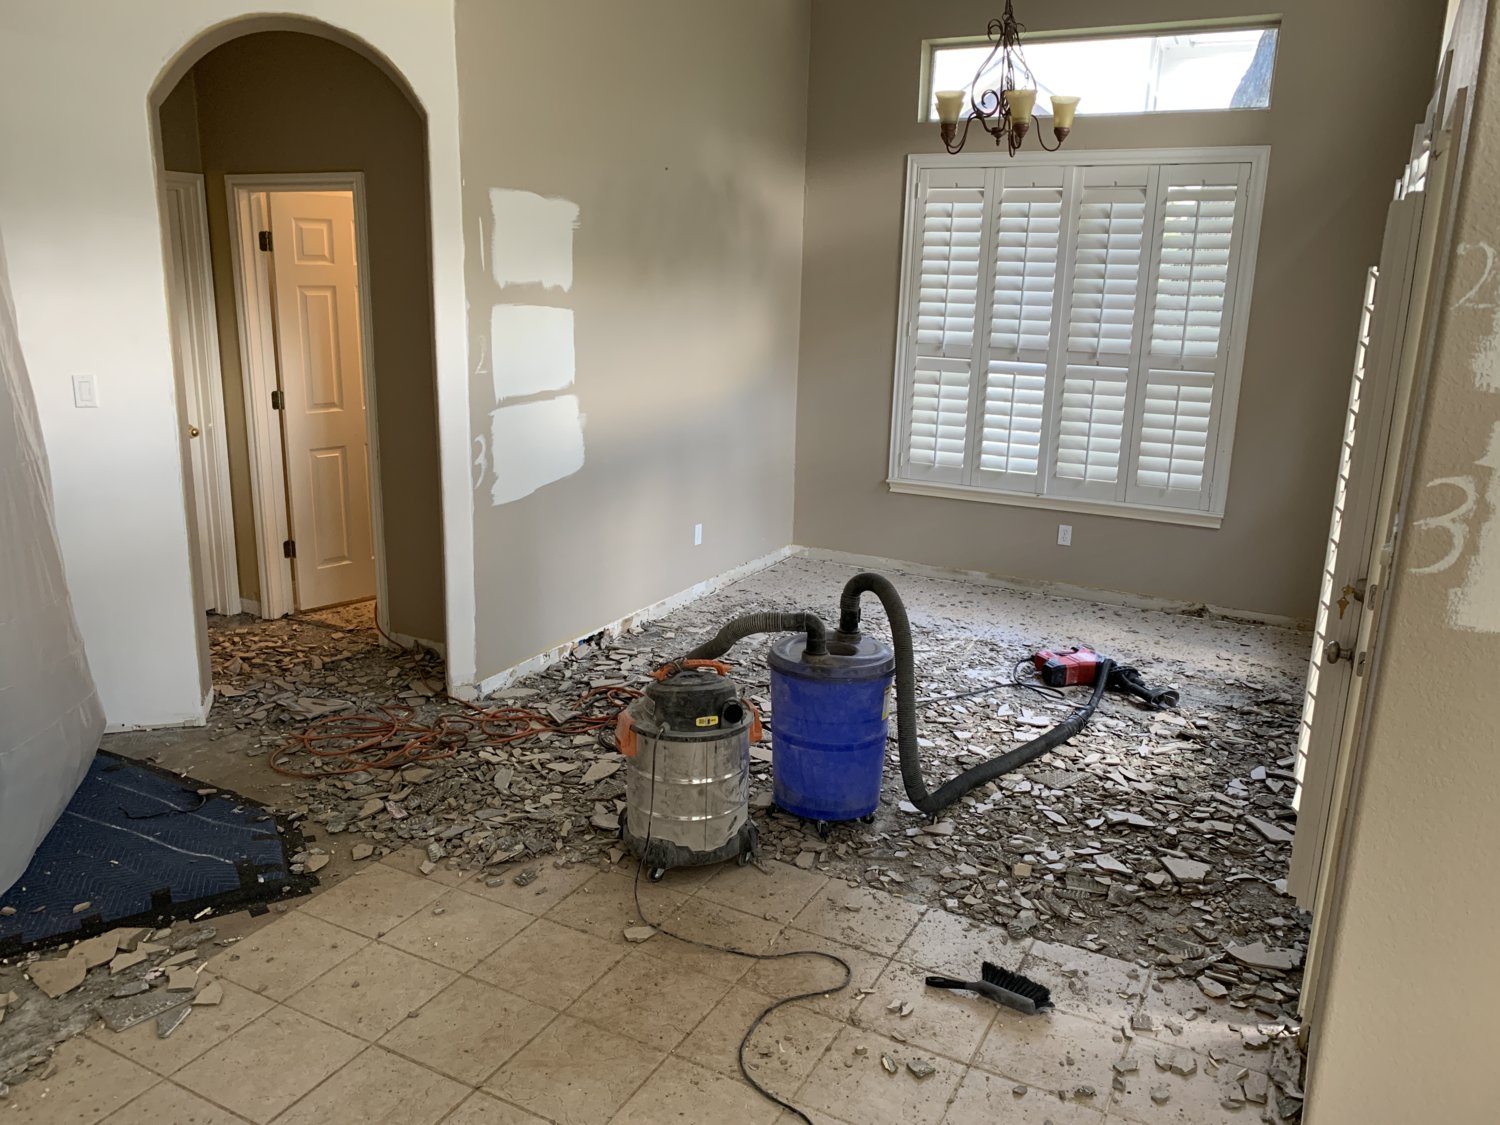
One of the smartest things we did in 2020 was hiring a company to remove the tile for us. This was money well-spent. Much faster and quicker than a DIY would have been.
Into the Living Room with the demo... all tolled, about 800 sq ft was removed.
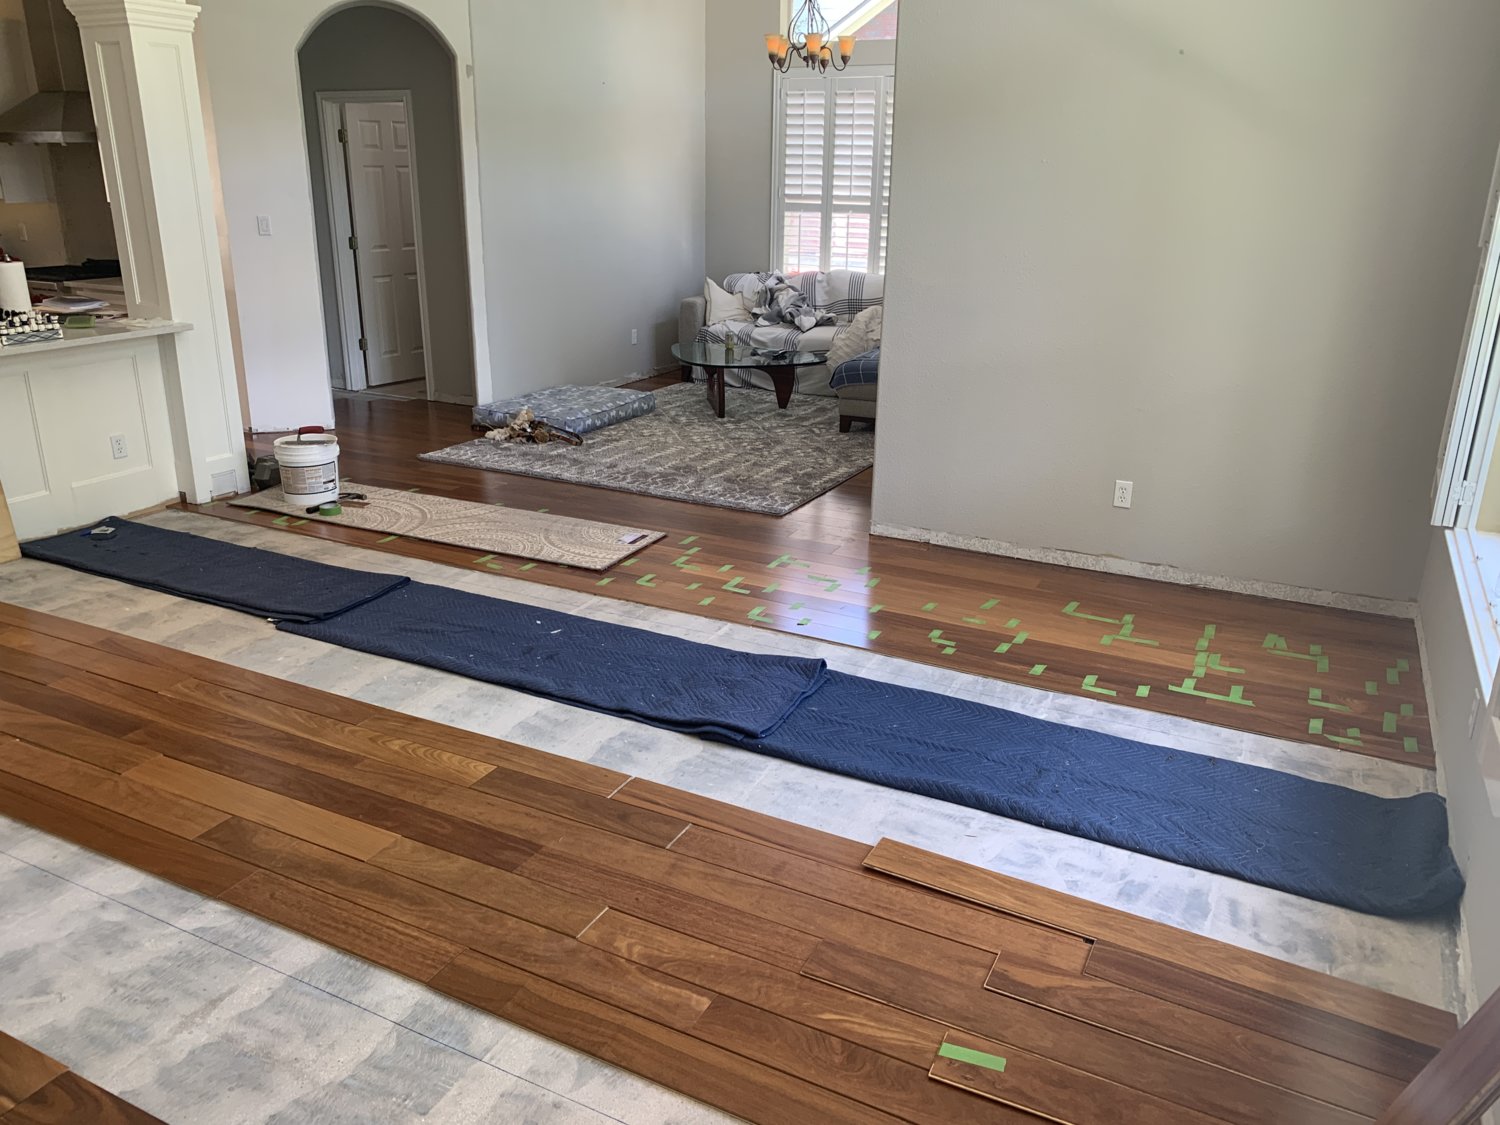
New floors were grafted in with the existing kitchen floor, then run out into the breakfast nook. We did this part ourselves because "might as well"
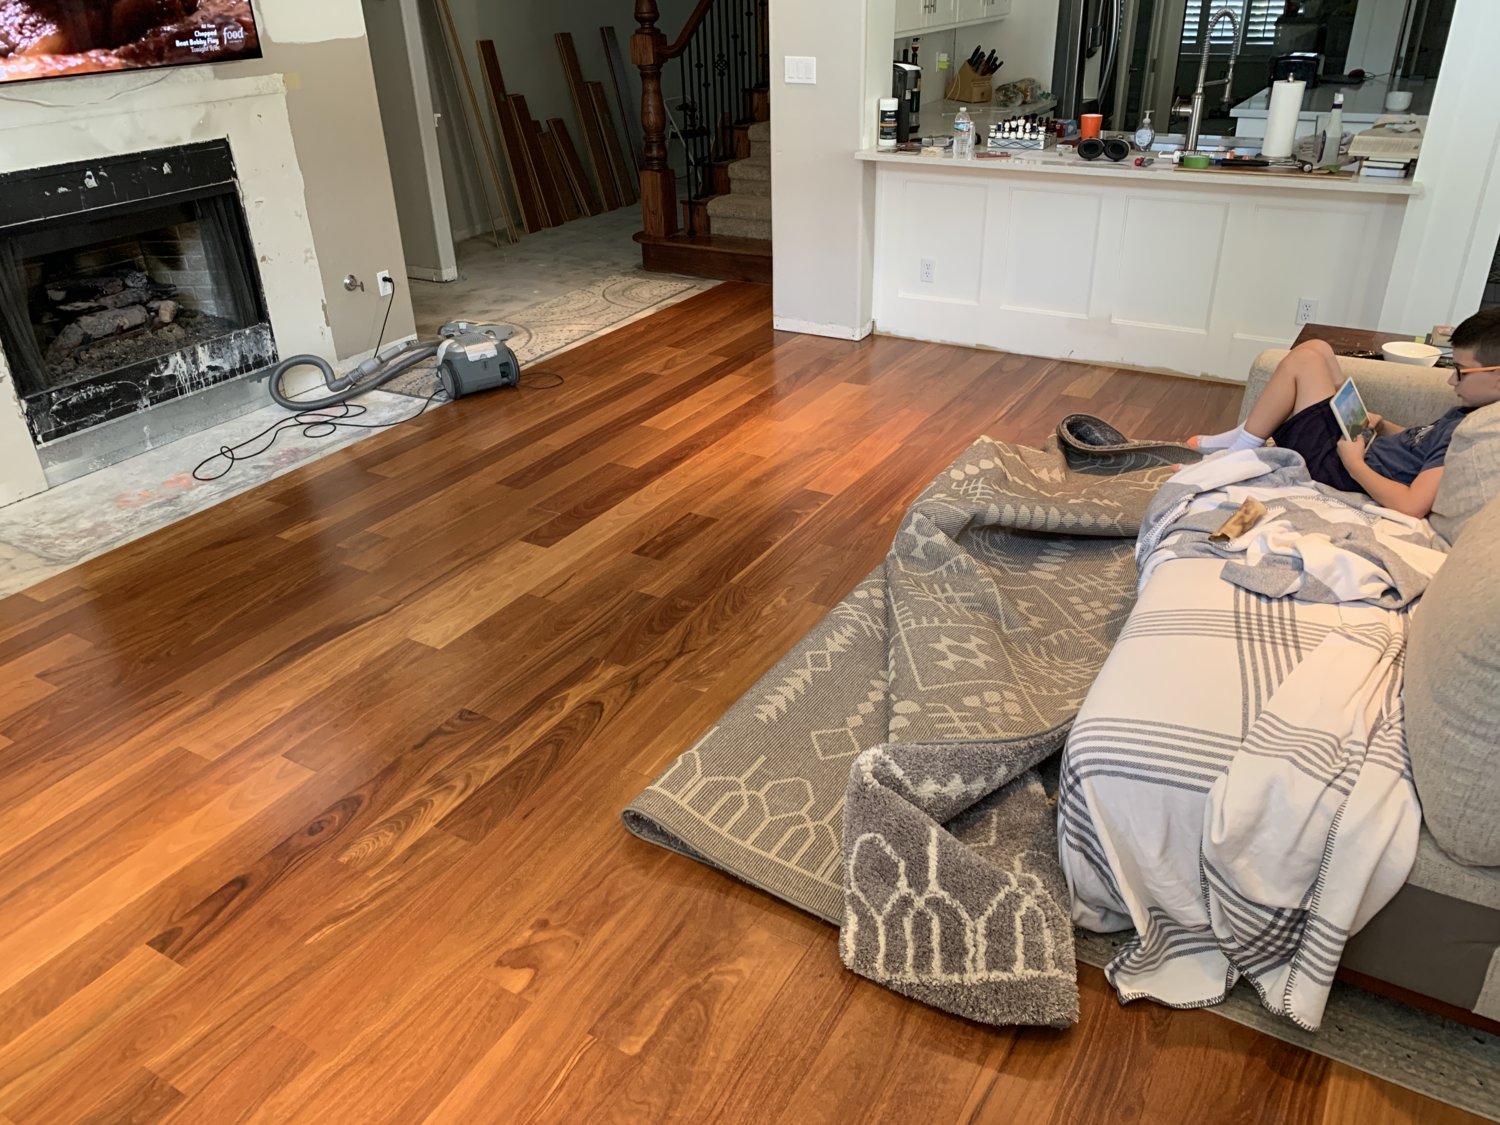
The look of the whole house really started to change once the flooring traveled across the expanse of the living room!
The flooring continued down the main hallway past the stairs, then into the formal dining room where it dovetailed perfectly back into the pre-existing kitchen floor. That was no small feat, since the alignment had to be critical all the way around the house to insure it would align within 1/32" to match up properly.
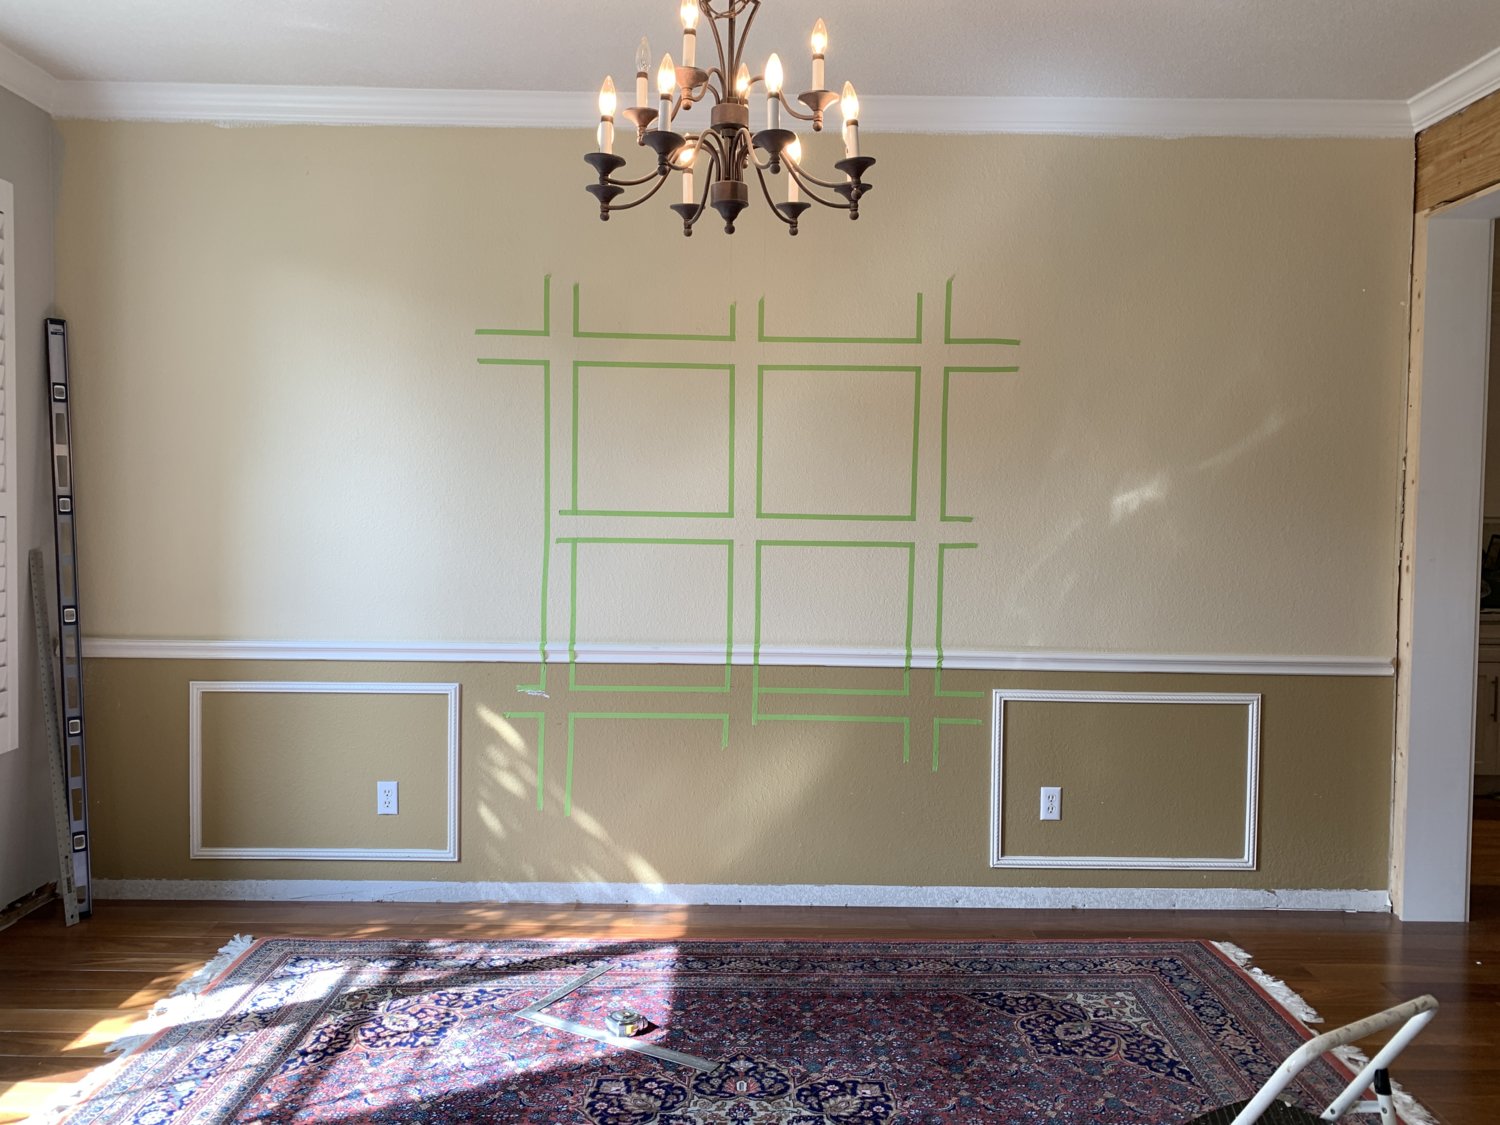
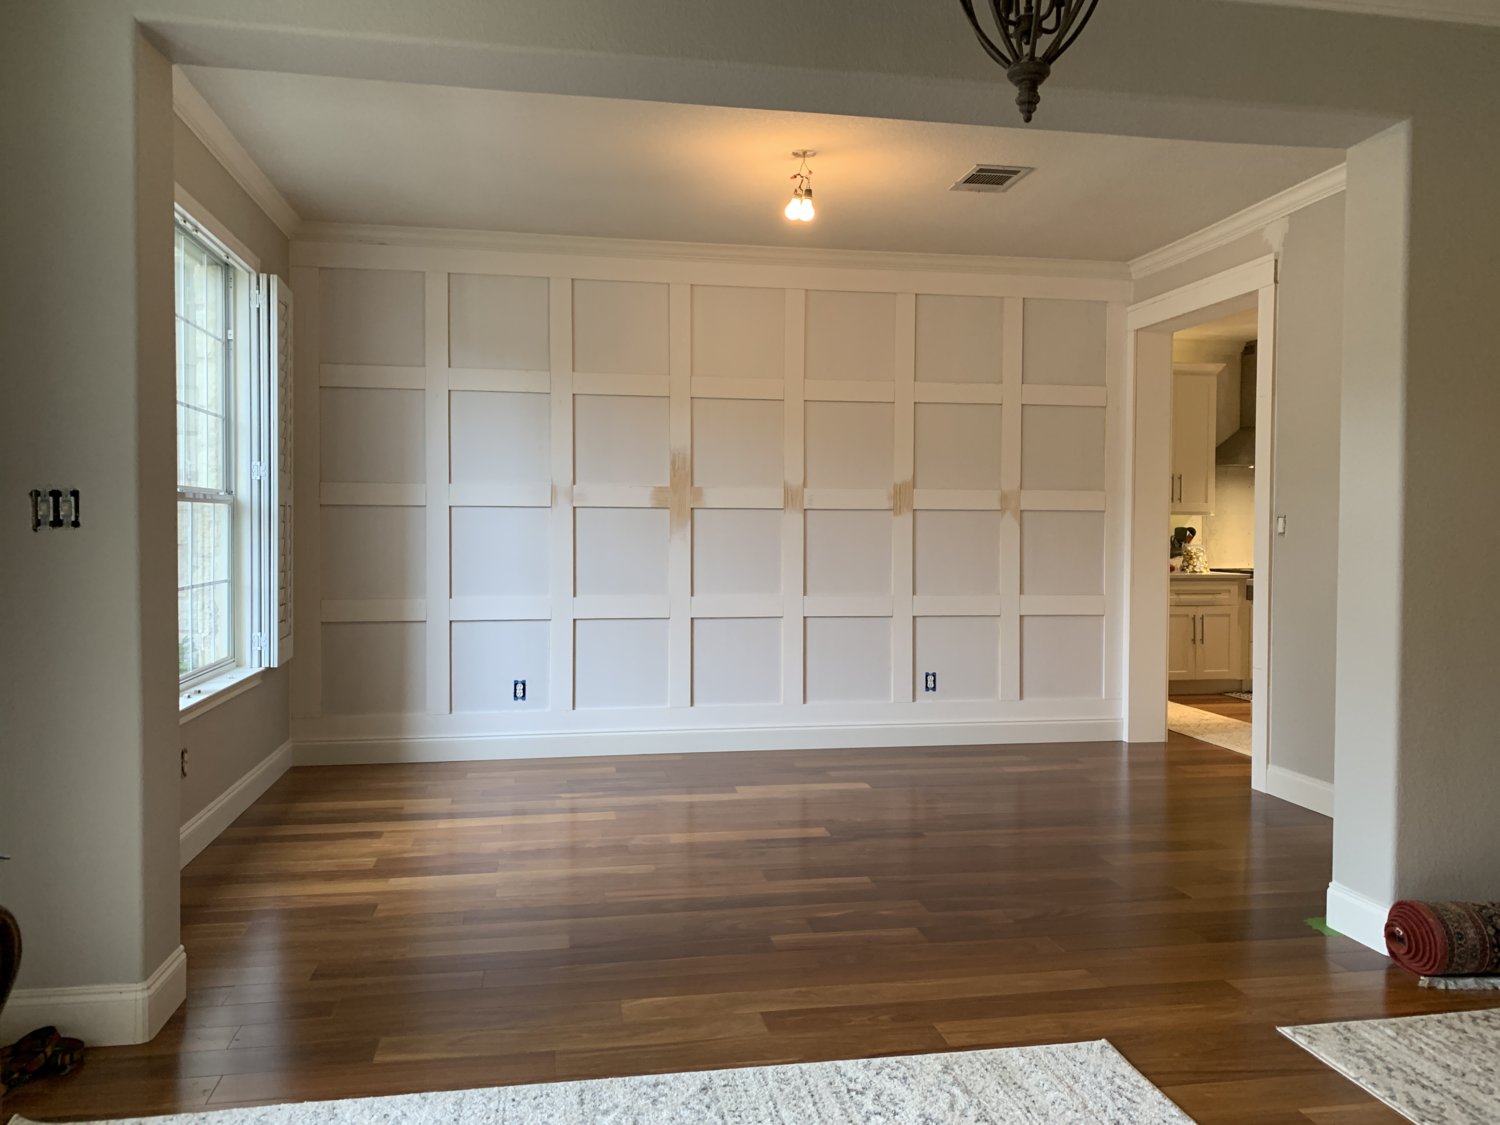
With that victory in our back pocket it was time to look at adding some pizzazz to a boring dining room wall. We'd done wainscot in our last house, but with the 9' ceilings here it seemed like fun to take them all the way up and really accentuate the height of the room.
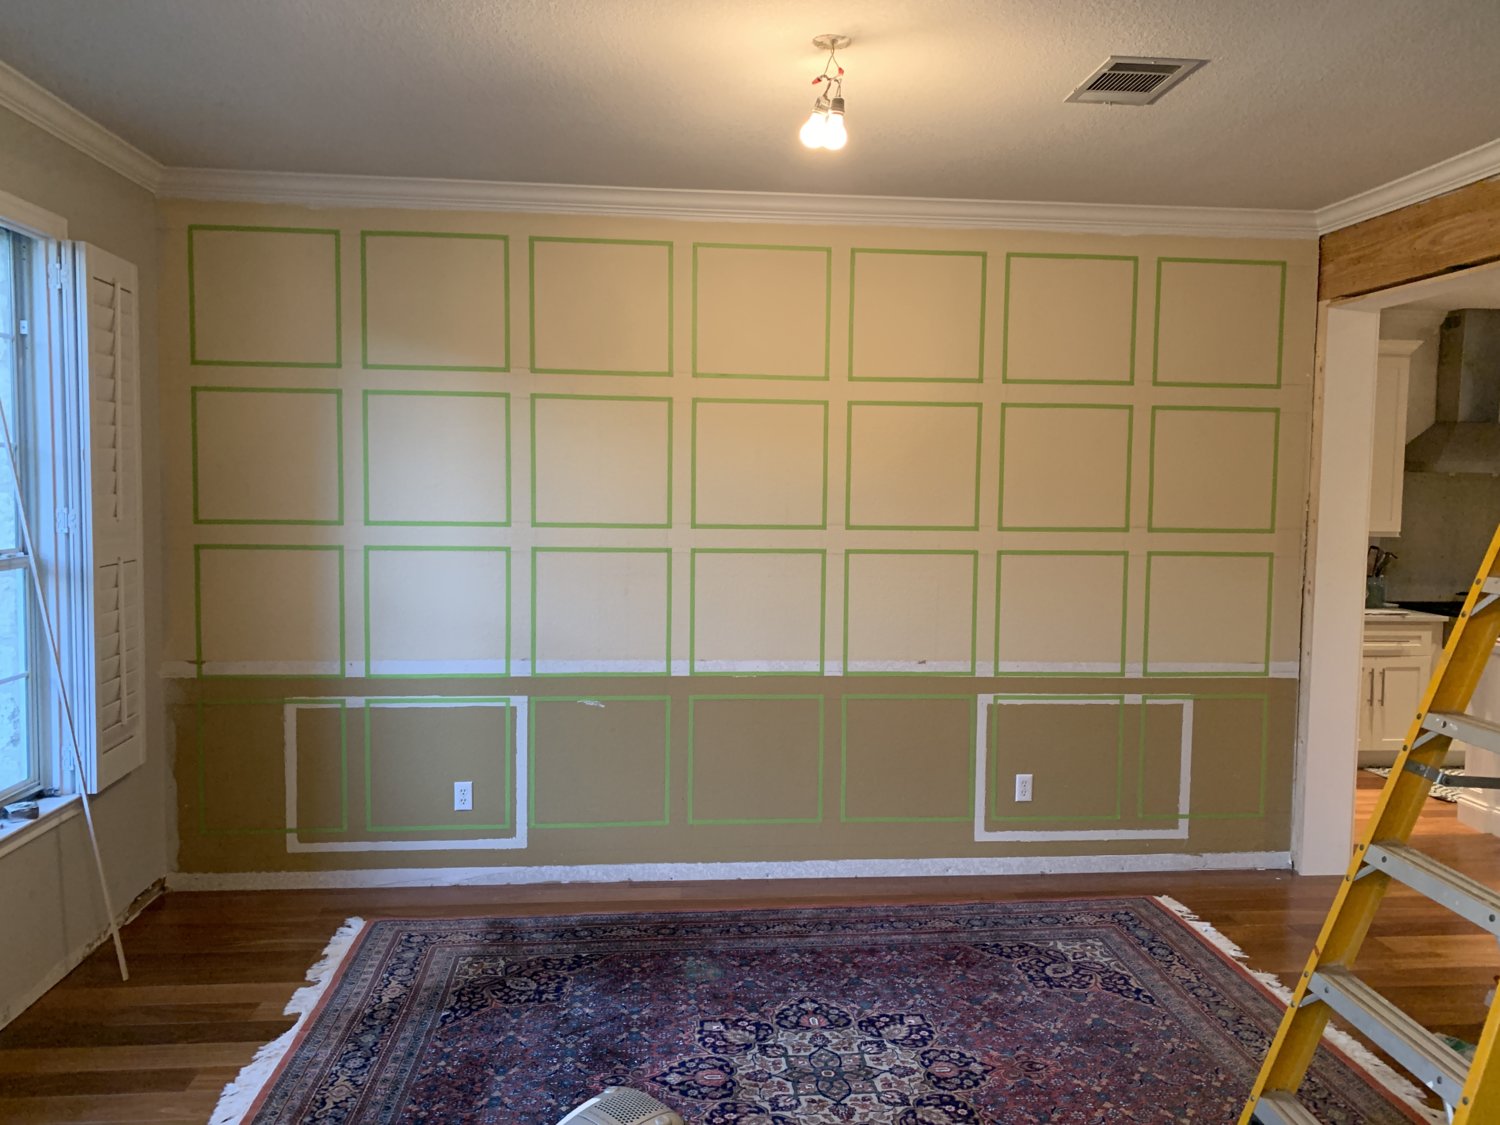
The plan was complete... roughly 20" x 20" squares left enough room for the original crown molding to go back in, and for a taller baseboard as well.
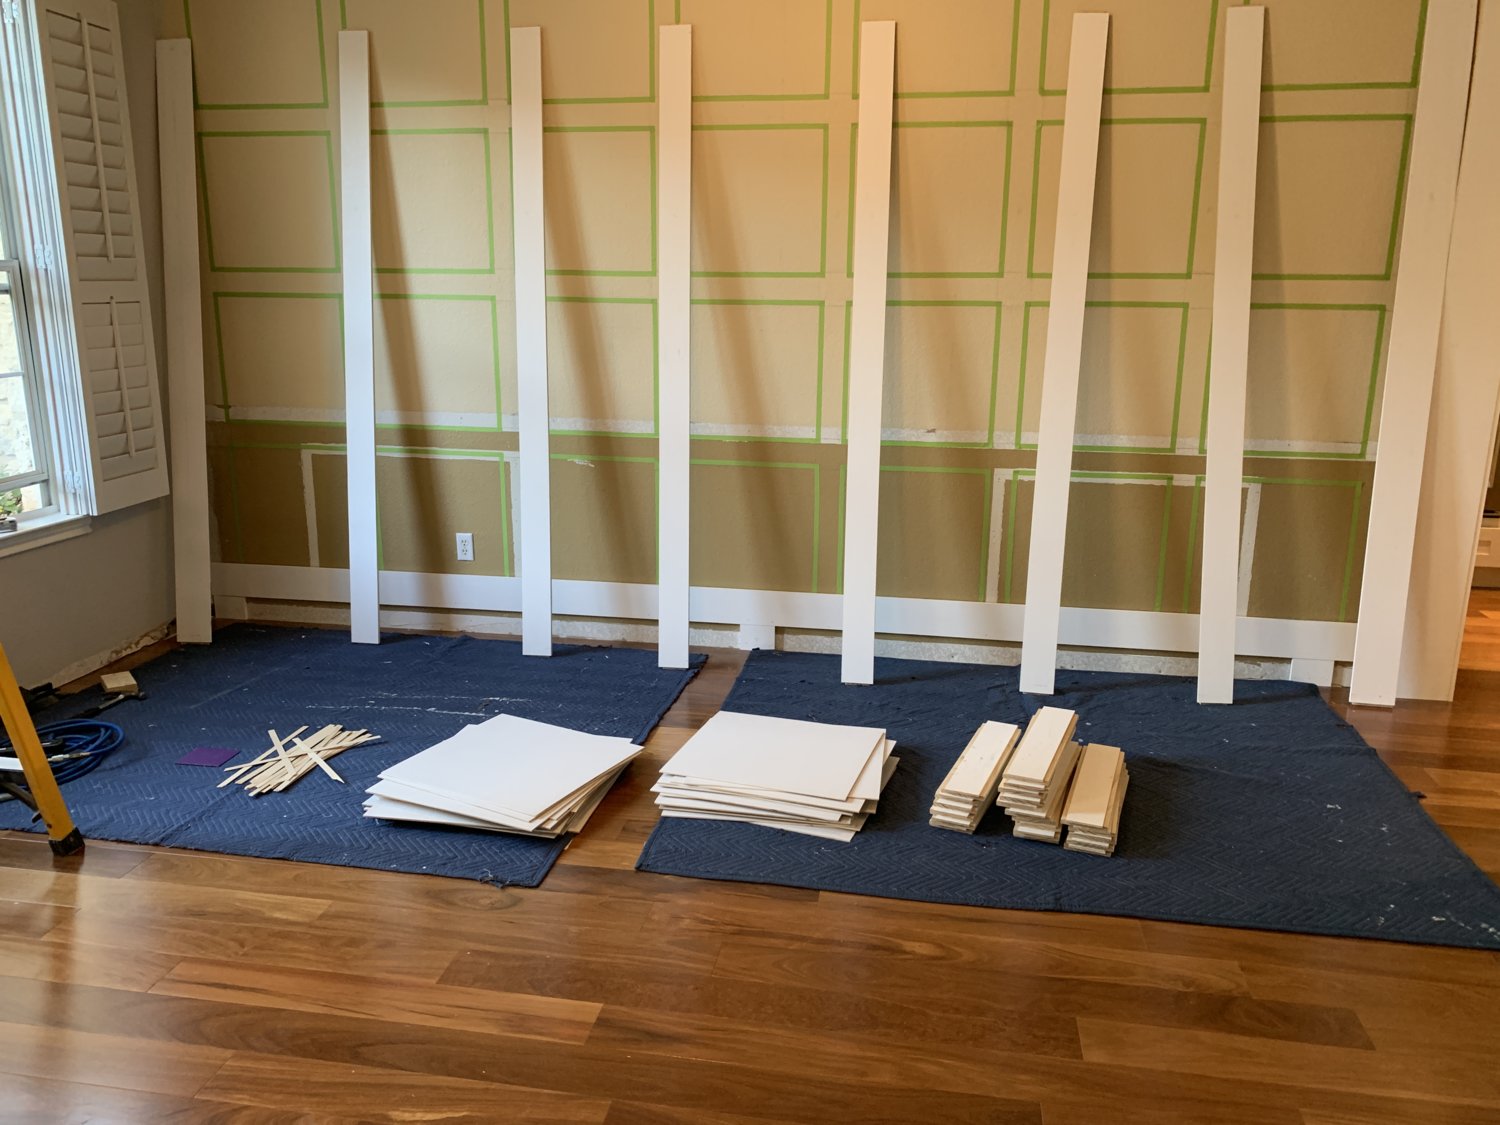
It took almost 2 full days of cutting and measuring and sanding and primering just to get all of the materials ready to this point.
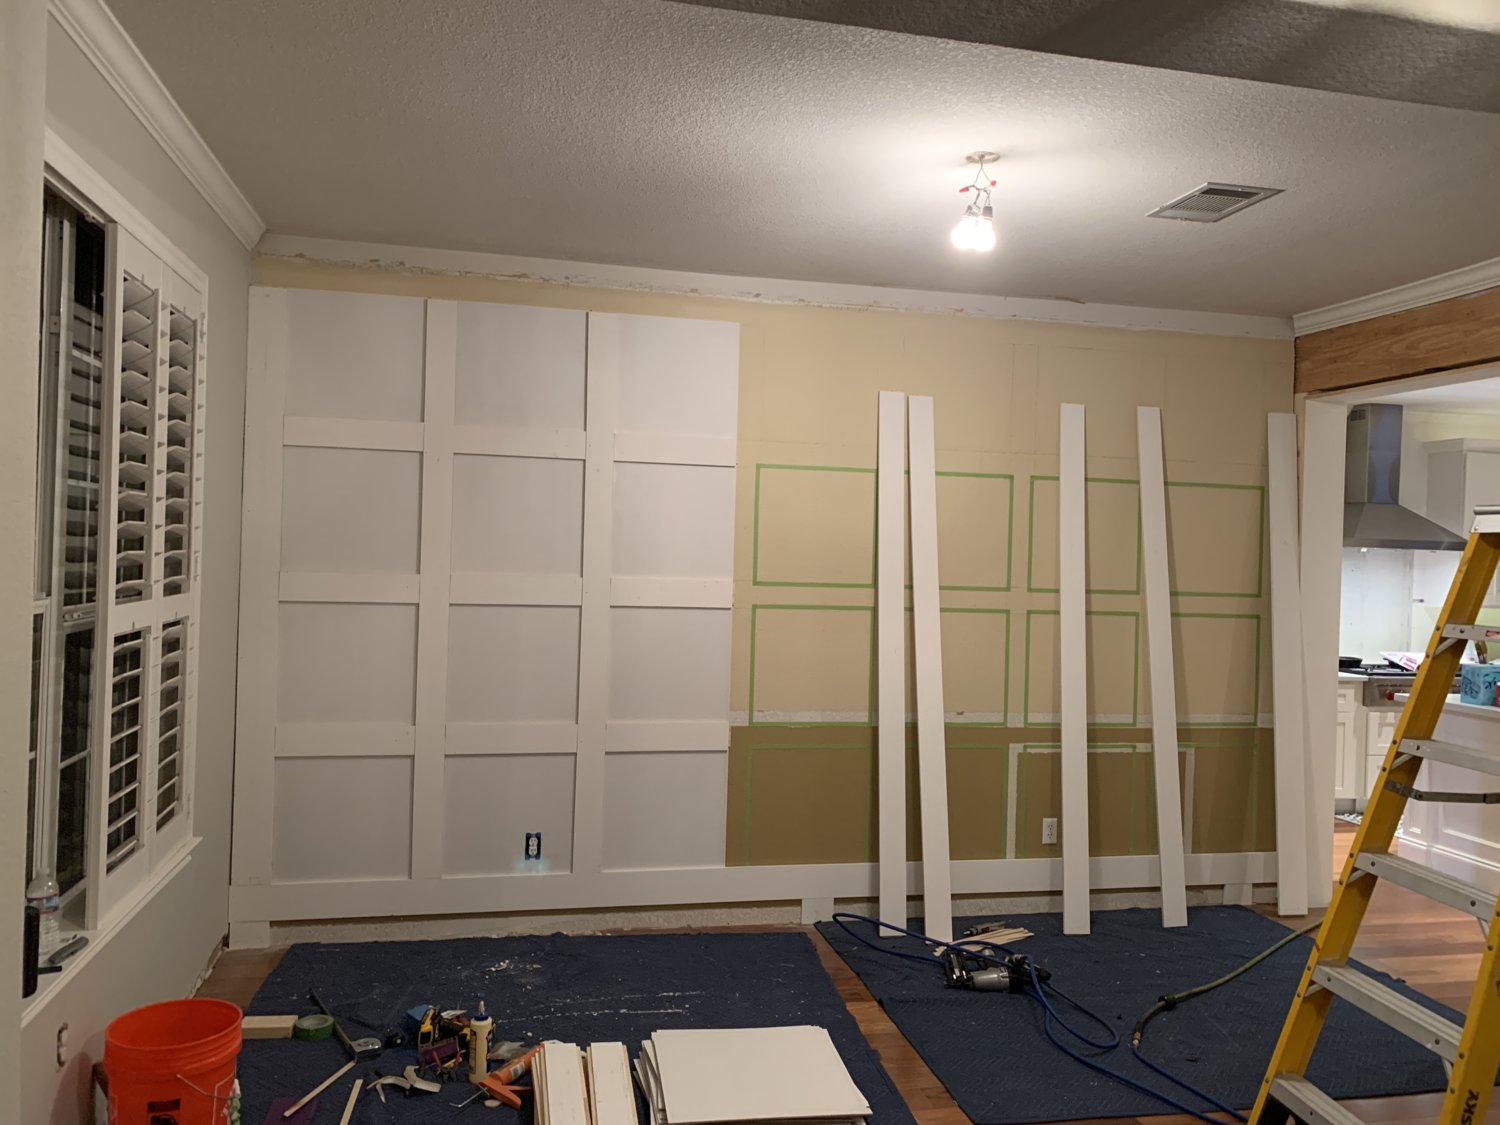
But, the payoff was that the wall went up REALLY quickly... within about 3 hours we were able to get all the way across 16' from floor to ceiling and the layout came out perfect!!
Next Saturday, all that's left is some D/A work to blend the seams, and some putty to seal up the joints... then another quick coat of primer and a final coat of some kind of "grey-beige" paint (TBD) to make it stand out from the adjacent walls.
So there you go.... "Might As Well" isn't just a garage term. As it turns out, you can apply it to almost any facet of your life... find an excuse to do something just a little bit better than necessary and the results can be rewarding.
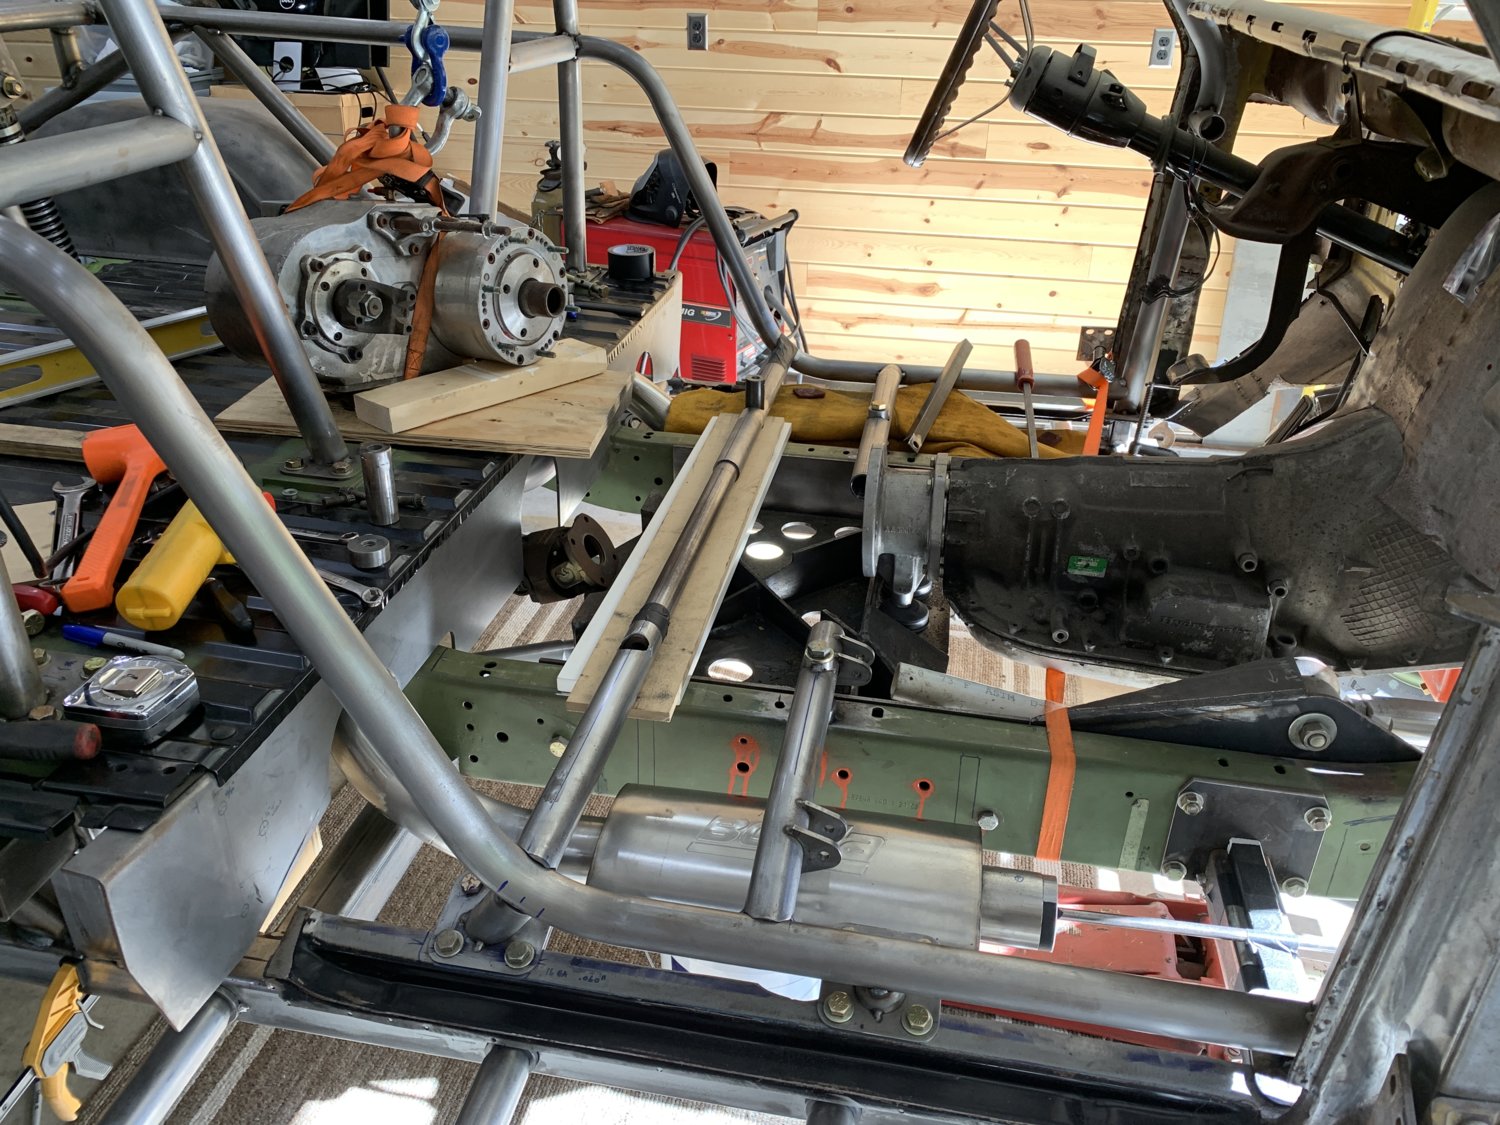
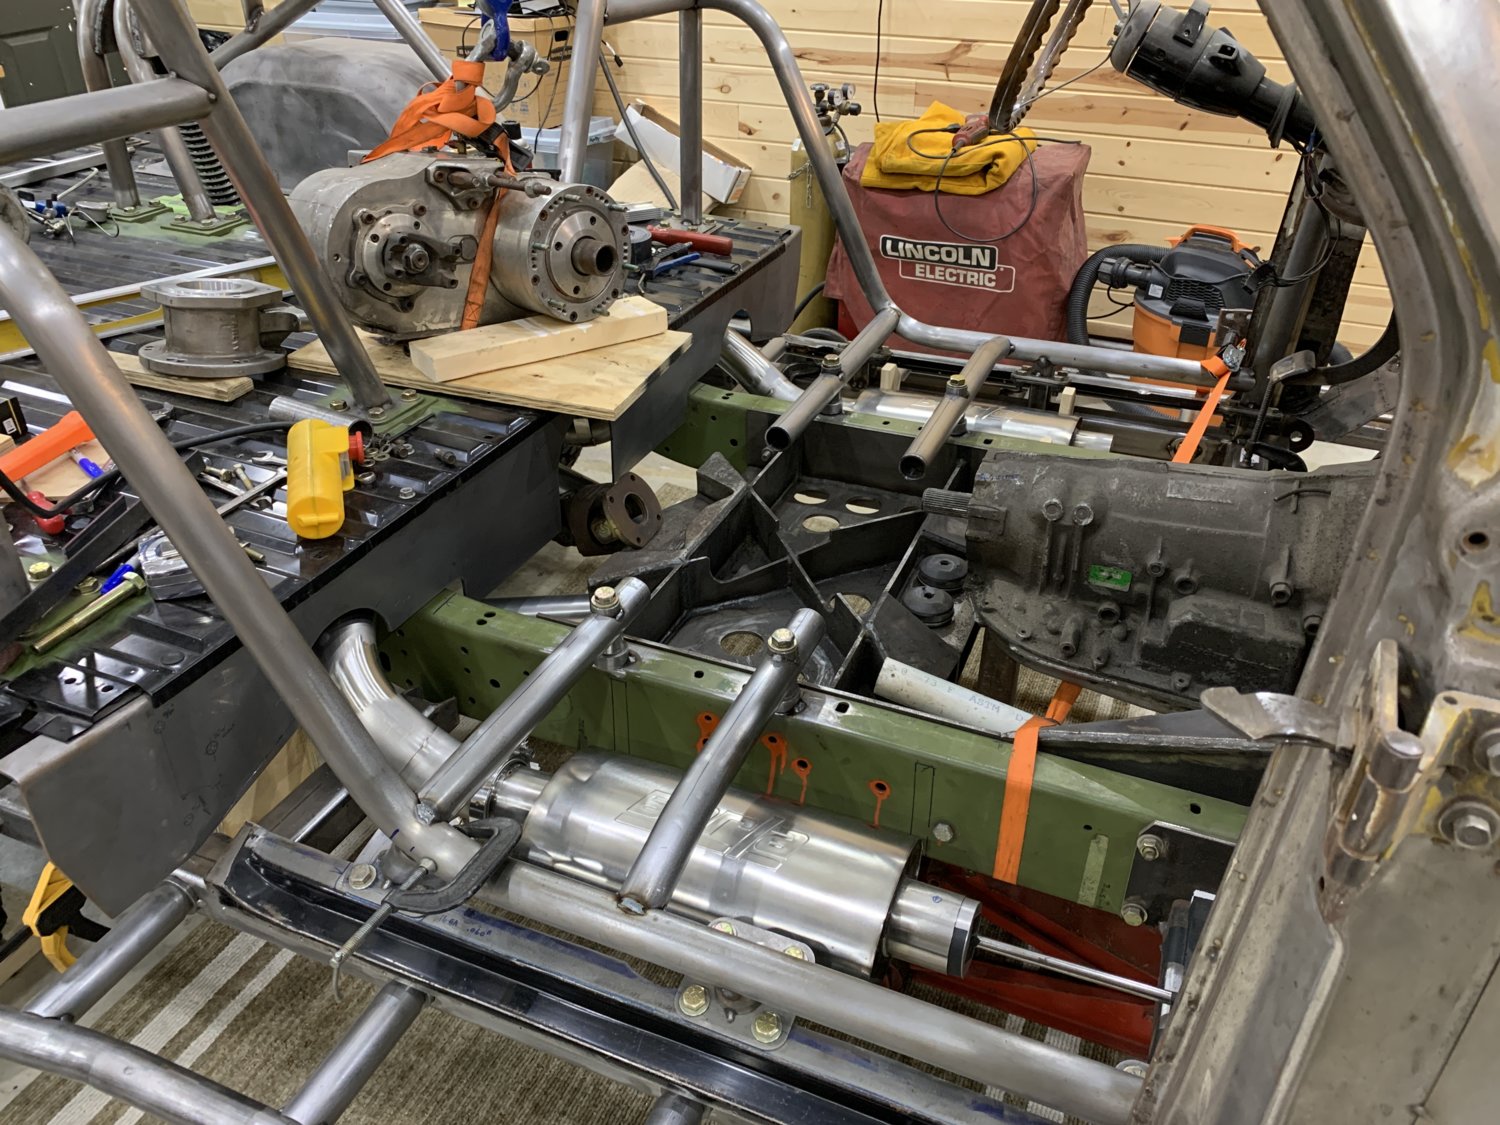
UP NEXT: Truck progress!!!
-G


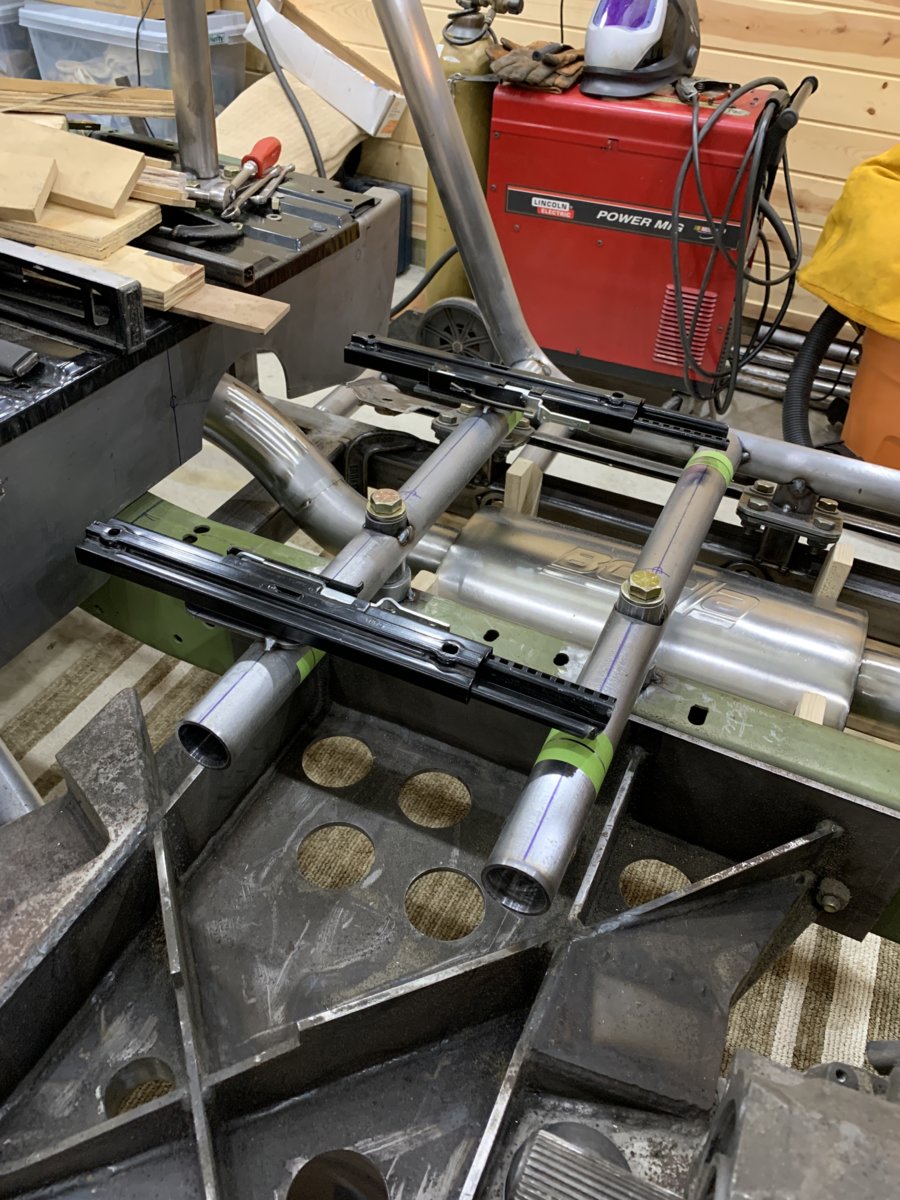
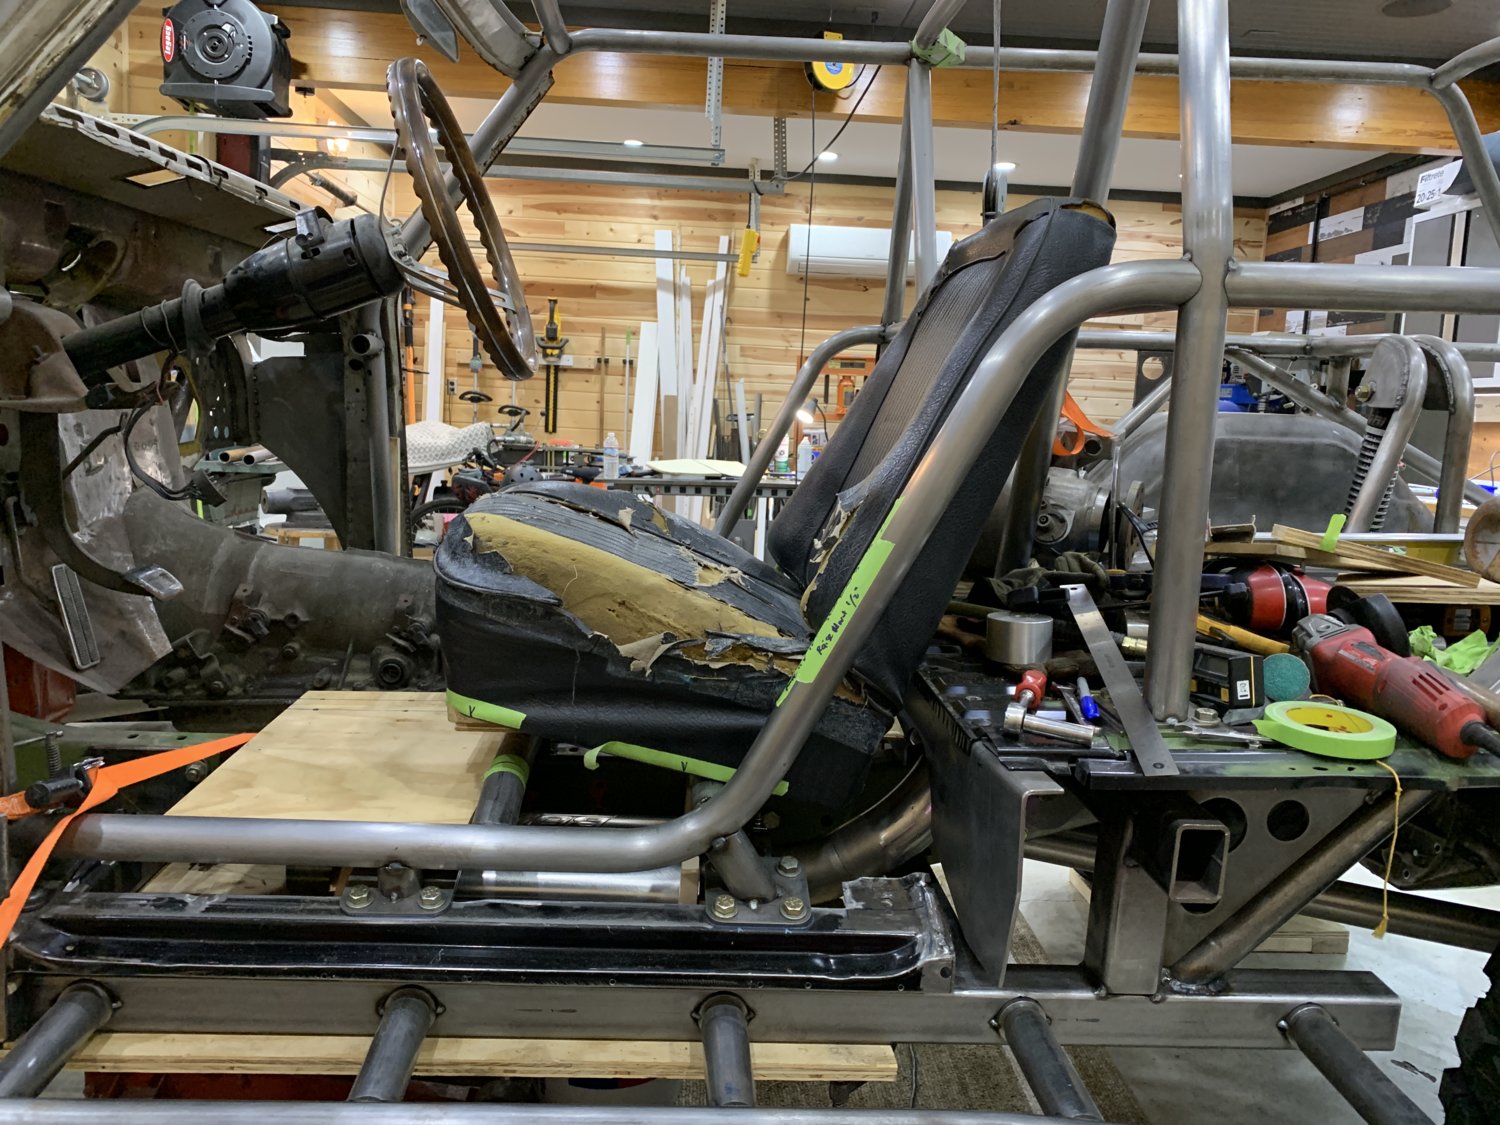
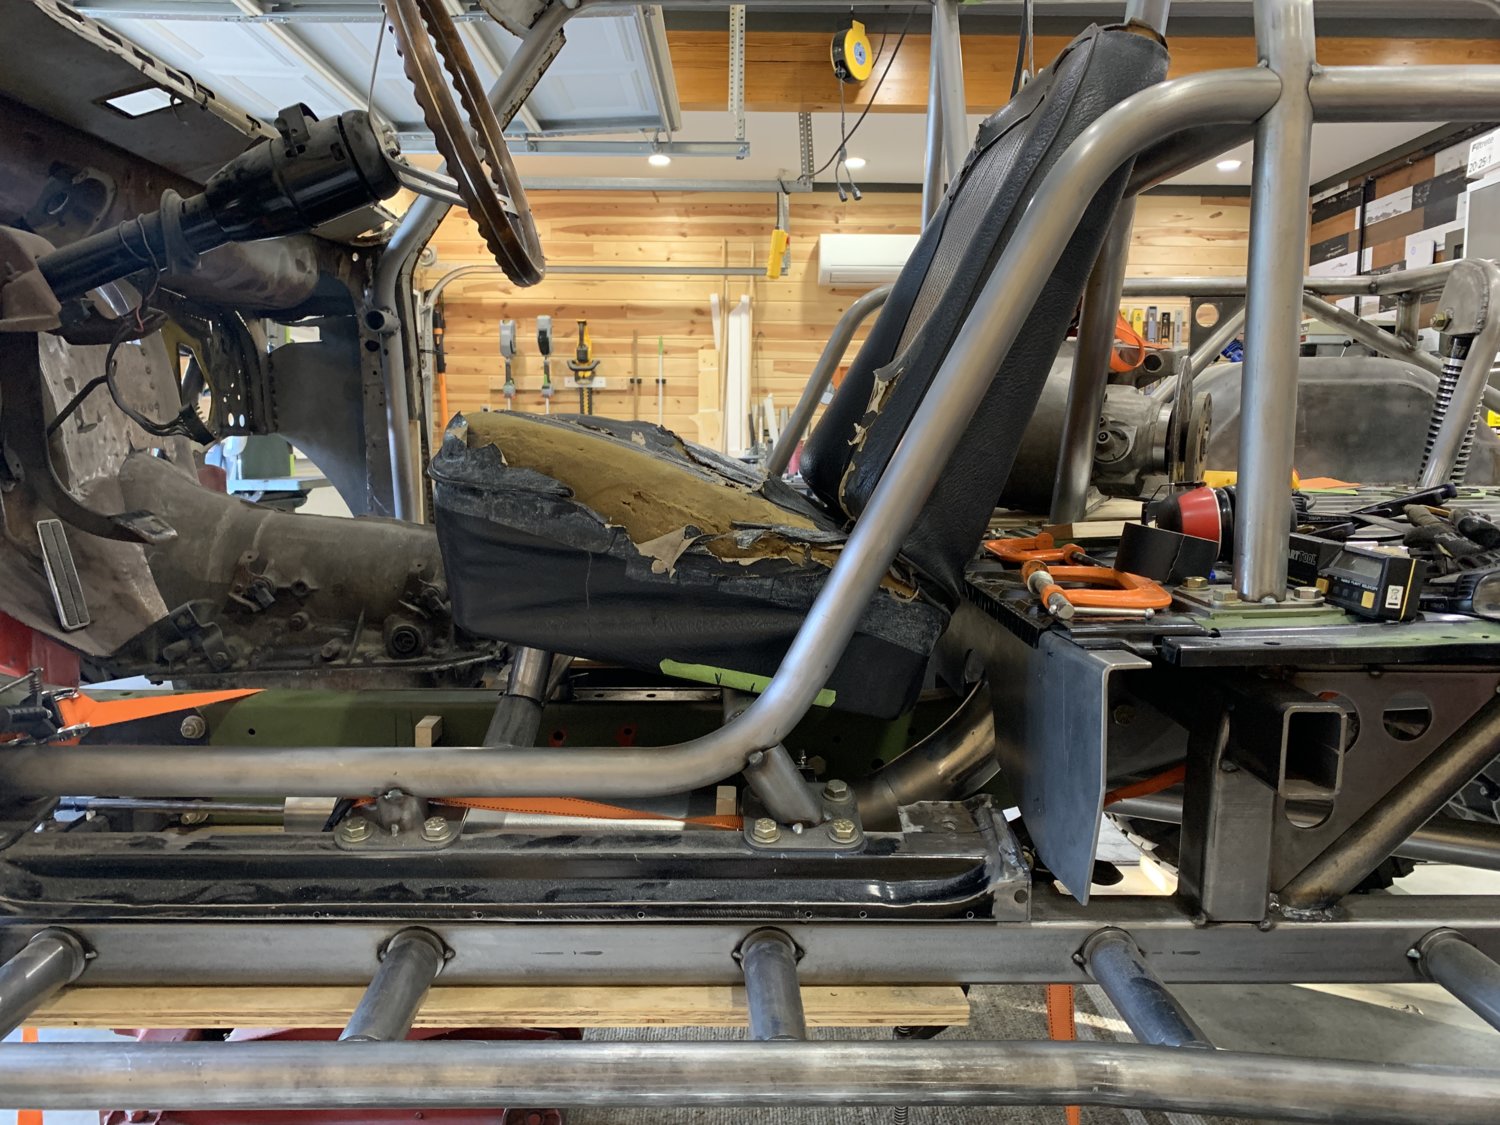
 This one was too high and didn't set the seat back far enough to be comfortable.


Yep2-3hrs a week! I get that a month if I'm lucky.

