2021.04.12 - UPDATE! - !! 100% METAL FENDER WEEKEND !!

It happened..... and it was glorious.
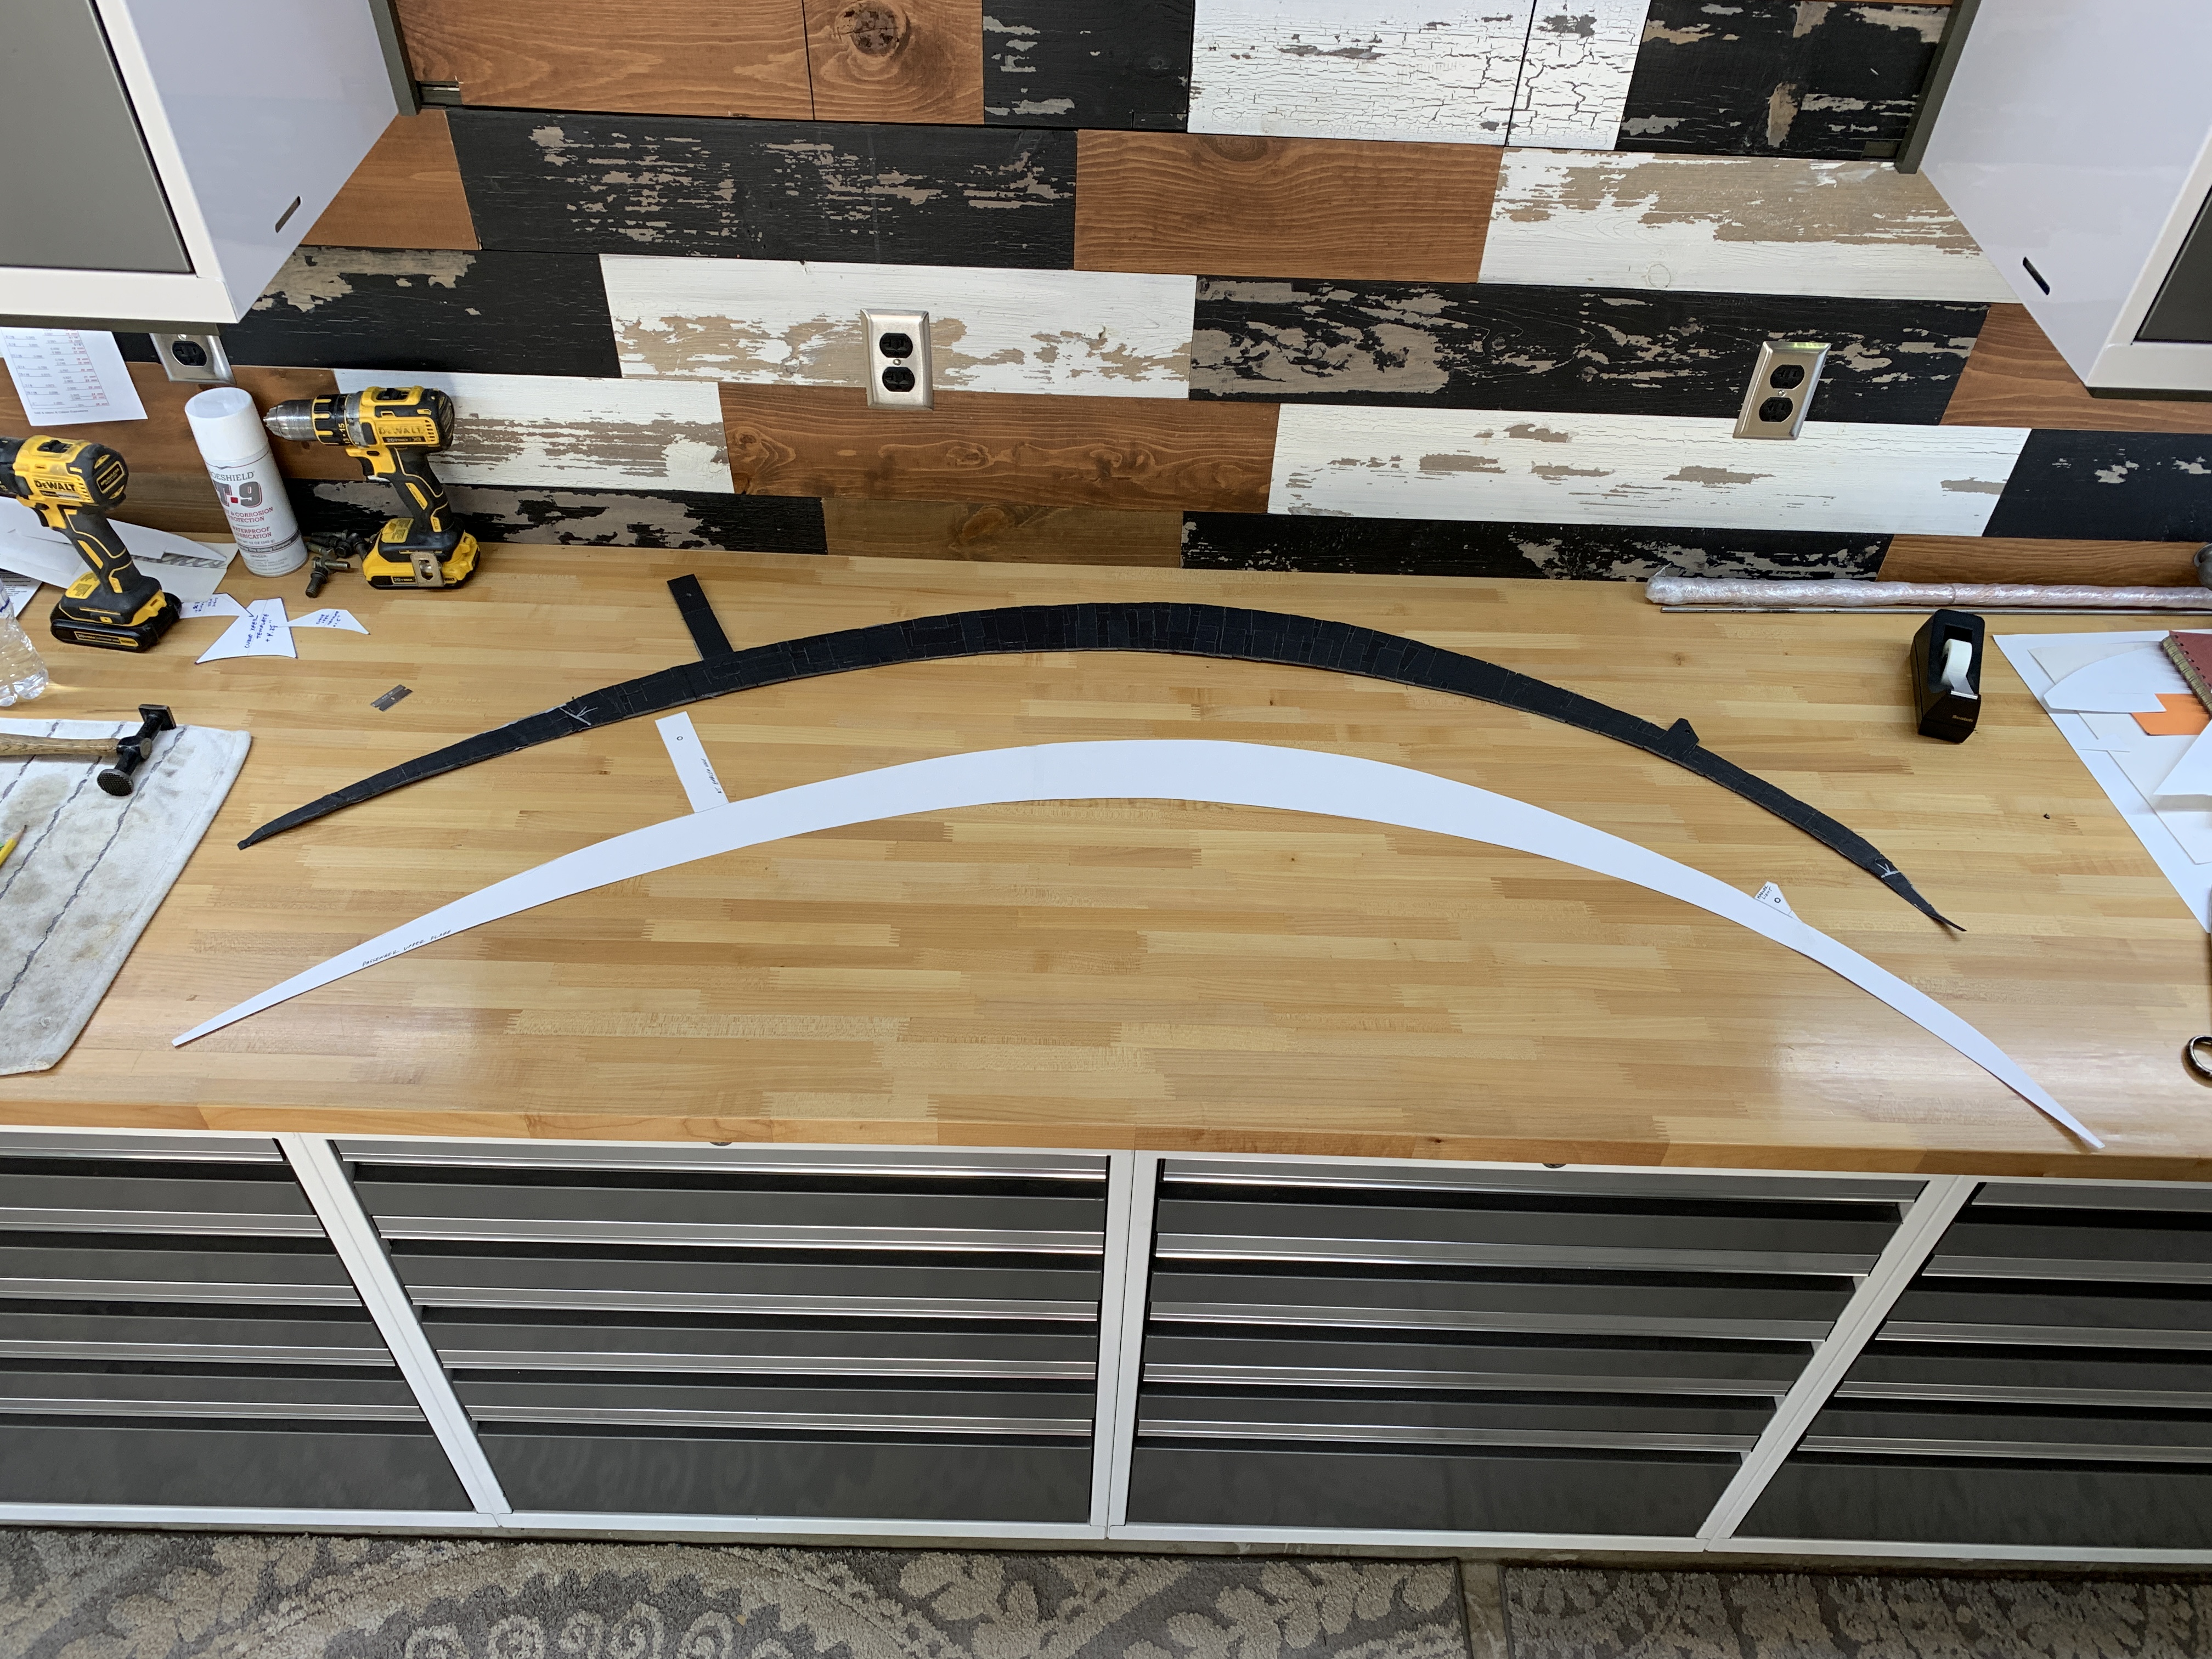
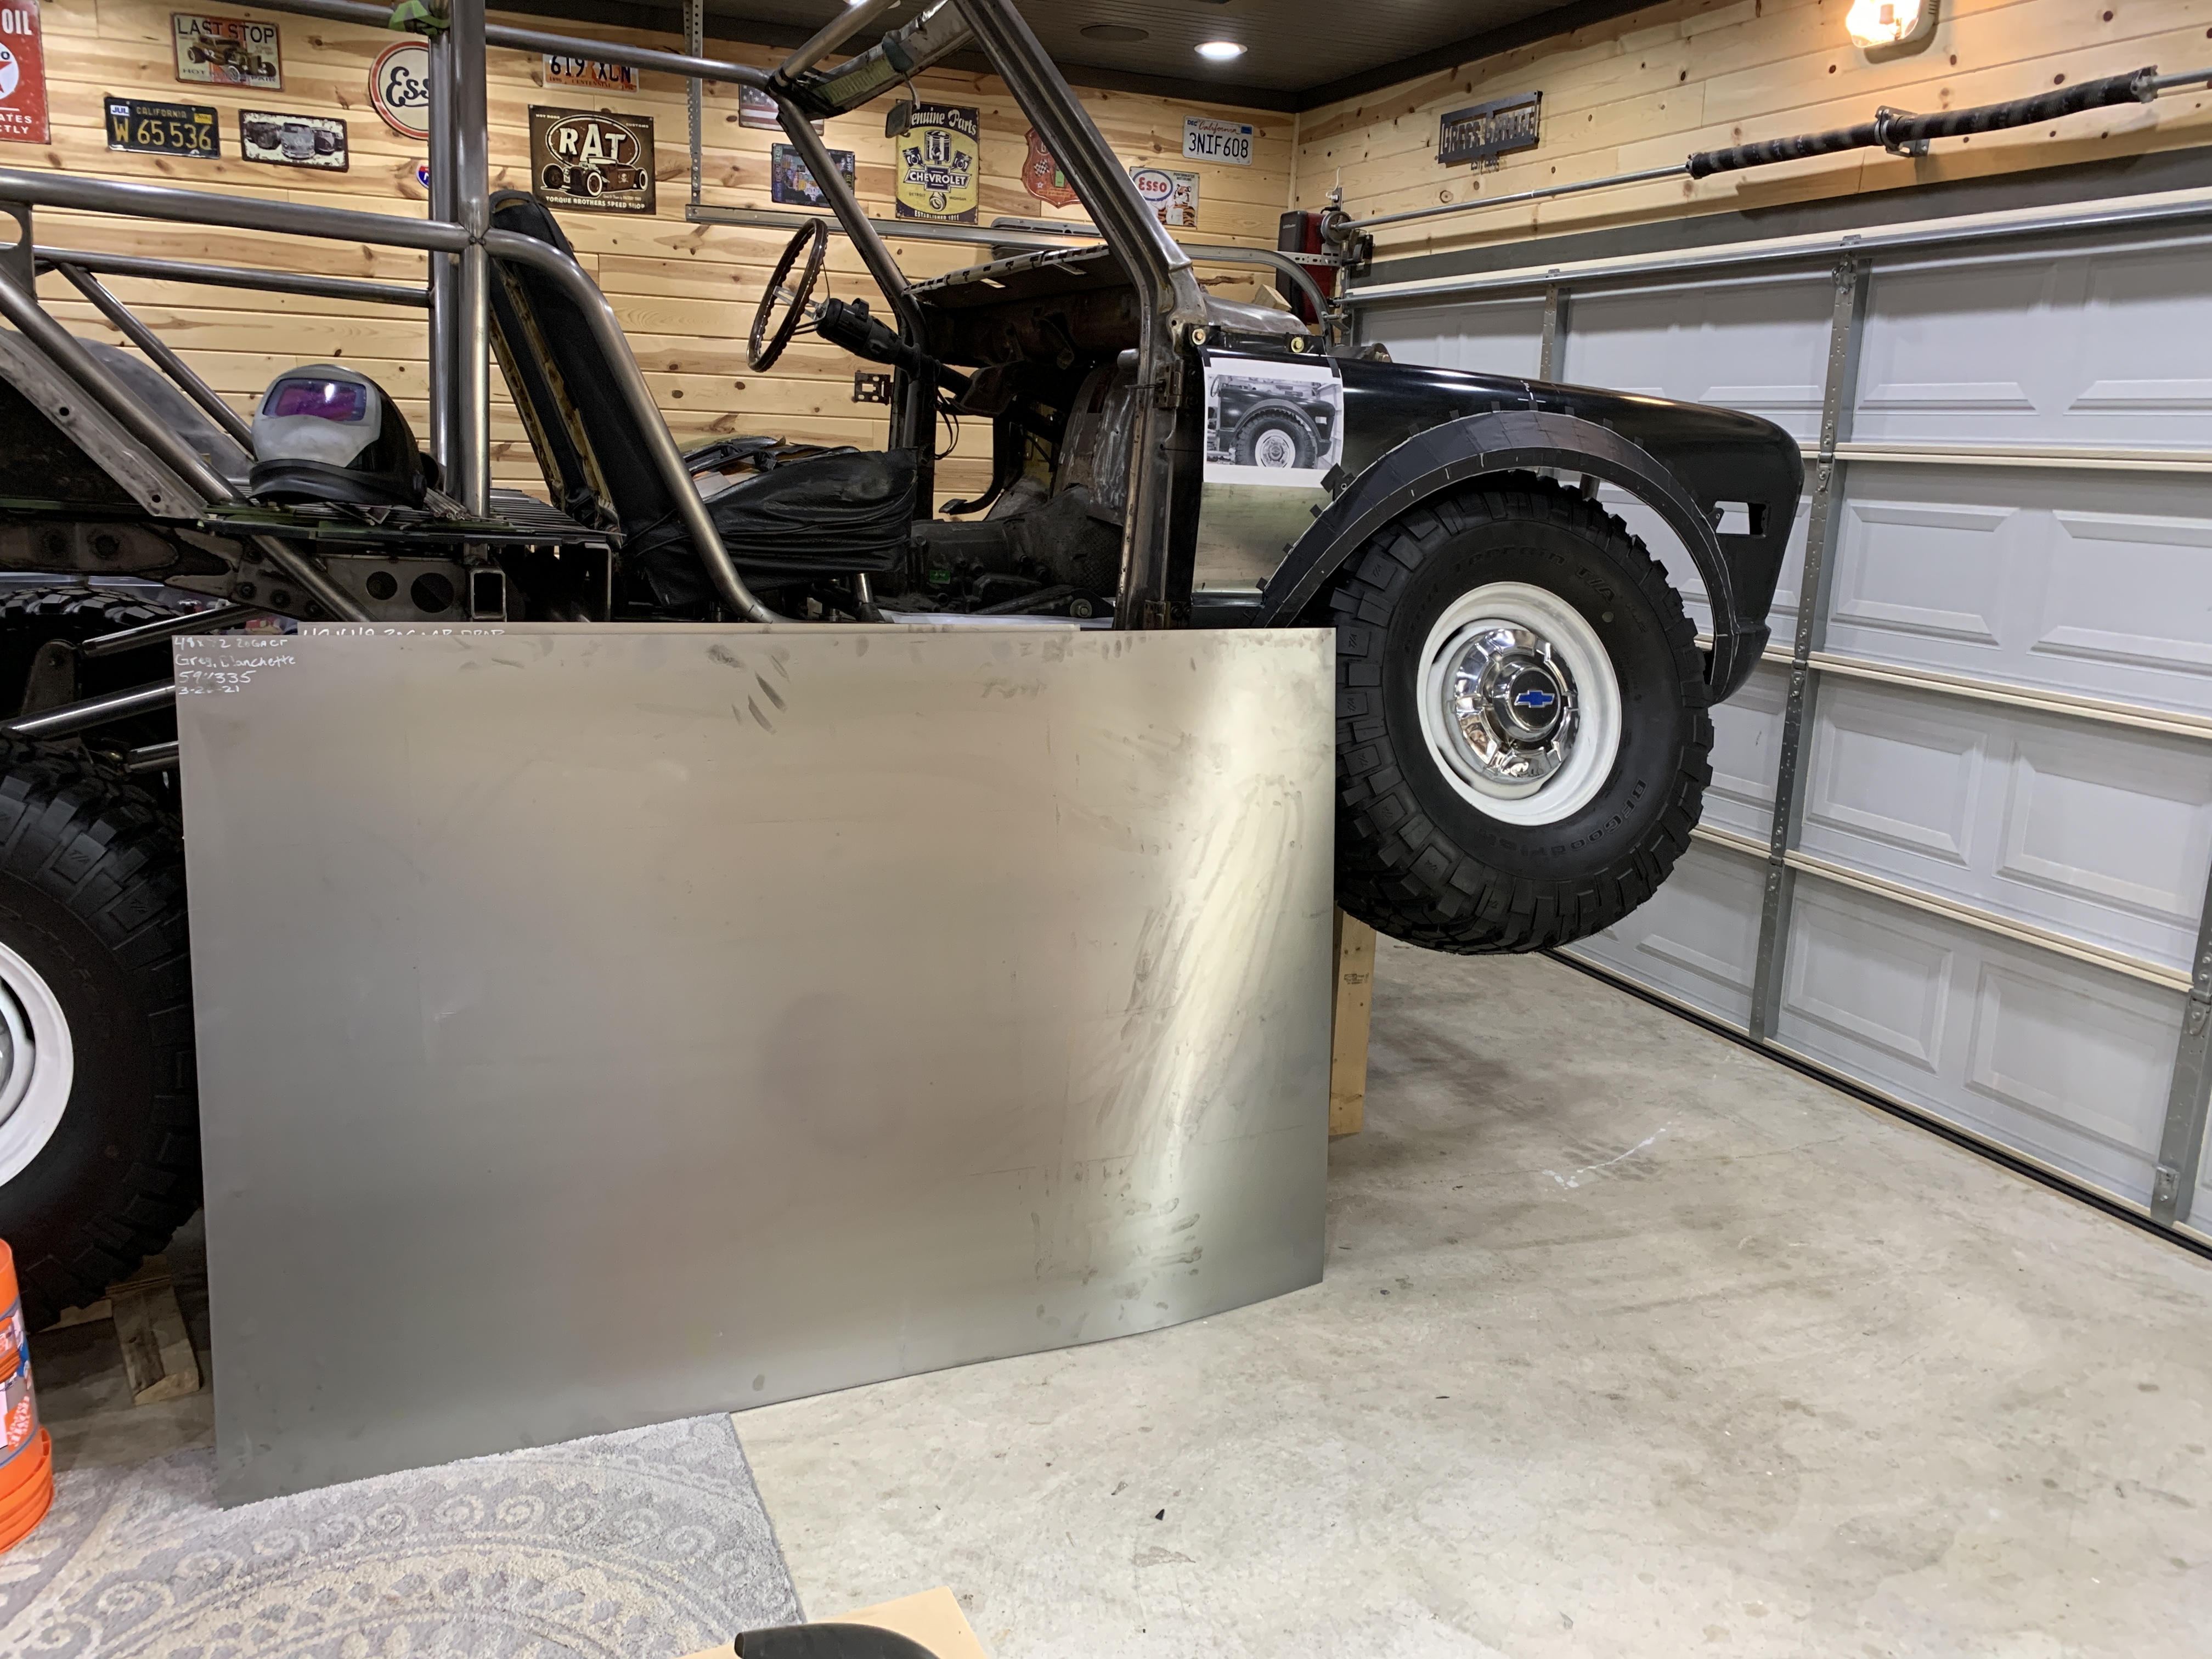
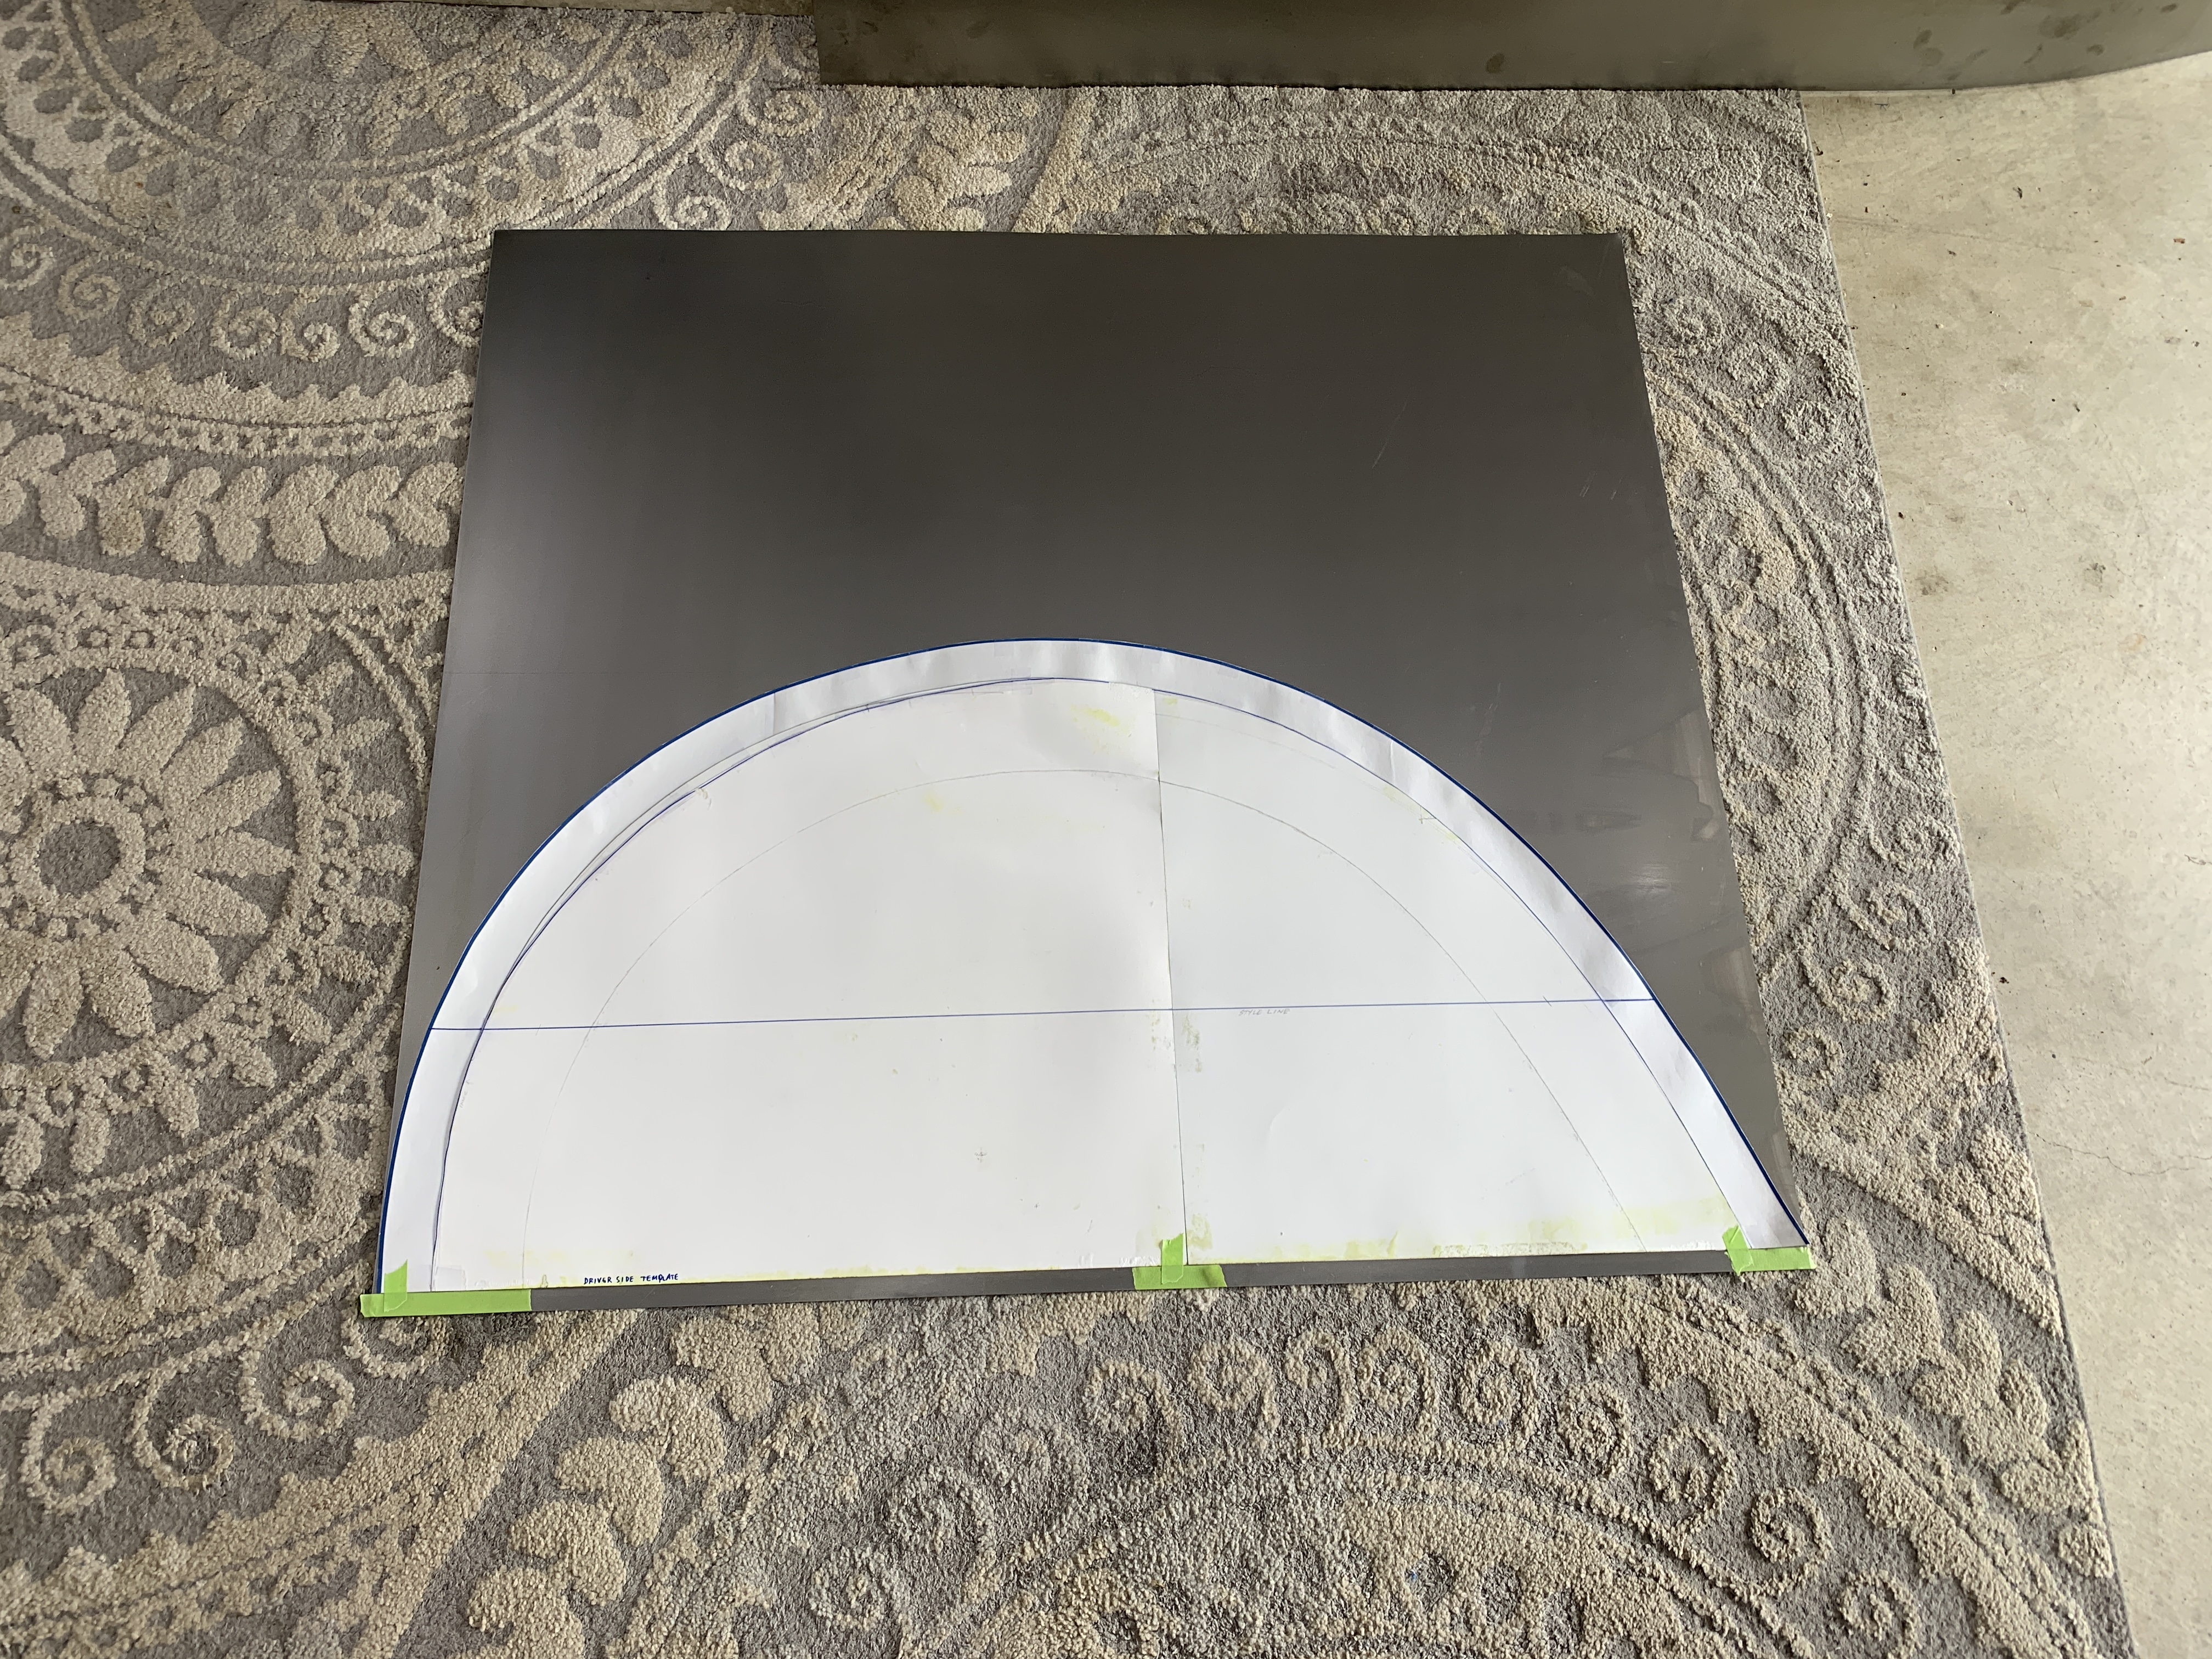
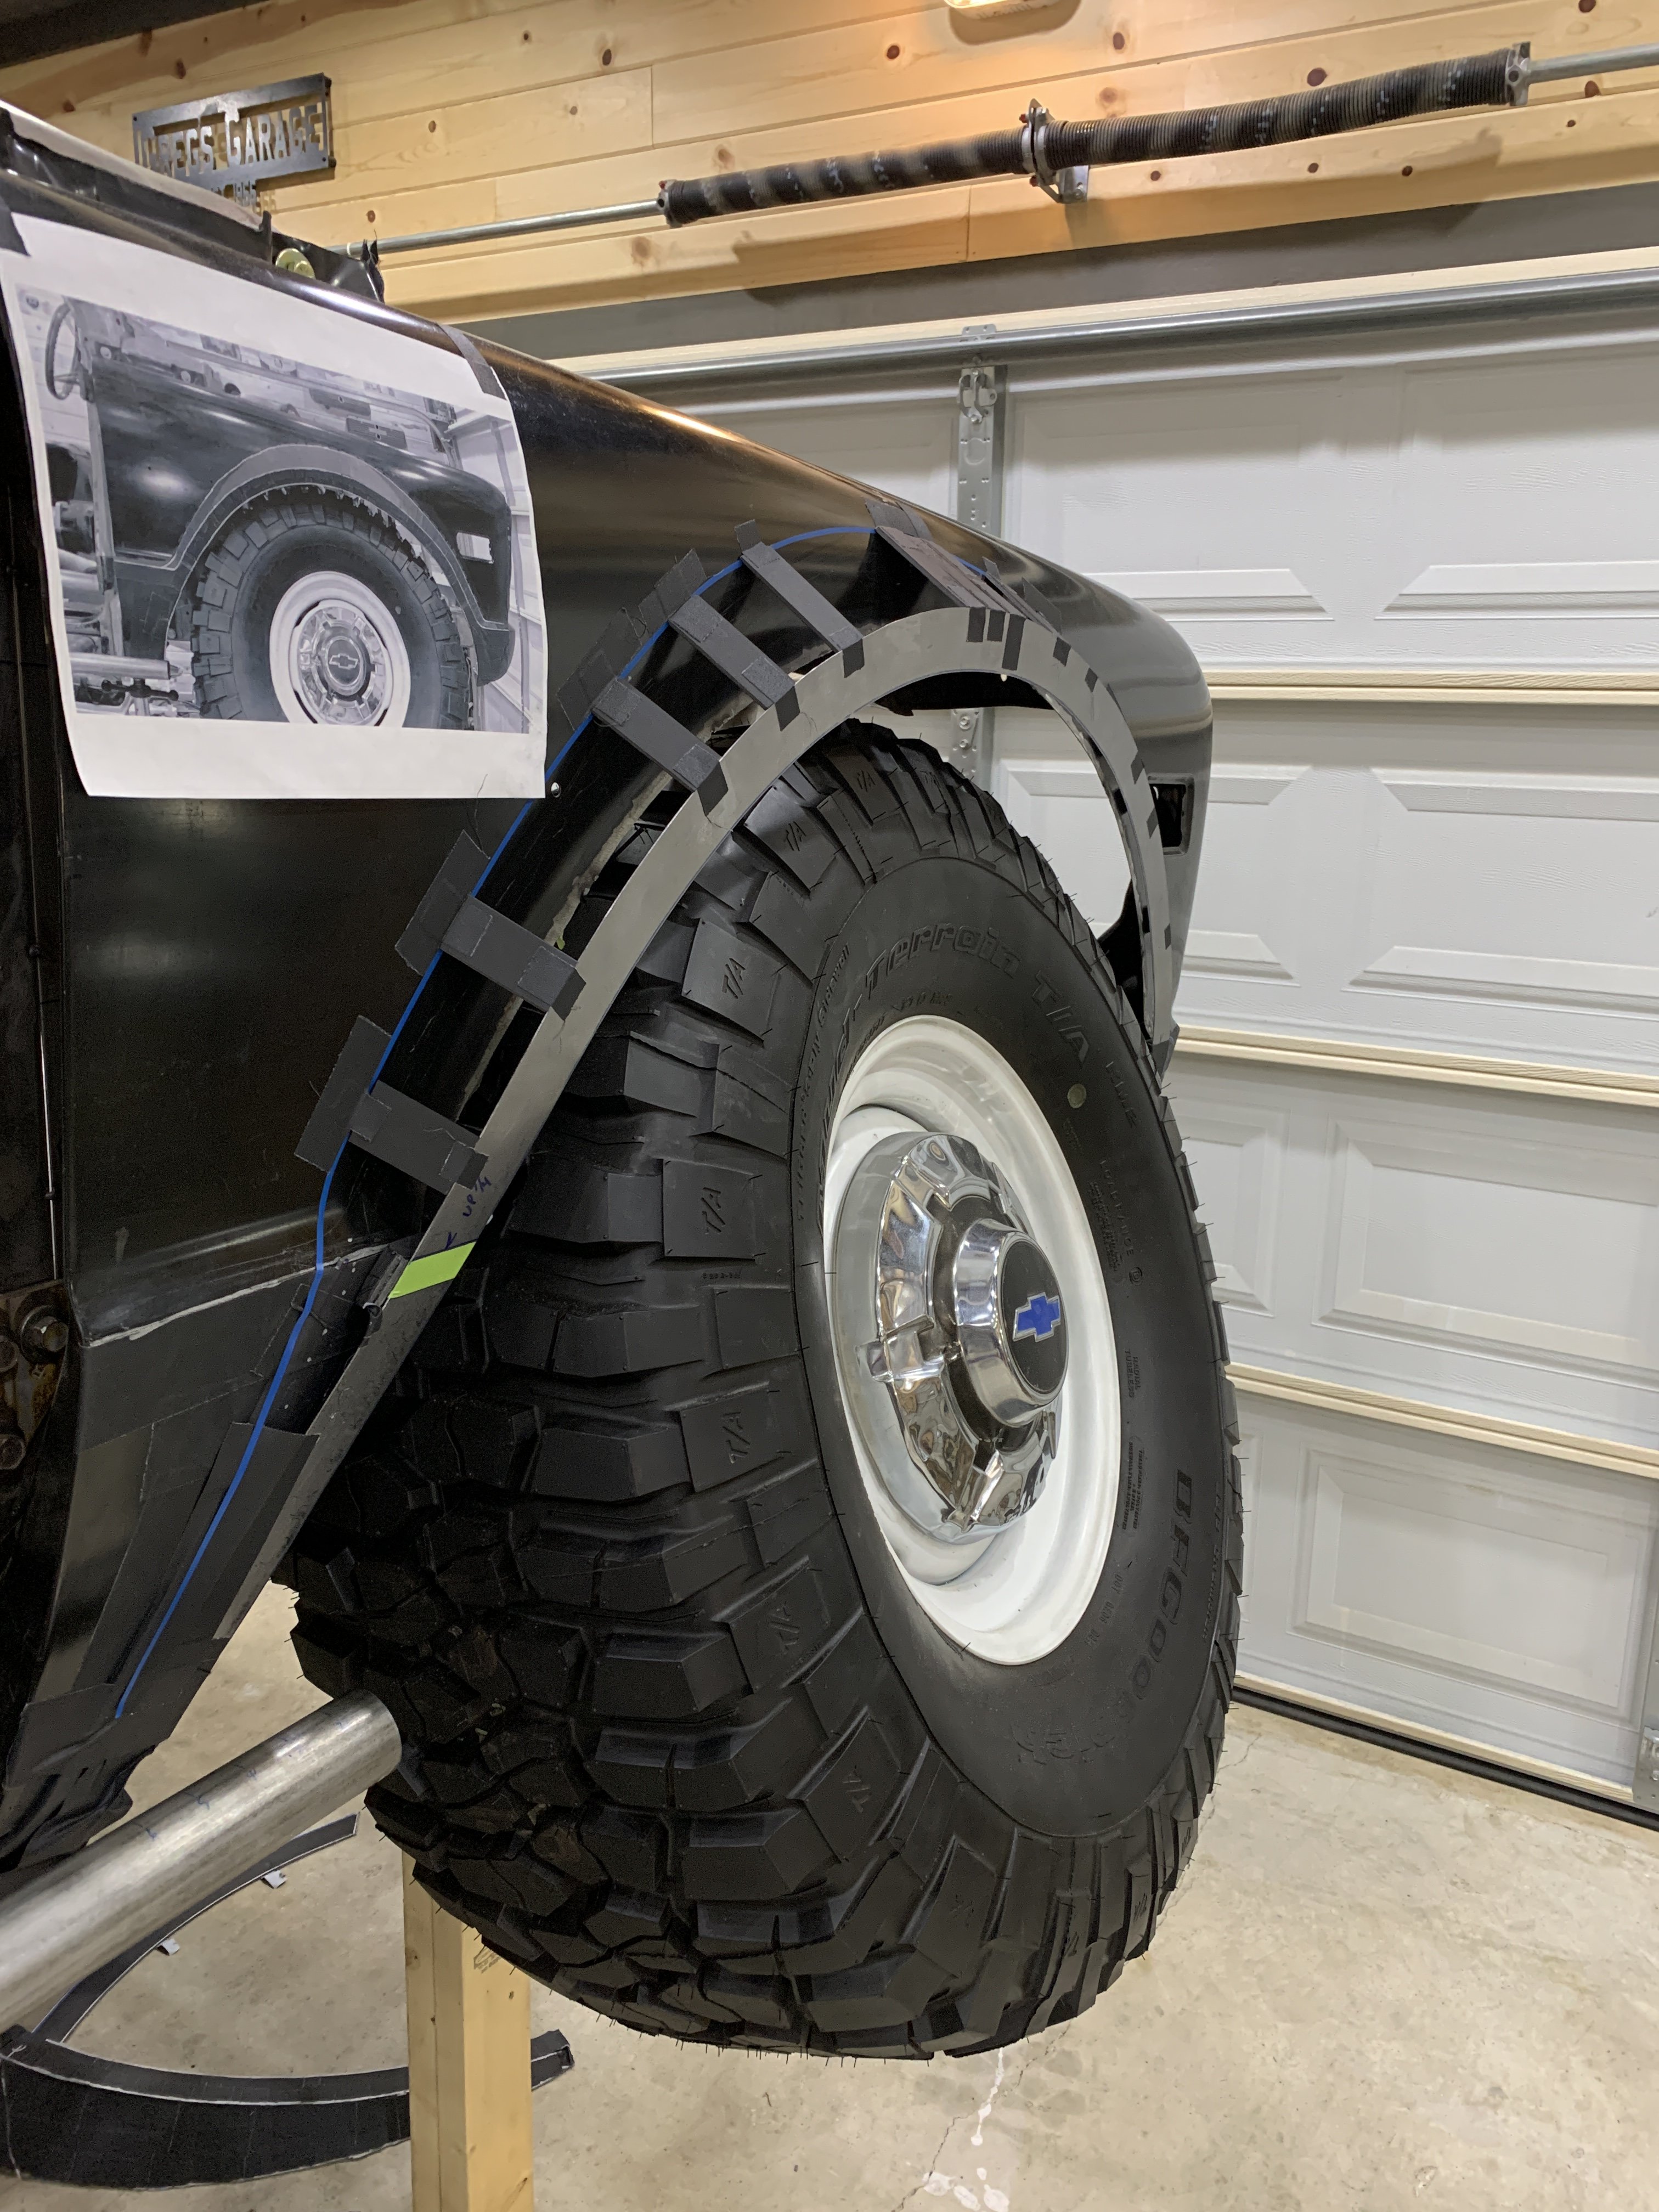
Got a good start on Sunday morning in the garage, carefully cutting off the "V4" upper flare template and transferred it to heavy cardstock.
Transferred THAT pattern over to some 20GA and used the Bosch cordless to cut through that pattern like butta...
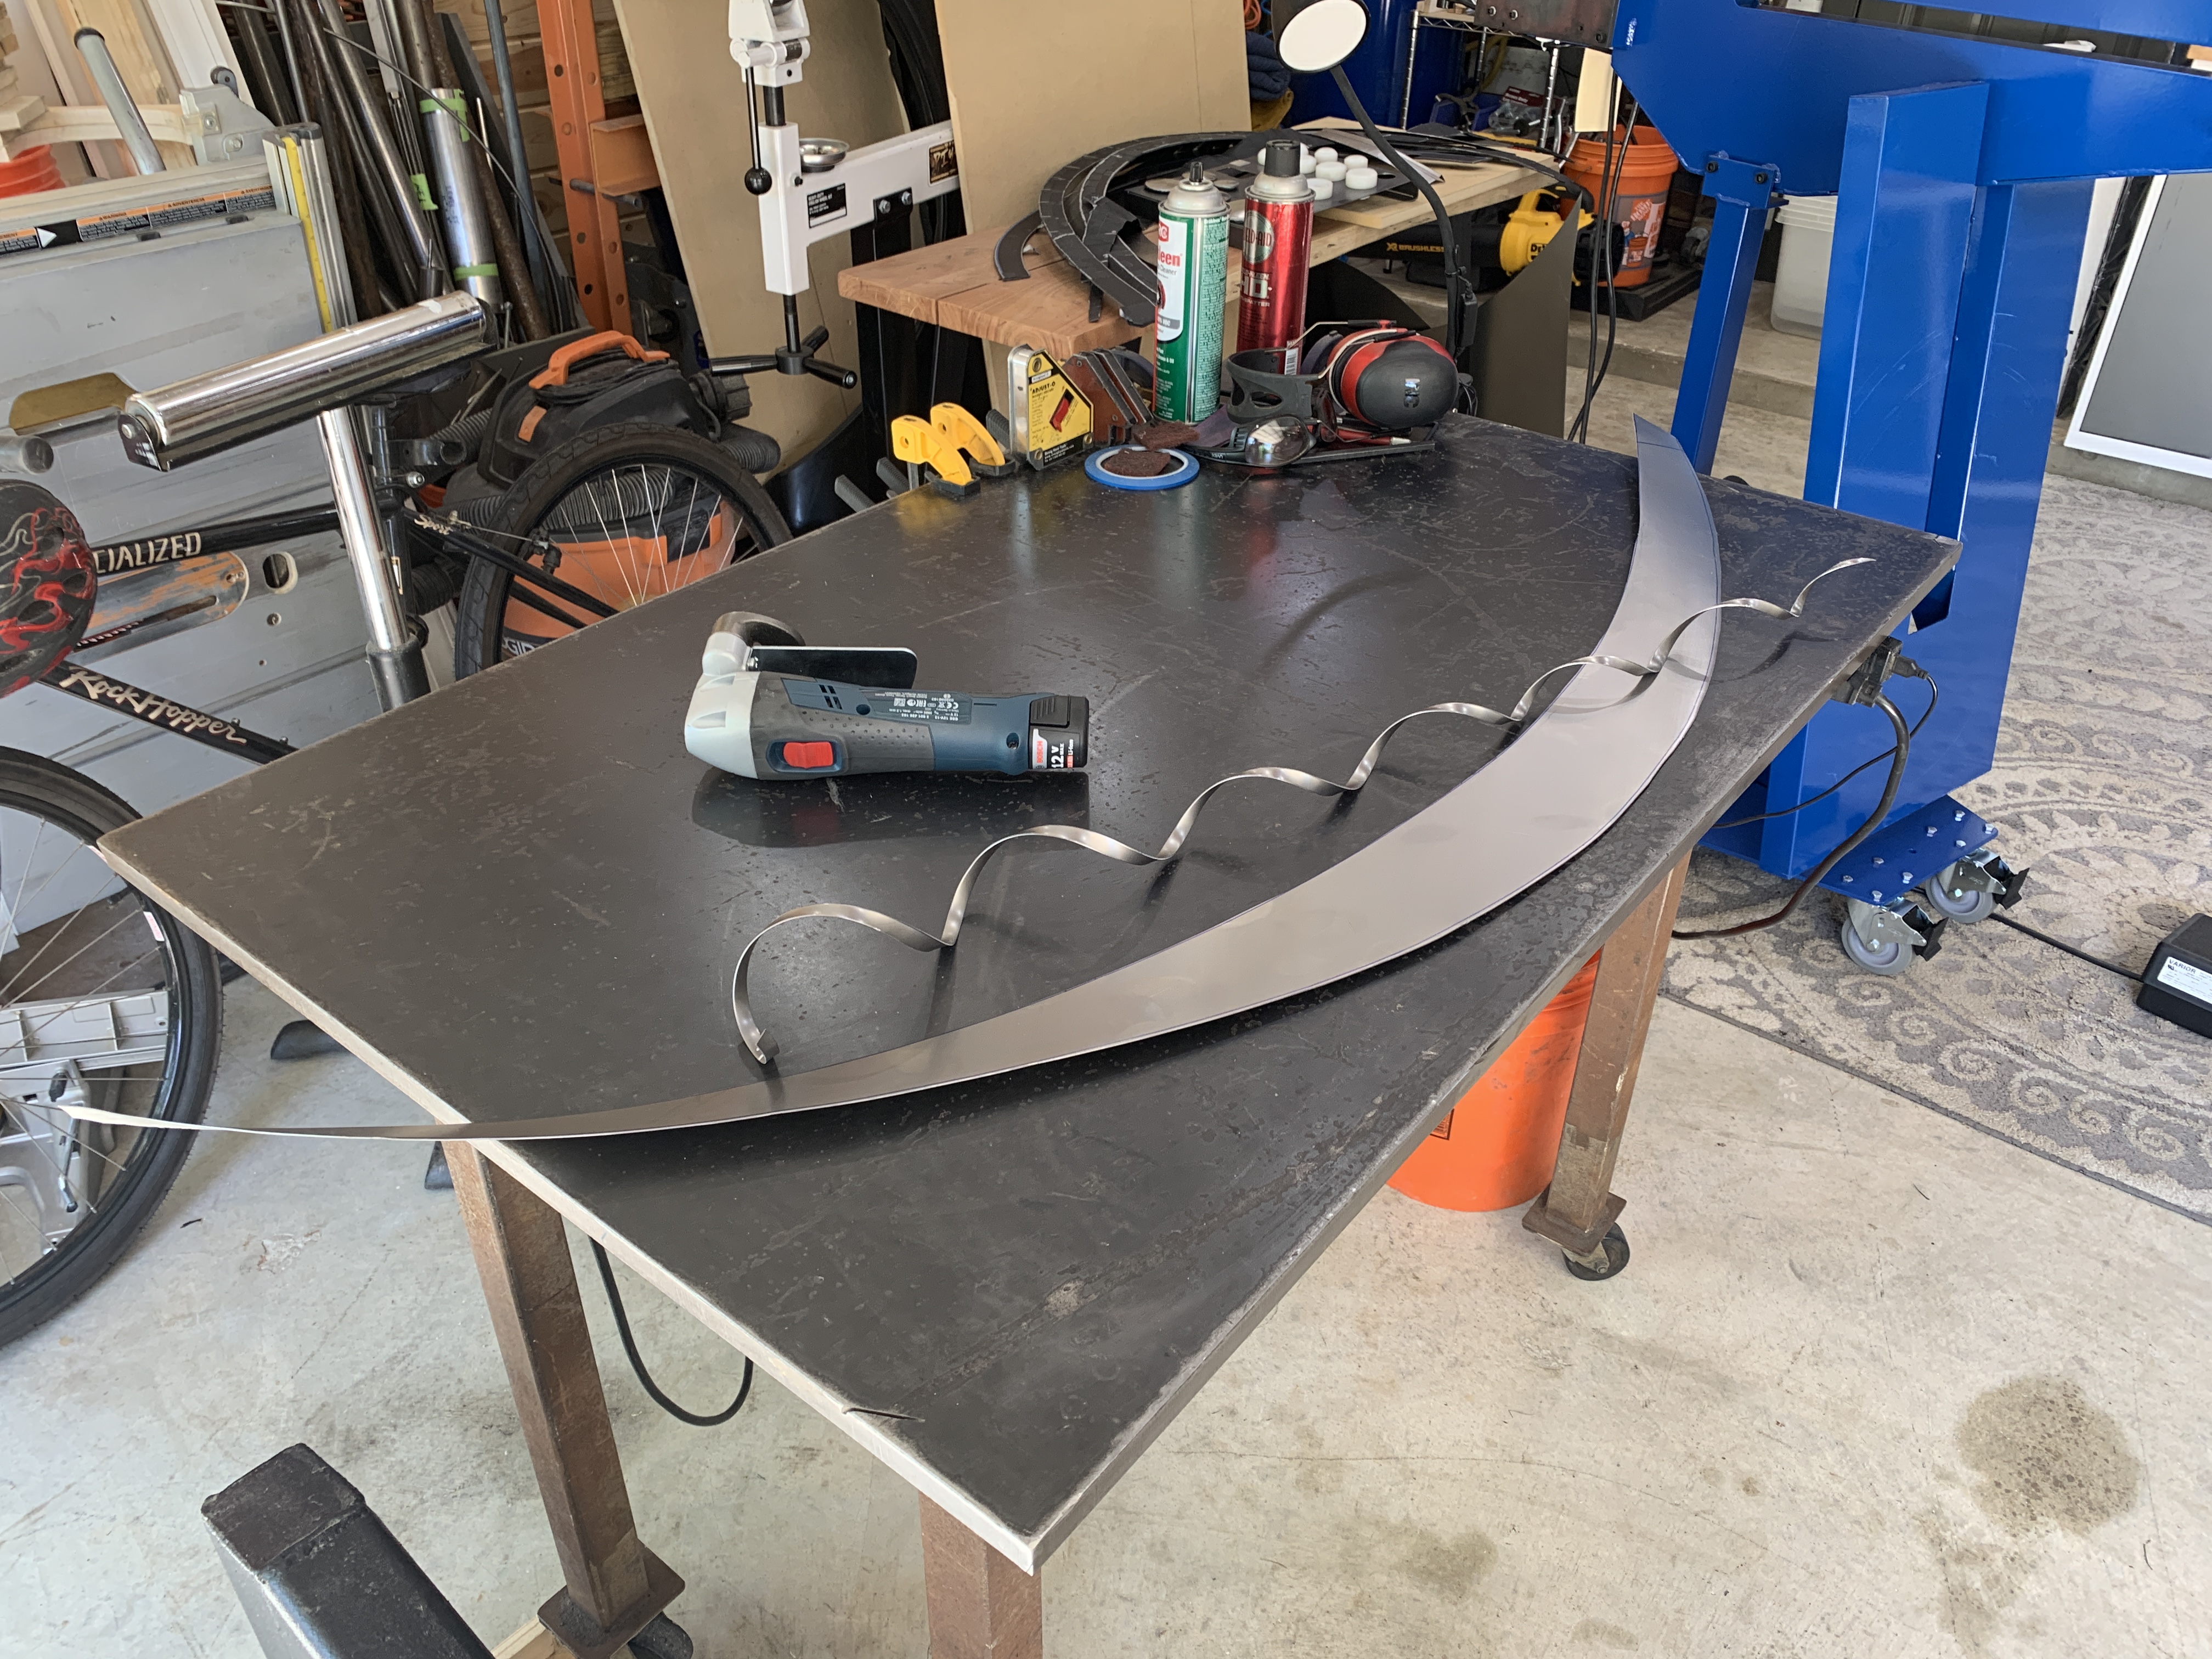
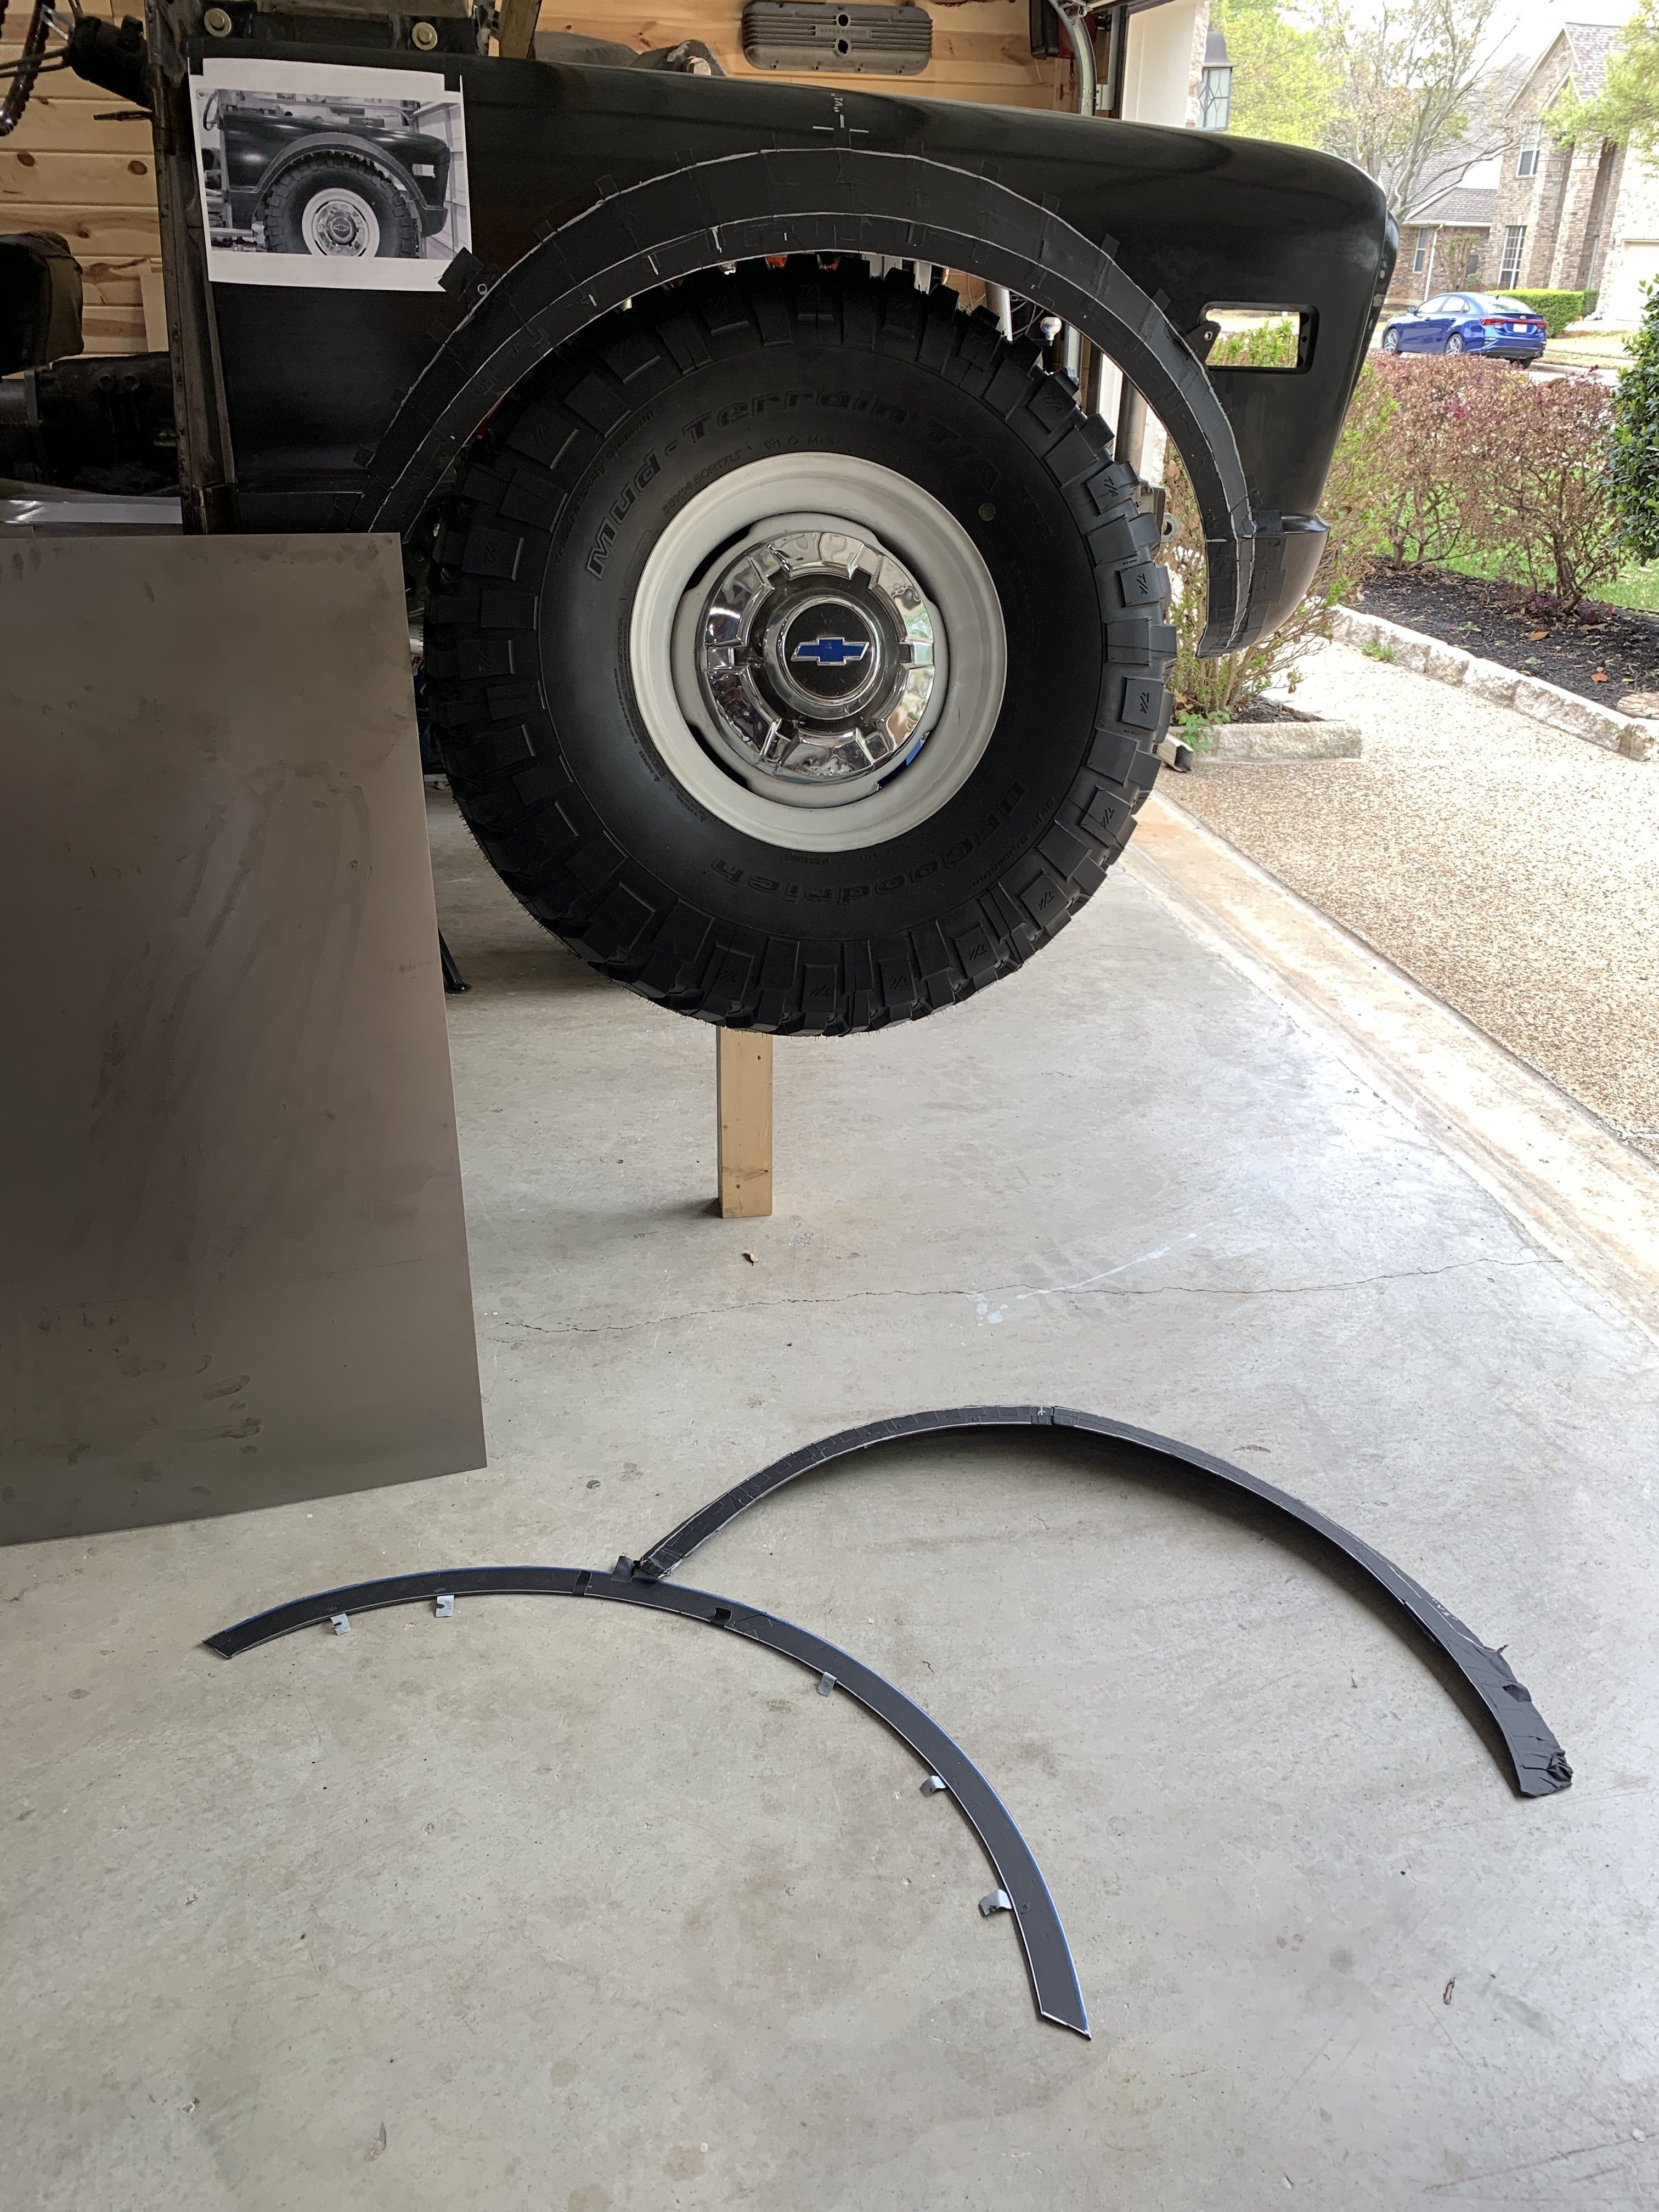
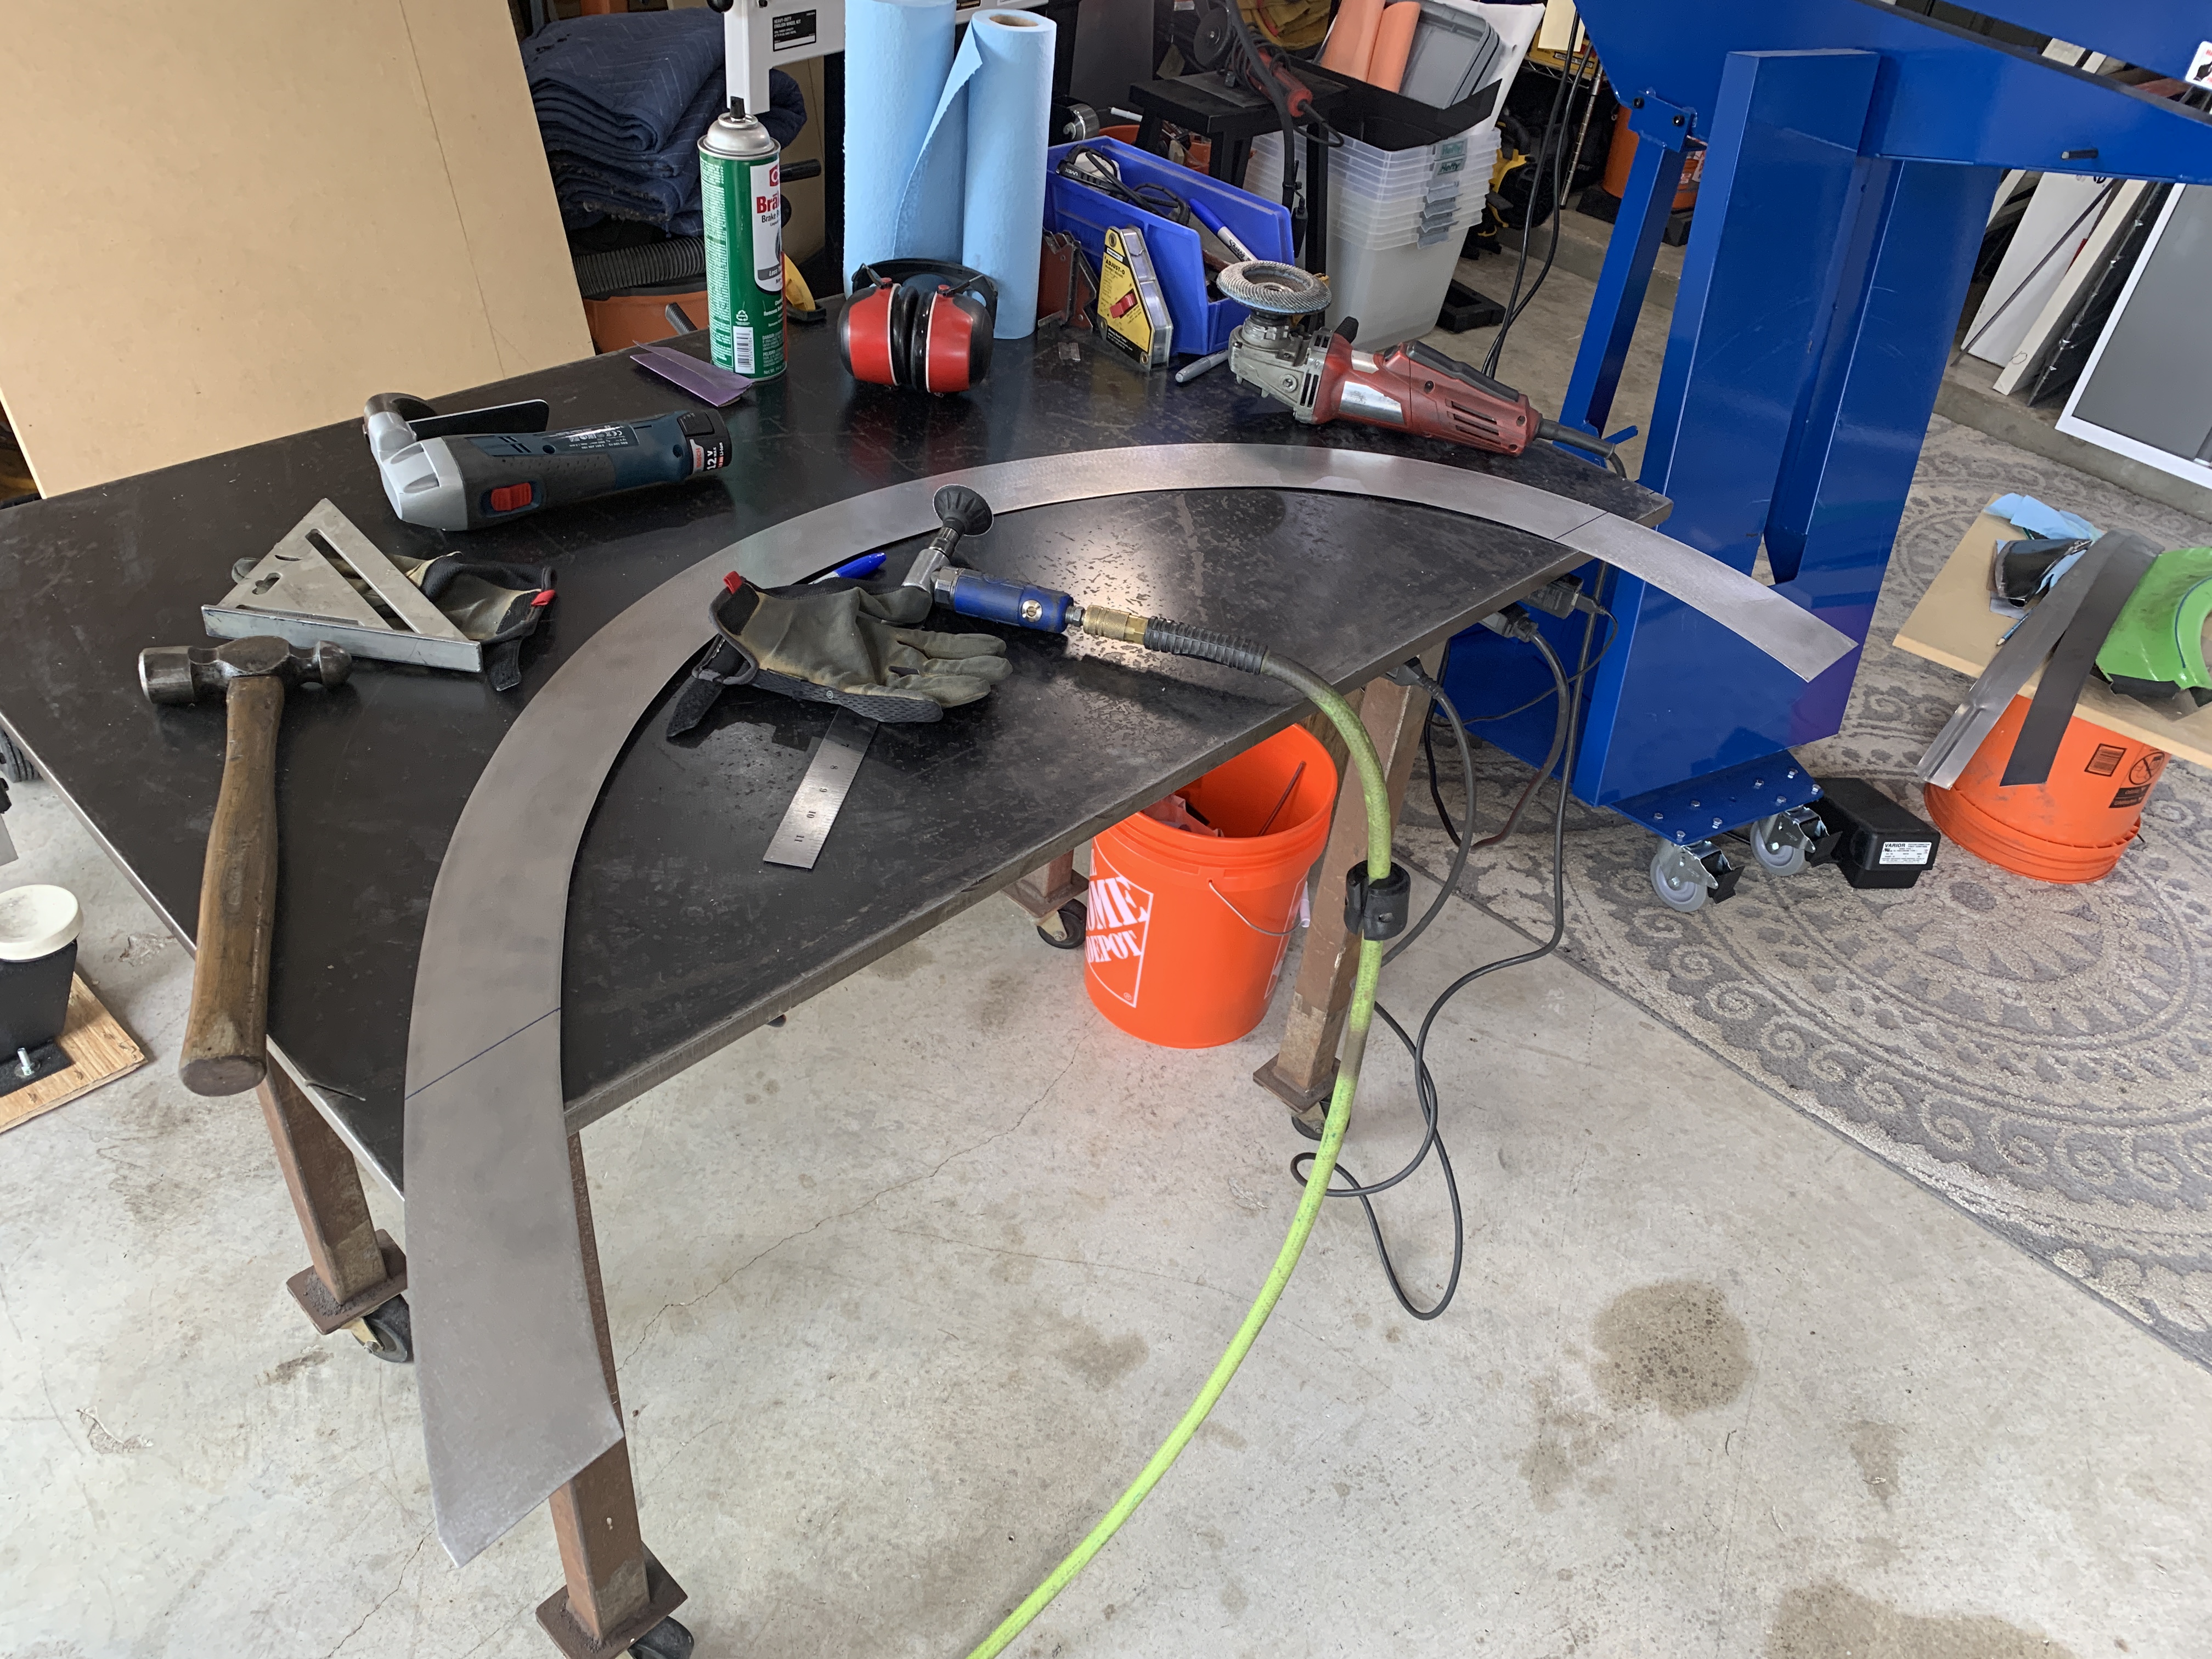
At this point, I did a quick experiment with a Mittler Brothers "Spoiler Die" to put a good strong radius on a test panel to see if it would look good. It did... so the entire new upper flare panel was run through the beadroller to get that radius applied. The only problem is that it immediately made the panel SO stiff that it could no longer be bent around the fender arch shape.
Out came the shrinker / stretcher to gently apply the necessary persuasion to the outermost 1/4" of the lip... it really doesn't take much to start putting the curve back into the panel... and within maybe 30 minutes it was laying up pretty well to the fender.
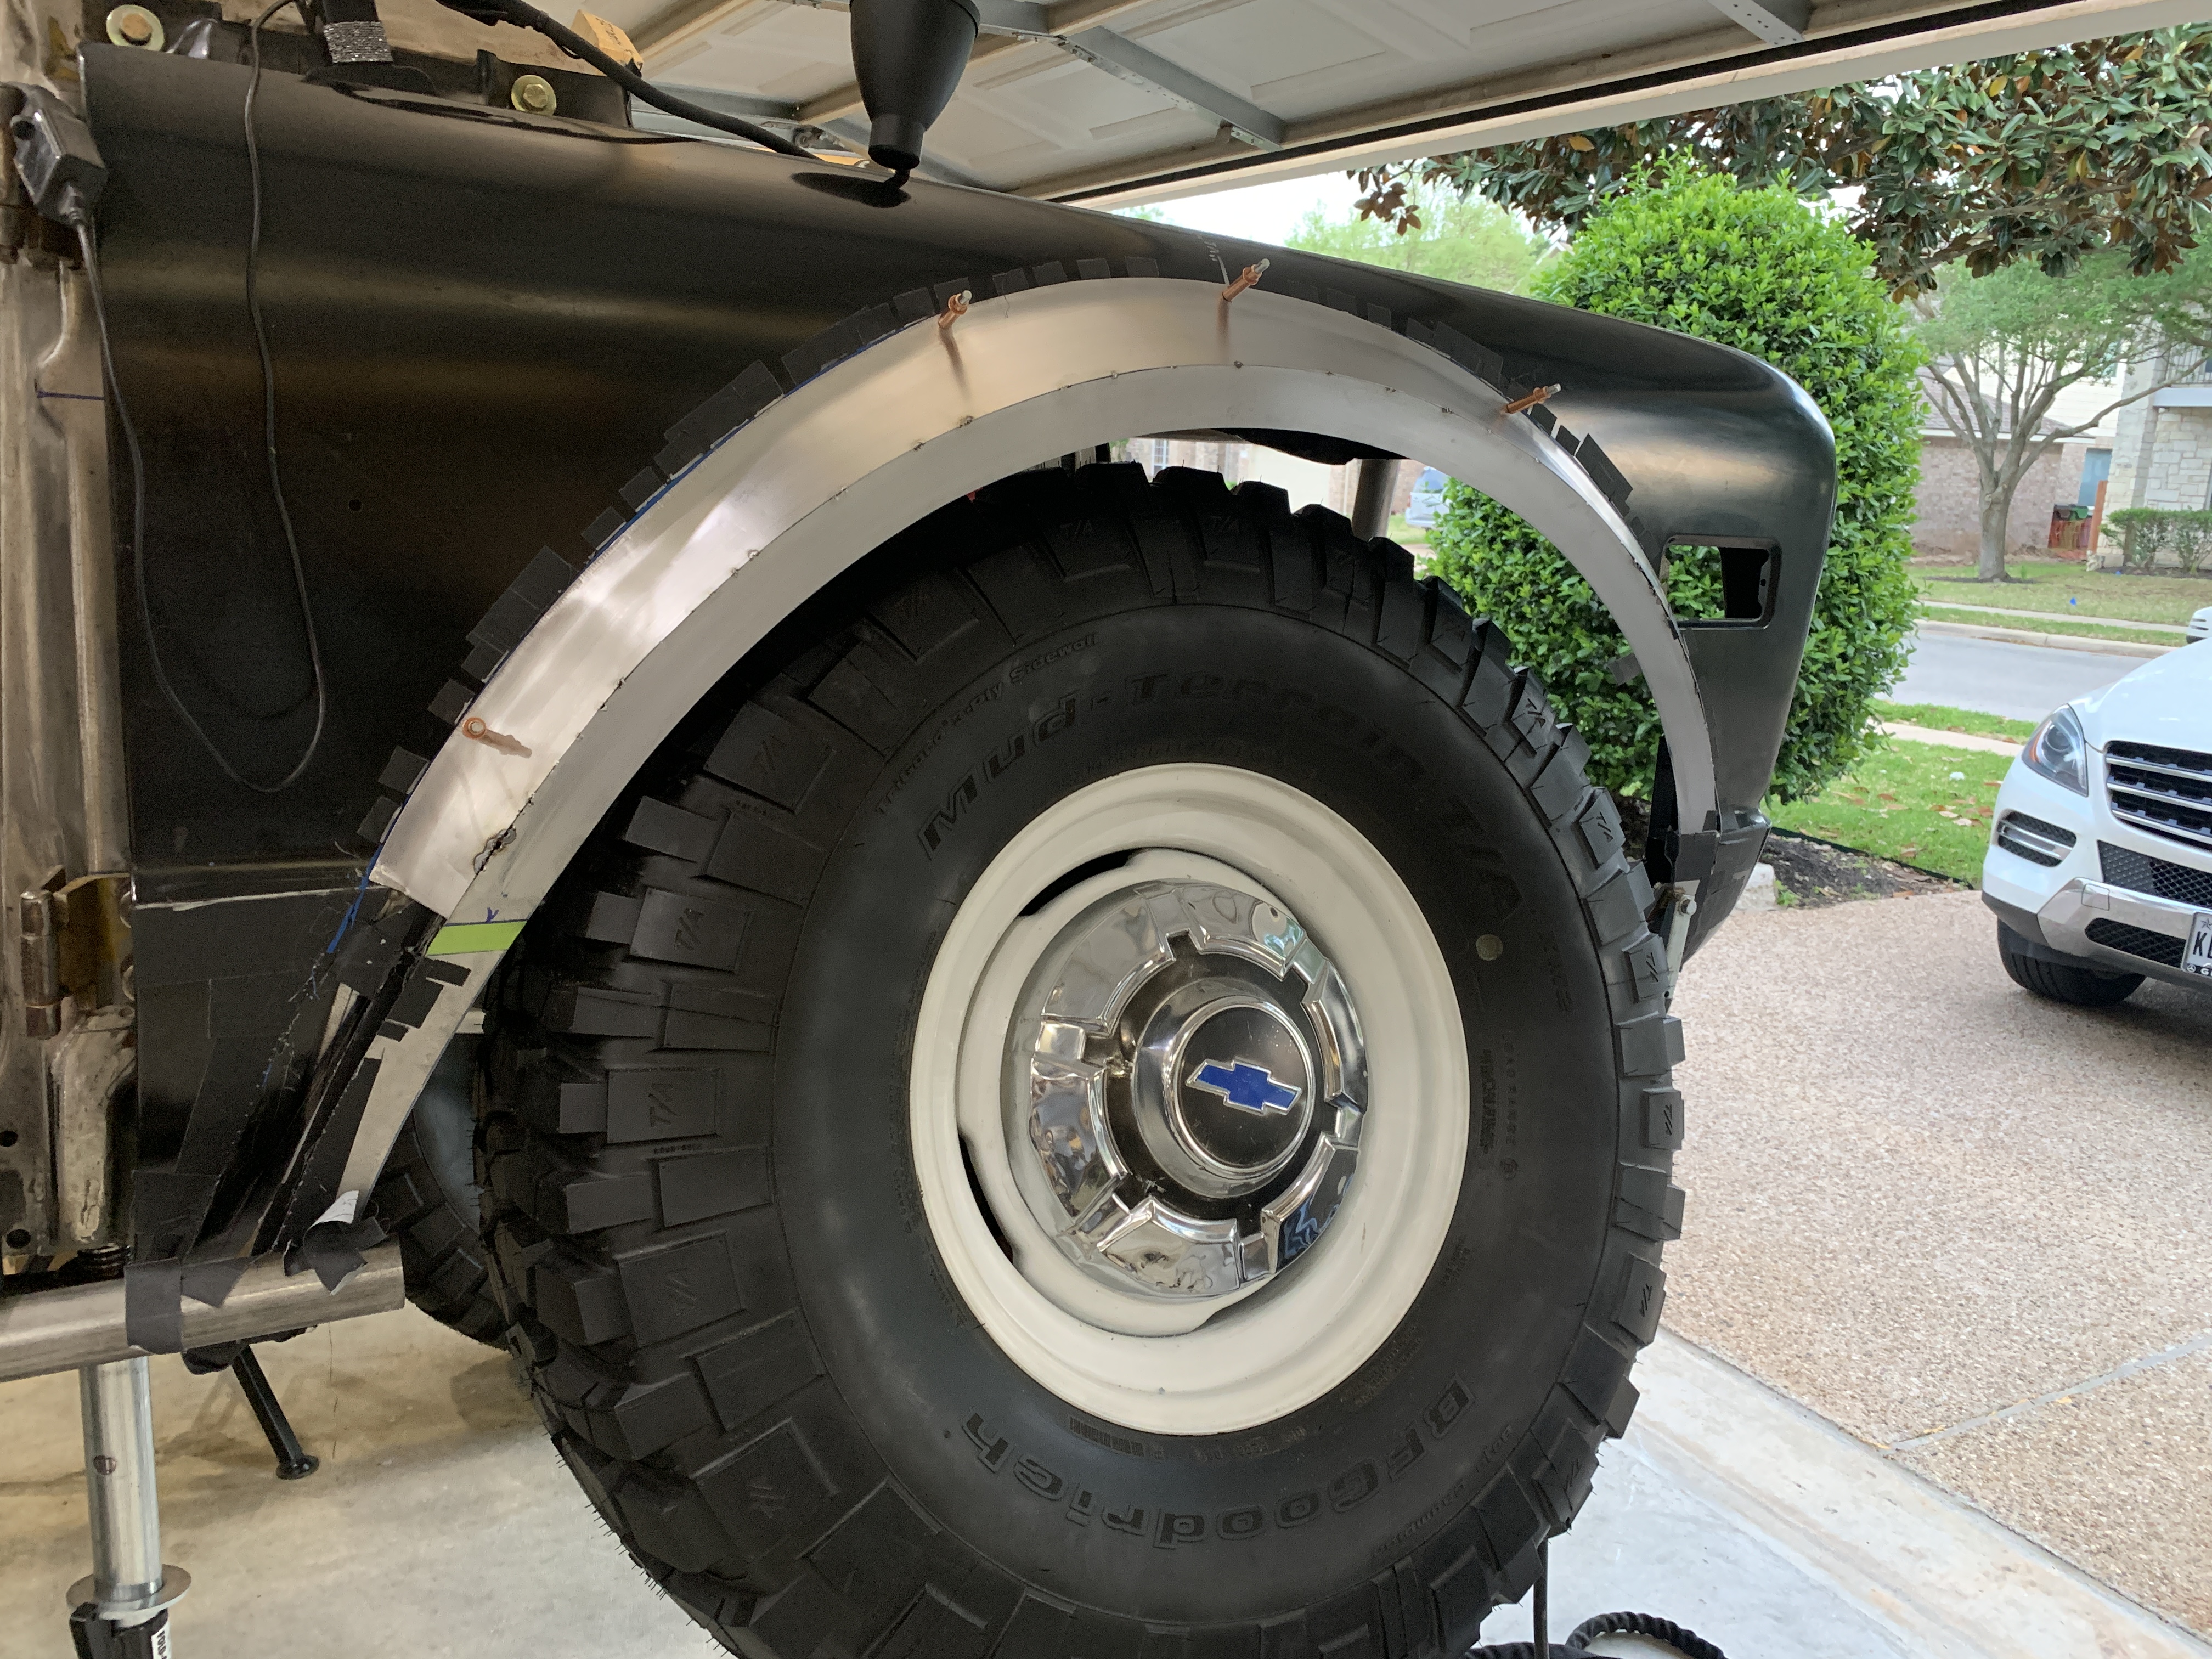
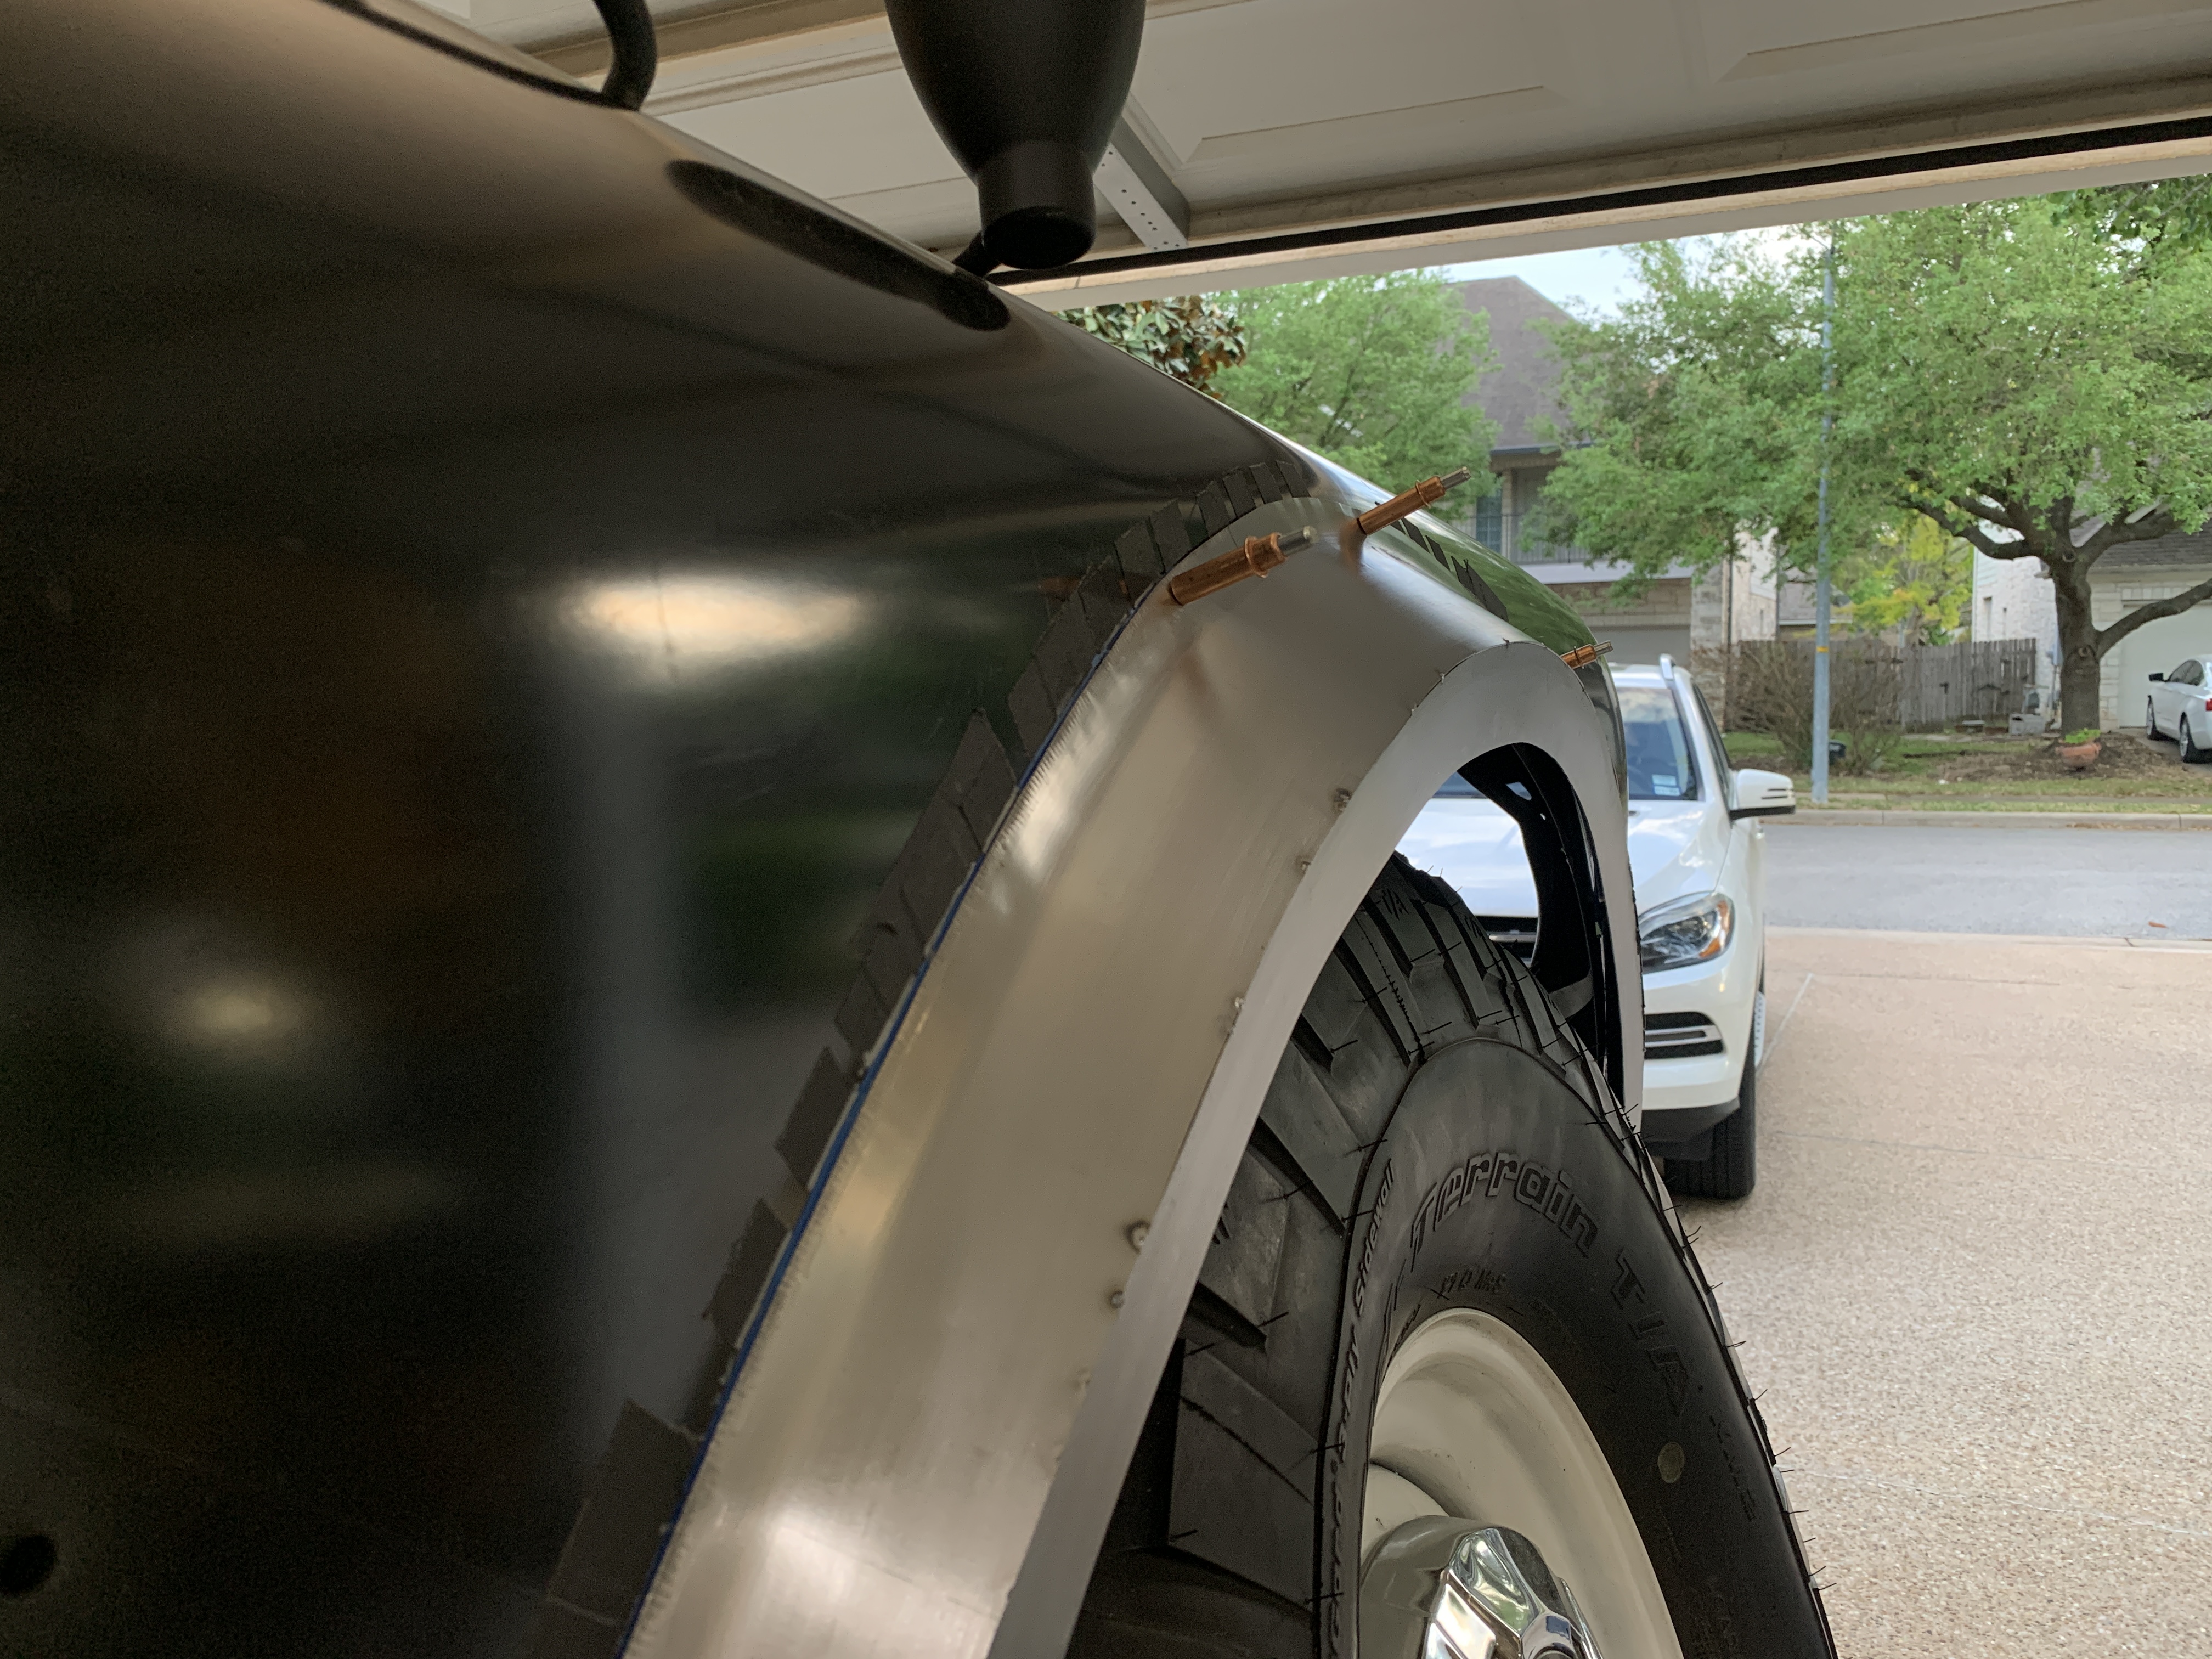
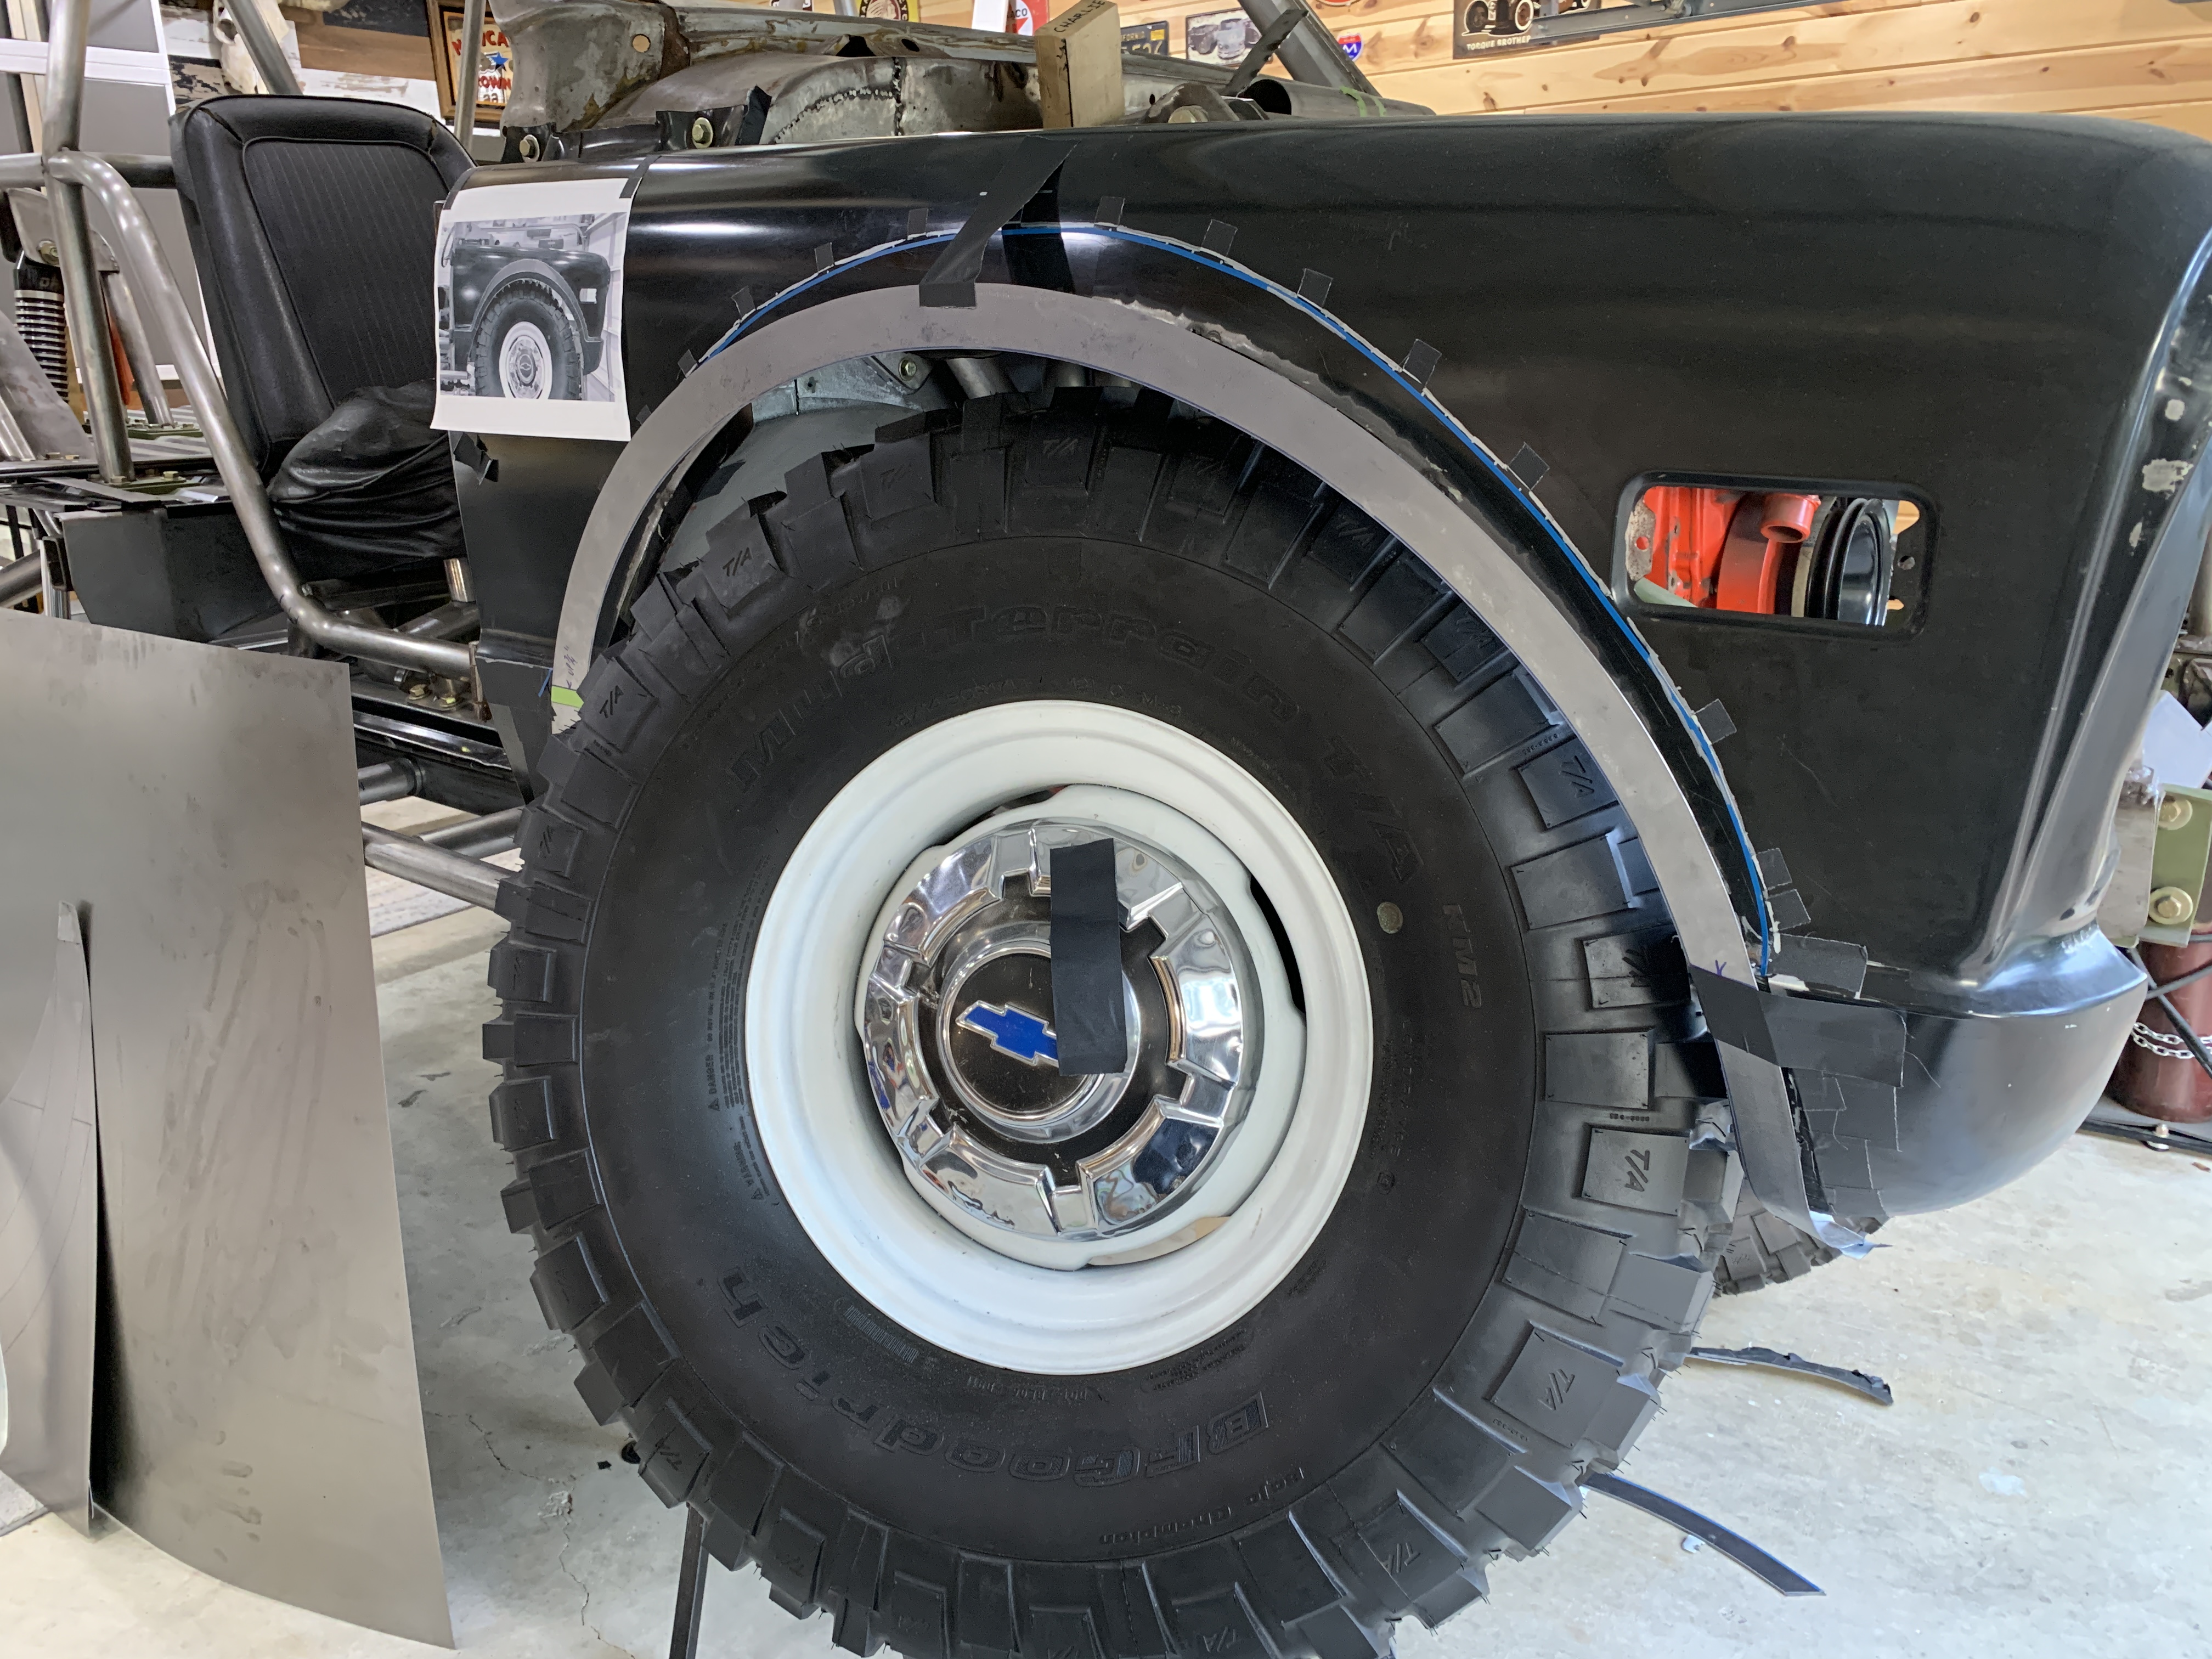
Cleco fasteners are AWESOME for this kind of work.... it's like having a couple extra sets of strong hands to keep things in position while trying to get some TIG tacks applied.
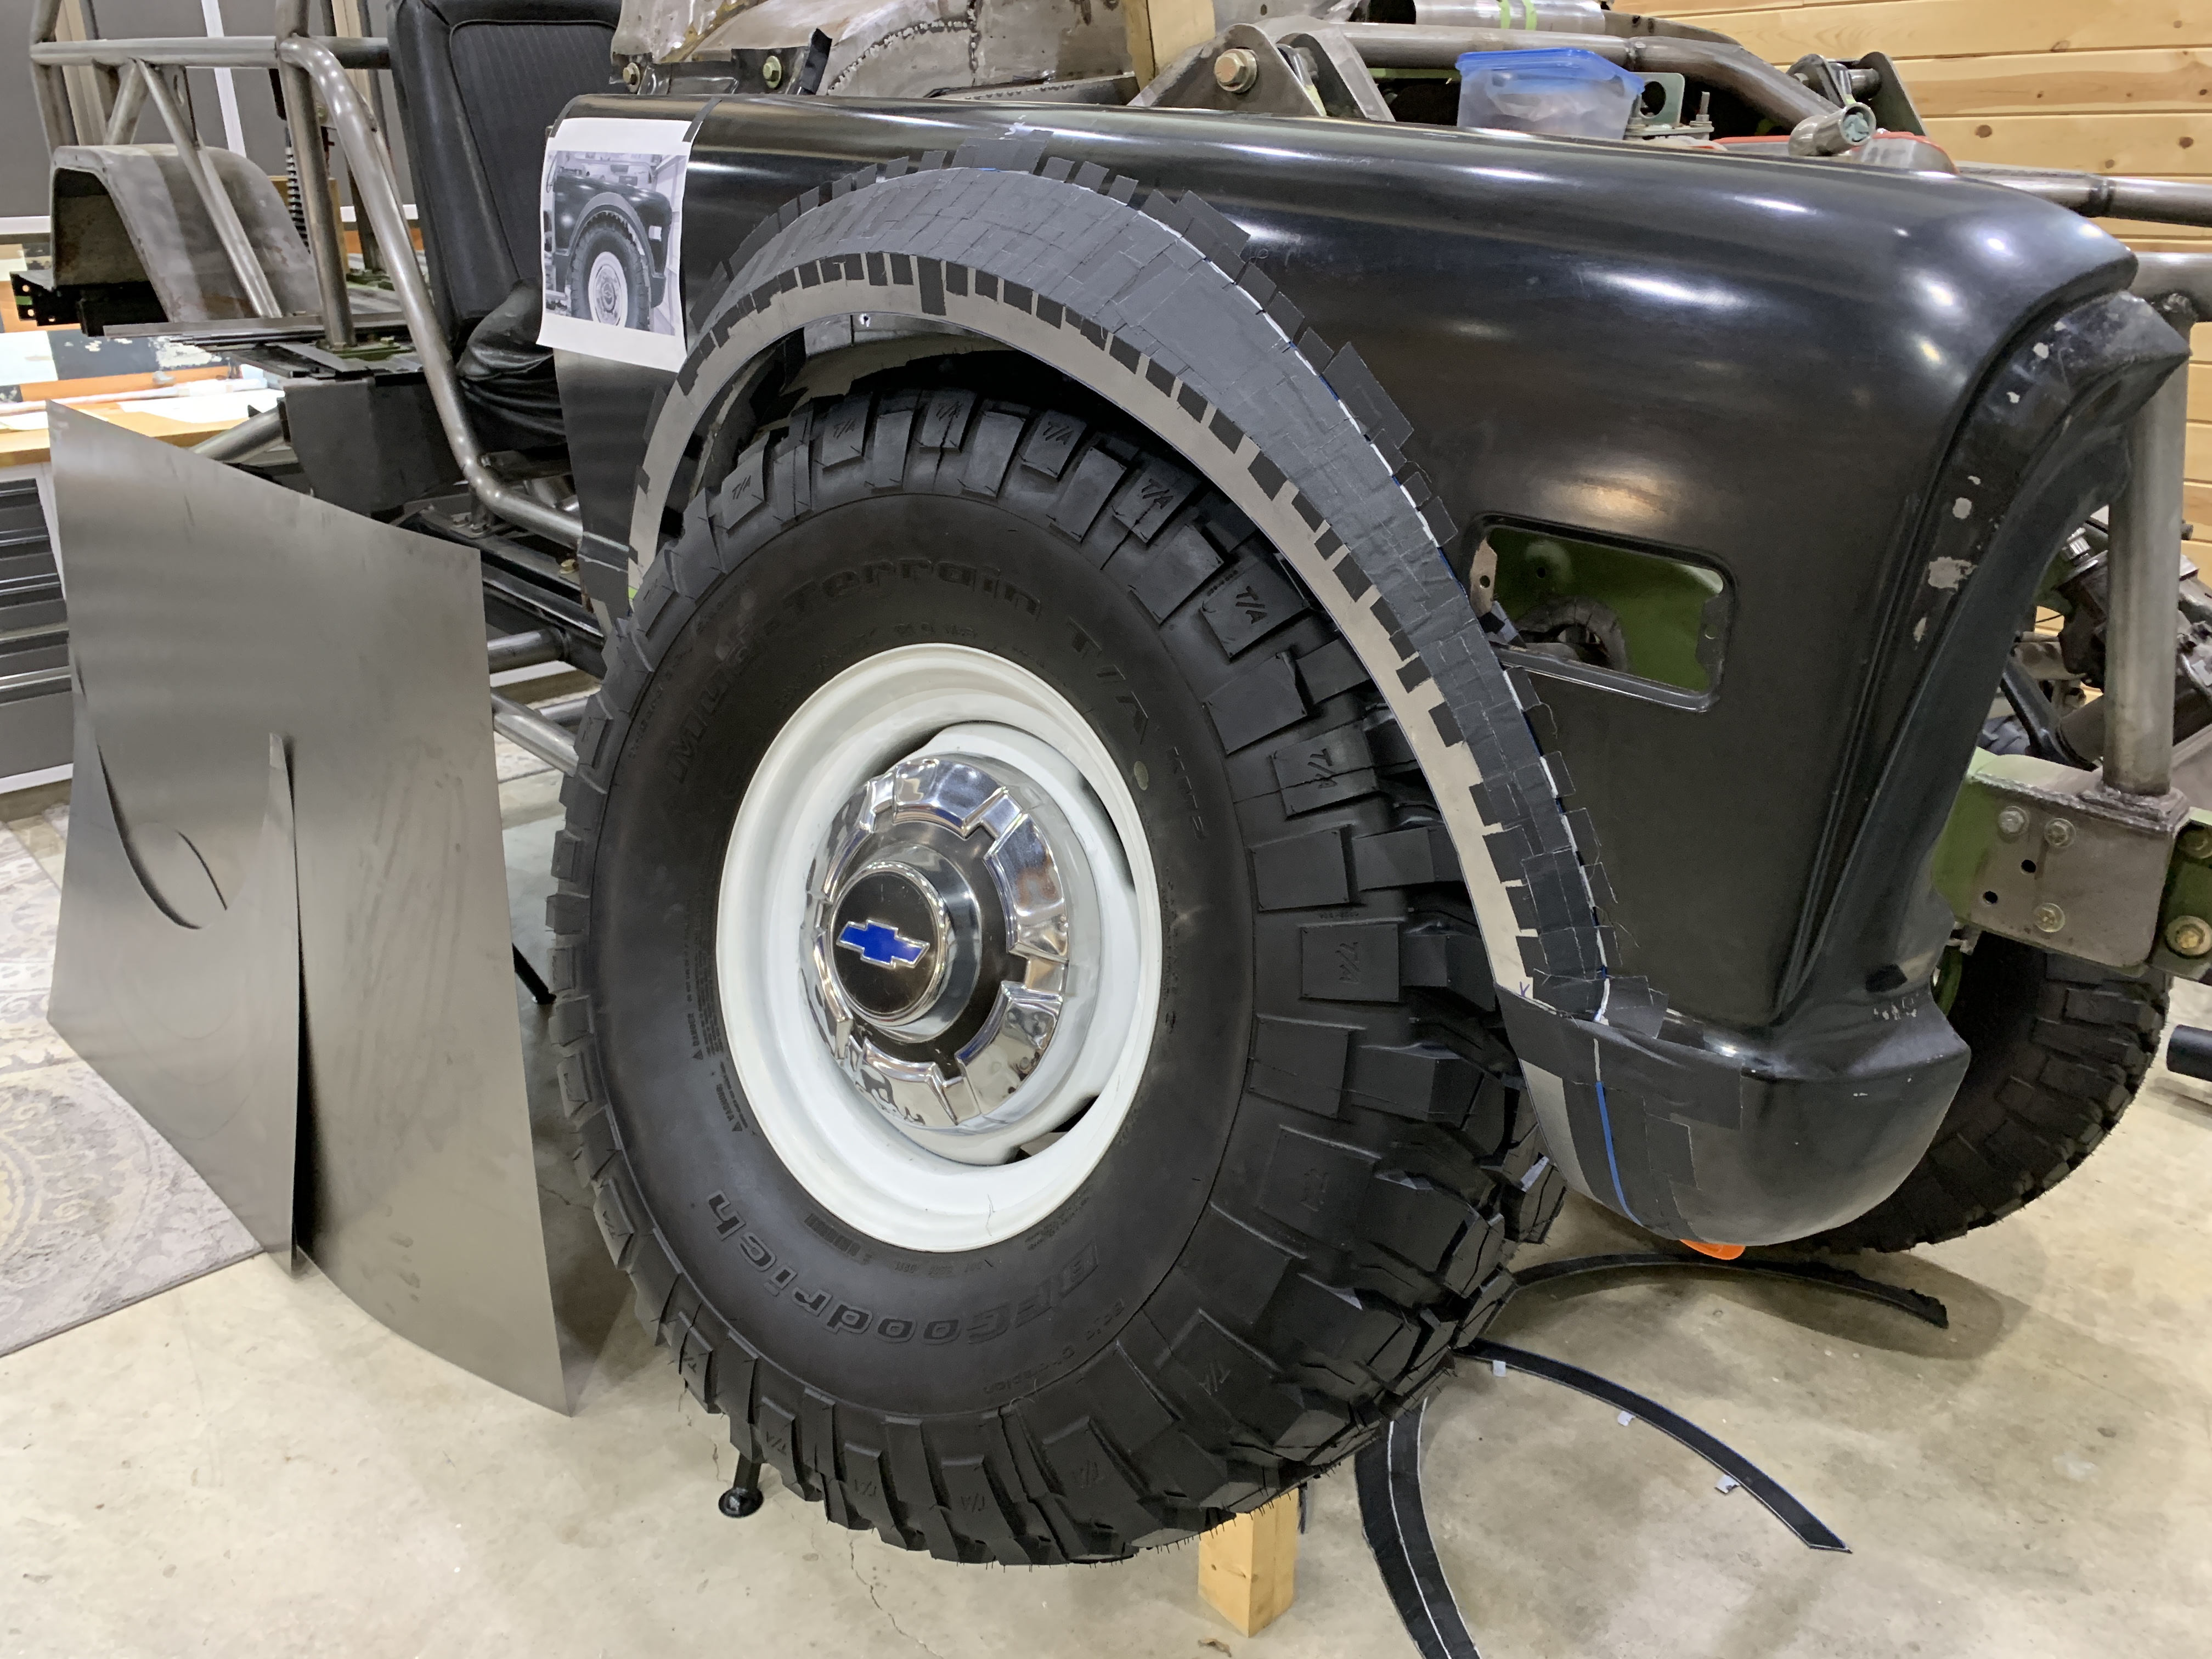
A close-up of the upper radius from that spoiler die..... it really softens the look of the flare and takes some of the bulkiness out of it. The results speak for themselves....

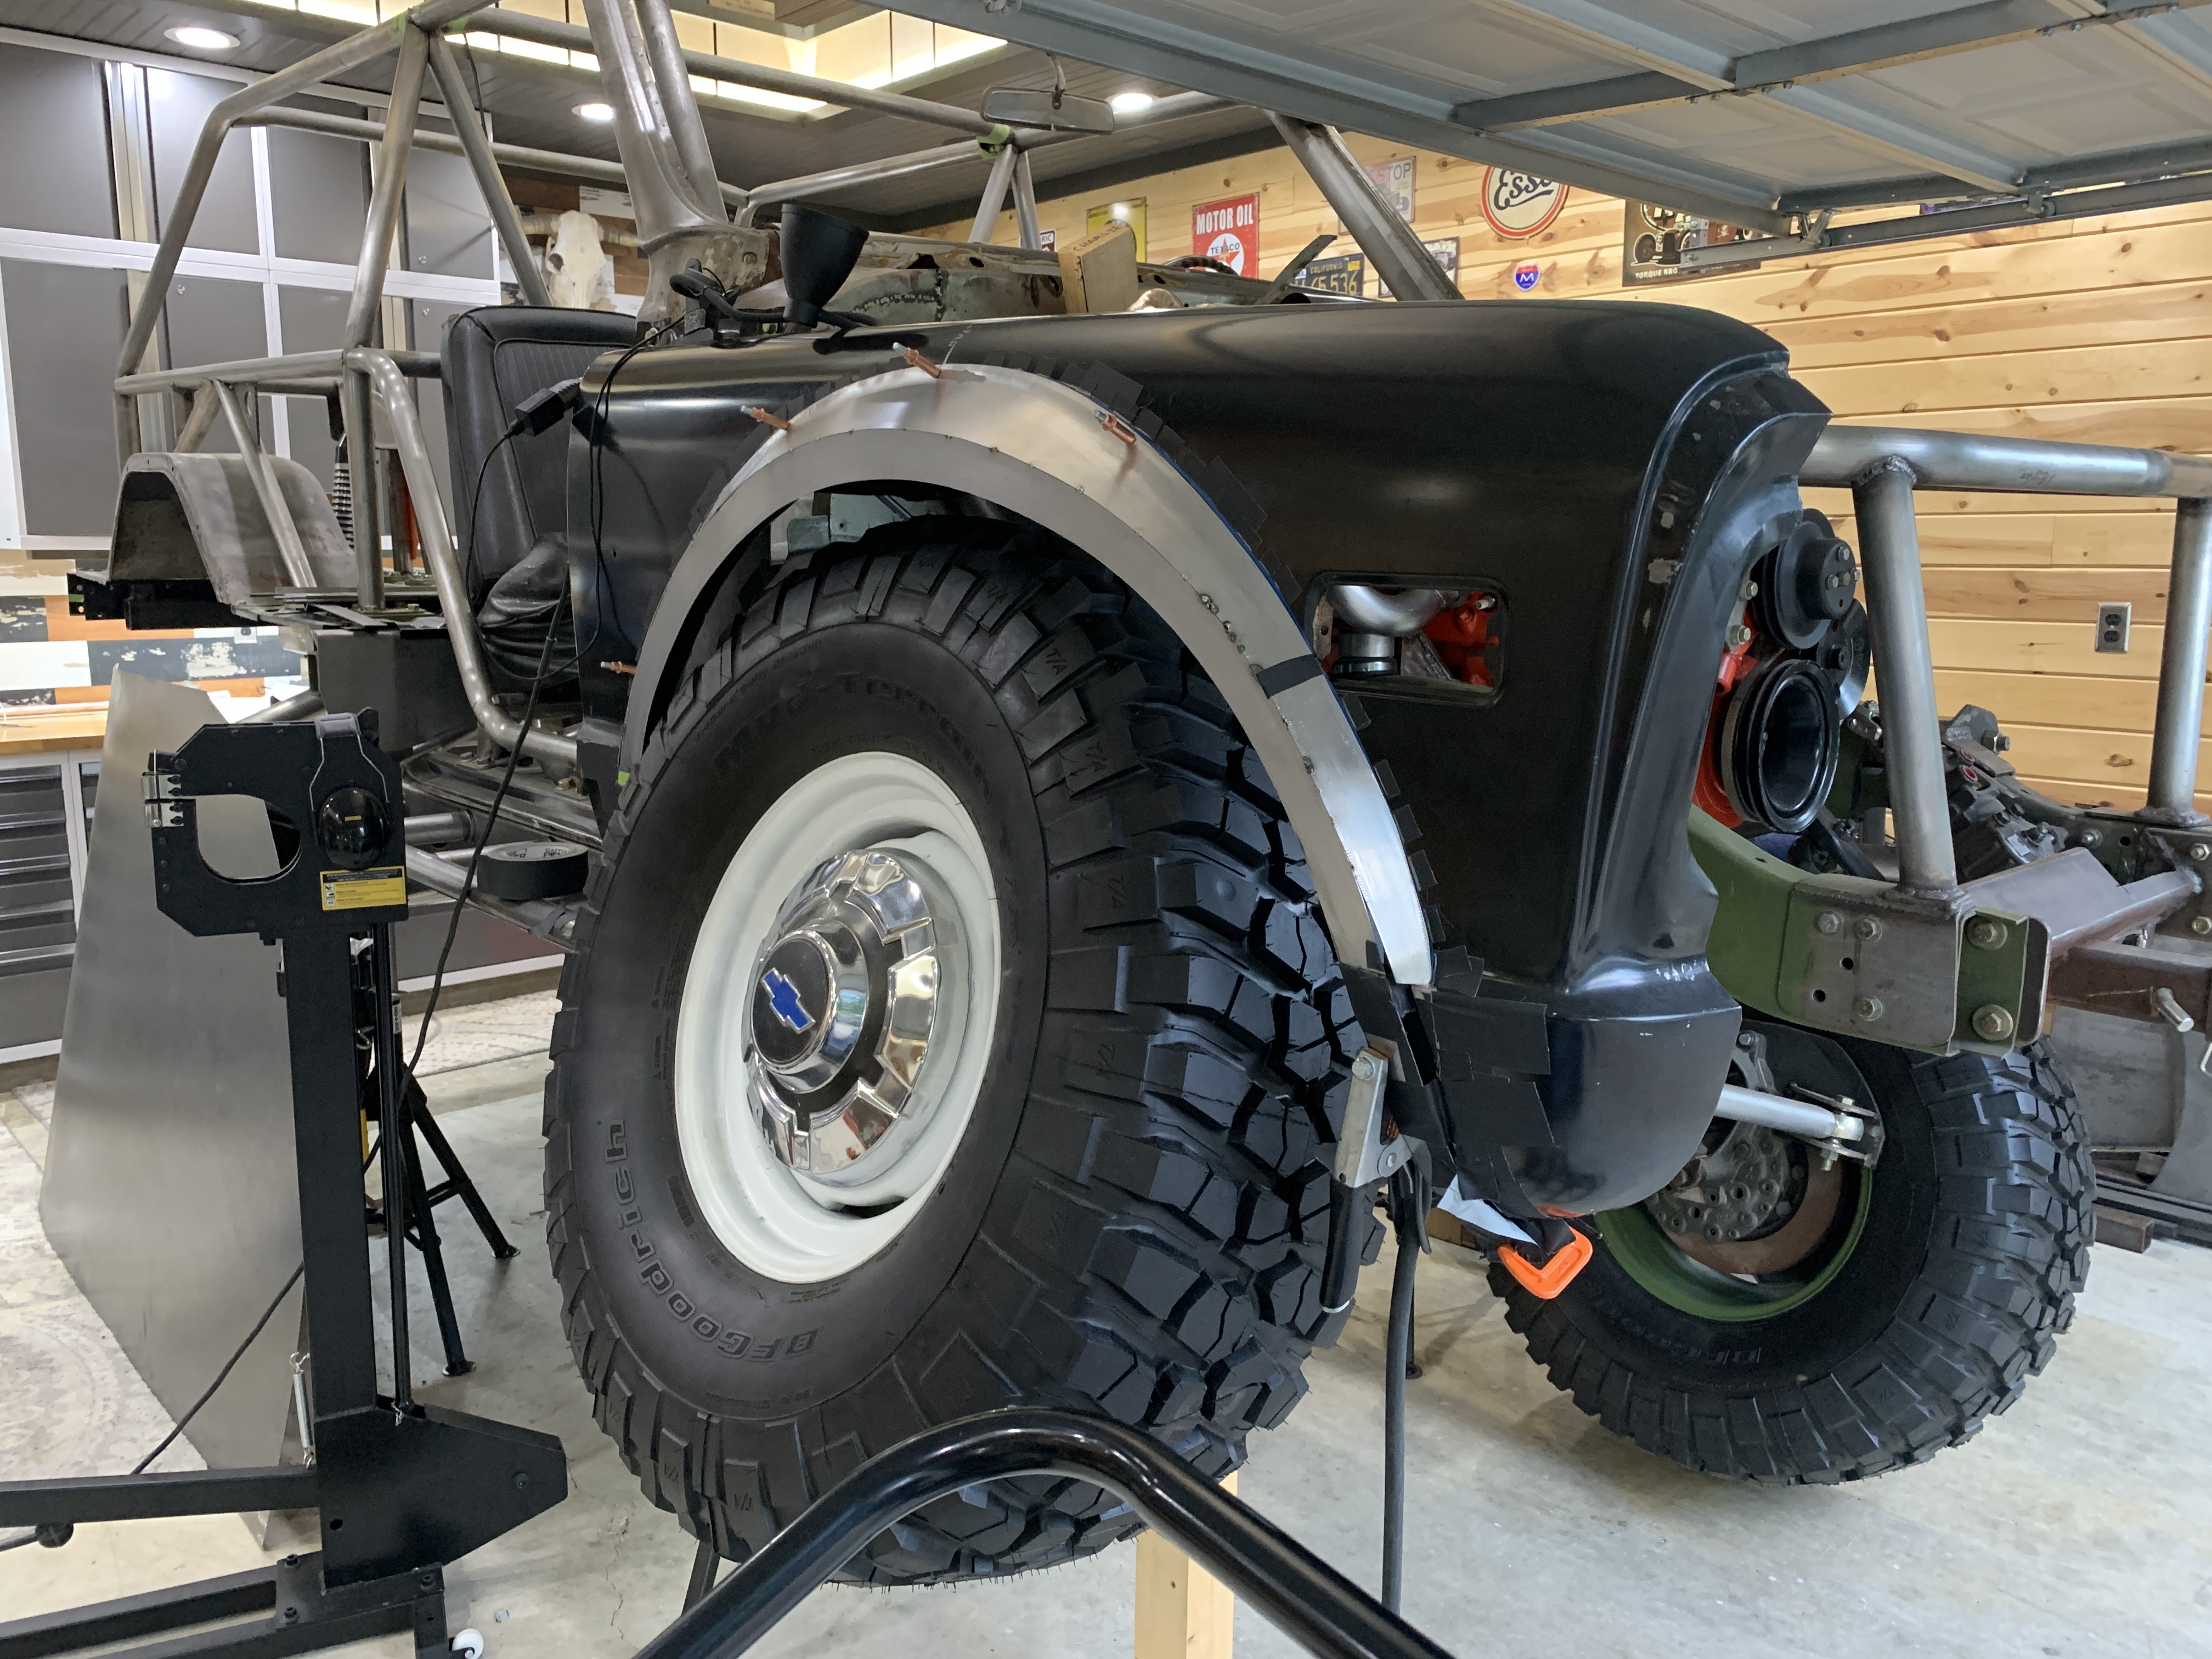
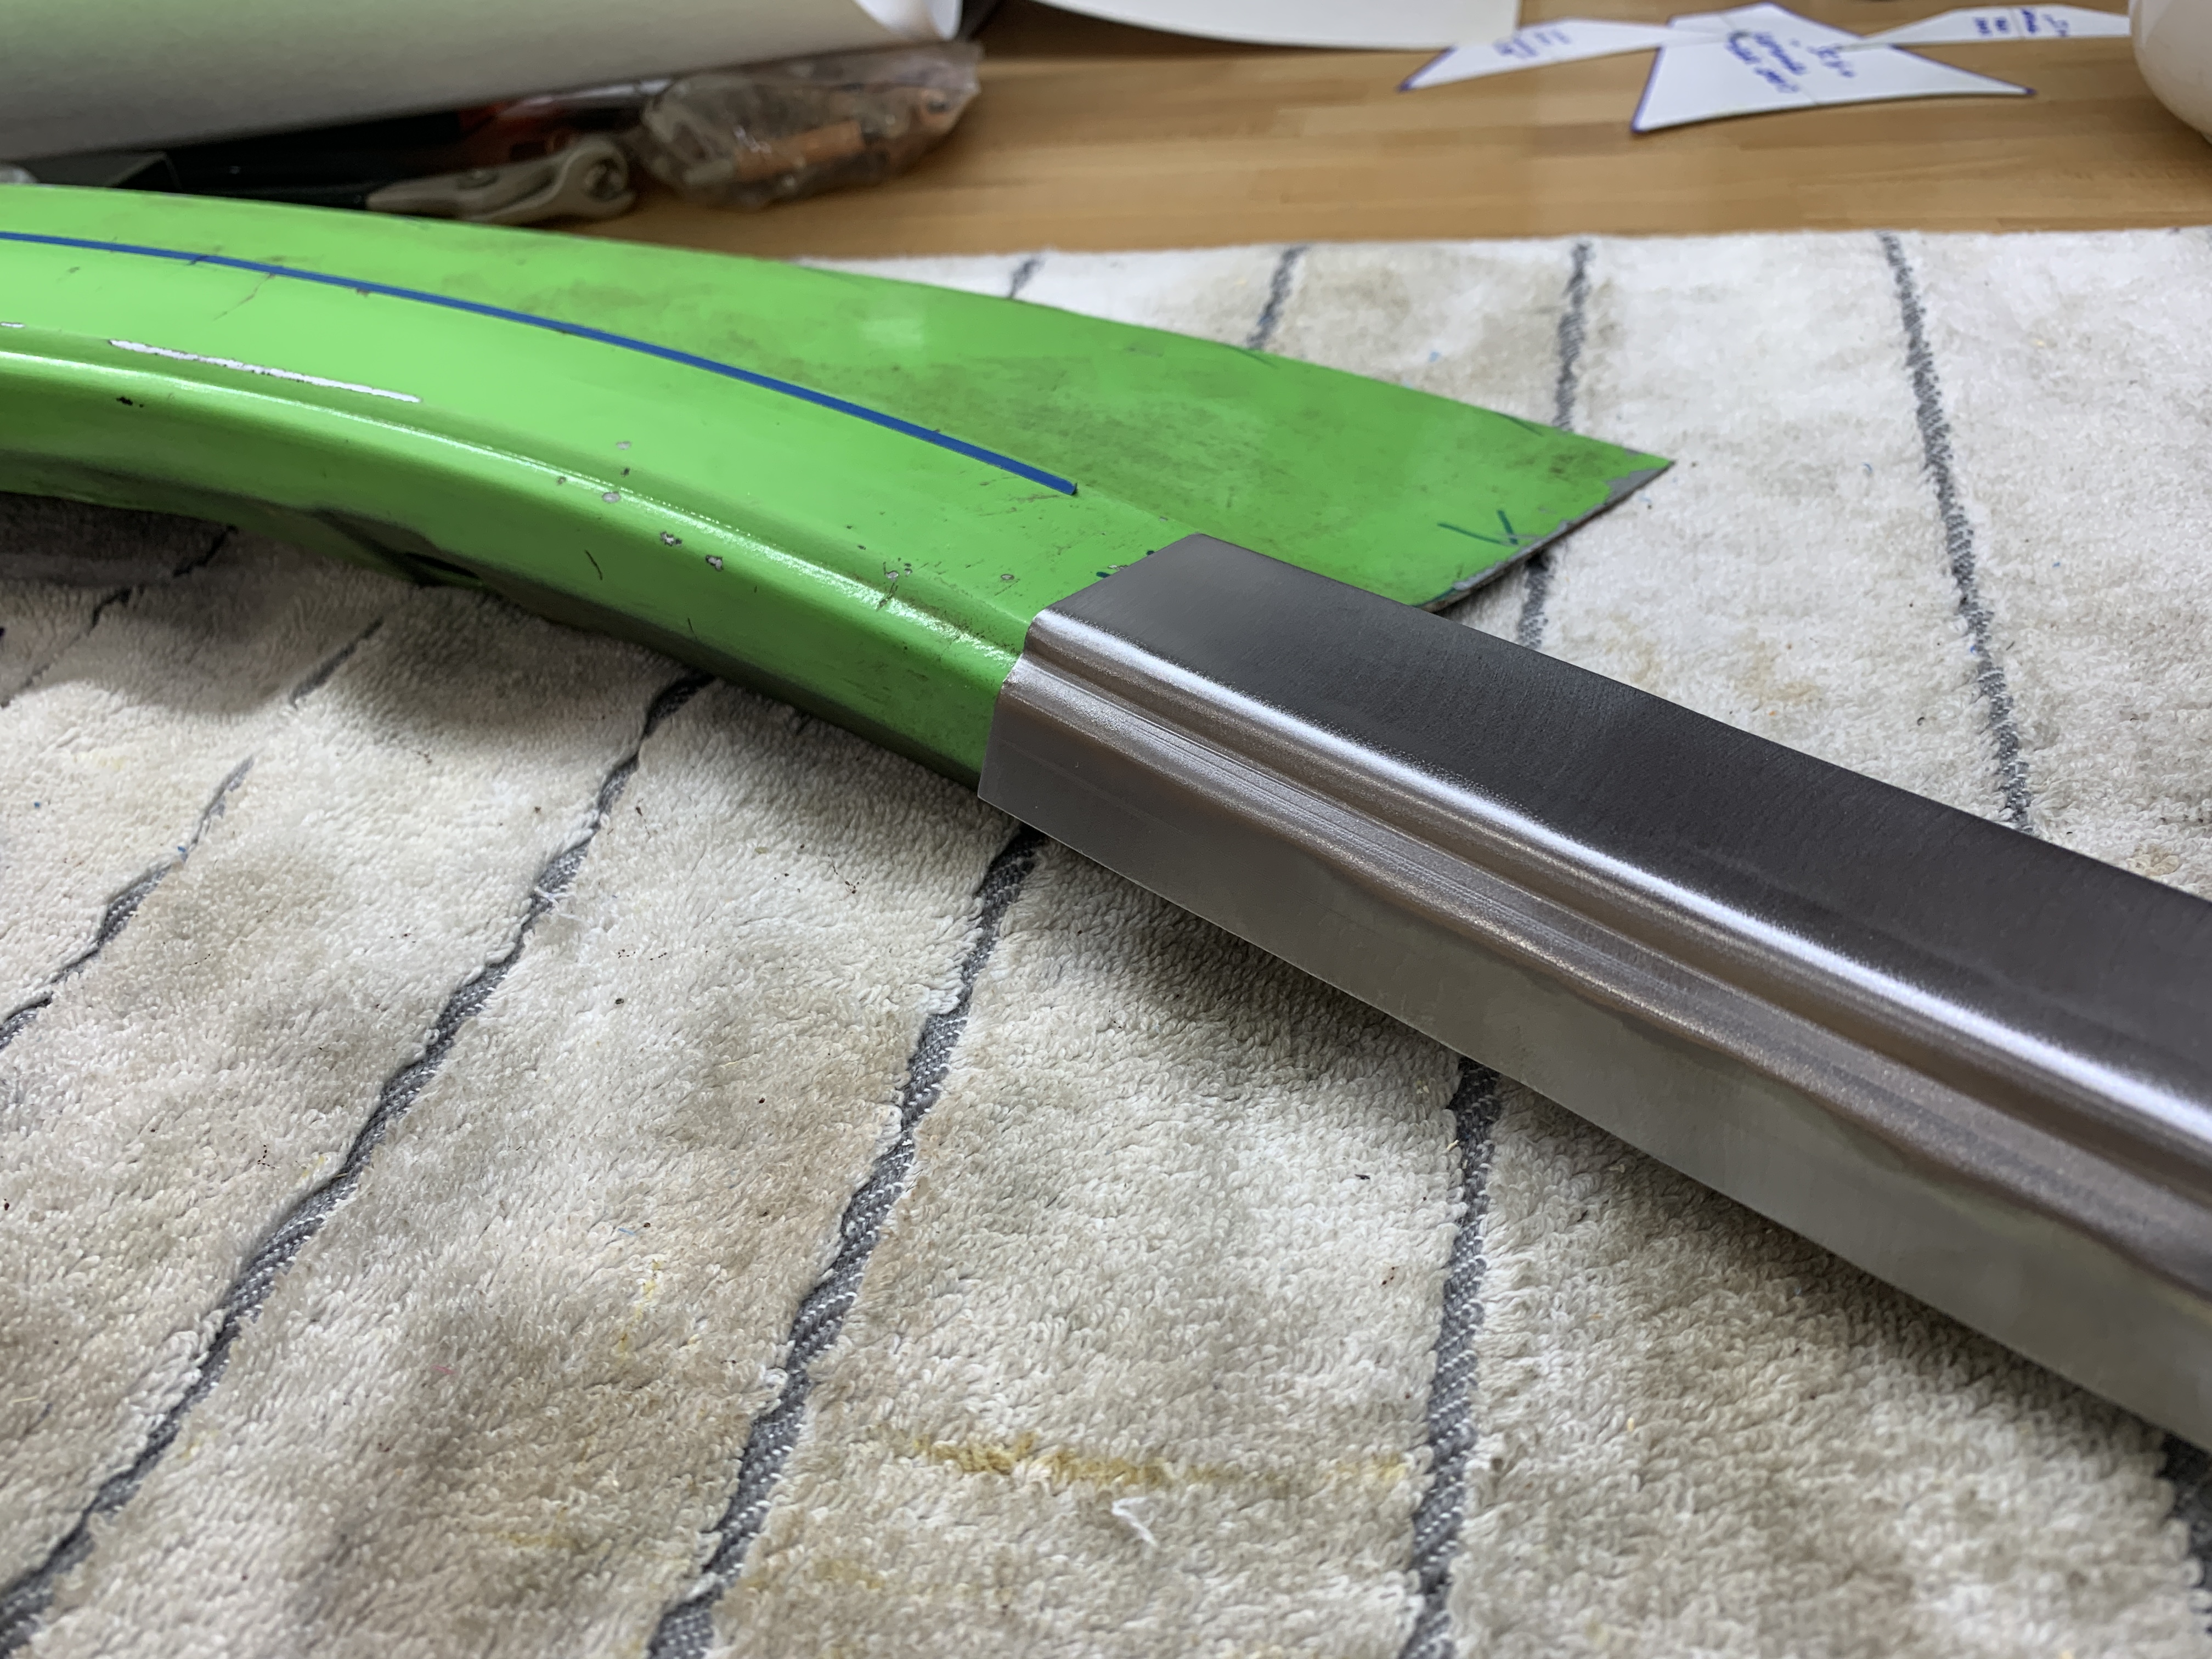
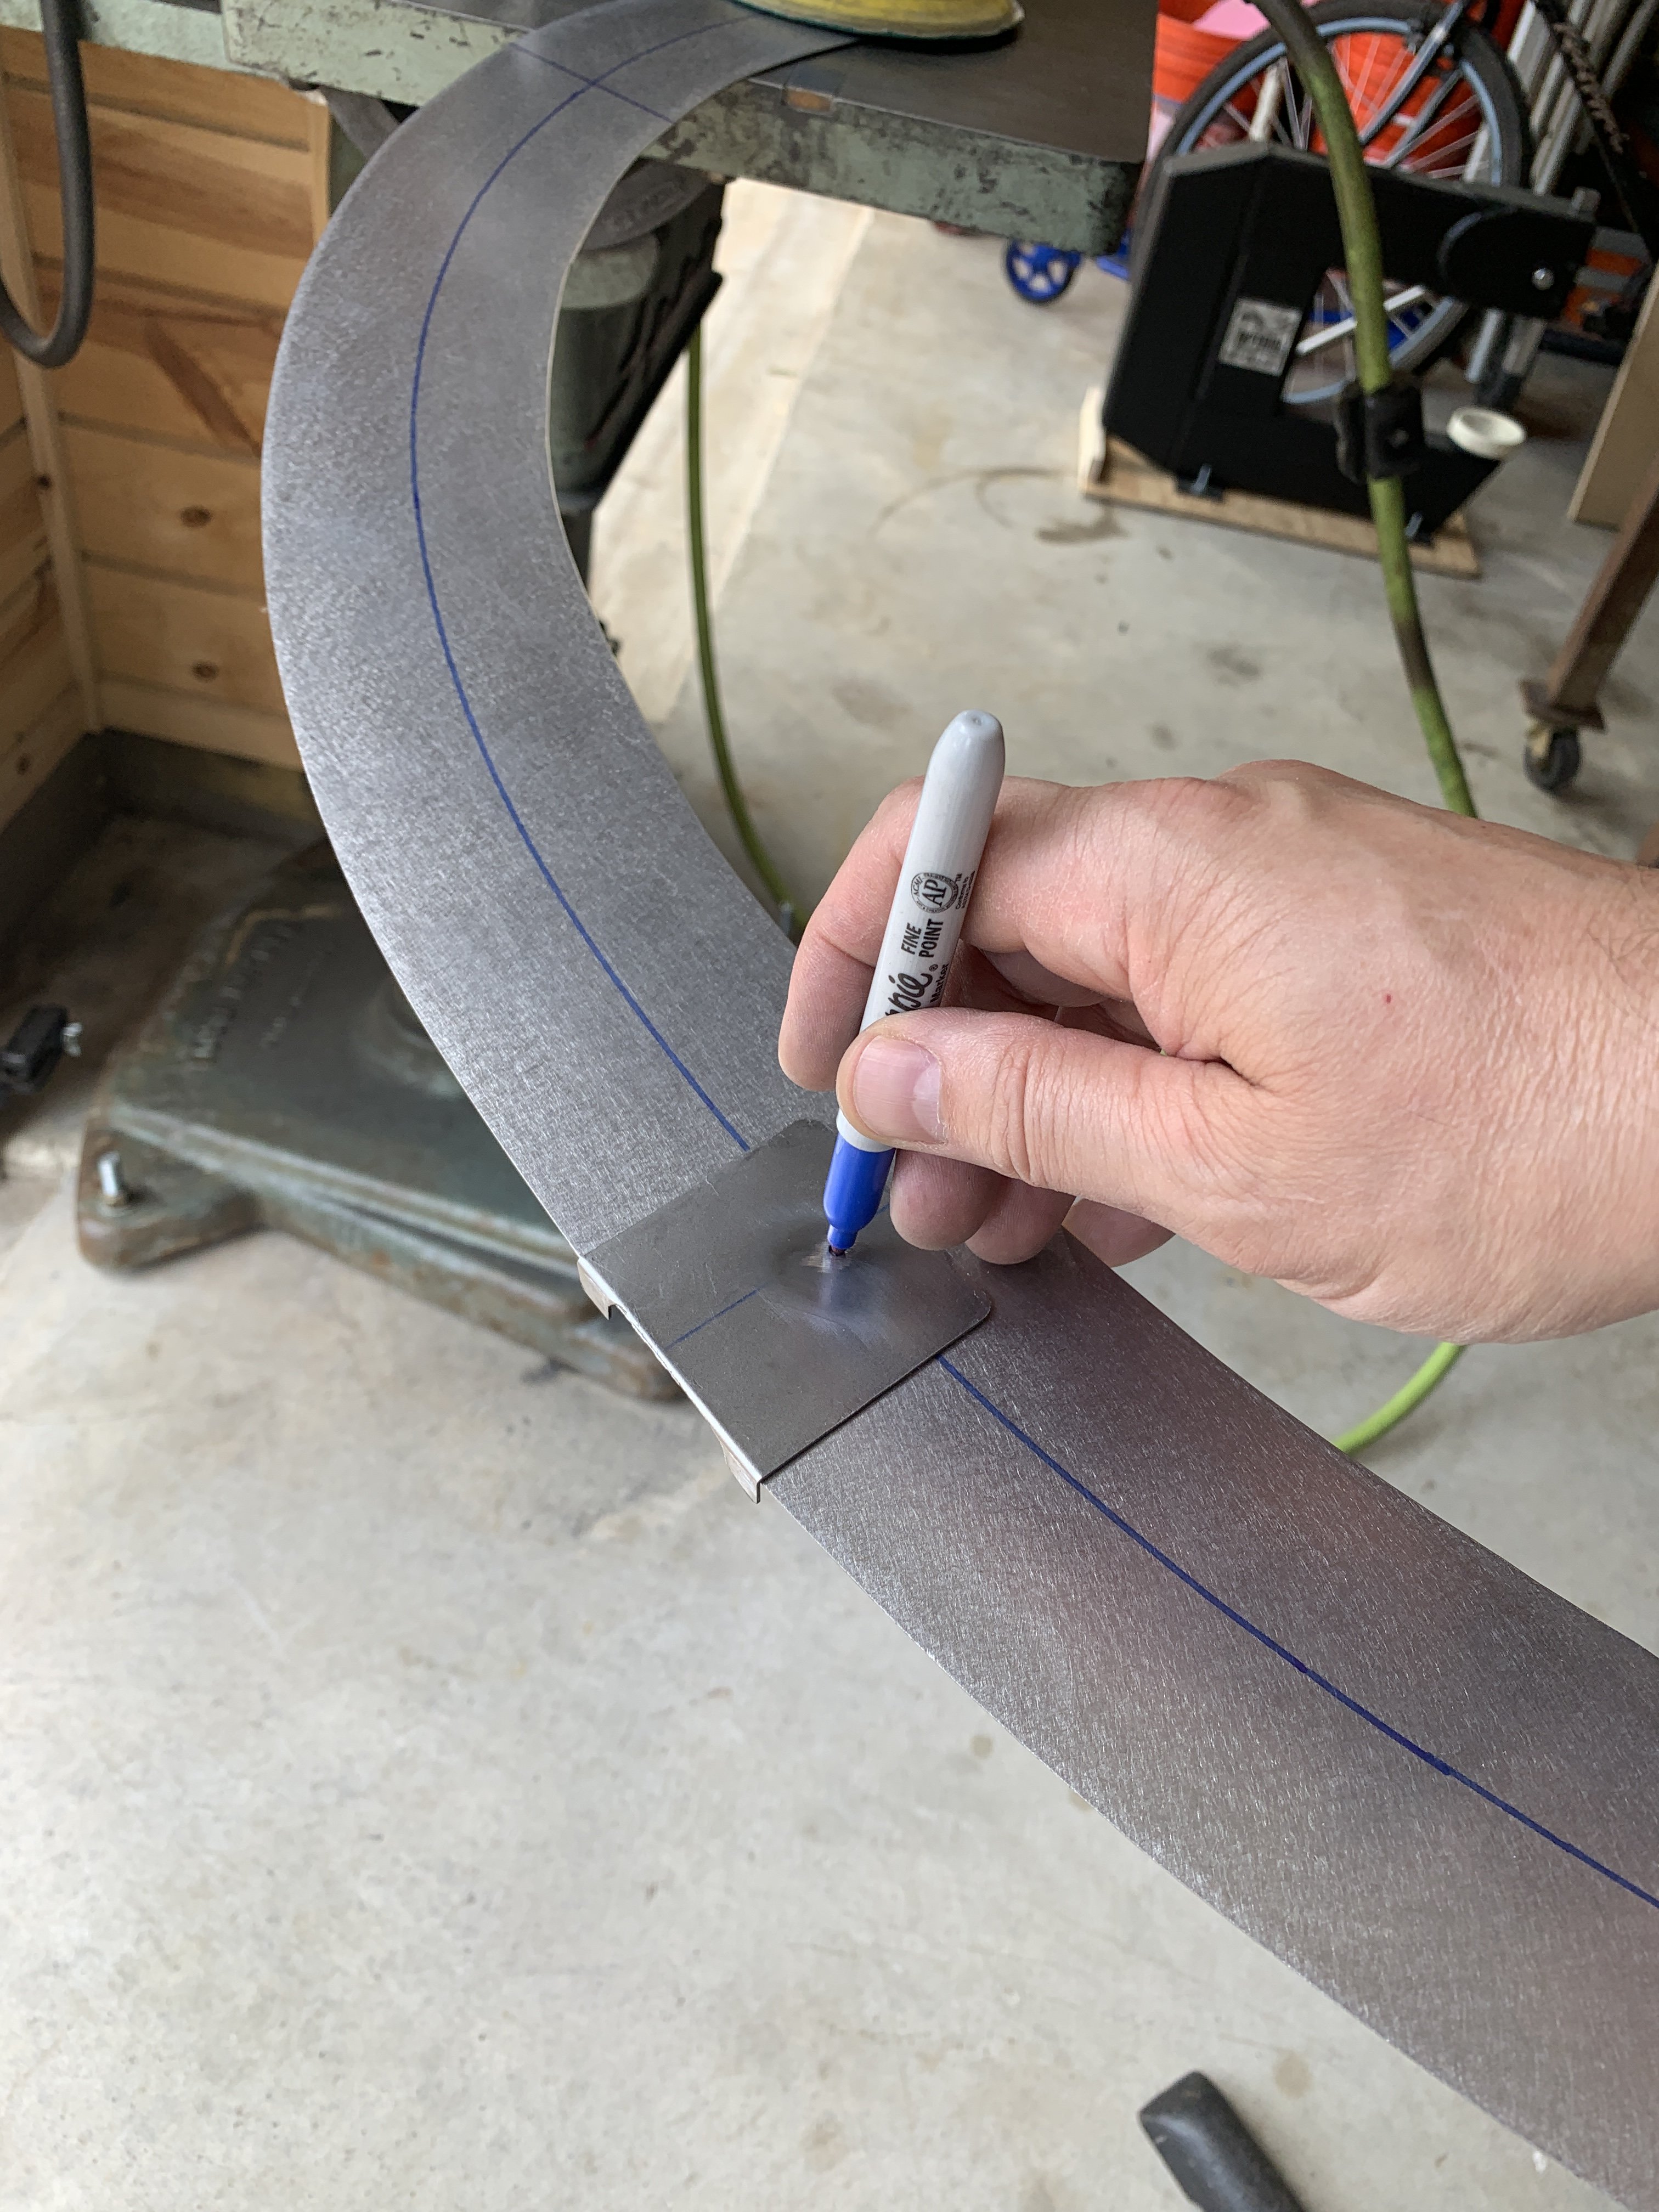
The last piece of the puzzle is the fender arch "crease" to replicate the factory look. The new beadroller die arrived on Friday and the results looks pretty close to the crease on a "reproduction" fenderlip. My recollection is that a true factory fender has a much "crisper" crease... so maybe this first attempt isn't really so bad after all?

With different upper / lower die combinations and offsets, a lot of different variations are possible.... so this will just require a bit more experimentation.
Ultimately, the crease gets welded on later as part of the underside lip so that there is a place to bolt the inner fenderwells (yet to be created).... Trying to build these details into the new fenderarch is unfortunately beyond my current skillset, so it's going to have to be a 2-piece solution.... welded and metal-finished smooth.
That's it! Small details remain, but the beauty of all of this tedious templating is that I can flip all these cardboard templates over and they magically become driver's side templates for the opposite side. Easy peasy....
-G


")