CK5
Register an account today to become a member! Once signed in, you'll be able to participate on this site by adding your own topics and posts, as well as connect with other members.

'89 R3500 Crew Cab 2wd to 4wd conversion & beyond

Started out with 2wd TBI350 with SM465 to current 4wd with 454, 700r4, NP241
re the an flares: There should not be any movement of the hose relative to the nipple. The hose just basically rest against the nipple with the "B" nut just holds it against the nipple...
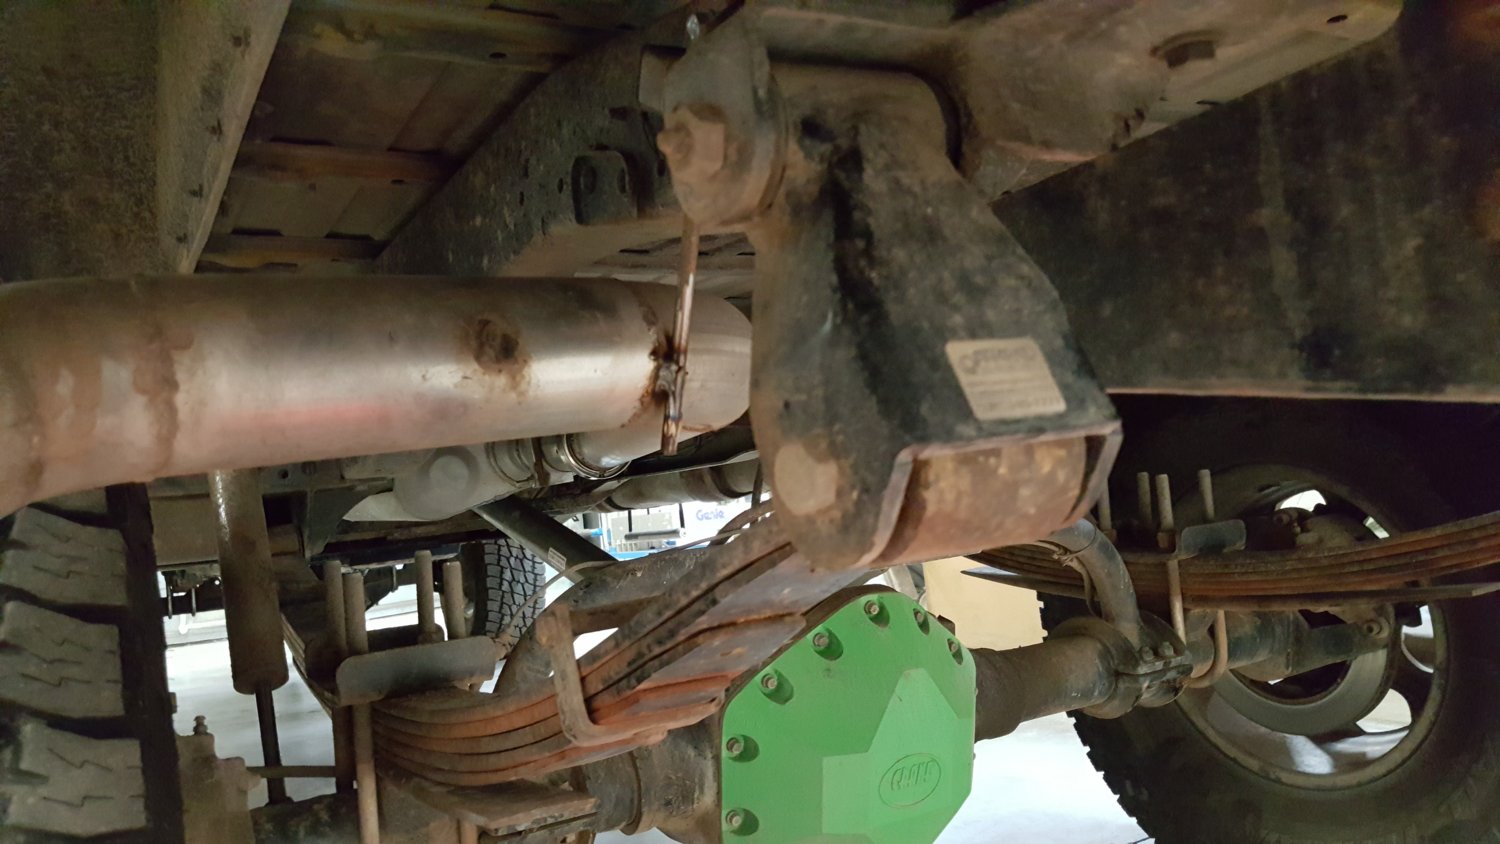
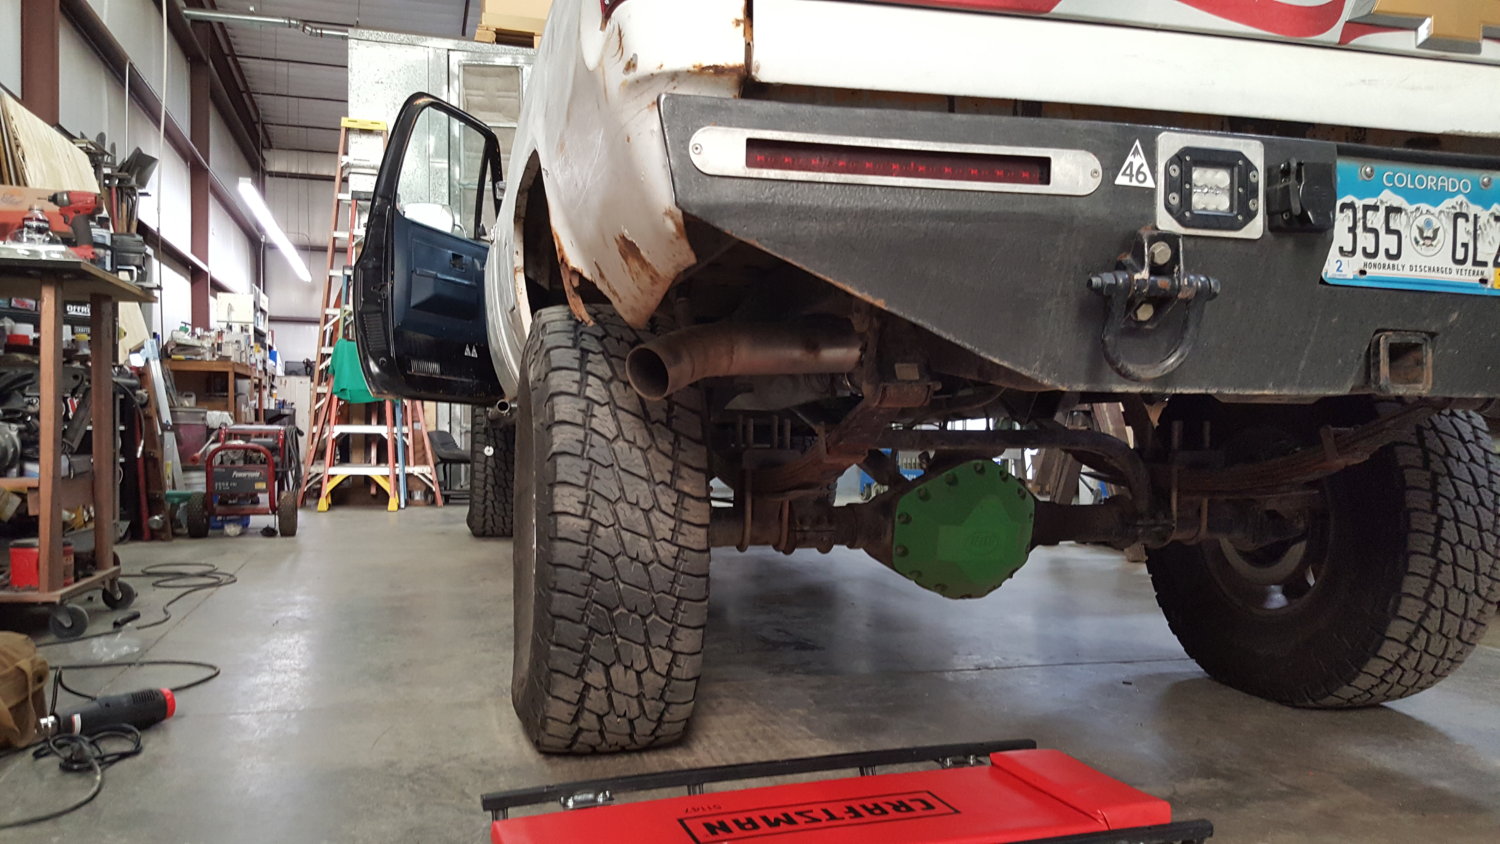
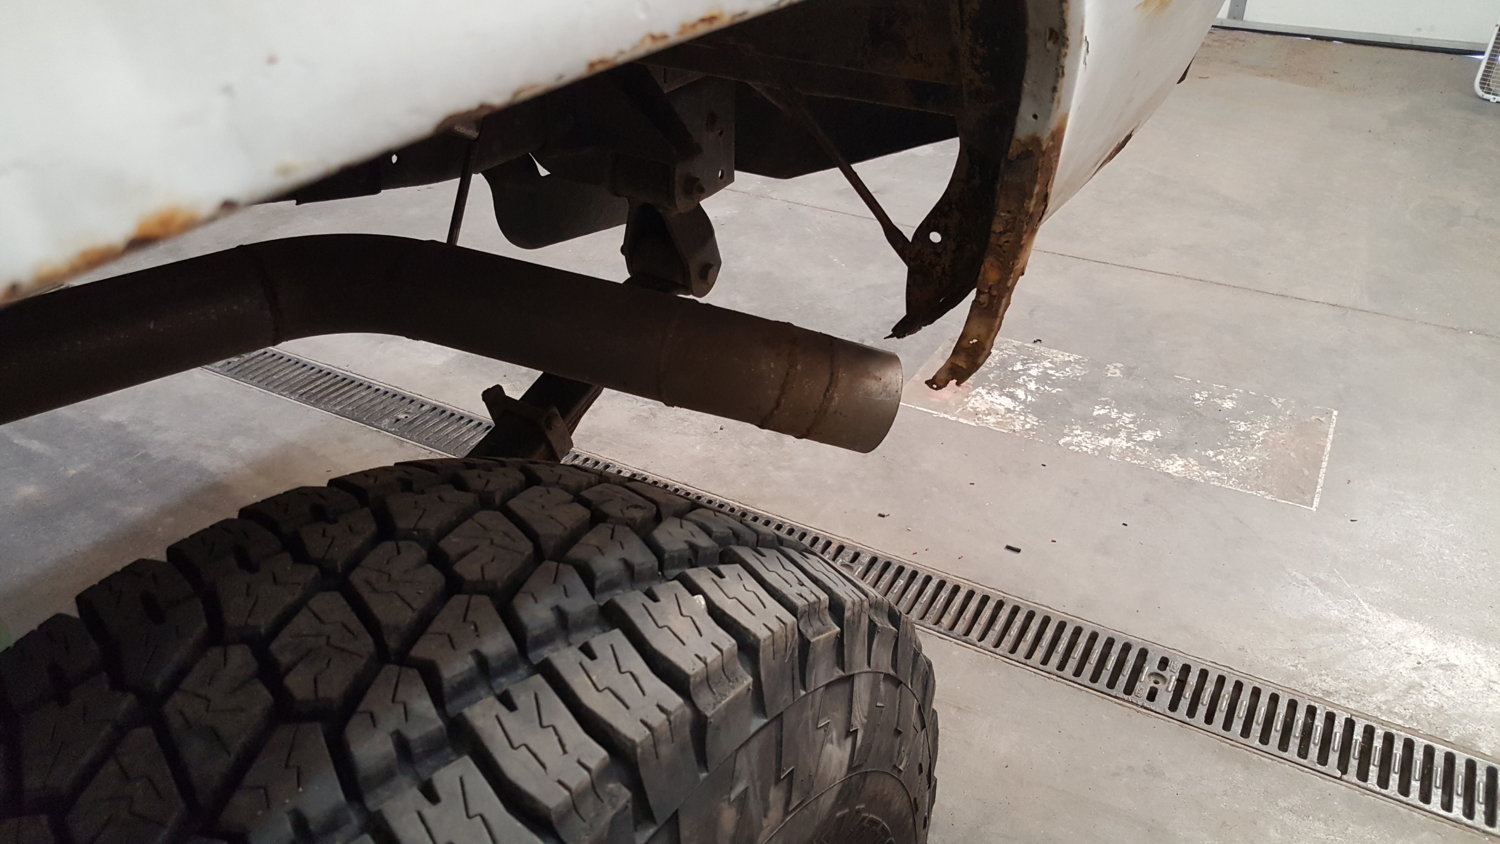
I think that may have been some of the problem.

I just got the Earl's AN Savers so I went out and pulled the connection apart. Couldn't get pictures, because with the hyrdoboost being higher than the pump, the fluid keeps coming out of the pump fitting - gotta work fast.

The seat of the new fitting has similar score in it. Felt all over the male side on the pump can and don't feel any blemishes. I put the AN Saver in along with a light film of anti seize on both sides of it. I noticed as the nut gets tight the last bit of torque tries to spin the center of the fitting along with the nut. So I put a wrench on that while tightening the nut. I also did the tighten, loosen, tighten thing a couple of times.

Now time will tell if I still have a leak.
 
So I keep looking at the height of the antenna and decided I need to try a spring base. I ordered a heavy duty spring and the quick disconnect so I can remove the antenna if it's going to be bad and I'm not feeling lazy.
 
Too funny. He told me he'd sold the diff cover but not to who.
 
I didn't know it was him until I walked up to pick it up...
 
Nate is my parts salesman. Biggest advantage being he lives in the big city so he gets a lot more contacts than I do up here.
 
full


Did a trail run Sunday with now problems. Cooling system is working like I want. Antenna survived.

Saturday I worked on a few cleanup items. Got the tailpipe rehung after adding the flex piece. In the pic below you see where the hanger was previously located about 3" to the left of where it is now.

full


full


full


The other thing I did was replace the wiring the got melty on the drive to the 2016 Blazer Bash. Last year I added about 24" to the tailpipe to quiet it down. I had it indirectly pointed at the rear bumper. I didn't fully appreciate how hot it would get the bumper. Here's what a couple of the plugs looked like (good plug in the foreground, 2 melted plugs in the background).

full


It also melted the trailer plug. Installed a new plug and replaced most everything with weather pack connectors.

Finally installed this 454 badge I bought a long time ago. Always liked how the 70s trucks had the engine size on the grill.

full
 
I like the badge.

And I was surprised how the exhaust cooked the crap out of my rear shock and it was 13-15" away.
 
It looks like you bought the same headlights and bulbs that I did. Big improvement over the regular stuff.
 
Added some under seat storage; there's a pair on each side. These will hold ratchet straps, tire inflation devices, electrical repair items, and my cordless impact.

full
 
Your seat flips up! Nice!
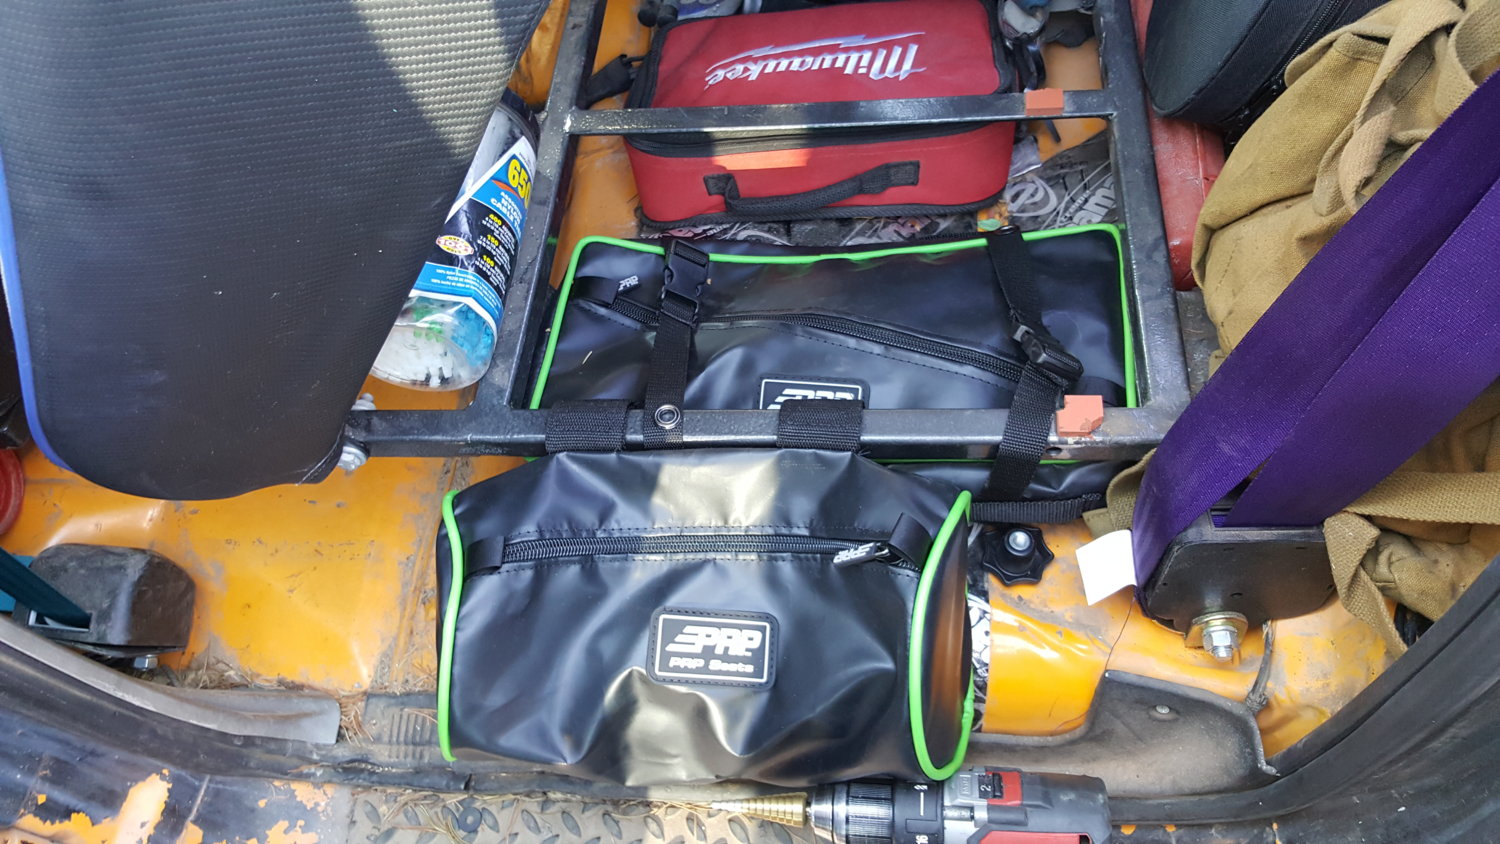
Thanks! I did a simple setup. The front 2 bolts have metal lock nuts that are just short of snug with flat washers. The back only has the one outside bolt with a knob that spins off and I push the bolt in enough to clear the mounting tab on the seat. Need to figure out a different prop to keep it up. The plastic jar of zip ties has almost been accidentally crushed too many times. Was thinking I might throw an appropriate length 2x4 in there. 2x4's can be handy for other things too.
 
Finishing up antenna install and tuning it. So I'm copying and pasting this here for my reference and others:
  1. The first thing you need to do is find a suitable location to park your vehicle. There should be no obstructions, such as trees or buildings, within 10 to 15 meters of your antenna. Neither you nor your buddies should be hanging out around the car, either. Make sure that you’re inside with the doors and windows closed to ensure an accurate reading.
  2. The next step is to hook up the SWR meter. First, disconnect the coaxial cable from the back of the radio. Reconnect this end of the cable, which is going to the antenna, to the SWR meter in the connector marked “antenna” or “ANT.” Next, use the jumper lead to connect your radio and the SWR meter through the connection marked “transmitter” or “XMIT.”
  3. Now you are ready to measure the SWR on a few different channels. Remember, throughout this process it's important to keep the microphone the same distance from the meter for each test.
  4. Set the switch on the SWR meter to “FWD.”
  5. Turn the radio to channel 1.
  6. Key the microphone (depress the button and hold it).
  7. Turn the knob on the SWR meter labeled “SET” or “ADJUST” until the needle reaches the setting position at the end of its range.
  8. While still keying the microphone, flip the switch on the SWR meter to the “REF” or “SWR” position.
  9. Quickly record the reading given by your SWR meter and release the transmit key on your microphone.
  10. You are now going to repeat this process for channel 40. Follow steps 4 through 9.
The objective behind tuning your antenna is to make these two readings as close as possible. Getting down to a 1.5:1 ratio or below makes for a passable broadcast signal. There are two basic points to understand before adjusting the length of your antenna:

  • If the SWR on channel 40 is higher than that on channel 1, your antenna is too long.
  • If the SWR on channel 1 is higher than that on channel 40, your antenna is too short.
If your antenna is too long, it is necessary to reduce its physical length. There are several methods for shortening an antenna which vary by manufacturer. Consult your owner’s manual for detailed instructions on how to shorten your antenna. While many antennas feature a “tunable tip” that uses a small screw, some antennas may need to be cut to be shortened. Do so in 1/4" increments and then get new readings to determine your progress.

If your antenna is too short, it is necessary to increase its physical length. Most instances where the antenna length is too short are caused by a lack of ground plane. In modern antennas, there's usually a method for adding length built in to the antenna. Other options, such as adding a spring, are also legitimate.


Source: https://www.rightchannelradios.com/blogs/installation-guides/18330687-cb-antenna-tuning-instructions
 
Top Bottom