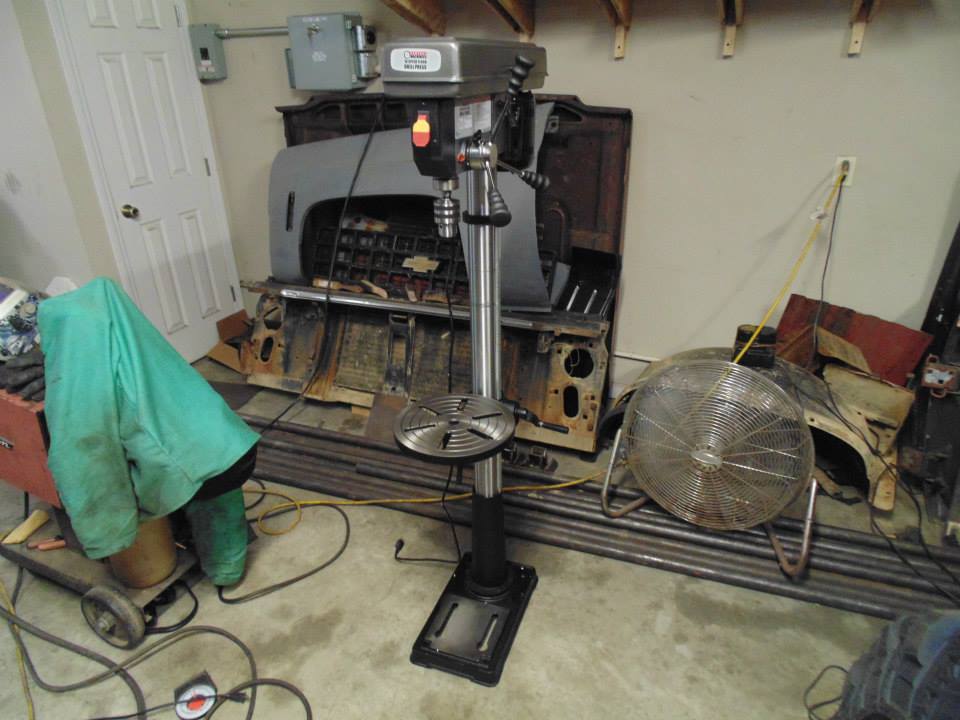
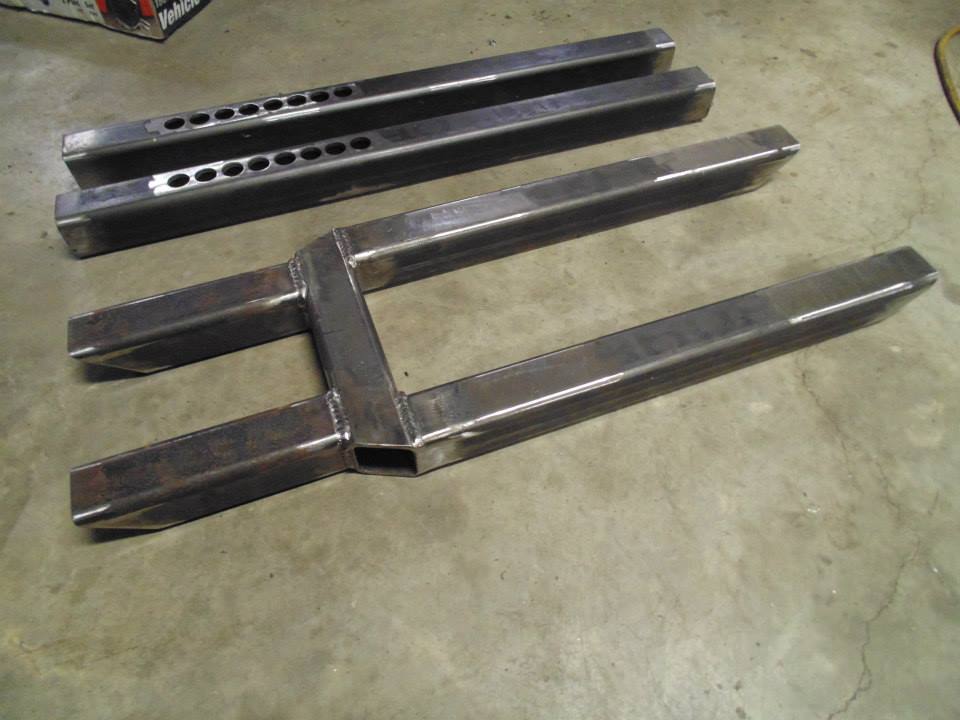
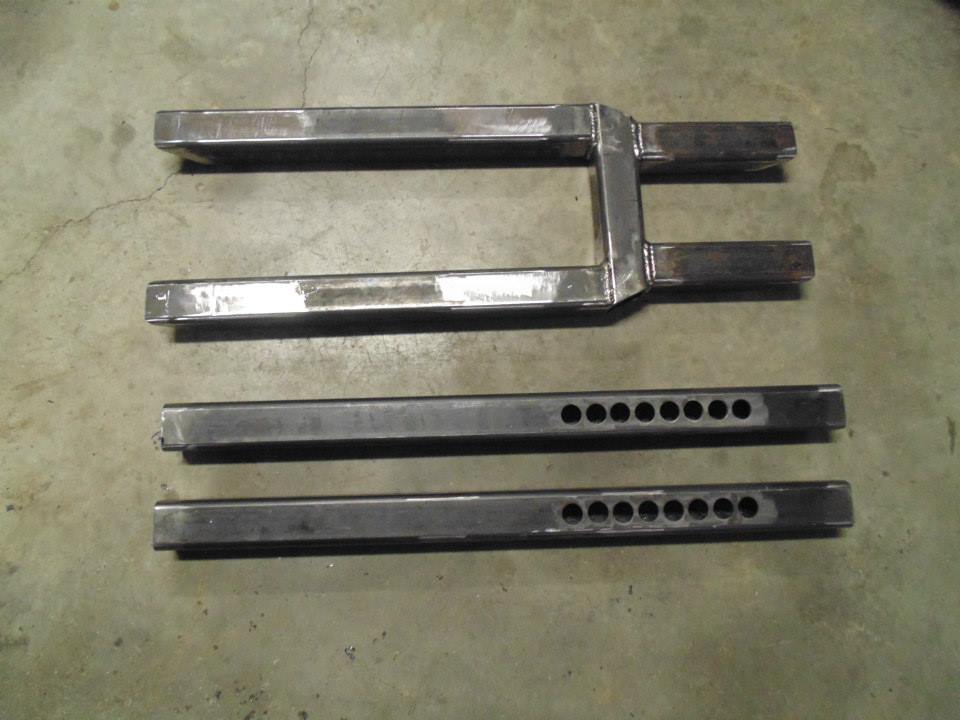
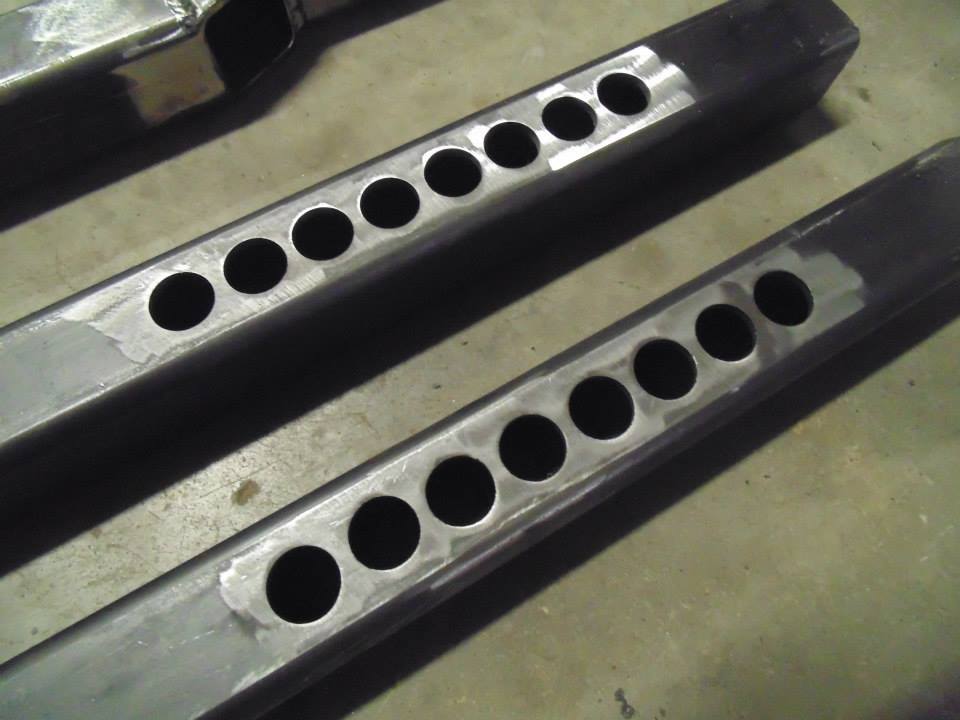
Yeah, after that many holes the bigger drill bits were definitely getting dull which slowed it down a lot at the end. I went ahead and bought the $30 silver demming drill bit set he recommended from Harbor Freight. I ran the drill press at 220 rpm for the drill bits and 300 rpm for the hole saw. He says he went pilot, 1/4", 5/8", 7/8" but that didn't seem to work too well for me so I went 3/16, 1/2, 5/8, 3/4, 7/8 so one more step than he did.
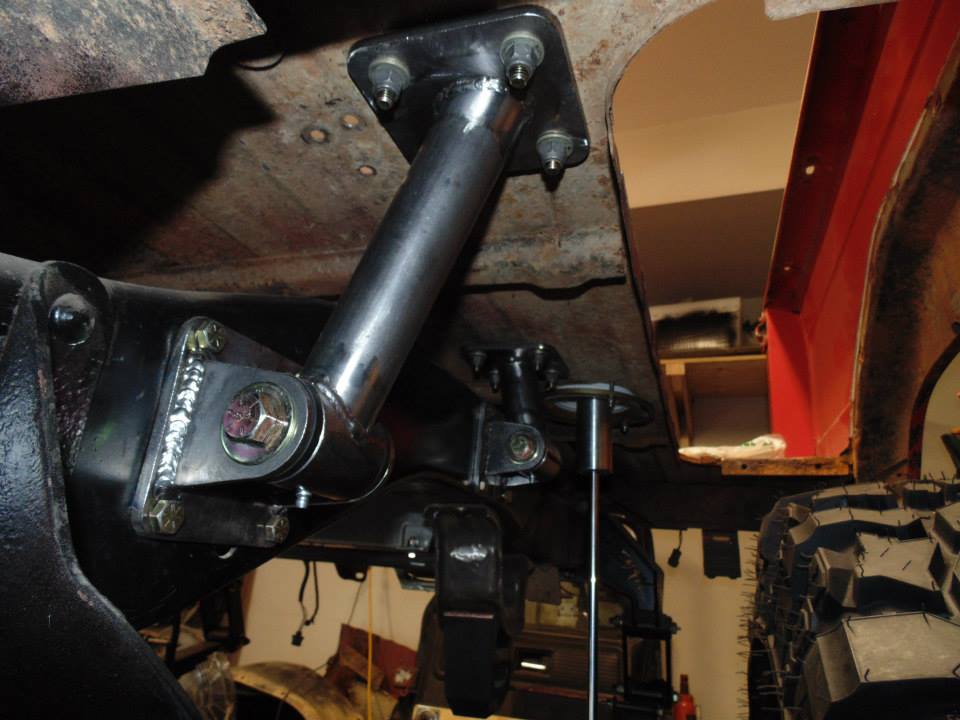
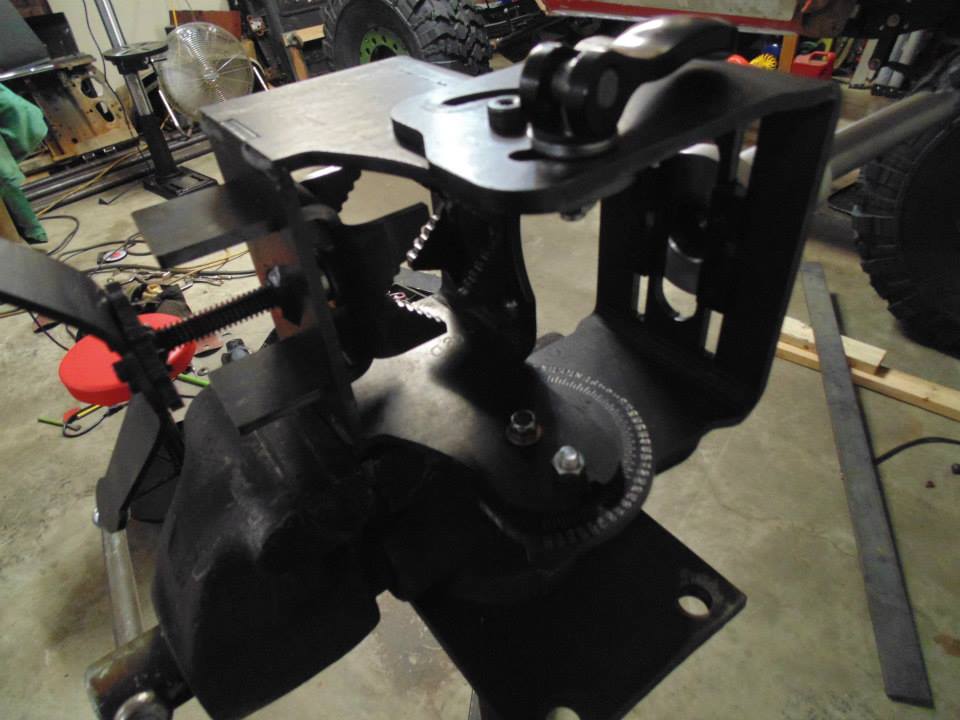
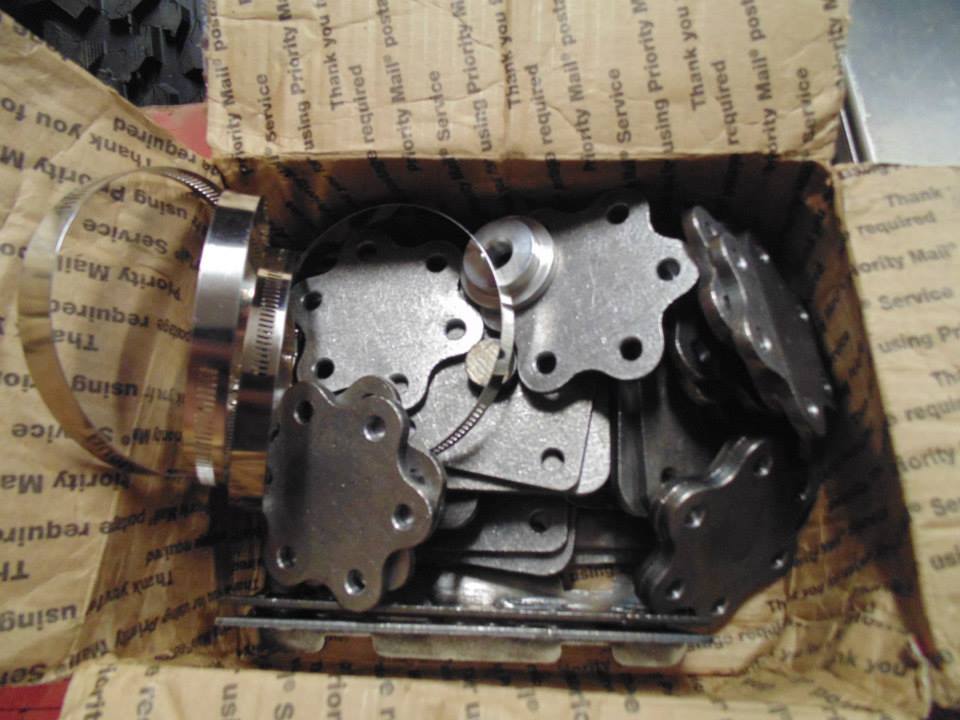
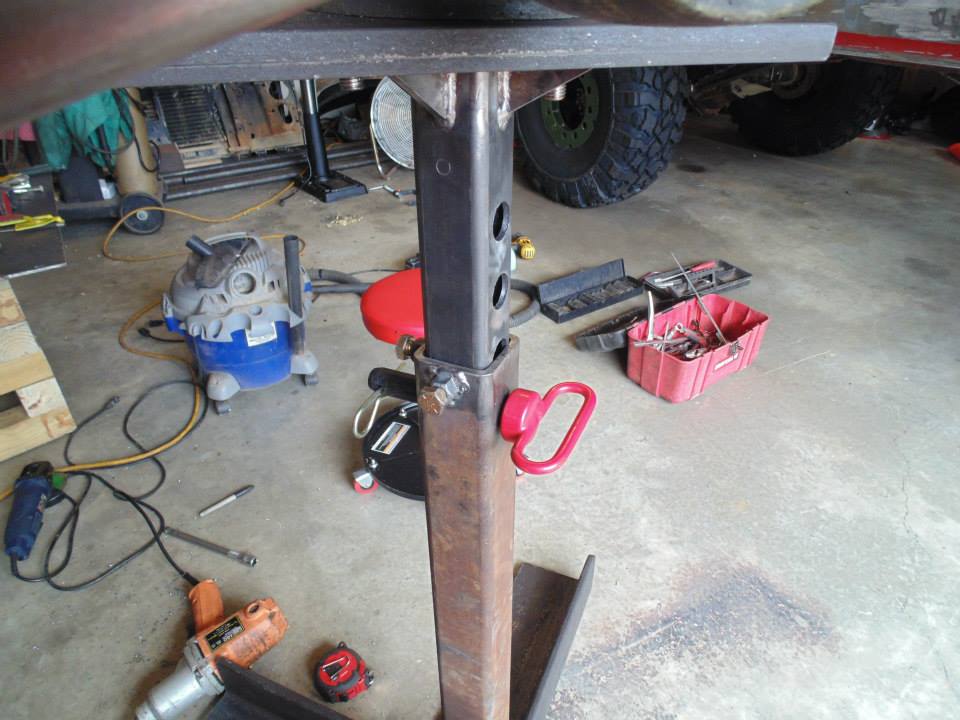
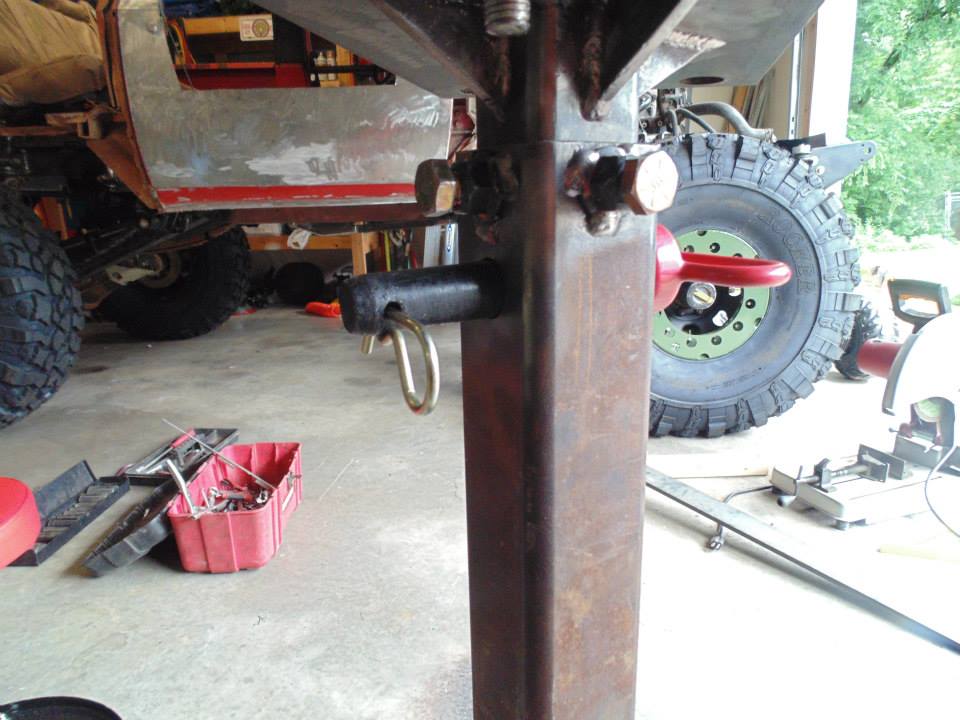
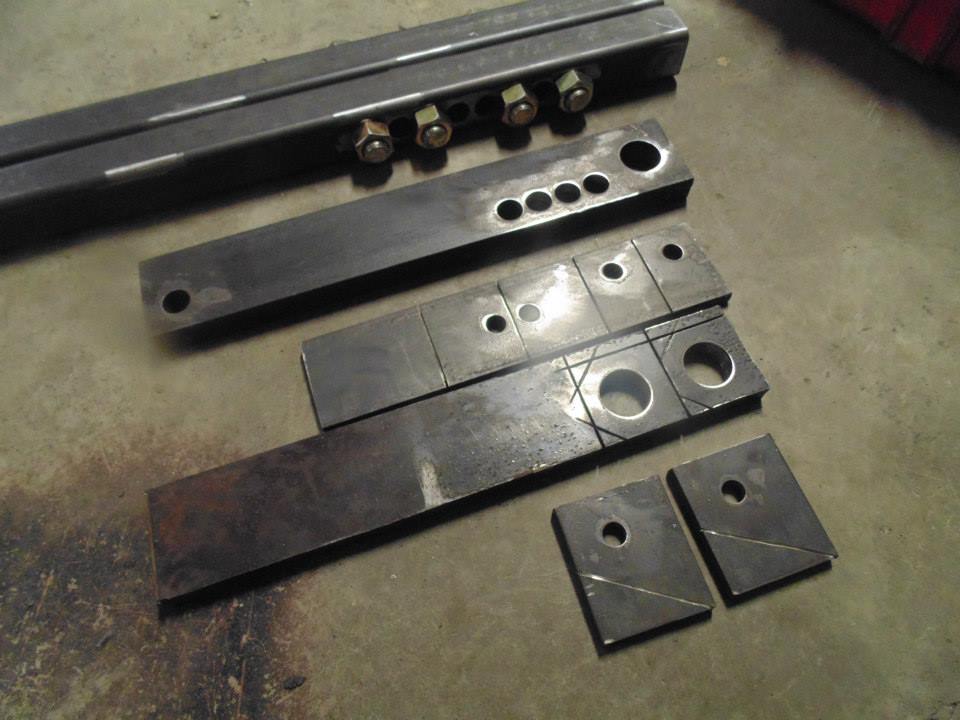
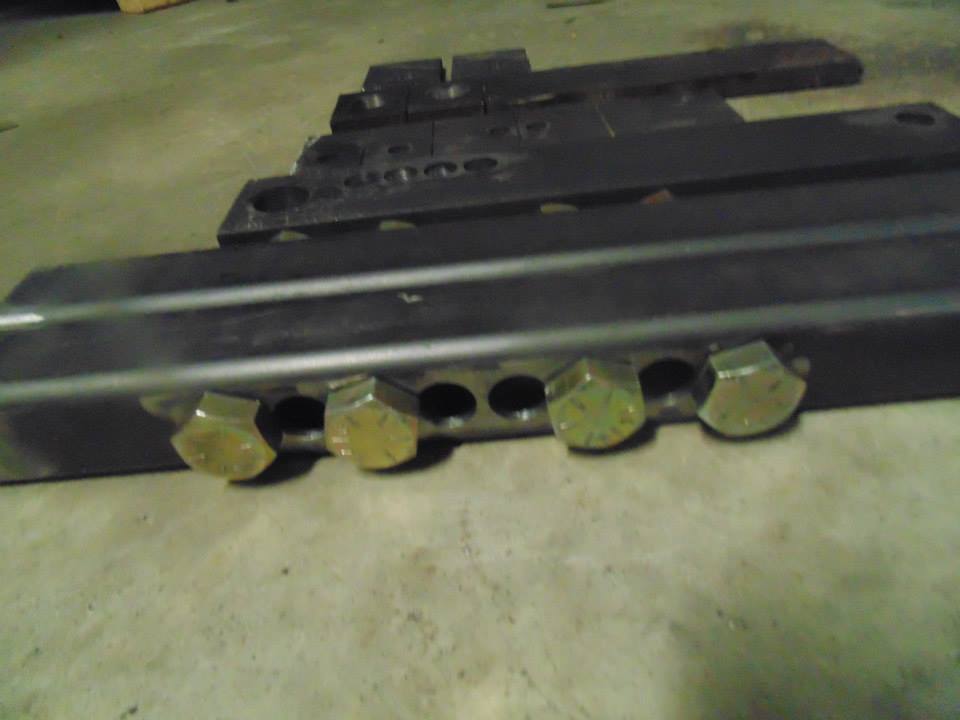
I also opted for the little milled bushing set for the swing arm that he sells on his website for $60 so if you don't buy that or have it made then your holes for the main die pin and the ram-to-arm bolt will be smaller, 1" & 5/8" respectively. I almost bought his predrilled kit because I knew that the drilling was going to suck and I didn't already have a drill press but I always look at stuff like that in this light. Cost of predrilled kit plus shipping would probably be $400 but $60 of that is the bushing set so $340. For $340 I bought a drill press that I will now have for general use and all of my material. I am all about saving some money and building my tool arsenal.
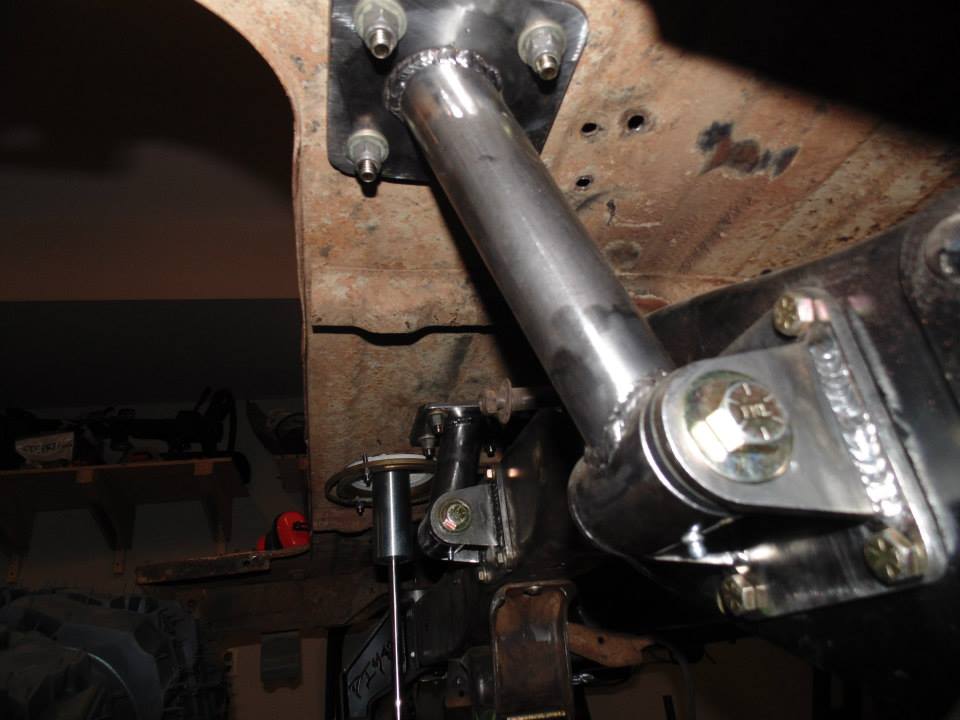
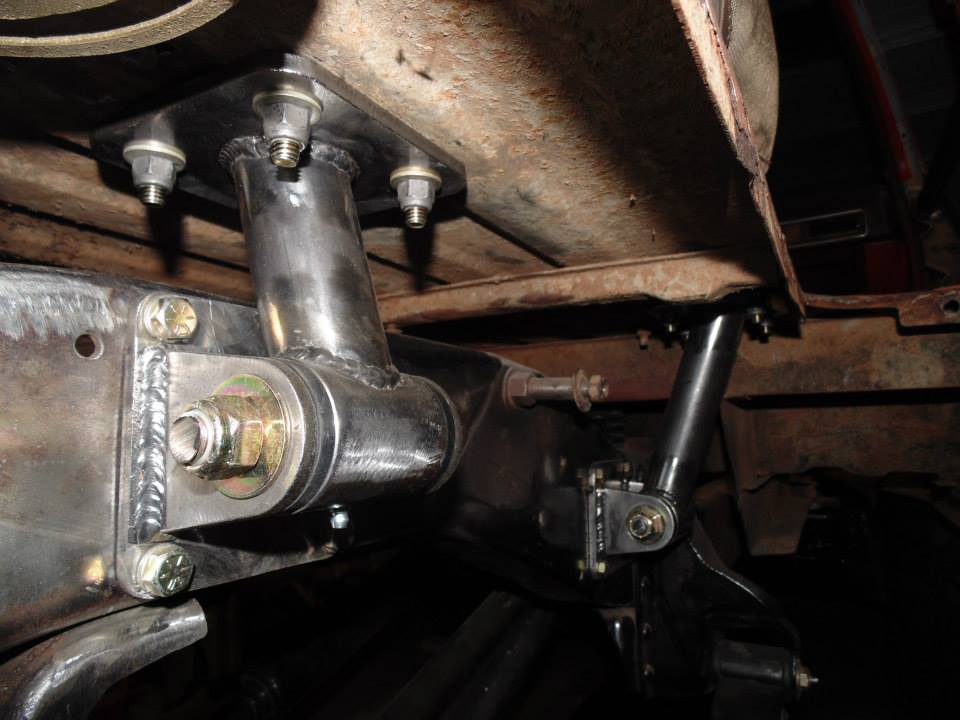
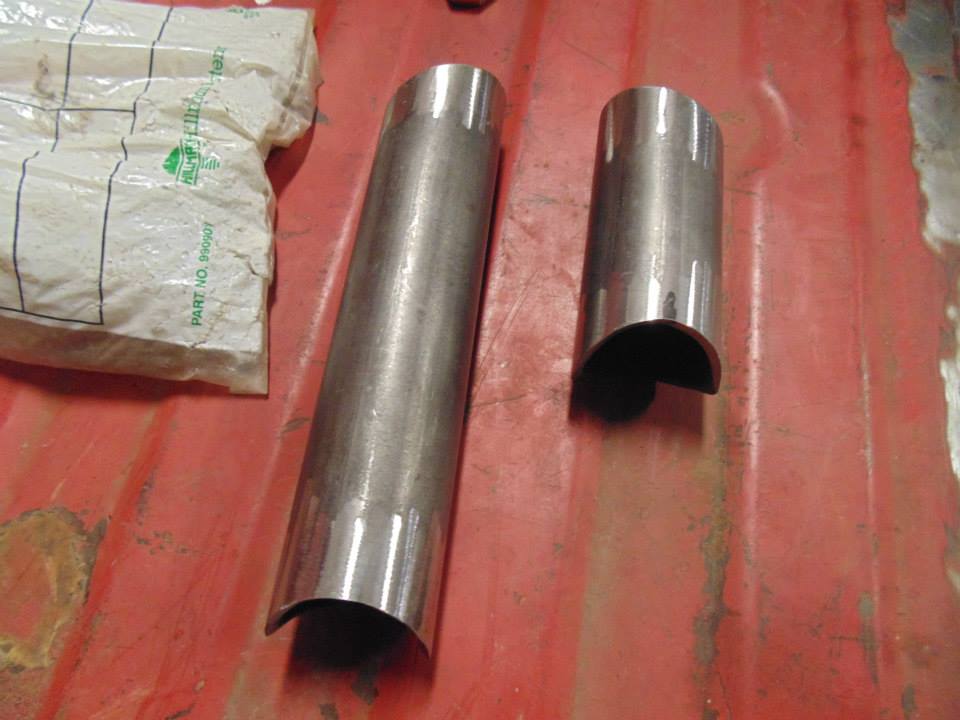
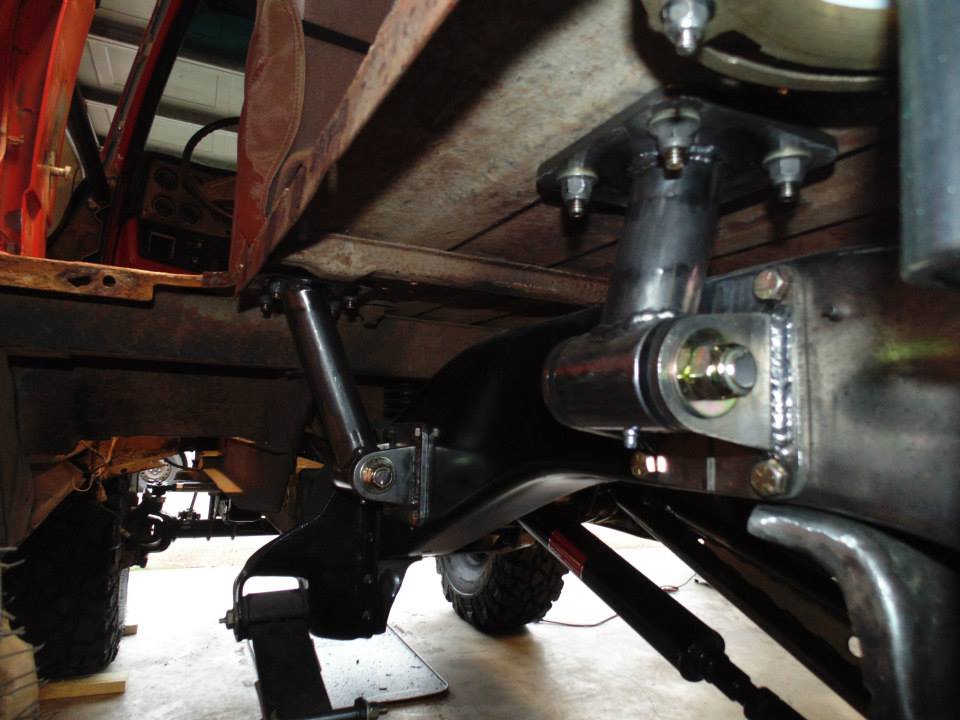
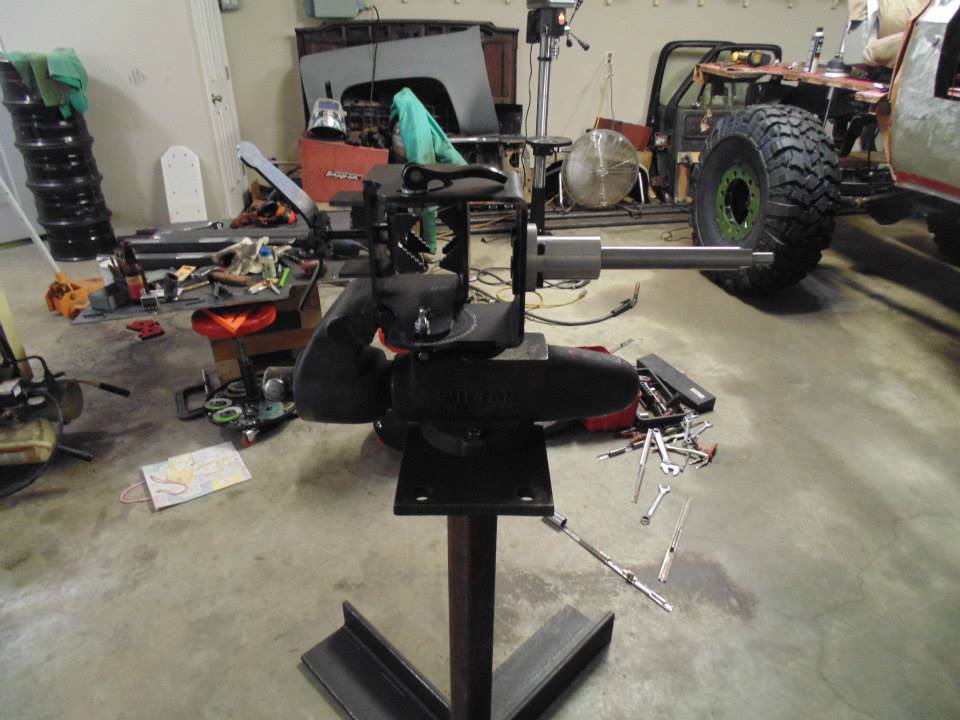
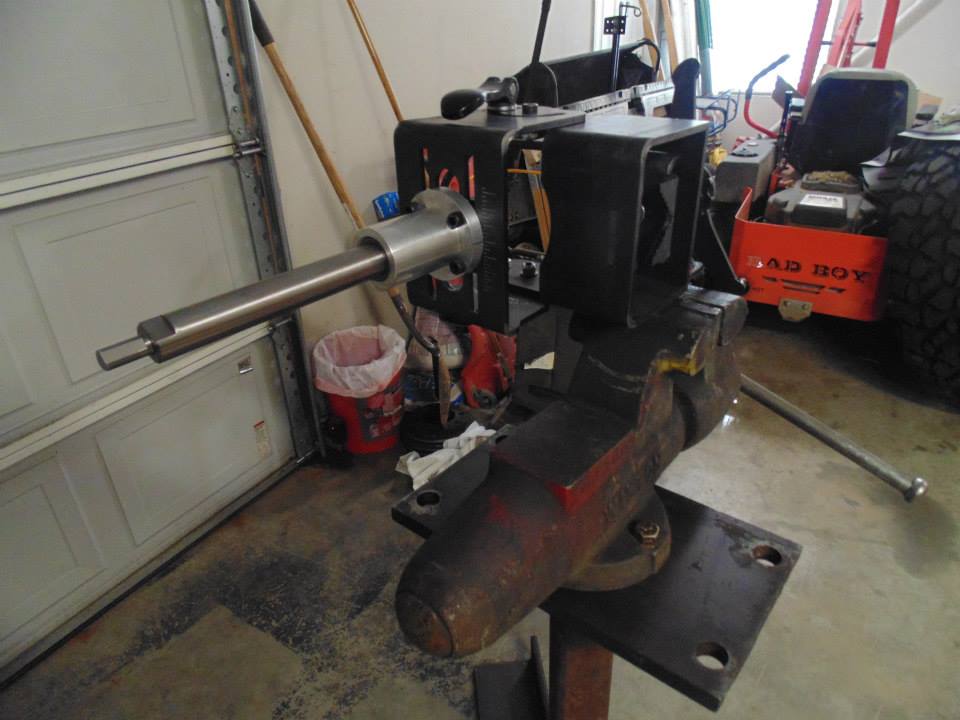
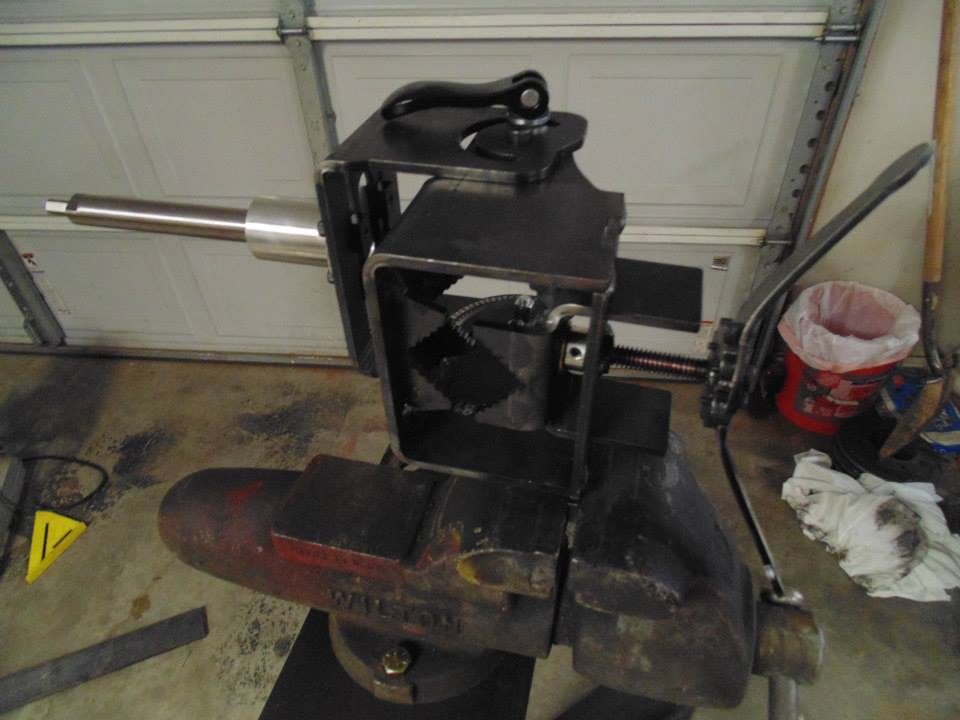
I am into the bender for about $500 including the 1.75" pro tools die I bought used (not including cost of drill press). If I wasn't doing this I would definitely consider buying Rogue Fab's bender for $600 which includes die but you do have to pay shipping from OR and still buy your Harbor Freight 8 ton bottle jack so you are looking at about $800 for that setup but you do not have to do any drilling, just bolt and weld a couple pre-indexed pieces together.