I "finished" this job last Thursday night, then promptly caught a stomach virus. I have been out for the count from then until basically now.
Some notes from the job...
- This video was excellent for demo, I followed it step by step:
- This video was excellent for hub cleaning:
- I followed the Haynes instructions for reassembly / adjustment. My torque wrench only goes up to 130 (?) ft lbs. I saw other threads on here about wheel bearings and some guys were saying they would do 120 on the outer spindle nut and call it good. I used my impact on it which was probably a bad idea but it felt like a reasonable solution at the time.
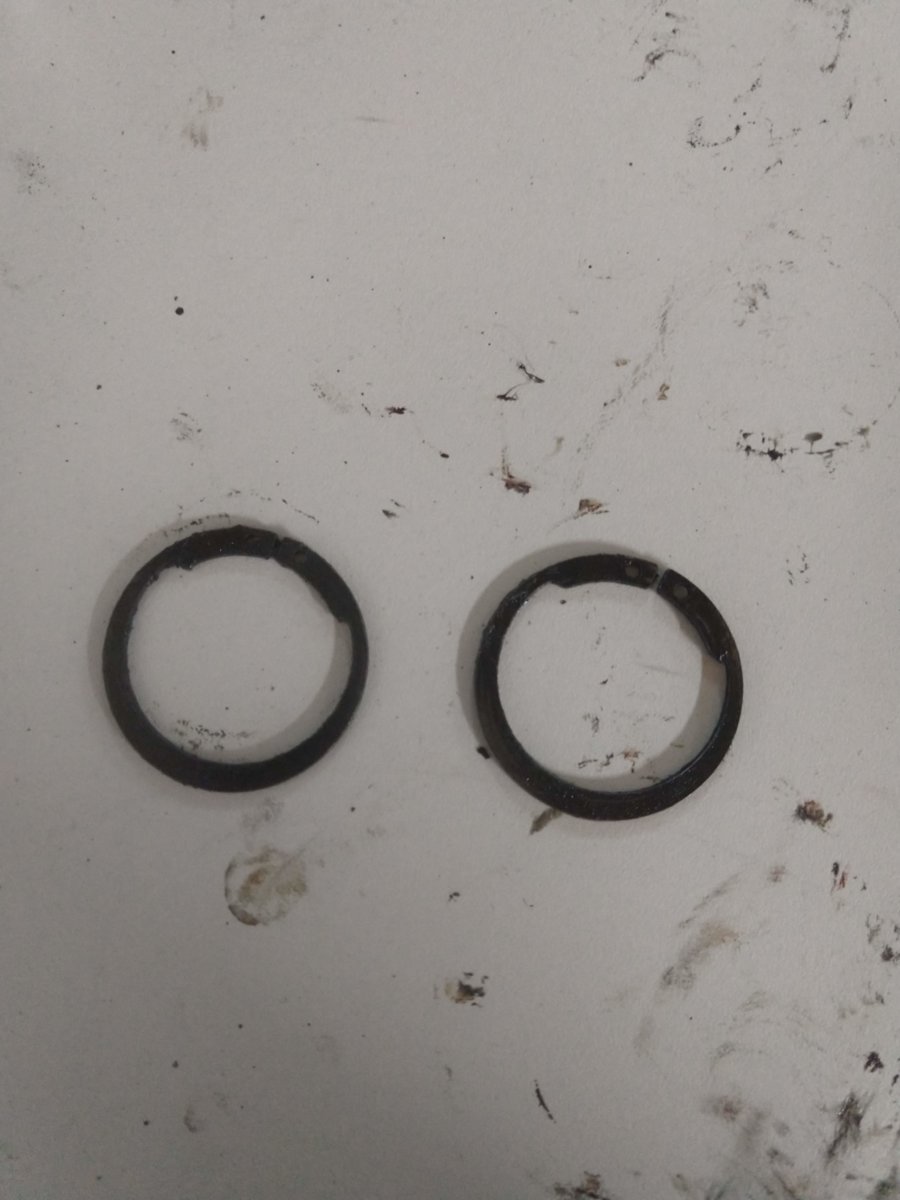
- I couldn't get the snap rings back on. In the demo video that I linked (above), there are no snap rings at all. So I figured it wasn't the end of the world.
I have some questions for you fine folks!
- Can anyone remember exactly where the snap rings fit? I can try and get them on again, but I was having a hard time remembering exactly where they sat when I took them off. It has been a few weeks now.
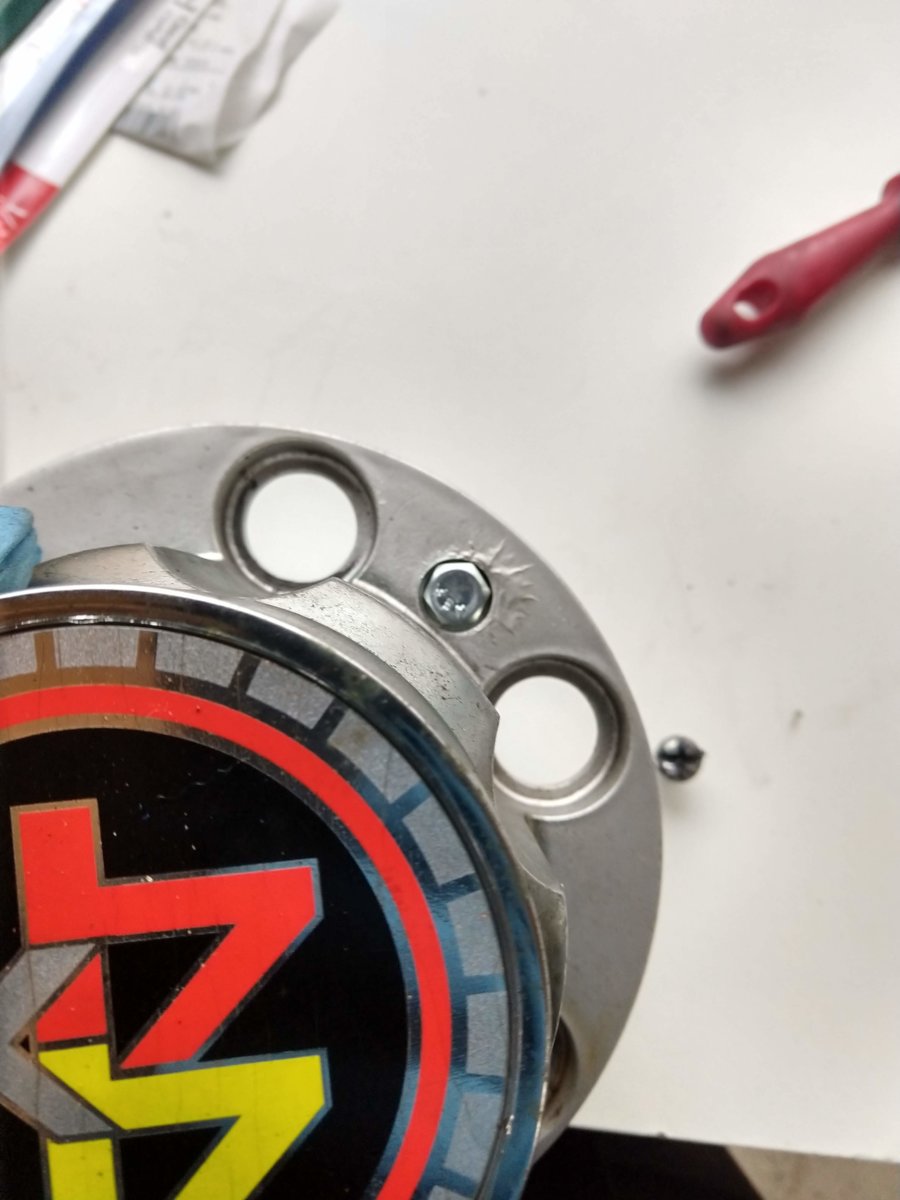
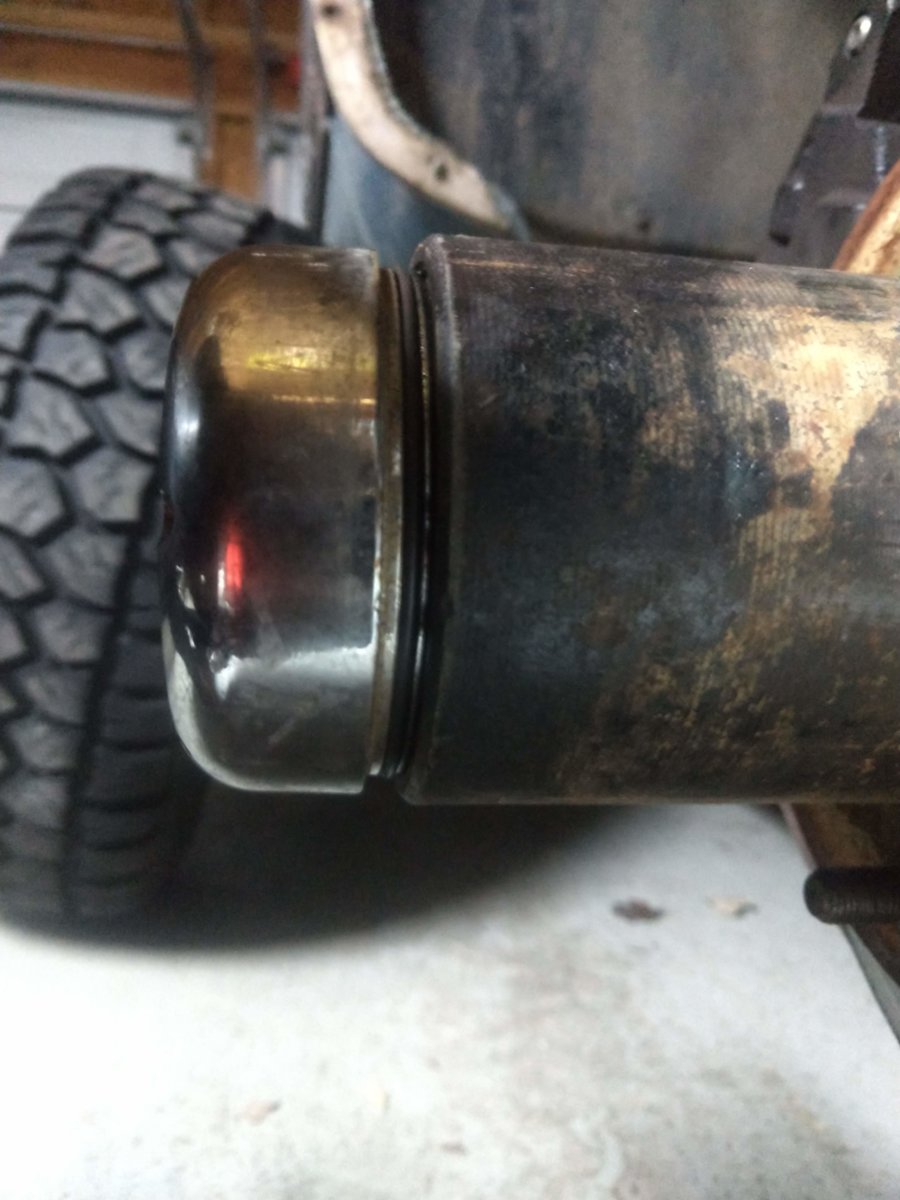
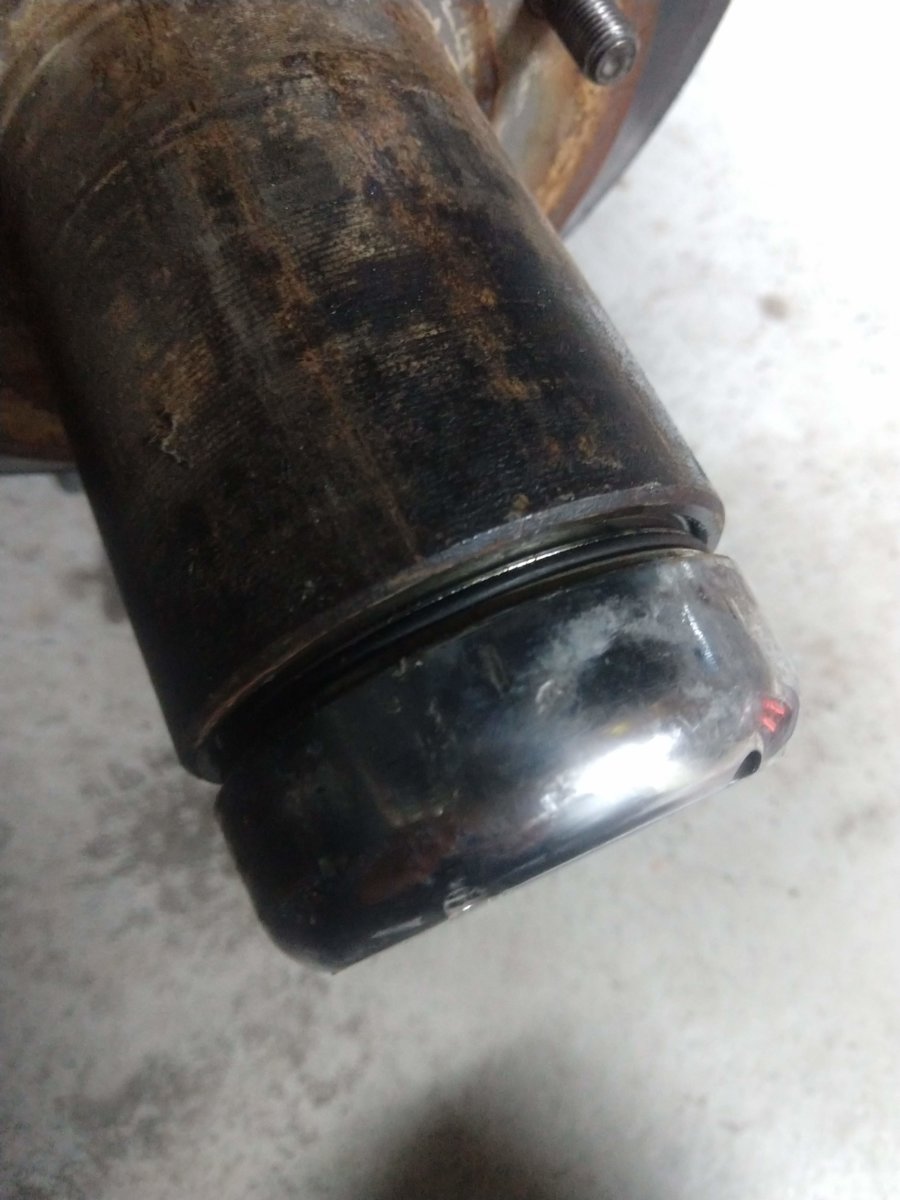
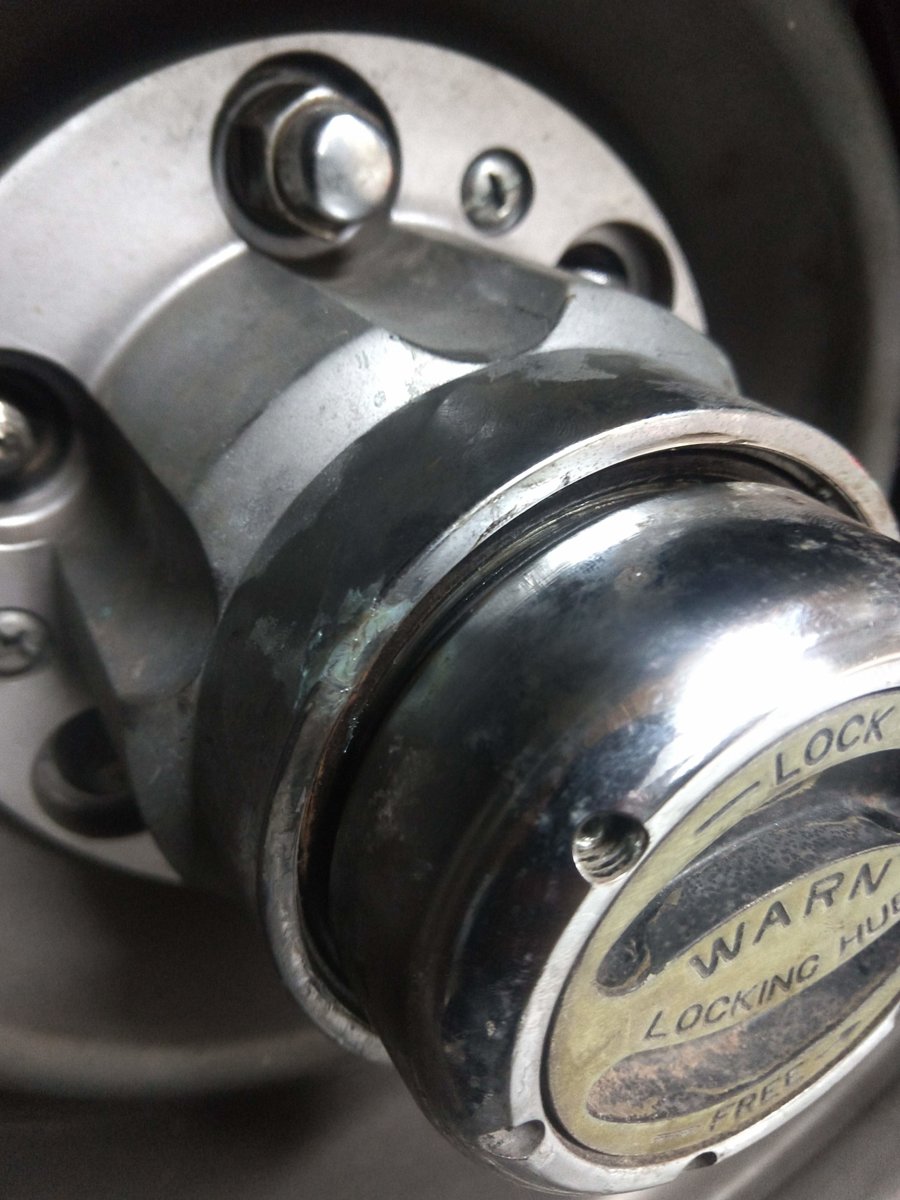
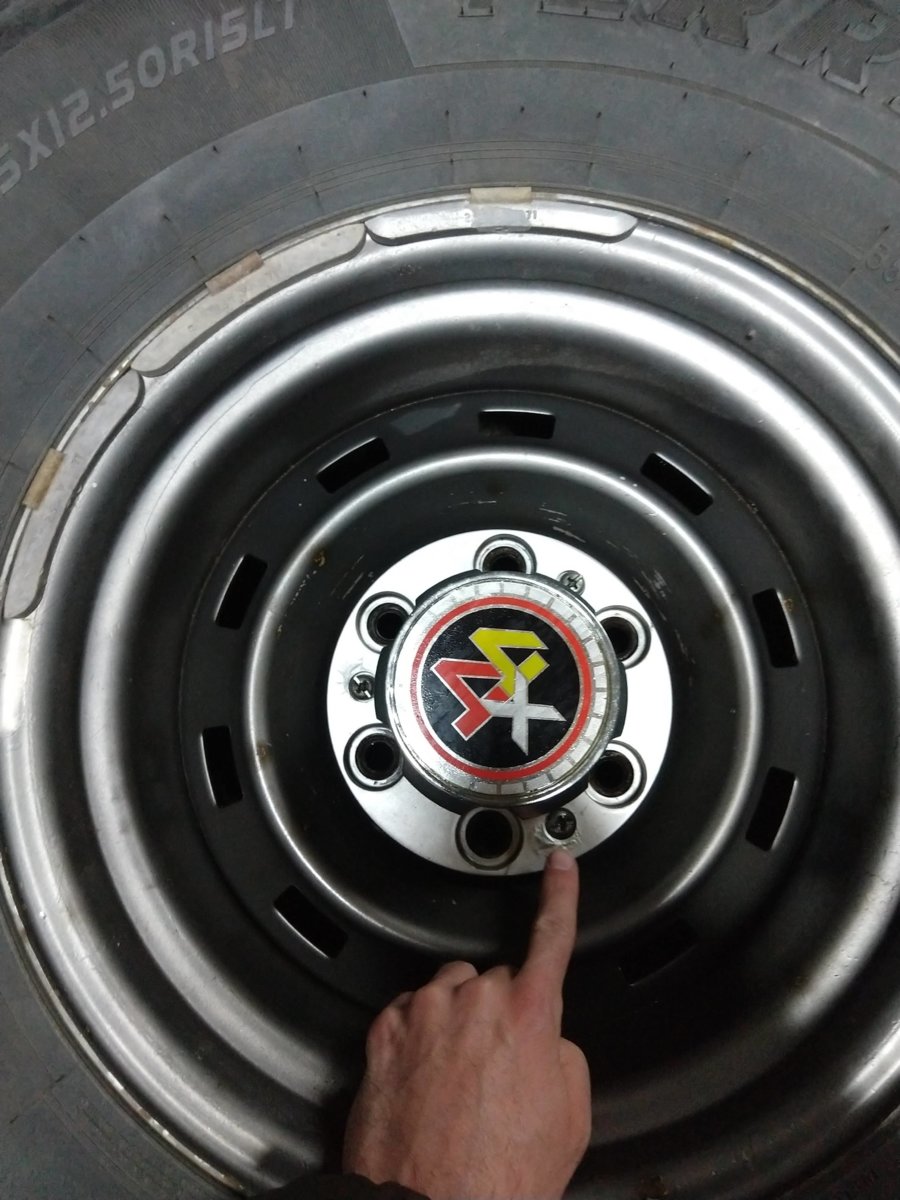
- After reassembly I ended up with a gap between my locking hub "cap" and the actual hub body. I must have really goofed something up, anyone have any ideas?
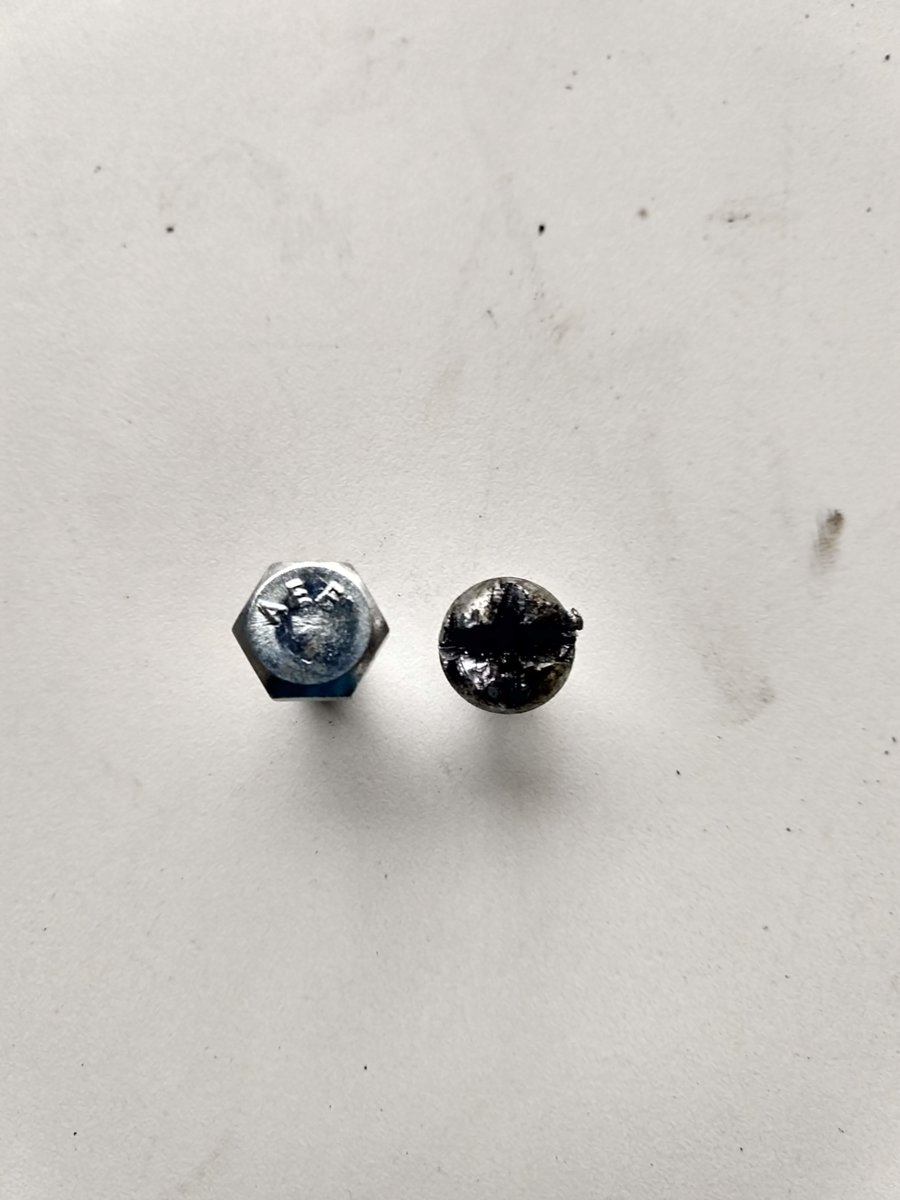
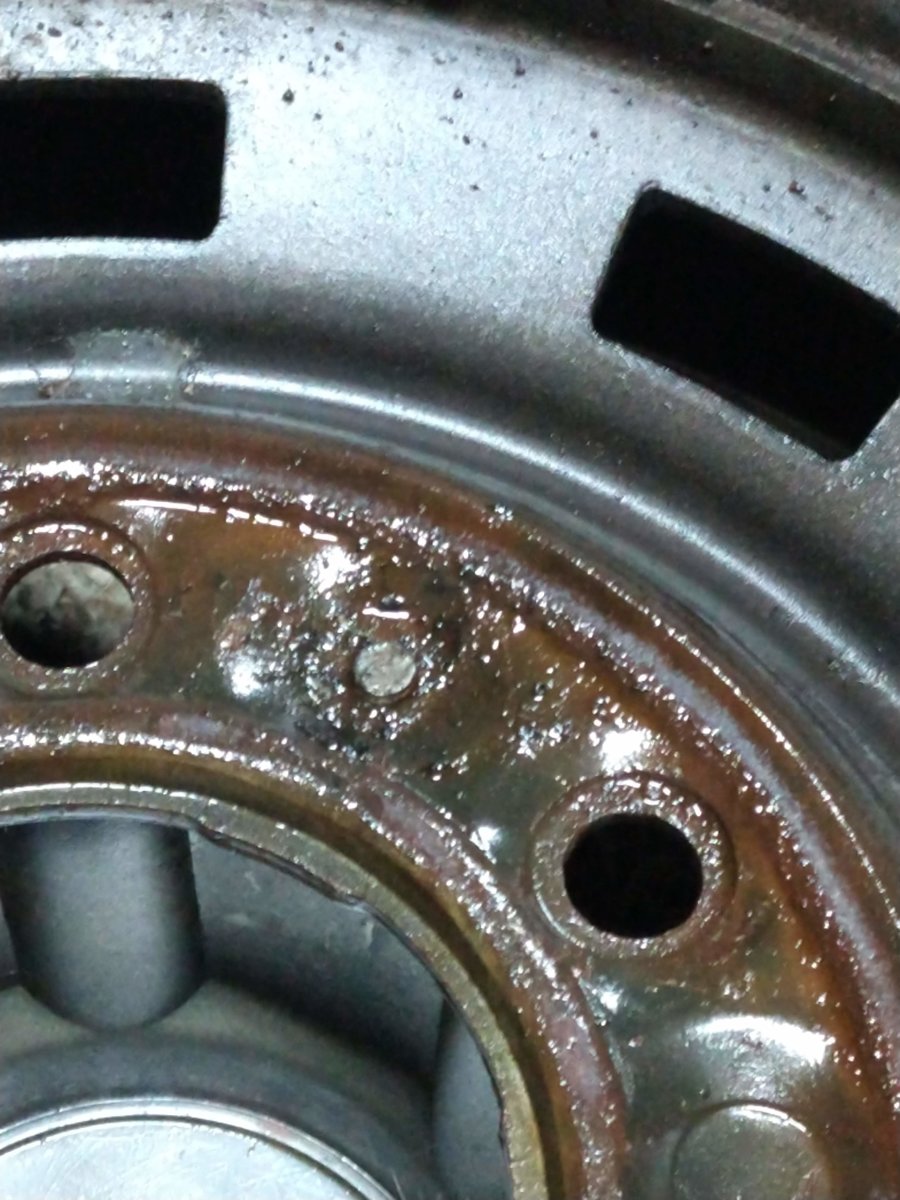
These are the snap rings that I couldn't get back in:
Here are some pics of the gap that was left behind (this is on both driver and passenger side) after the reassembly:
EDIT:
@CK5 is there a way for me to display the raw YouTube URL in my post? The [MEDIA] tag is applied automatically every time I try and post the link. I just want the link to show - not the preview.


 He was honestly a really nice dude.