2021.02.21 - UPDATE! - NEW FLEXIBLE SHAPE PATTERN...
Today was tape day.
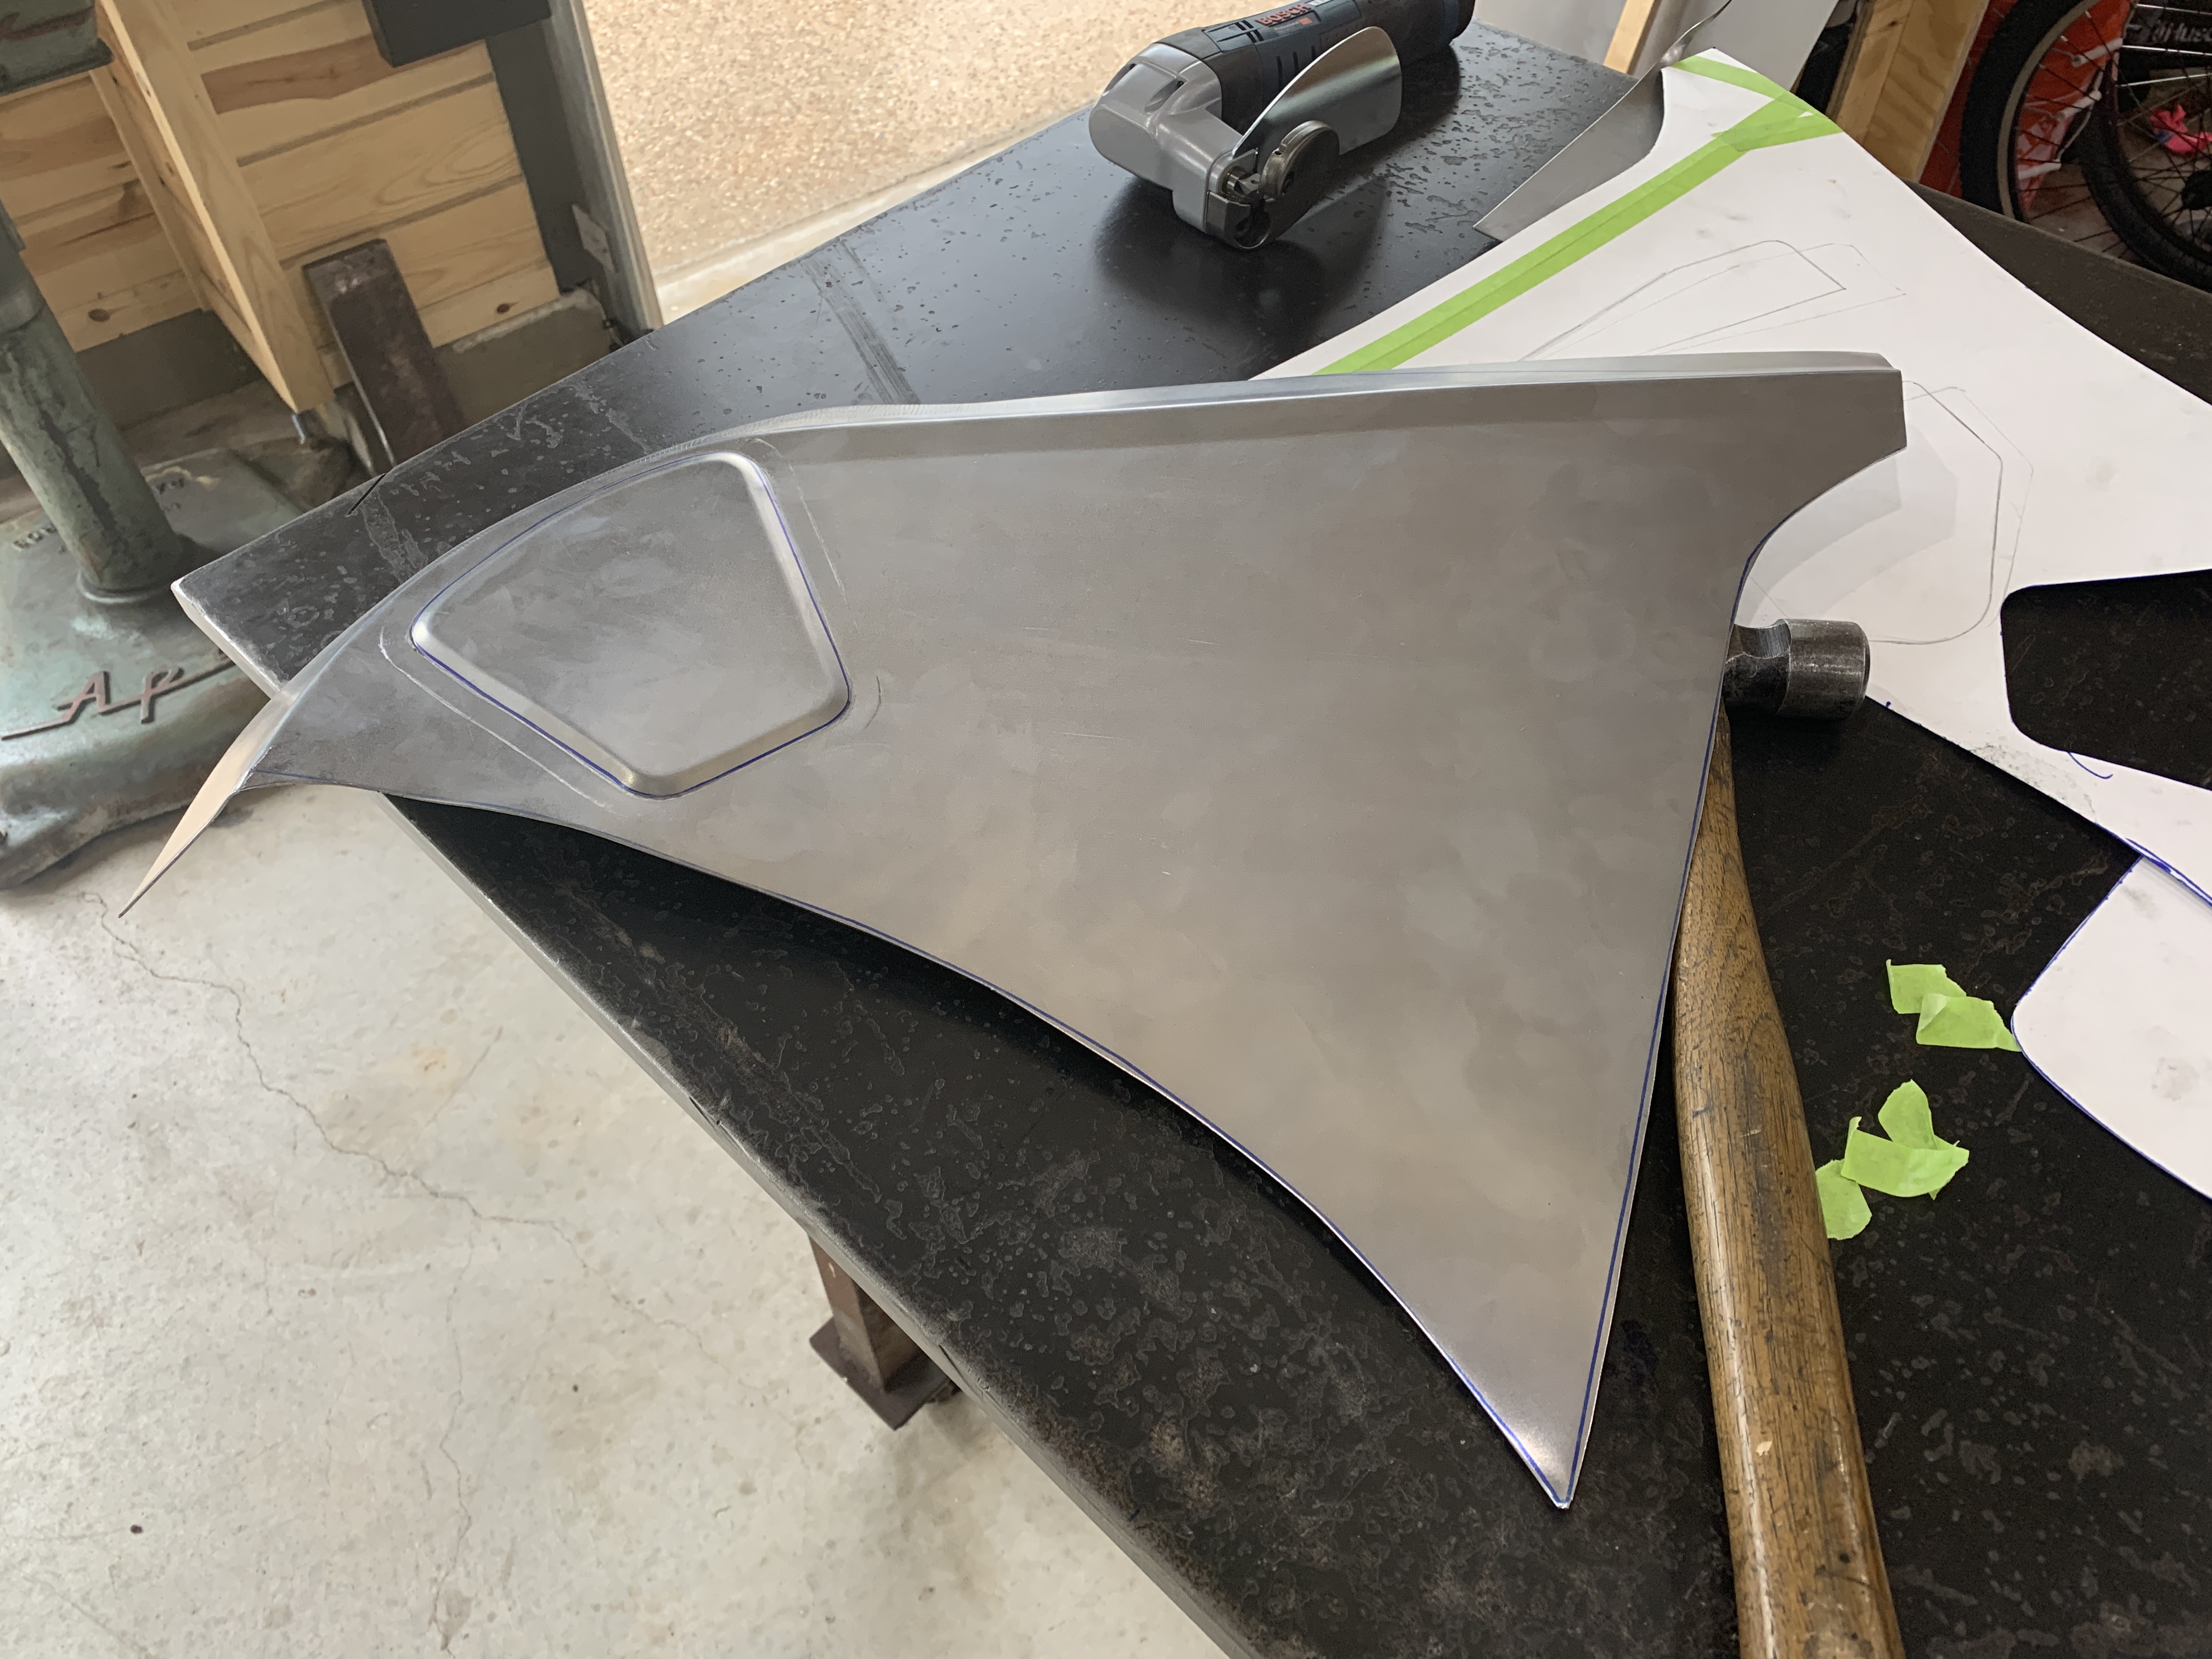
The wheel well rendered last week really wanted to be installed on the truck, but it was important to pull a template from it first, so that the mirror-image panel for the driver's side would take less than 20 hours to complete.
As mentioned before, I've been watching a LOT of YouTube videos from ProShaper.com and the concept of creating and using a "Flexible Shape Pattern" seems like the single fastest way to get a 3-D reference that is simple to work with and develop flat sheets of metal into nice compound curves.
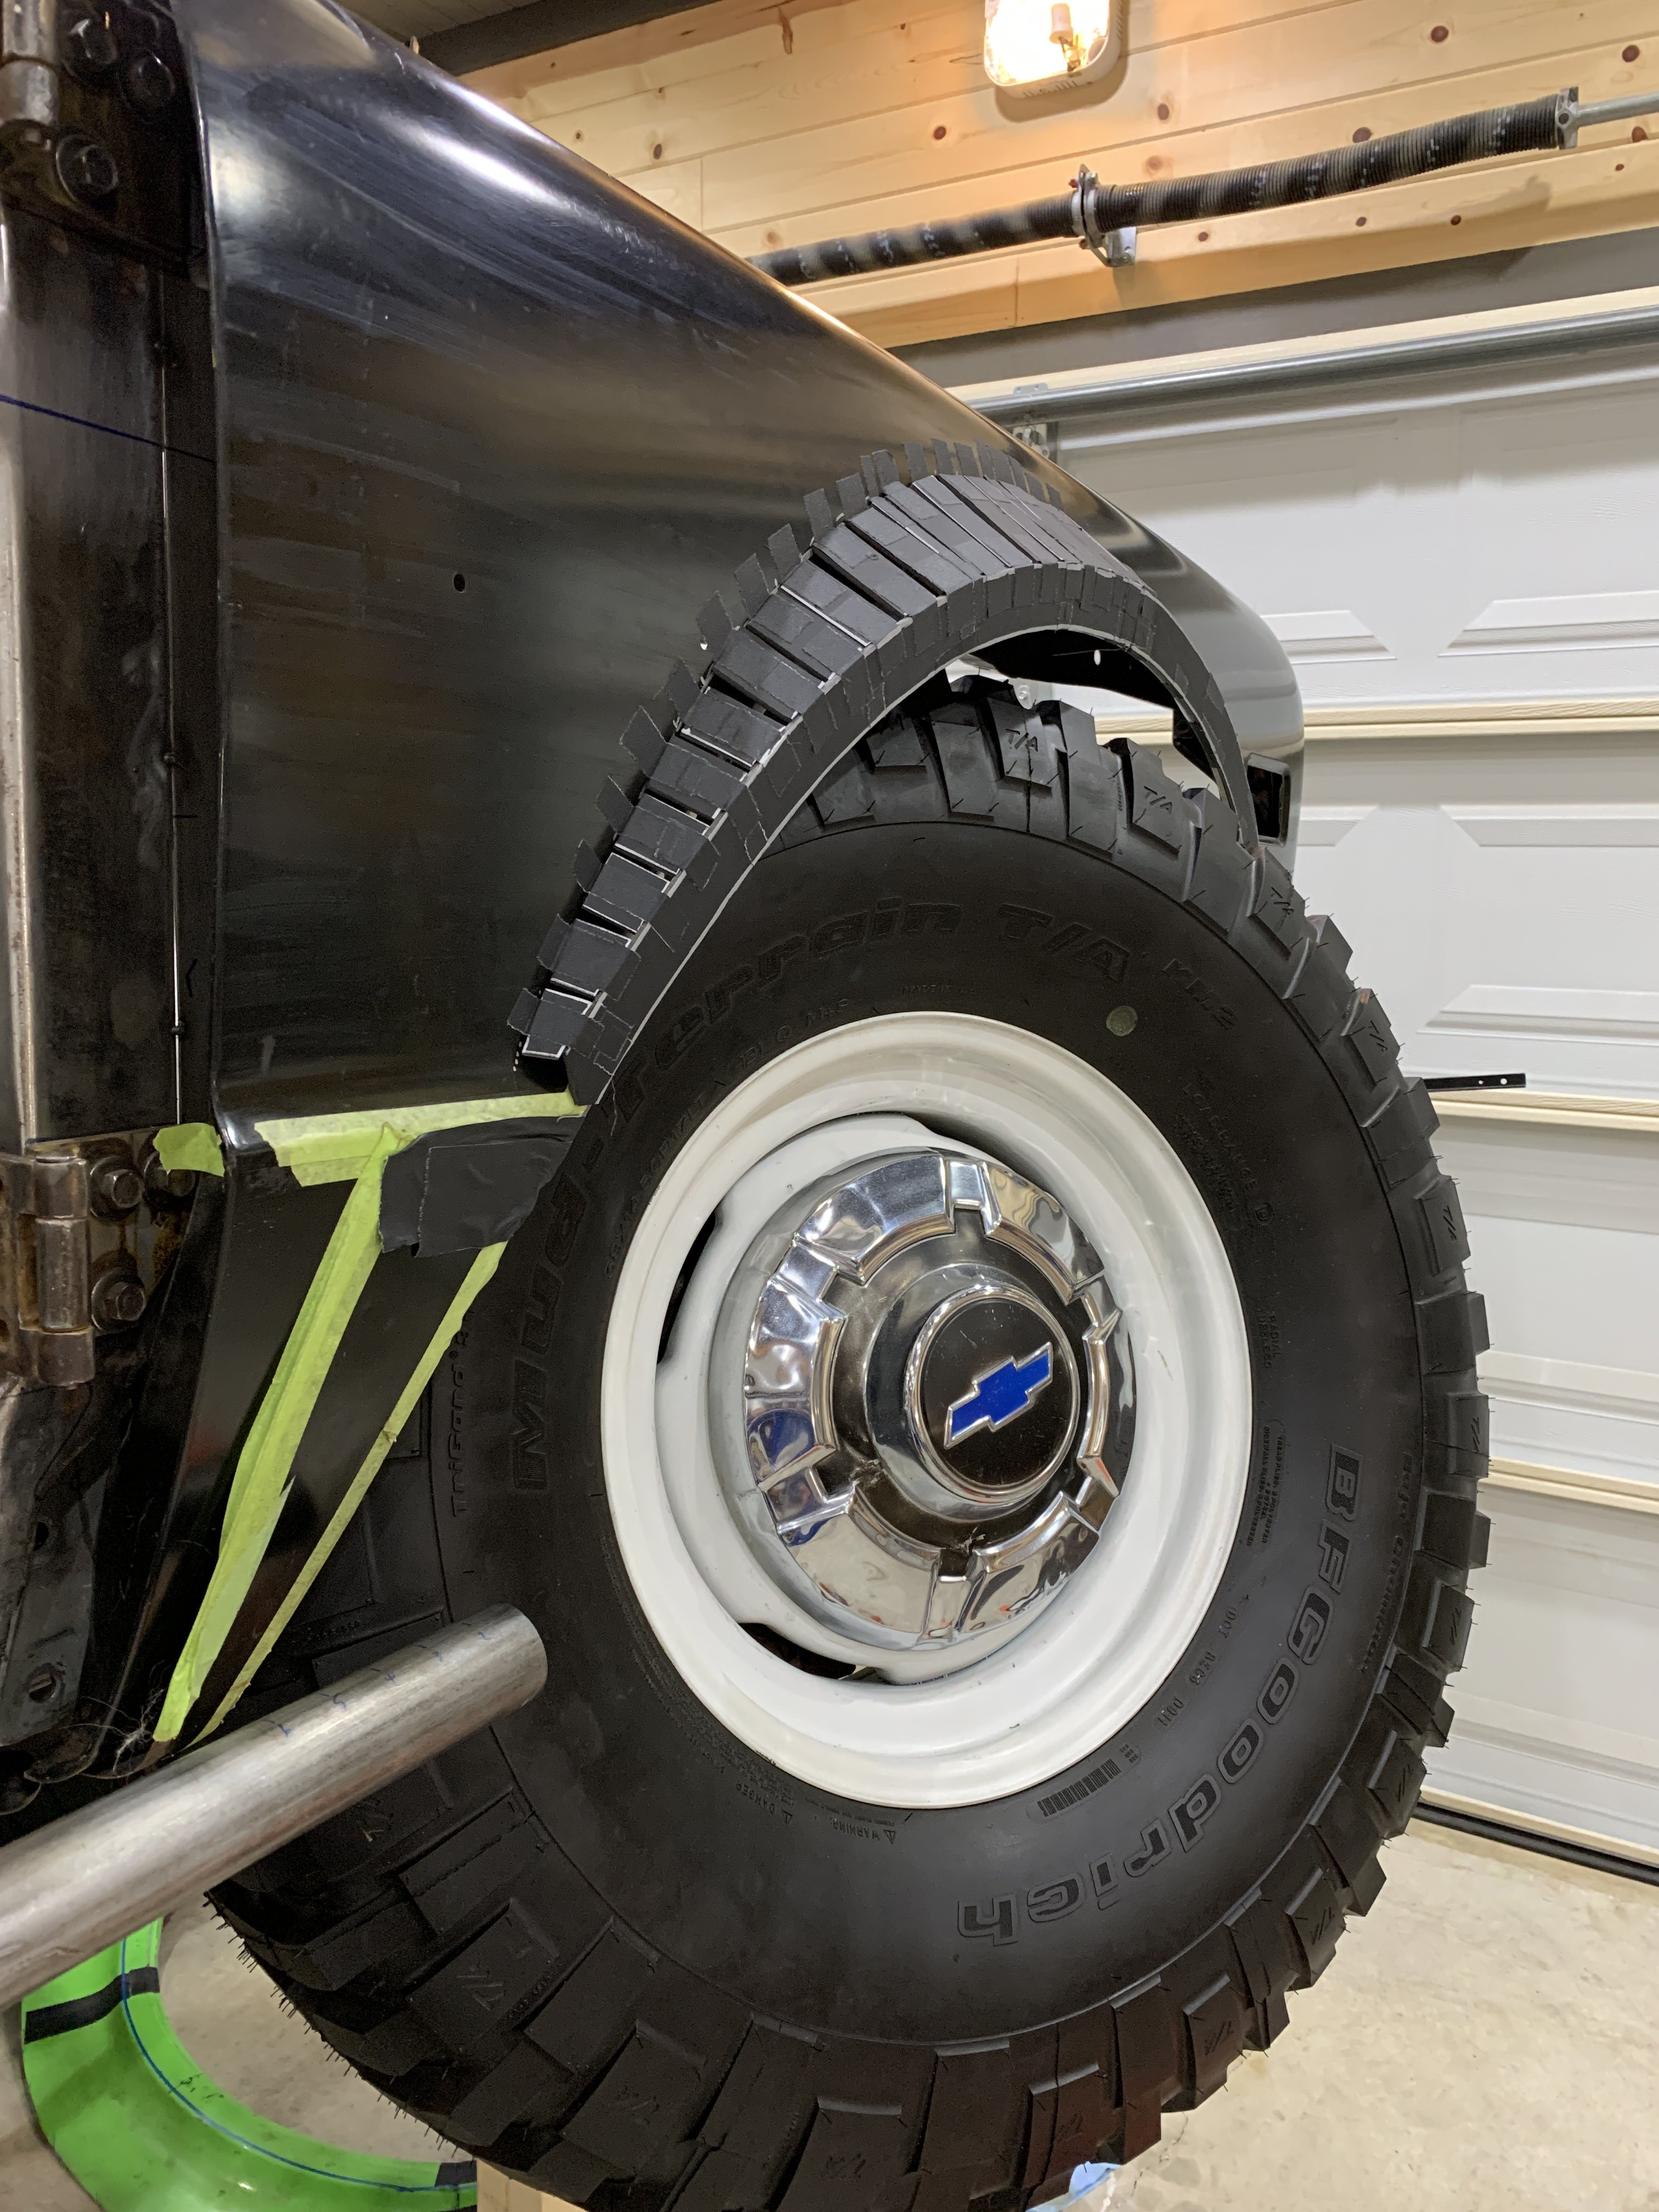
Step one is just cleaning the metal so that the low-stick tape will at least stick a little bit...
The basic process is just lay stripes down making sure they don't overlap. With a high-crown part, you sometimes have to cut slivers since the tape doesn't really stretch very much.
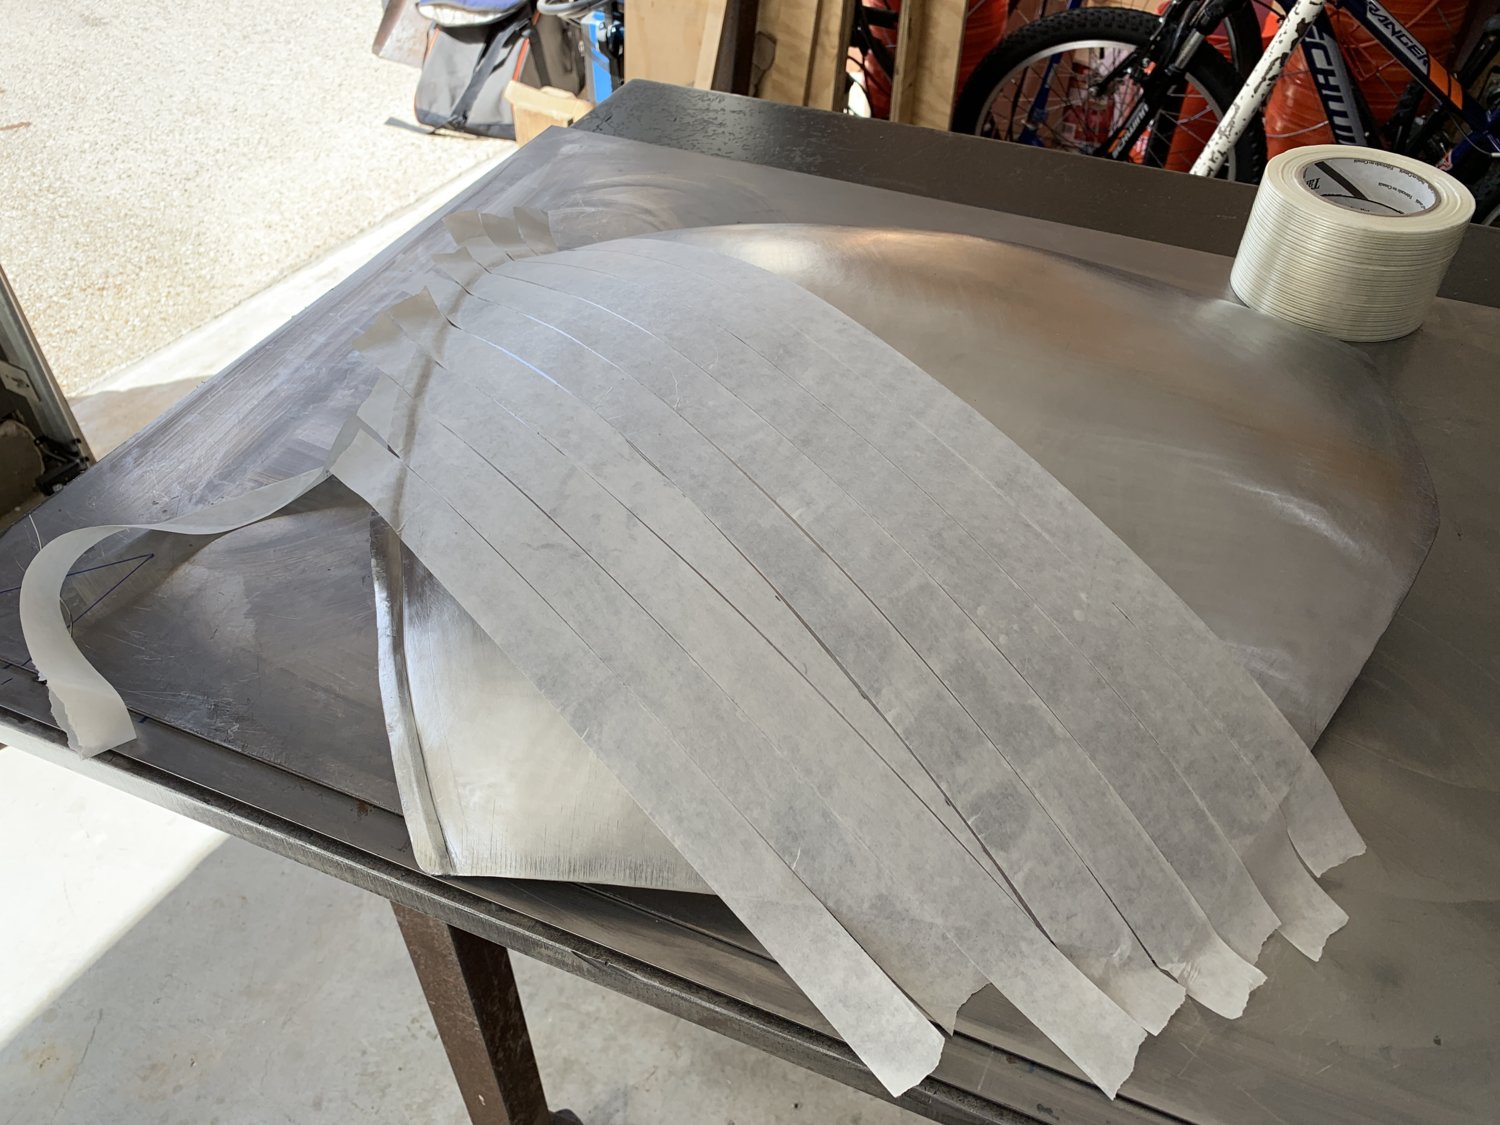
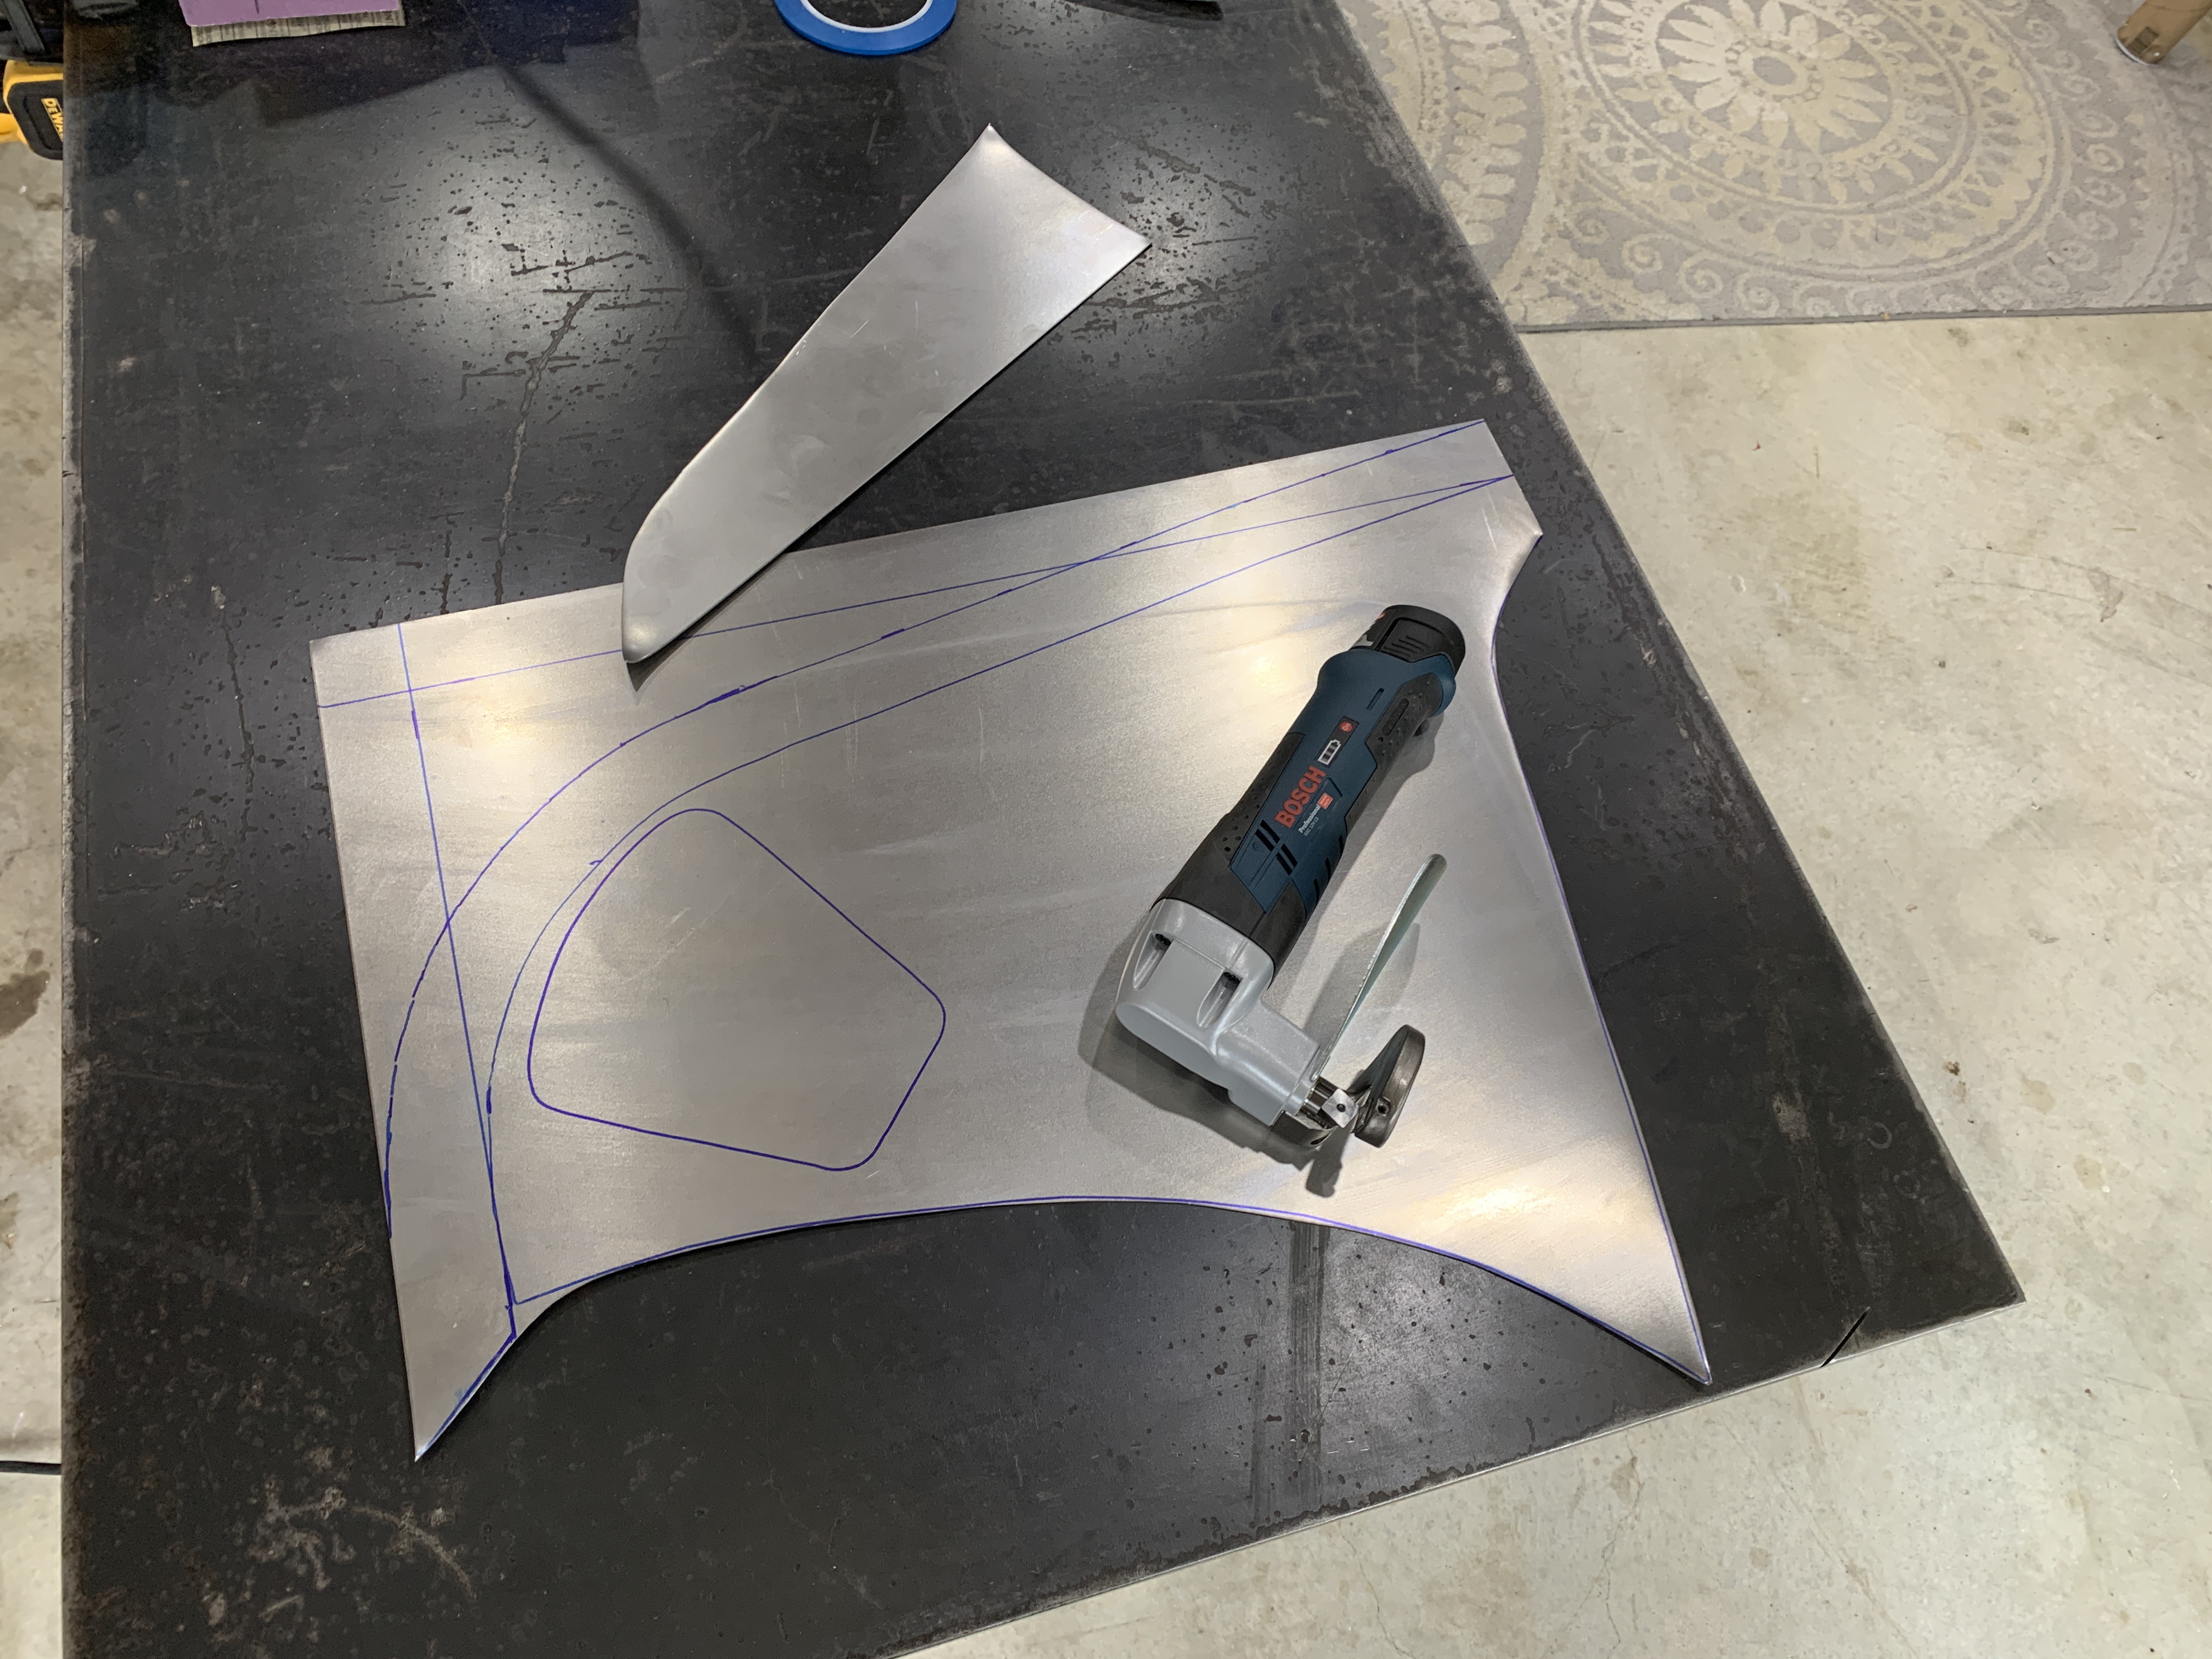
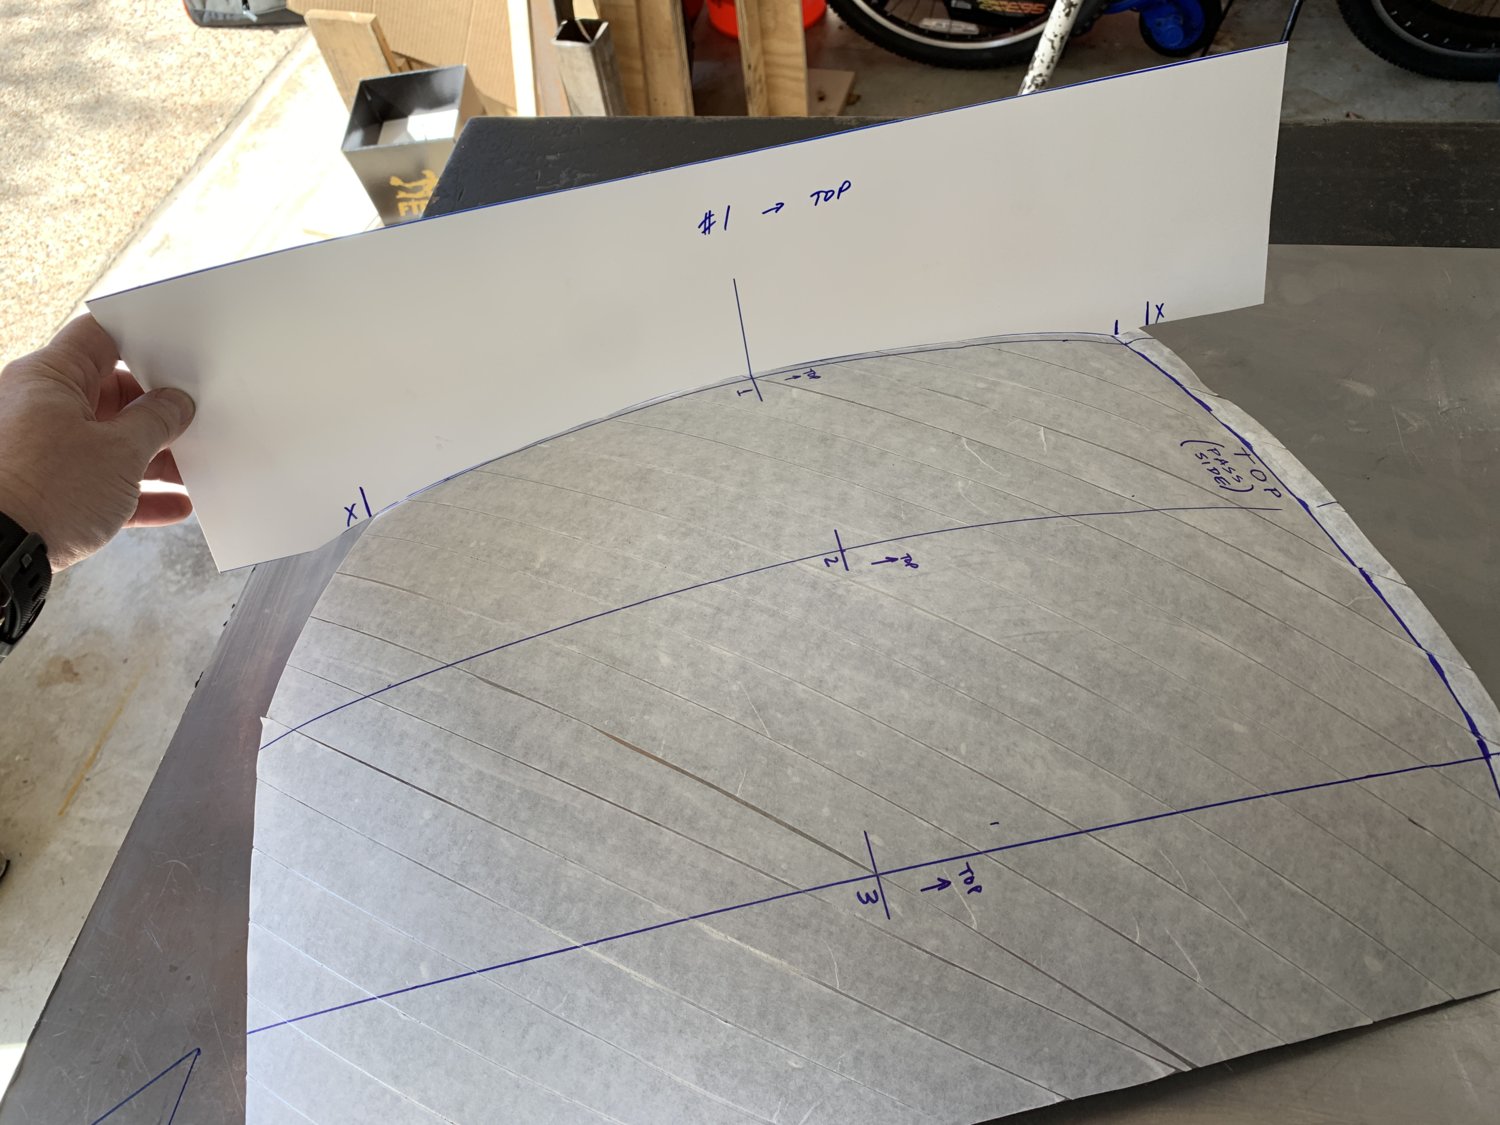
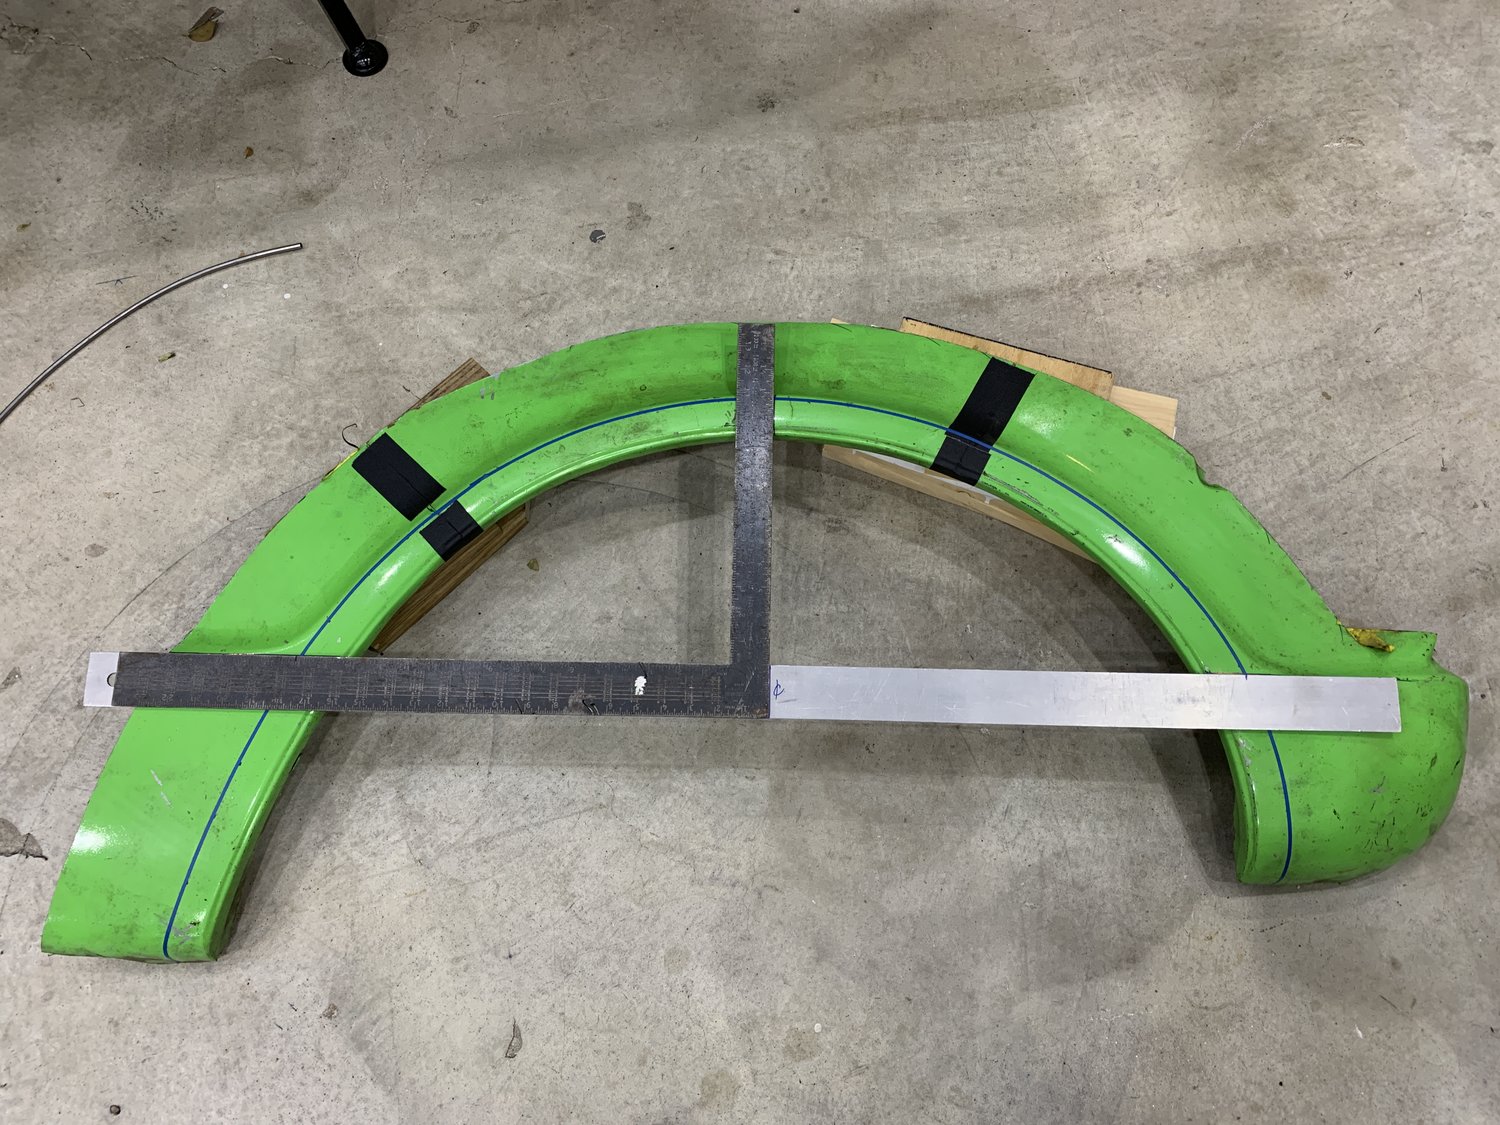
Once the panel is fully covered, it's time to draw a few reference lines, mark "TOP" and cut out a few profile gauges to use later on. These are really just a good way to doublecheck the pattern and make sure everything is developing properly as it's stretched and wheeled smooth.
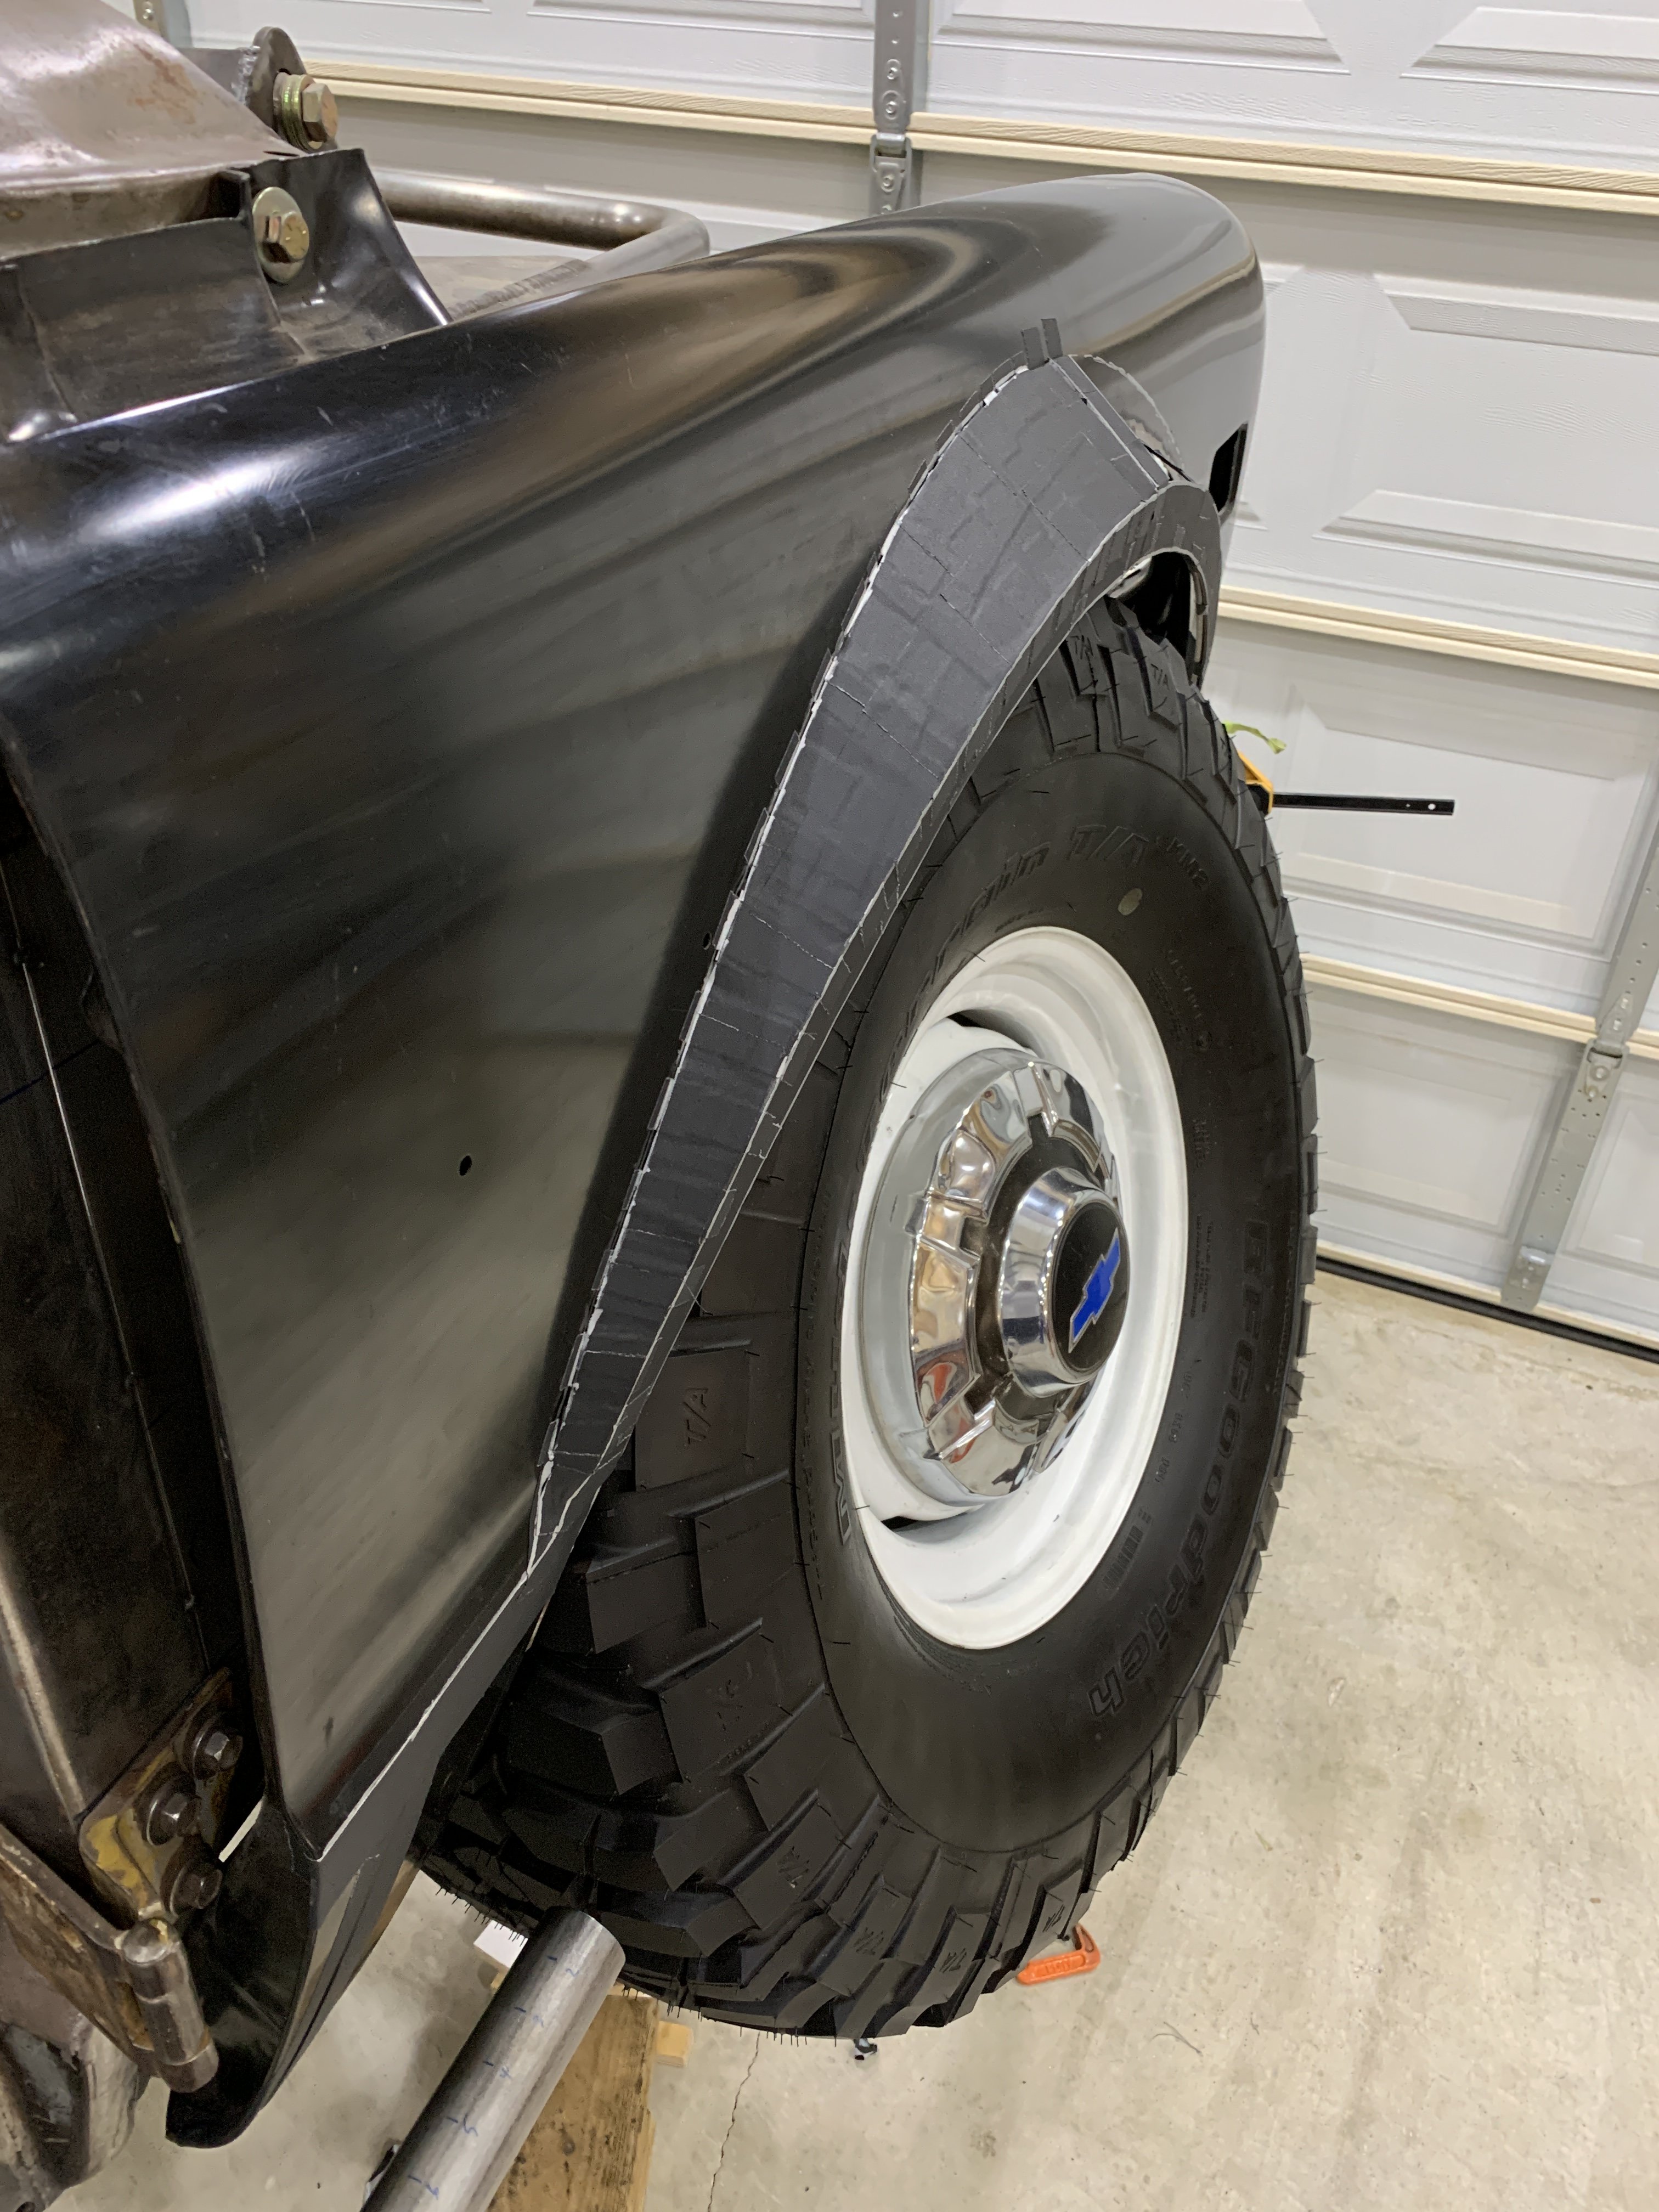
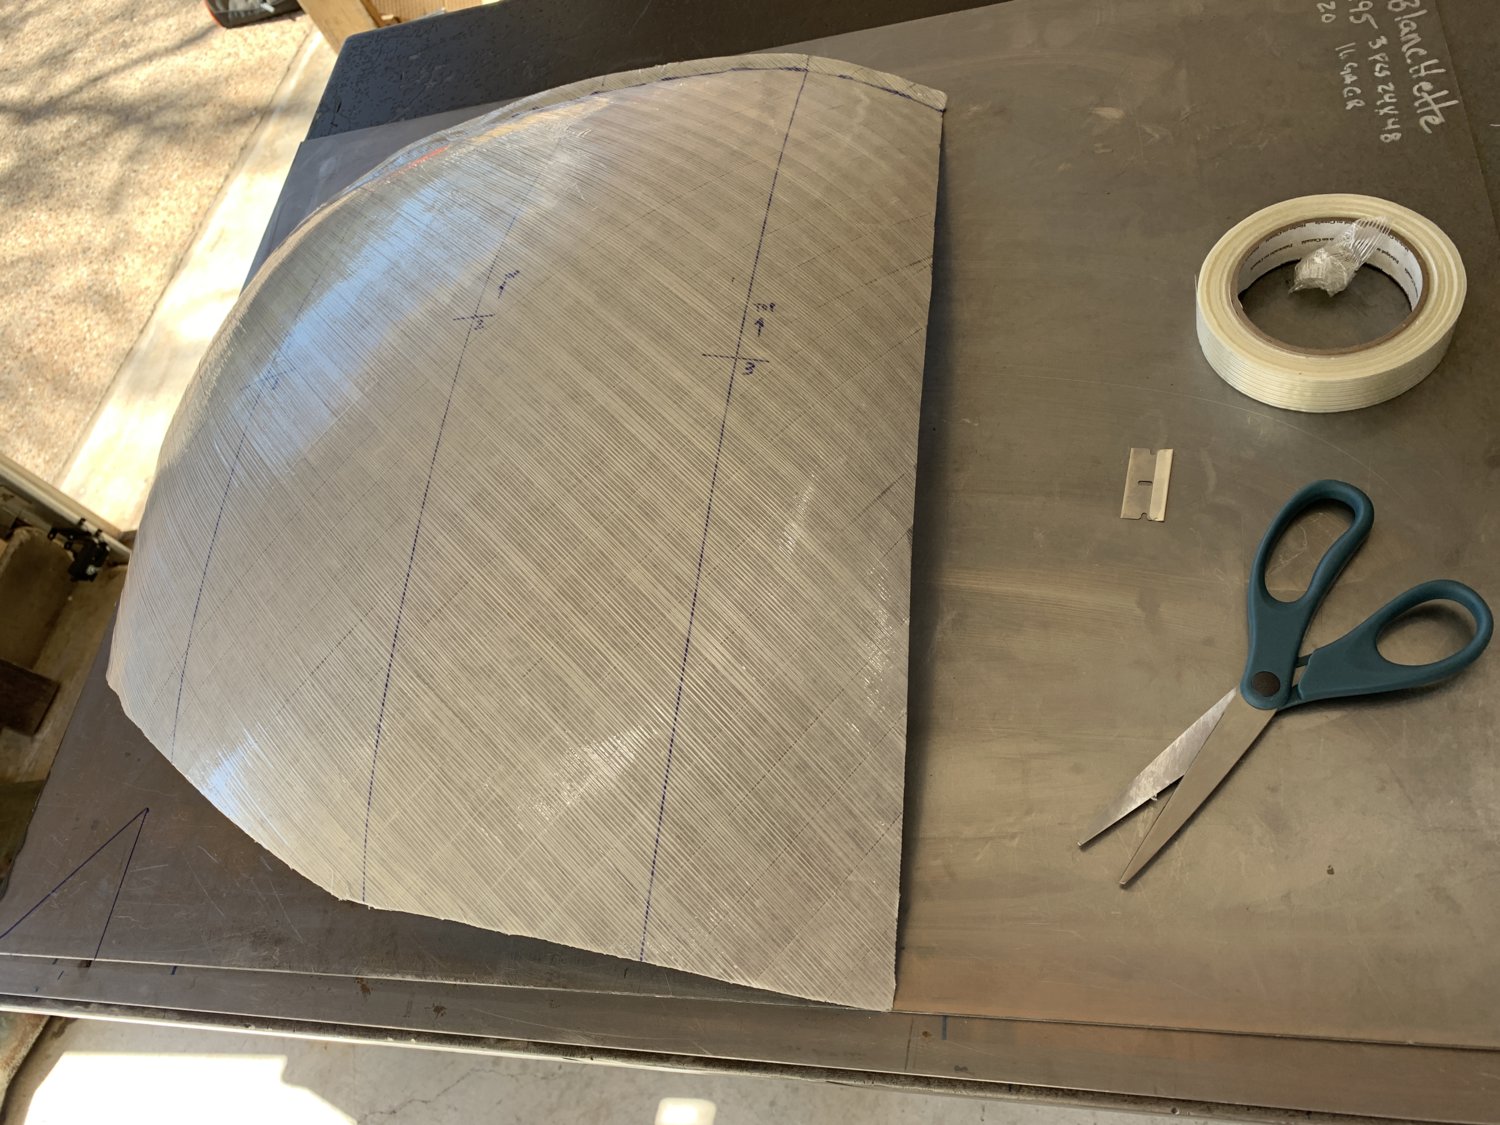
Next step is to apply a bias-ply layer of fiberglass reinforced tape across the first layer. This does a couple of things. Obviously, it helps to bind all the strips together from the first layer, but it also adds a protective layer that is a lot more durable. And if you put all your markings on the first layer, the fiberglass tape will encapsulate them so that they don't smudge or lose clarity later on.
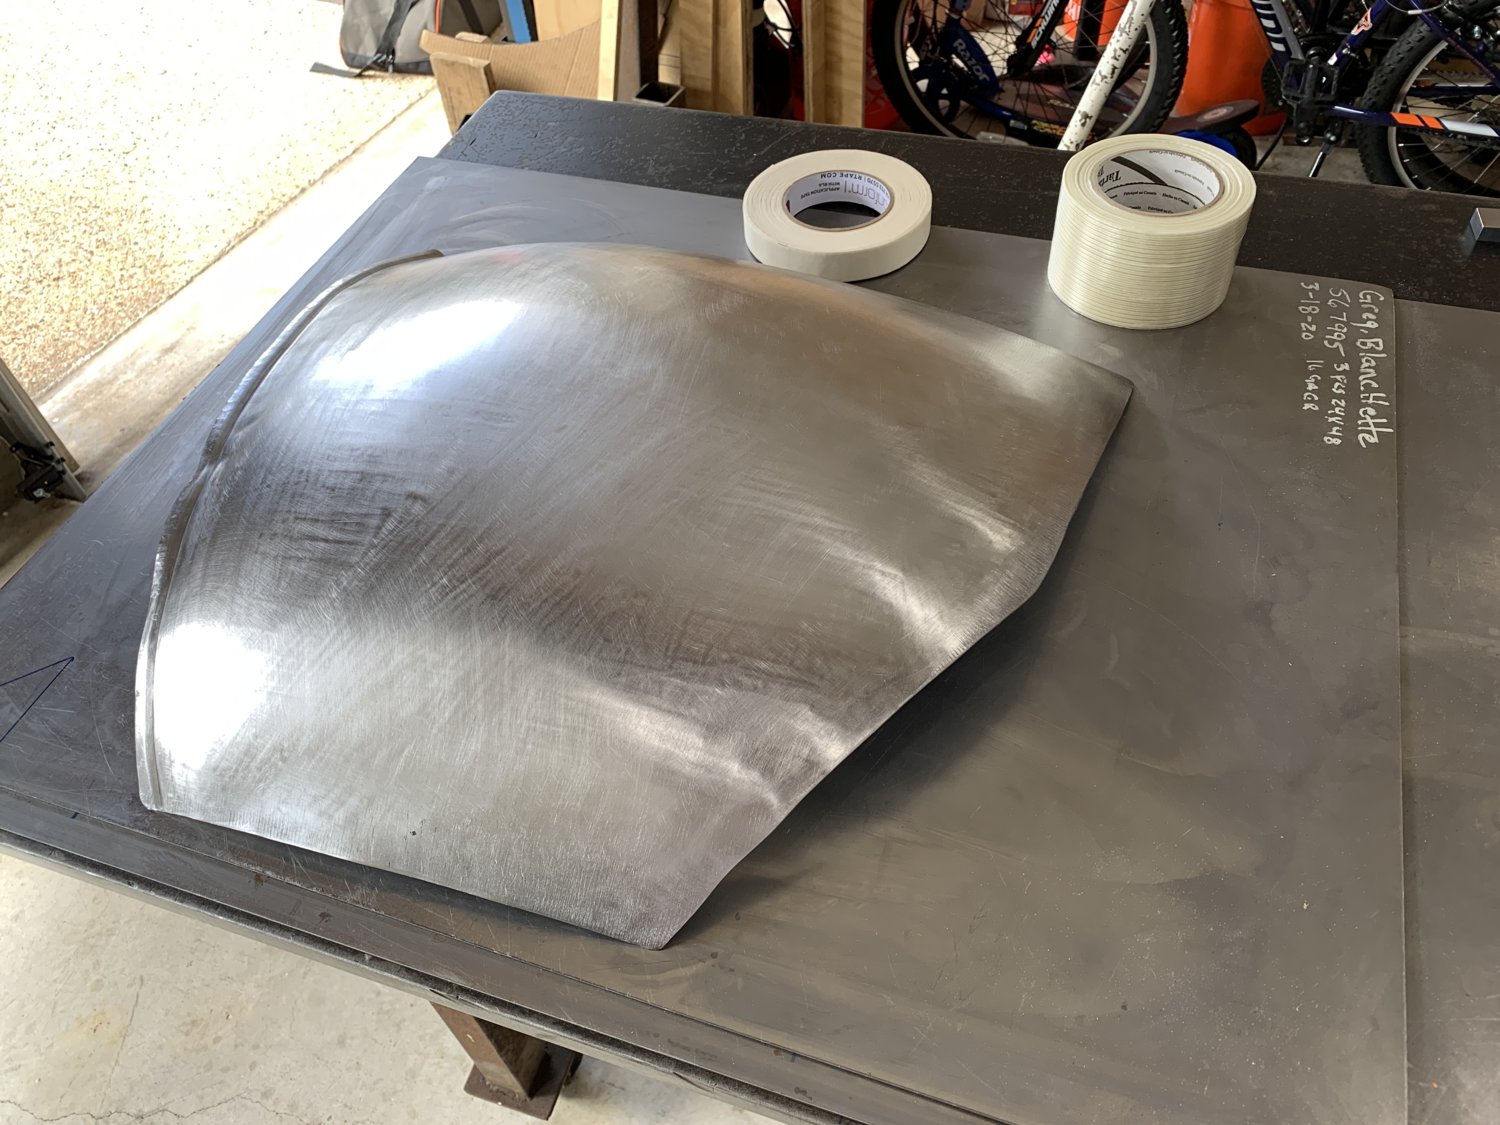
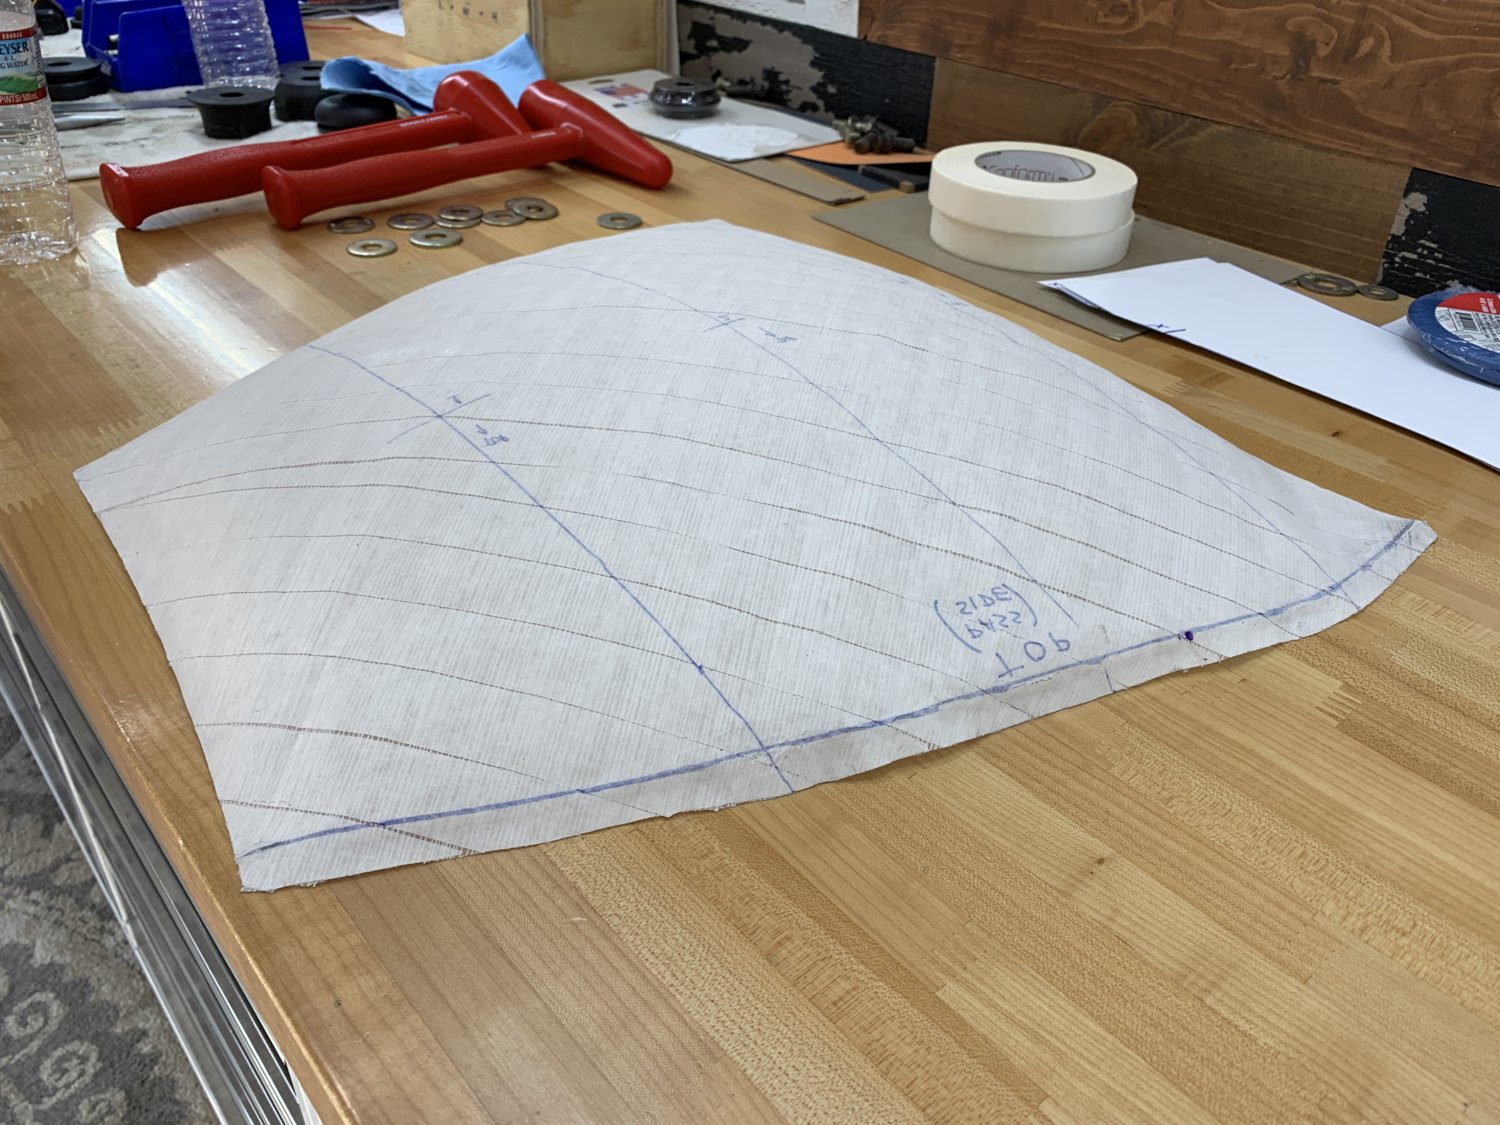
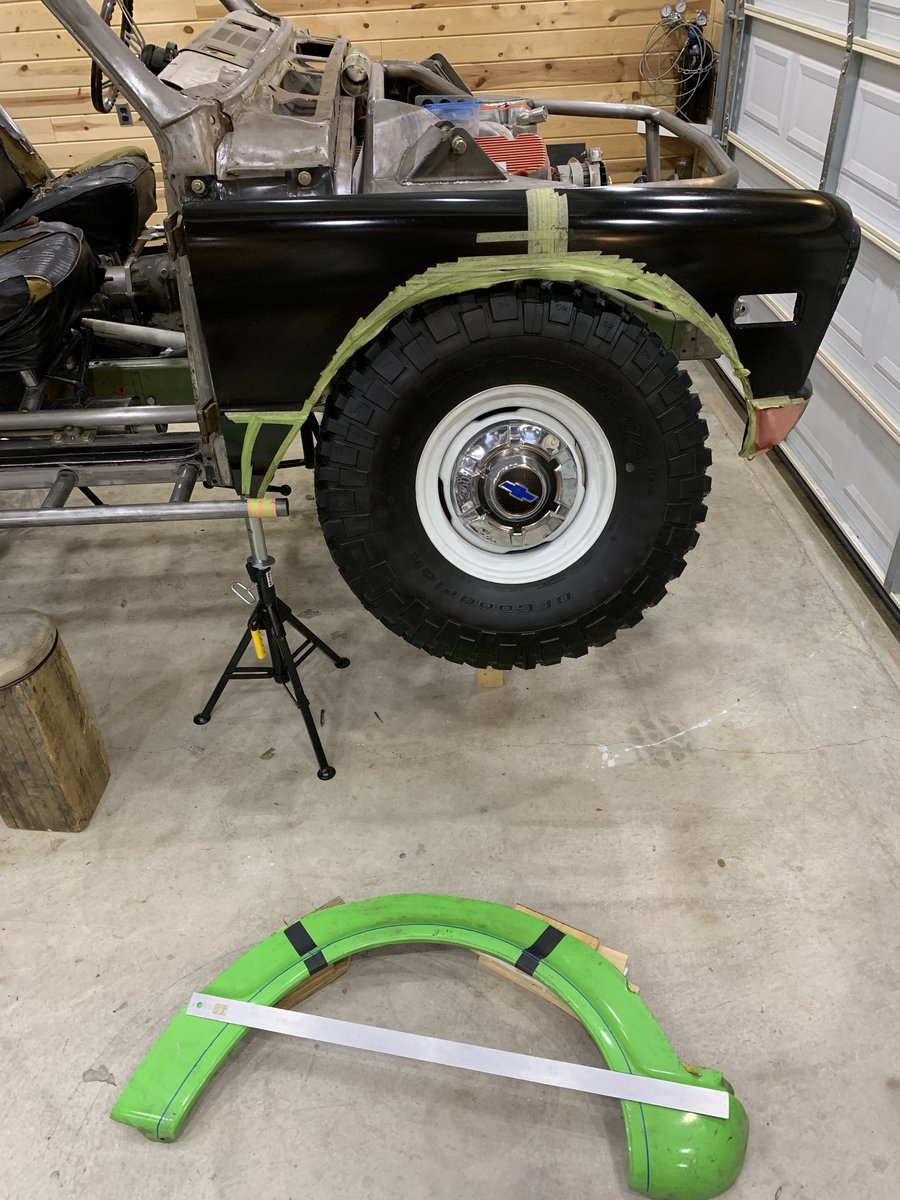
Final step is to carefully trim all the edges and then peel off the tape from the original part. The tape is still slightly sticky, so a bit of baby powder does a great job of killing the remaining adhesive. The pattern can now be flipped inside-out and is ready to be used as a driver's side template in the coming weeks. (I'm waiting on some new tools that will make the next one a lot simpler, so this there is no rush now to replicate the panel). Even as it just sits on the workbench here, you can really see how it holds the profile of the part perfectly and will show instantly where any low spots are (by how far down the pattern caves-in when laid down over the new part).
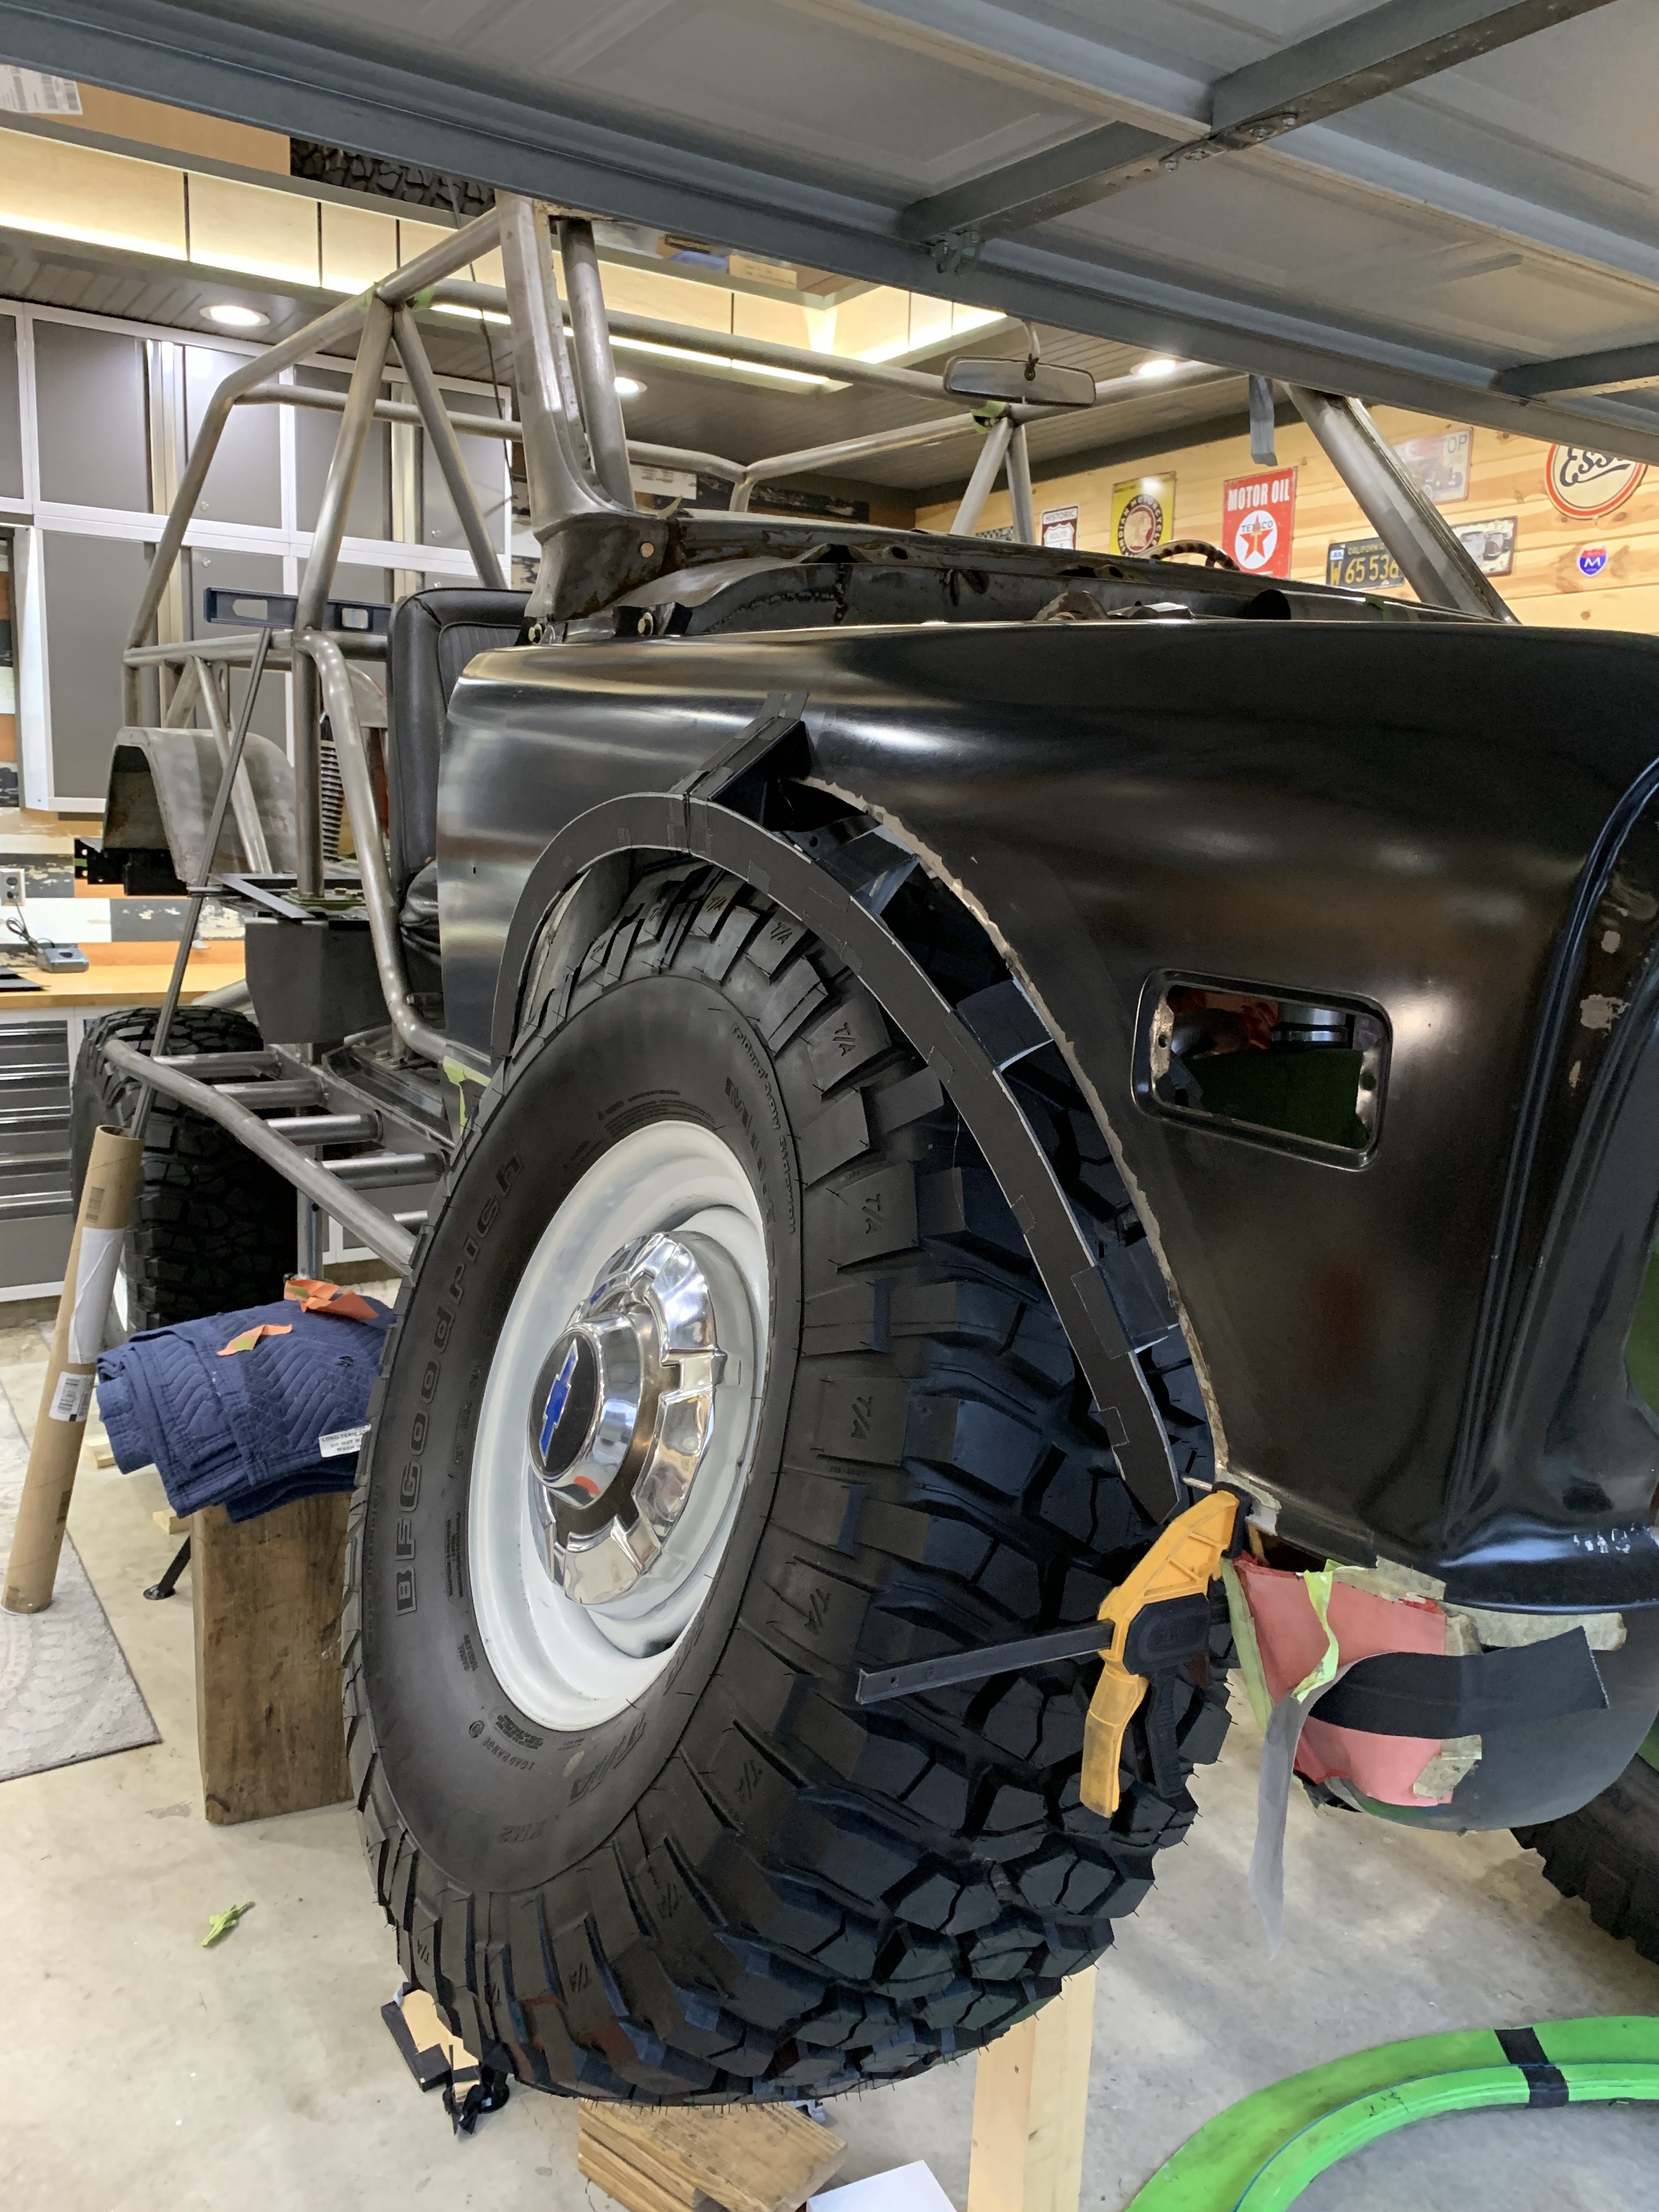
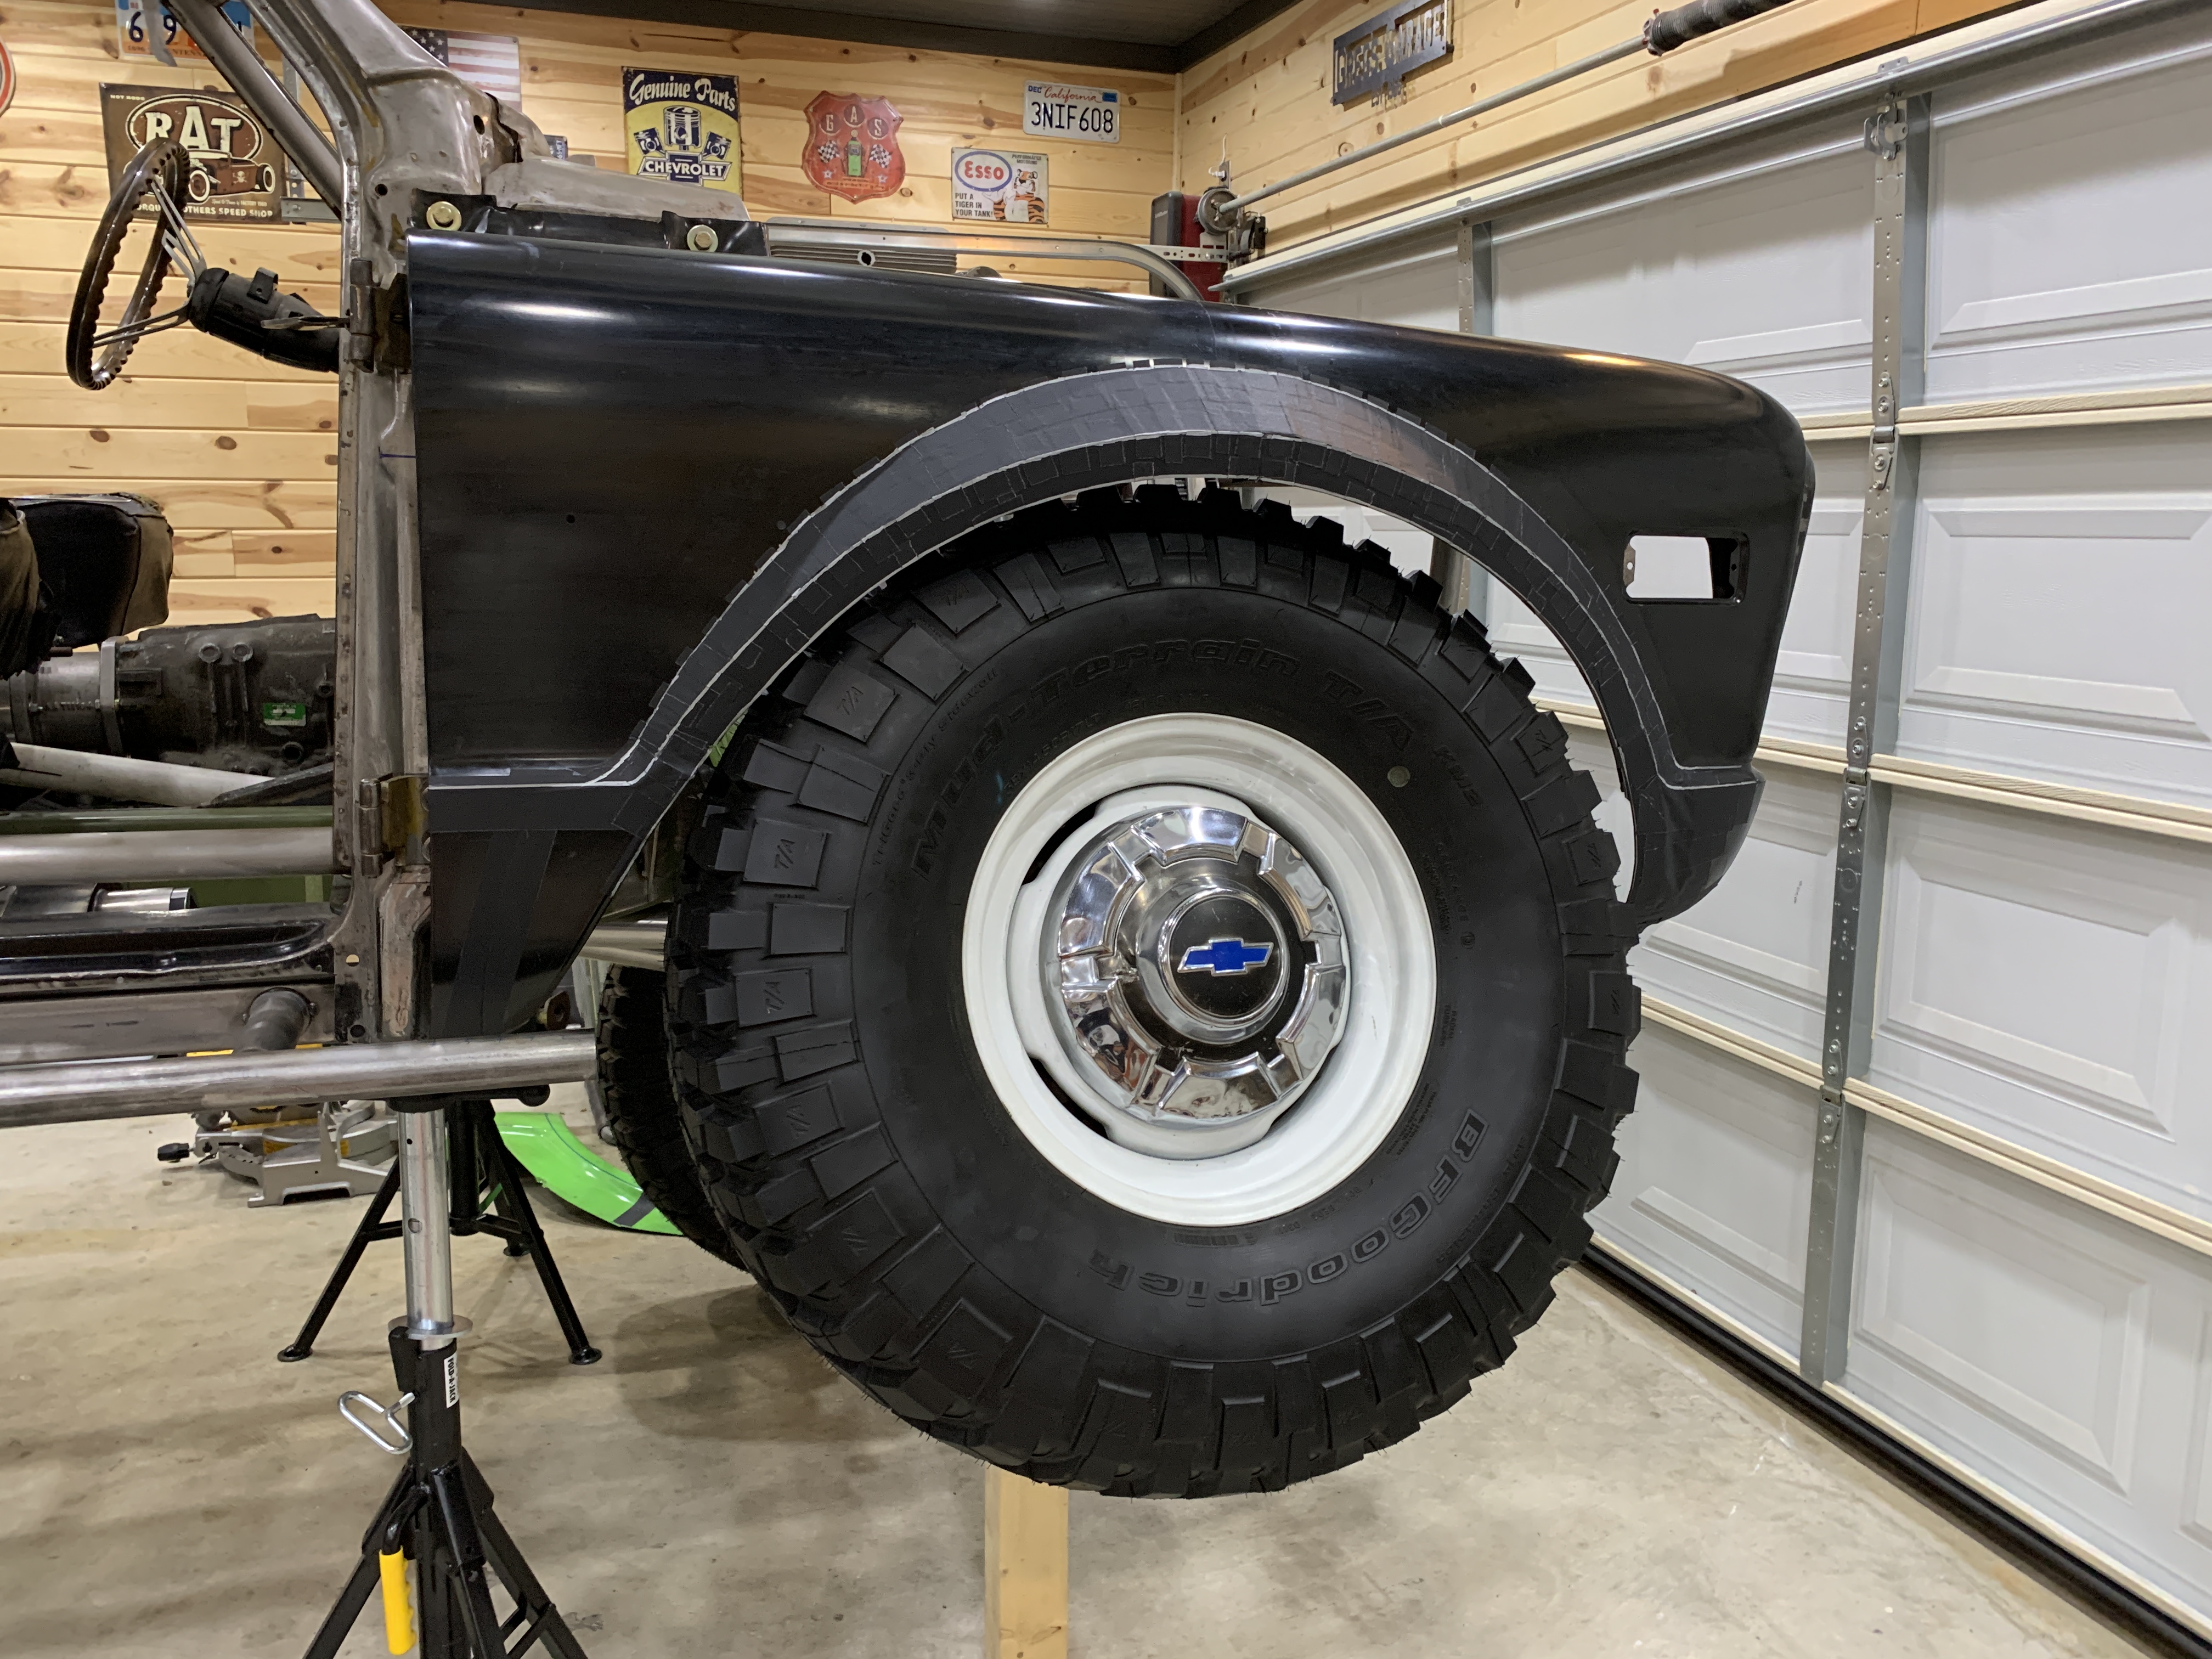
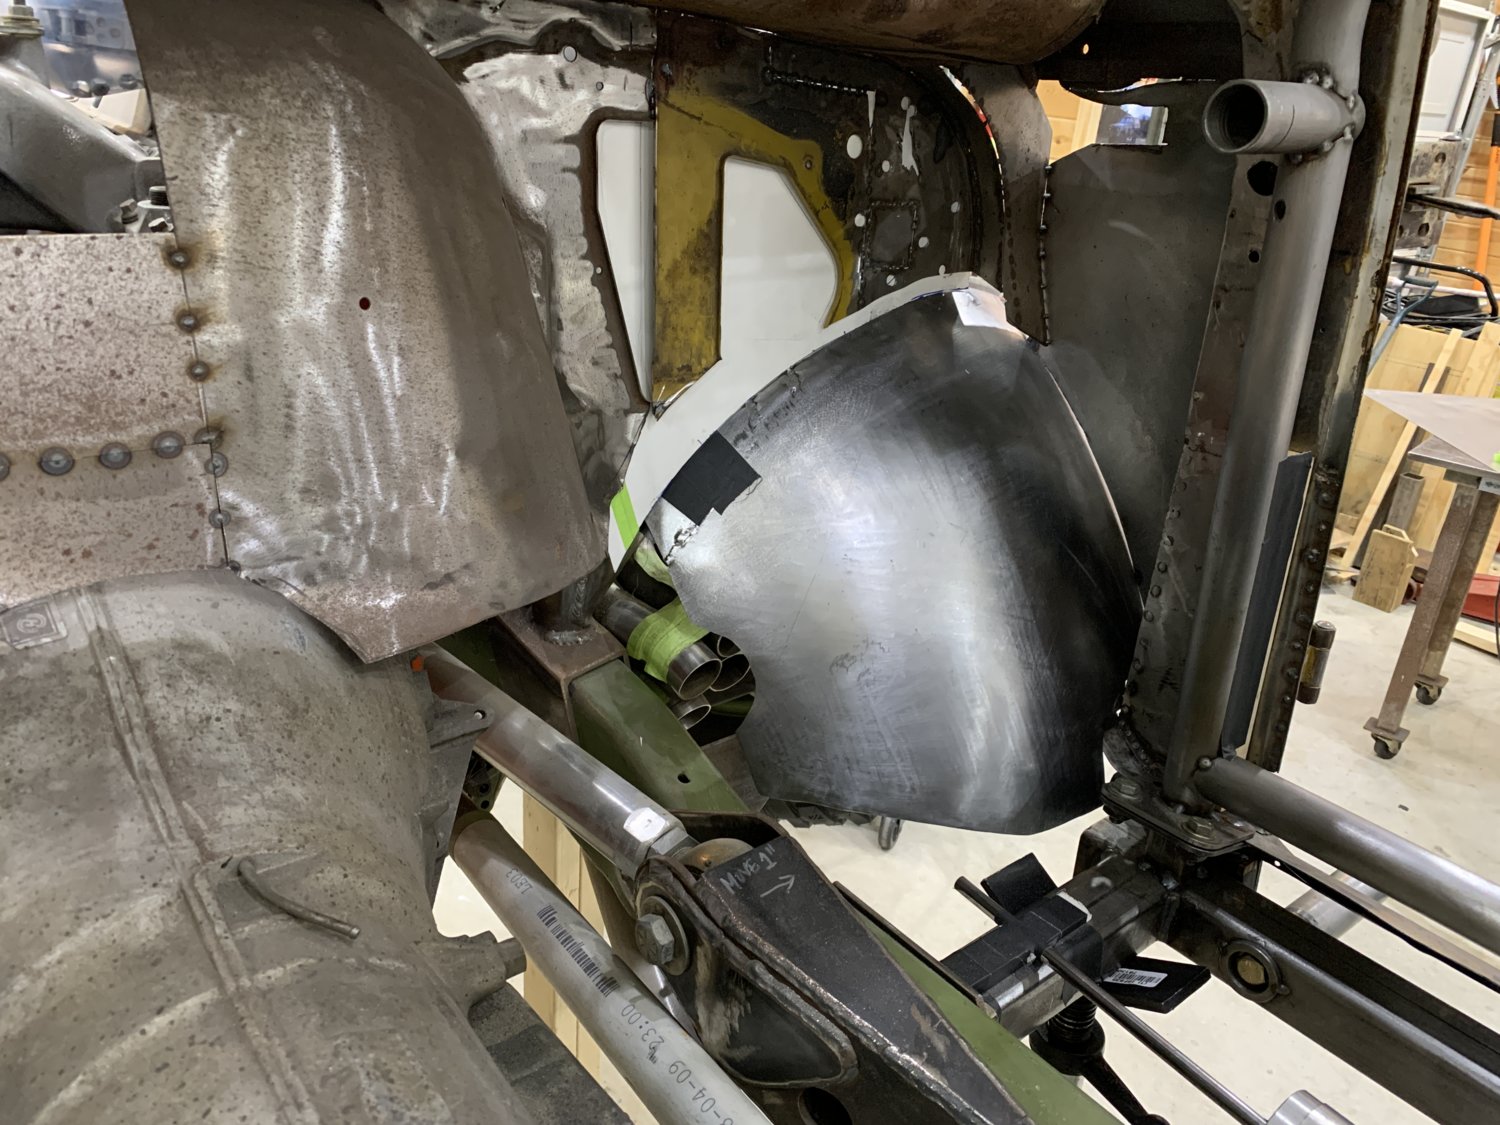
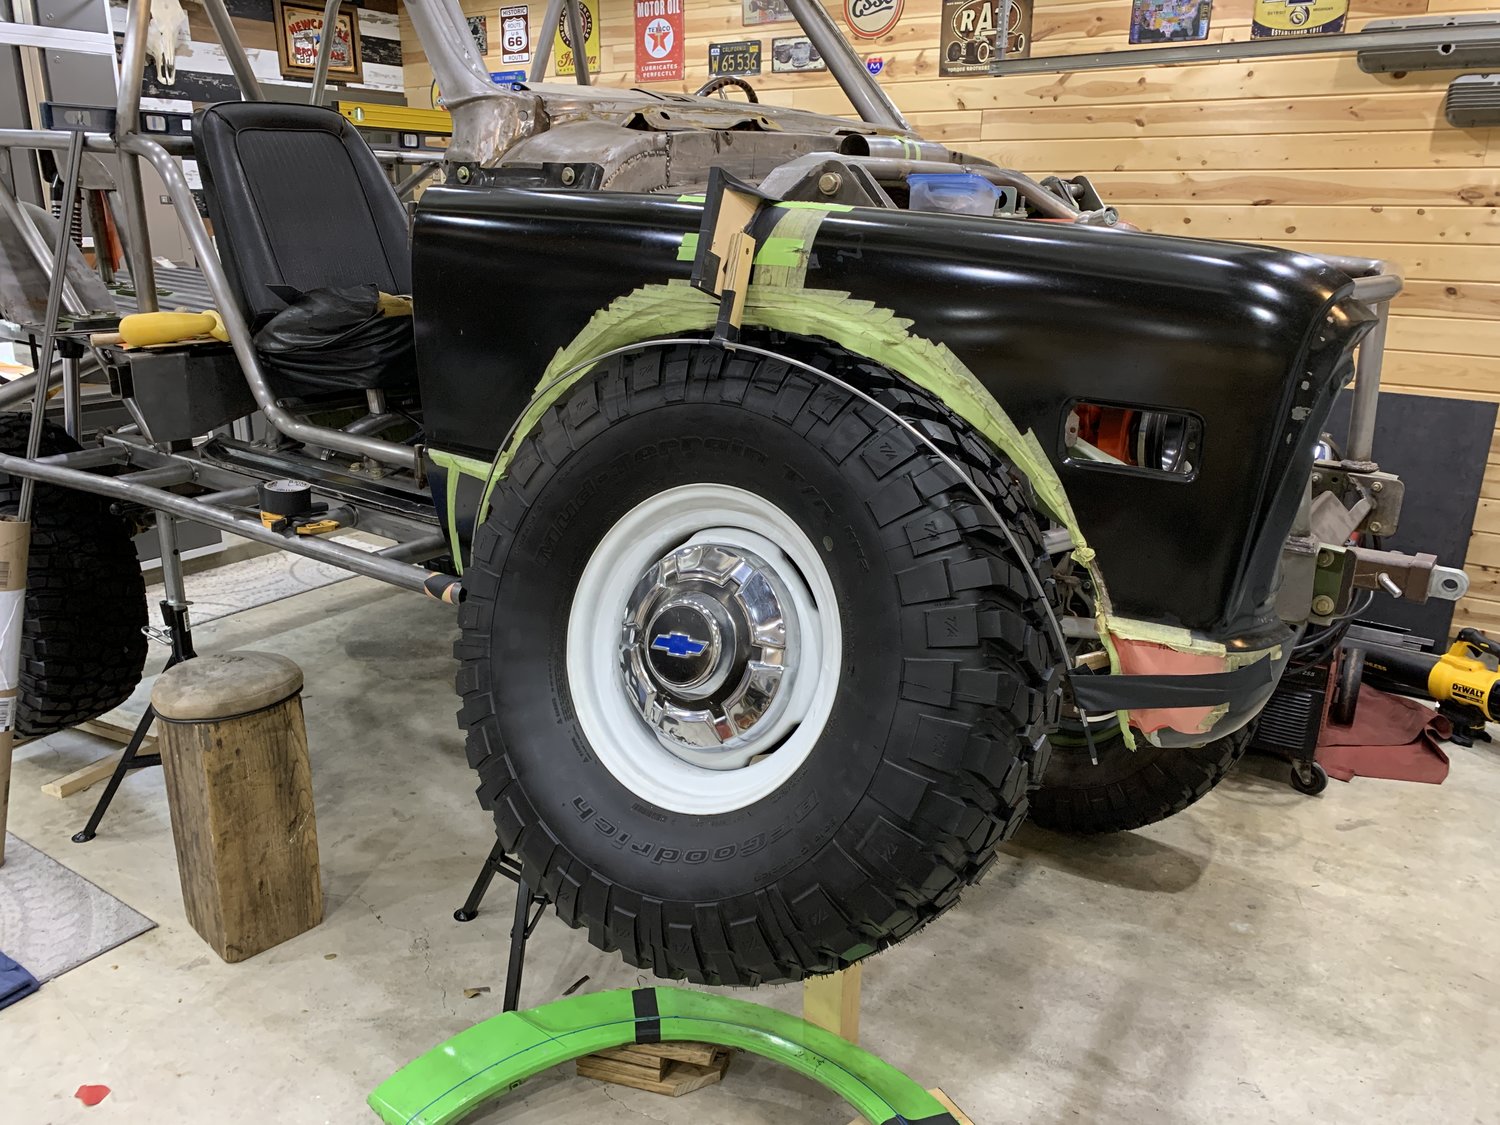
The payoff for completing all of that work, is that the original footwell panel can finally be fitted-up permanently to the passenger side of the truck, and the remaining firewall above it can be templated to meet up perfectly with it.
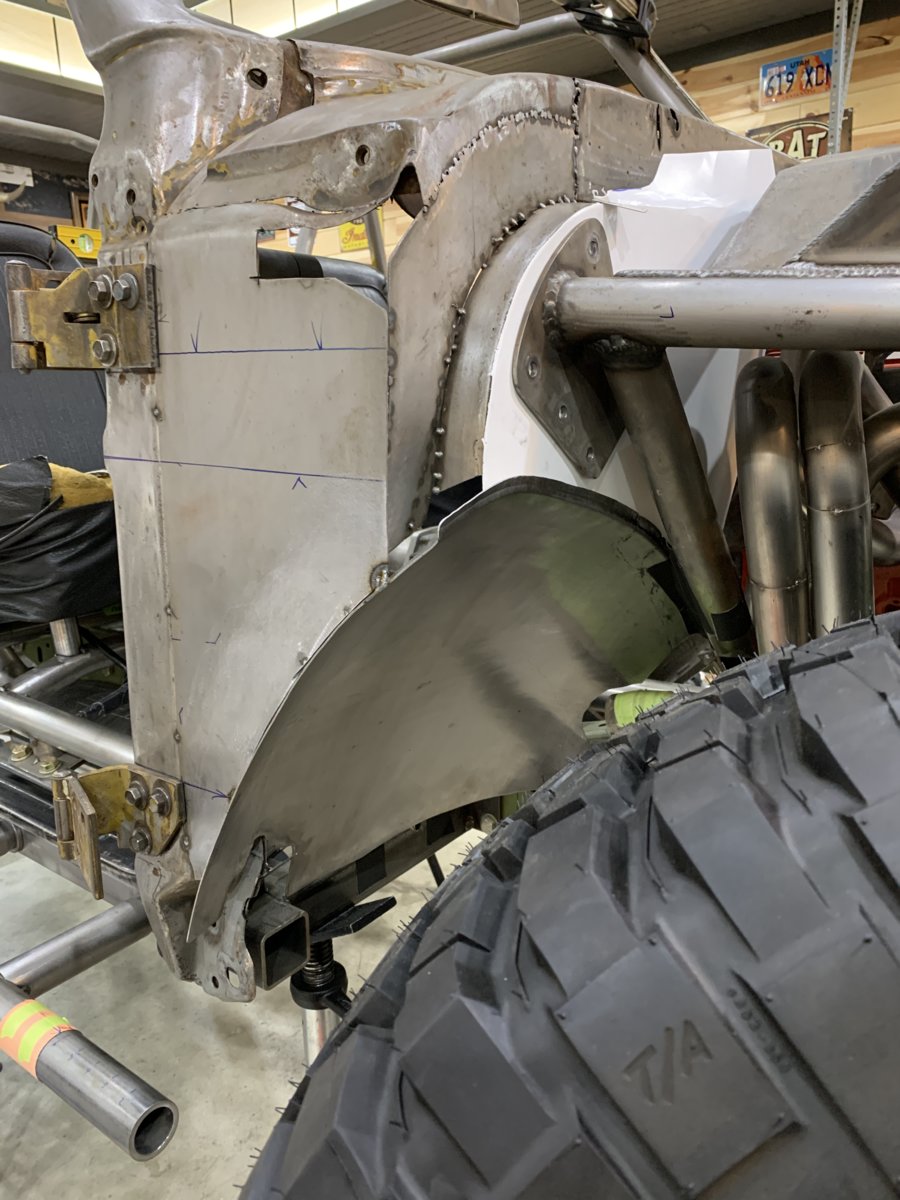
After a long day / night, it felt good to climb way up into the driver's seat and take in the view (and this photo) of the progress. It looks REALLY cool to see a fresh, custom-rendered wheel arch over there!!!
So the next step is to lay that white cardstock down onto some 18GA sheet stock (thankfully the firewall is not as thick as the floor panels were!) and trim out basically 1/2 of the firewall to replace the patchwork of grafted pieces in there now. This will be a new opportunity to practice more with the beadroller to help bend the flanges around the top curve... and then a lot of shrinking to get that top lip to fold over at 90* like the factory panel does.
More fun coming.... more tools coming.... stay tuned!!!
-G
Today was tape day.
The wheel well rendered last week really wanted to be installed on the truck, but it was important to pull a template from it first, so that the mirror-image panel for the driver's side would take less than 20 hours to complete.
As mentioned before, I've been watching a LOT of YouTube videos from ProShaper.com and the concept of creating and using a "Flexible Shape Pattern" seems like the single fastest way to get a 3-D reference that is simple to work with and develop flat sheets of metal into nice compound curves.
Step one is just cleaning the metal so that the low-stick tape will at least stick a little bit...
The basic process is just lay stripes down making sure they don't overlap. With a high-crown part, you sometimes have to cut slivers since the tape doesn't really stretch very much.
Once the panel is fully covered, it's time to draw a few reference lines, mark "TOP" and cut out a few profile gauges to use later on. These are really just a good way to doublecheck the pattern and make sure everything is developing properly as it's stretched and wheeled smooth.
Next step is to apply a bias-ply layer of fiberglass reinforced tape across the first layer. This does a couple of things. Obviously, it helps to bind all the strips together from the first layer, but it also adds a protective layer that is a lot more durable. And if you put all your markings on the first layer, the fiberglass tape will encapsulate them so that they don't smudge or lose clarity later on.
Final step is to carefully trim all the edges and then peel off the tape from the original part. The tape is still slightly sticky, so a bit of baby powder does a great job of killing the remaining adhesive. The pattern can now be flipped inside-out and is ready to be used as a driver's side template in the coming weeks. (I'm waiting on some new tools that will make the next one a lot simpler, so this there is no rush now to replicate the panel). Even as it just sits on the workbench here, you can really see how it holds the profile of the part perfectly and will show instantly where any low spots are (by how far down the pattern caves-in when laid down over the new part).
The payoff for completing all of that work, is that the original footwell panel can finally be fitted-up permanently to the passenger side of the truck, and the remaining firewall above it can be templated to meet up perfectly with it.
After a long day / night, it felt good to climb way up into the driver's seat and take in the view (and this photo) of the progress. It looks REALLY cool to see a fresh, custom-rendered wheel arch over there!!!
So the next step is to lay that white cardstock down onto some 18GA sheet stock (thankfully the firewall is not as thick as the floor panels were!) and trim out basically 1/2 of the firewall to replace the patchwork of grafted pieces in there now. This will be a new opportunity to practice more with the beadroller to help bend the flanges around the top curve... and then a lot of shrinking to get that top lip to fold over at 90* like the factory panel does.
More fun coming.... more tools coming.... stay tuned!!!
-G


")