CK5
Register an account today to become a member! Once signed in, you'll be able to participate on this site by adding your own topics and posts, as well as connect with other members.

87 K5 "Cashbag"

Stock 10 bolt coming out

Dana 60 w/Crossover steering in its place

215471-aecd02627e128a583cb6790e1c096bb4.jpg


Bolt in and weld in brace kit installed

215493-3a9344d874d4f4912cb78afd134386a9.jpg
215494-721899210efac11b1286c3cfa47a5c66.jpg


It will be interesting to see how this Trak Lock performs.

215469-c1a5a5c901ff068be854e62f40942d50.jpg
 
Last edited:
Flywheel removal

Are the flywheel bolts reverse thread?

I noticed that there is a small leak at the rear of the oil pan and I want to pull the flywheel off to see if it's the rear seal or not. I'm not sure yet what year this engine is since it's not the original, but I should be able to tell If it has the one piece seal after I get the flywheel off.

Hoping for an easy and fast fix so I can get the tranny installed today.

I've been searching but no answer yet.

wheels
 
Finally found the answer......

No. The flywheel bolts are standard righty-tighty, lefty-loosey.

And I do have the 1 piece rear main seal.

full


Tomorrow I'll have pics of the seal removal and install.
 
Last edited:
You do not have to remove the crank when replacing the 1 piece or 2 piece rear main seal for the sbc 350.

On the 2 piece, remove the bearing cap, and with the help of someone turning the crank, use a small blunted object to push the top half of the seal through the other side to get a hold of and pull it out....Installing --it helps to turn the crank also to get the new seal to go into the top half...I believe the lips of the seal are towards the inside of the motor.

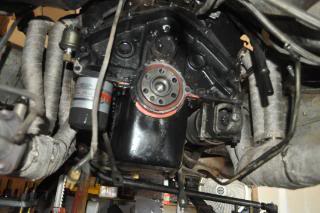
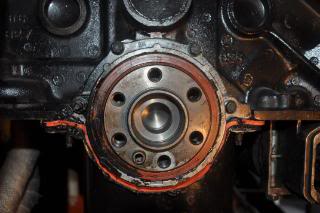
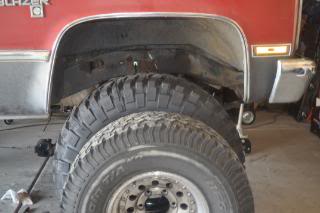
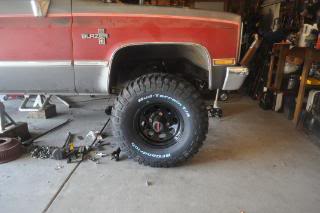
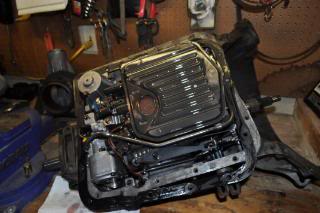
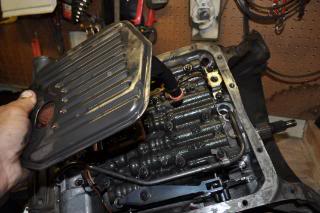
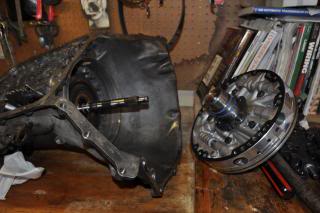
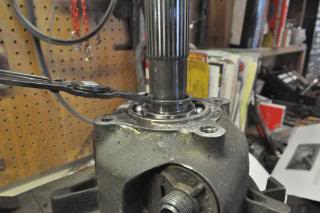
The 1 piece seal, which I have, you will need to move the tranny out of the way and remove the flywheel to get to the rear main seal.

full


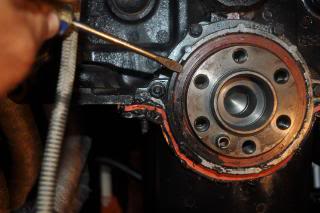
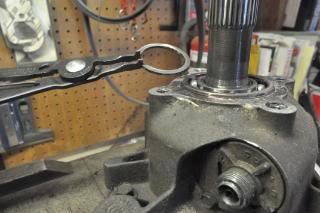
There are 3 tabs that you can insert a flathead screwdriver into and either pry or twist the screwdriver a little at a time and the seal will pop out quite easily.

full


full


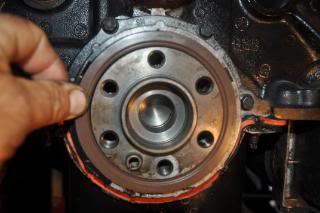
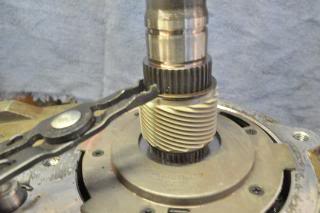
I used a 4" long, 1/2" extension and rubber mallet to tap the new seal back into place.

full


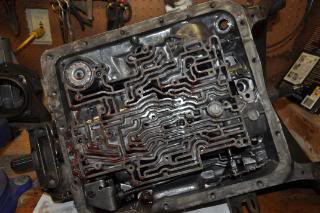
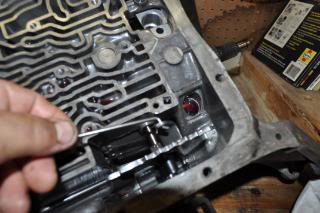
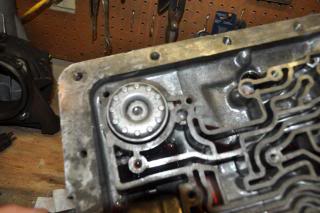
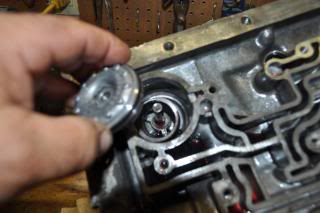
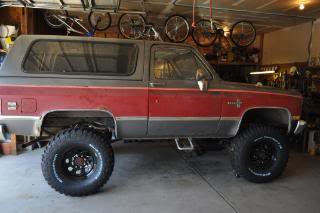
I started the motor, which hasn't been started for about 2 months, and let it warm up for a while. I'll check for leaks and if none found, then I'll finish installing the brakes, and start working on installing the 700r4 sometime this week.
 
Last edited:
Tires finally arrived.....Put the ones on front so I could use the jack stands in the rear. A big difference in size compared to the 32s.

full


full
 
Last edited:
Nice looks good with the tires. I may be biased though haha. Can't wait to see all the wheels on!
 
A request has been made for some pics of the 700R4 so I thought I would add them to this build since it is a big part of it.

full
full


full
full


full
full


full
full


full
full


full
full


full
full


full
full


full
full


full
full
 
Last edited:
Finally got the 700R4 and NP241 w/SYE installed this weekend... some pics of the NP241 rebuild.

full
full


full
full


full
full


full
full


full
full


full
full


full
full


full
full


full
full


full
full
 
Last edited:
I installed the 14bff on a temporary basis to get the markings set up for the spring perches and shock mounts.

Just for fun I put on the tires to get an idea of how it will look when finished. The door handle is 60" from the floor. I'll need to put in some grab handles for easier entry.

I will get a measurement for the driveshaft and get shocks ordered.......and open up the garage door opening or it ain't going anywhere. Already got the door enlarged.....just need to make the cuts and put the arch back in.

full


full
 
Last edited:
Small updates.

Finally got the driveshaft and shocks ordered.......should be here by late next week.
Going to use Ford shock towers with bilstein shocks on all corners.


List of stuff to finish:

1. Enlarge garage door opening.

2. Fluids for 700R4, 241, both diffs......what are the best fluids for these rebuilt toys?......tranny and case should be same? I know both take ATF but is there something better?

3. Align steering and tighten hardware for crossover.

4. Possibly replace hard brake line from valve to rear....already stripped the nut on the rear. It's soaking in more WD40 so hopefully it'll break loose.

5. Fabricate some brackets and levers for the rear caddy calipers.

6. Install driveshaft and shocks.

7. Any other misc. stuff I can't remember.

Once all these tasks are completed I'll get some pics posted before I take it for a test drive. I'm hoping for next Saturday.........we'll see!!!!!!!!!!!
 
Last edited:
Misc. pics

Ford shock towers with Bilstein 5125s

full


full


full


full
 
Last edited:
Finally back to my DD if needed.

So far it runs and drives great.

full


full


full


full


To help give you an idea of the height of my K5.......the door handle is 60" from the ground. I know there are others that are taller...I just think it's awesome to stand next to this mini monster.

I was cruising down the road today and was approaching a Honda Prelude...the first thing I thought of was "Ramp". :haha:

I'll be doing some trimming in the next couple of weeks. Then try to find some trails or mud to play in. I need to get this thing dirty and see how well it holds up.

I know snow is coming but we usually don't get a whole lot of it in one sitting. Hopefully we'll get one snow worth playing in.

And proud to say with the help from members of CK5, ORD, Tom Woods, DIY4X, cfm-tech, O'Reillys Auto, many others, and my wife who supported me to "hurry up and get this far" so I can start working on my TA....."This Rig is being built, not bought!"
 
Last edited:
Top Bottom