CK5
Register an account today to become a member! Once signed in, you'll be able to participate on this site by adding your own topics and posts, as well as connect with other members.

Dual Circuit Windstar Fan - Final Shroud Update 05/11/11

Blue85, I assumed that the response was for all - Again, thanks for putting it out there :waytogo:


....when the A/C compressor is on.

Ive read mentions of "AC compressors" here and there - When concerning an electrical fan. What am I not catching here ? Do "you" want the fan(s) to be bypassed (ON) when the AC is turned on ? :dunno:


Troy B
Ft Hood, TX
 
Thanks for the confirm, BGKYK5 - I only assumed as much, but would rather read a reason than think I know the reason. Bad things can happen from assumptions.


:waytogo:


Troy B
Ft Hood, TX
 
News....

Somewhere towards the end of June IIRC.....


High gloss black powder coat.... $35.00 total.


Mounts02Coated50.jpg


Mounts03Coated50.jpg


LHMount11Coated50.jpg


LHMount12Coated50.jpg


LHFull02Coated50.jpg


RHMount10Coated50.jpg


RHMount11Coated50.jpg


RHFull03Coated50.jpg


They still look exactly the same today as when I put them in (luster and such). I'm happy with the choice and outcome in choosing to powder coat them over anodizing or painting. This process leaves a very hard surface which is very durable and will last.

I have two gigantic epoxy/fiberglass resin kits standing by now, waiting for a burst of ambition or a break in the weather (105* days suck) so I can build a shroud plate over the exposed radiator top channel and side skirts as well.

Have no idea when that will happen. :dunno:


Troy B
Ft Hood, TX
 
I have no technical specs as far as cfm.......

But, I can testify that my second fan hasn't been used or needed to this moment. Every once in a while, I actually switch the primary off for a minute to make sure it still functions. :rolleyes:


Troy B
Ft Hood, TX
 
So, after a long time away from the project, and almost finally finishing it, I received a number of requests for dimensions for the brackets. I found the time to sit and copy them (about 14 hours of time in the end) and I am now placing them here for everyone to view and use.

There are a few notes and tips that I will include with them.

  • General instruction - Draw the box for the template first, then the longer lines next. Fill in the details last. Seemed to be the easiest way for me.
  • These templates are not finished product ready. The final touches are at the builders discretion, to include shaping and preferred modifications in measurements.
  • It is suggested that these templates be drawn on a piece of cardboard (do not use corrugated) and fitted for final design and measurements, and/or modifications to measurements.
Heres the driver's side template:

LHWindstarBracketTemplate50.jpg


  • IMPORTANT - The 3 holes used on the template for mounting (biggest holes) are not the proper size for the finished bracket. They should only be 5/16". The holes on the template are actually the size of the grommets used for mounting the bracket. In fitting, I used the grommets, sending them through the template, to hold it in place while I looked, measured, tweaked, changed, and drafted the bracket design. See picture below to clarify.
LHMount0150.jpg


LHMount0750.jpg

  • As seen in the pics above, the lower mounting hole will need to be modified in order to clear the mounting bolt head. The "hole" will actually be a "slot" once this mod has been completed.
  • The slots in each bracket were made using a 3/8" drill bit (IIRC), and then removing the stock in between the drilled holes. These slots are actually necessary in the design. Using a homemade bender like the one I made (see post 27), you will bend the bender before the aluminum plate - It is that strong. These slots reduce the surface area of the bend, allowing you to bend the aluminum plate.
  • The length and size of the slots are your choice. Remember though that the larger the slot, the less actual bracket. I kept my bracket "legs" somewhere around 2" wide.
  • The time and precision you spend in making the slot will show once the bracket is bent. Take your time, use a file. You'll be glad you did - Or you'll be pissed that you didnt.
:popcorn::popcorn: :popcorn: :popcorn::popcorn:


Here is the passenger side template


RHWindstarBracketTemplate50.jpg


  • IMPORTANT - You will need to drill two holes in this bracket that are not marked on the template. Your transmission cooler lines will be going through this bracket. Do as I did - Measure 100 times before drilling. I drilled the holes after the bracket was finished. See pic below.
RHMount03.jpg


  • The mounting holes are not marked on this template. Drill the finished bracket first, then transfer to the radiator support beam.
Im almost certain there's one or two measurements not on the templates - The driver side became very "busy" while I was labeling it. If anybody notices something missing, please let me know so that I can get it updated.


To anyone that actually tries to duplicate this part of the project - I wish you luck. As stated above, take your time - And you'll be smiling at the finished product.


Here are the high resolution pics, uploaded to Badongo. I frown to this site - Its slow, pop-up happy, and a general PITA - But it's the only RAR accepting site I know of right now - Sorry.


Troy B
Ft Hood, TX
 
Last edited:
So once again - It has been a long break in between the last update and now. A lot has happened since then - And its time to update those of you wondering what ever happened to this lil project.

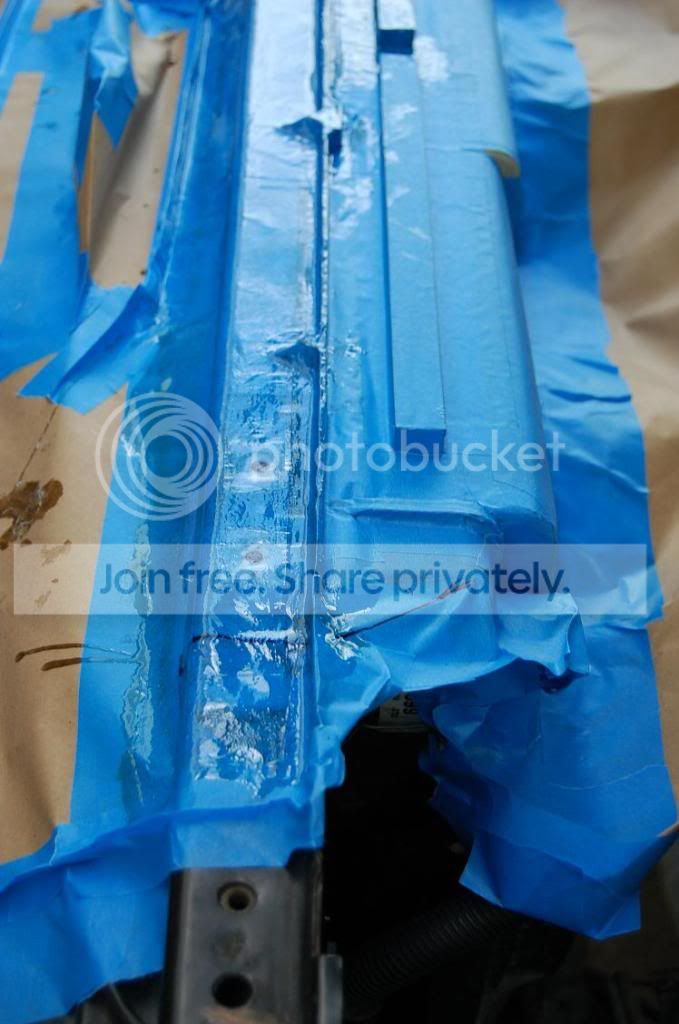
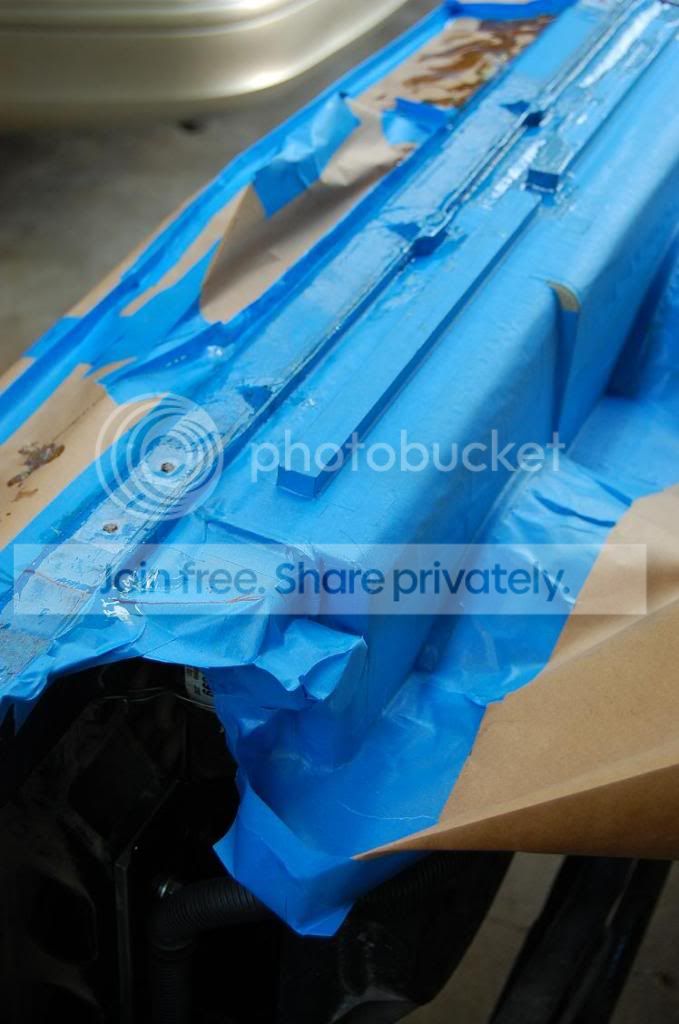
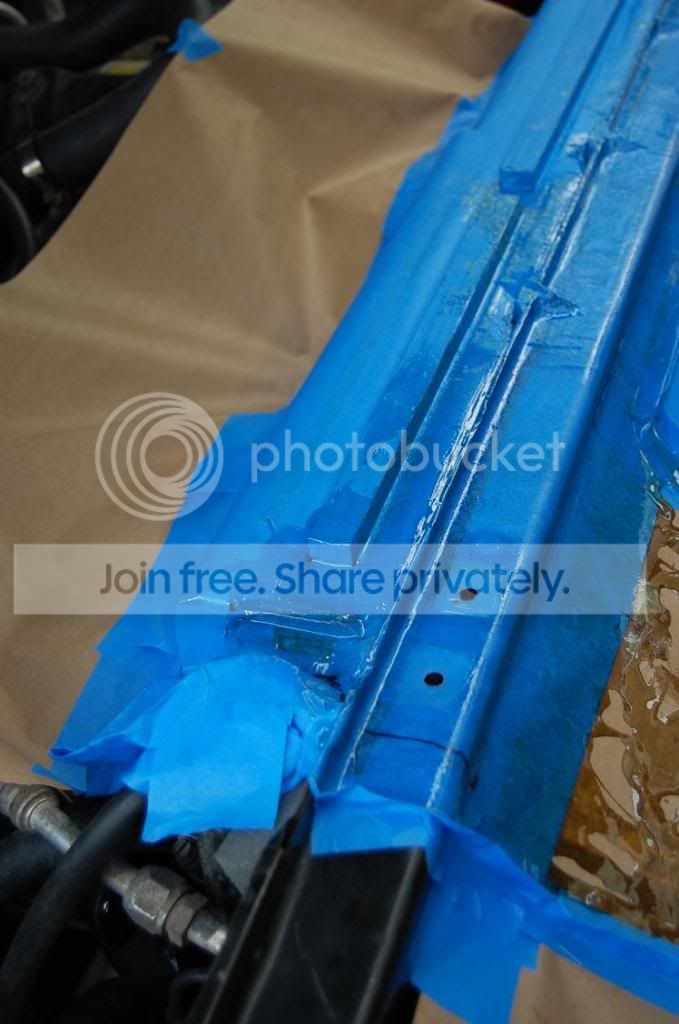
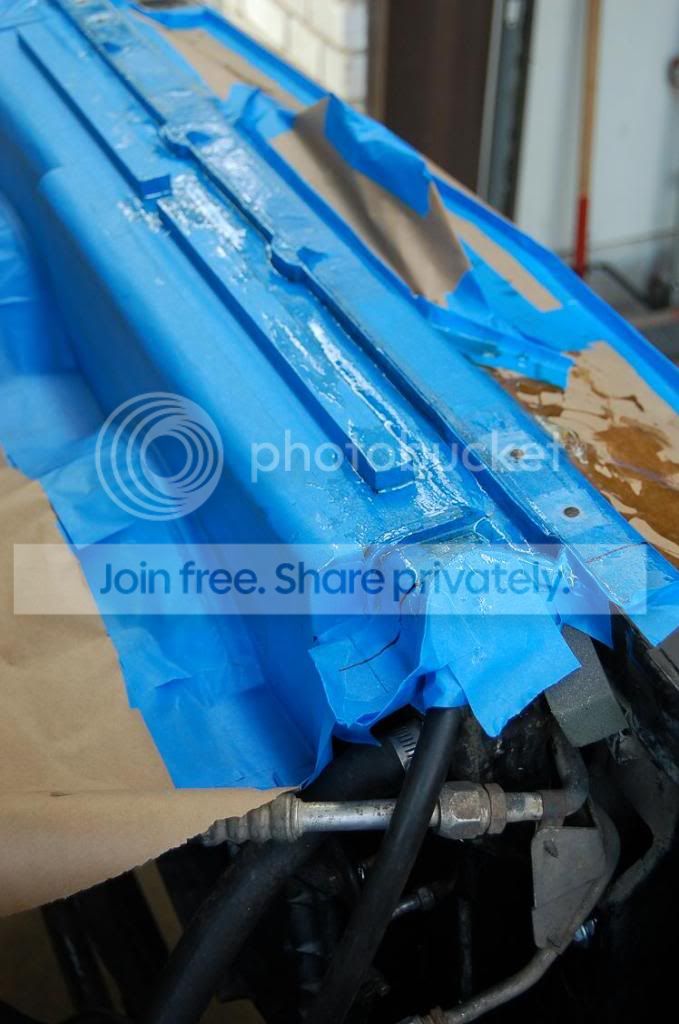
I have had the top fan shroud formed for a few (3+) months now - It needs trimming and two or three more layers to be finished. I have also developed what I believe will be the last diagram to be doodled.


So, here's an update.


Not much to see here - But, as my past custom parts have shown - It will look factory once finished. Its rough at the moment, but formed none the less.

Time is my delay at this point - I dont have much of it, but I'm itching to get back to it soon.


DSC_000150.jpg


DSC_000250.jpg


DSC_000350.jpg


DSC_000450.jpg


Shroud0150.jpg


Shroud0250.jpg


Shroud0350.jpg


What looks like (to best describe it) concrete is actually cat hair resin which I used to further lock the shroud in place, and to also shape the top. It will be layered over once I have it shaped as I want it - Its rough but you get the idea.
 

And here is the last ( :whistle: ) diagram.

Nothing has actually changed with the exsisting circuits. It has, however, become quite busy. I have added a few tweaks to it (As you might notice).


FanDiagram12-17-2010.jpg


1. The water crossing bypass switch is now a maintained SPDT rocker switch. When you turn the switch "OFF", it will instead turn the primary circuit off, and a second circuit "ON" - There is no neutral position.

When the fan circuits are bypassed (OFF), an alarm, buzzer, chime, LED (Its up to you, really) will be energized, alerting you to the fact that the fans are bypassed. When you turn the fans back on, everything goes back to normal.

This addition is in response to anyone with concerns of forgetting they have bypassed the fans.


2. There is now an actual fan over-ride, to engage one or both fans when desired. A maintained DPDT rocker switch is used for this purpose.

To engage the primary, throw the switch one direction (UP). To engage both the primary and secondary, throw the switch the other direction (DOWN). To let the dual temp switch do its' job, keep the switch in the neutral position (CENTER).


3. And the final addition is for the AC over-ride. I was going to grab the AC circuit from behind the dash somewhere off the control assembly - But then realized the simplest way to achieve a circuit over-ride was to tap the end of the AC circuit.

If the compressor kicks on for any reason, the primary fan will turn on, period.


For now - That's where it's at. Hopefully I'll have some time to get back to it and finish once and for all.


Questions...Comments.....


Troy B
Ft Hood, TX
 
Last edited:
I like it and plan to borrow heavily from your hard work when the time comes!

:bow:


:usaflag:
 
gotta love playing with fiberglass.. :rolleyes: it'd be kinda fun if it wasn't so messy! :haha:

really need to redo some of my diagrams and make em as reader friendly as yours... :bow:
 
Have those Windstar Fans been working well? No overheating? I'd like to ditch my clutch fan so my truck will actually warm up in the winter (10min of driving and it'll barely hit 150°). Aluminum shroud though.
 
I would have to say this project is the best upgrade to date for my truck. And as for actual purpose - It beats the manual clutch system 10-fold.

  • It has never over heated in 115* last summer.
  • I have not used the secondary fan to this day (other than messing around with it).
I am very happy with the fan's performance and the enitre project itself.


I think you'll be very pleased with the swap as well. :woot:

_____________________


Working on something right now - Just for the folks which might want to switch over. A simple list that I'm trying to make all inclusive of the major parts needed to make it happen.

Windstar Fan Swap List

While some of this stuff has obvious locations - Some of it does not. It took me more than 2 months to find the maintained DPDT rocker switch. The fan and dual temp switch - I'd grab those from a wrecking yard - Links are only for reference.


If anyone needs something in particular that I used added to this list - I've already found it. Just ask and I'll add it.


Questions, comments.........


Troy B
Ft Hood, TX
 
Just a quick question...
Why the need for a "water crossing" cut off switch?
Aren't the fans D/C? they should be fine to run submerged-----Electrically speaking. (as long as they have drains and you are not playing in salt water.)
Is it due to the water they will throw and possibility of breaking blades?

OTT, You have done a great job on the install and documentation for the rest of us thinking of doing the mod.
 
Yeah - Snapping blades is the concern with the water crossing. I've been there-done-that. Dont need another trophy..

Any further progress of the upper fan shroud will be a minimum of a week away.

With the holiday season and all - My side of the garage is donated to temporary storage of (now) empty Christmas decor' totes and such - Barely leaving a walkway, and zero access to my bench of choice. My other bench is crowded as well.

Once I re-claim my work area, I'll finish the upper fan shroud and post pics.

I'm doing a few other smaller things to hold my attention until then - But still growing more anxious the longer the delay.


Troy B
Ft Hood, TX
 

Latest Posts

Top Bottom