What I had in mind was something more along these lines:
(mocked up with no dimensions for your fabricated parts, but it looks good enough)
View attachment 322947
Where the cables would route between the switch stack and the batteries, but to be honest, I like your mockup even better.
You could re-purpose that 'wall' that the switches are mounted to to be part of the battery hold-down structure too.
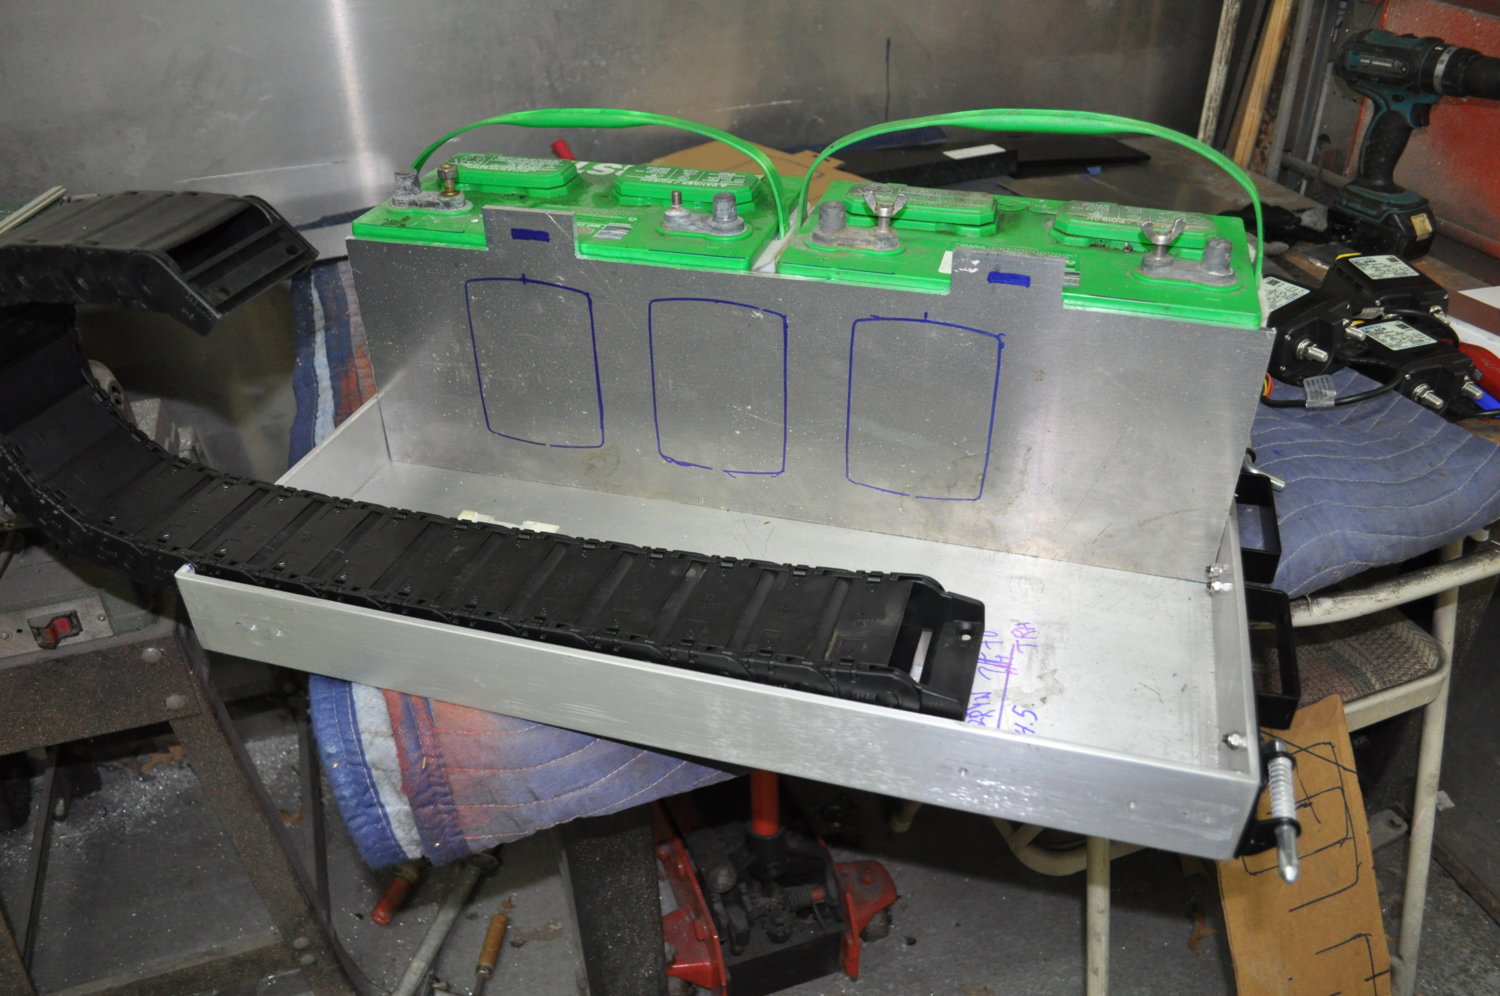
i could definitely use it to secure that side of the holddown.. the one thing i don't like about the stack is, tho it puts a bunch of the wiring to the back, it would put me back to using 90 lugs... i'll start playing after x-mas....
stoked...
 i'm gonna make this work dammit!!


btw, youz got skillz.. i wanna do that all day for a second career........


")

 what I somehow think I'm supposed to be doing...
  i document it for some cwazy reason... and anyone who has read/deals with my drivel/psycho chit, props and thanks for your perseverance.. I've alienated 3/4 of this forum with my bs, and I understand anyone that I've "put off"... it's something I've had to learn that I do to many people... not my intention, but, it is, what it is...
 beast-mode, hoo-rah!
")