CK5
Register an account today to become a member! Once signed in, you'll be able to participate on this site by adding your own topics and posts, as well as connect with other members.

Ryoken's 89 Crew Cab Tubebed build... aka Mutt....

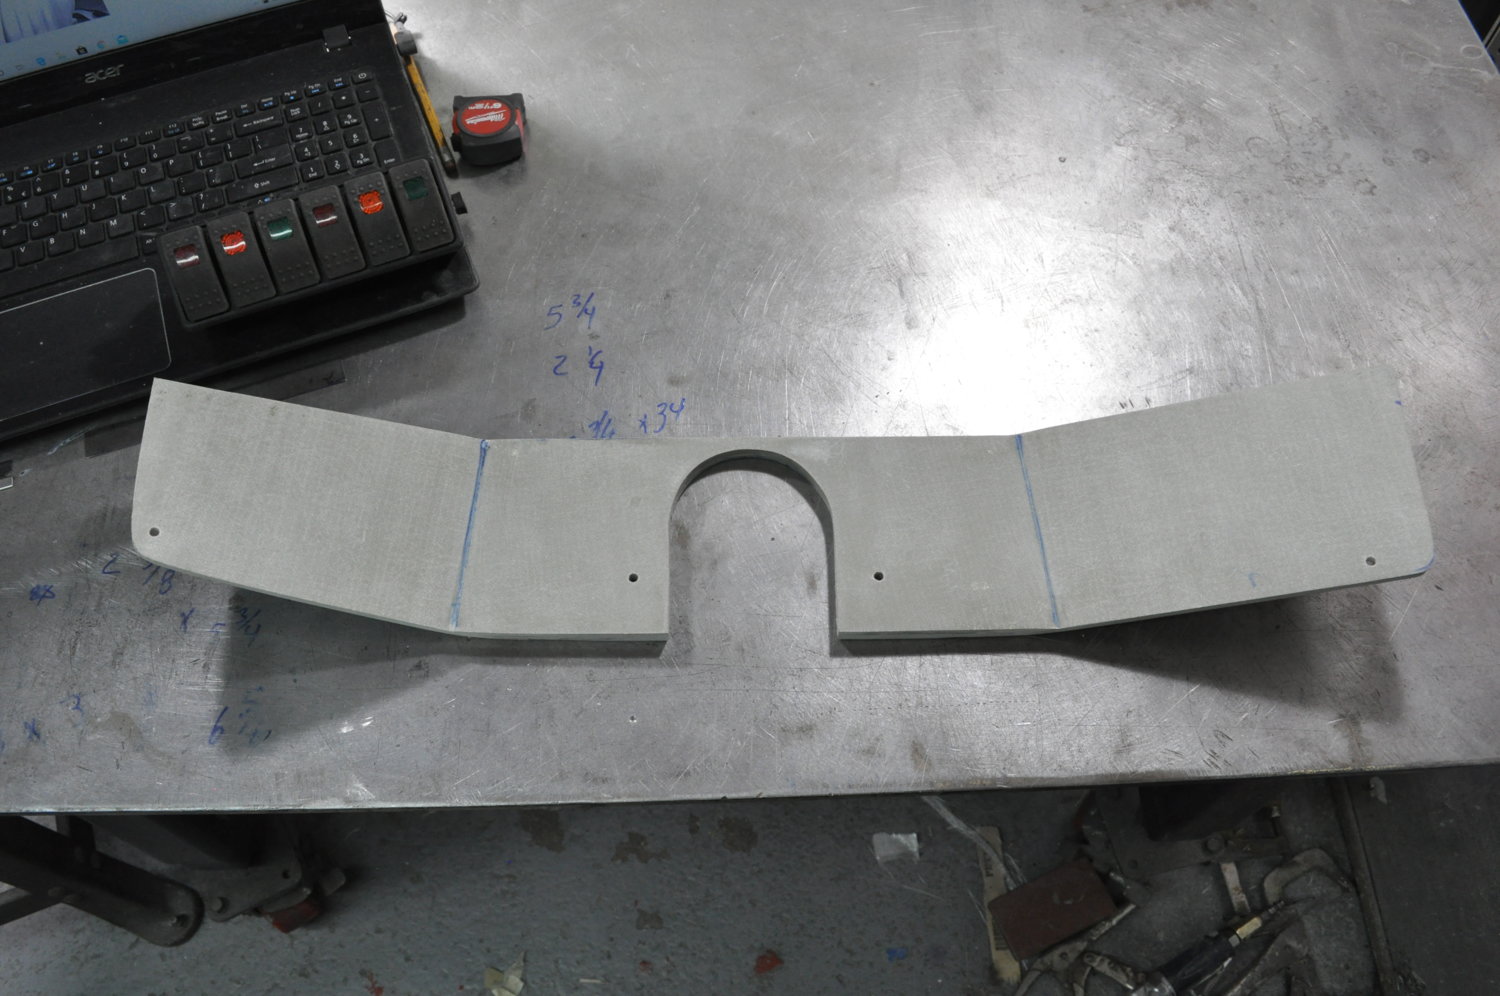
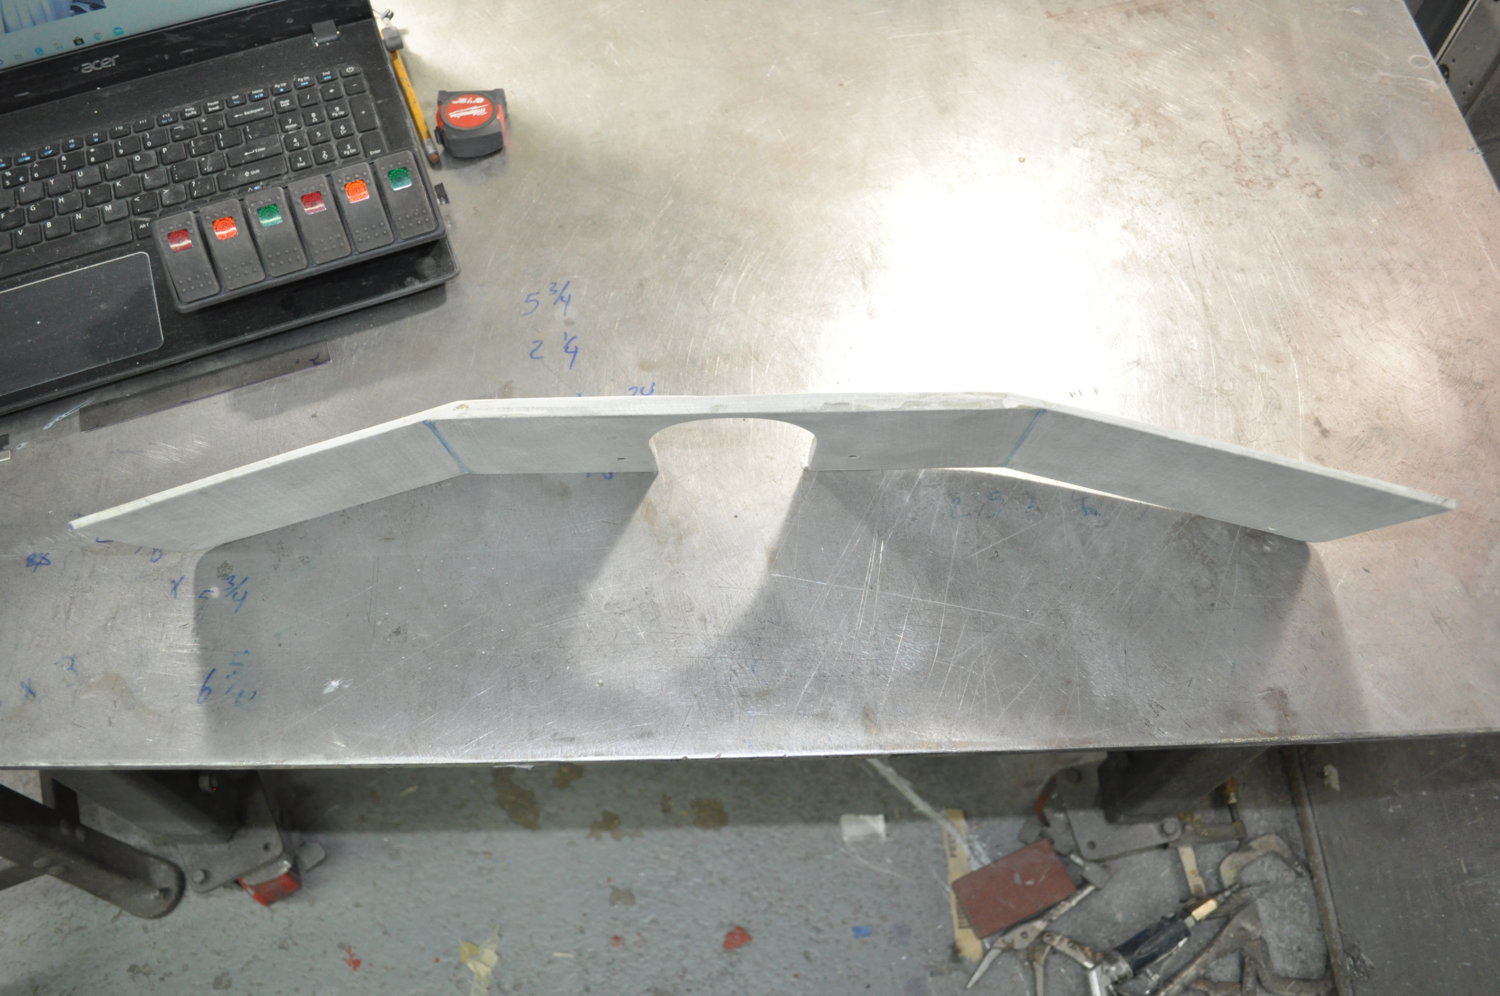
here's some glass work for the day... the little sides have been added.. that makes 8 pieces on the top...


full


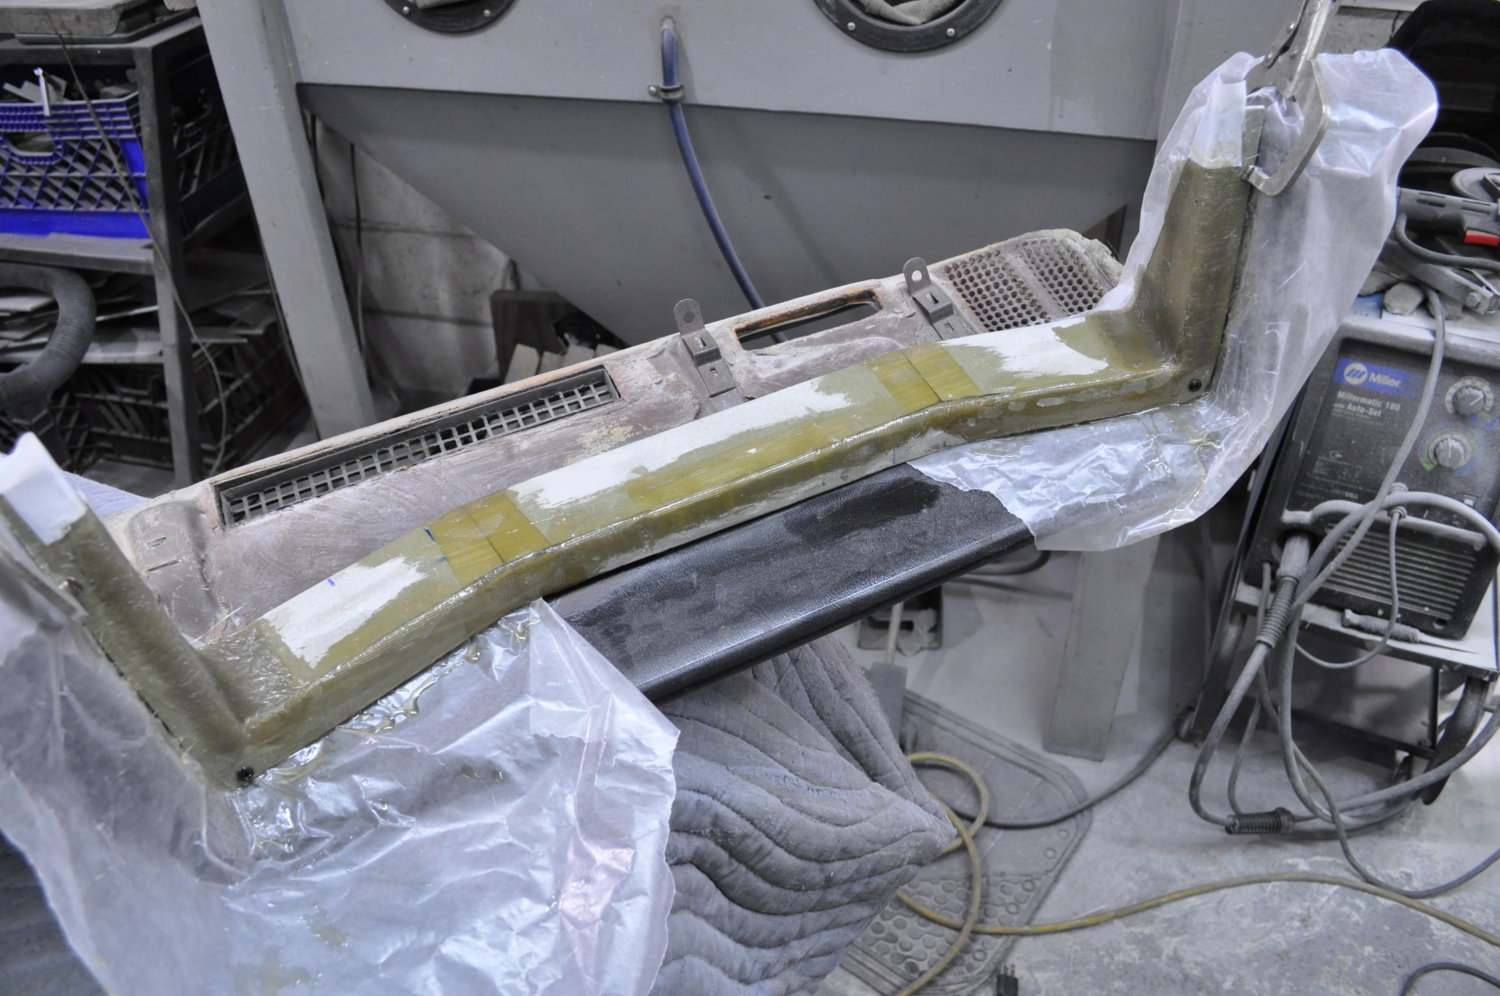
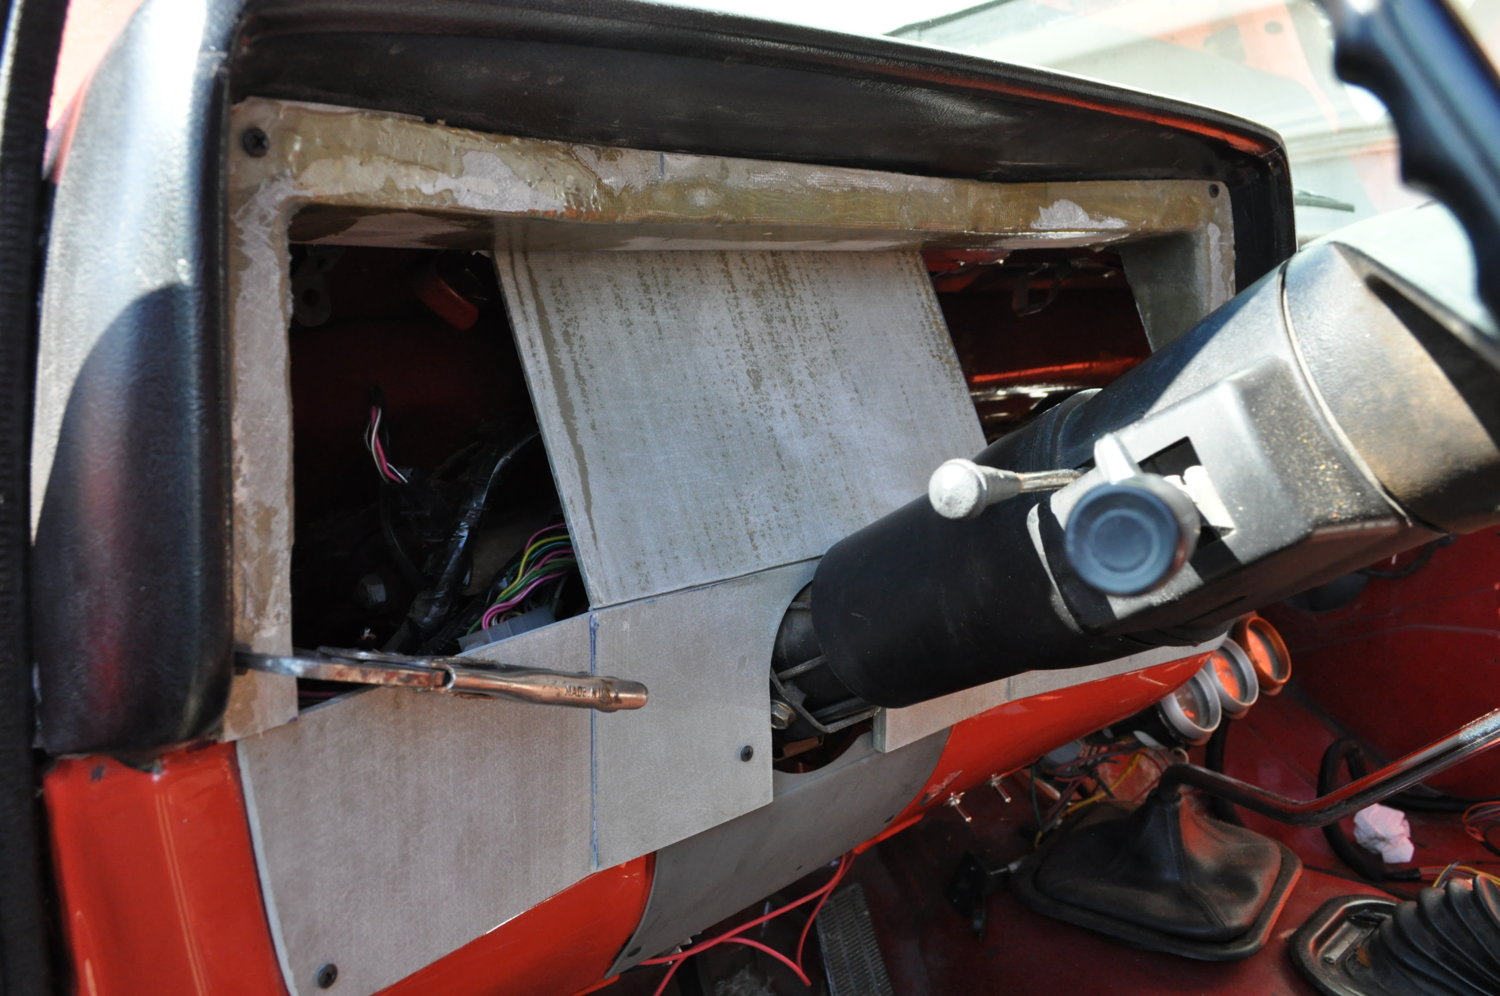
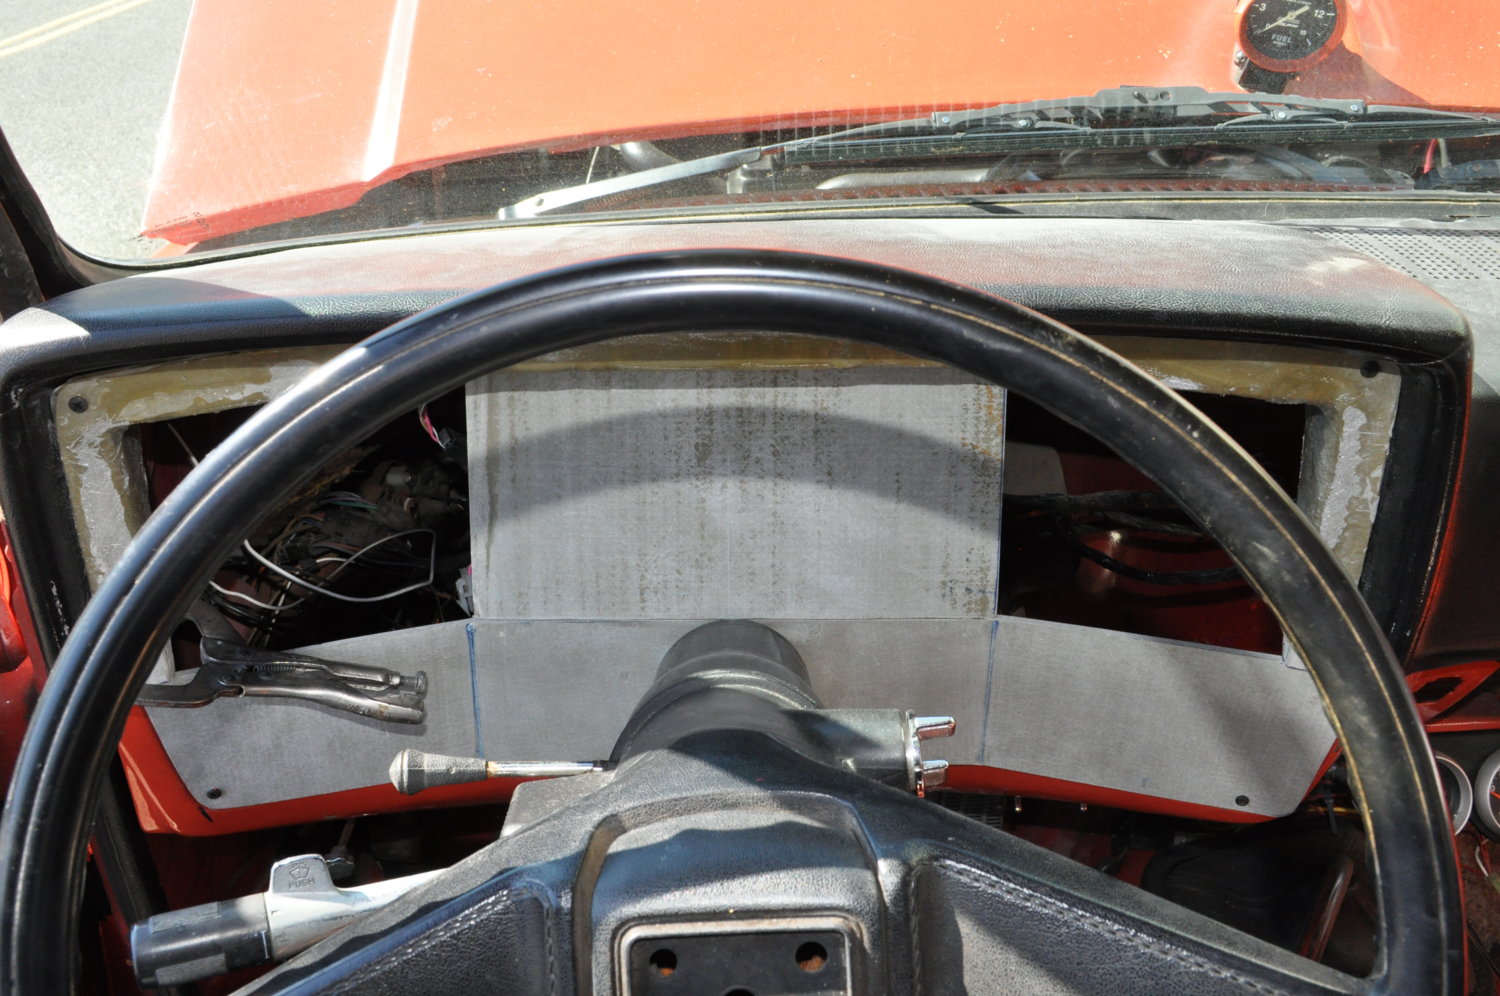
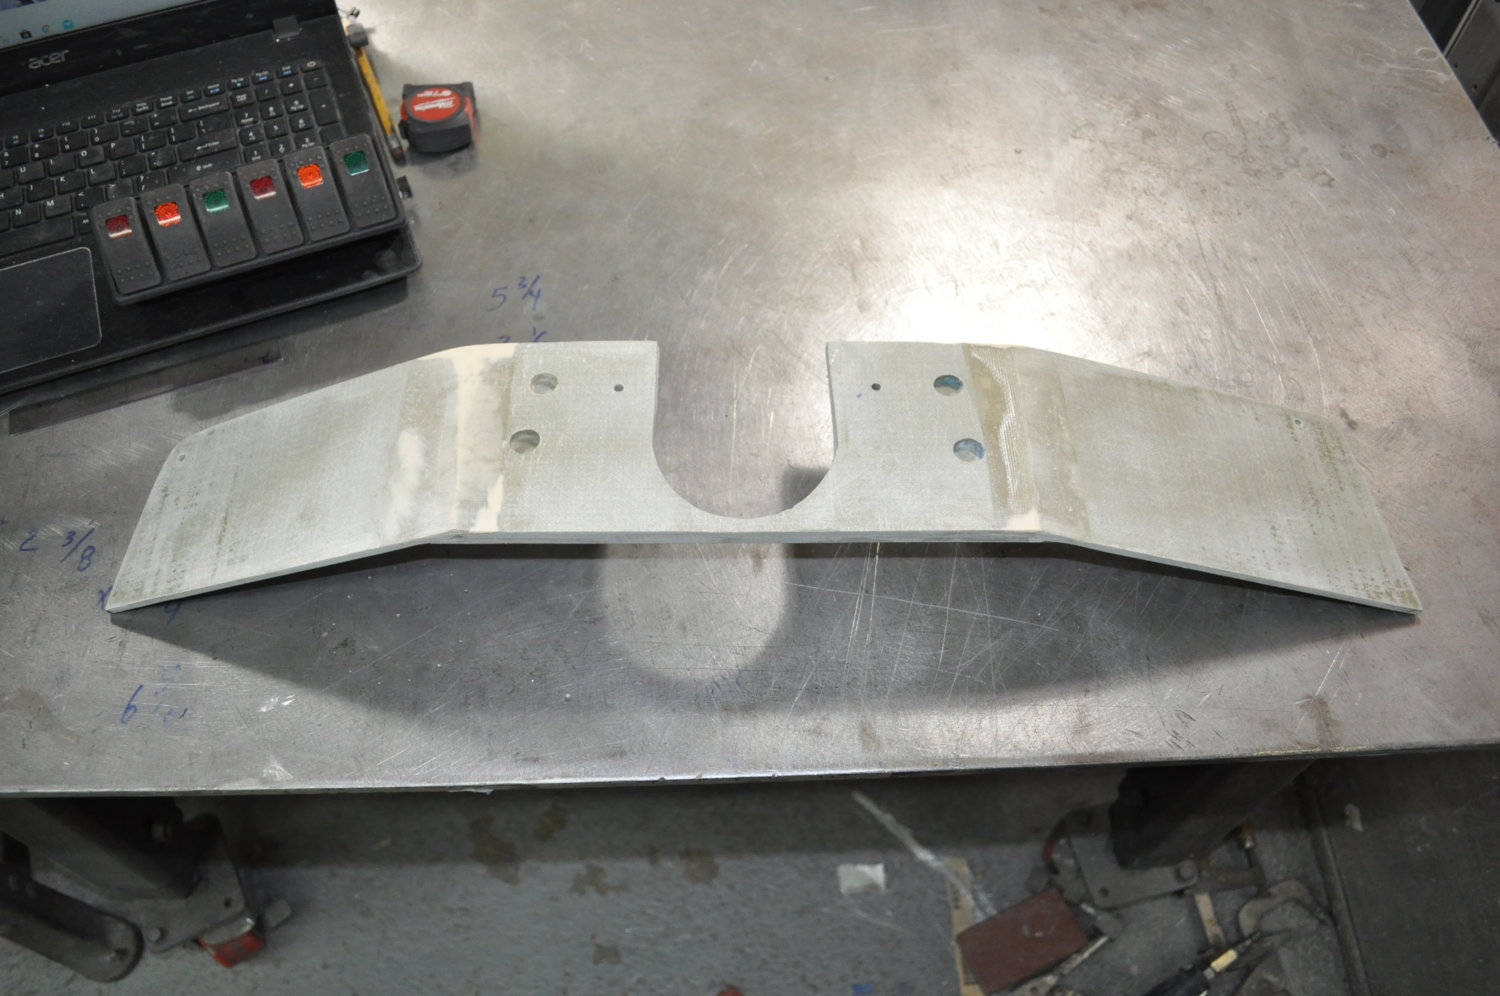
and here's how the lower sits... bonded and tabbed... perfectly flat on all panels, ready for the next step...


full


full


full
 
just a side, "I'm bored" note to the above stuff....

a lot of things i had forgotten about the original bezel build that have reminded me with a smack to the cranium in version 2... ;)

one of those was that those little angle walls where tapered in much more last time.. now they are at 90* to the front facia... the reason i had done that was so the bezel could be removed with the pad in place....

well, that's out the window this time.. in order to pick up the gauge sq inch i want, that makes those 2 back corners hit the dash pad on the way straight out...

but i'm willing to go thru a bit more labor to install/remove the bezel.. basically you have to install both at the same time, not a huge deal...
 
I never quiet got the duck hood ornament, I'm not a hood ornament kinda guy. But that would look really cool with the eyes lit up.


I'm generally not either, usually I hate that kind of stuff... as a body/hotrod guy, i like clean lines.. heck, I hate white letters cuz they detract from the sheetmetal... :dunno: :haha:

I made an exception on this build due to the nature/circus style of it.. :pimp: 
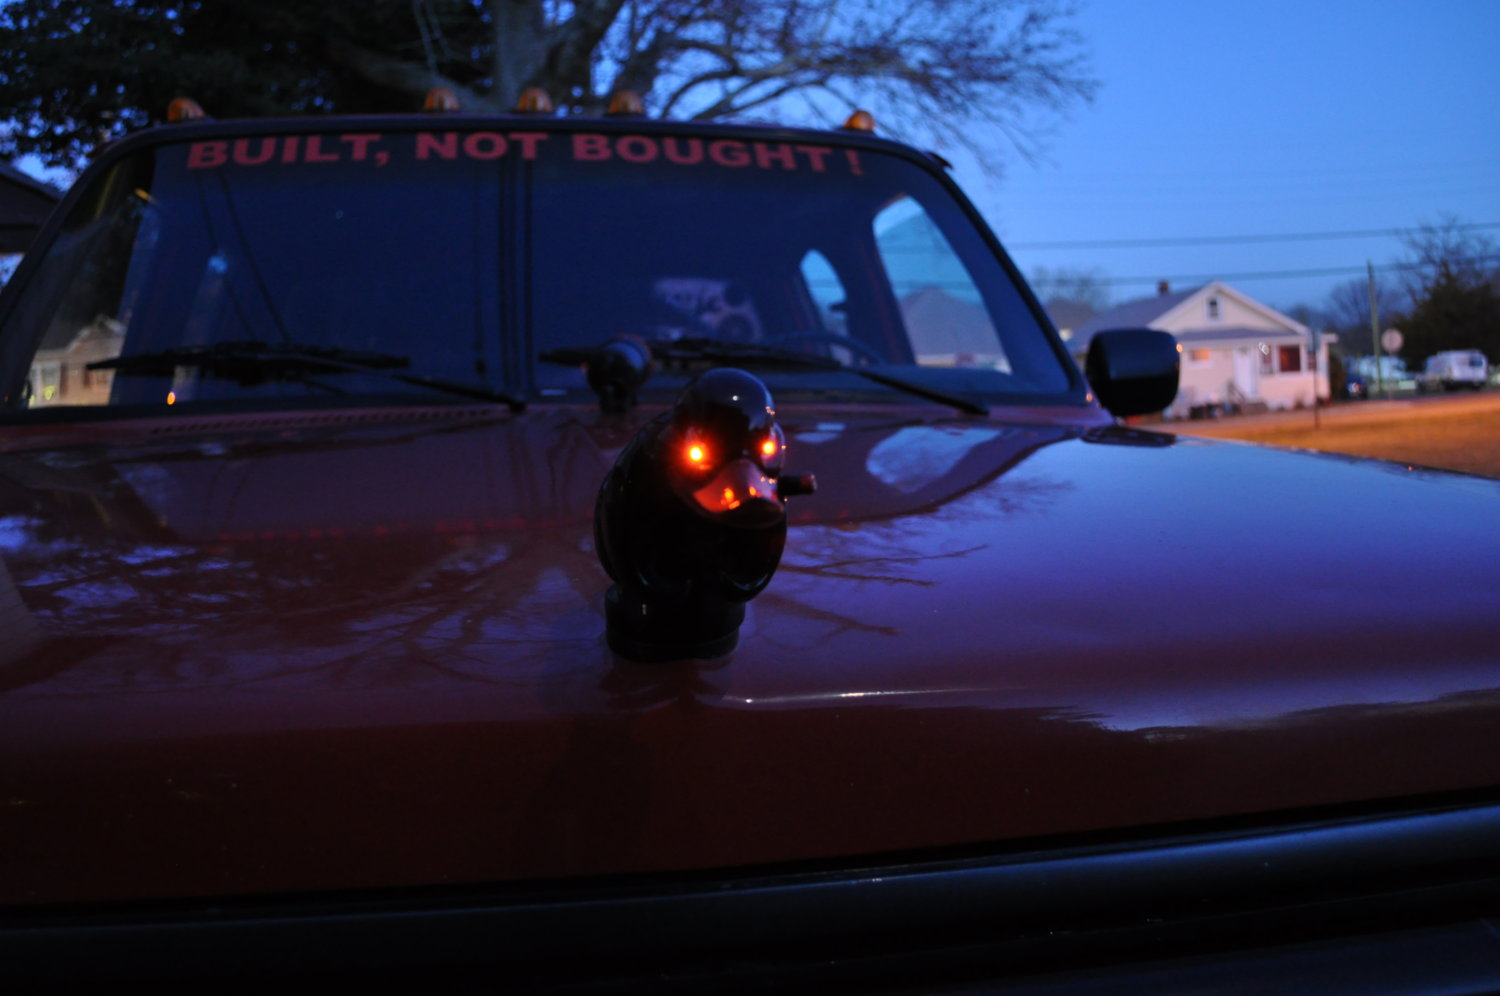
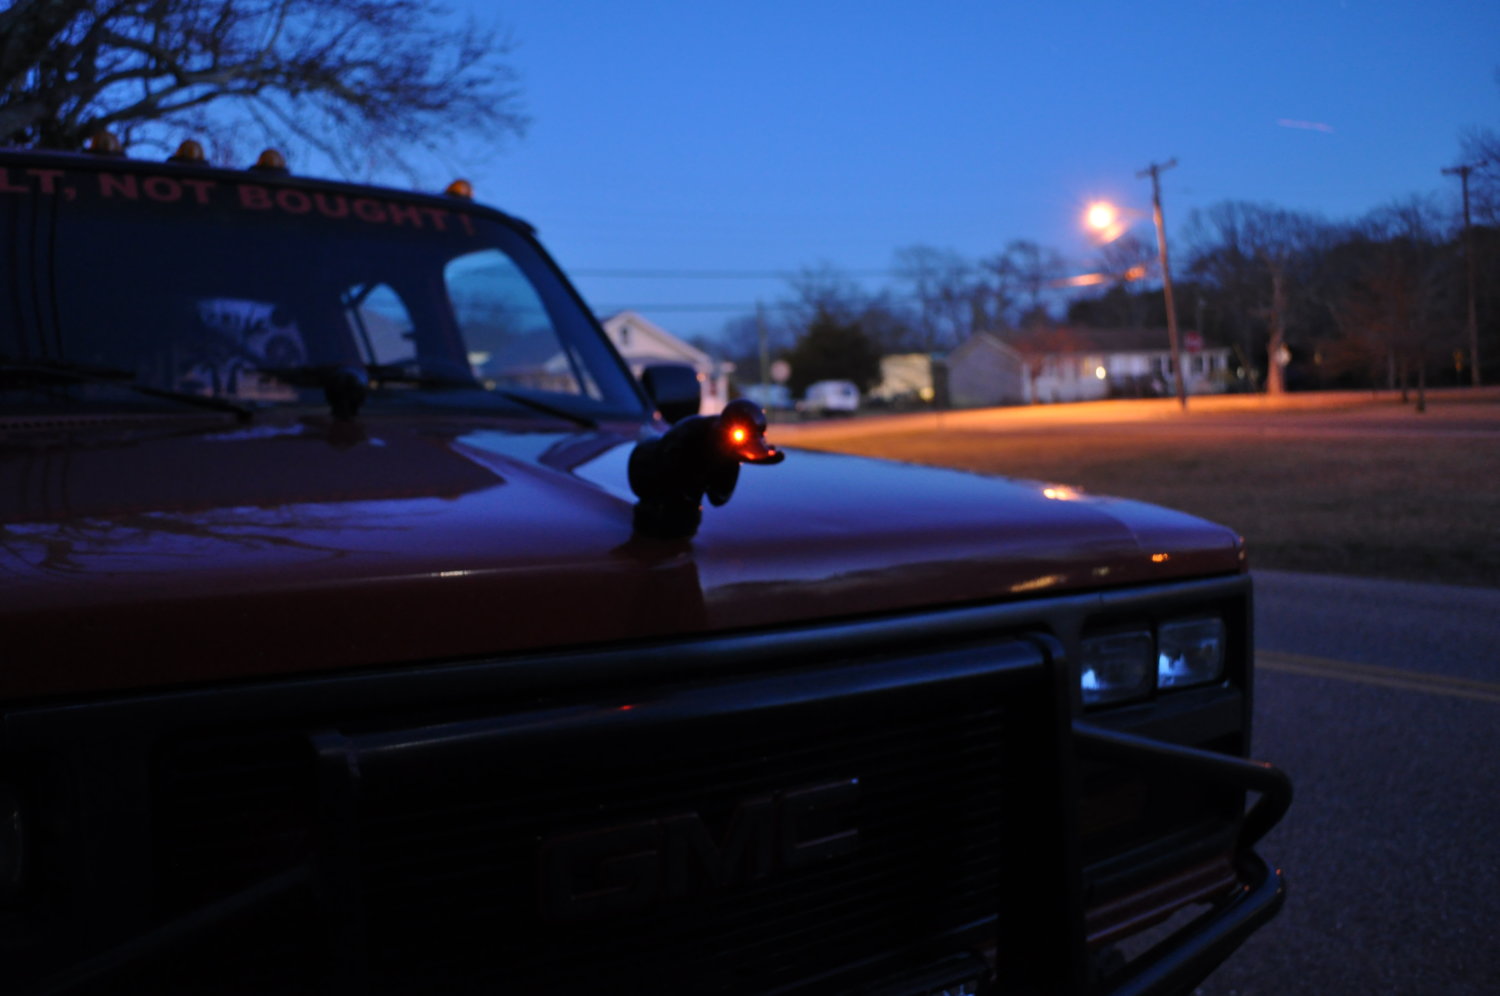
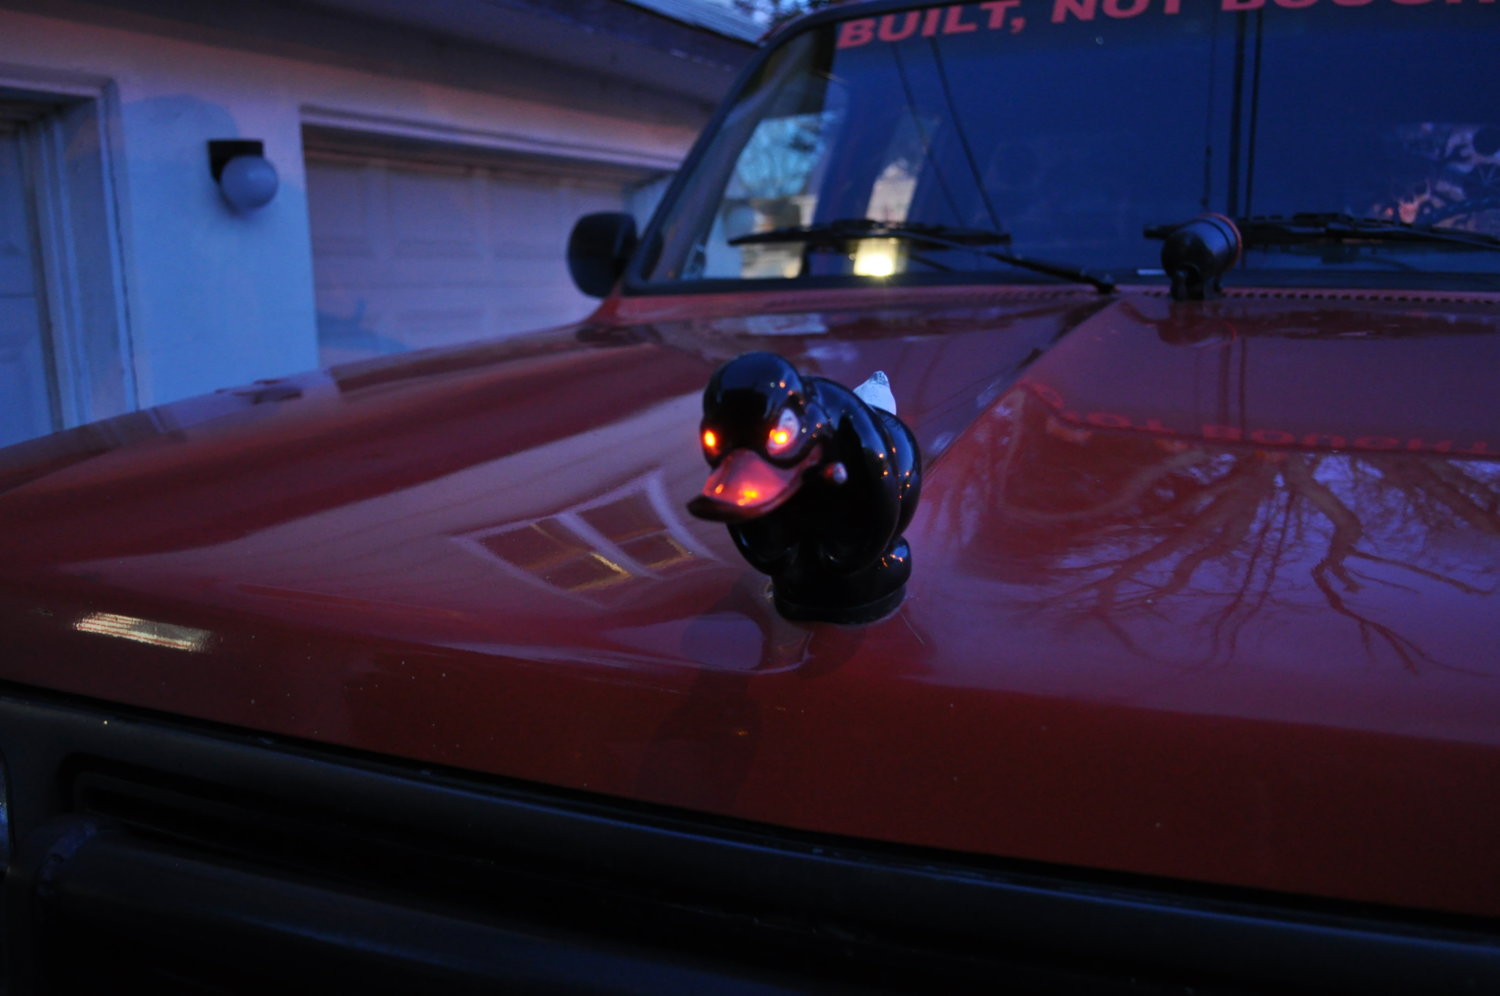
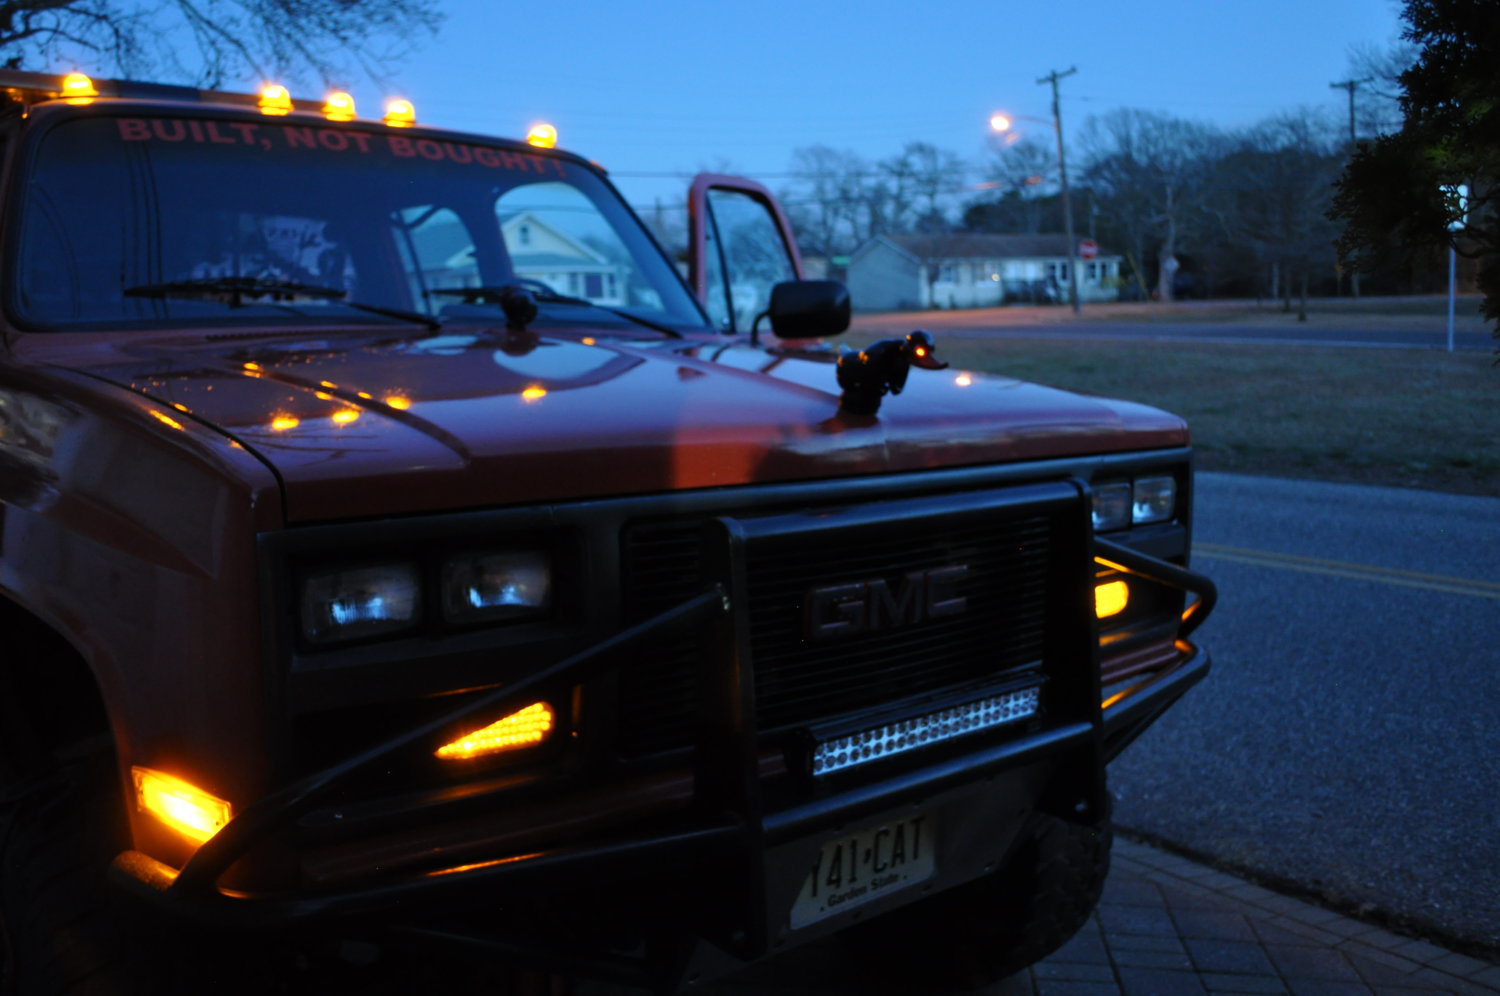
the mallard, and stickers are my way of not having the build take itself too serious... it's built/meant for me, not the masses...


the downside to the lighted eyes would be they don't look as good when the lights are off.. and also actually installing them.. it would not be easy...

there are only 2 ways to do it that i can figure... it is hollow.. you could just drill smaller holes at the pupils and shove the light up it's arse up into the head and let the glow show.. that would be relatively easy... but I'm not sure how effective..

making the lense, the actually pupil would require a much larger hole... than you would stuff the lights in, maybe backfill the cranium cavity with some 2-part foam to stabilize it.. than go in with a hypo around the lense with some 5-minute epoxy... let dry, shape/touch up paint up to the lense...

now that I think about it, the easy way out might look the best.... a bit more subtle.. the led's might be a bit too bright, all the way out at the surface... BUT, you're kind of commited once you drill holes.... and it's not like you're wrecking a $23 item...
 
Last edited:
now that I think about it, the easy way out might look the best.... a bit more subtle.. the led's might be a bit too bright, all the way out at the surface... BUT, you're kind of commited once you drill holes.... and it's not like you're wrecking a $23 item...

I vote the easy way, if you do it. I'm worried the pupils would be too large/bright if you actually try to embed lights in the eyes. Never even thought of doing it your easy way, but you could start REALLY small with the holes, and enlarge as needed to let enough light through. You could even clear epoxy the holes once you get them the right size to diffuse the light a bit.
 
I vote the easy way, if you do it. I'm worried the pupils would be too large/bright if you actually try to embed lights in the eyes. Never even thought of doing it your easy way, but you could start REALLY small with the holes, and enlarge as needed to let enough light through. You could even clear epoxy the holes once you get them the right size to diffuse the light a bit.


lol, the sh*t we come up with... :haha: I agree... :bow:

my only issue is that the light would actually be able to move around a bit in the noggin... here's another thought... why not tape 2 or 3 together to chase up there.. i actually think that thickness might be beneficial to keep it "in place as it goes thru the neck" says Dr. Duckenstein.... :yikes: :saweet: :pimp:


funny you mentioned, diffused... i was looking around and saw they have these 5mm in diffused already.. ;) but i think i like your idea better.. 5 minute epoxy dries pretty clear...

i just ordered some 3mm ones i saw at the same price.. i'll have to be pretty bored to get to this one, but it could be pretty cool.... :pimp:


mocking up the center panels...


full


full
 
Y
lol, the sh*t we come up with... :haha: I agree... :bow:

my only issue is that the light would actually be able to move around a bit in the noggin... here's another thought... why not tape 2 or 3 together to chase up there.. i actually think that thickness might be beneficial to keep it "in place as it goes thru the neck" says Dr. Duckenstein.... :yikes: :saweet: :pimp:


funny you mentioned, diffused... i was looking around and saw they have these 5mm in diffused already.. ;) but i think i like your idea better.. 5 minute epoxy dries pretty clear...

i just ordered some 3mm ones i saw at the same price.. i'll have to be pretty bored to get to this one, but it could be pretty cool.... :pimp:


mocking up the center panels...


full


full
You can try a couple of the ashtray fiber optic lines with a red lens on the surface
 
That looks like 69 camaro dash,I bet u put a flat tv in the middle, ,u do amazing work, can't wate to see how it comes out
 
apparently I was bored... ;)


this is a relatively small hole that's smaller than the actual pupil... there are 3 leds in the head... but yeah, setting them up at just the right position is a challenge... like right here, his left eye isn't as bright... you can't just stick them is a far as you can.... the wire would fall out if i didn't have a piece of masking tape under the hood....

that said, bit bigger and "in" the eye socket may be badarse..... keep in mind, these are the most optimum angles... at certain angles due to the wall thickness, you don't see it well... gonna wait and see if the 3mm's in the socket flush might be better....


commence slutting... :pimp:


full


full


full


full


that camera amazes me.... :bow: on the tripod, in pitch black basically, and it pulls in that kind of ambient light... the shutter is open for literally 30 seconds..... :yikes:


.
:waytogo:


That's the best mod to the truck so far.

You could always run the wires inside the body. Drill up from the bottom and out the back at the base of the neck. Go back in the neck hole to the base of the skull. Then drill in from the back of the skull into the back of each eye. Pull the wires out the bottom then fill the holes w/ JB well, sand and paint.


they are run inside the body.. it's hollow...
 
I wonder if you could get something like a clear mini light brite to disperse the light better.


i think the 3mm's may be the answer.. i think i can flush glue them in slightly larger holes... i think they are gonna be just the right size... tues we'll see... i think i can diffuse them too...
 

Latest Posts

Top Bottom