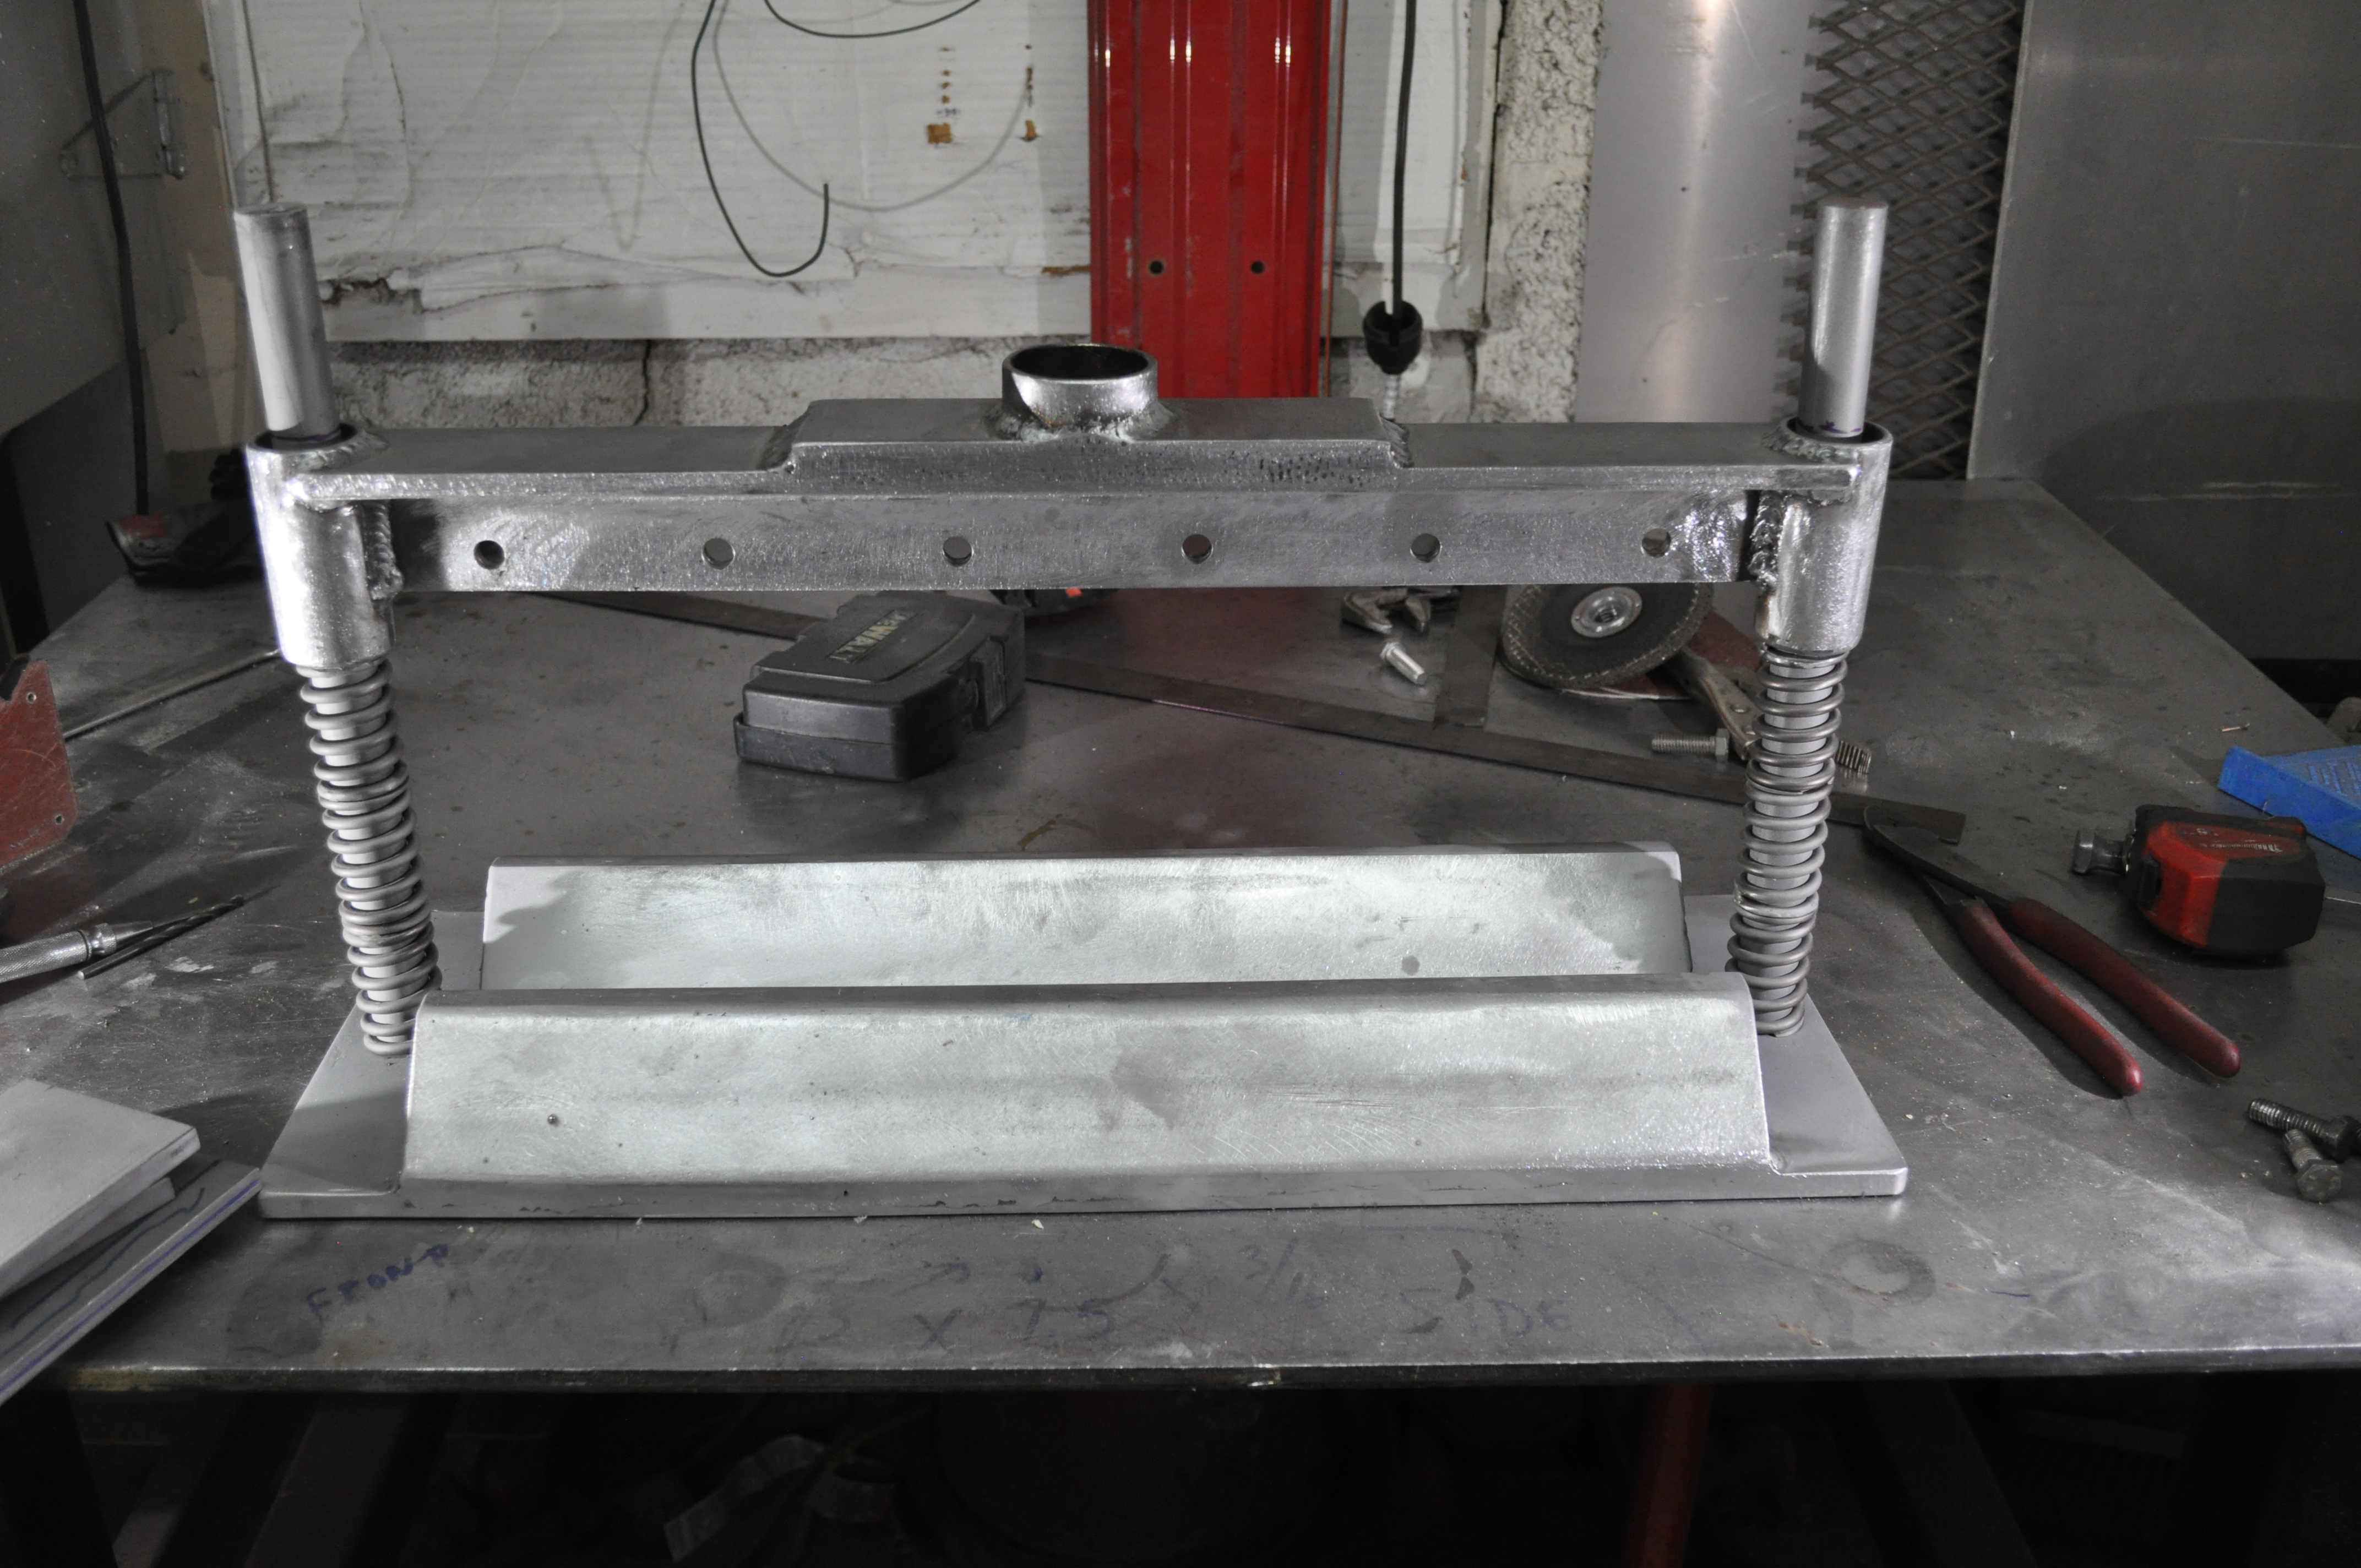
Will springs like that have a long enough compression/ extension rate..? I'd think you'd have to have more travel
no clue...... it may take 3 to even get the height... i'll play tomorrow once i take the head apart...

Will springs like that have a long enough compression/ extension rate..? I'd think you'd have to have more travel

I was just thinking that valve springs only have like .5"-.75" or so travel. Figured you'll need like 3" total travel. Maybe you don't need that much
Hard to guess without items in hand to measure/guess lol

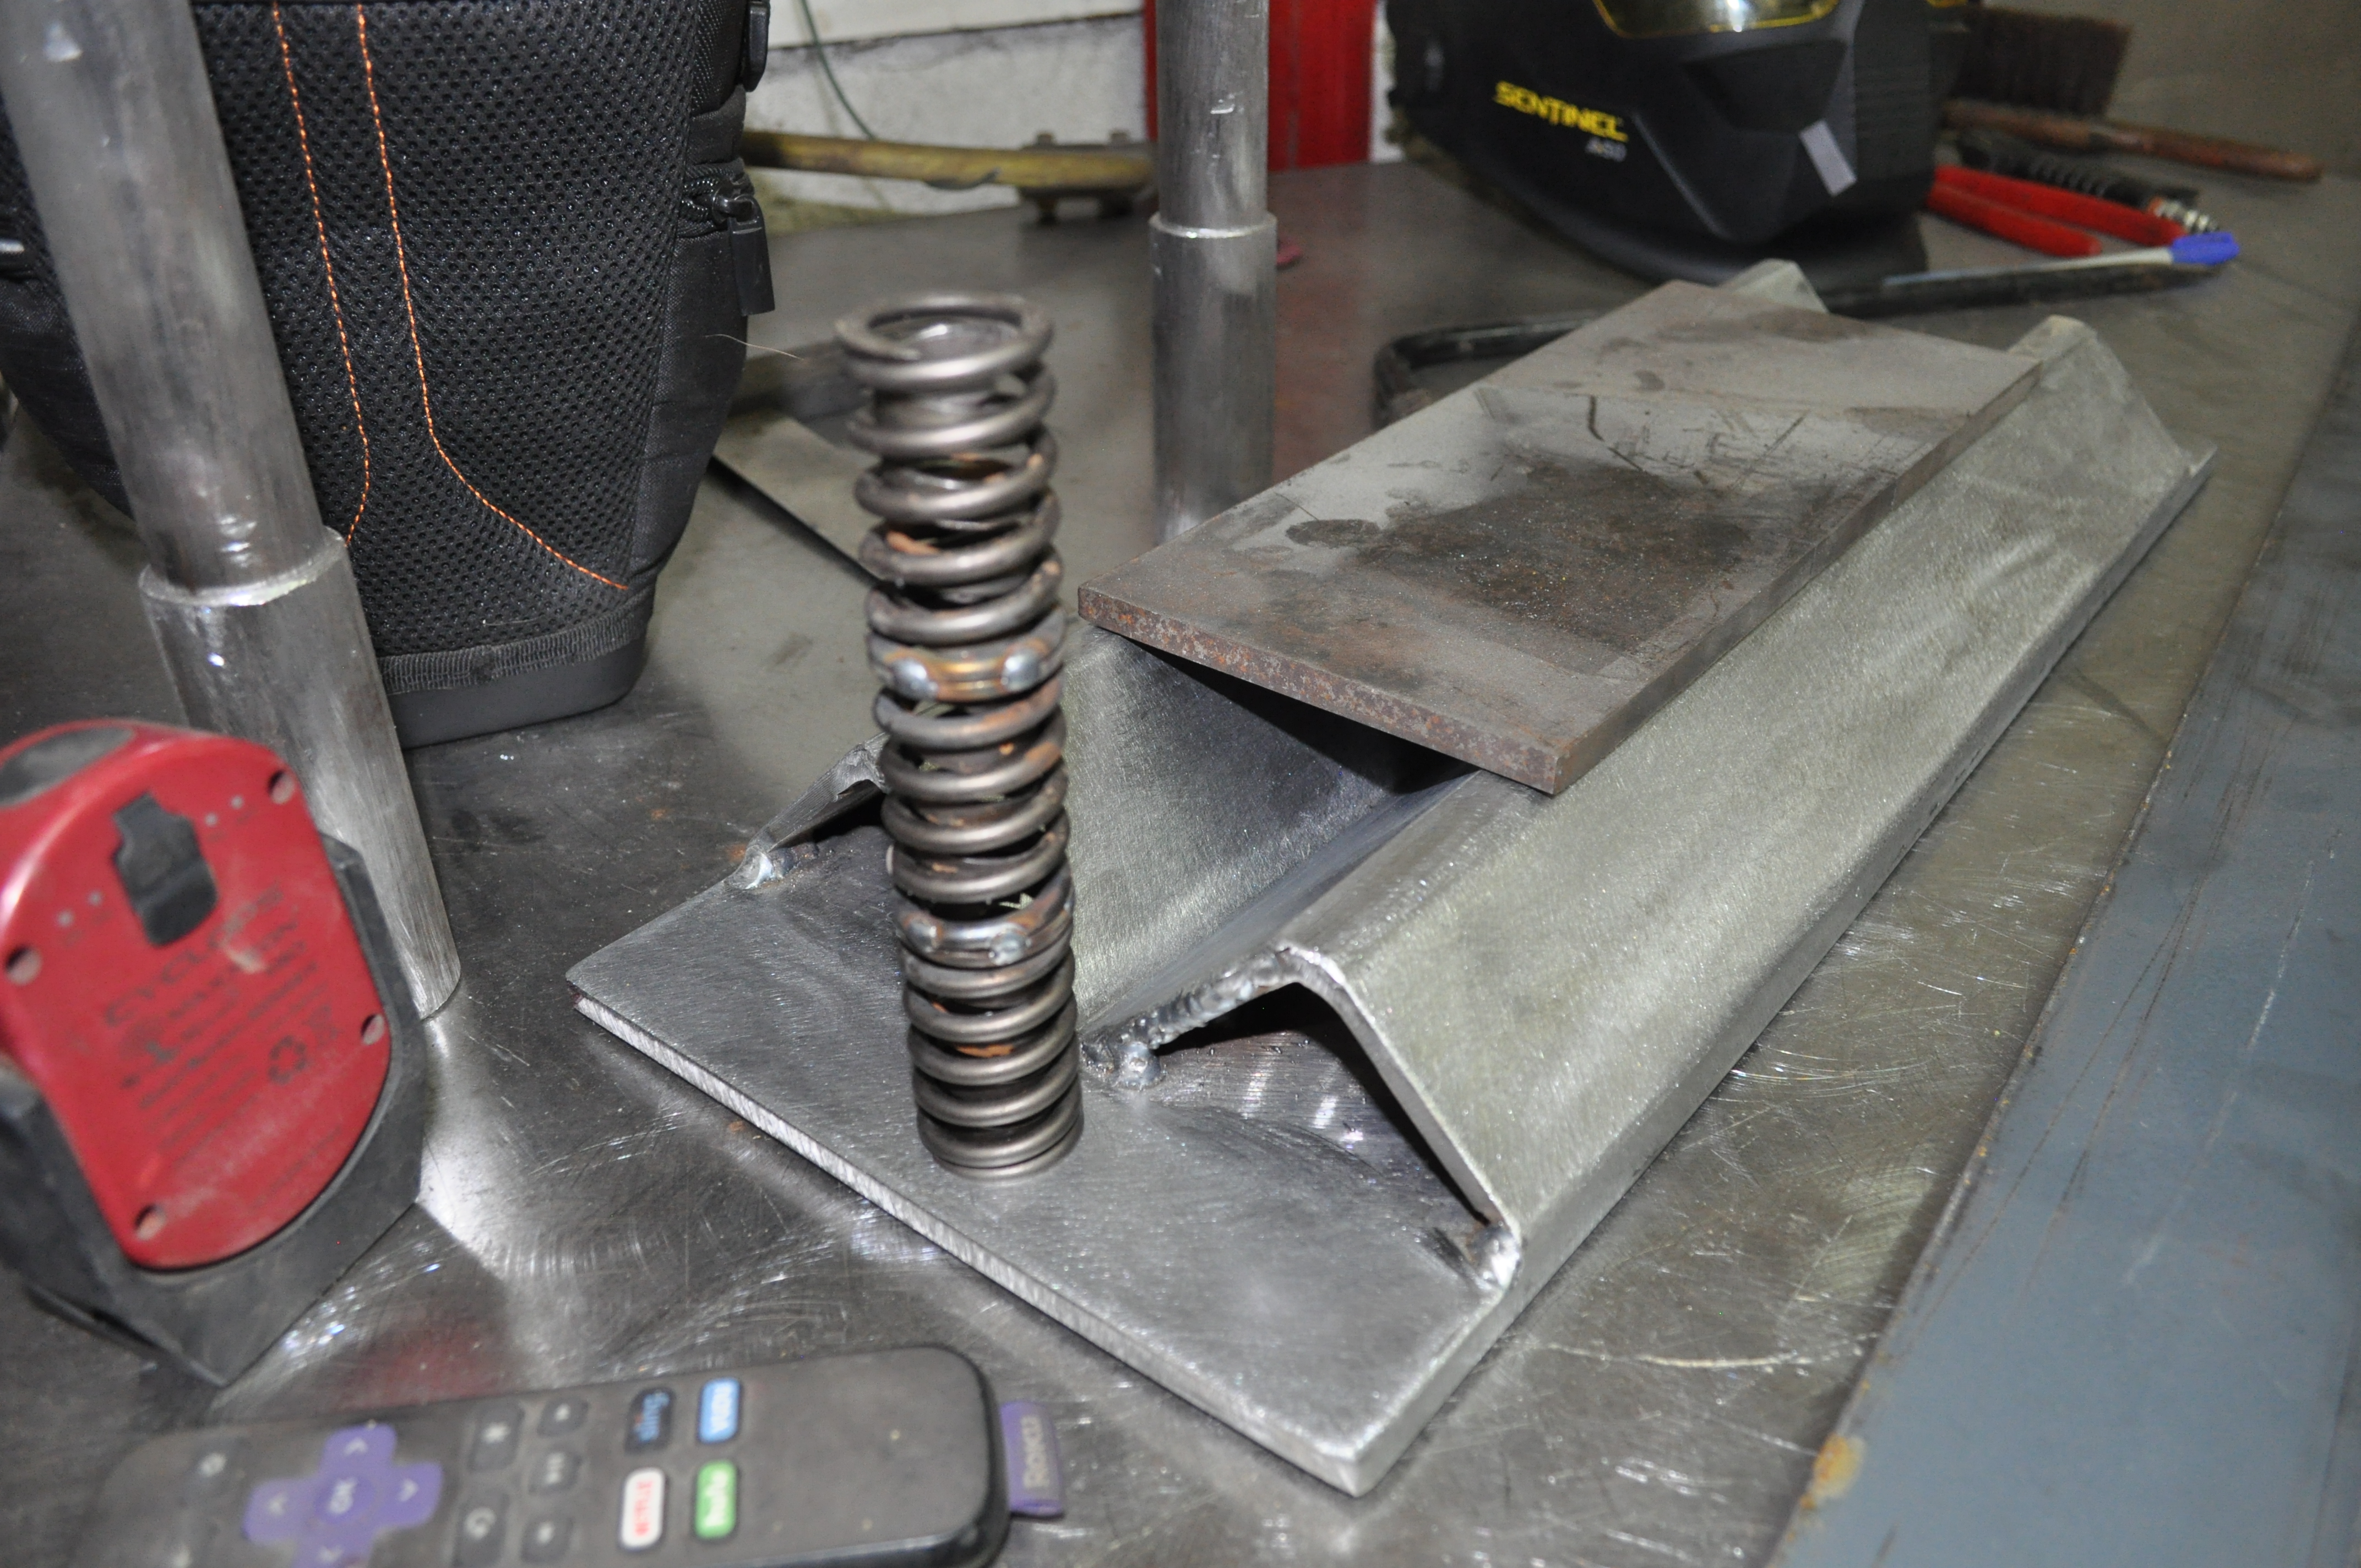
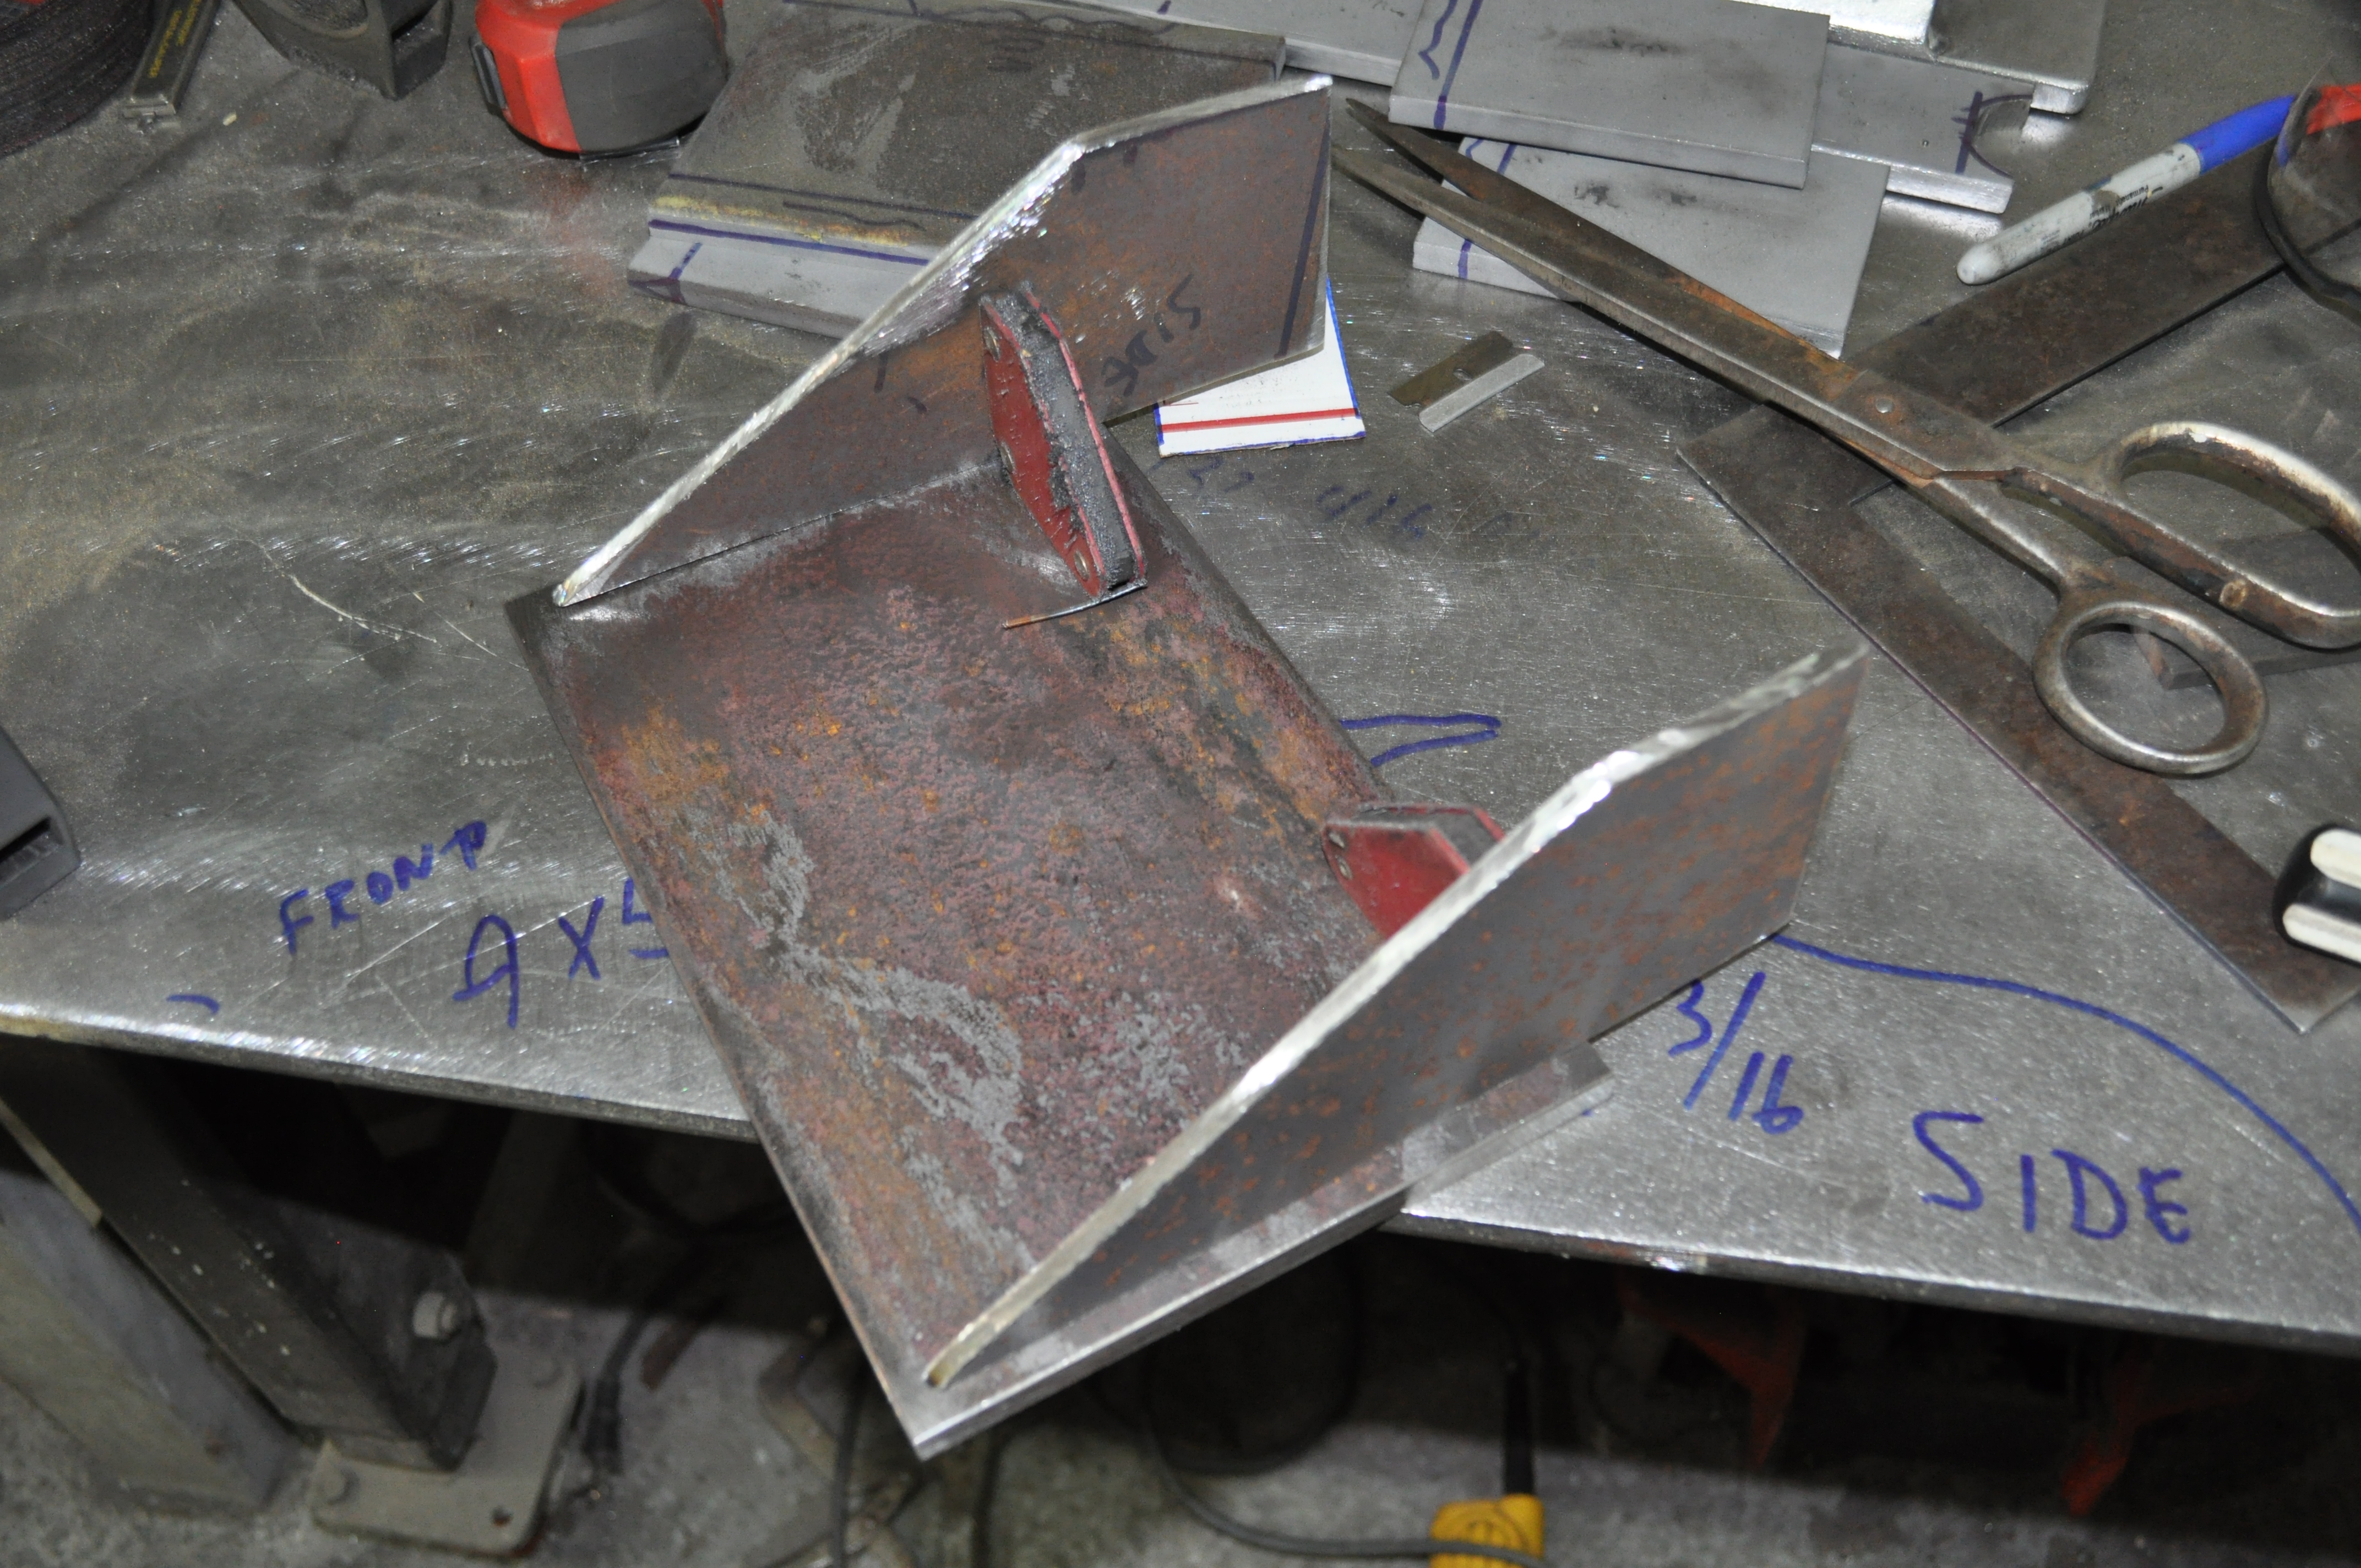
") ) but I wasn't comfortable going anymore really without it caged with a post... I had a hunk O' steel as a shield, but I don't want a missile in the LAB™ at mach 2...
) but I wasn't comfortable going anymore really without it caged with a post... I had a hunk O' steel as a shield, but I don't want a missile in the LAB™ at mach 2... 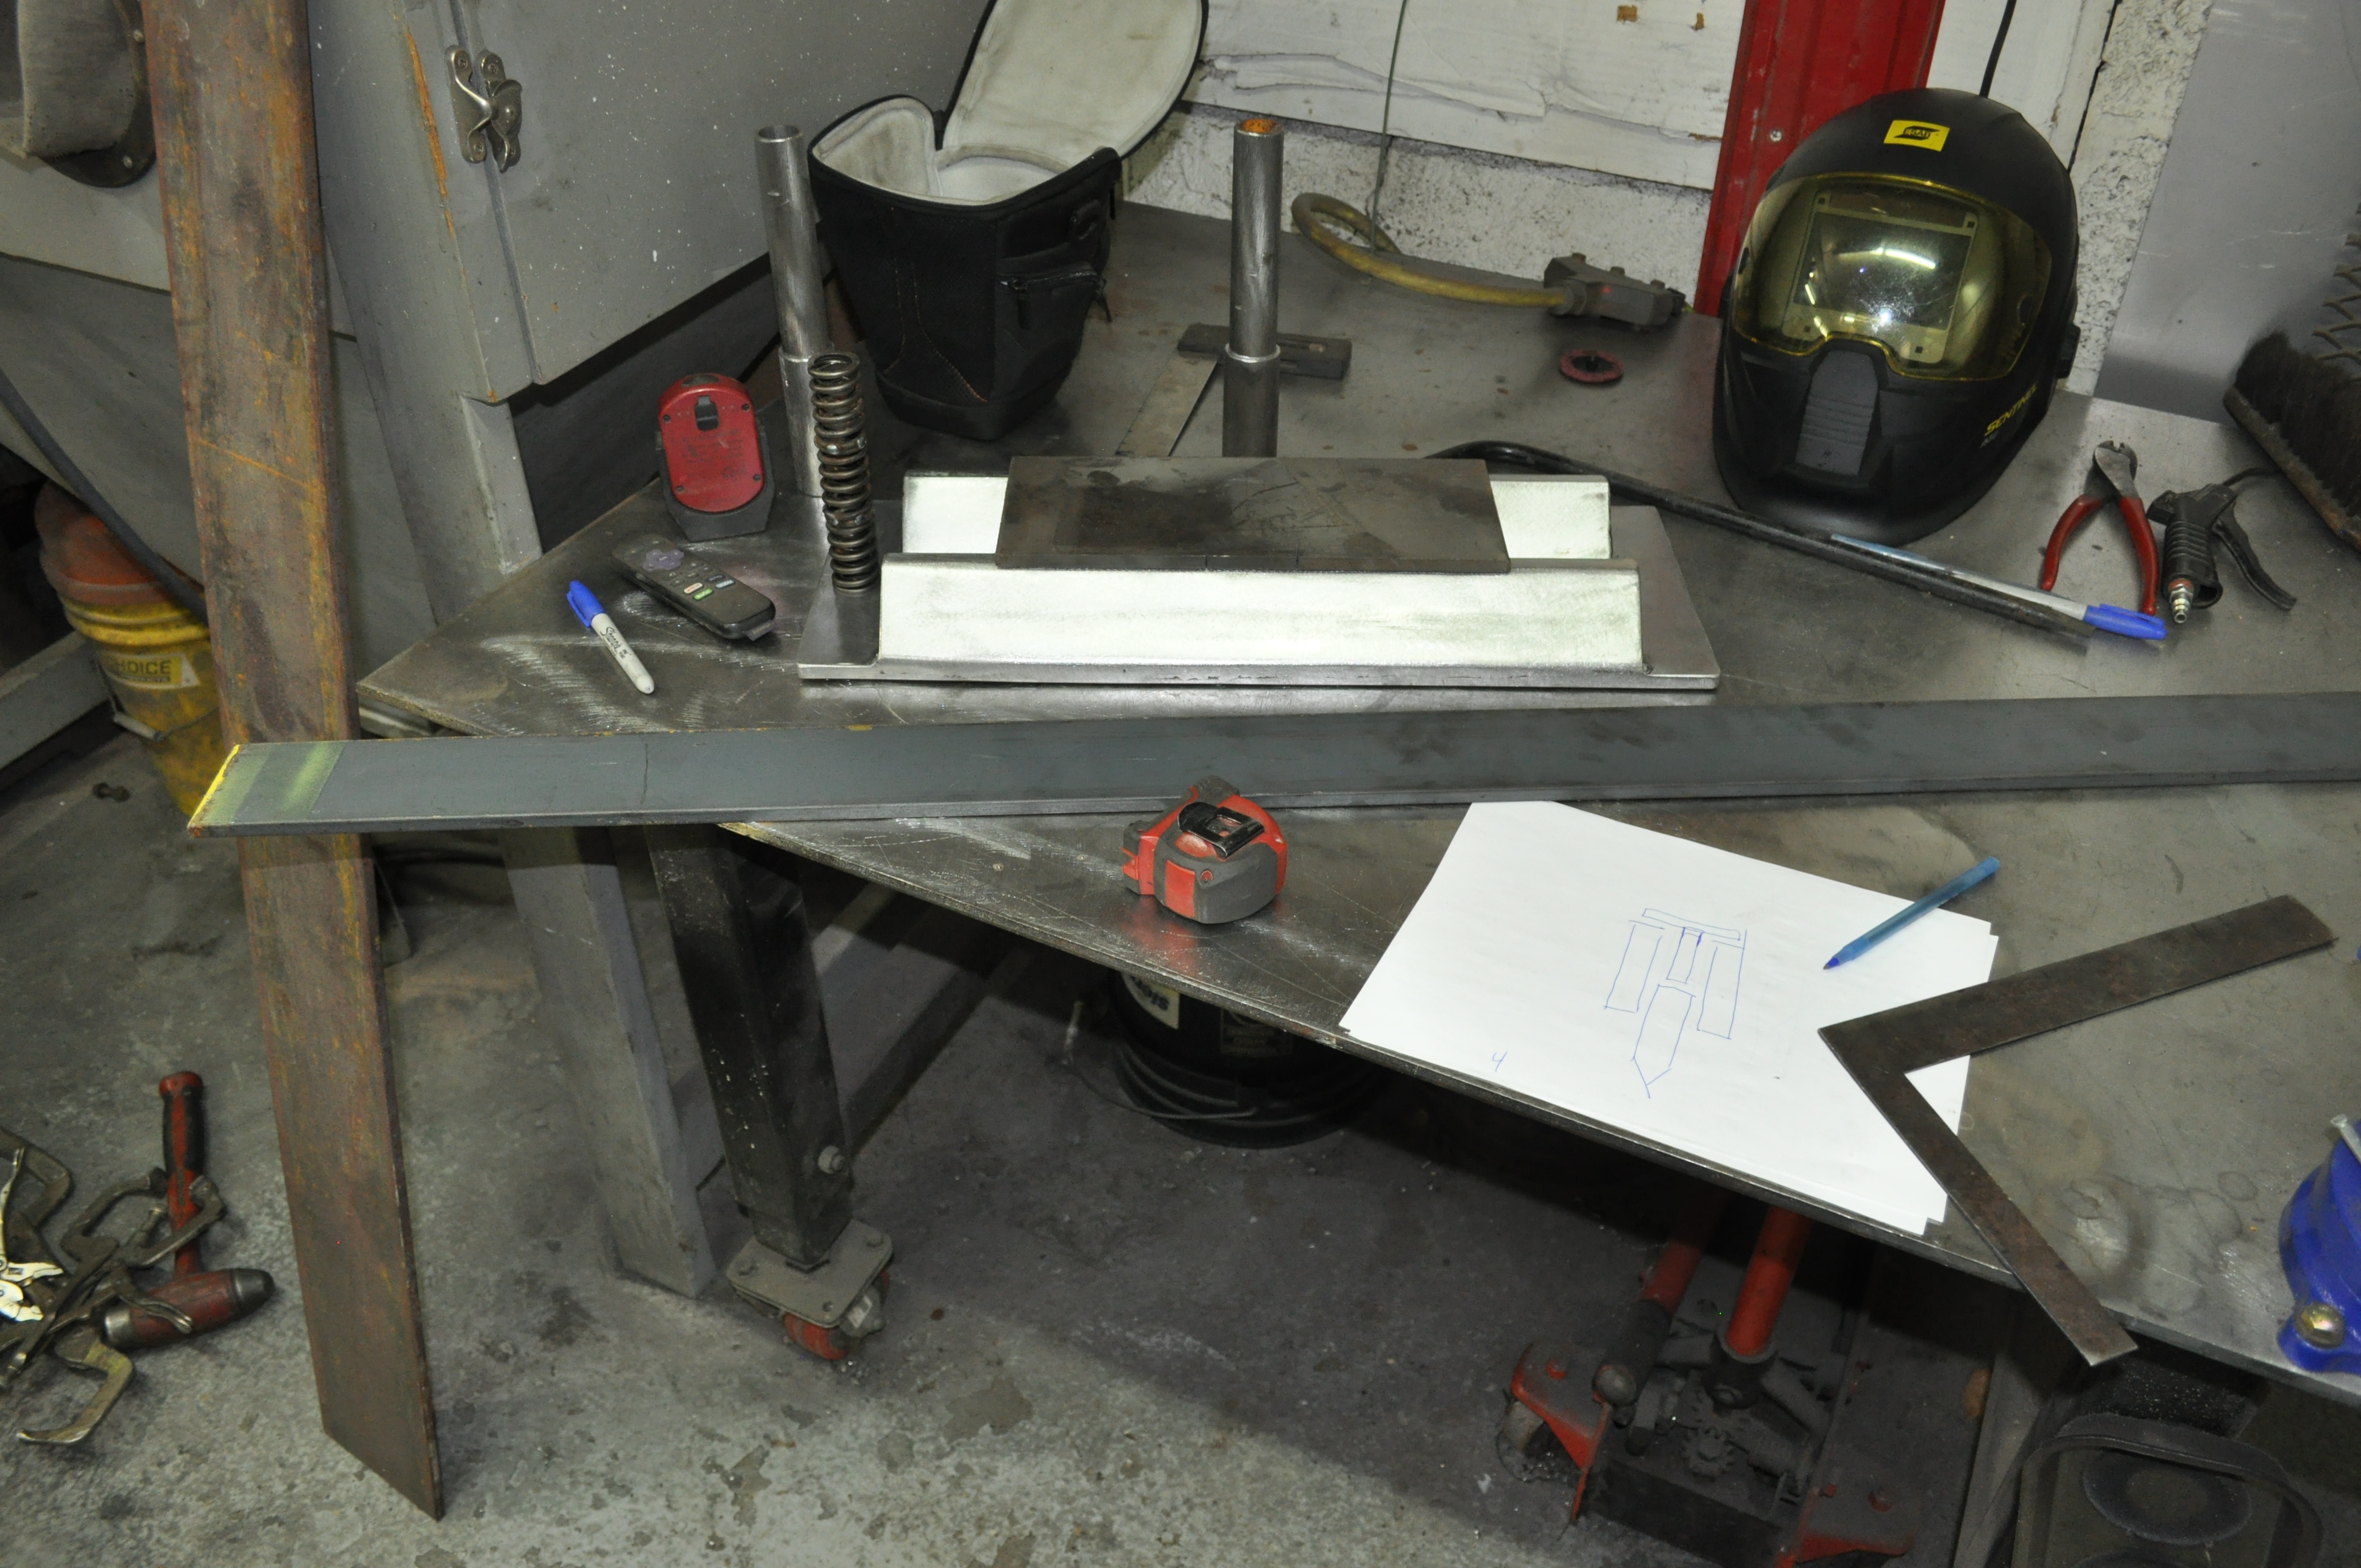

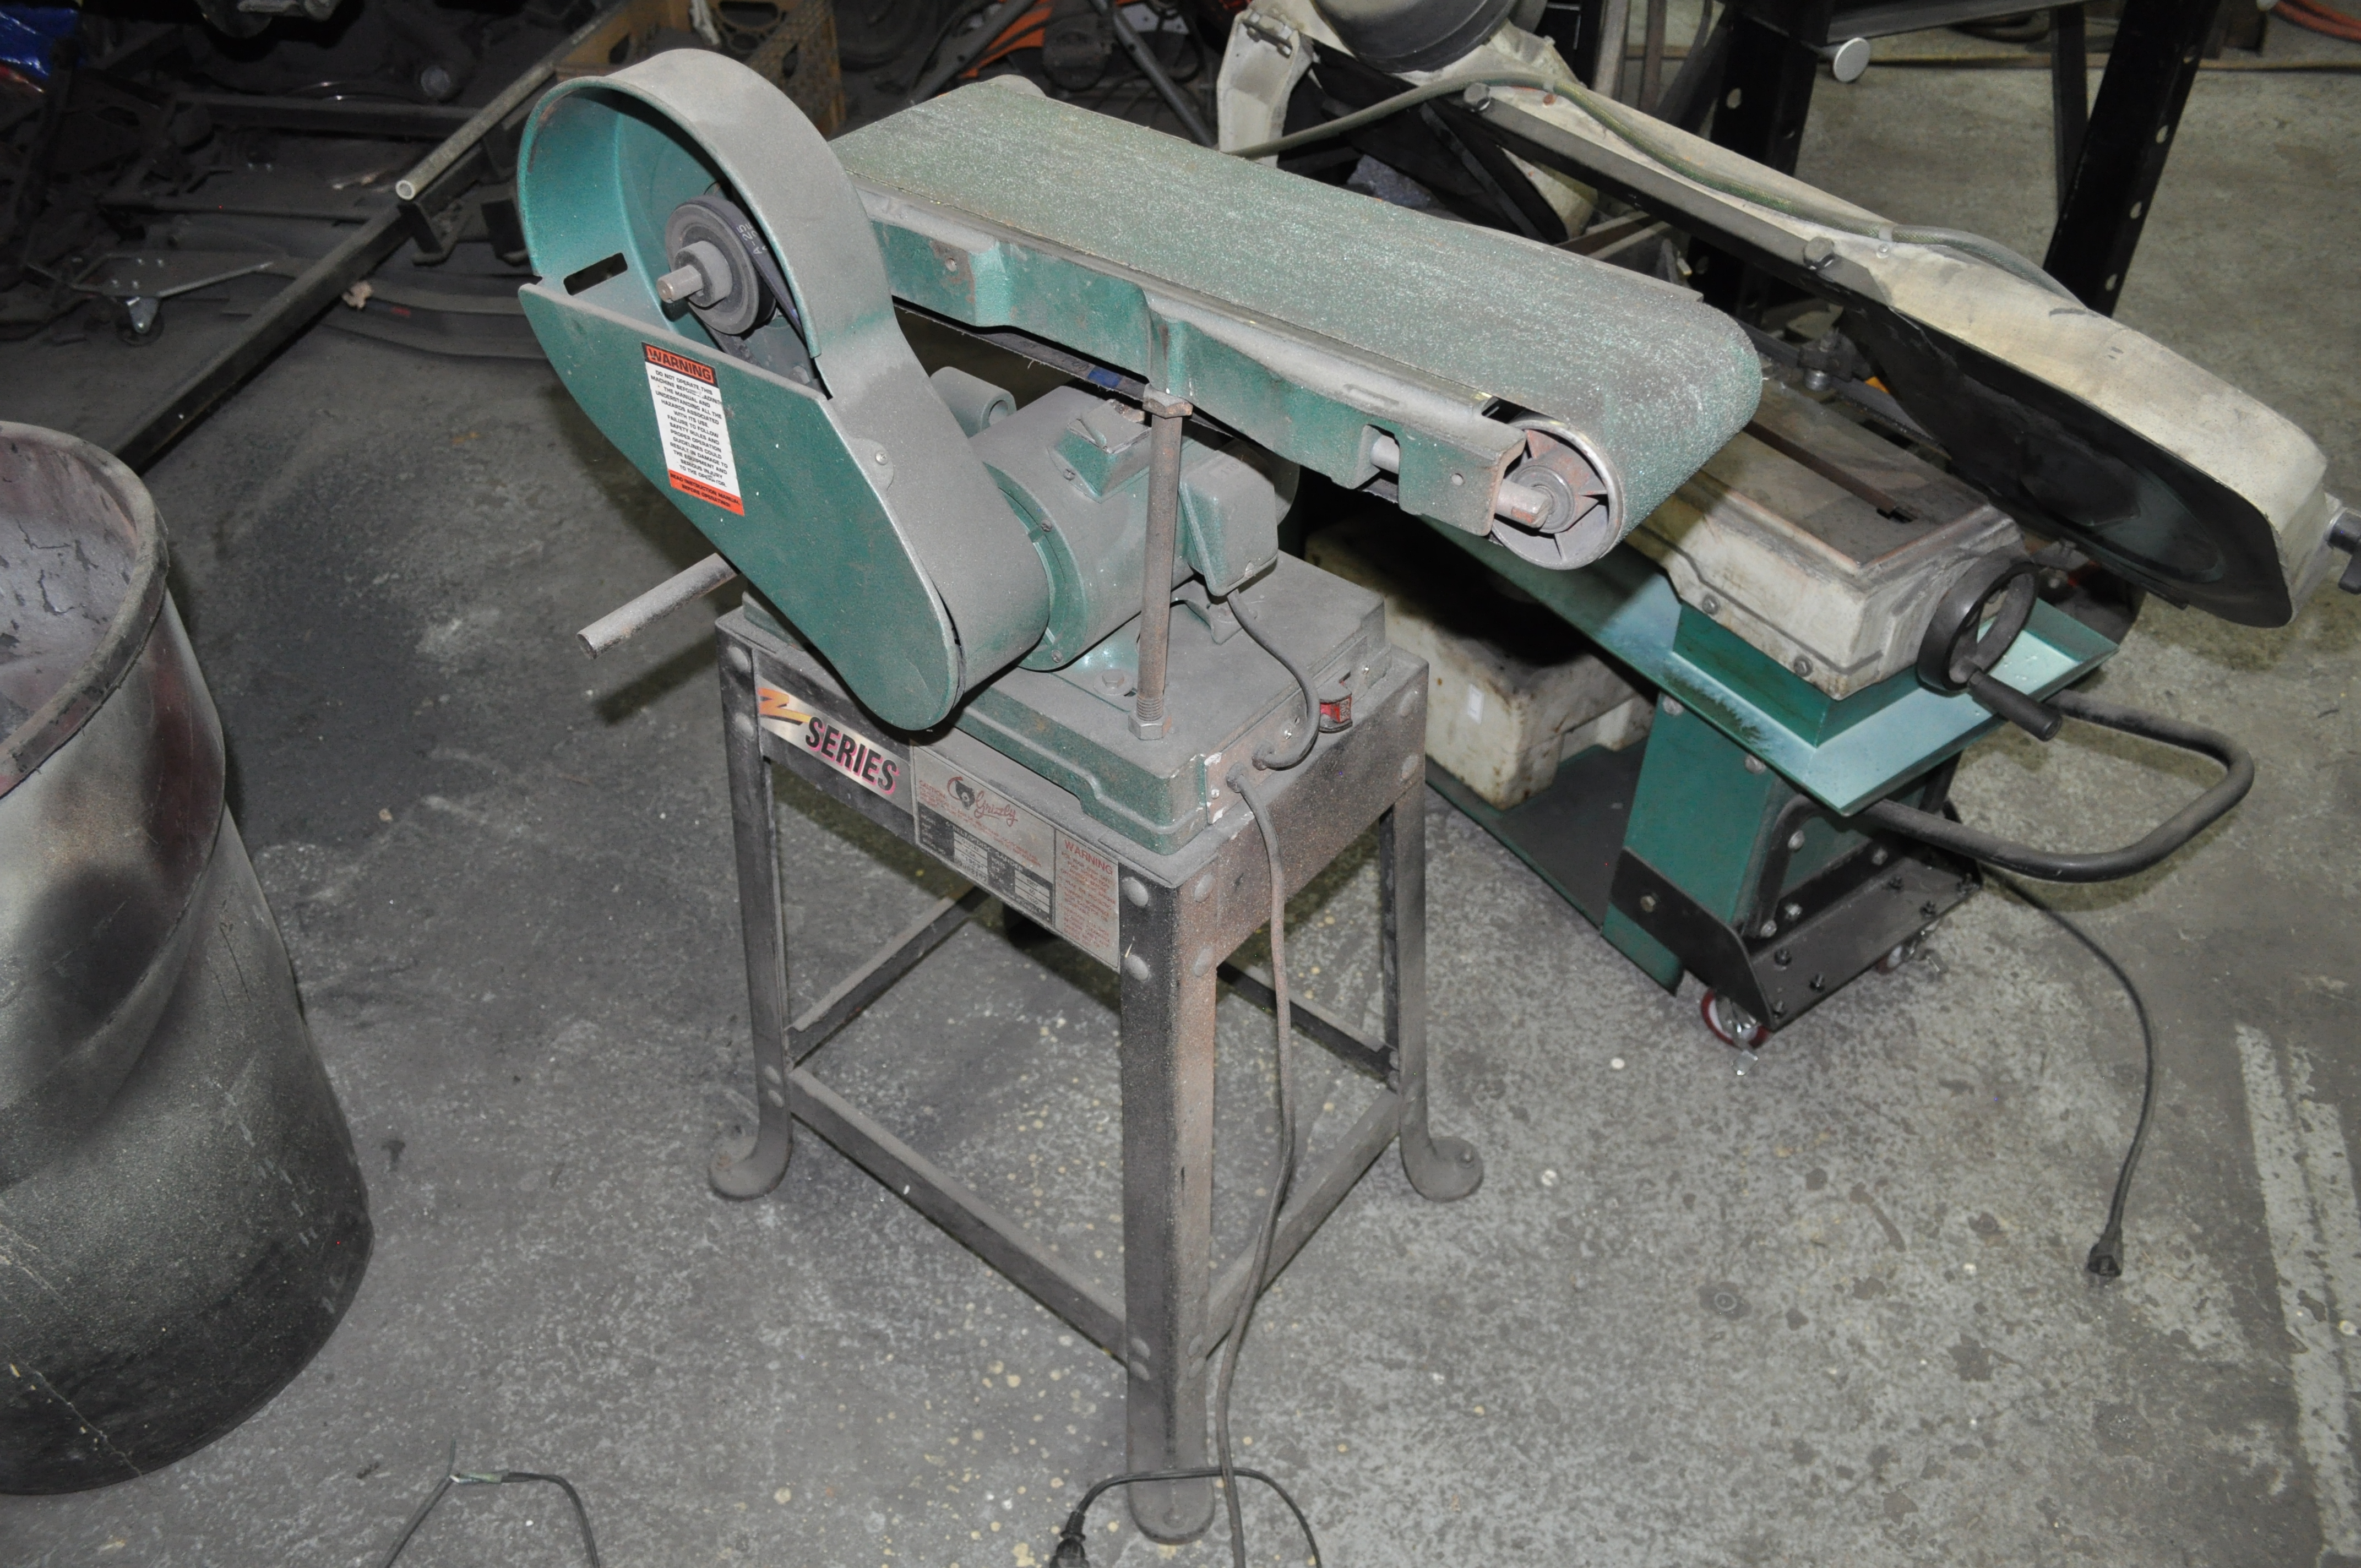
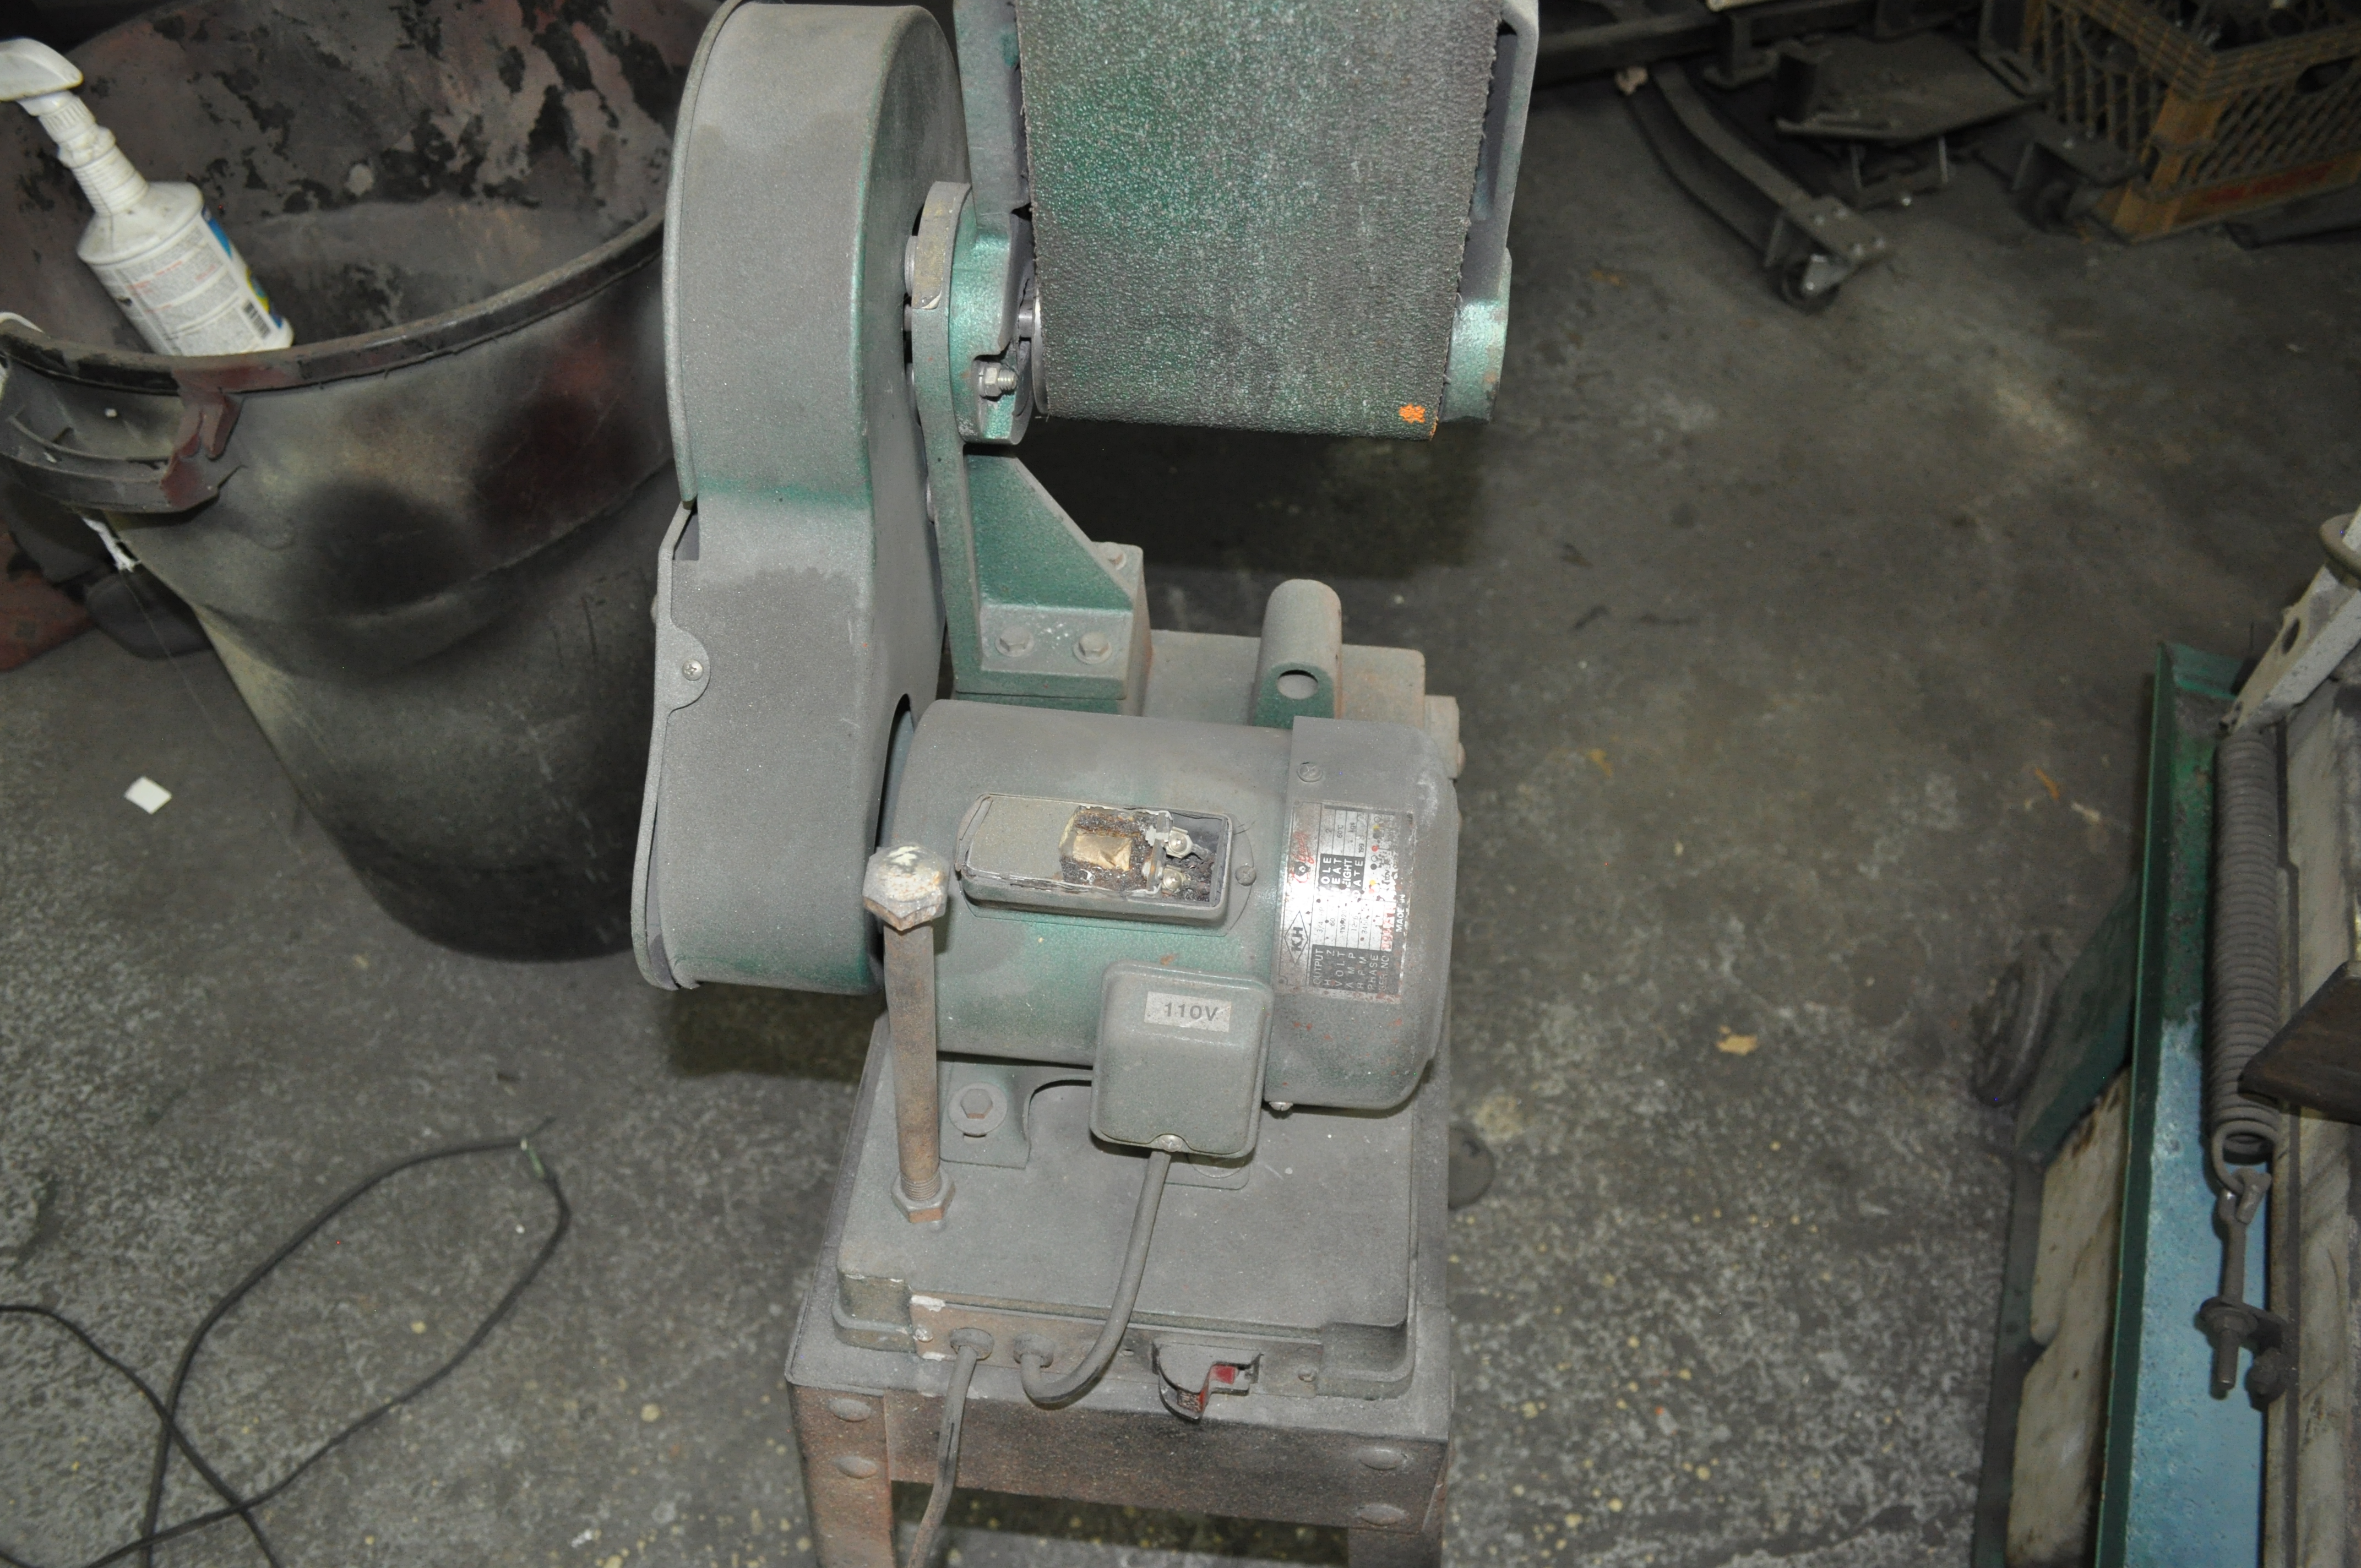
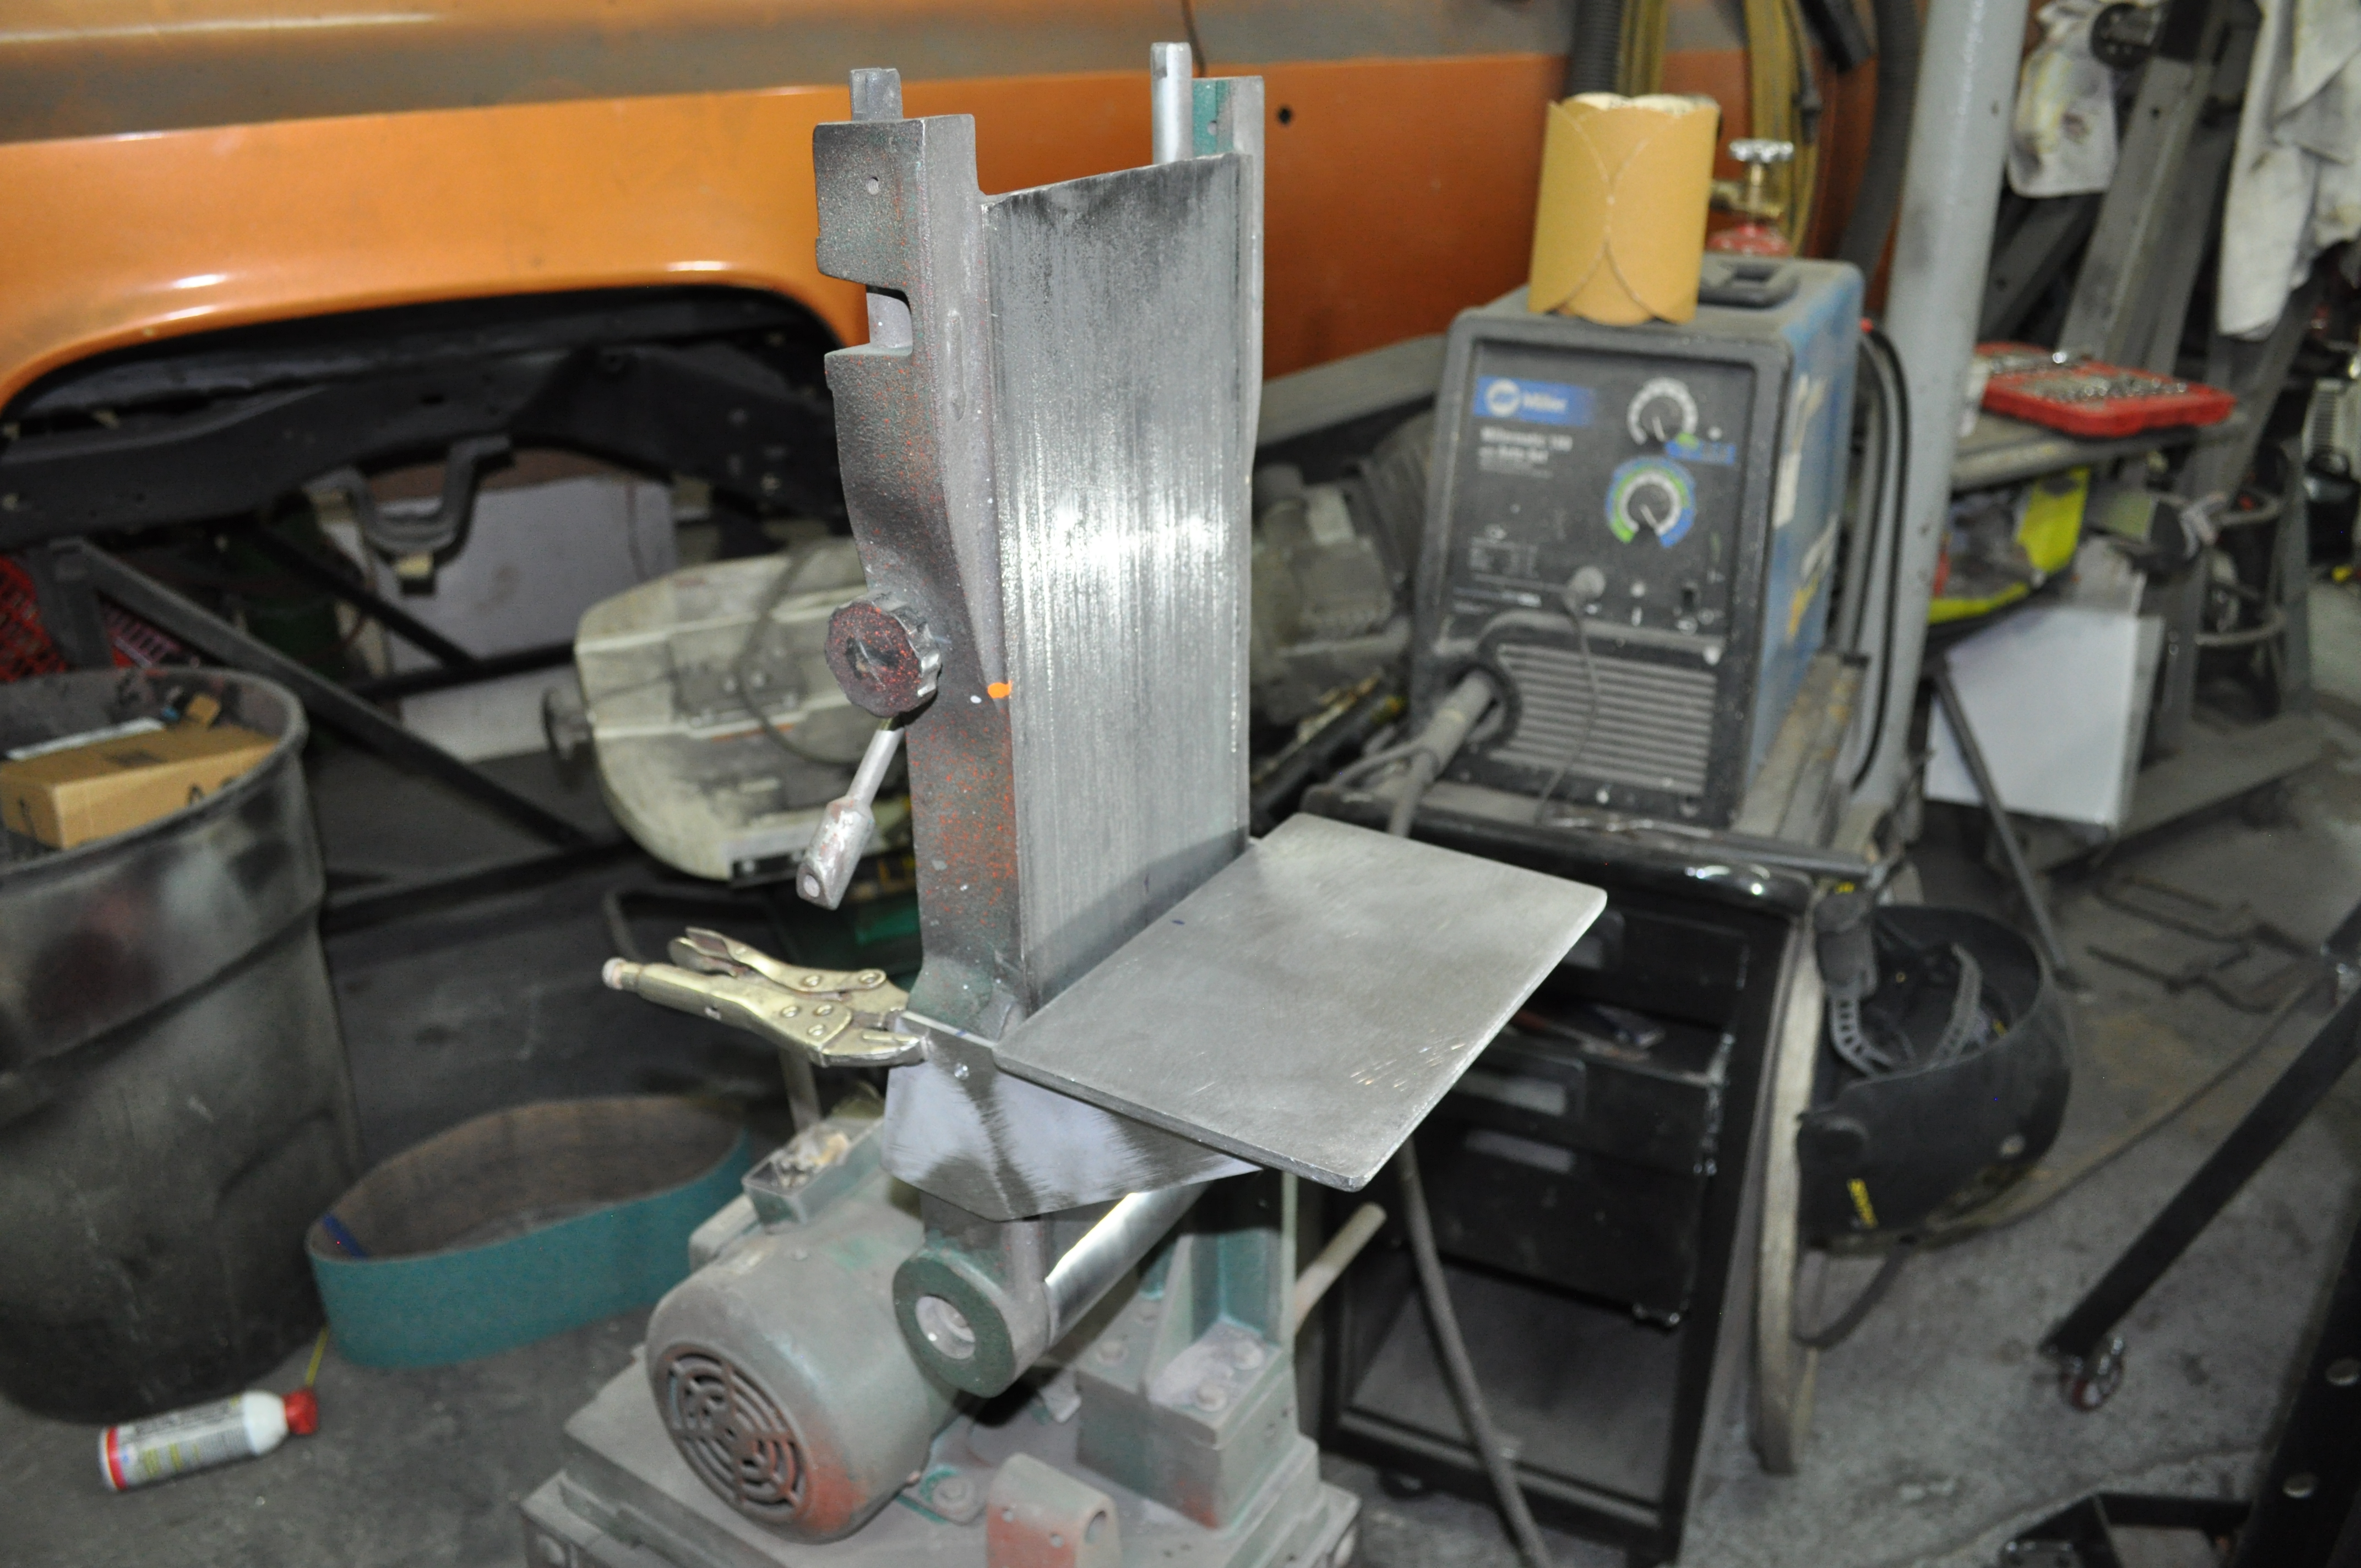
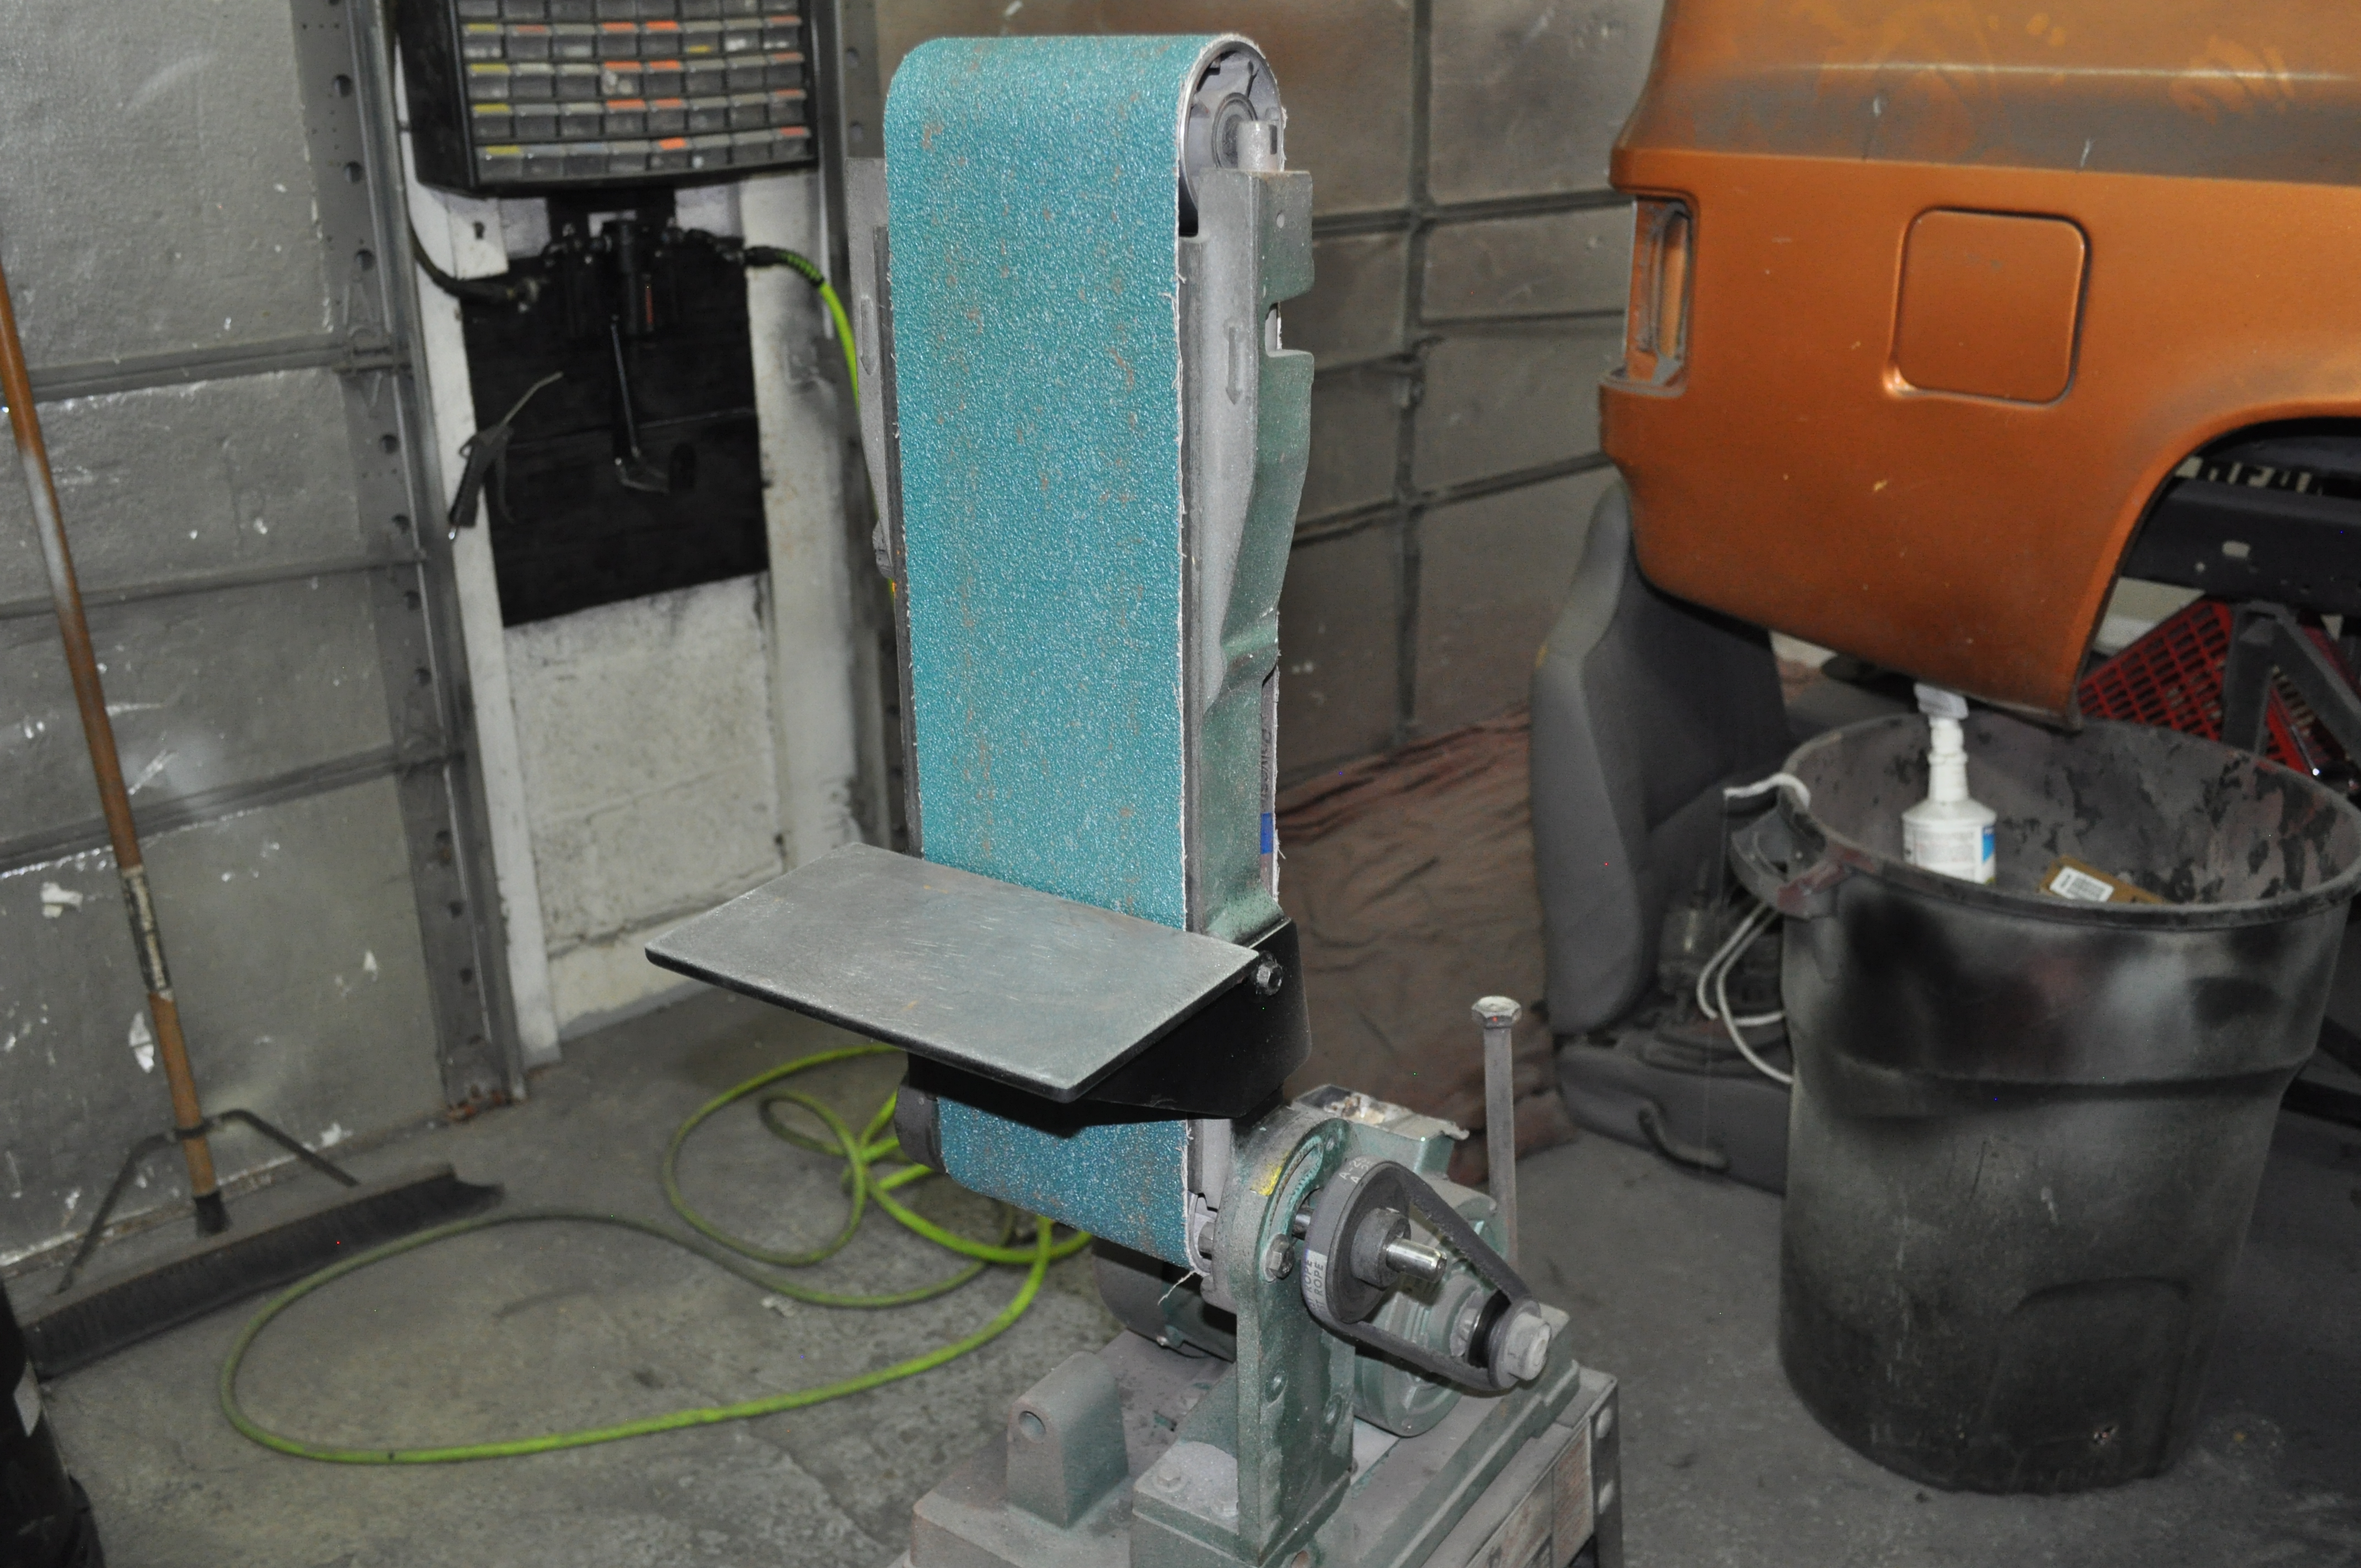
 looks like it could fail any time.... it deserves some maintenance luv, certainly earned it's keep...

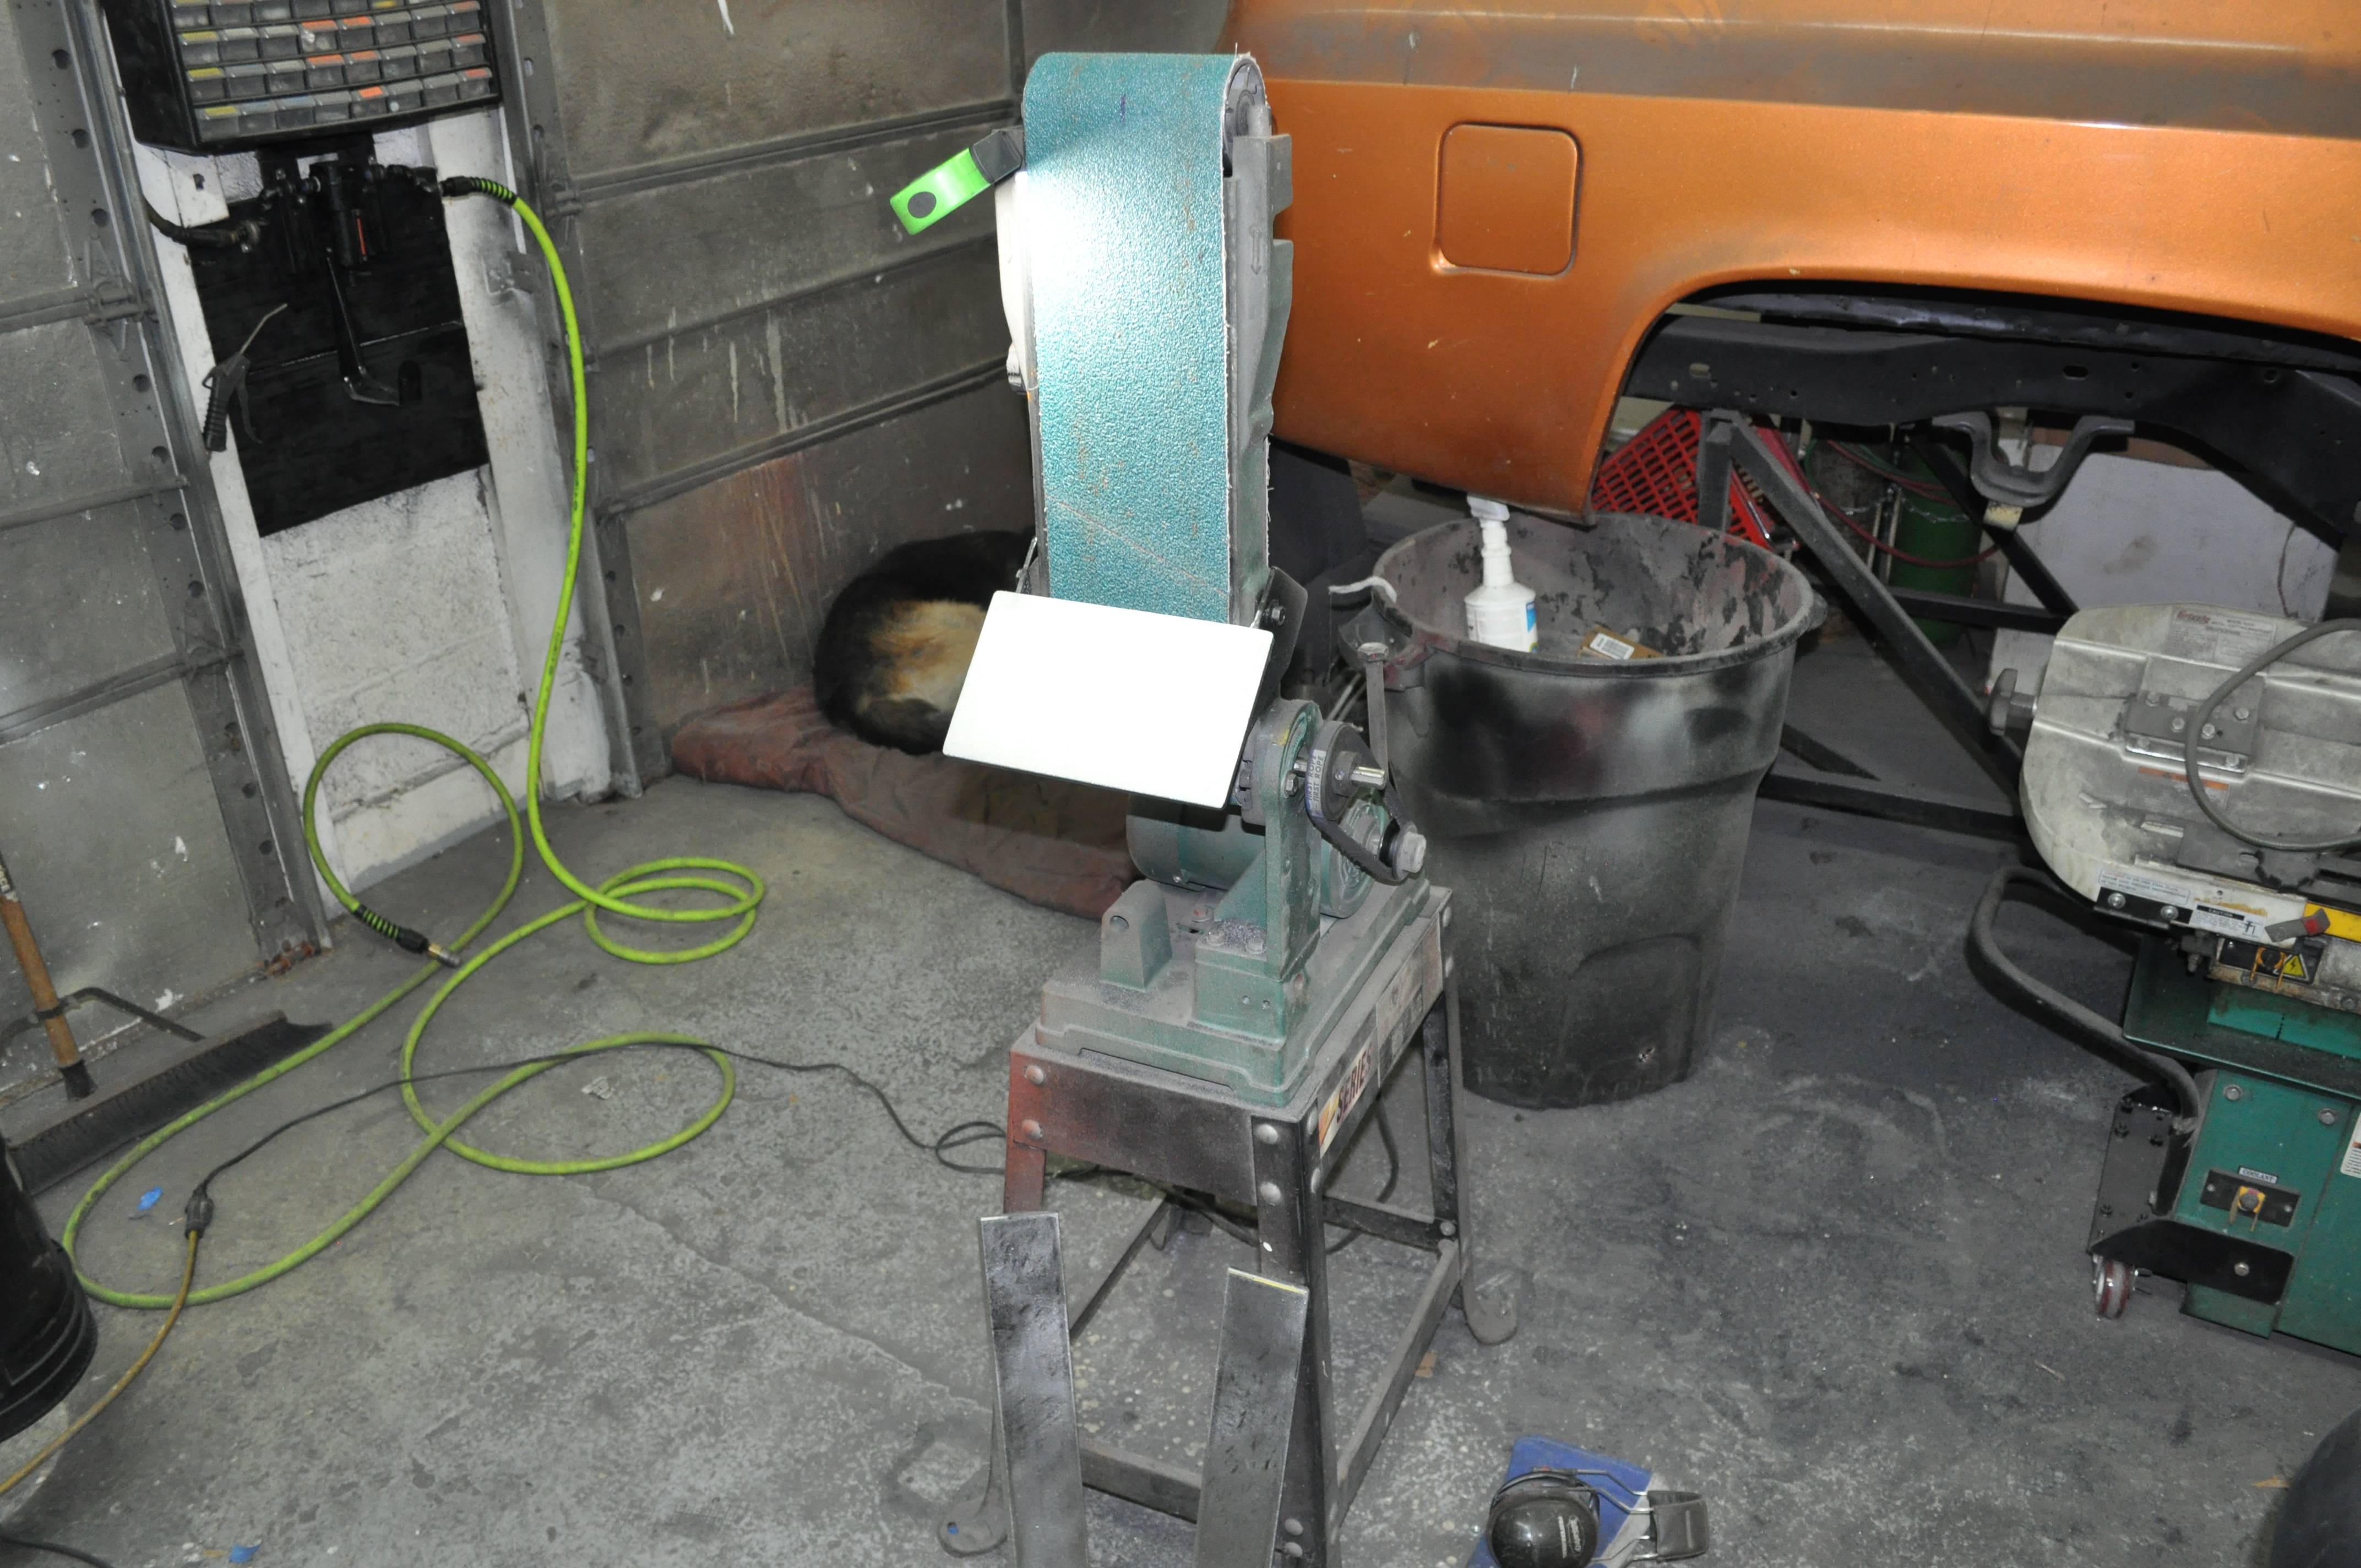
 it was upstairs under my desk/feet, when I was researching pulleys...
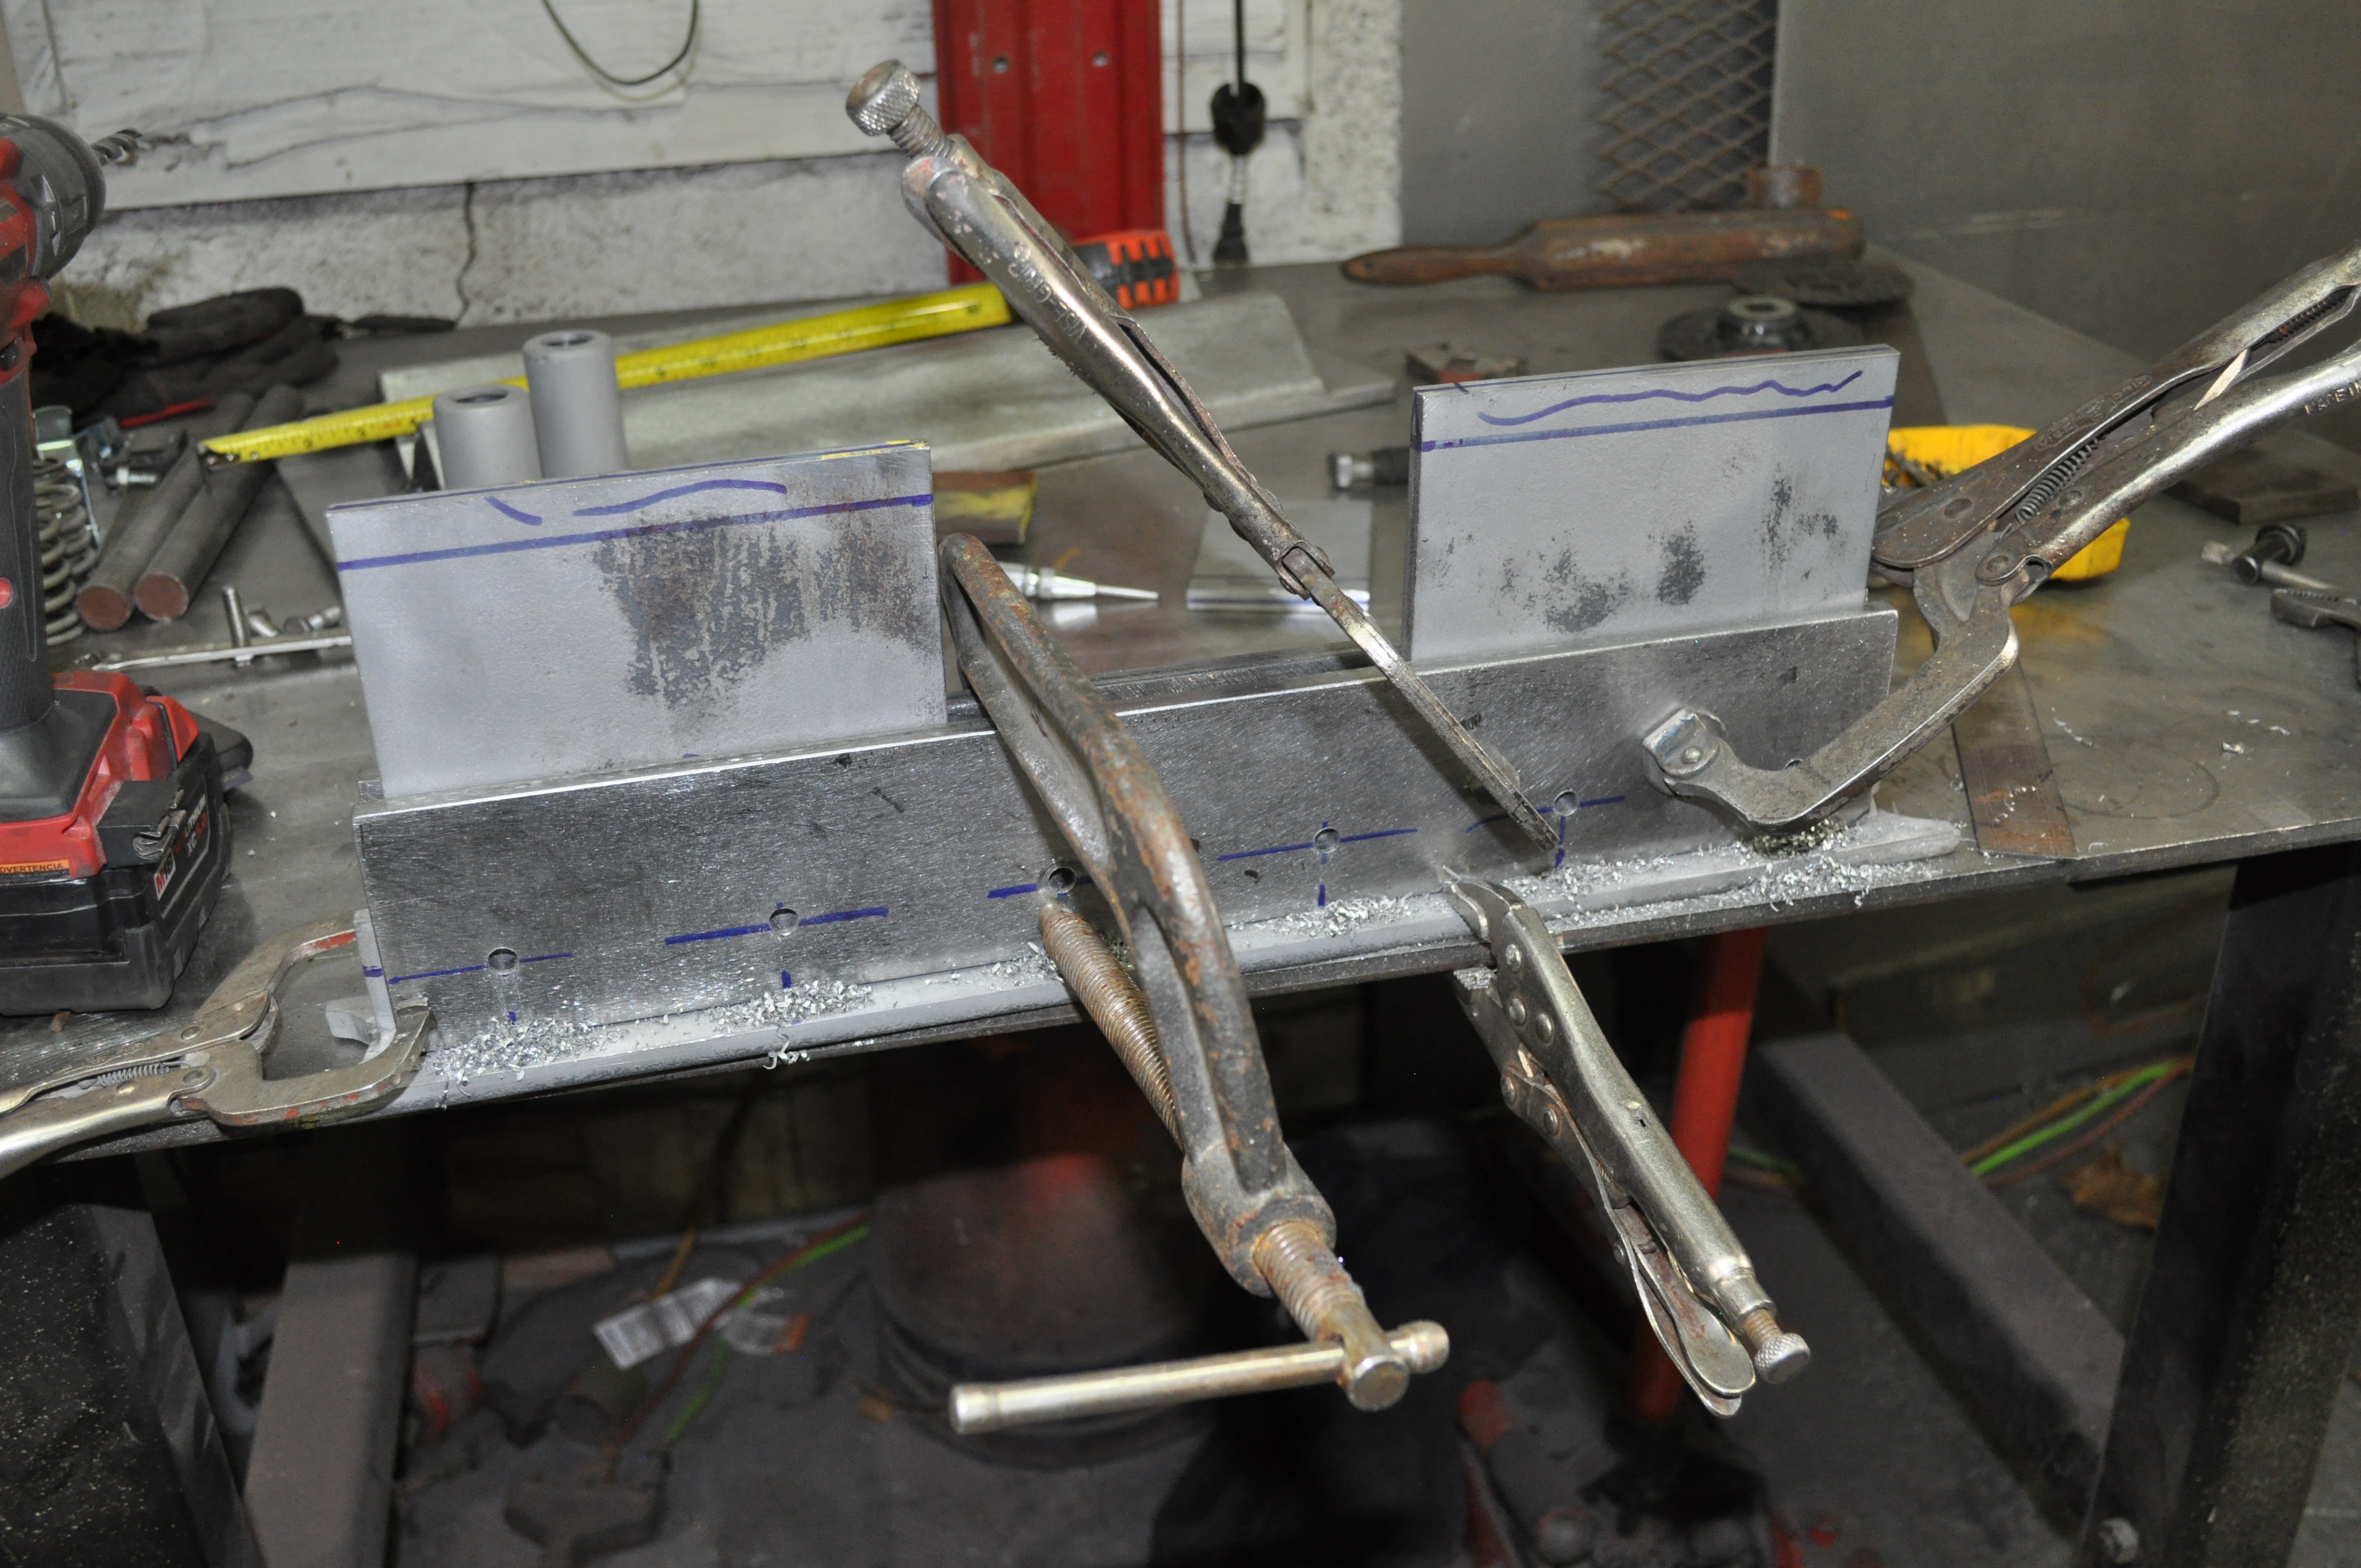


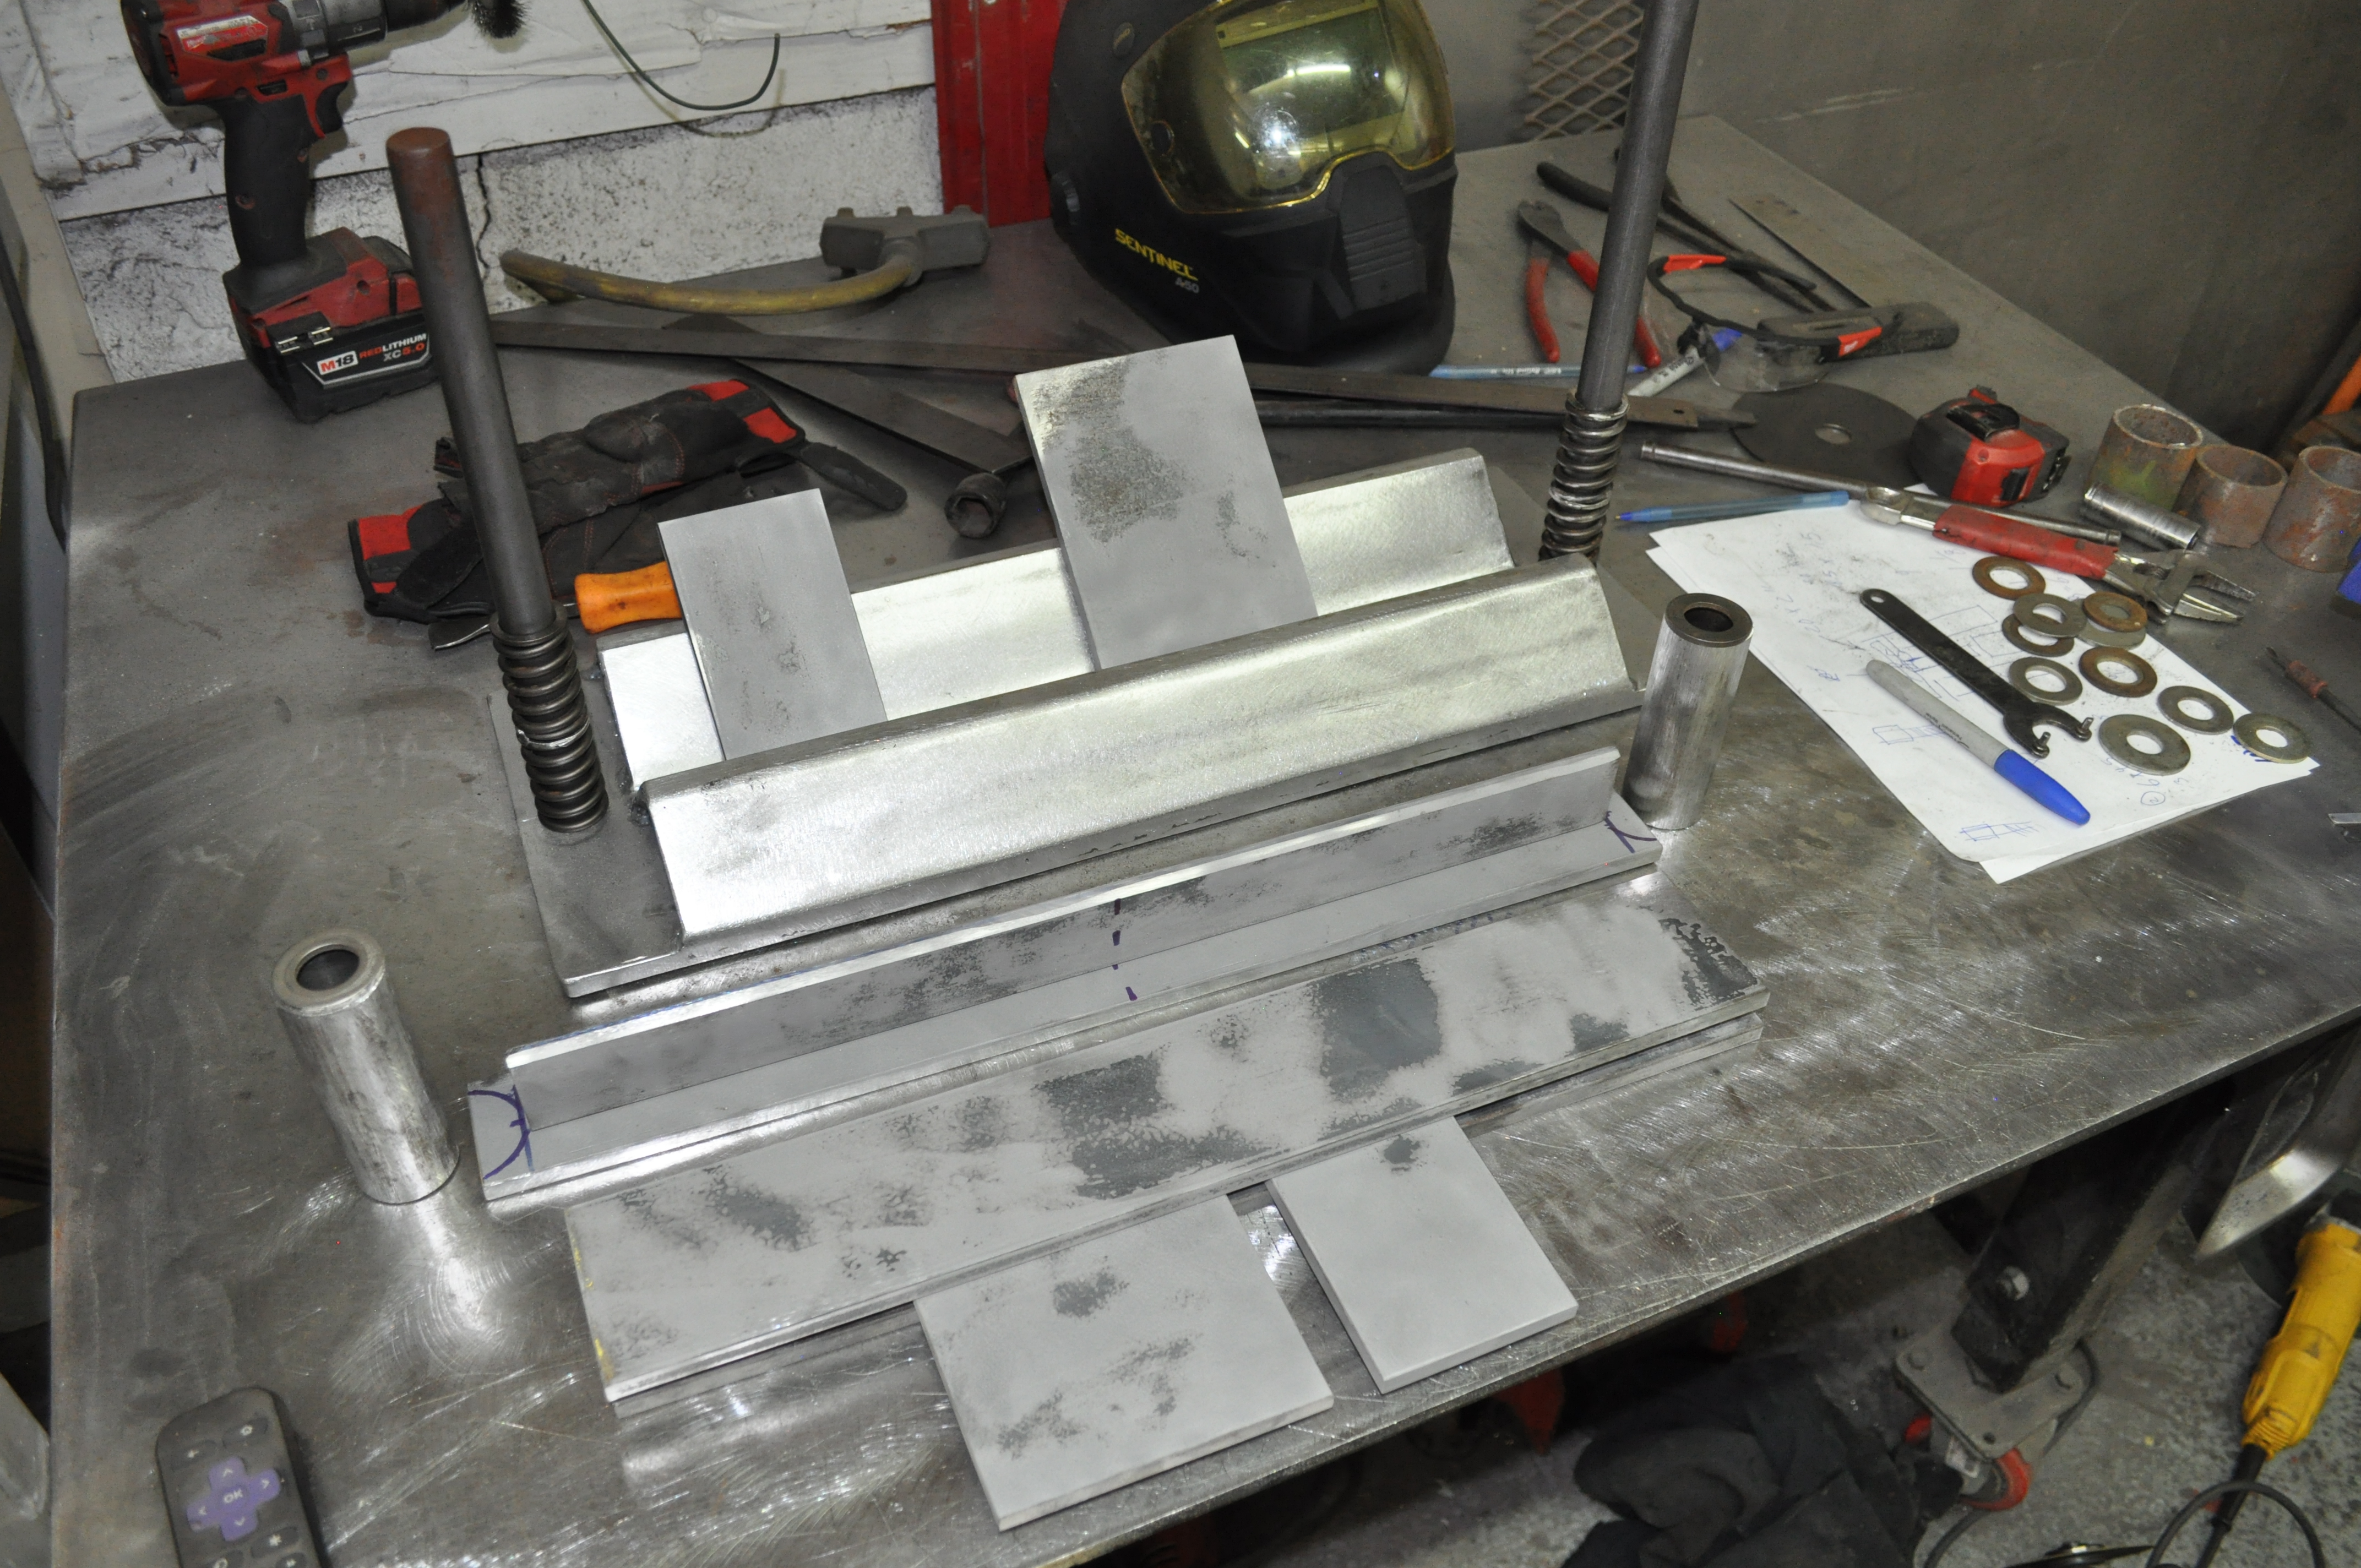
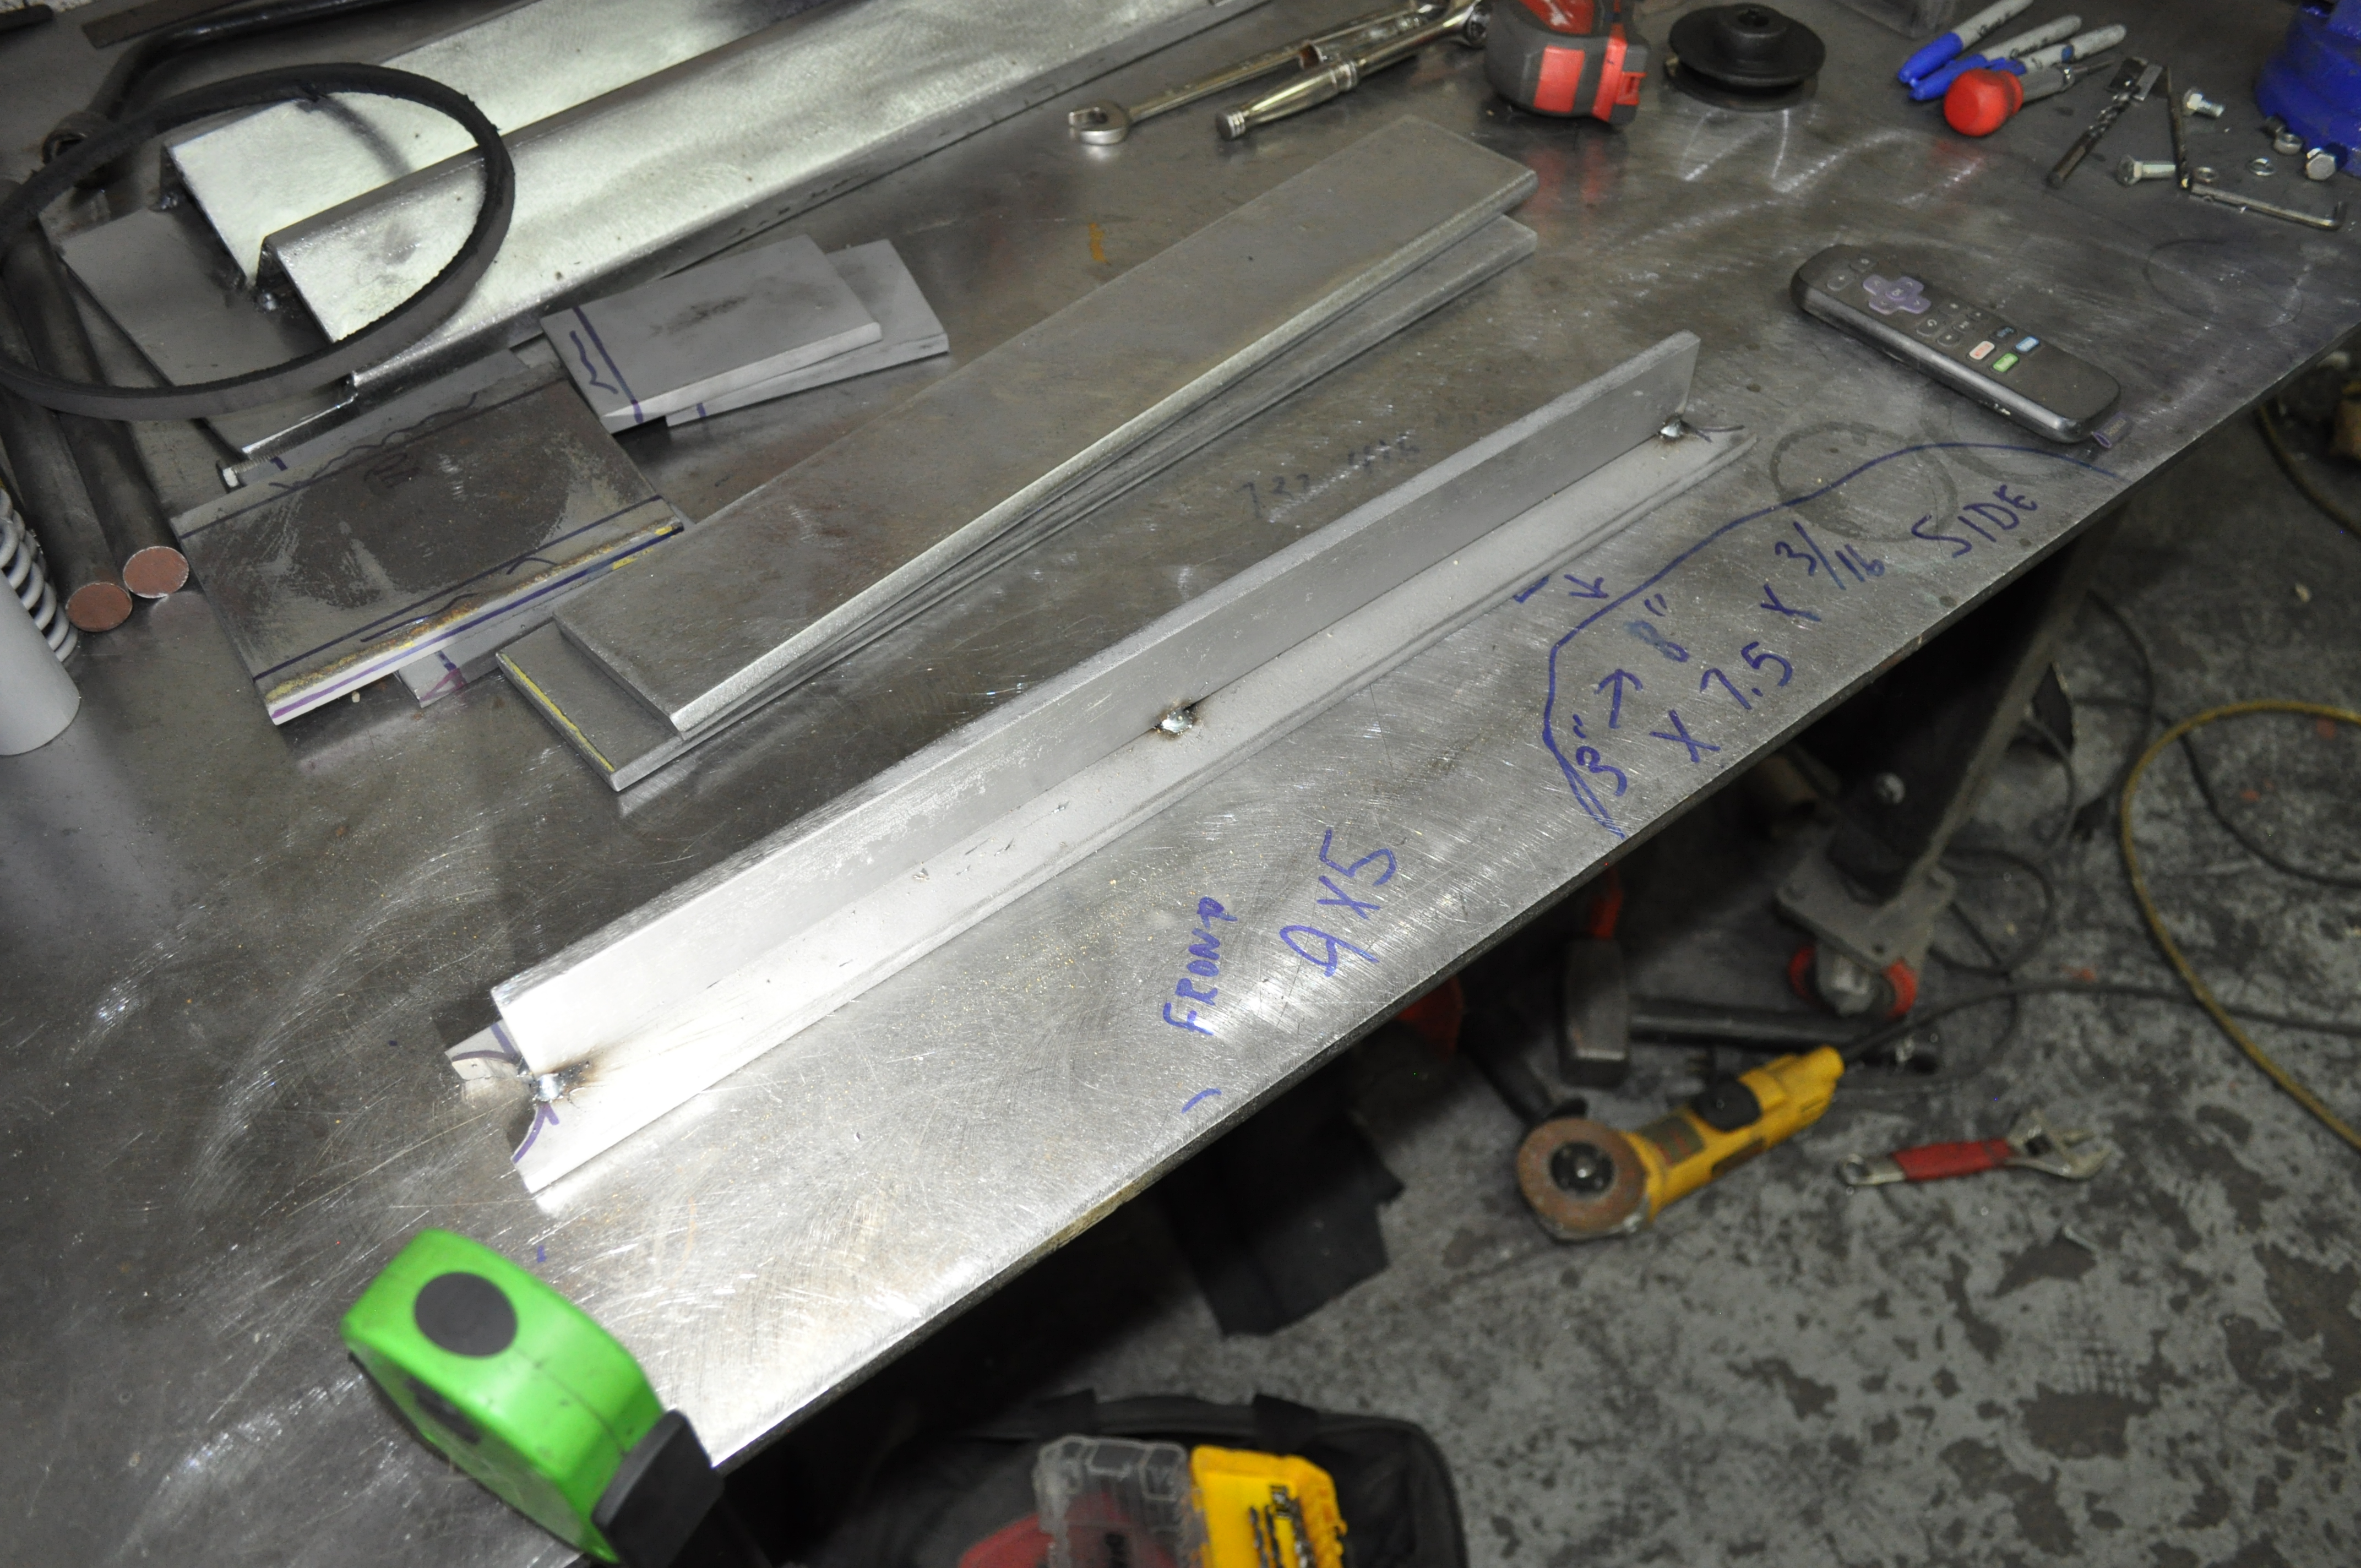
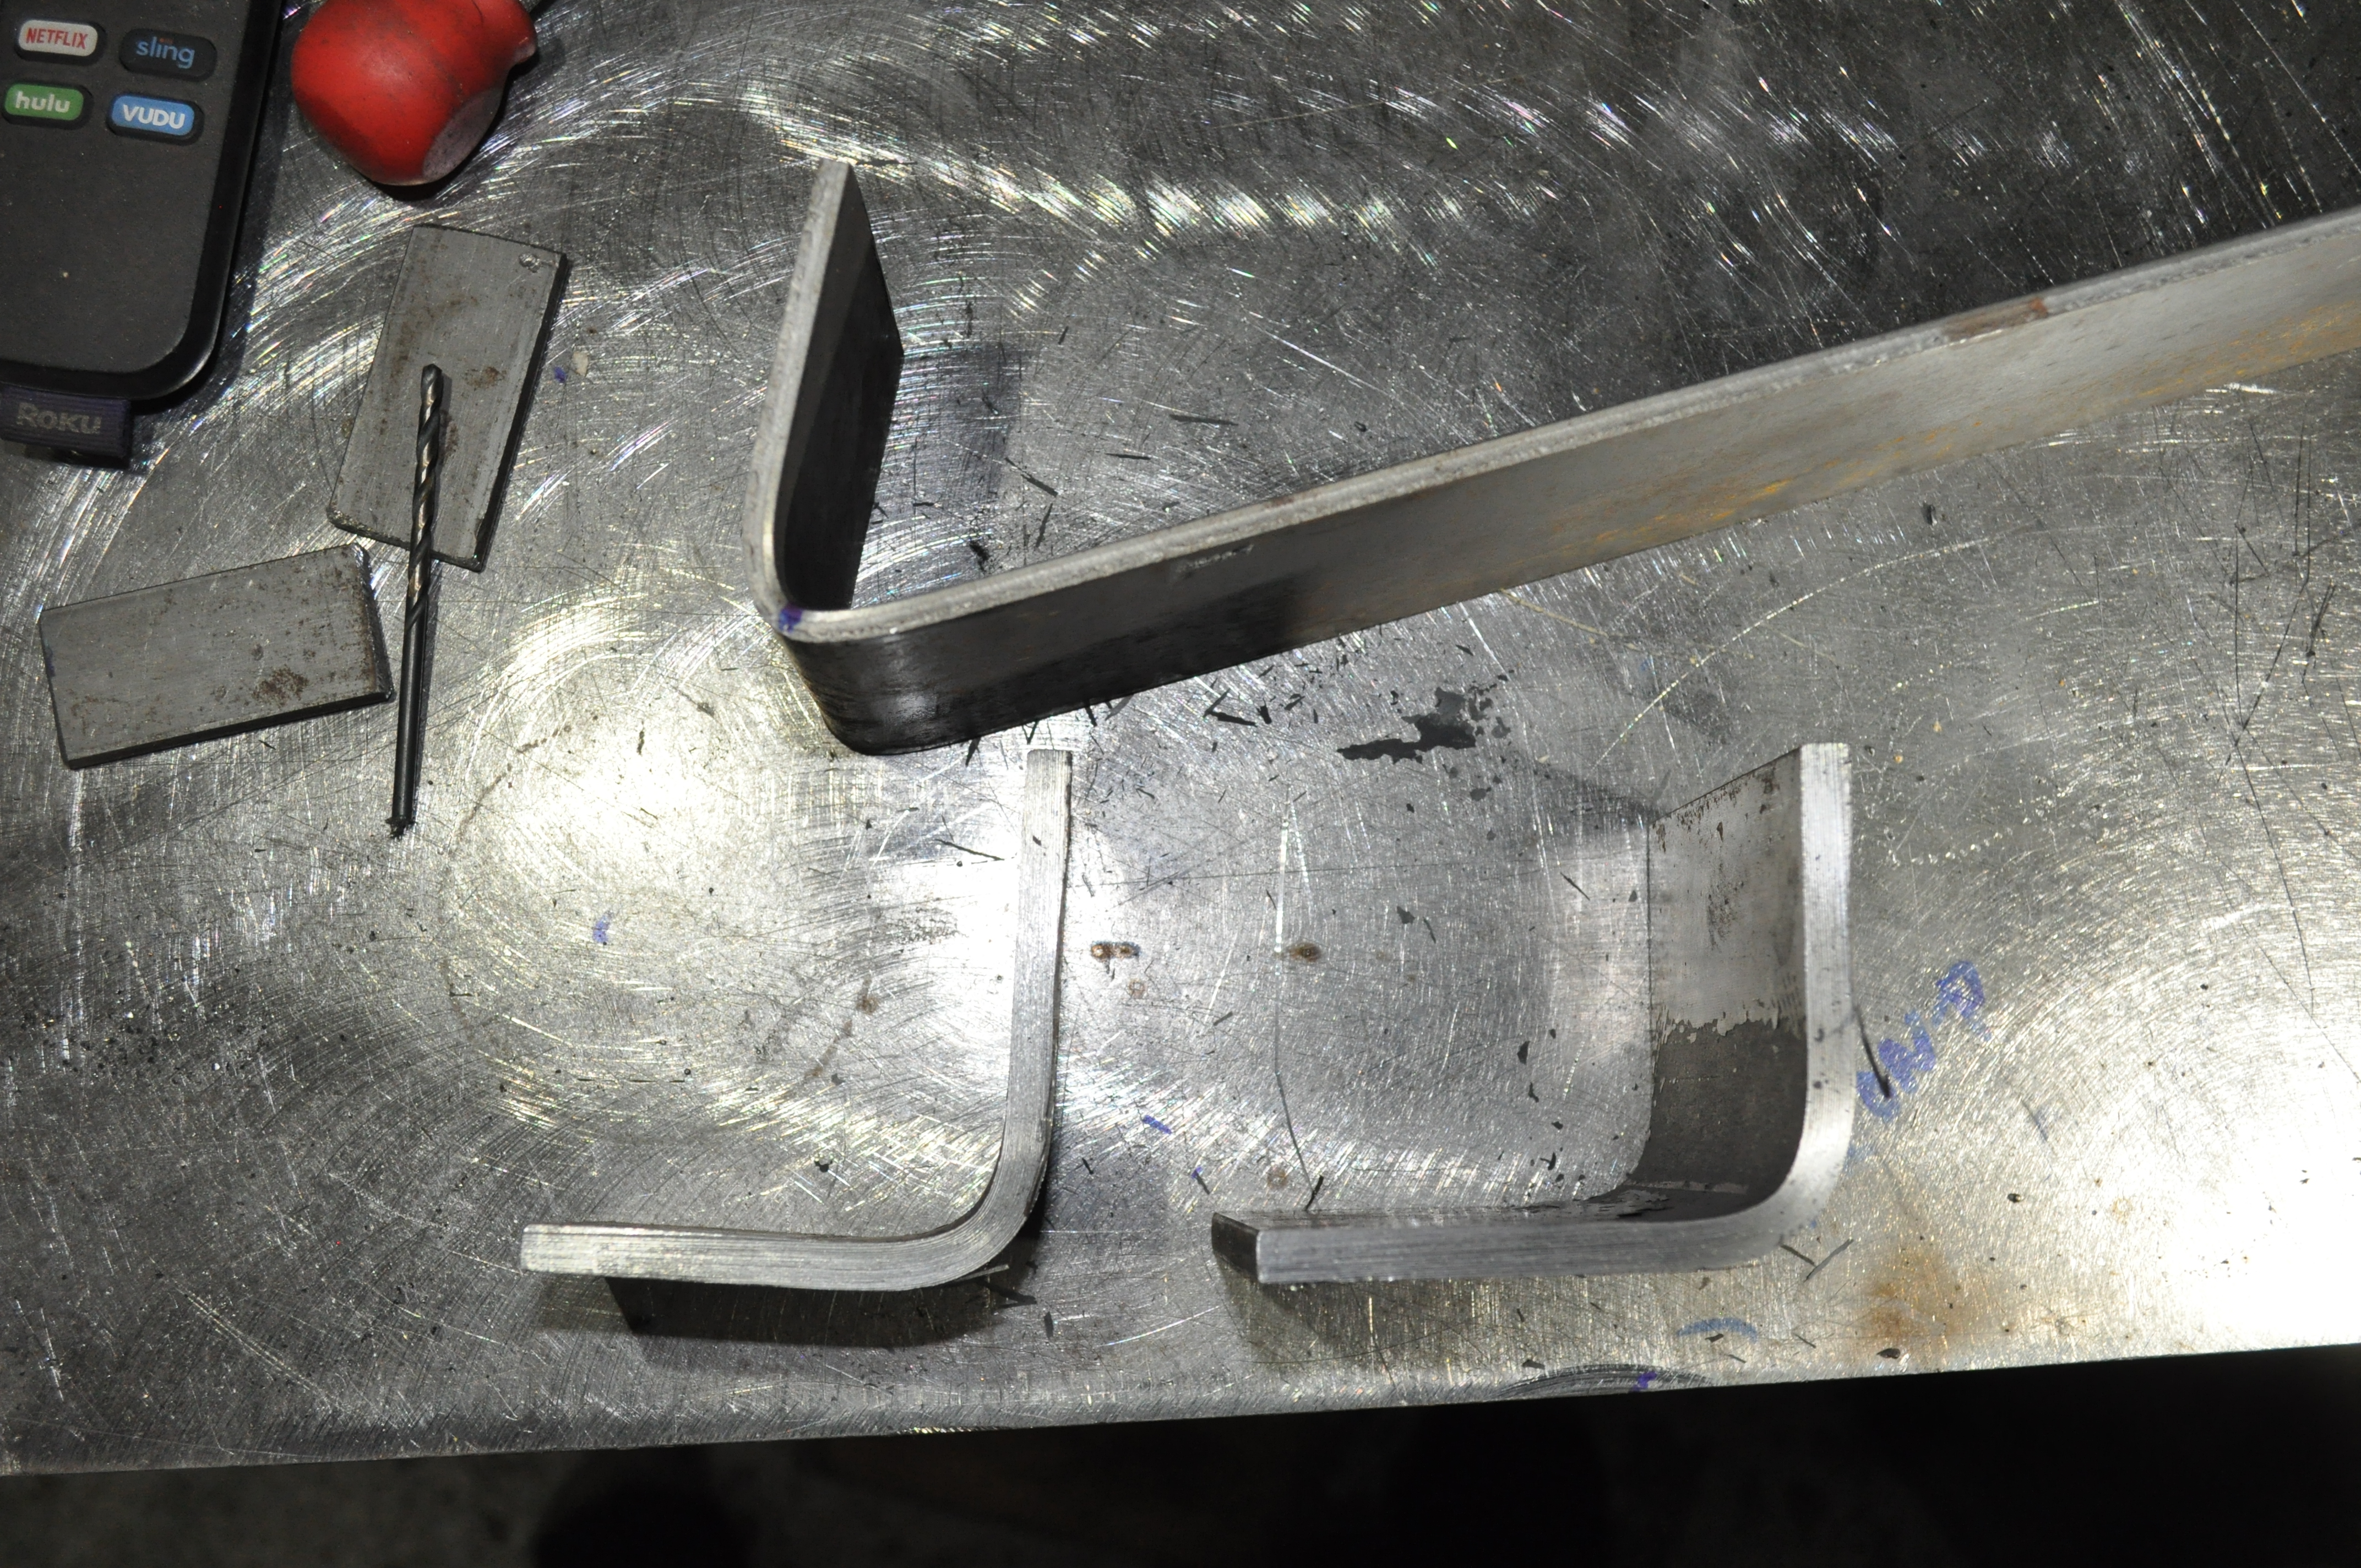
 and it was strictly in the jack.. even hand pumping it... my junk is fine... I didn't push it to bypass point, but... i'm sure it would do 1" wide tho....
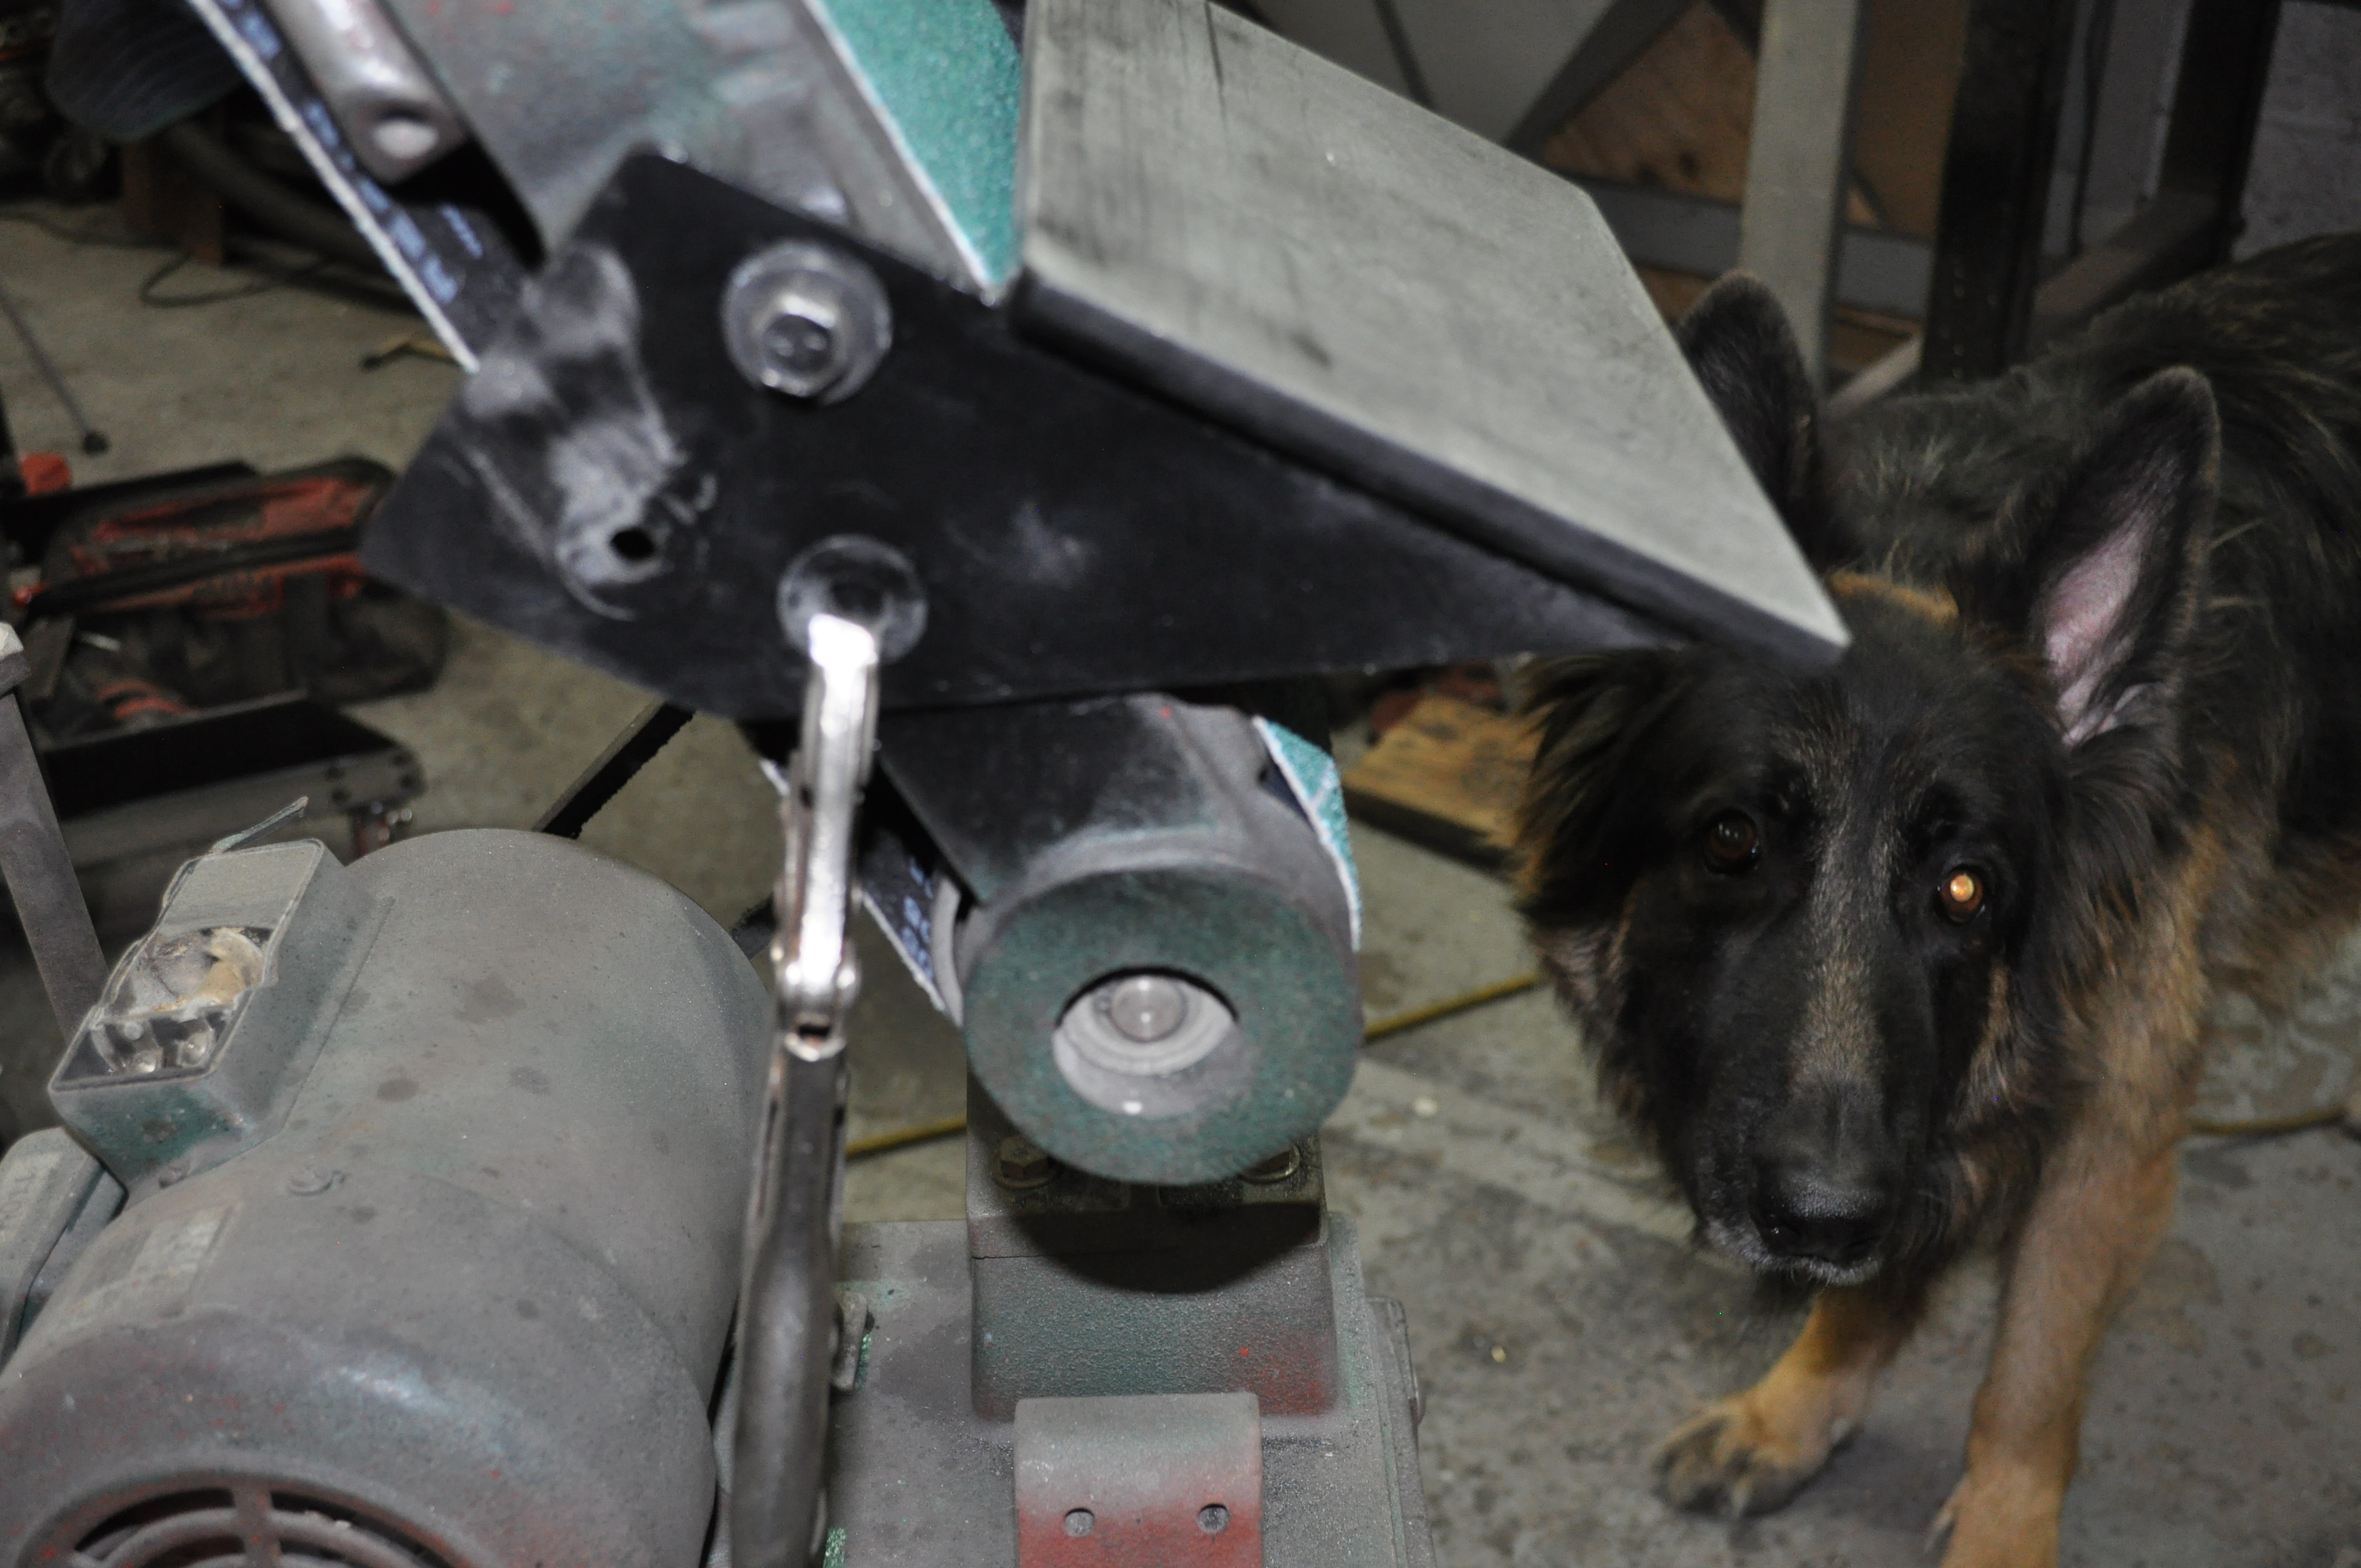
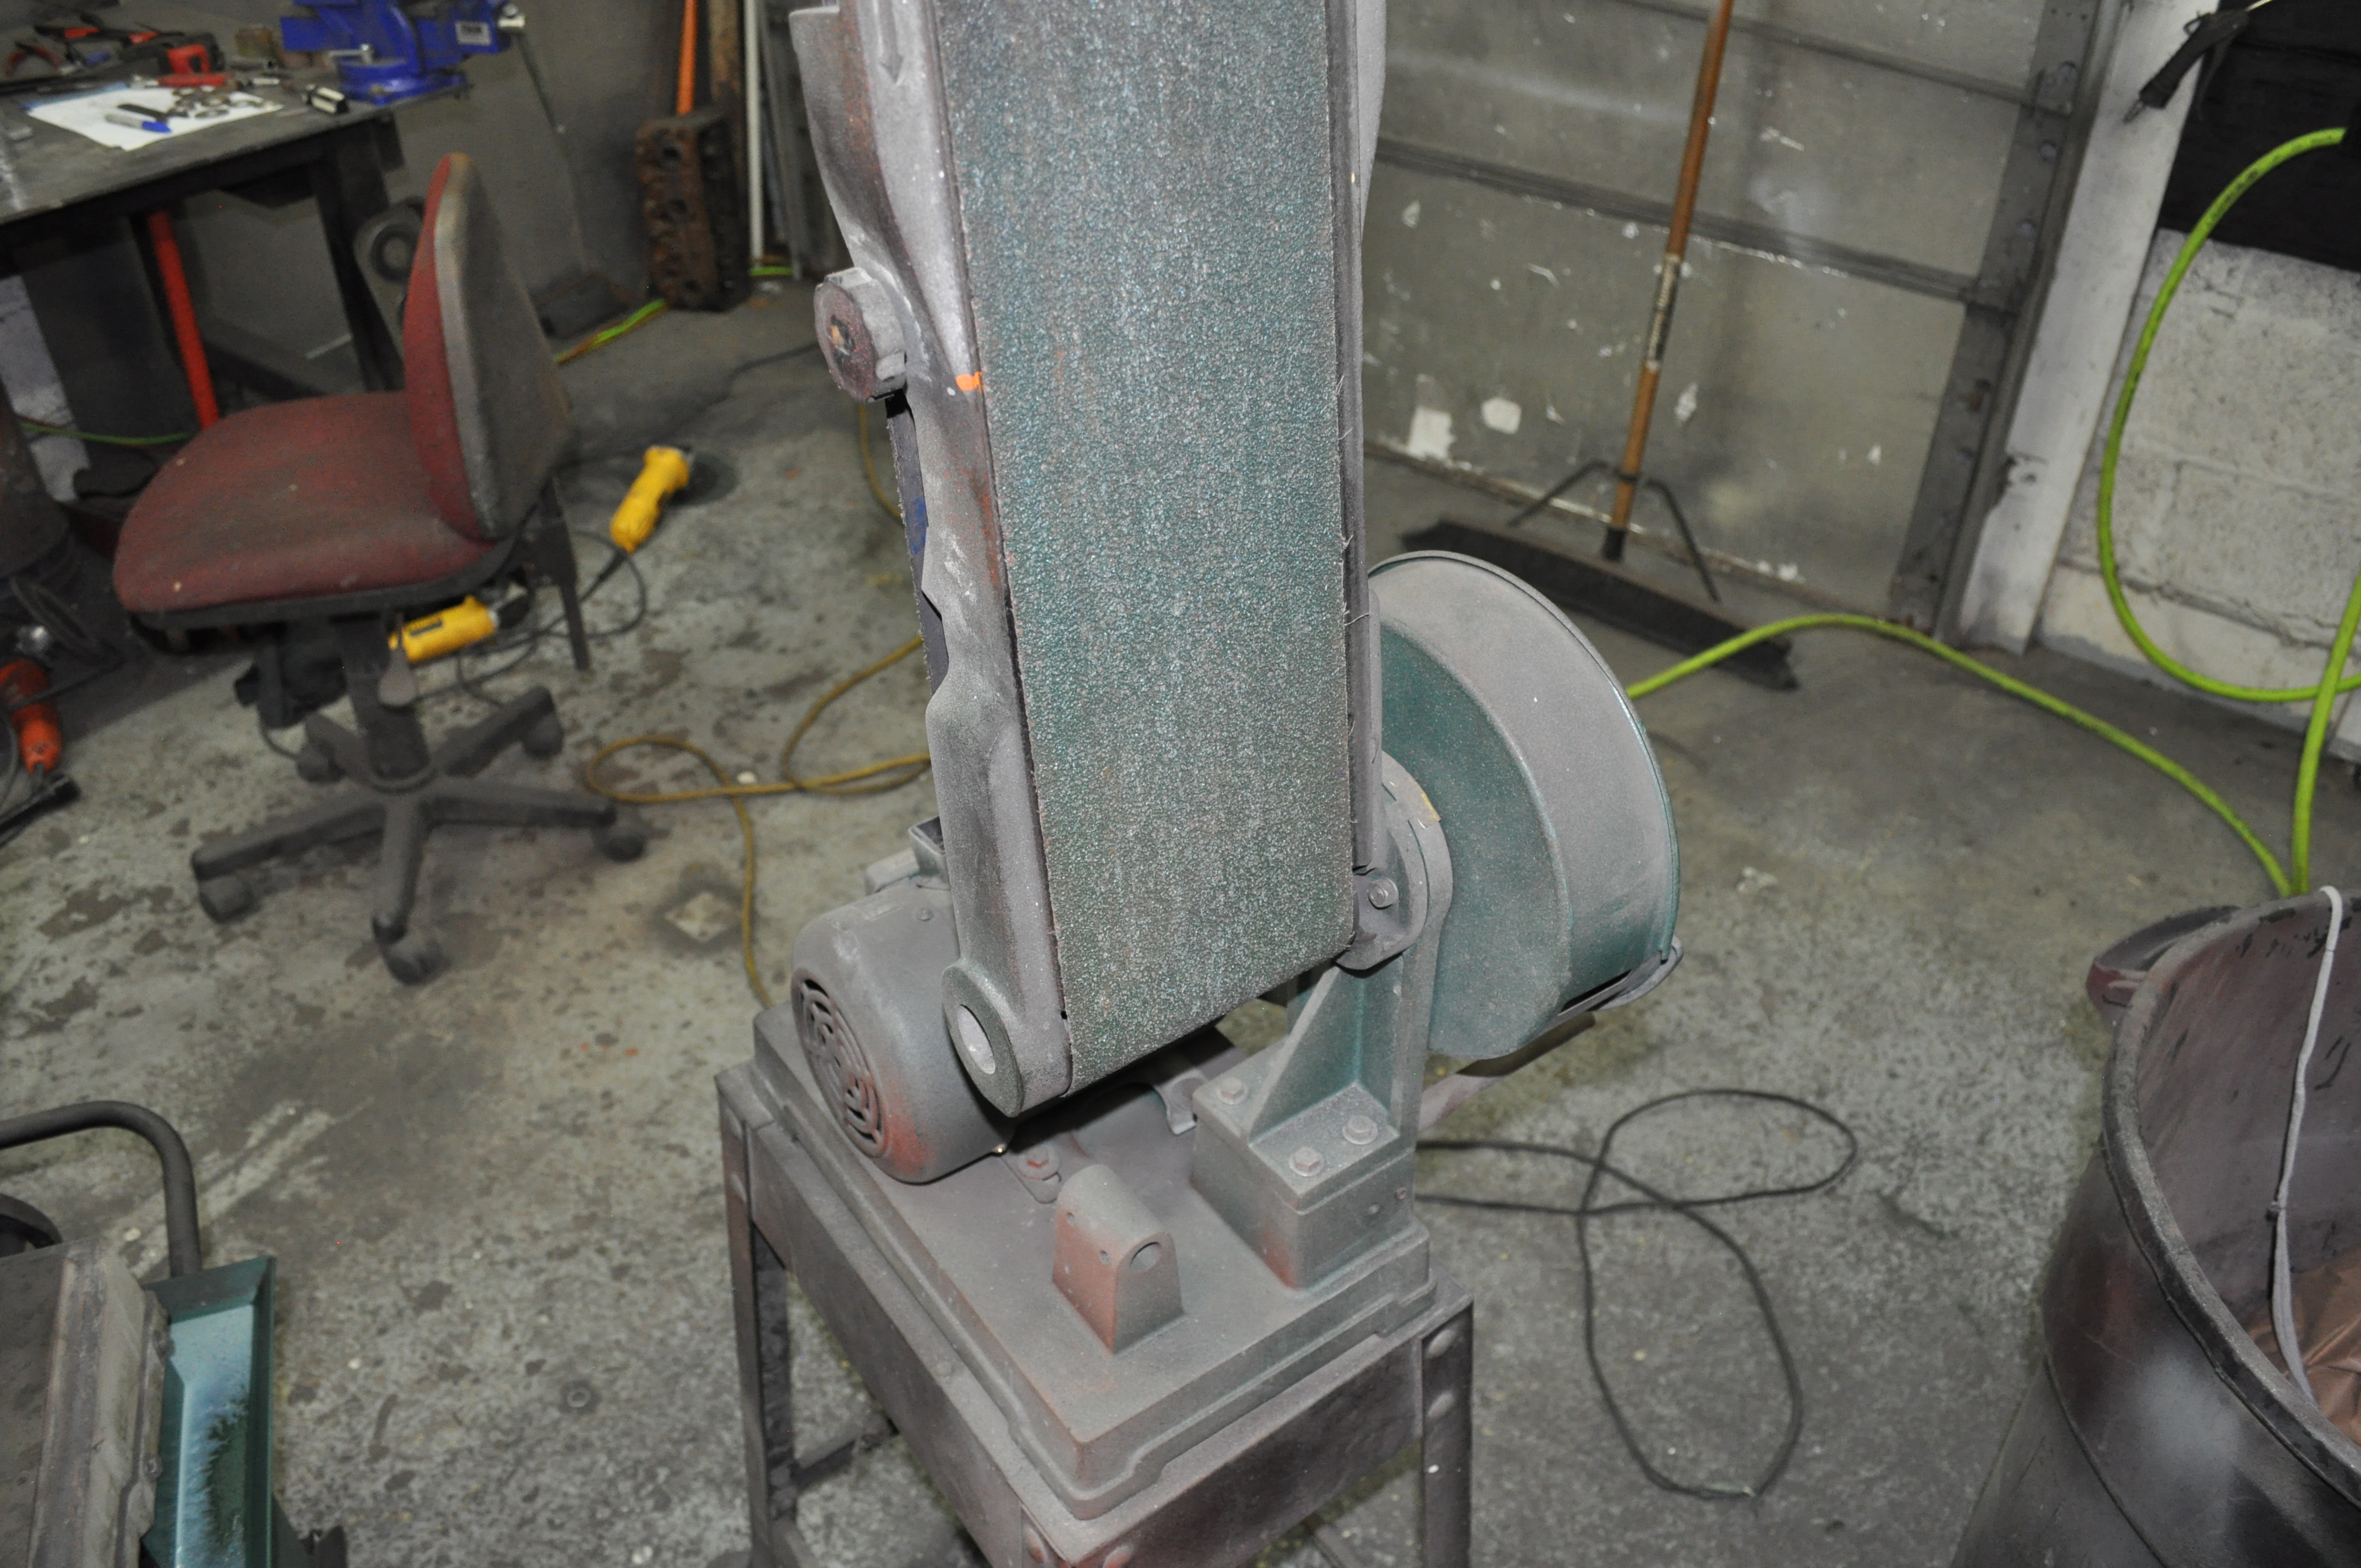
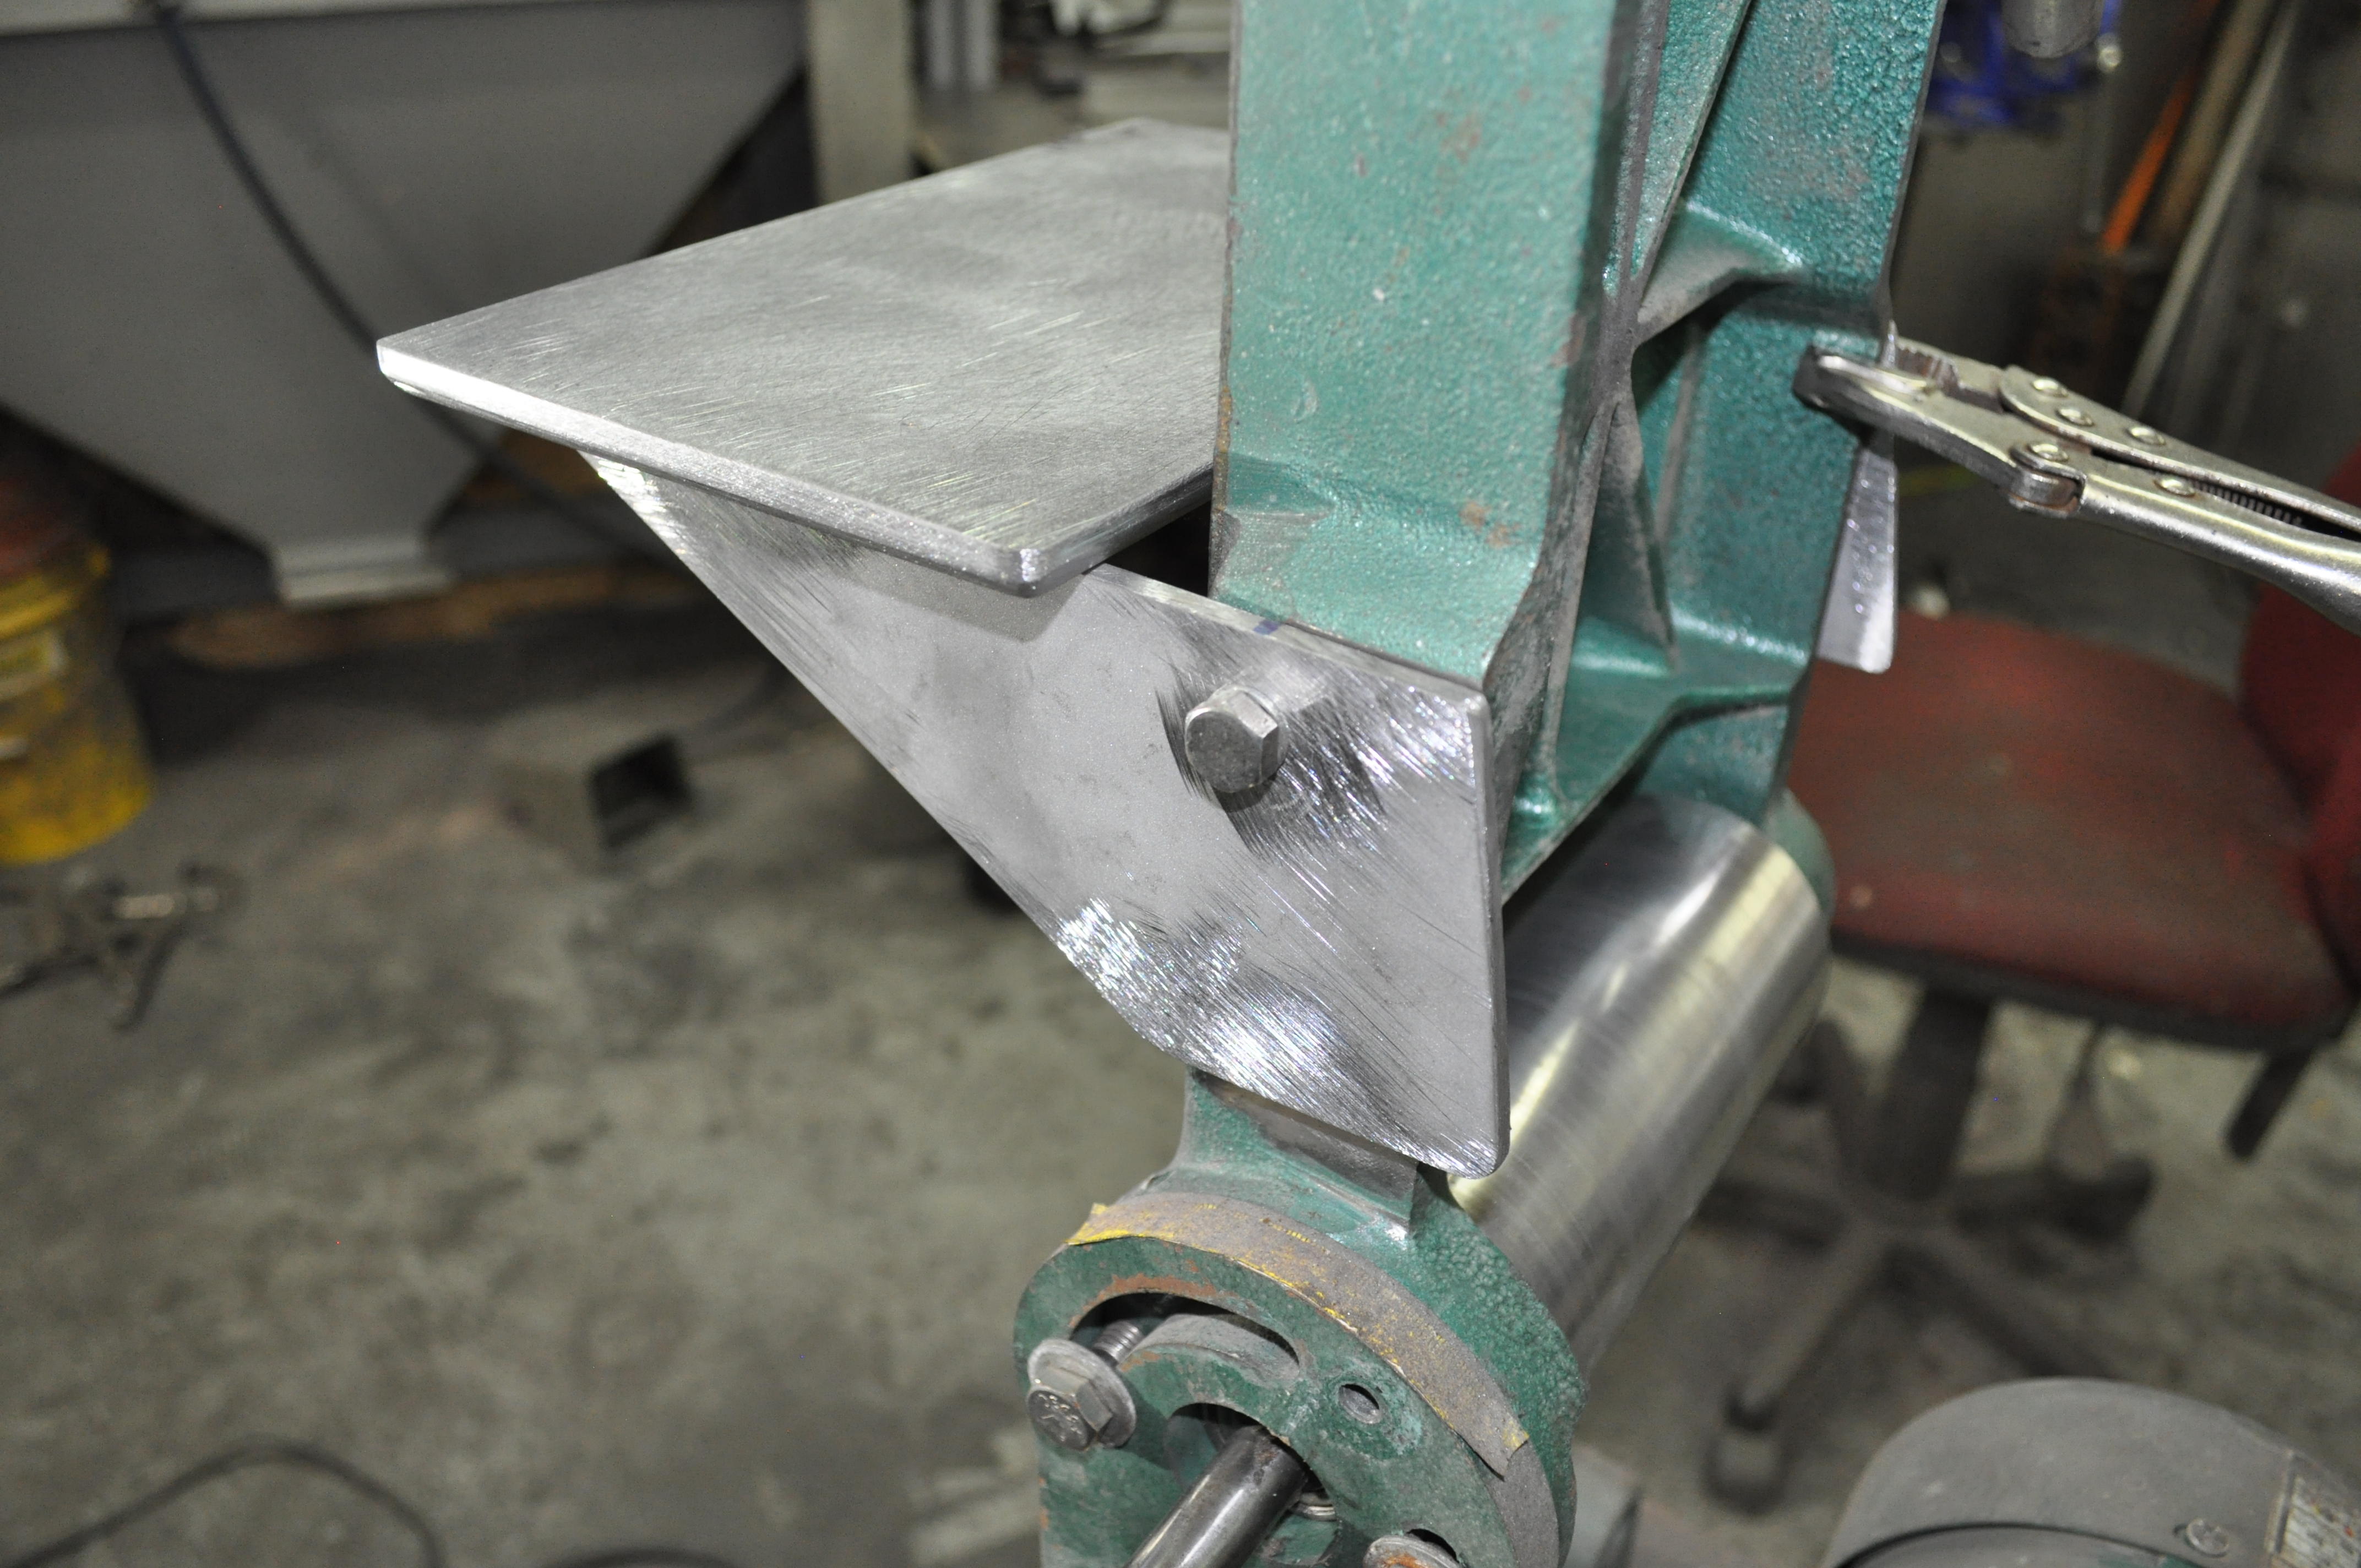
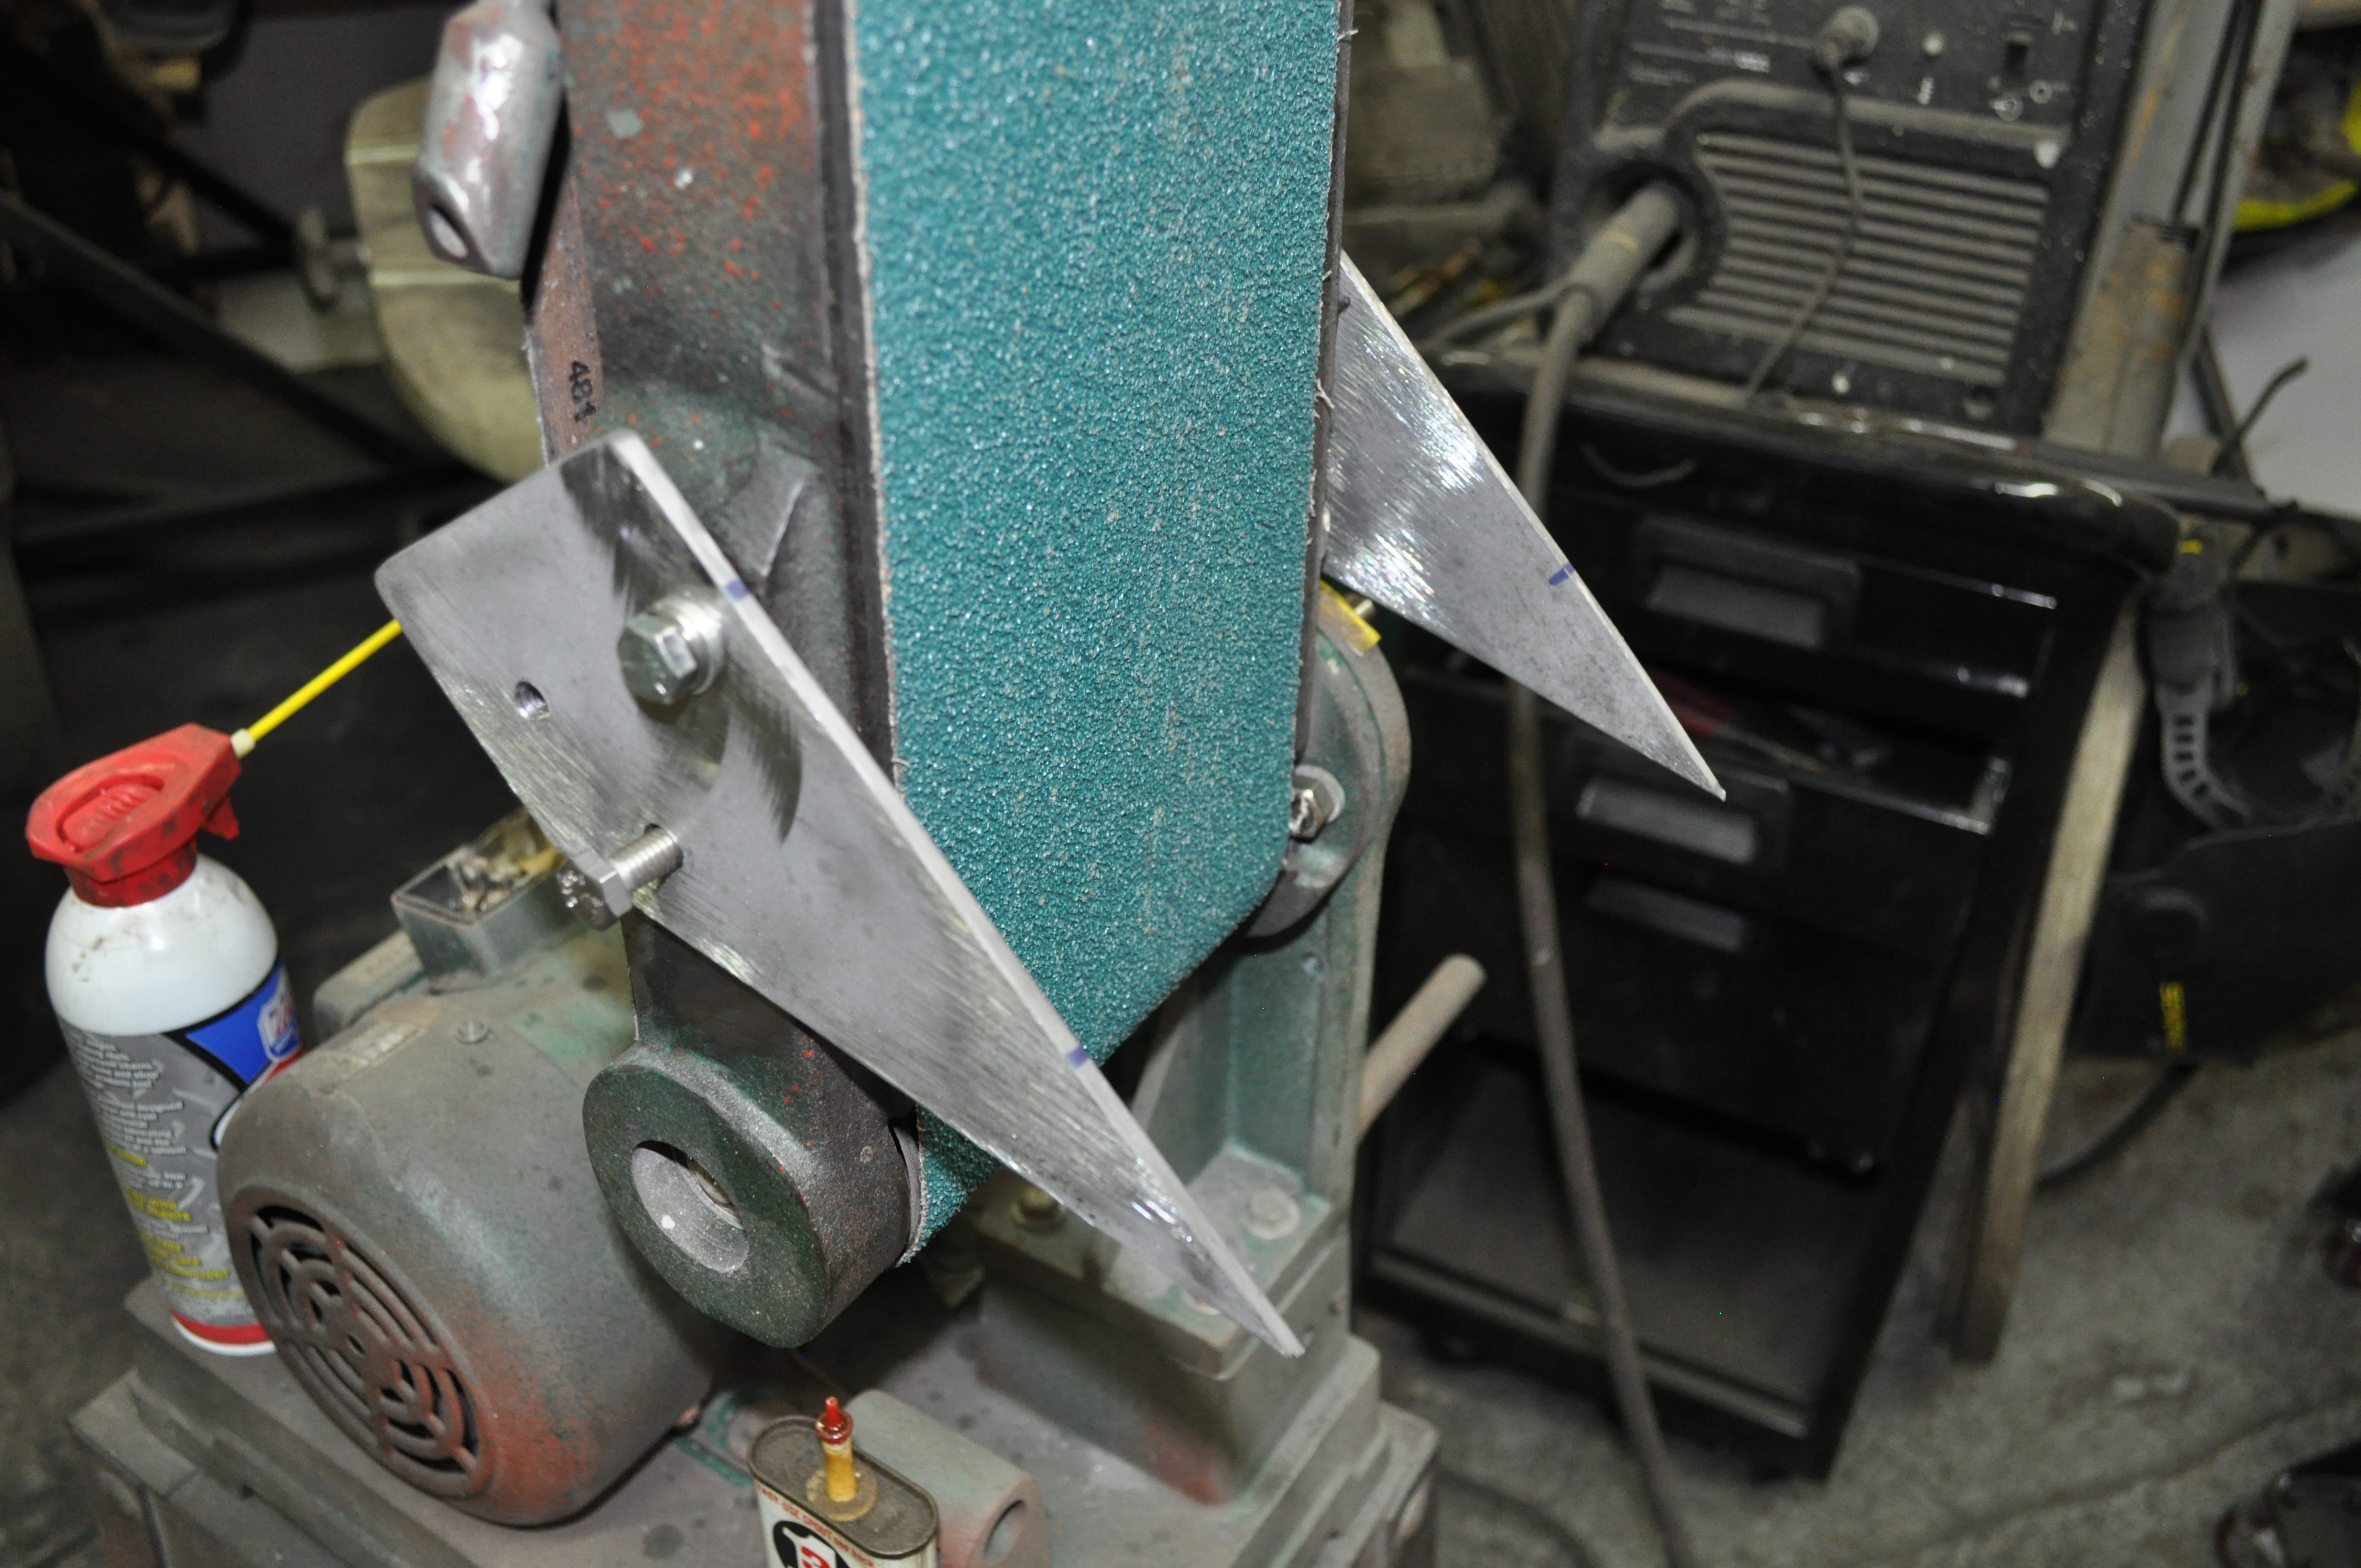
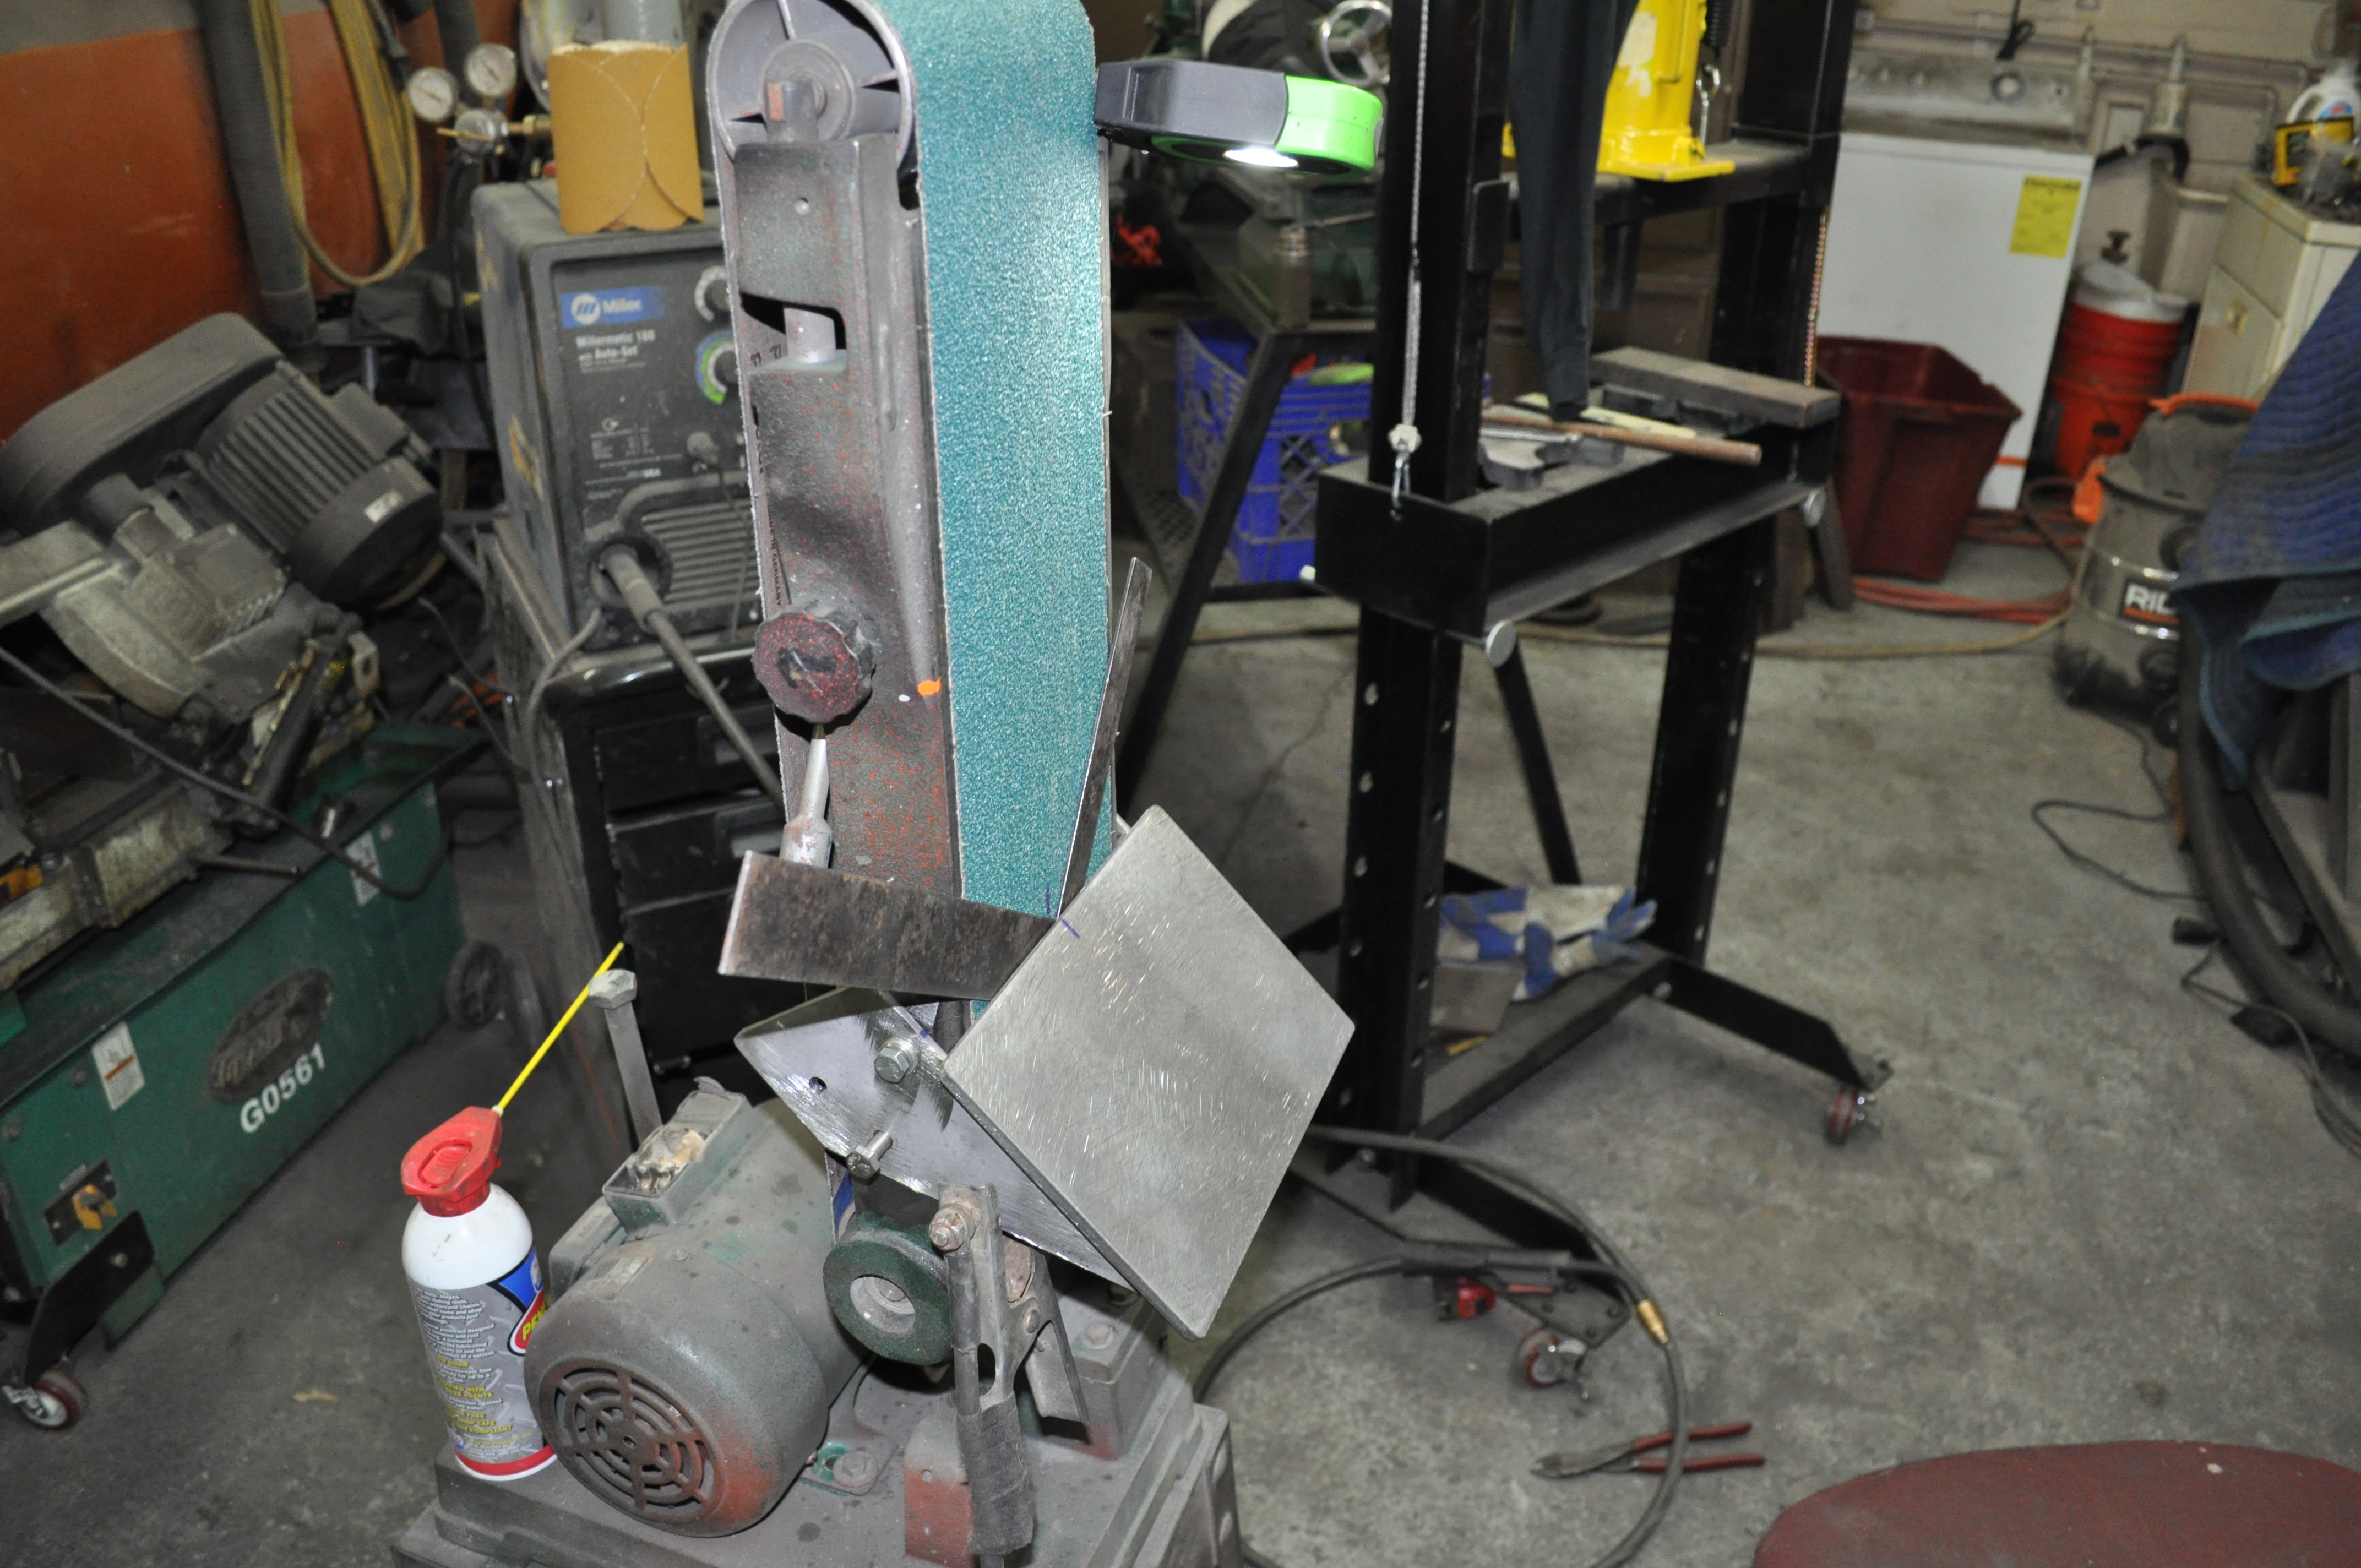
 #beastsander

