CK5
Register an account today to become a member! Once signed in, you'll be able to participate on this site by adding your own topics and posts, as well as connect with other members.

The Shop Truck

1971 Chevy C20 with a custom flat bed.
This will make the exhaust easier to work with as well. Currently it's a pain to pull out the one huge piece, now the rear section should be able to stay in the car most of the time.
 
Well, we didn't make as much progress as I would have liked to this weekend. On Friday I was working on the truck and something in my shoulder went "pop" while turning a screw, apparently I tore my AC or something, I need to go get an MRI done so I can figure out exactly what I broke. Getting old is so fun...
Thankfully I had a friend that came over Saturday and turned the wrenches that I couldn't, between he and Amber, they got all the "plumbing" finished up.
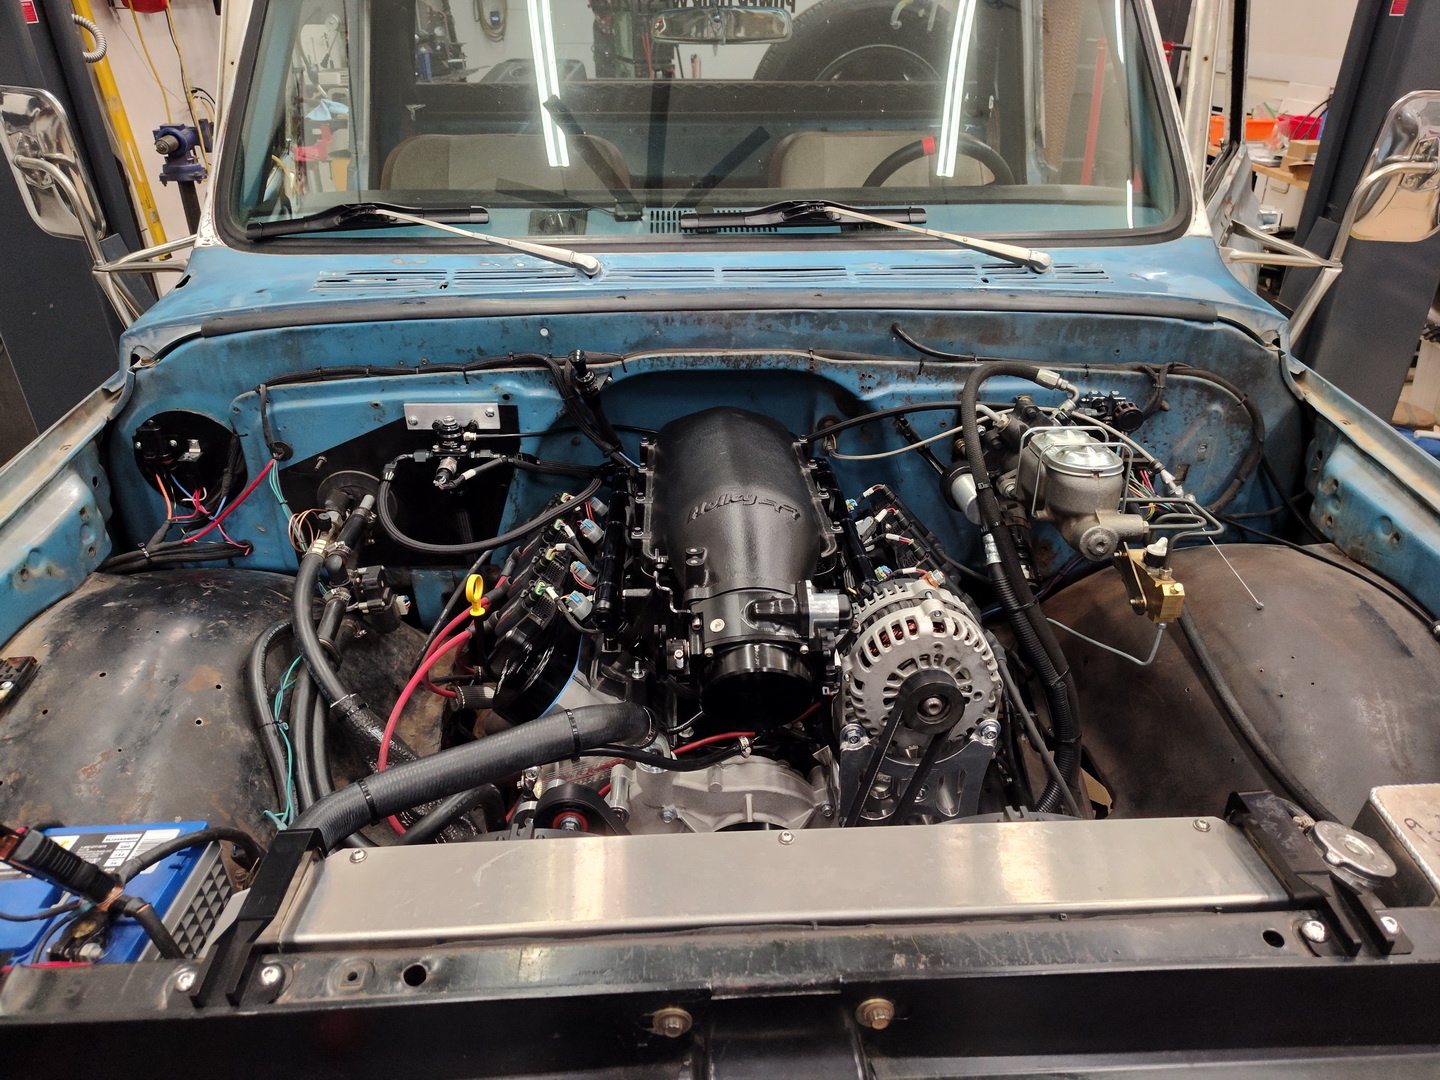
Sunday, my shoulder was feeling good enough to do wiring with Amber's help. We had to modify quite a bit of the harness due to the different locations and connectors between the Gen III/IV differences along with a few other sensors I swapped for RIFE sensors that needed new plugs. Around 5 o'clock I decided we had it together enough to crank it over and try to get oil pressure. Unfortunately, no amount of cranking built any oil pressure. I killed the battery a couple times cranking with the longest continuous crank at about 1.5 minutes. I have an autometer stand alone gauge plumbed in by the filter as well as the sensor that came with the engine wired to the Dominator. I even tried swapping the sensor in the factory location for the one from the old engine (Holley part), still nothing.

This was not a good end to the weekend. I e-mailed Smeding and they got back to me already. They want me to start it up and let it run for 20 seconds to see if it builds pressure. I was assuming that's what they were going to ask me to do, so we finished up most of the wiring before calling it a night last night. The only thing left is the power and ground wires for the smart coils, I'll finish that up today. On to pictures!
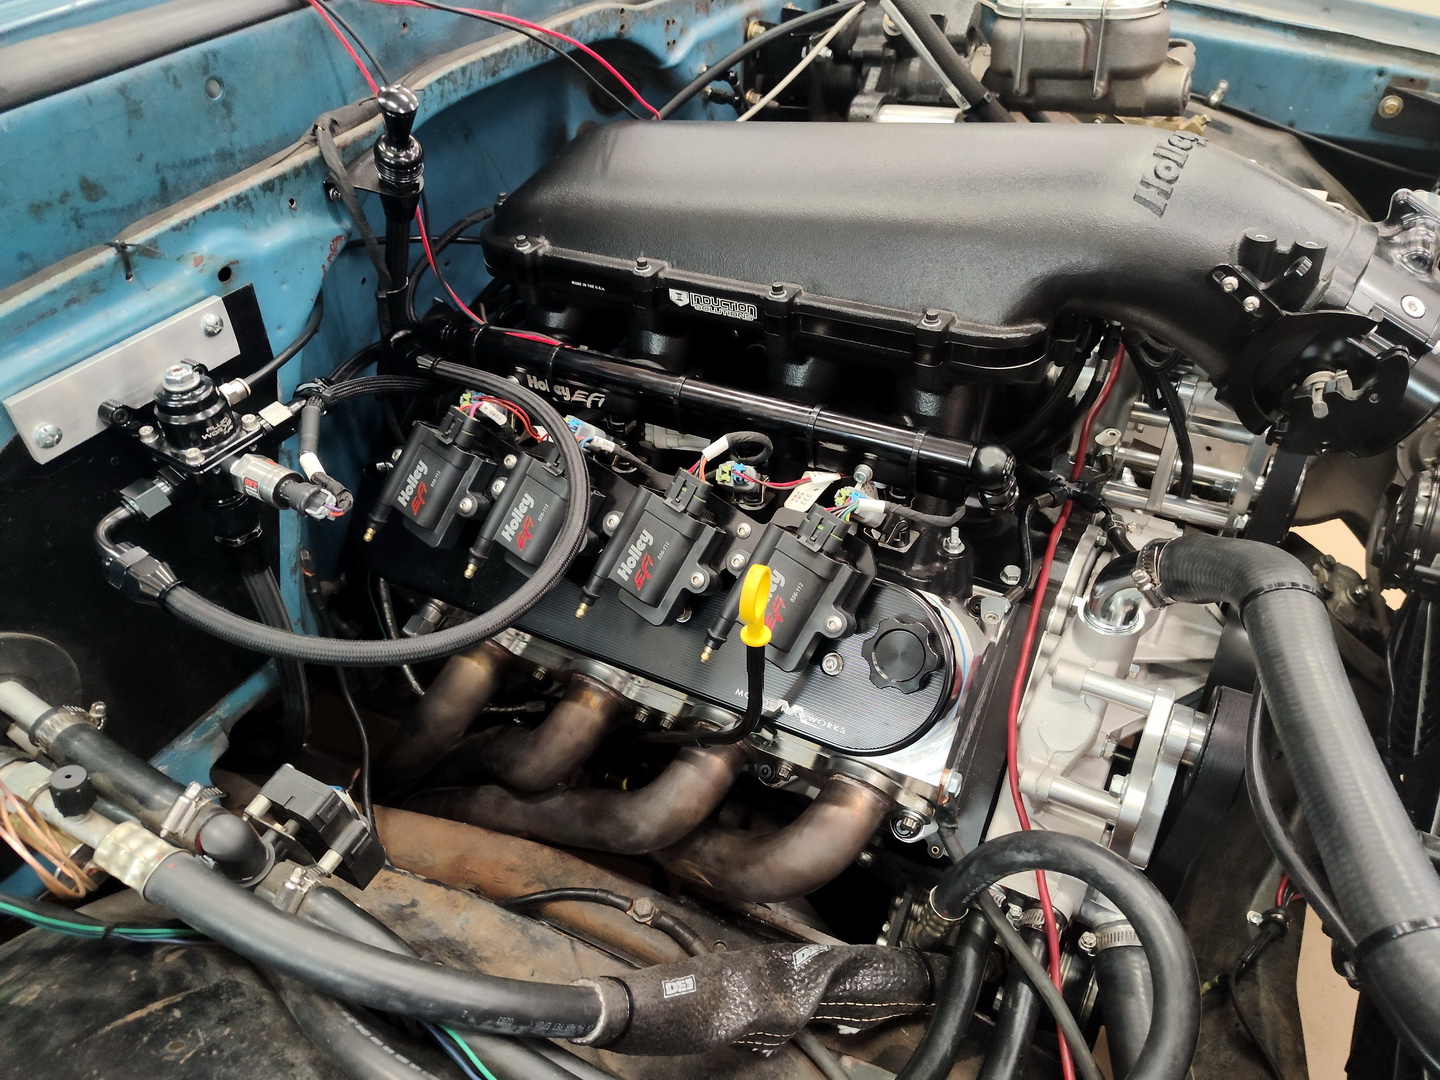
IMG_20250407_083456841.jpg

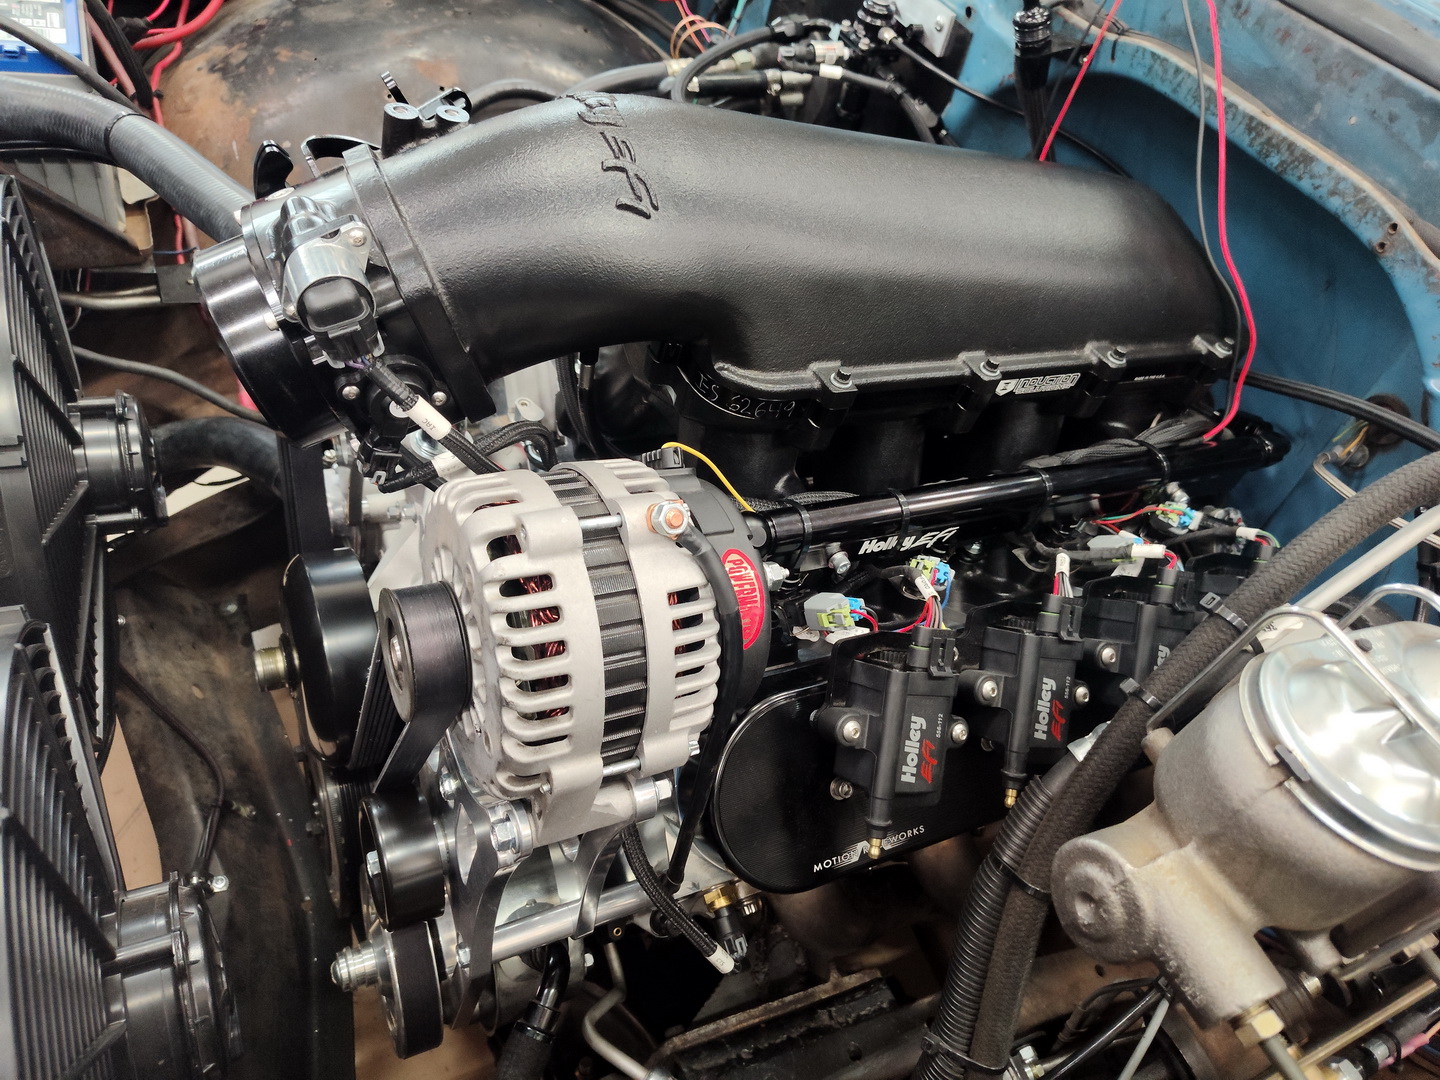
IMG_20250407_083510240.jpg

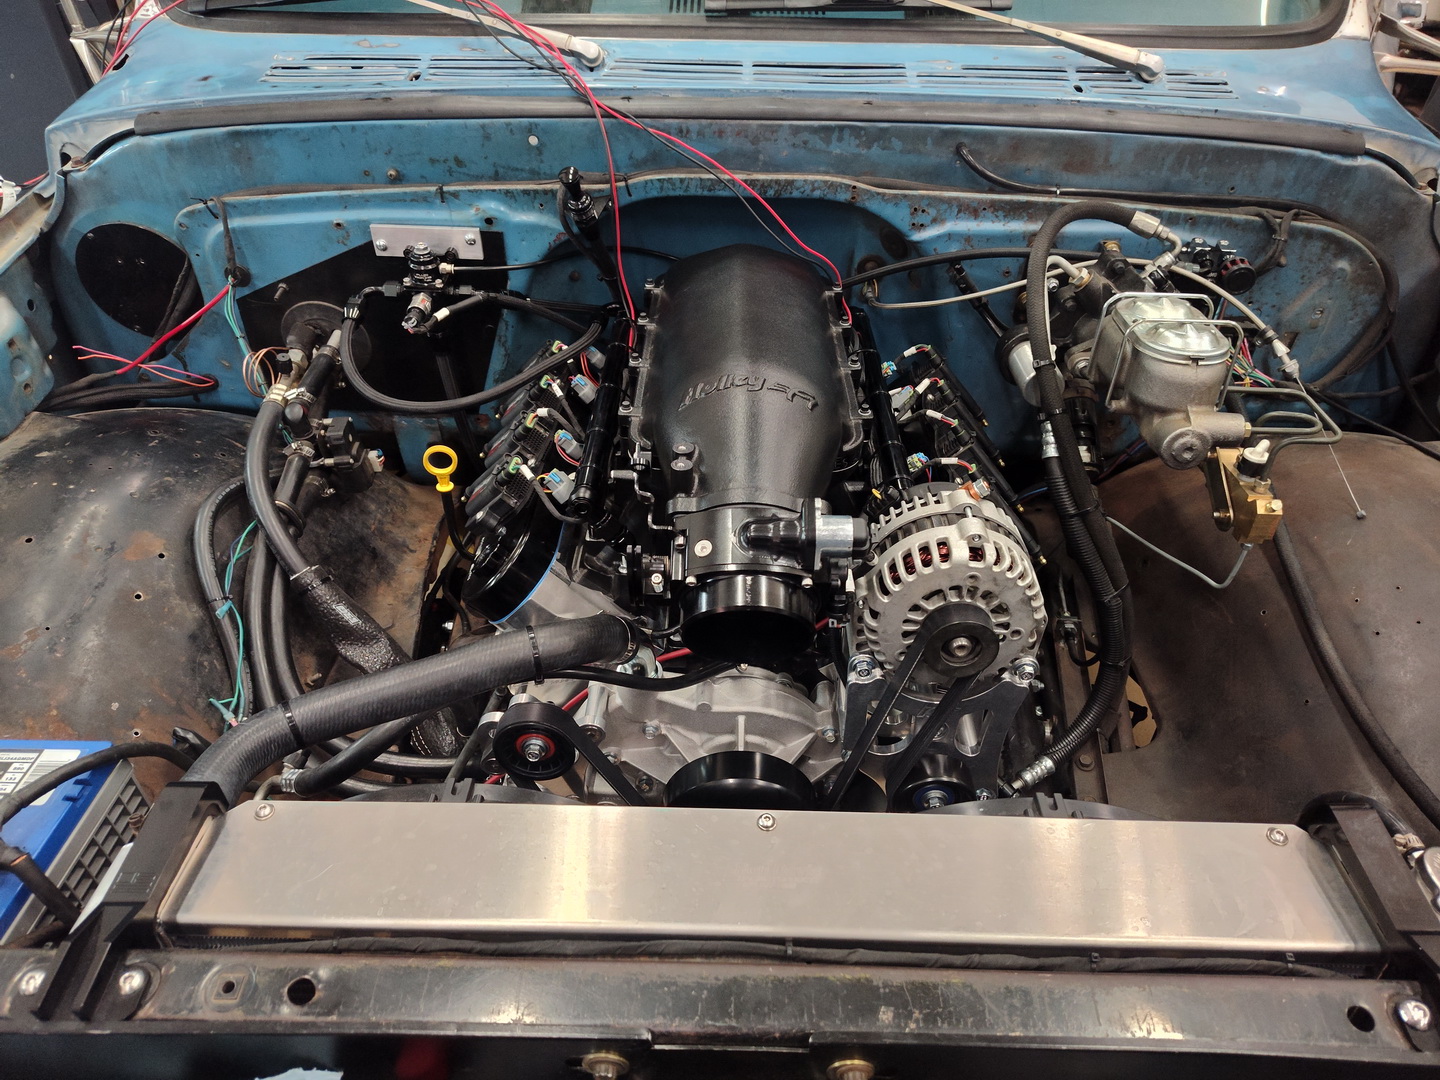
IMG_20250407_083524435_HDR.jpg


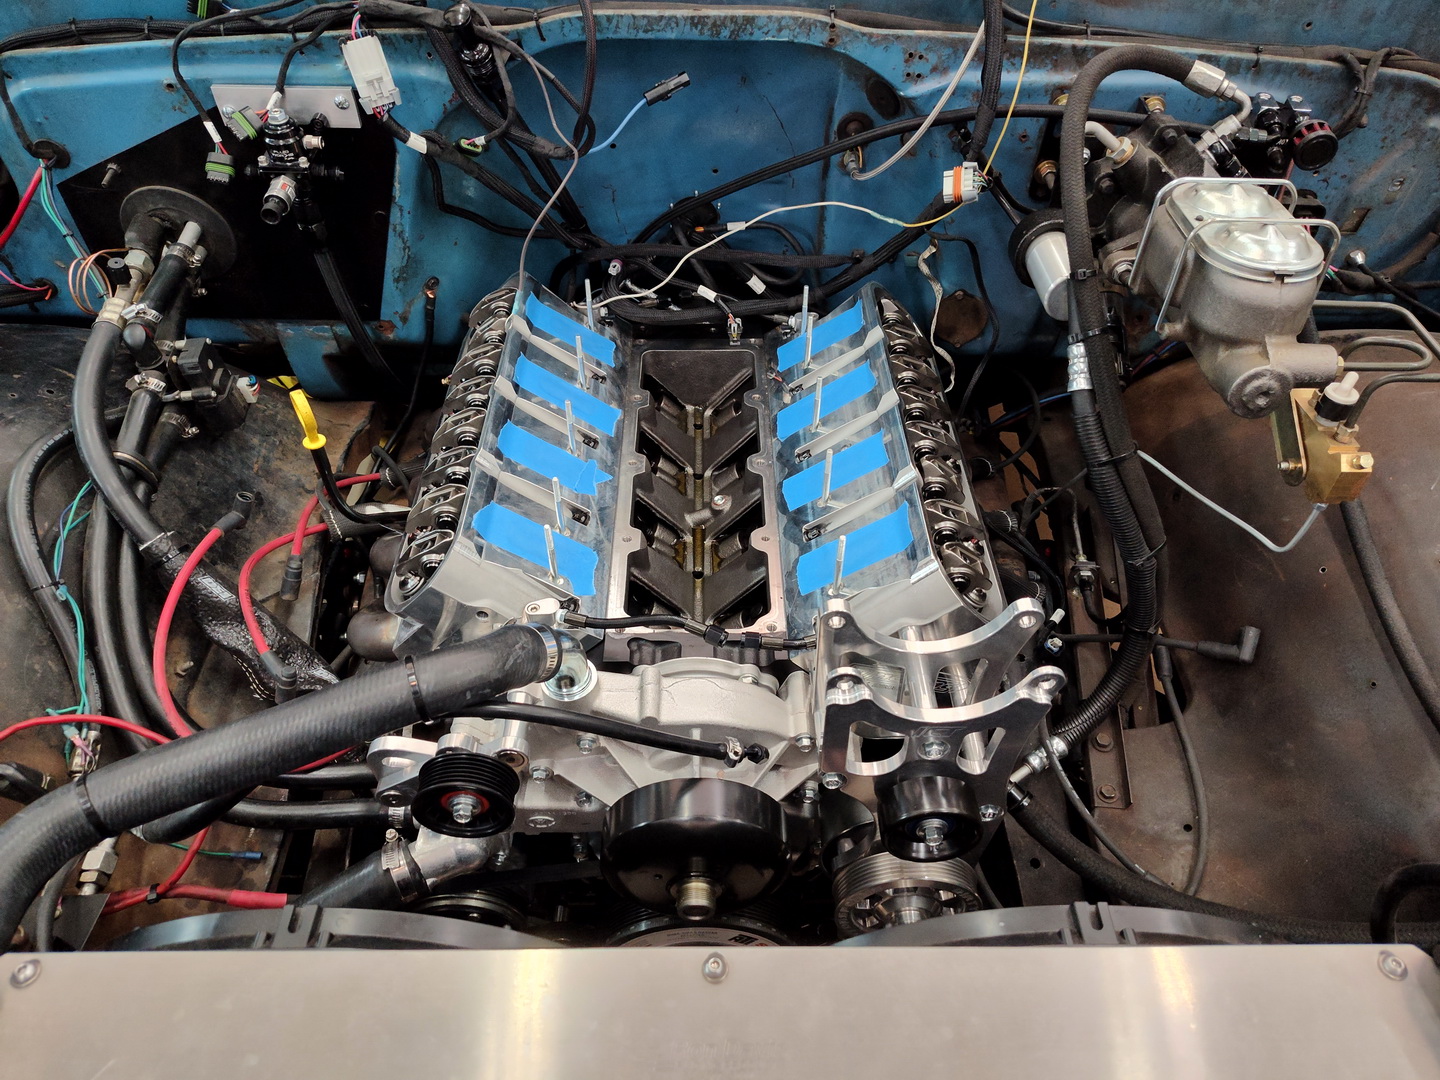
You can see in the passenger side shot that the return line to the regulator isn't ideal, I needed some different hose ends to route it properly and I'll swap it out once those come in later this week.

Now for the rant. If you look at the coils you can see that unlike a stock coil, it has an HEI/sparkplug style connector on it. I unfortunately didn't notice this until last night, but I think "no big deal, they sell the coils I'm sure they sell the plug wires too." I was wrong, much searching ensued, when you look at Holley's website at their smart coils (MSD/Holley/AEM/any other brand), they all have the HEI connectors but all the plug wires listed along side those coils are the standard ones. Sure I can pick up a build it yourself HEI wiring kit, but that puts a 90° on the coil end that really needs a 45°, not ideal. From what I figured out the best way to do it is to buy bulk wire and two sets of 45° spark plug boots, but there are a few places that sell the correct wire sets. I ended up ordering a set of Ton's Ceramic IGN1A Smart coil wires. My internet searching ended up on numerous other forums with people running into the same issue. I can buy the coils, the valve cover brackets, wiring harness and everything, only the pre-made wires are a pain to find.
End rant

I've got a couple sets of old HEI wires laying around that I should be able to use to get the truck running later today. Finger's crossed that it will build oil pressure.
 
Last edited:
Fancy race car parts are such a pain, they never come with directions or insight until you open the box it seems. Is there any benefit to the HEI end of the smart coil?

I'm having trouble mounting my supercharger, it seems like I can't find a replacement bracket that points it in the right spot.
 
Last edited:
I finished up the wiring today, installed some plug wires, and started the truck. It sounds rowdy, I just wish it made some oil pressure. We shut it down after 20 seconds of running.
IMG_20250407_184220739_HDR.jpg

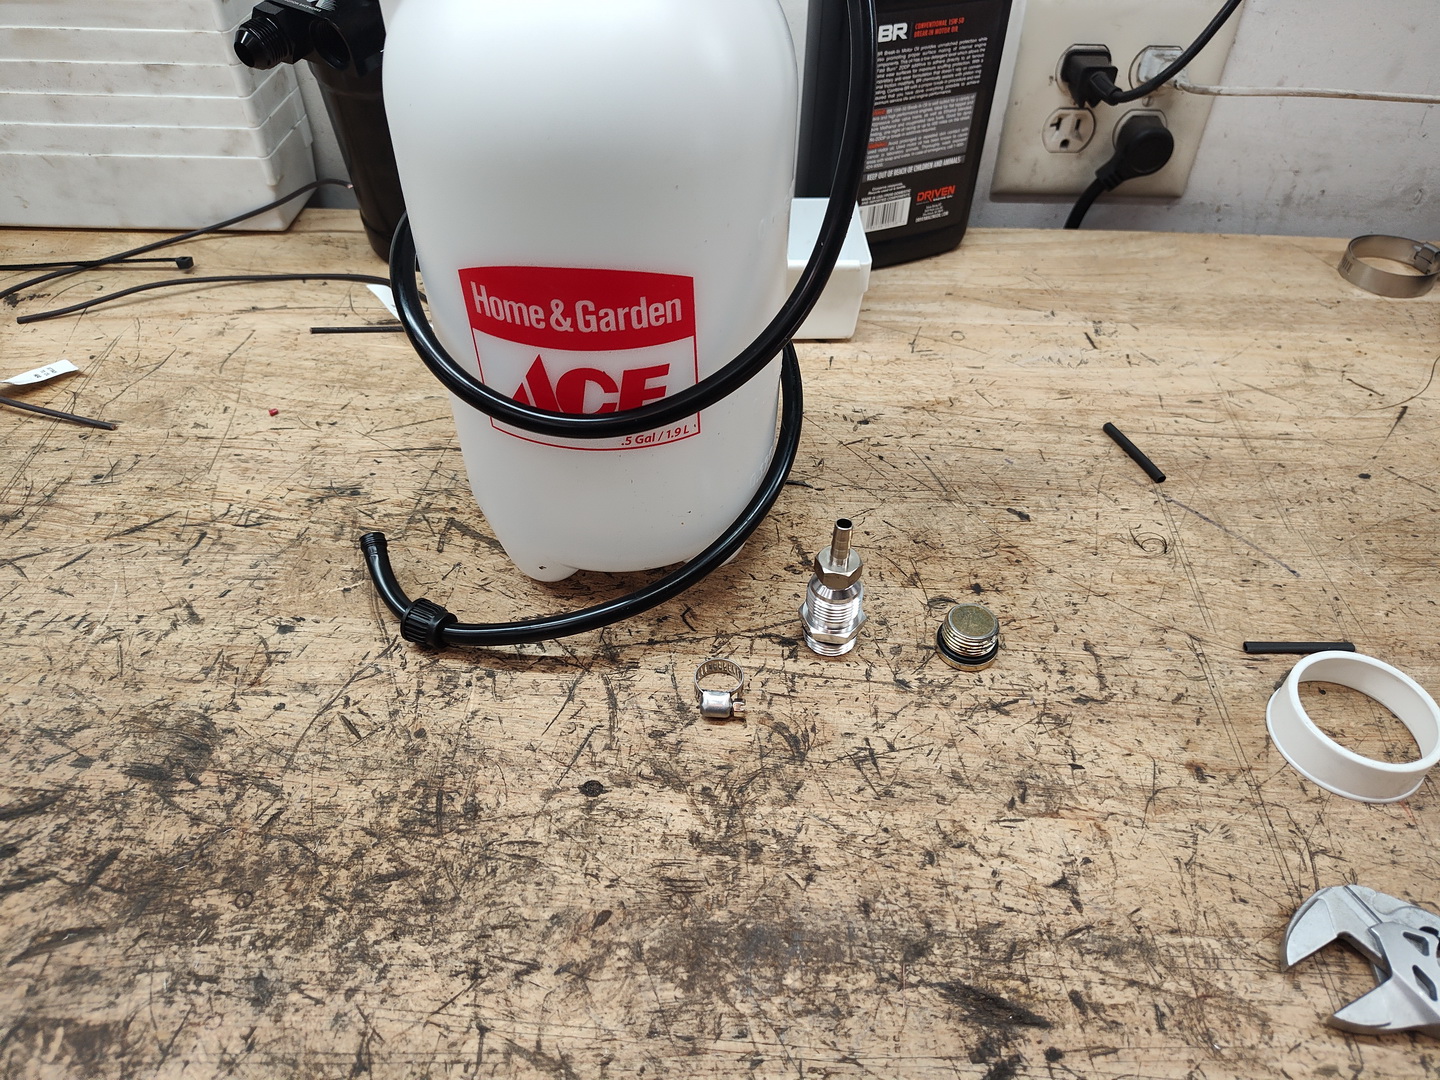
I consulted the internet about priming an LS and built up a rig to do it. The Dart block has an ORB fitting rather than a metric fitting there, but we figured it out with parts we had on hand.
IMG_20250407_173530957.jpg

We drained 2 quarts out and pushed it back in. We saw 12psi on the dash, but the autometer gage wasn't registering anything, we may have damaged it when we moved it between trucks.
We accidentally pushed air back into the lines, so we drained out a couple more quarts and squirted 1.5 quarts back in. Once we were done with that, we started it up again. Unfortunately, still no oil pressure...
I'm waiting for Smeding to get back to me to see what the next steps are. I'm guessing the engine's coming out and the oil pan is coming off.
 
Dam, I hate the thought of engine damage having happened. Lets hope not!
Im fearful of starting an engine w no oil pressure.
 
I'm not that concerned about the dry firing. As long as everything was lubed properly when assembled it will be fine, I've seen enough youtubers accidentally dry fire their engines with no damage, heck Steve Morris took his 6 second wagon down the strip 3 times with no belt on the oil pump, only bearing damage IIRC.
Smeding got back to me. They said I can pull the engine and they'll send a truck to pick it up, or I can start tearing it down and look for the issue.
I'm going with option 2, but I want to get the exhaust tacked together before I pull it. I started on it, but severely warped all the v-band flanges so I'm starting over. I ordered a v-band heat sink/purge cap so hopefully I can keep them flat this time. I'm not so sure we're going to make the Friday NIght Drag's on the 25th anymore, that means it's going to be HOT the first time I take the engine down the track.
 
I'm not that concerned about the dry firing. As long as everything was lubed properly when assembled it will be fine, I've seen enough youtubers accidentally dry fire their engines with no damage, heck Steve Morris took his 6 second wagon down the strip 3 times with no belt on the oil pump, only bearing damage IIRC.
Smeding got back to me. They said I can pull the engine and they'll send a truck to pick it up, or I can start tearing it down and look for the issue.
I'm going with option 2, but I want to get the exhaust tacked together before I pull it. I started on it, but severely warped all the v-band flanges so I'm starting over. I ordered a v-band heat sink/purge cap so hopefully I can keep them flat this time. I'm not so sure we're going to make the Friday NIght Drag's on the 25th anymore, that means it's going to be HOT the first time I take the engine down the track.
More N2O will cool it down!
 
Well, the teardown started yesterday, my garage is now covered in a mix Dexcool and BR-1, good times.
IMG_20250408_134727029_HDR.jpg

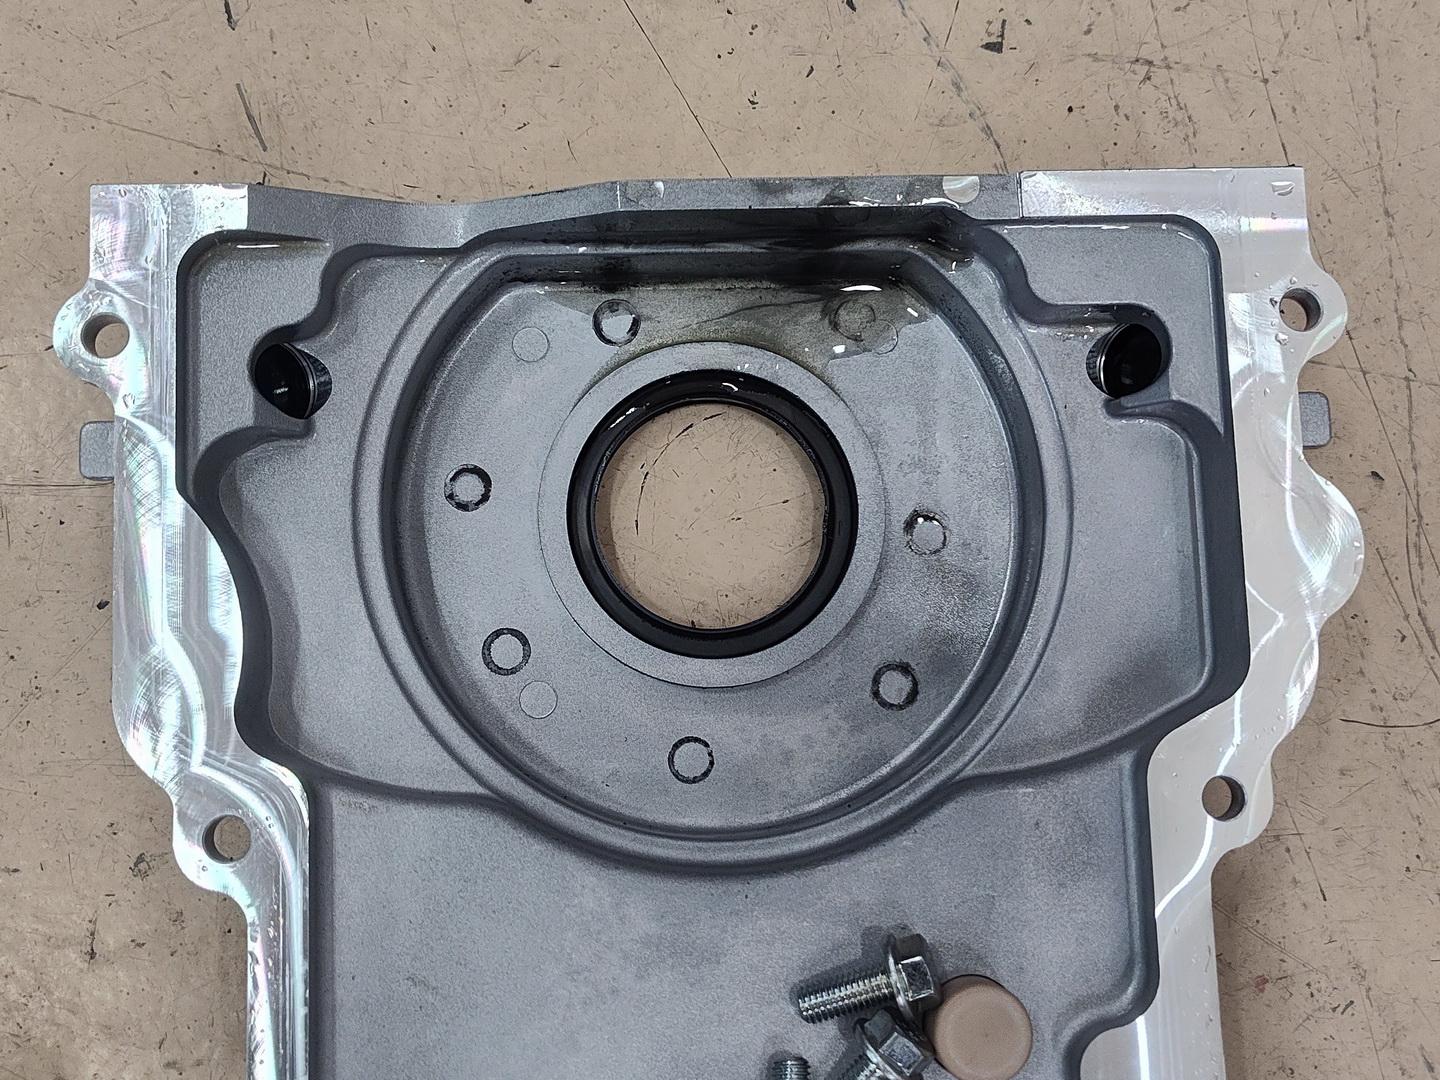
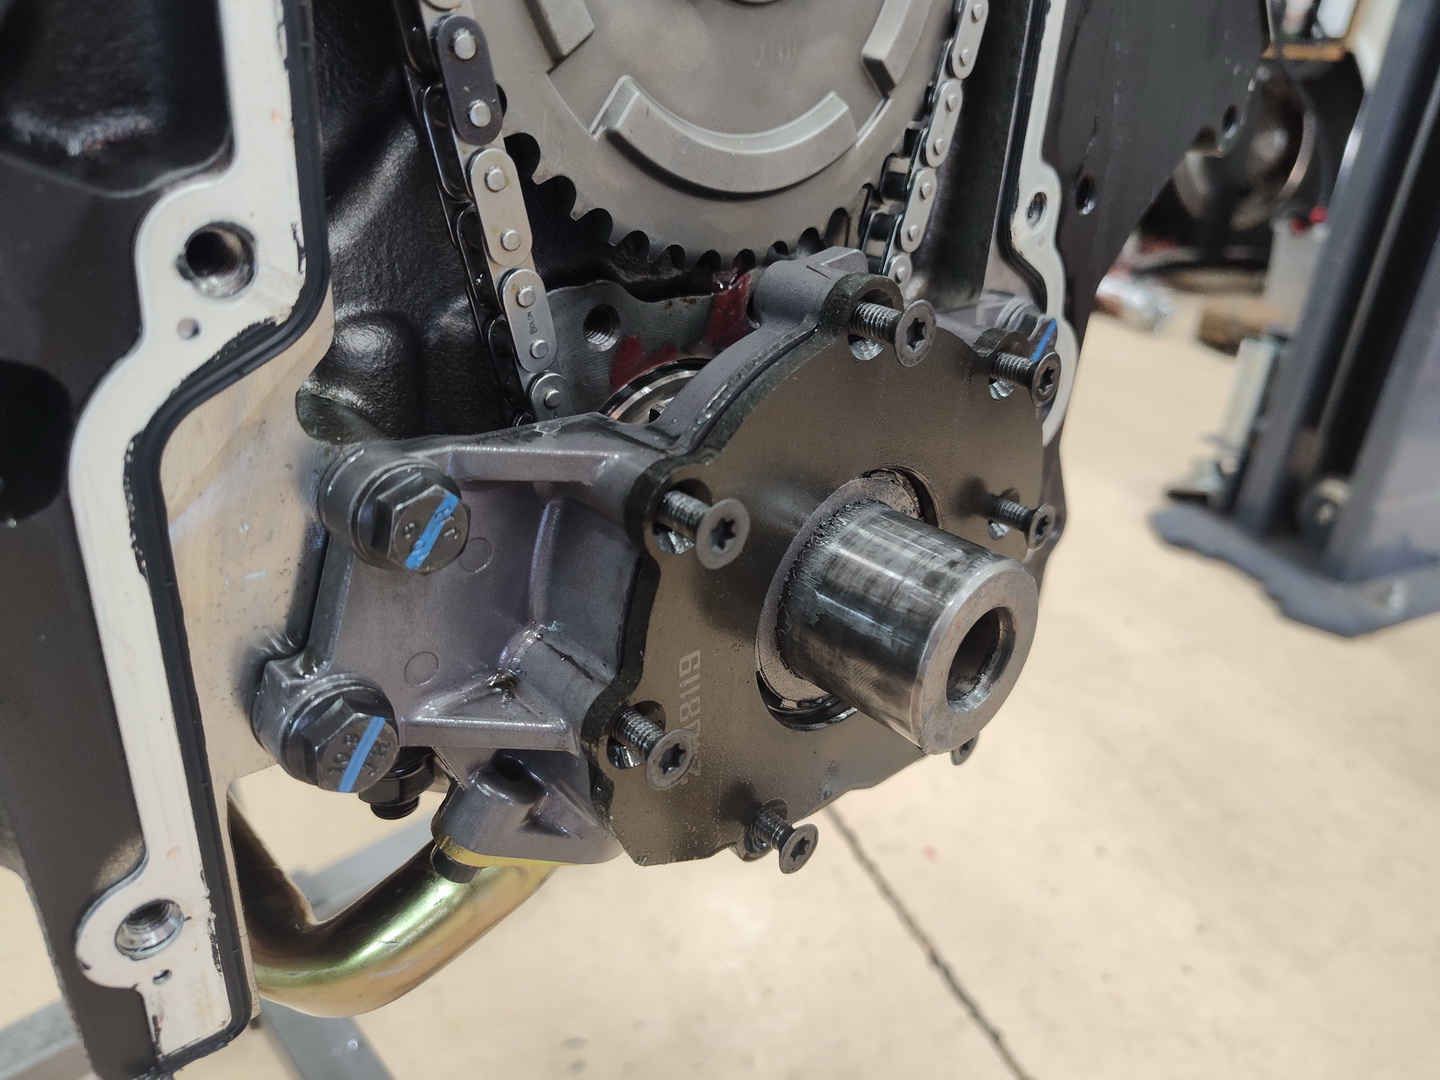
My friend came over this morning and we pulled the engine out, dropped the pan and pulled the timing cover. The problem was obvious...
IMG_20250409_105952644.jpg

IMG_20250409_110000397_HDR.jpg

Every single one of the oil pump cover bolts was unscrewed to the point it was rubbing on the back of the timing cover. The engine didn't run nearly long enough for this to have happened, so they had to have been loose on assembly.
Smeding was very apologetic, they're going to reimburse me for a new pump and they're having a meeting with all the LS assemblers to make sure something like this never happens again.

Hopefully it will be running again (with oil pressure) tomorrow or Friday.
 
Well, the teardown started yesterday, my garage is now covered in a mix Dexcool and BR-1, good times.
IMG_20250408_134727029_HDR.jpg

My friend came over this morning and we pulled the engine out, dropped the pan and pulled the timing cover. The problem was obvious...
IMG_20250409_105952644.jpg

IMG_20250409_110000397_HDR.jpg

Every single one of the oil pump cover bolts was unscrewed to the point it was rubbing on the back of the timing cover. The engine didn't run nearly long enough for this to have happened, so they had to have been loose on assembly.
Smeding was very apologetic, they're going to reimburse me for a new pump and they're having a meeting with all the LS assemblers to make sure something like this never happens again.

Hopefully it will be running again (with oil pressure) tomorrow or Friday.
DOH! I was thinking it was oil pump related but that was the last thing I ever thought of being the problem.
 
Better pay you for your labor also for removing the engine and sending it to them as if they had to tear it down to find the issue then labor to reinstall. Don't let them screw you on their obvious failure.

If I was a shop that had installed that for a customer and then went through the same issues then that's a lot of shop hours that should be paid. You deserve the same at a reasonable hourly rate.
 
How about reimbursing you for ten hours shop rate for pulling and repairing a multithousand dollar engine you purchased
 
They had offered to have a shop come pick up the engine and fix it for me, I asked them to at least send me the money I saved them by doing it myself. We'll see what they say. I'm just glad it's an easy fix and maybe I can git this shit back together in time for the Friday night drags on the 25th.
 

Latest Posts

Top Bottom