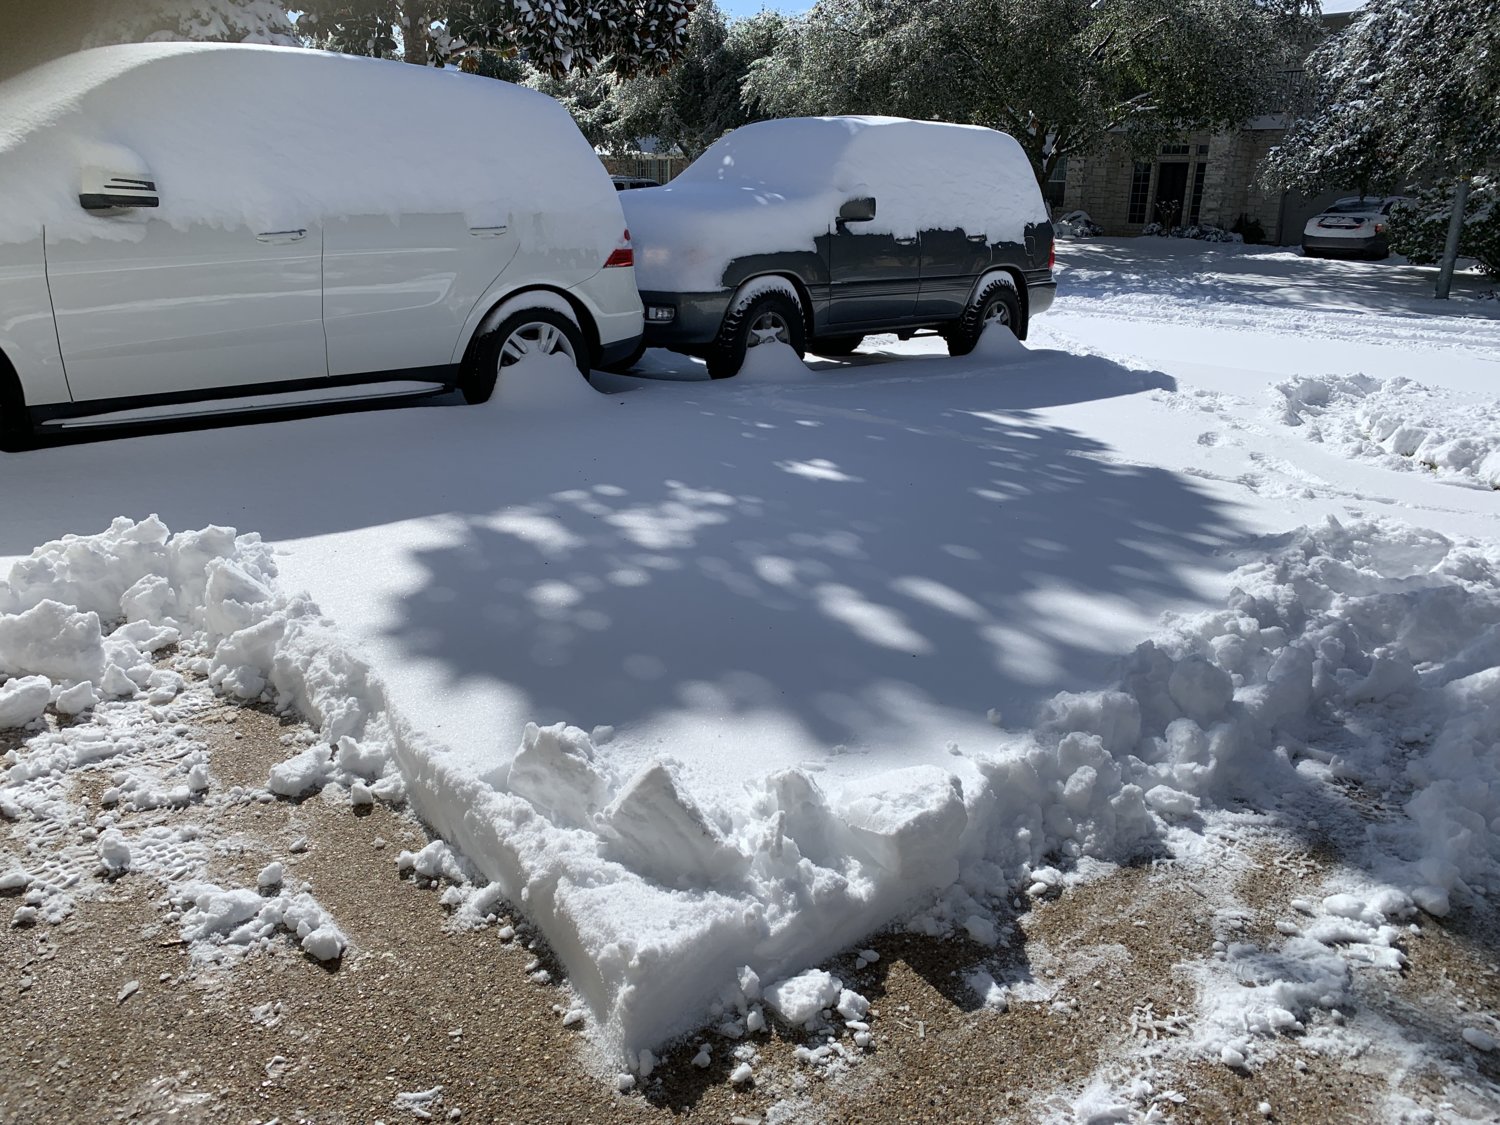
2021.02.16 - UPDATE!! - SNOWSTORMS IN AUSTIN, TX....
It was just like old times in NH this weekend....
Woke up to 6" of fresh powder in the yard and driveway..... IN TEXAS!!!

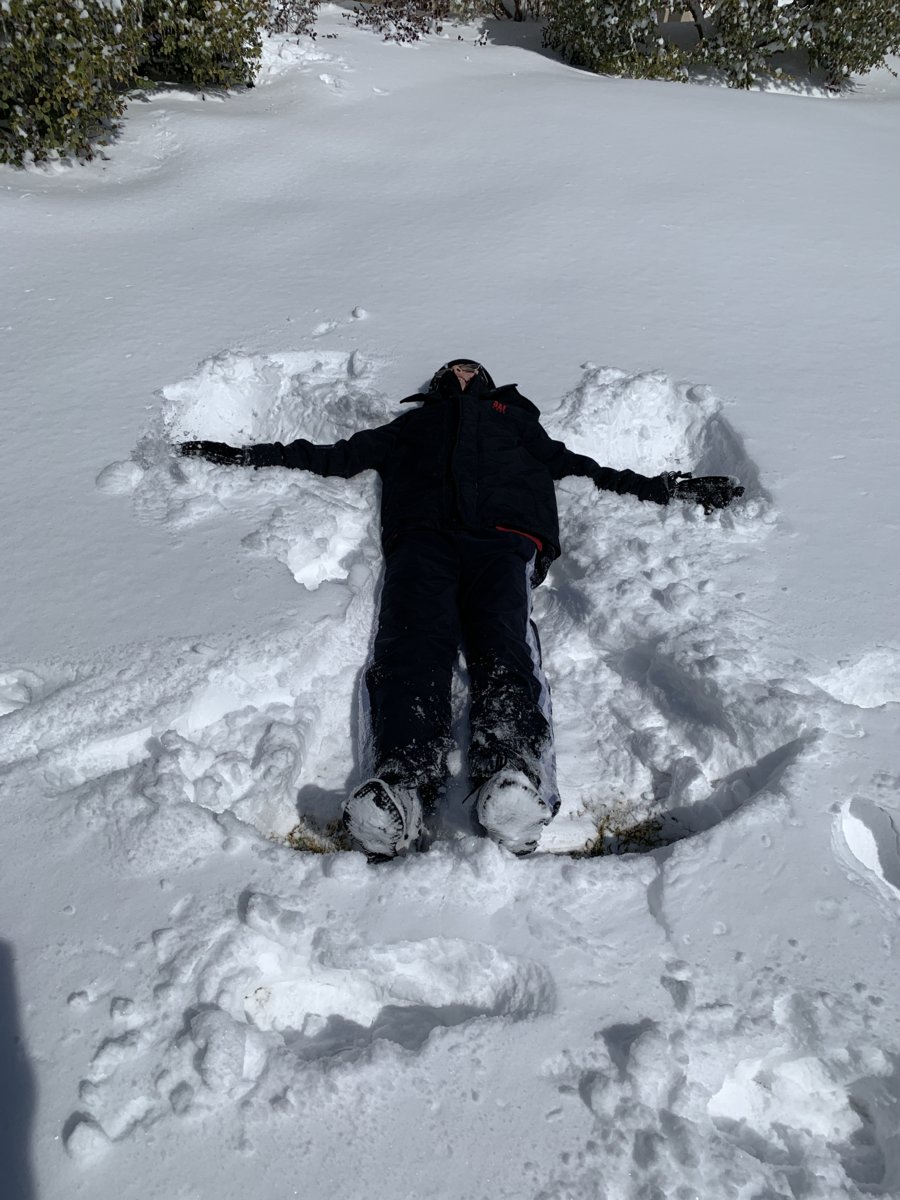
Charlie made the most of it though.... it was a nice trip down memory lane for him.
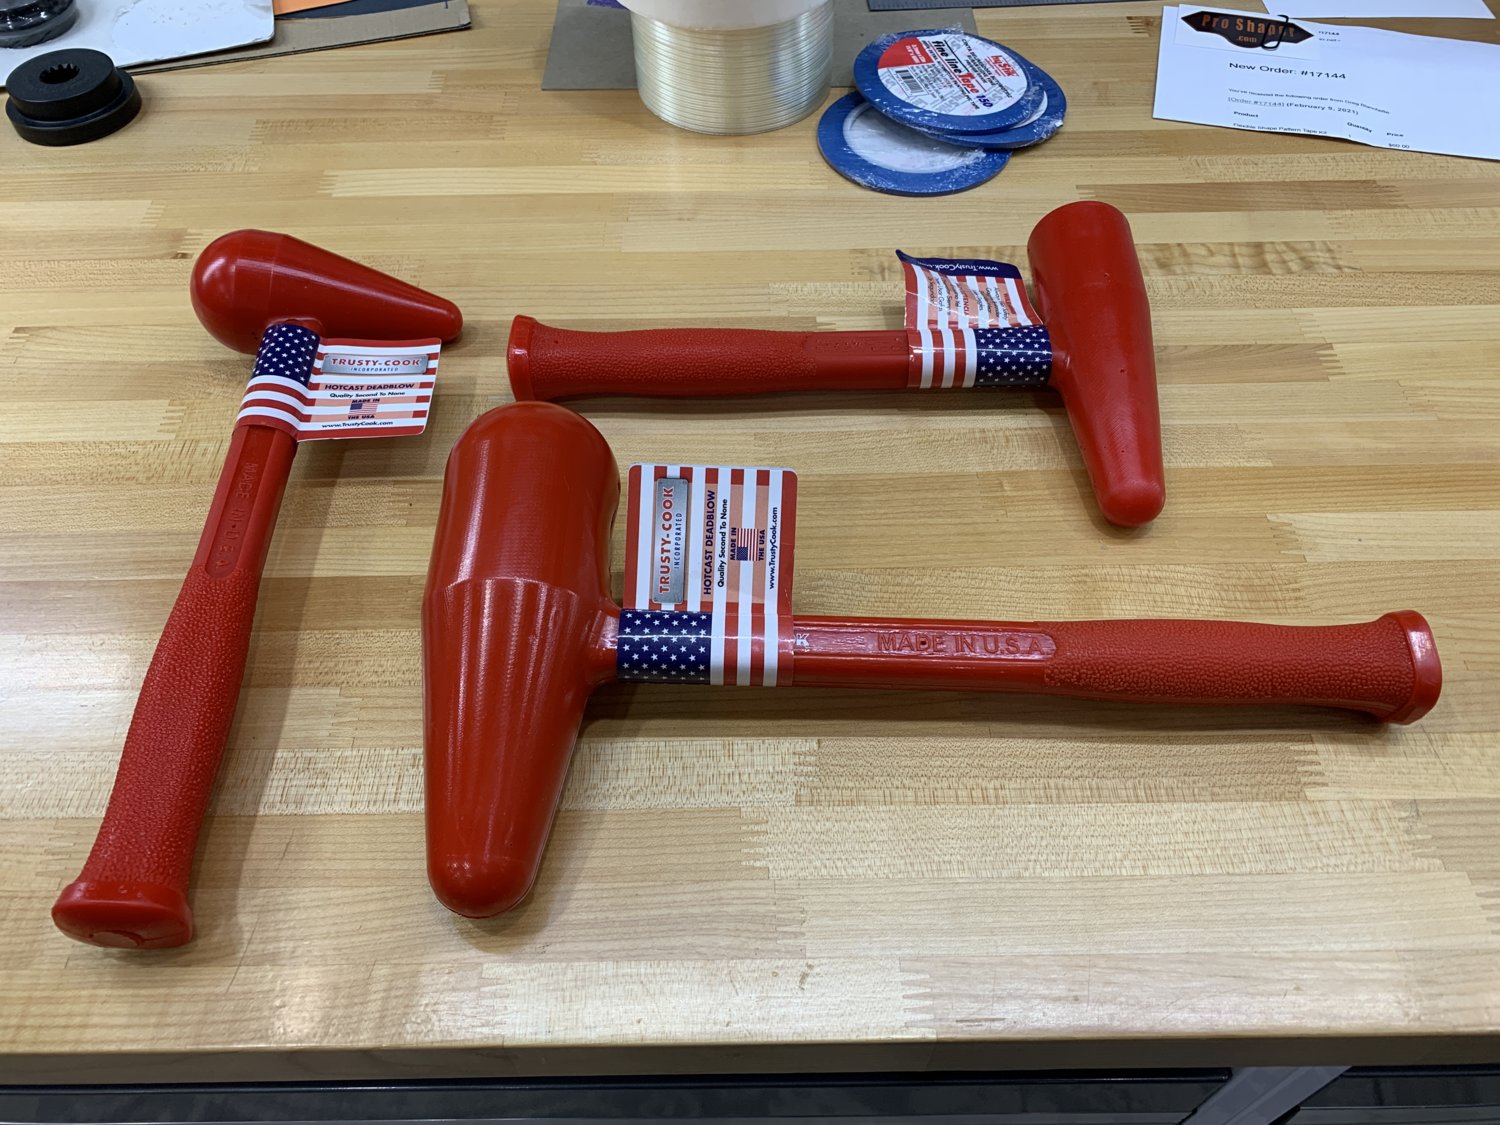
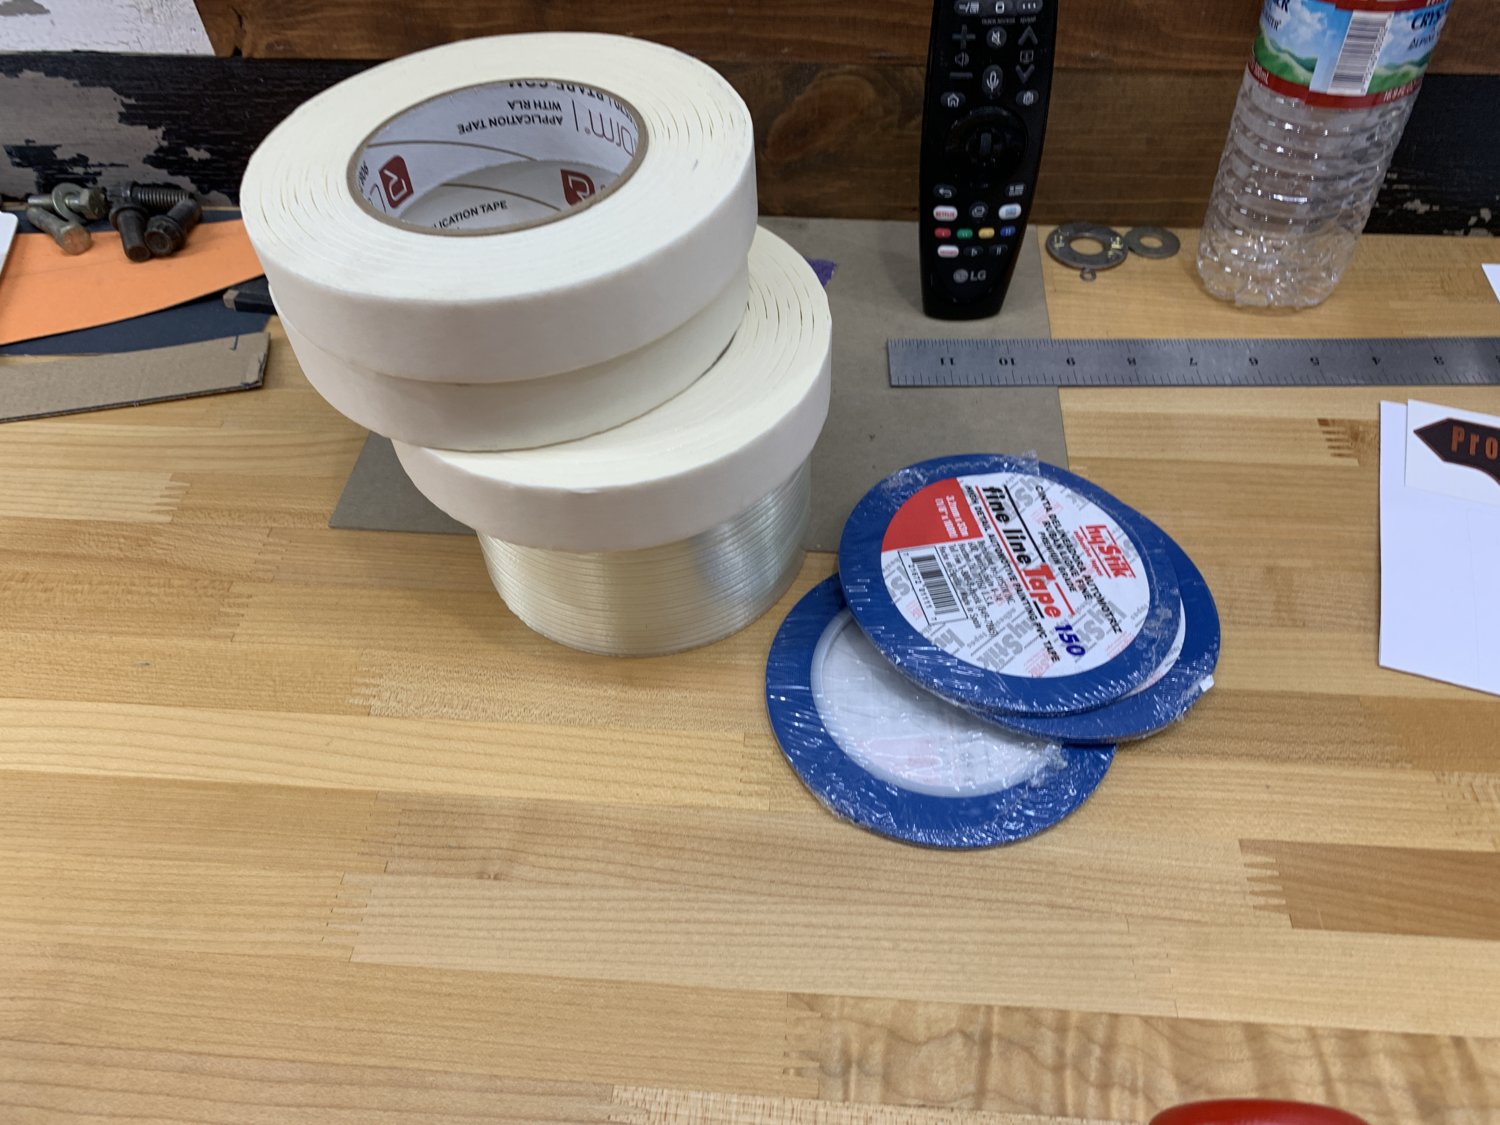
Fortunately, the recent orders placed for weekend progress arrived prior to the crazy weather... and it didn't matter that no snowplows were coming and that everyone was trapped indoors.
Because I had a new box of hammers! LOL
....and a new box of fancy "metalshaping" tape (for making Flexible Shape Patterns)
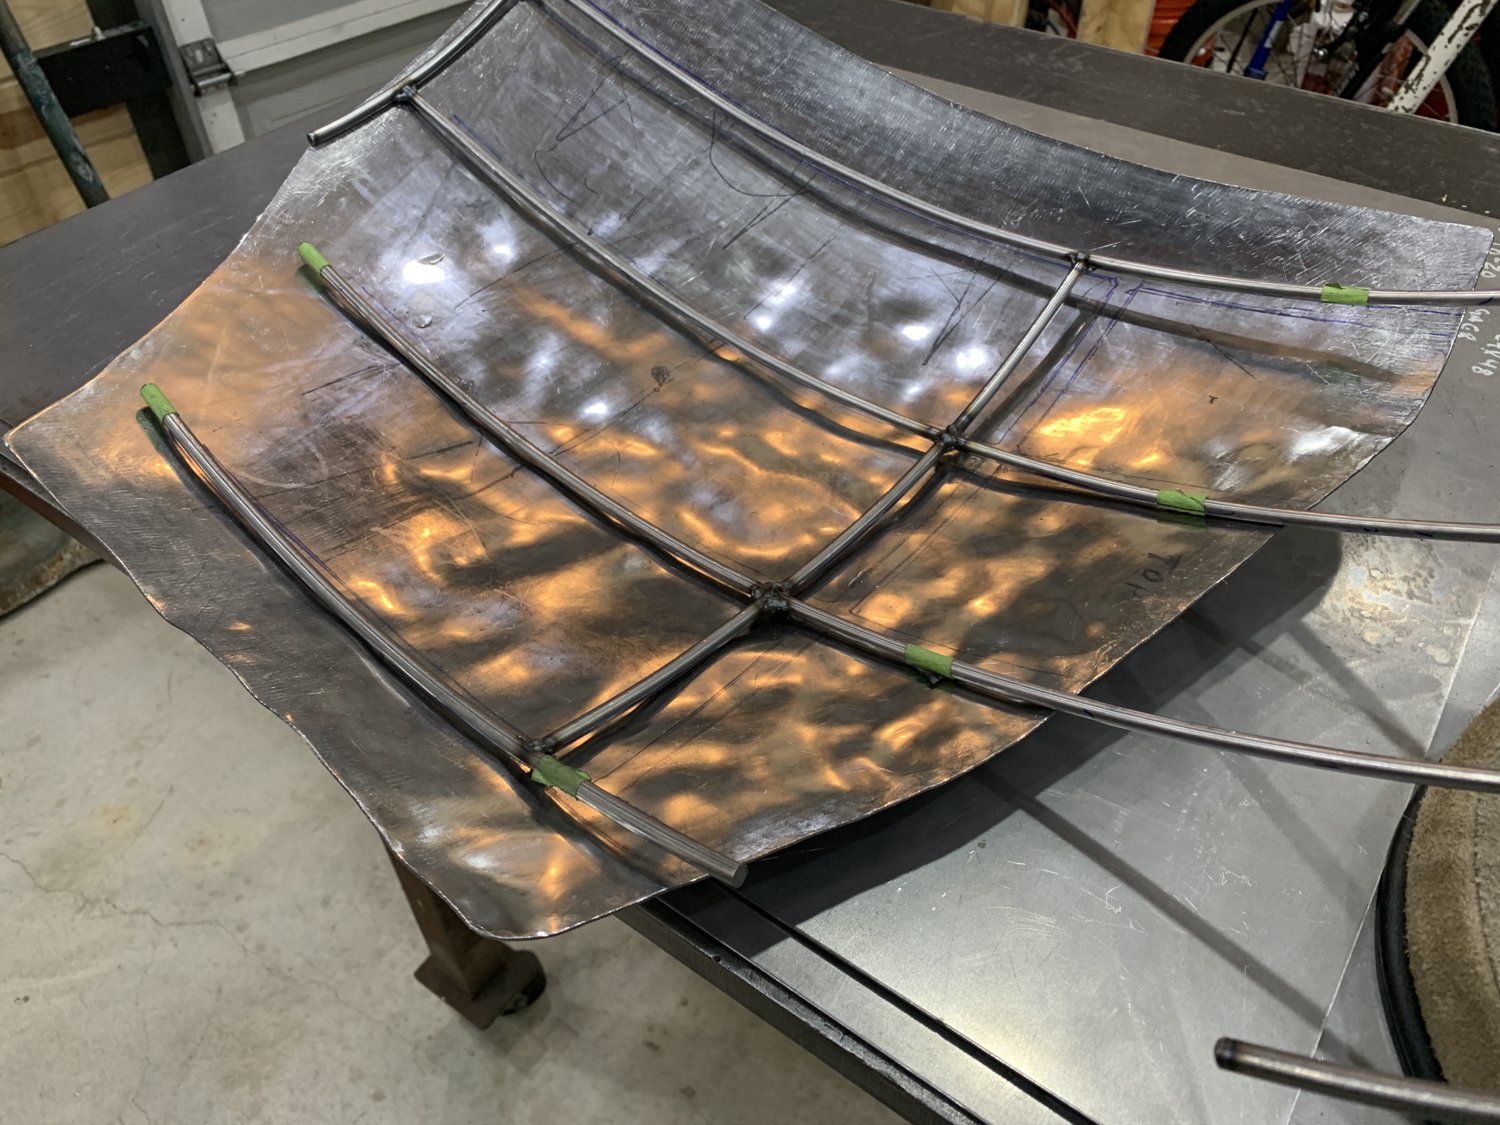
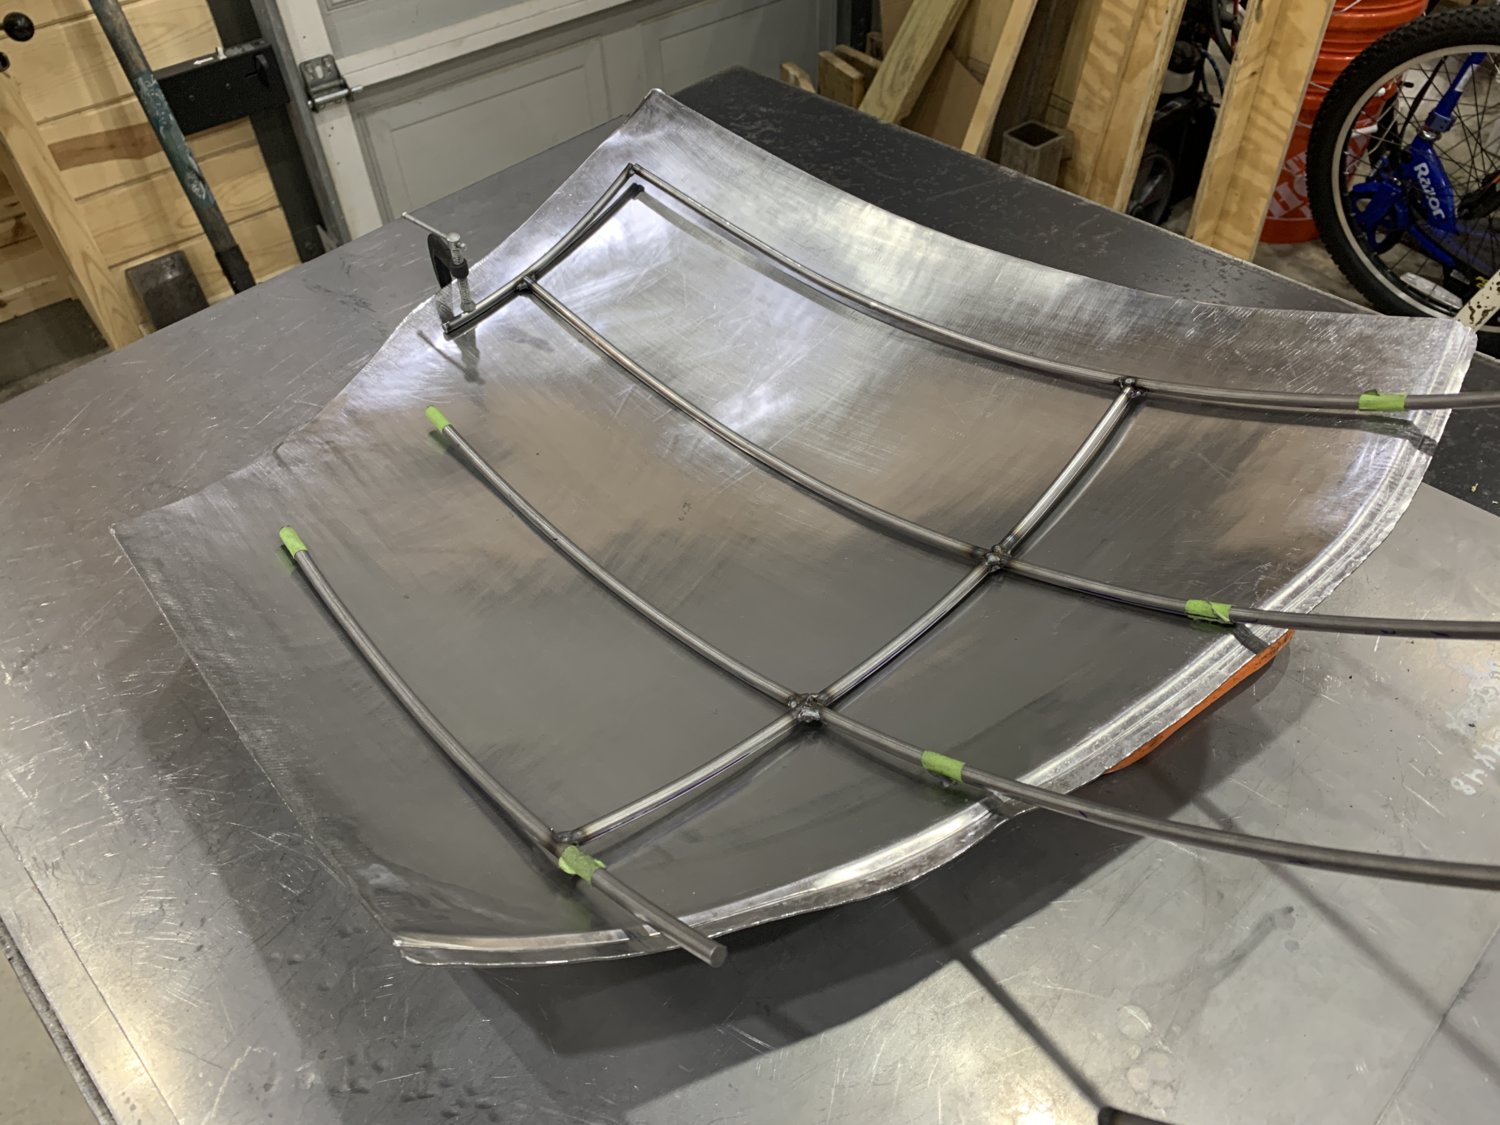
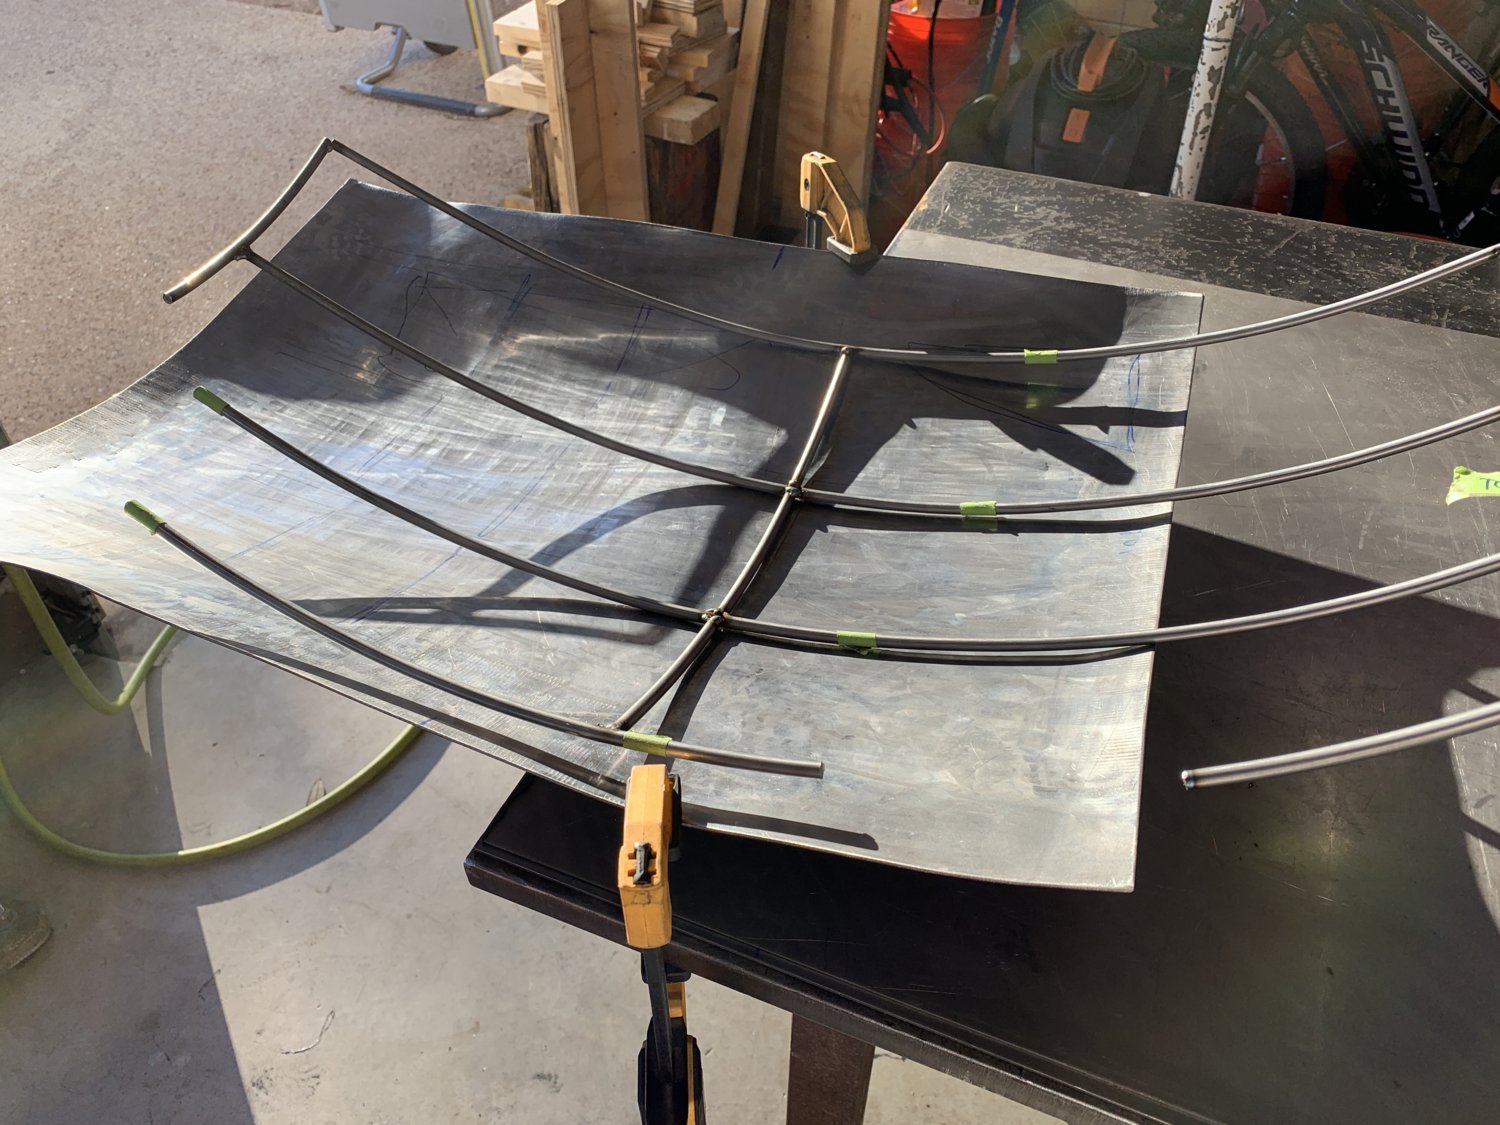
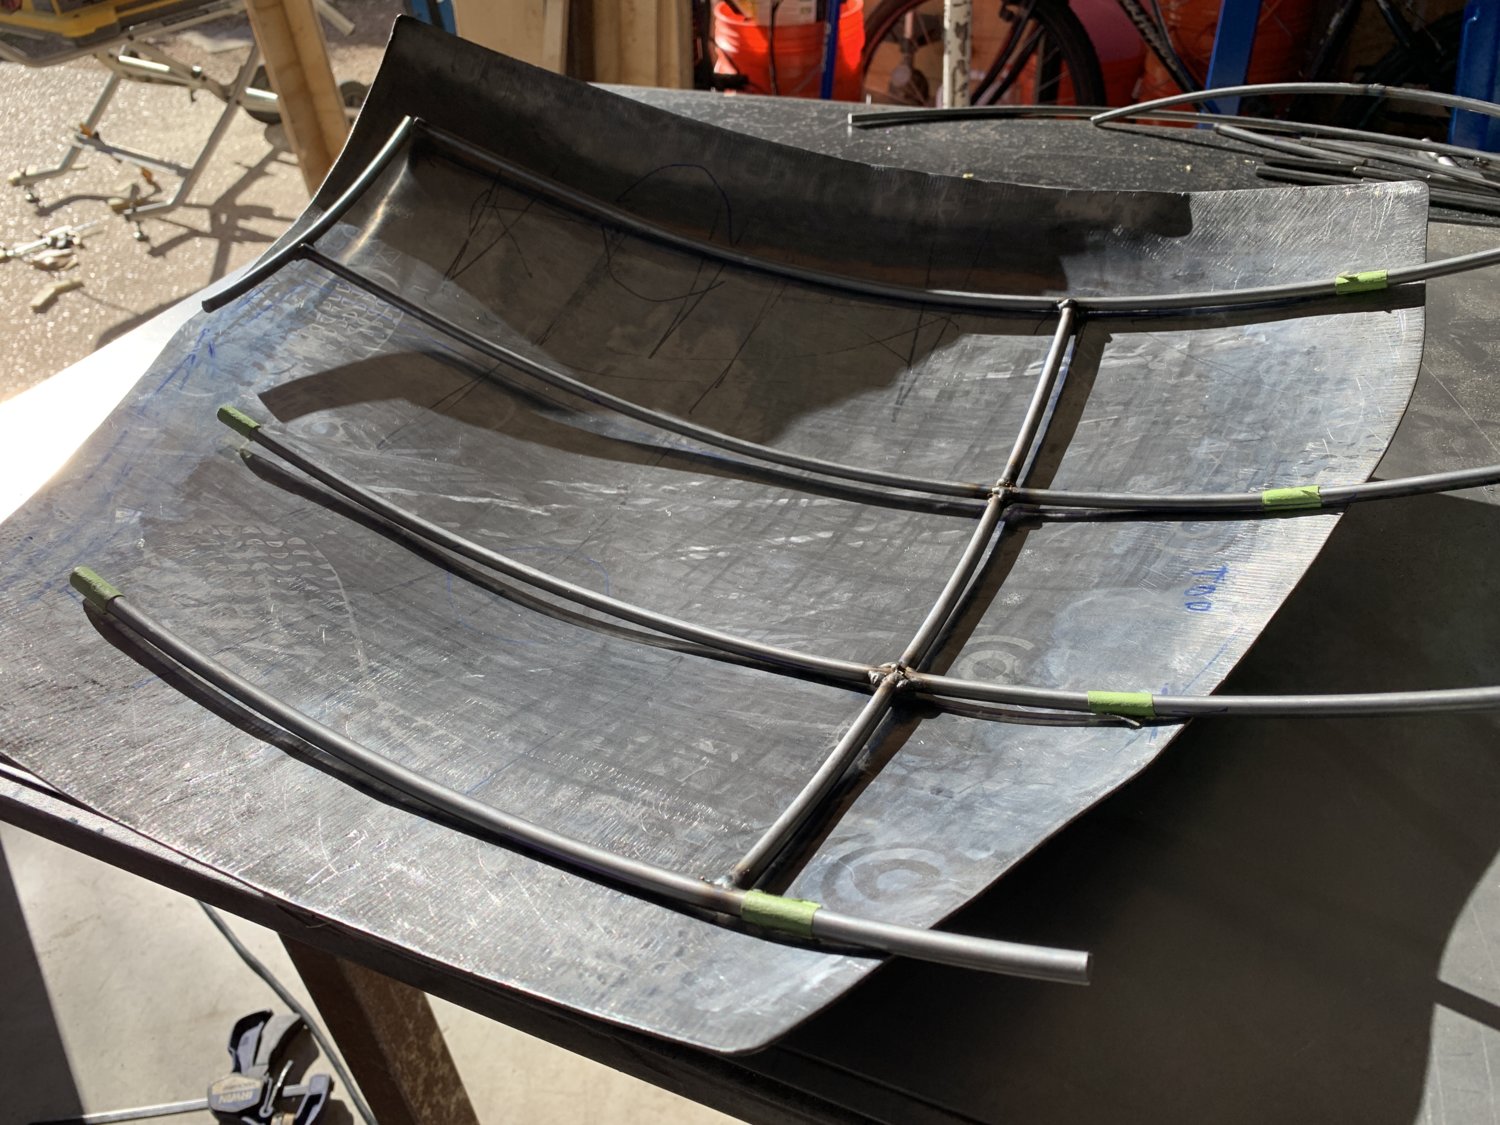
Once the driveway was shovelled, there wasn't really much to do which was a perfect excuse to go into the garage and log several more "tuition hours" developing my metalforming skills.
The new deadblow hammers made a pretty good difference, but I'm not going to lie.... it still takes a LOT of effort to make a dent big enough to truly stretch the metal in a meaningful way.
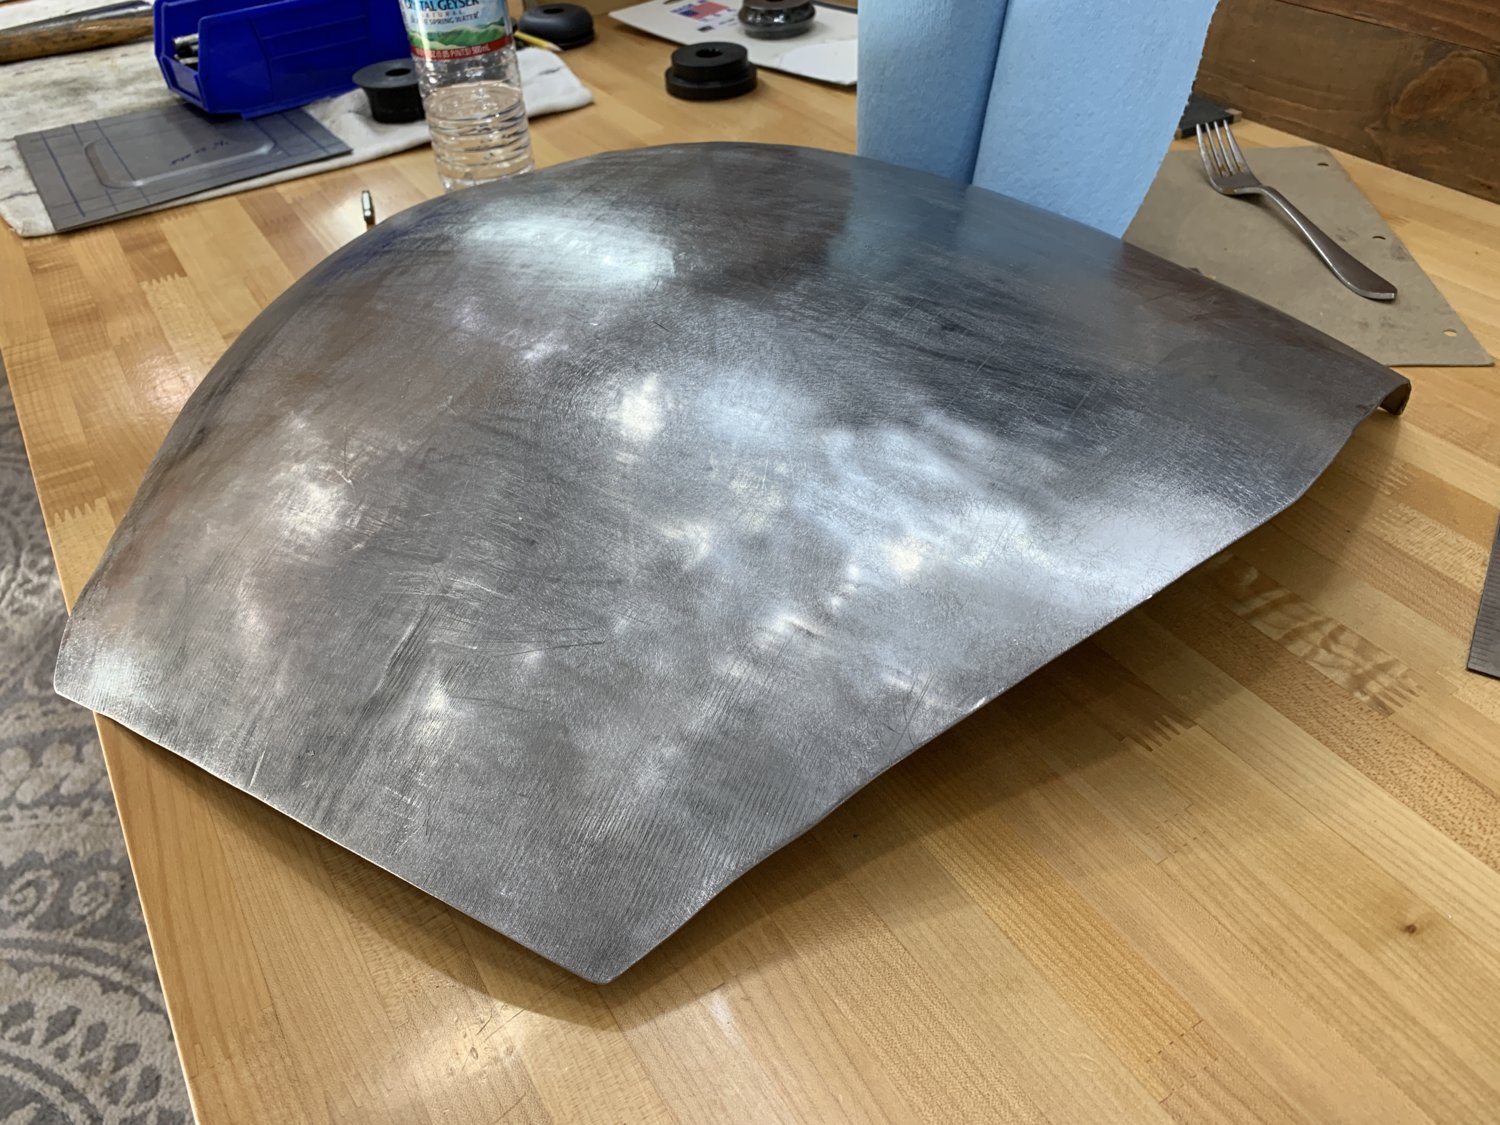
BEFORE:
AFTER: (probably 5 more hours spent on this panel)
The good news is that now I've got a perfect template for the driver's side... the tape will be applied to make a reversible pattern so that I don't have to use a wireframe model on the next one.
In the grand-scheme of metal shaping... the least preferable method is a wooden buck, followed by a wire-frame model.... with a flexible tape pattern being the best method. Wire frame wasn't ultimately that terrible, but it will be fun to see how much easier the flexible pattern is... and how much time can be shaved off from the 18 - 20 hours that were spent on this first one.
-G


")