CK5
Register an account today to become a member! Once signed in, you'll be able to participate on this site by adding your own topics and posts, as well as connect with other members.

87 K5 "Cashbag"

I followed the tech section on the dana 60 kingpin rebuild at Pirate4x4. The write up is spot on......but begins with everything taken off to the knuckle. So I decided to take pics from the hubs to new kingpins.

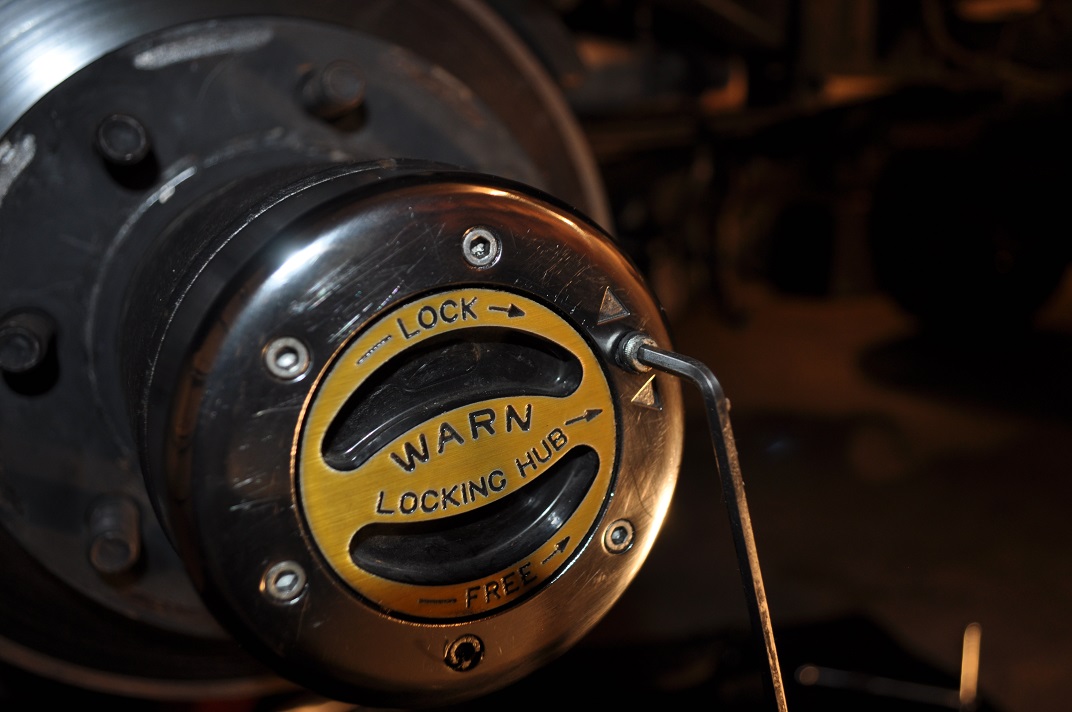
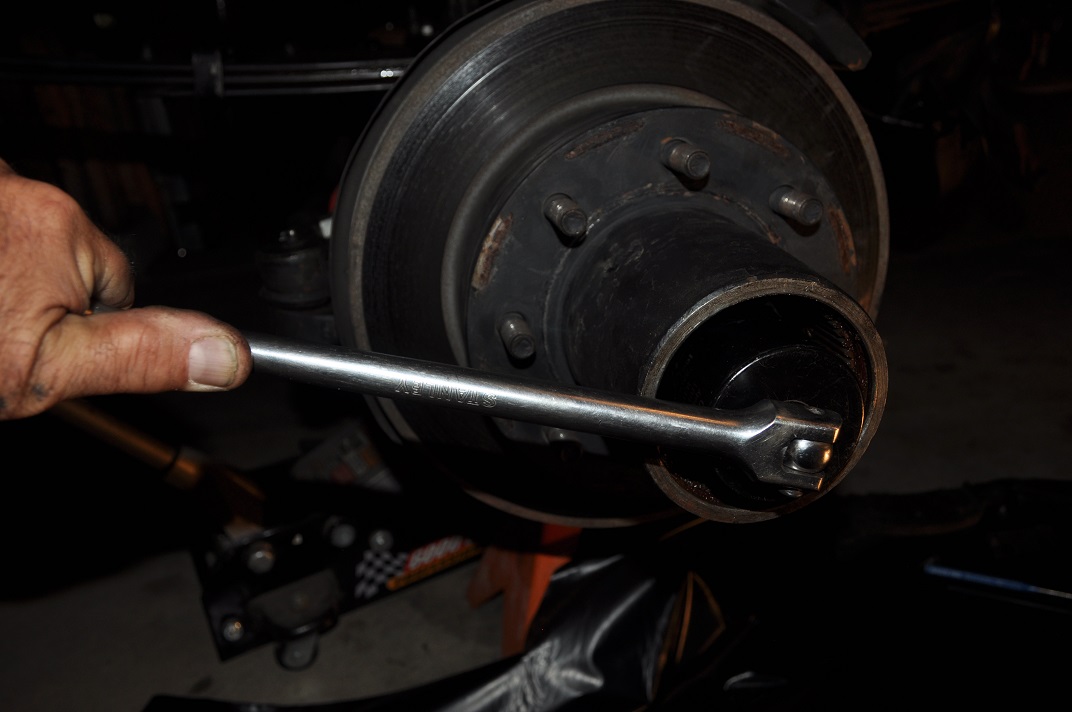
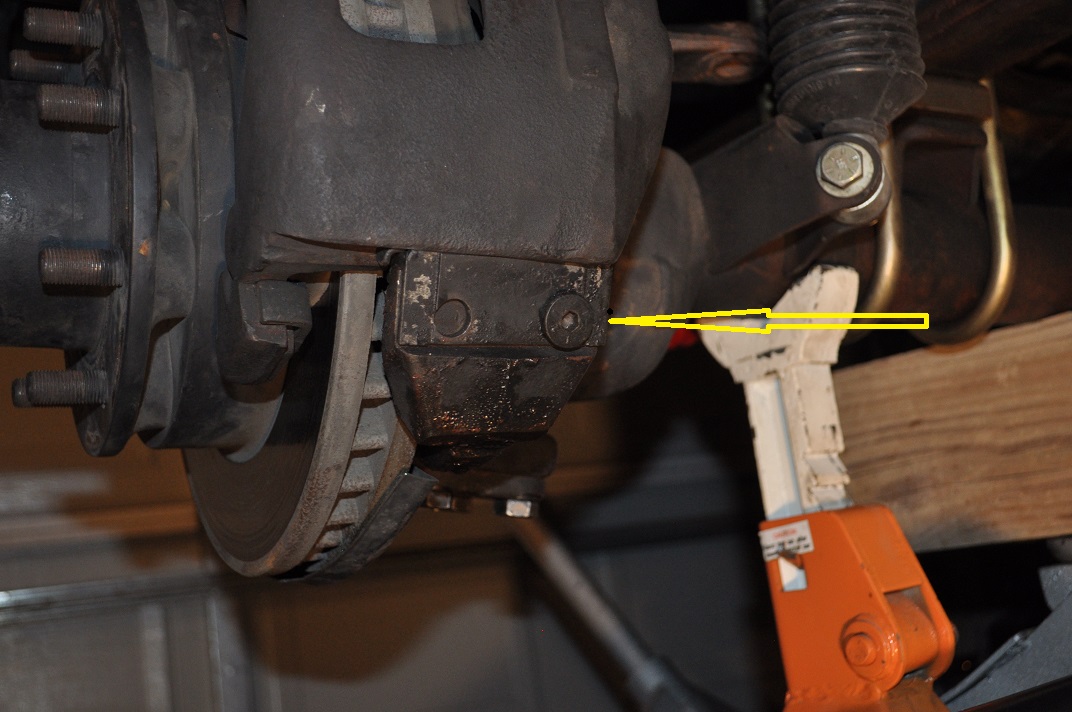
First is the disc brakes. You know. That monster caliper.

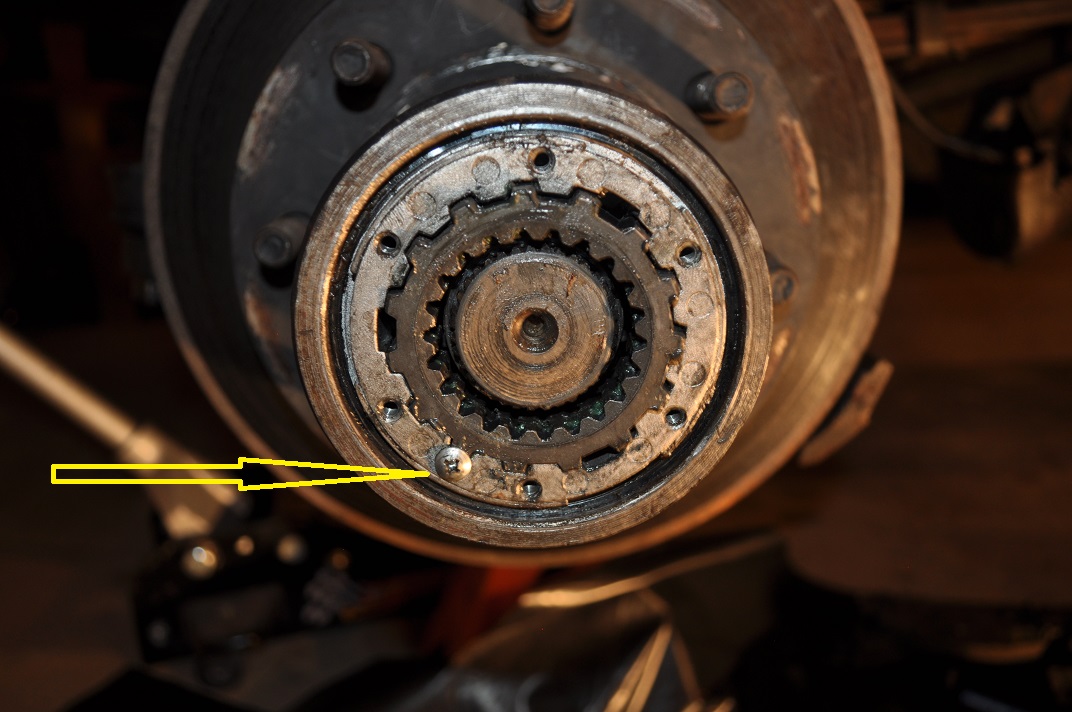
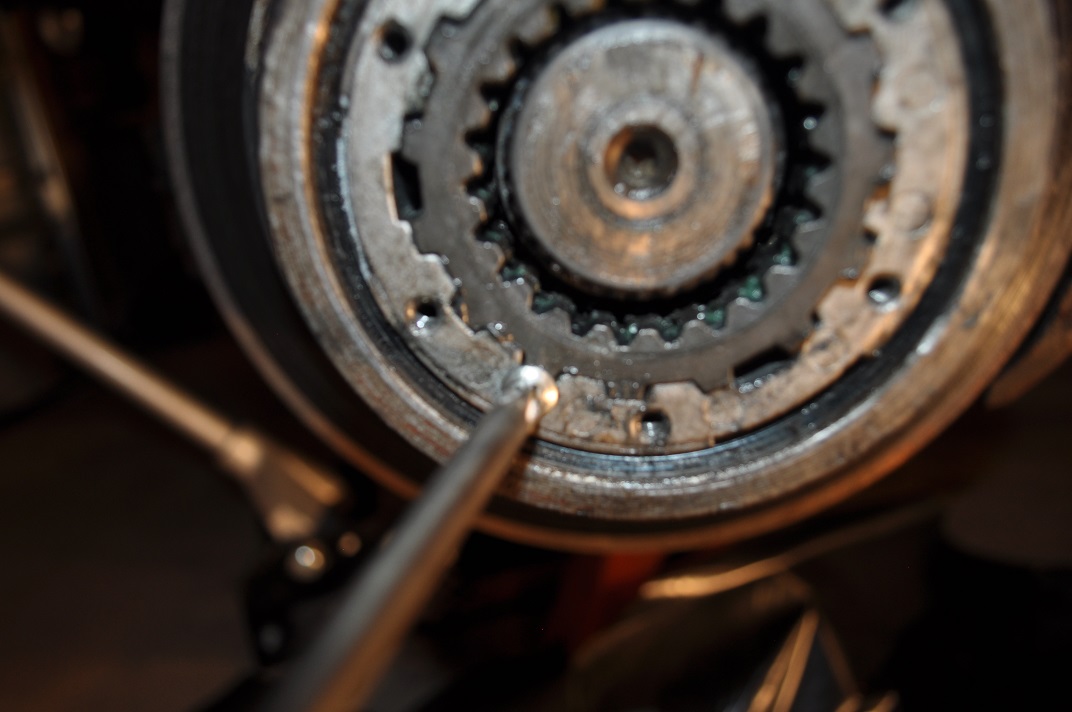
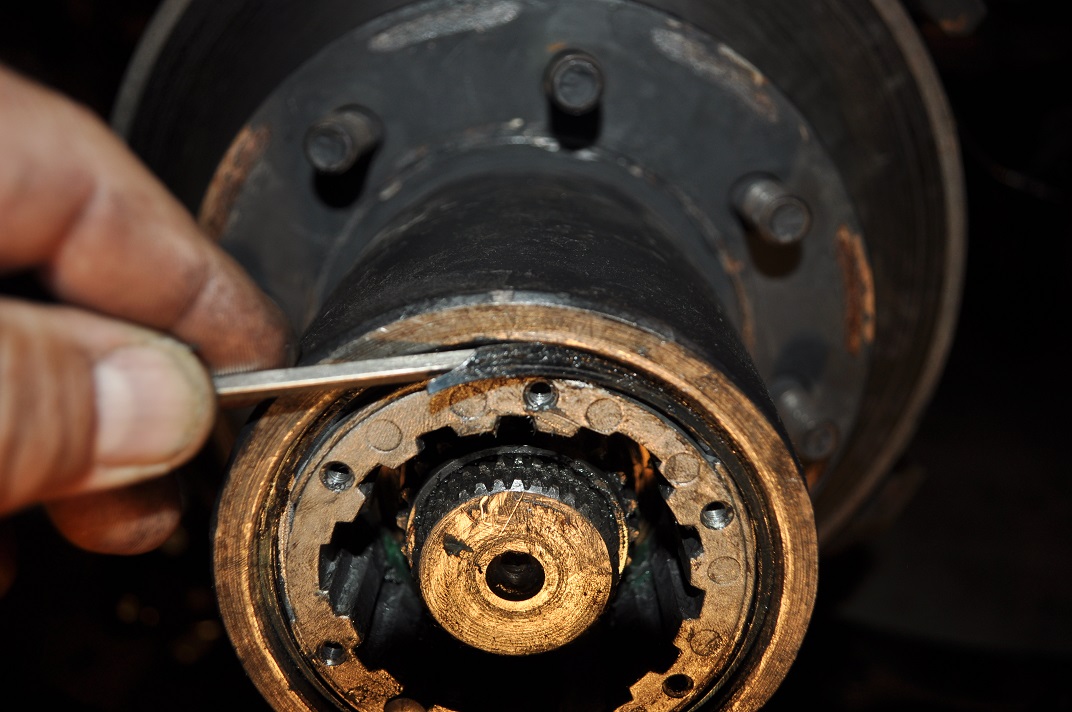
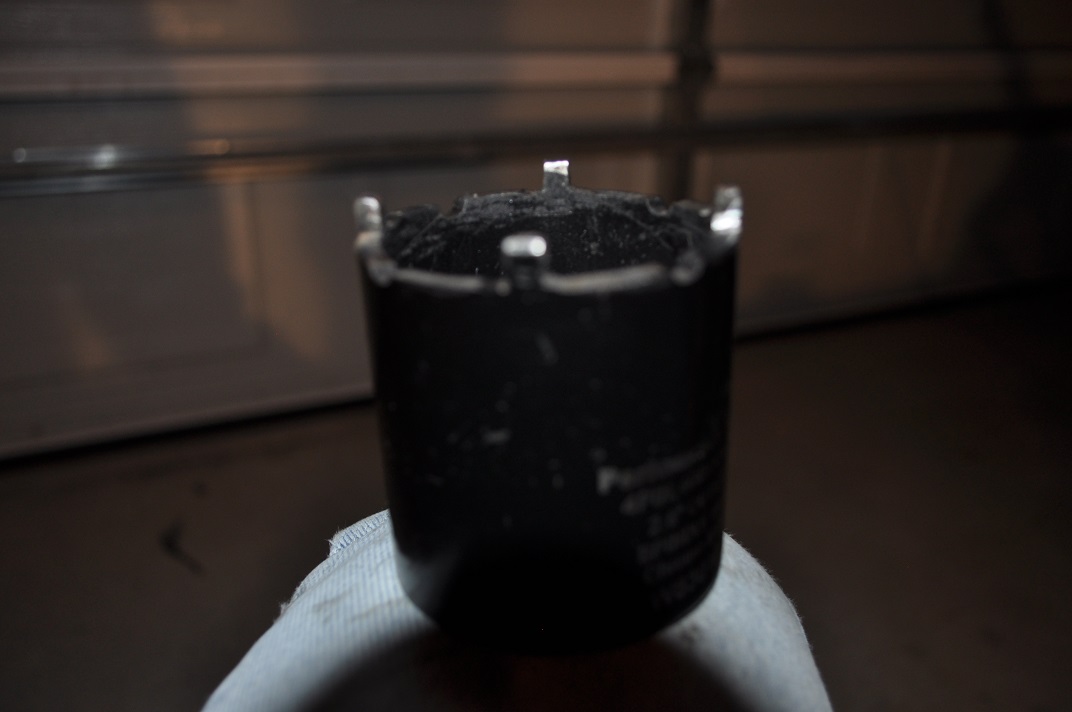
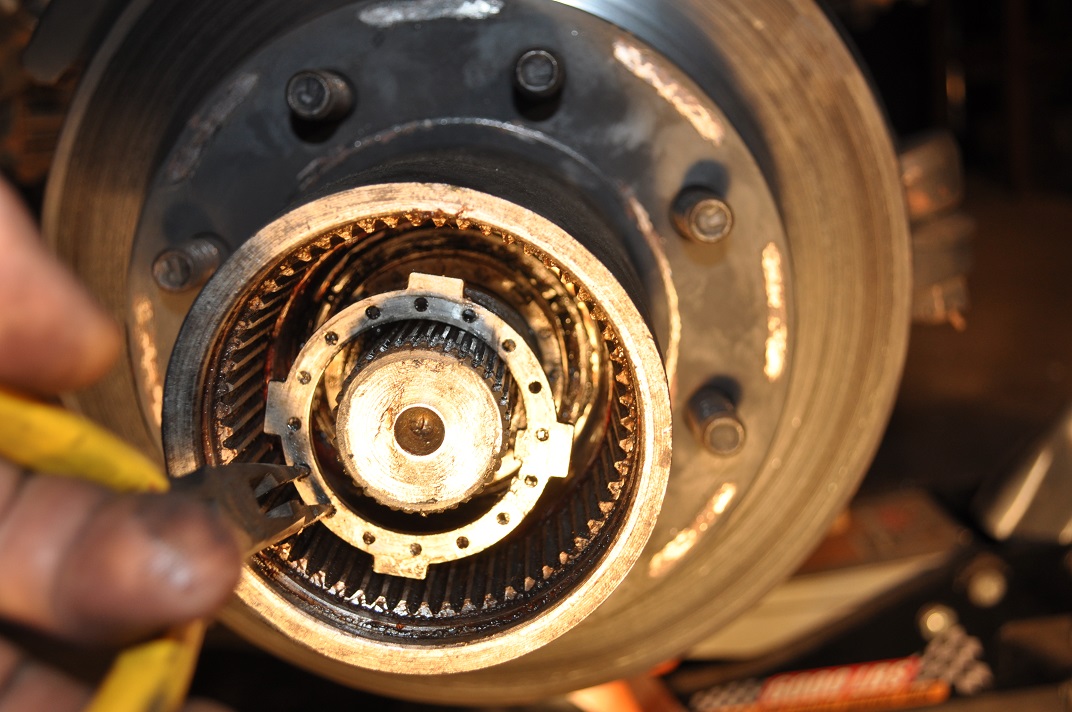
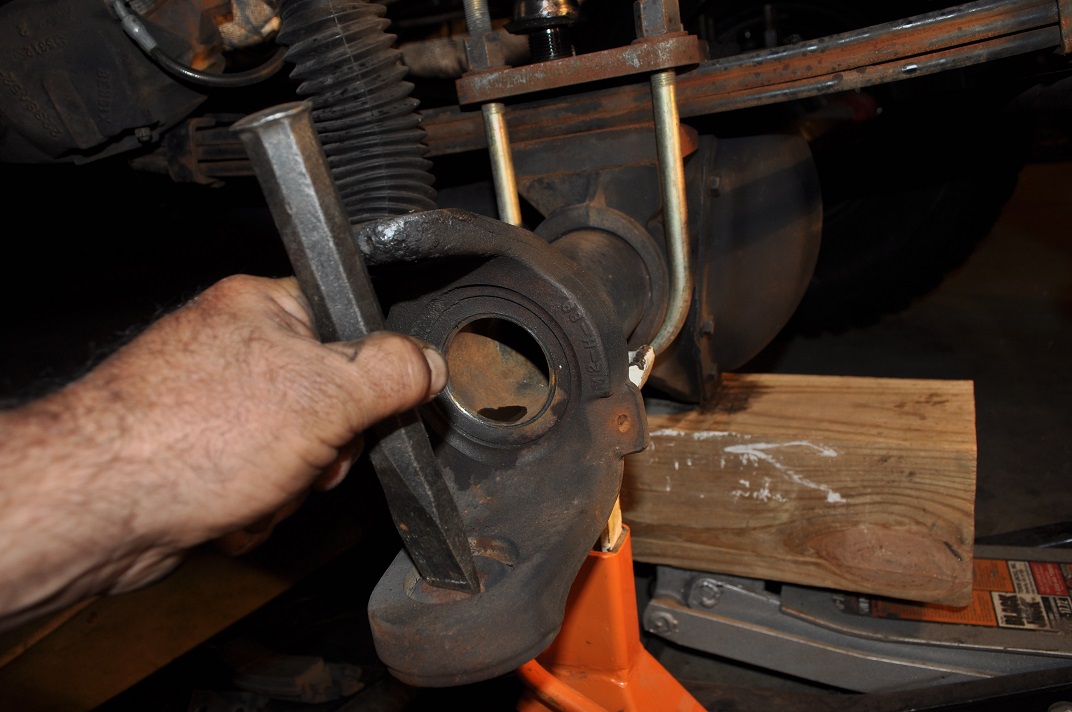
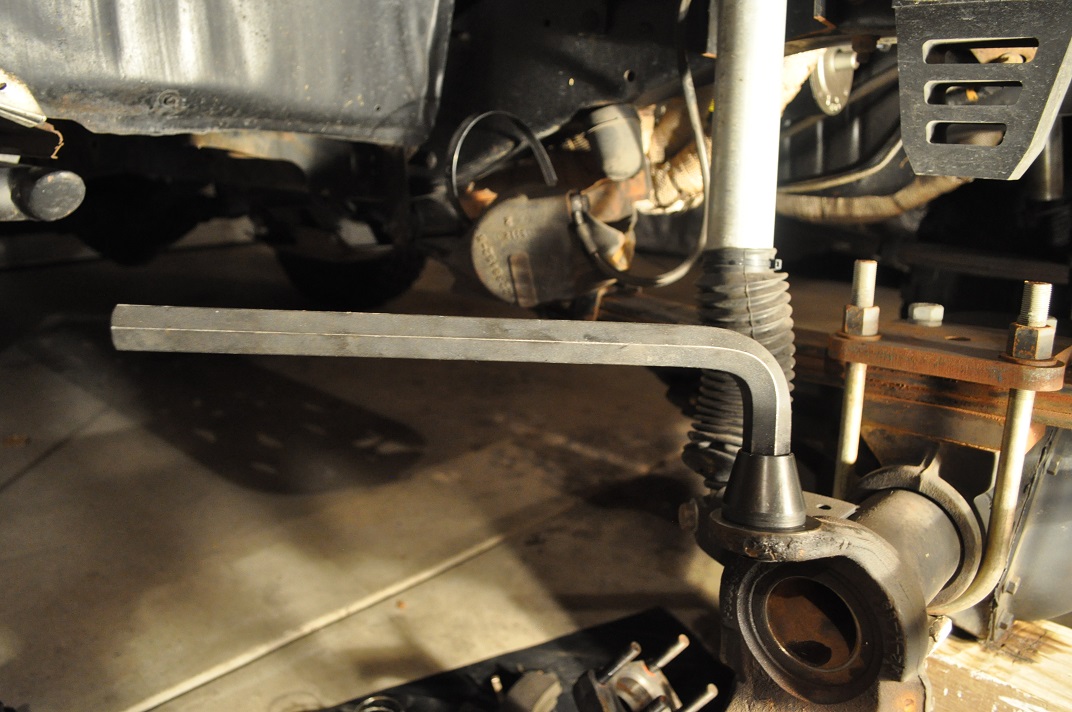
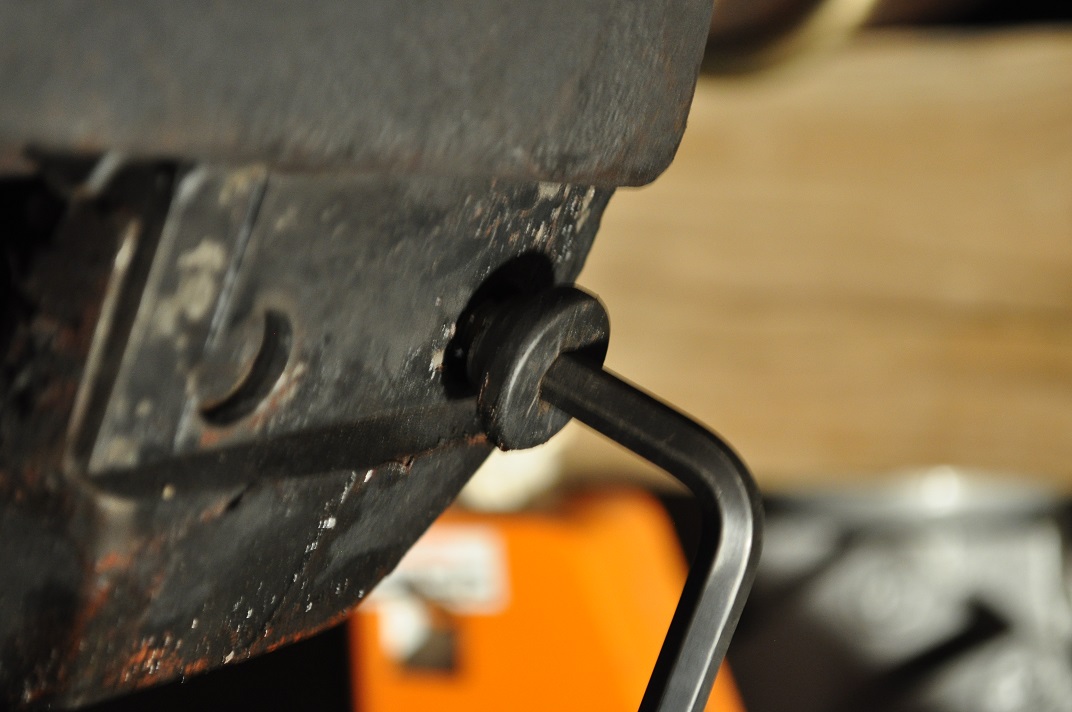
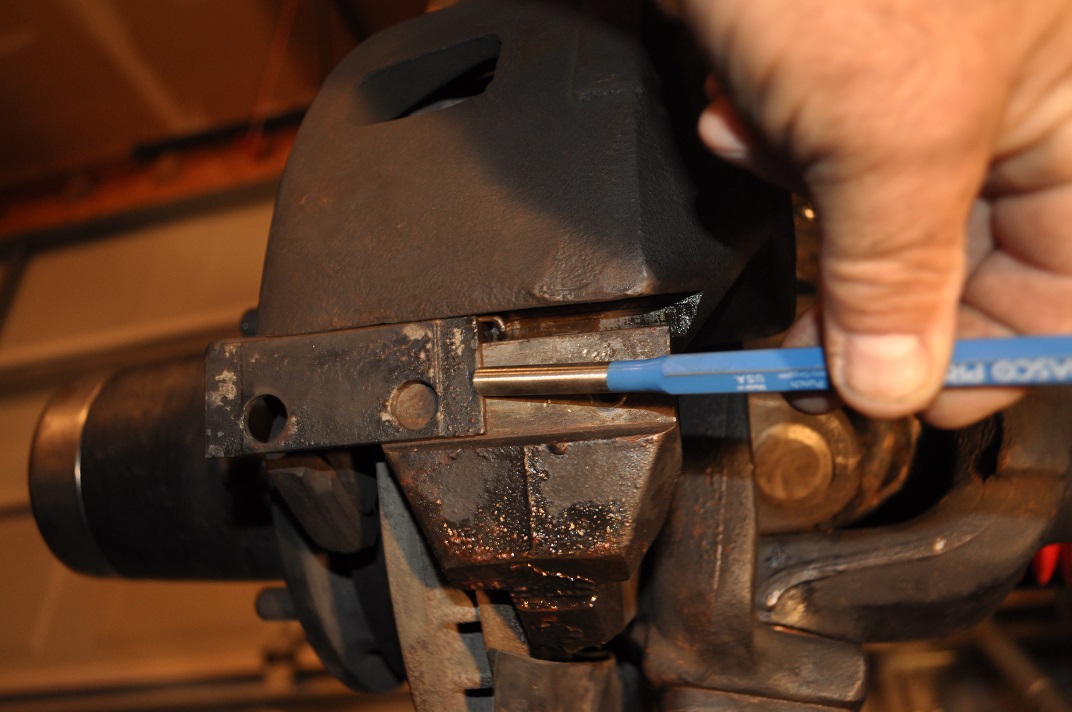
You have to remove that screw with an allen wrench, then use a punch or screwdriver to tap out the lock and spring.

full


full


full


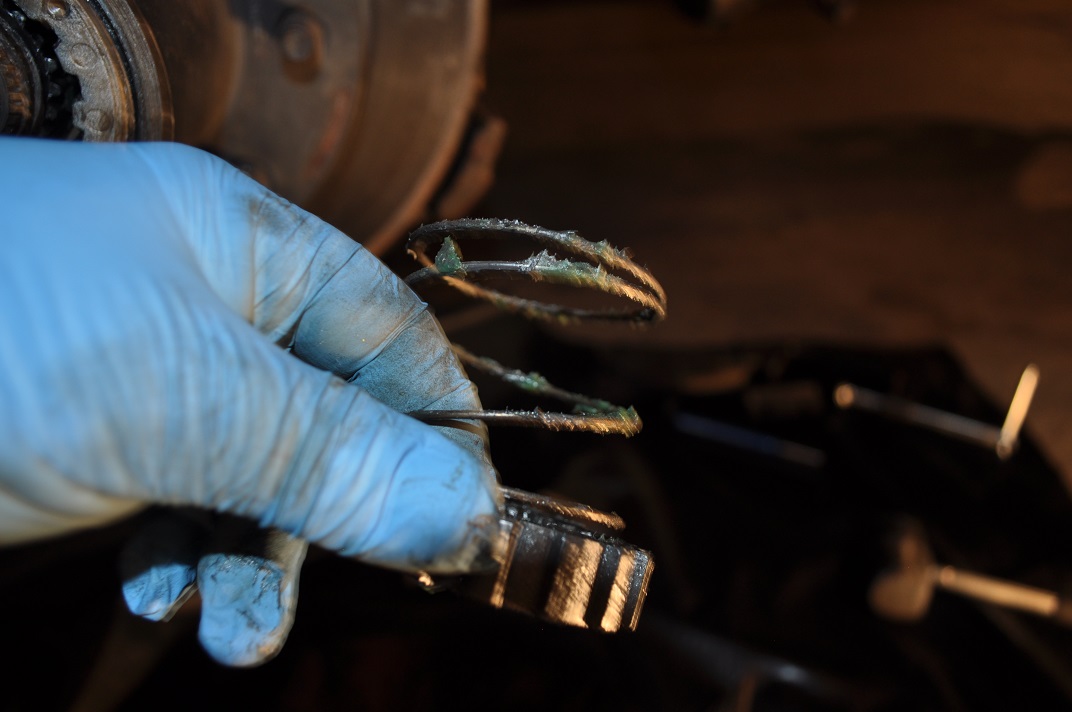
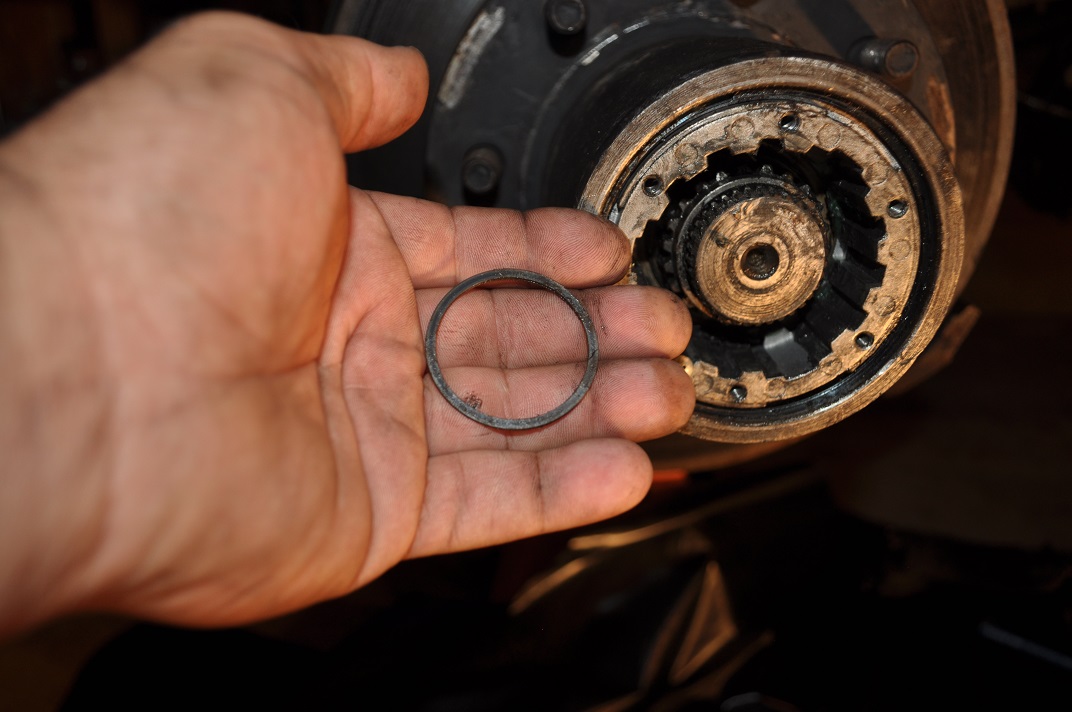
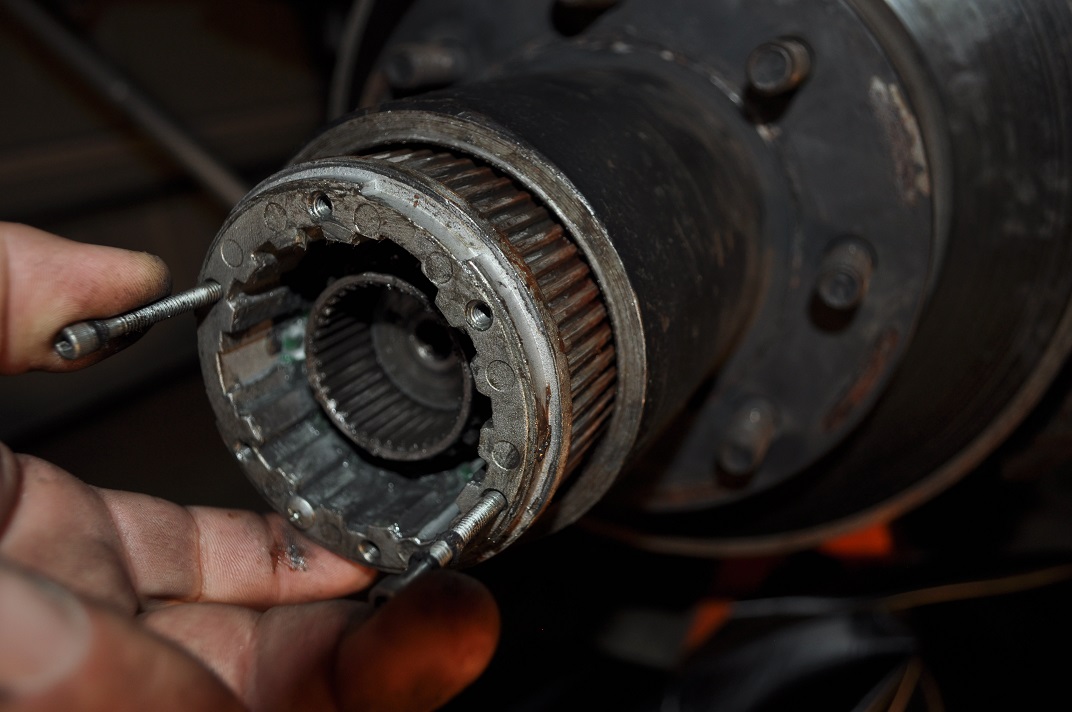
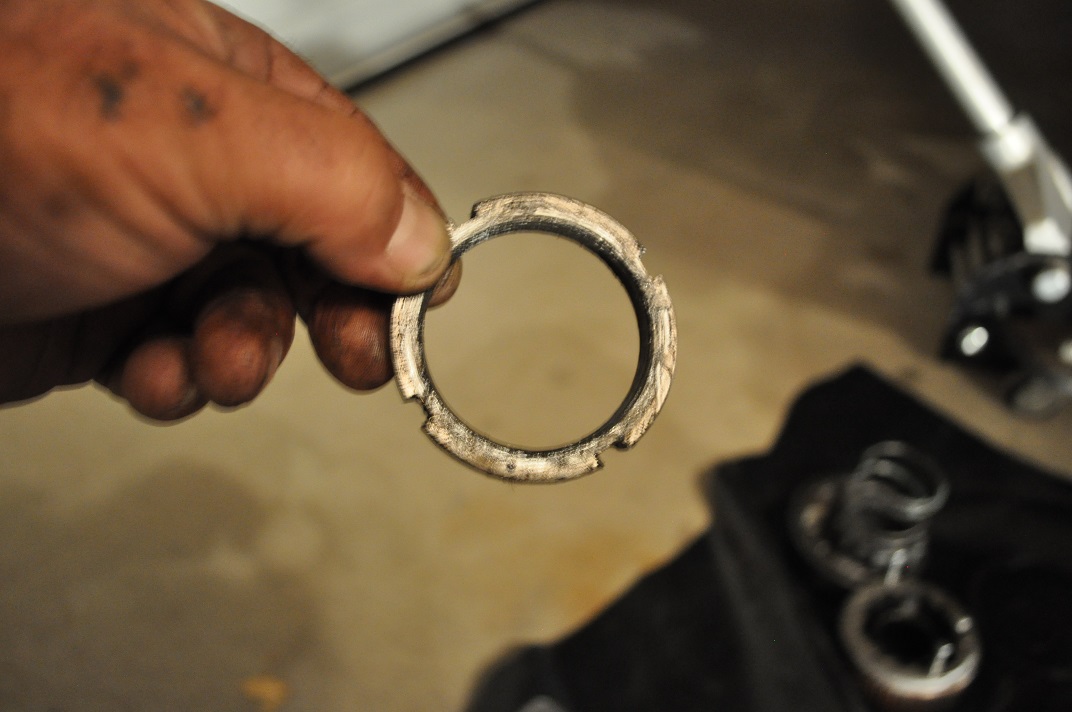
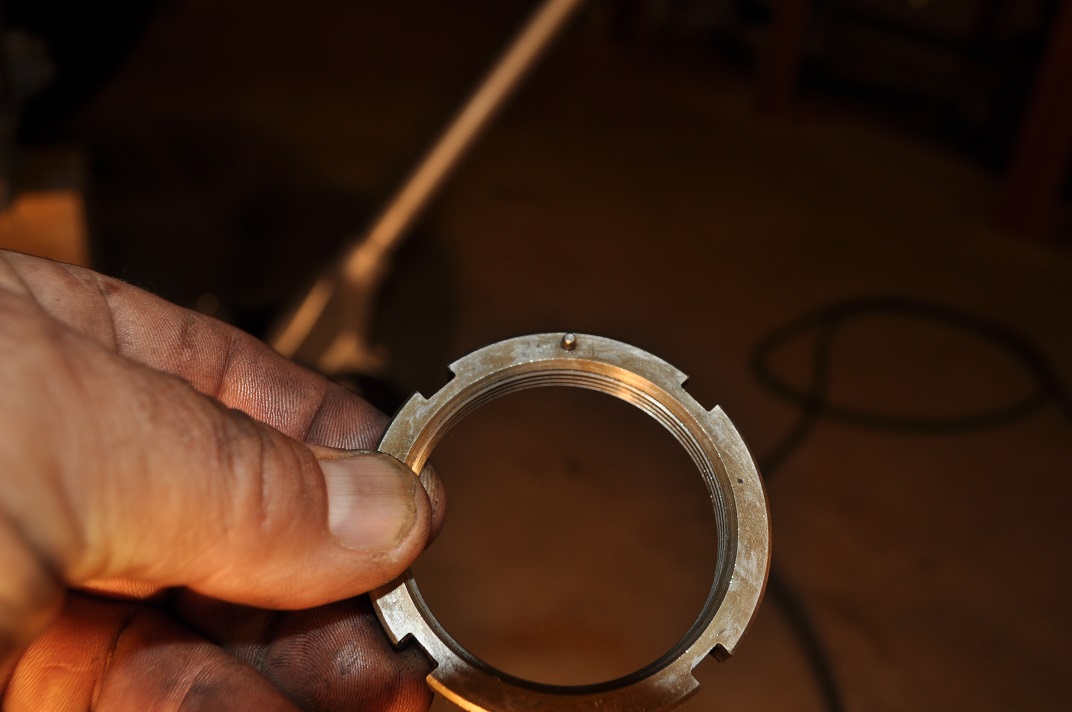
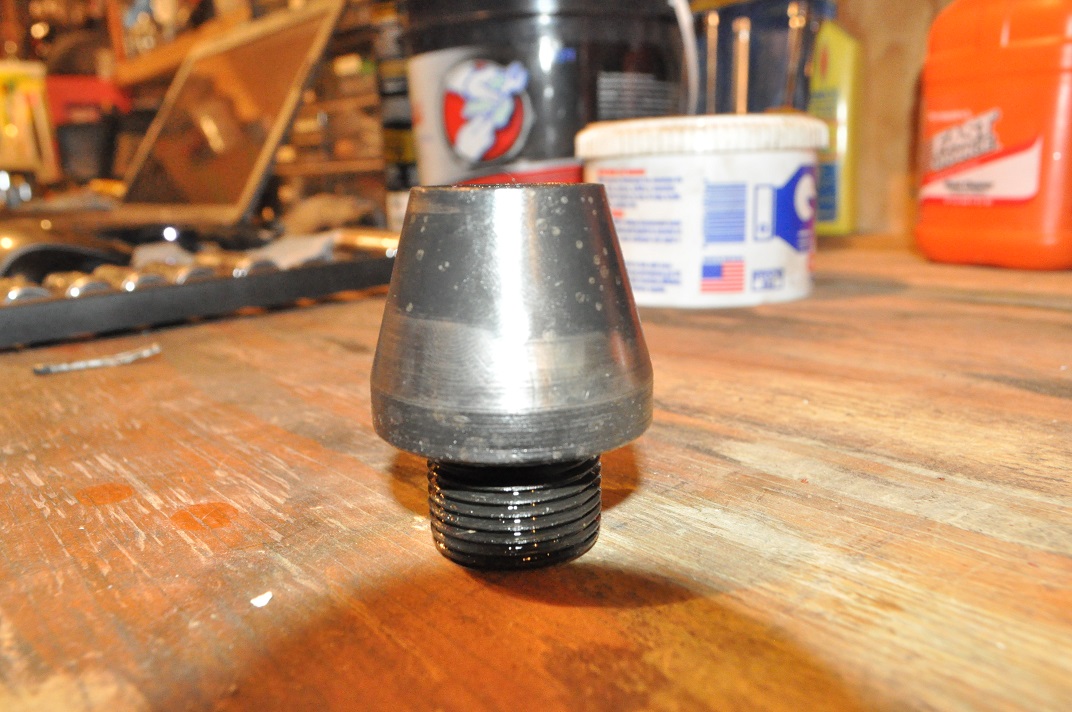
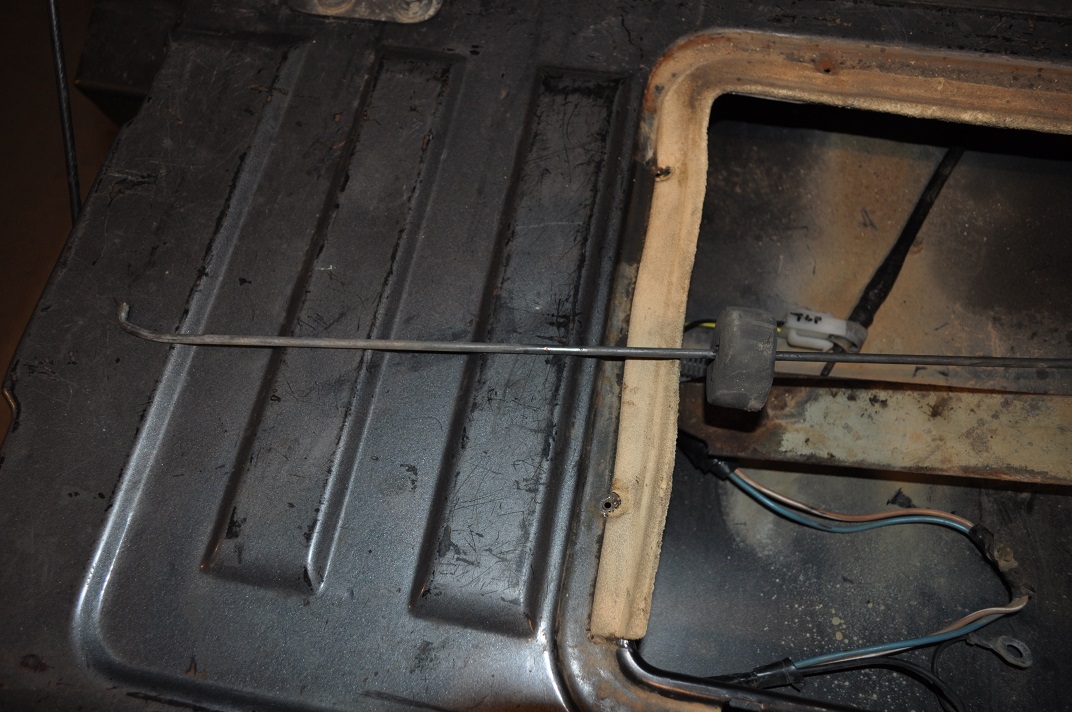
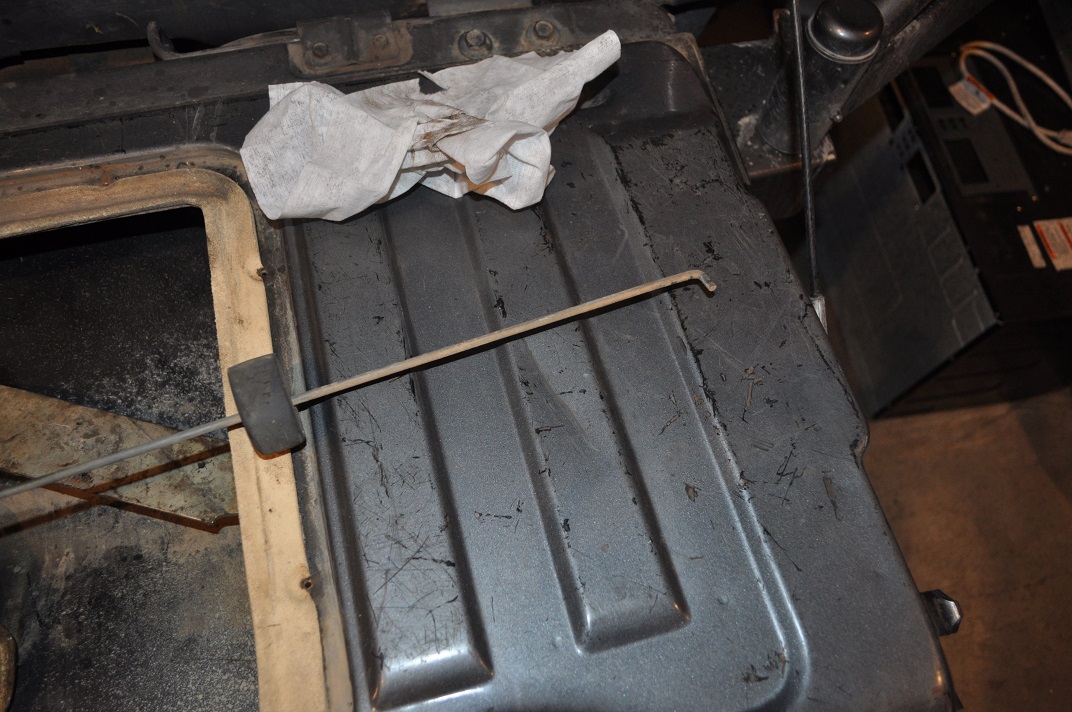
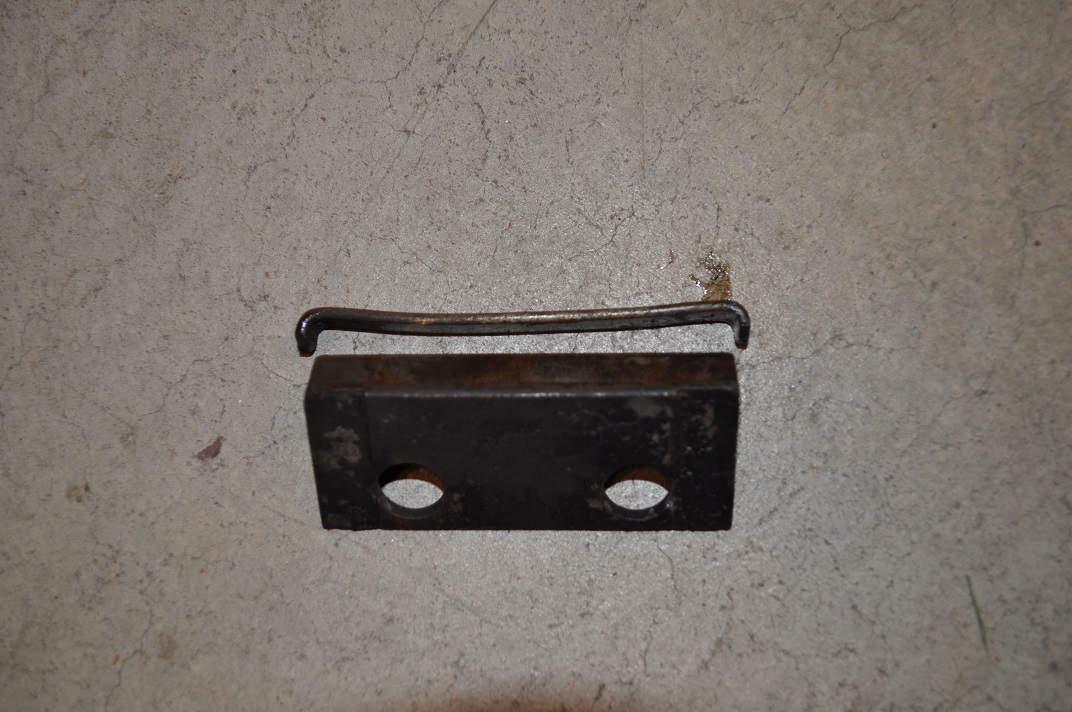
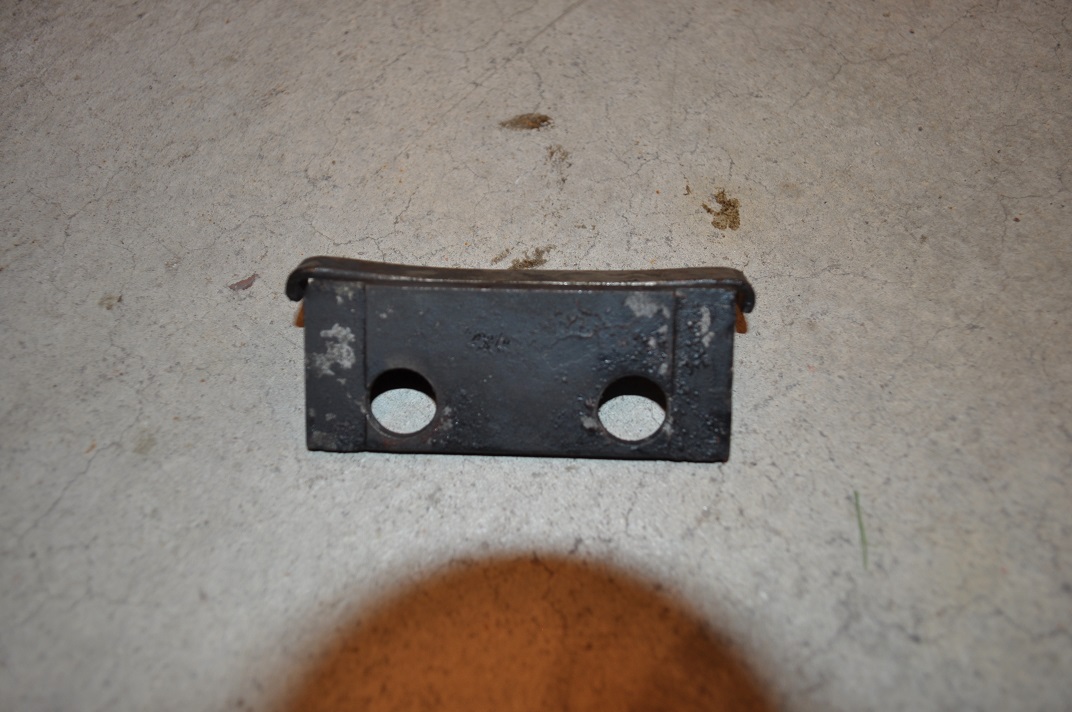
In case you have never removed this duo, and it pops out before you got a chance to see it as one, here is what it looks like.

full


full


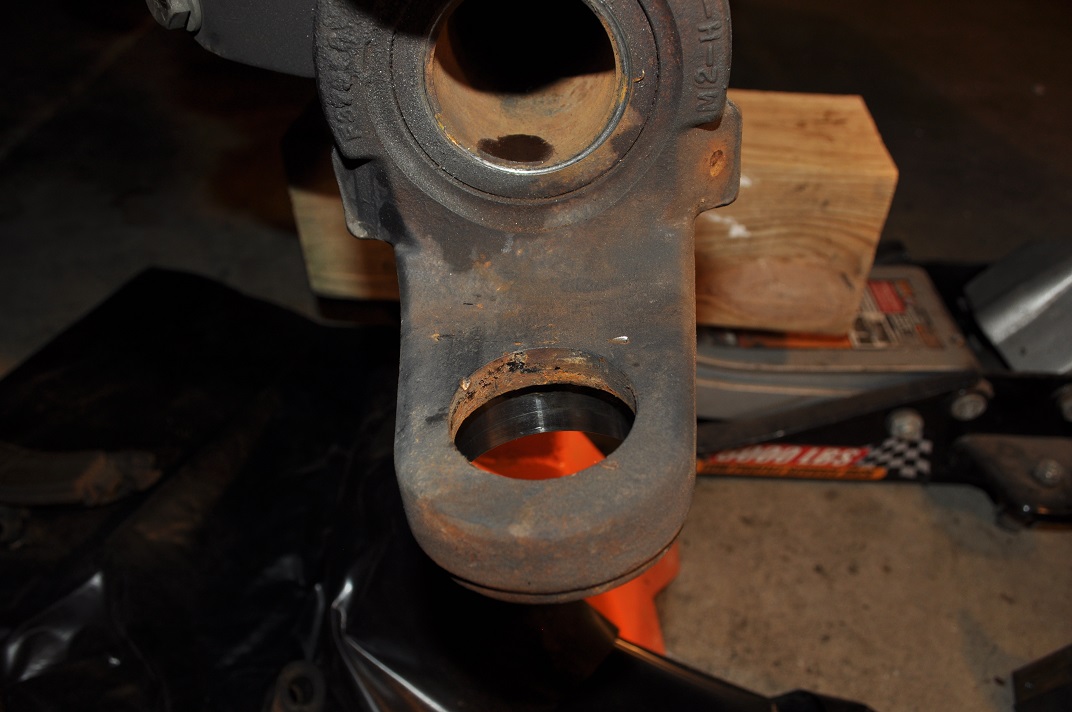
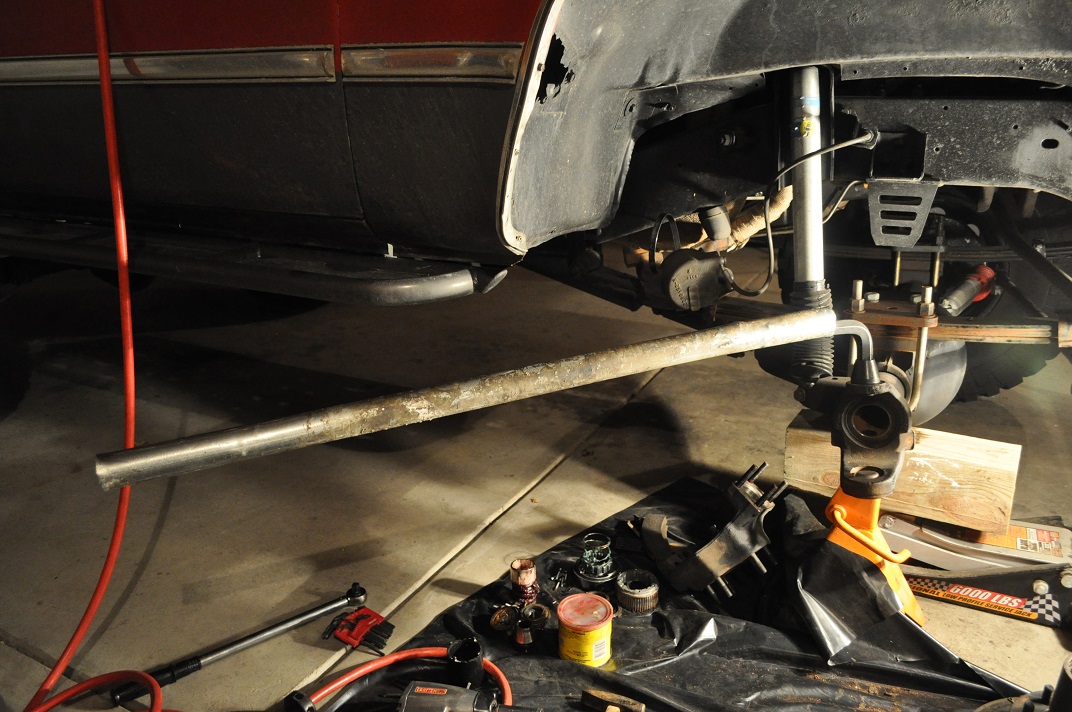
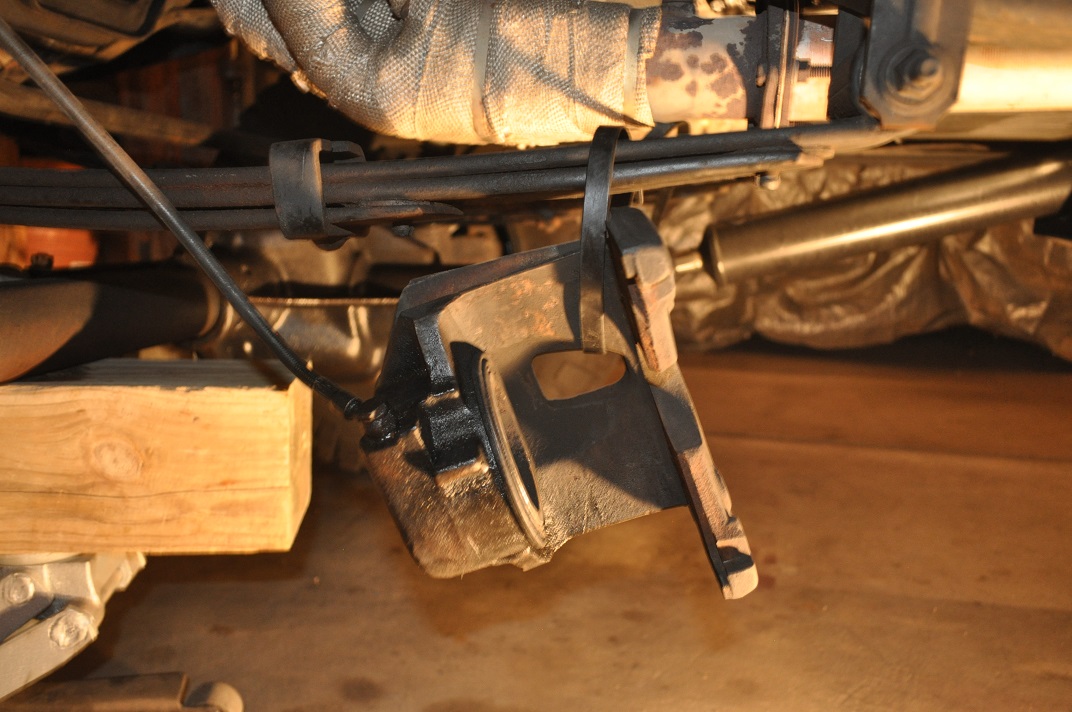
Once the lock and spring are removed, lift up on the caliper and pull out from the bottom. It might need help but it will come out. Then hang the caliper out of the way. I used a large zip tie to the leaf spring.

full


full
 
Last edited:
Next are the Warn locking hubs. Don't know the size, but it takes a small allen wrench/hex key. Remove all 6 and the cap will come off. Set aside.

full


You'll see the gear, and it's held in place with a screw (arrow). There is a spring behind the gear, so when you remove that screw hold onto the gear and pull it all the way out along with the spring.

full


full


full


Now you need to remove the snap ring at the end of the axle and the lock ring that holds the locking hub guts in place.

full


full


full


full


To remove the next part, I used 2 of the screws, that connect the cap to the hub, and slid it out. This is so you can get to the spindle nuts.

full


full
 
Last edited:
The spindle nuts are used to keep the hub, bearings and spindle aligned and on the axle. There is a tool used for removing the spindle nut and looks like this.....there may be other models but this is what works for the dana 60.

full


Shot of the spindle nut. Use the tool to remove the first of 2. This one will be held on with about 160 ft lbs of torque so I used a breaker bar.

full


full


The outside spindle nut should be flat on both sides (I'll explain in a sec).

full


The next piece is flat like a washer, and has holes around it. There is a pin on the inside spindle nut that will align with one of those holes. It is made to only go on one way because it fits into the slot of the spindle. I just used a pair of needle nose pliers to remove it.

full


full


Now the 2nd spindle nut. It shouldn't be very tight and could be spun off by hand. This spindle nut should have a pin that sticks out so that it accepts the flat washer with holes.

full


full


full
 
Last edited:
Once the spindle nuts are removed, you can pull the hub assembly off, being careful not to let the bearing, at the end of the hub, fall out.

full


full


With the bearing in place

full


Remove the caliper bracket and brake shield/ring.

full


full


full


Now remove the spindle

full


full
 
Last edited:
Align the axle up and pull it completely out.

full


full


full


Got to remove a couple of arms and set them out of the way.

full


full


full


full


I have crossover steering so there is no cap.....it's been replaced but the nuts come off the same way. Since the cap is under pressure from the spring, slowly remove the nuts a little at a time until the cap is almost off. You should be able to remove the nuts by hand now.

full


I didn't get any pics of the old parts coming out, but I did get some pics of the new parts install.

When you remove the cap, the spring may stay inside the top because of the grease, or it might still be sitting on top of the bushing/cap. Either way it's being tossed and replaced with a new one from the kit. Remove the spring retainer if still attached to the bottom of the spring or on top of the bushing. Then remove the bushing that sits on top of the kingpin.

When cleaned, it will look like this:

full
 
Last edited:
After the upper cap, spring, spring retainer and bushing are removed, remove the lower cap. It's held on with 4 bolts and age. There is a lip on the inside that I used a brass drift and 3 lb hammer on to get it to break free. You can use heat if needed. But I just worked the cap a little at a time until it finally came out. The upper kingpin cap has been replaced with an arm for crossover steering (left), and the lower kingpin bearing cap is on the right.

full


After the lower cap is removed, pull the bottom of the knuckle outward and lift up to clear the kingpin and it should now be off the axle.

full


Now you need to remove the lower grease seal, bearing, race and dust cap. When I removed the knuckle, the grease seal and bearing fell out on its own. In any case you have to hammer out the rest. I used a chisel and hammer and hit the top of the dust cap around the edges. After some pounding it will start to budge and pop out. Don't worry about damaging the dust cap or race, it's being replaced.

full


All removed:

full


Time to remove the kingpin. It really wasn't all that bad. I used the 7/8" hex key, a 4' cheater bar, front bumper hoop and my waist. The cheater bar set up lined up just under the front fender and I was able to put the cheater bar between me and the bumper. I reached out and pulled on the bumper hoop and waited for the "pop". Didn't take long. Busted it loose and put in the new kingpin.

full


full


I used a similar method to tighten the kingpin. Instead of the front bumper hoop, I used the rock slider as leverage to get anywhere close to the 600 ft lbs of torque. And then installed the upper kingpin seal.

full
 
Last edited:
Time to install the lower kingpin dust cap and race. I used a kit to help. You can rent/borrow these from most Parts places but since I like to do most of the work at home I went ahead and bought it.

full


First install the dust cap. I used some grease around the edges to hold it in place while I hammered in the race.

Then pack the bearing with grease and set it up inside the race. I placed the bearing oil seal in position and used a piece of wood and hammer to knock the seal into place. Make sure the first edge of the seal is flush with the bottom of the end forging.

full


After the lower seal is installed, place the knuckle back on. Start with putting it over the upper kingpin and moving the bottom into place. Now you can install the lower bearing cap. And use the new bolts and washers from the kit. Tighten to 80 ft lbs of torque.

Now to the top. Pack some grease around the kingpin and install the bushing. There is a ridge on the bushing that matches up with a slot in the knuckle so that the bushing can only go on one way.

full


Next, place the spring retainer on top of the bushing.

full


Then the spring:

full


Fill the upper cap/crossover steering arm with grease and place on top of the spring/studs. My setup has the studs with conical nuts so I had to reuse them. There was enough of the stud through the cap that allowed me to get the nuts started. Once started, tighten each one a couple of turns to get the spring loaded cap down. You can use the gasket provided in the kit or silicone. I chose the gasket this time to see if it holds as well as the silicone did.

I got everything back together and is now on the road with no death wobble. It feels like new shocks in a way.

Here is a shot of one of the old kingpins.

full
 
Last edited:
The only thing is you should remove the step telling people to remove that single Phillips head screw from the lockout after you remove the lockout knob (cap?). That is an unnecessary step and just makes the job more difficult. That screw only has one purpose in life. To hold the lockout together during assembly/disassembly. By removing it, you made it completely useless.

Martin
 
Are you saying that I could have just removed the large lock ring and pulled the whole lockout section out of the hub? If so, I could have sworn you had to remove the gear and spring to remove the small lock ring in front of the spindle. And it wasn't my intent to remove the screw and not reinstall it.

Well, I just learned something again. I can't say it was something new because it's probably in the installation instructions and I went by memory. Alcohol and memory.

Thanks for the input, Martin
 
No you have to remove both snap rings, but you can do that with the lockout assembled and that screw in place.

Martin
 
I need to open the driver side back up so I'll give it a try and take pics on removing the small snap ring without messing with the screw. And I will also get pics of removing the parts that I forgot to get earlier.

Thanks for the help
 
Hard to start after cruise

I've been having the hard start issue for a while. If you have headers then some of you know what I mean.

Go for a drive either to the store or get gas, maybe cruise the lake. Shut it down for a few and then when it's time to go it cranks slowly like the battery is weak. If you let it sit for some time it will start like nothing was ever wrong.

Well............I finally decided to upgrade some cables and add a continuous duty solenoid. BWD #S603.

When I first went to O'reillys they searched to try and find a Ford solenoid that was listed as "continuous duty". When you tell them early 70s truck, it comes up with four solenoids. Two of them tell you they are not continuous duty, and the other two don't give you that information. Well, the first solenoid they ordered, BWD S67, was continuous duty. Only it was 6V. This occurred to me when I had it mounted to the firewall and remembered seeing "6V" on the back of the mounting bracket.:doah:

I did some more research and seen that one of their stores carried the BWD #S603 and it was a 12V continuous duty solenoid. Went and swapped them for the 6V one I had and took it home and it is now installed.

After all was said and done, the blazer will start without any slow cranking. All the wires are above the headers and out of the way. There is only one cable to the starter and it runs along the bottom of the frame then up to the solenoid. No more heat.

The last picture shows the jumper from the main starter post to the "S" post on the solenoid. And only one cable to the starter.

And a big THANK YOU to Royken for answering my questions and throwing in your teachings.:waytogo:

full


full


full


full
 
Last edited:
Rear tailgate

A couple of weeks ago I did some work on the rear tailgate power window issue.

#NOTE: Before I removed the window regulator, I installed a screw threw the gears so they would not move out of position while being worked on.

1. The window moves slow and 2. I wanted the key to work in the rear latch. Once I had all the insides removed, I was able to get to the two nuts that hold the latch to the tailgate. Got the key cylinder apart and seen that the contact to the left was worn down. So I put a dab of solder on it and sanded it down. Now it works like it should.

Put the guts back in and with the rear window removed, the motor struggled to move the regulator up. But would move fast going down. I took the regulator completely out and cleaned it and greased it. I also went and exchanged the motor for a new one. Even with a new motor it made no difference. And before I could get any further I had to slap it all back together. Shut the tailgate and used a cordless drill to roll up the window. No biggie. I can take the thing apart fairly quick now.

I also bought some new rubber from 1AAuto. The piece that goes on the tailgate, the piece that goes in the top of the shell, and the inner & outer seals on top of the tailgate. I'm still looking for the seals for inside the tailgate. LMC has one side but not the other. I don't have any of the new rubber installed yet. I'm going to wait till I have the slow window issue fixed first.

It's not that hard to work on. I got pictures of the latches and stuff to remind me which way the rods went.

You see, I have Sometimers disease and a camera helps big time.

full


full


full


full


full


full


full


full


full


full


full


full
 
Last edited:
Old, weak wires causing issue

With all the tailgate apart I did some more work to see why the motor is slow to go up, and will not budge to go back down.

I ran a wire from the battery to the window motor and what a difference. The window will go up very quickly, and it will go down but not as fast as up.....if that makes any sense.

I also hooked the hot lead to the switch and got the same slow up and no go down.

Looks like I'll be replacing some wiring.
 
Thanks, Adam....gonna get this figured out and working like it should. Then install the new rubber for the tailgate and the top piece of the shell above the rear window. I was able to get the guide/felt for the inside of the tailgate (right side) from LMC.

I also need to get the top off and get some pics of the new rubber. See how the winter formed it since it was new. And to see if I got it on right. Never know until the top is off, so maybe this weekend. Which could actually mean next month.:whistle:
 
Top Bottom