CK5
Register an account today to become a member! Once signed in, you'll be able to participate on this site by adding your own topics and posts, as well as connect with other members.

87 K5 "Cashbag"

keep us updated on if the new wires work on the rear window!
I will be interested to see what the out come is.
Before I took mine down to the frame I was having the same problem and swore I would figure it out when I put it all back together.

I was thinking that maybe the switch was the issue or maybe putting in a separate relay with a good hot lead to make it work better like the headlight trick.:dunno:

:popcorn:
 
Rear window works great.

I replaced the blue and the tan wiring, from the dash switch (which is new) to the tailgate, with 8g. And replaced the orange/black wire from firewall to tailgate with 10g. You can use 10g for the blue and the tan wiring, I just tried the 8g for the heck of it.

Now the motor works like it should, except that with the new window weatherstripping it makes it slow again. Almost stops it in its tracks when going up. So I did some investigating and it seems that this tailgate has been slammed somehow and the opening for the window is narrower than it should be. I used a 2x4 and some towels for padding, and was able add some more space for the opening. About 1/8" extra. Put the weatherstripping back on, and now the rear window moves up and down like it should.

The key switch on the tailgate will only work when it's laying open. And the window works great then also. Once you shut the tailgate the key will not work. I'm going to have to find a used/new set but it's not a must right now.

I also upgraded the alternator to the 140 amp for a Pontiac Trans port. Just had to open the bracket up a bit to fit the bigger size. Not a big deal.

I'm not up on the relay set up for the headlights. I need to do some search and find out more about that.
 
The In-laws were in town a couple of weekends ago and some how I got in the mood to repaint the top and go from solid windows (which had bb hits on both sides) to sliding windows. I had bought a set of sliding windows about 4 years ago and decided to make it a small project that day.

My dad in law likes to park his butt in the recliner and watch WWII movies and older westerns. And talk about it the whole time so you really don't get to watch too much.

My mom in law likes to be on her laptop or ipad and play games. And argue with dad in law about what he says about what hes watching. It's fun to watch them in a debate.

I removed the top and set it on jack stands in the middle of the garage floor then removed the windows. No big deal there. Sand the top and then paint. It's just rattle can Metallic Silver. Just a little bit darker than the original silver paint.

Once finished, I raised the windowless top to the ceiling of my garage and got the Sliding windows down from the shelf. Eagerly waiting to install them, I mean the rubber around the solid window itself was in great shape so I figure it's all down hill from here.

WRONG.

I tried to get the windows to slide but they wouldn't budge. The window channel (flocked rubber), the felt that the window slides in, was no longer.......soft. That stuff was hard and dry rotted. It snapped into pieces. I don't have any pics of that but you get the idea.

So I ordered some new window channel/felt by Metro Moulded #ISWC590022. It was the wrong stuff. This is for the front doors. I need new ones so it is a plus for me.

But I did find a glass shop in Wichita, Ks that had some channel/felt in the size that worked great. I bought 4 strips and only had to make one splice per side.

I'll put in lots of pics Monday evening on the process.
 
These pics are taken after the first coat of paint, and all trim is removed. But I will describe how I took these windows apart.

The first thing to do on taking the Sliding Windows apart is to remove the small vent window. It will prevent an early breakage.
Remove the two vent window brackets. The bottom bracket screws may be covered up by a strip of rubber. If the strip isn't brittle, you should be able to remove it without damaging it. If it is brittle and it breaks apart, there used to be a company called Atwood Mobile that carried the replacement. They no longer exist. But the replacement they had was an exact fit. It was $1.20 a foot with a $25.00 minimum order and $12.95 shipping. I ordered 30 feet so there will be a little to go around. To get the easiest access to the screws, turn the vent window open. One direction will give you the most room for one screw and the other direction will give you the most room for the second screw. If your window doesn't turn all the way around, squirt some lubricant on the parts to loosen them.
Since I already rebuilt these, I replaced the rusted screws with stainless steel.

full


full


The next thing to remove is the bar that holds the frame together at the seam. A piece of trim might be covering this up. On the set that I have, the trim only covered up the first 2 screws. There are 4 screws total. Two each side of the seam. They can be rusted pretty bad and if you can't get them out you can cut the bar in half with a hack saw. One side was already broken apart and the other side I had to use the saw. The screws were so rusted that I had to use the cut off wheel to clean out the track and redrill and tap new holes.

full


full


full
 
Last edited:
I had some aluminum brackets sitting around and made two new bars. This one only had 2 screws instead of 4. The screws are a bit bigger and are stainless steel.

full


Now you can remove the sash. The piece that holds the non sliding window in place. There is a screw on top and bottom of the frame. One of mine broke off the tab at the very end. But it still works fine. 1 screw broke off and had rusted in place so I had to drill out the rusty junk and work a new screw in its place. Worked out great in the end.

full


full


After both screws are removed, slowly work the sash away from the window. The non sliding window will have a weatherstrip that goes around the whole glass. It might try to come off when you remove the sash, just hold it in place.

full


full


full


full


full


This is the side that I broke the tab off. There should be one at the top and bottom. It still works. The side that is against the sliding window should have 2 strips of felt/fuzz that can be removed and replaced if necessary.

full
 
Last edited:
If your window channel felt is hard and brittle, break it out in pieces. You really won't have any choice.
If the felt is still spongy, you might be able to pull it out with the glass still in place.
Or, you can pull the felt out to the seam, put something under the frame to prop it up so that the channel for the sliding window is no longer in line, and slowly slide the window out. Just follow the felt until the glass clears the frame.

full


full


full


To remove the non sliding window, separate the frame a little to loosen the window w/weatherstrip. Prop up the frame like you do when removing the other glass. And slowly work it around and slide it out. It should come out with the weatherstrip still attached to the glass. If not, and it's still in good shape then you can still use it. It fits better that a fitted sheet.

full


full


full


full
 
Last edited:
Once I had everything apart, I cleaned up all the glass, the weatherstripping, the frame (which was warped but was easy to realign) and used all stainless screws. The frame was the aluminum color so I painted it a dark metallic gray. The same as my bumpers. It's a little bit darker than the original paint on the K5.

The new window channel felt is notched for the bends and holes cut in for drainage. It fits great but I haven't put them in the top to see how air tight they are or not.

full


full


full


full


full
 
Last edited:
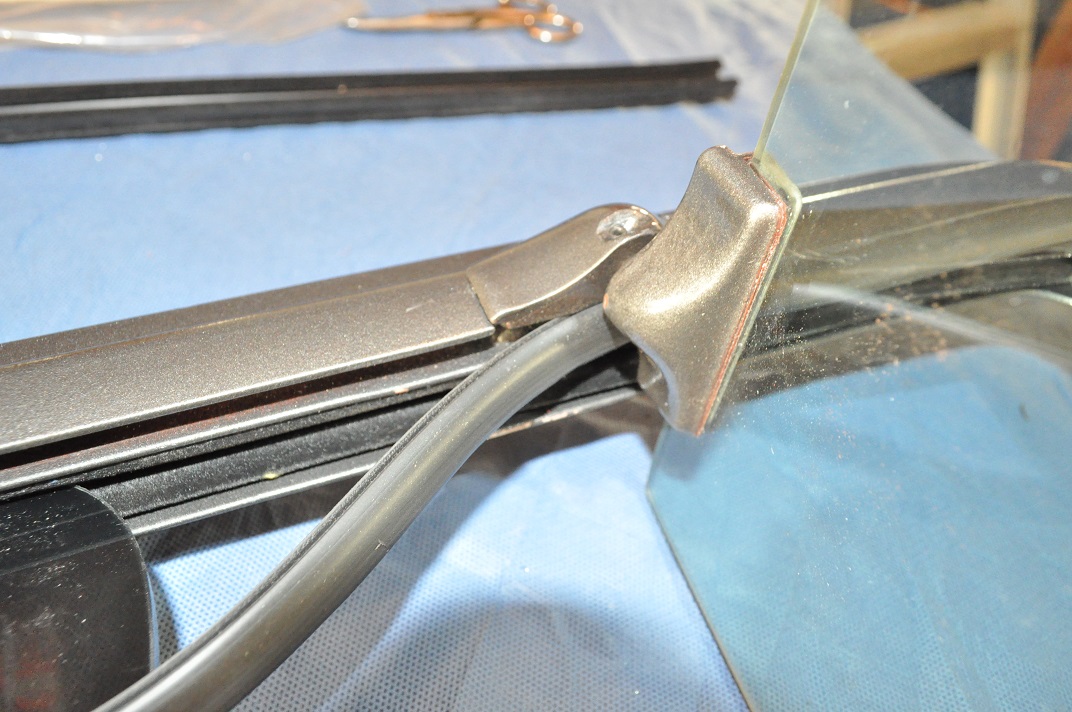
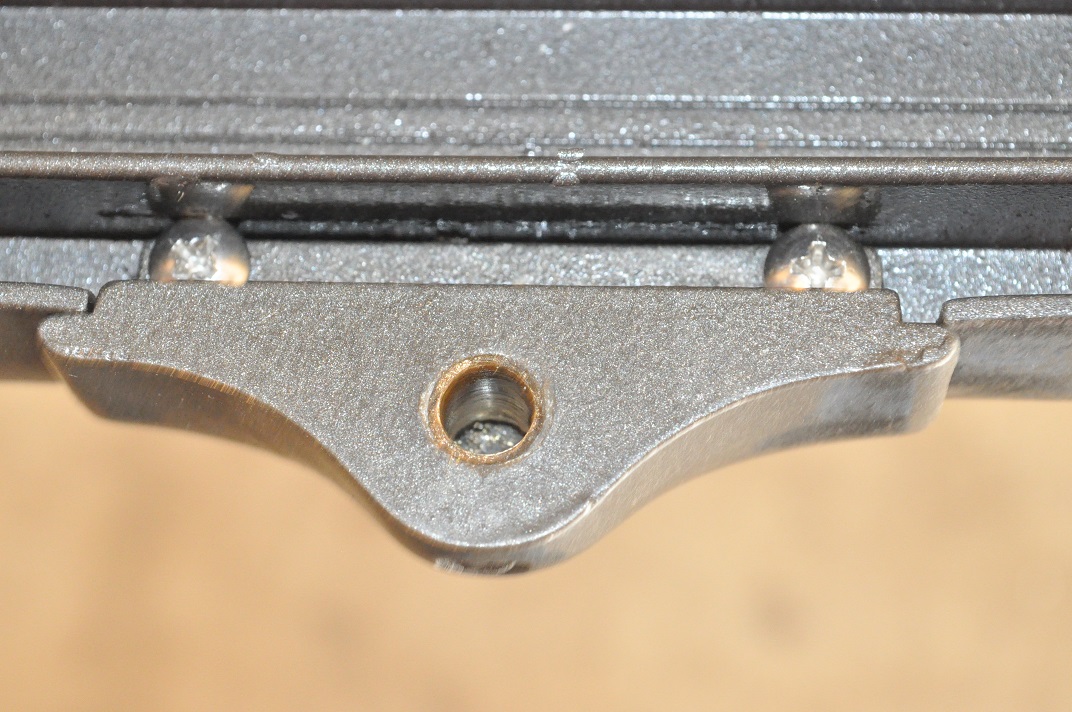
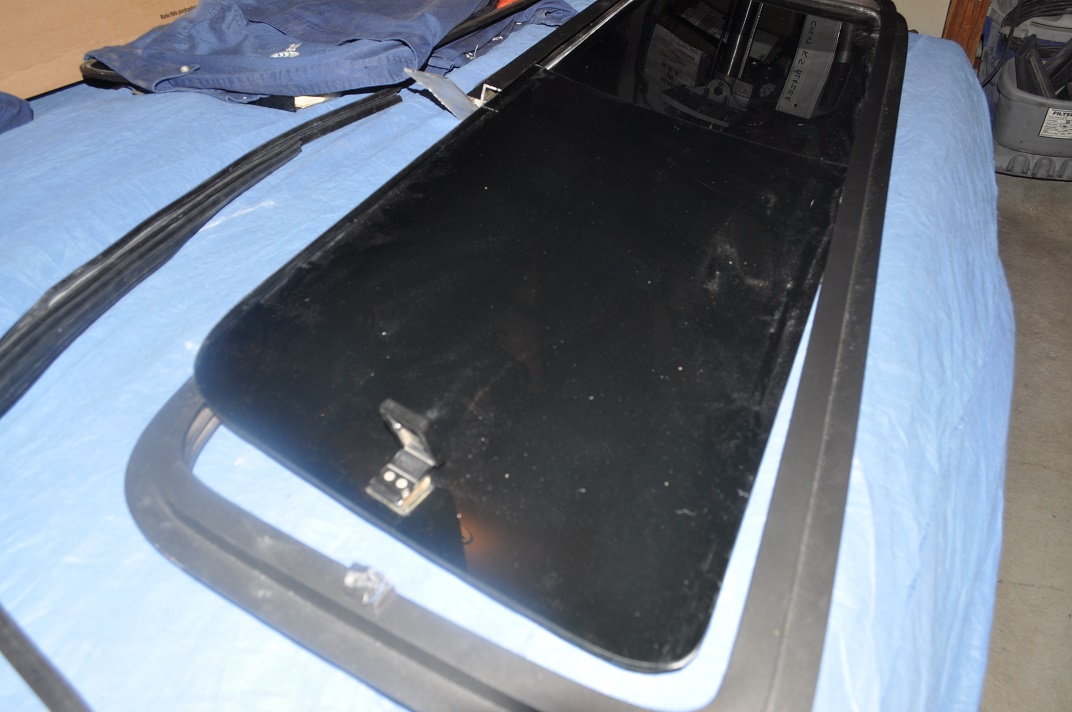
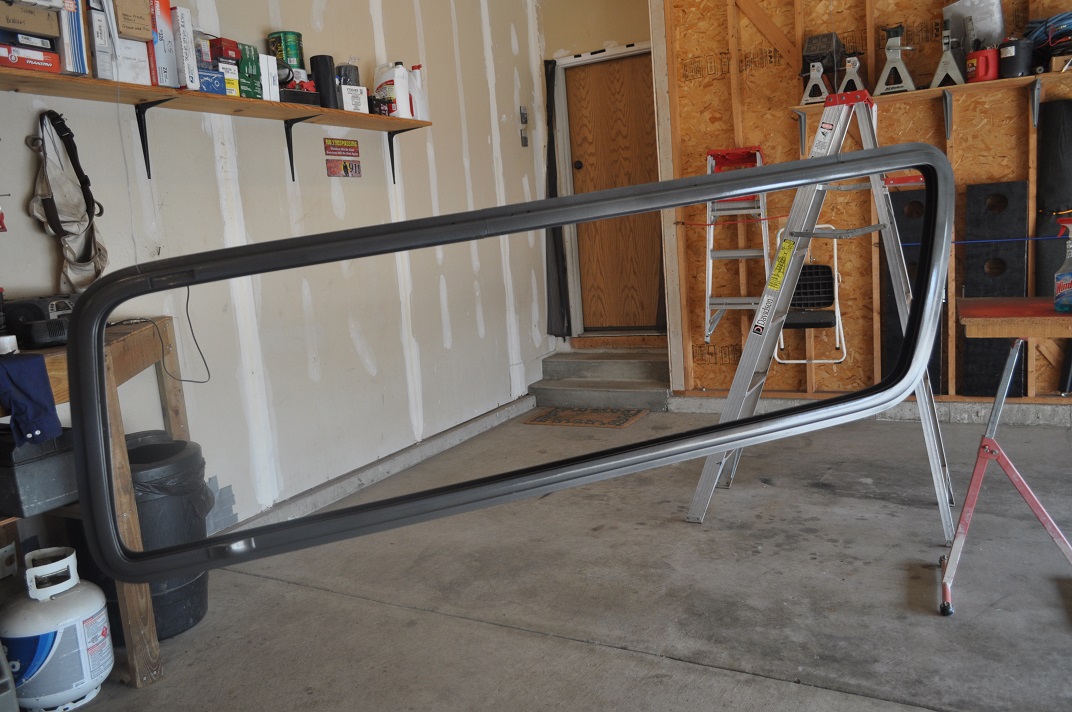
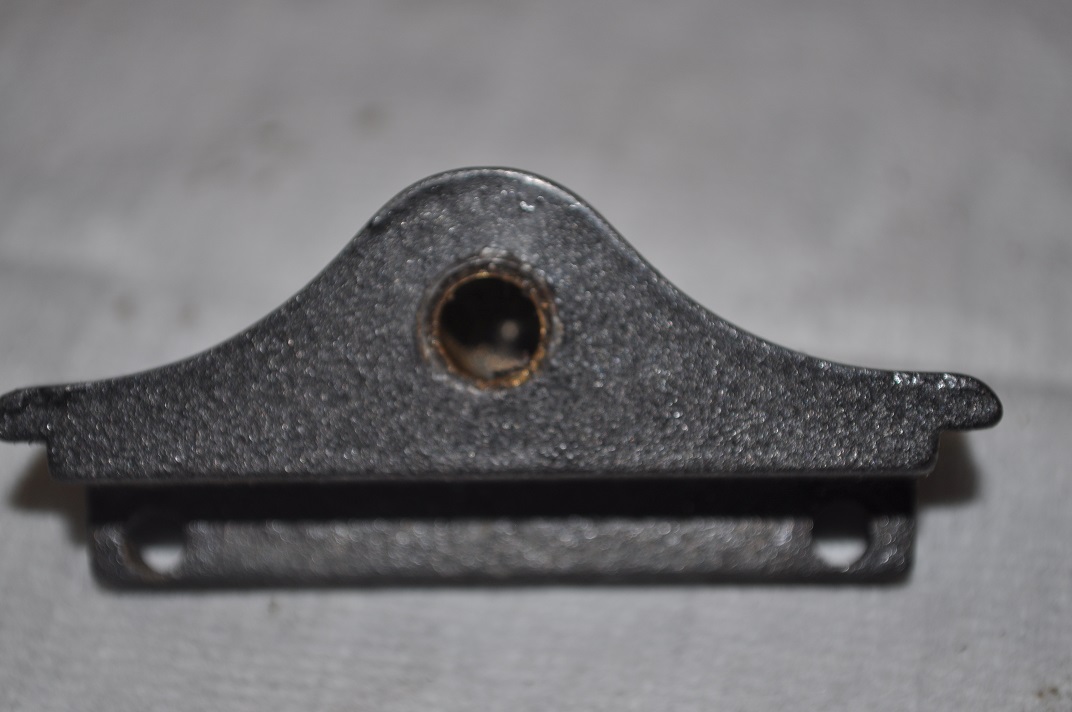
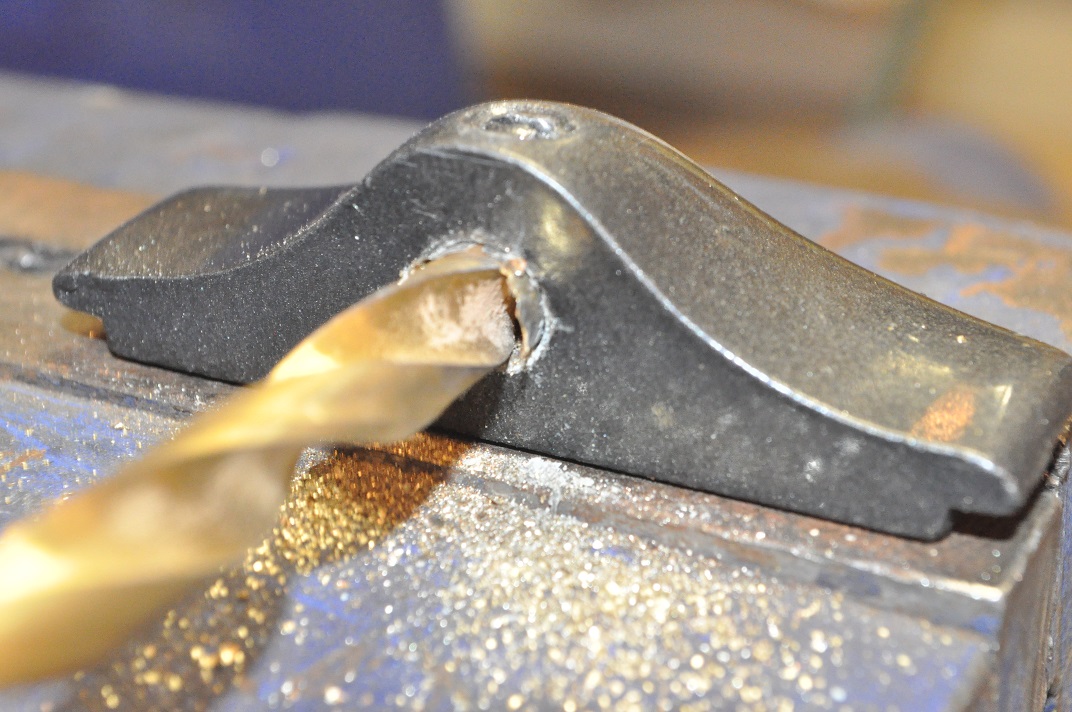
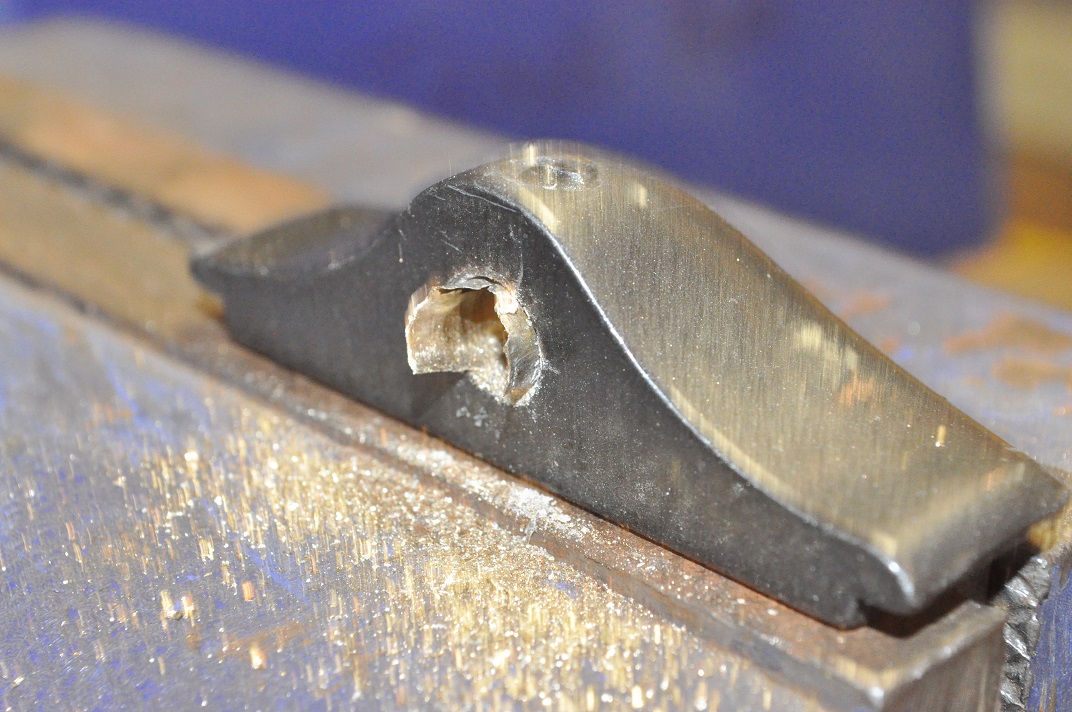
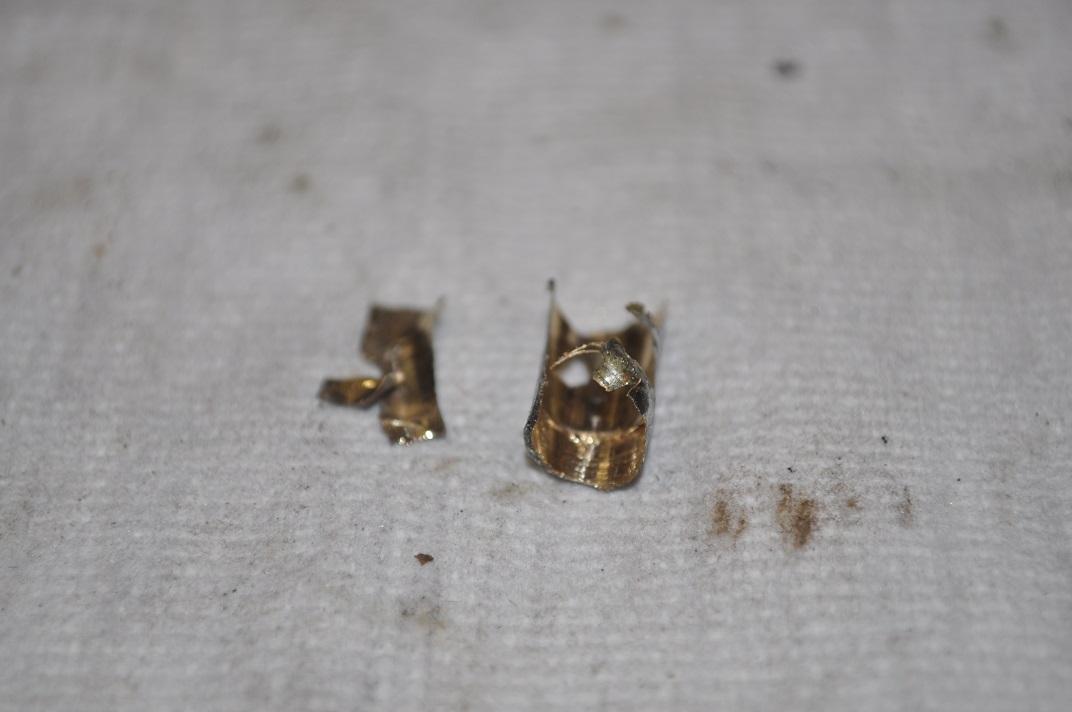
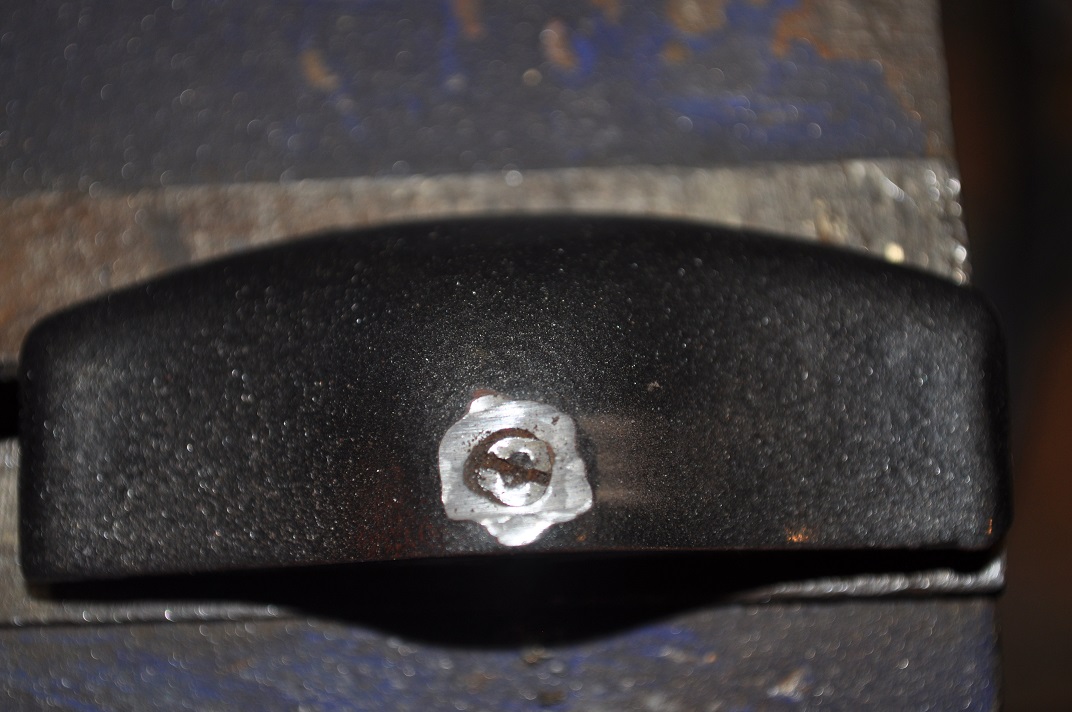
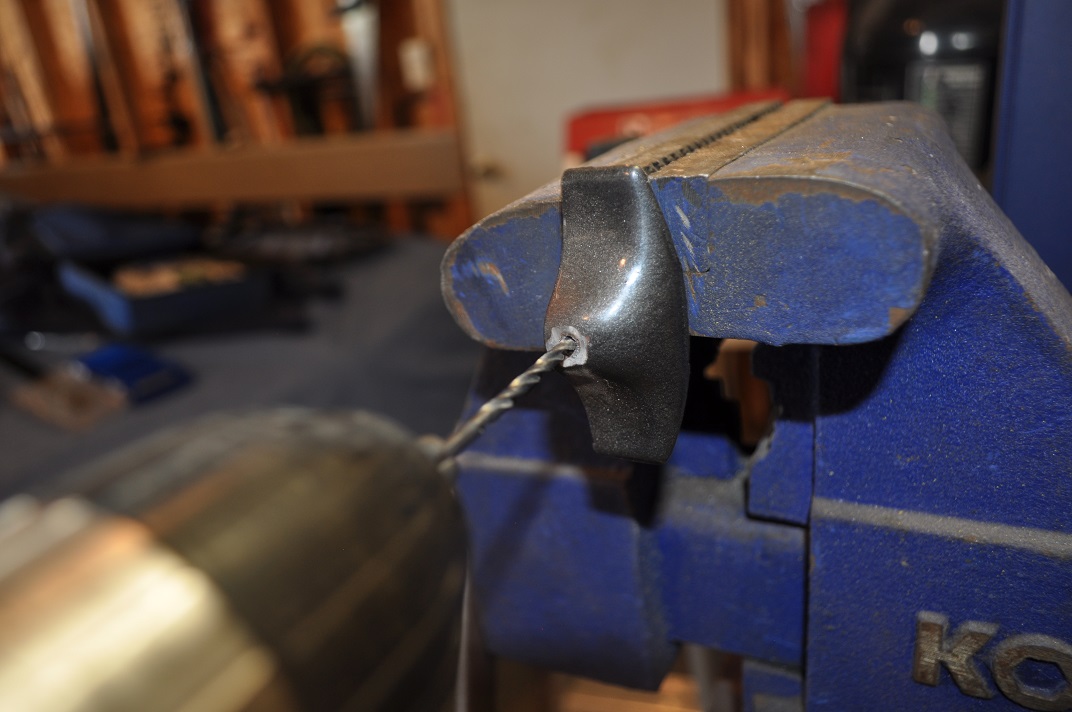
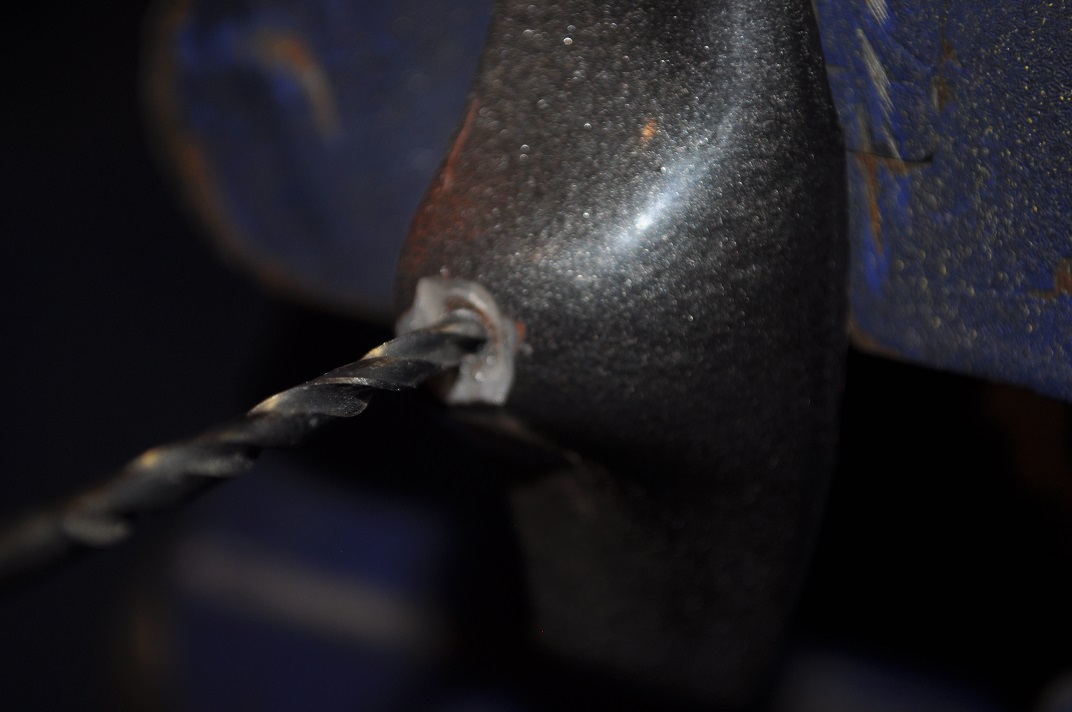
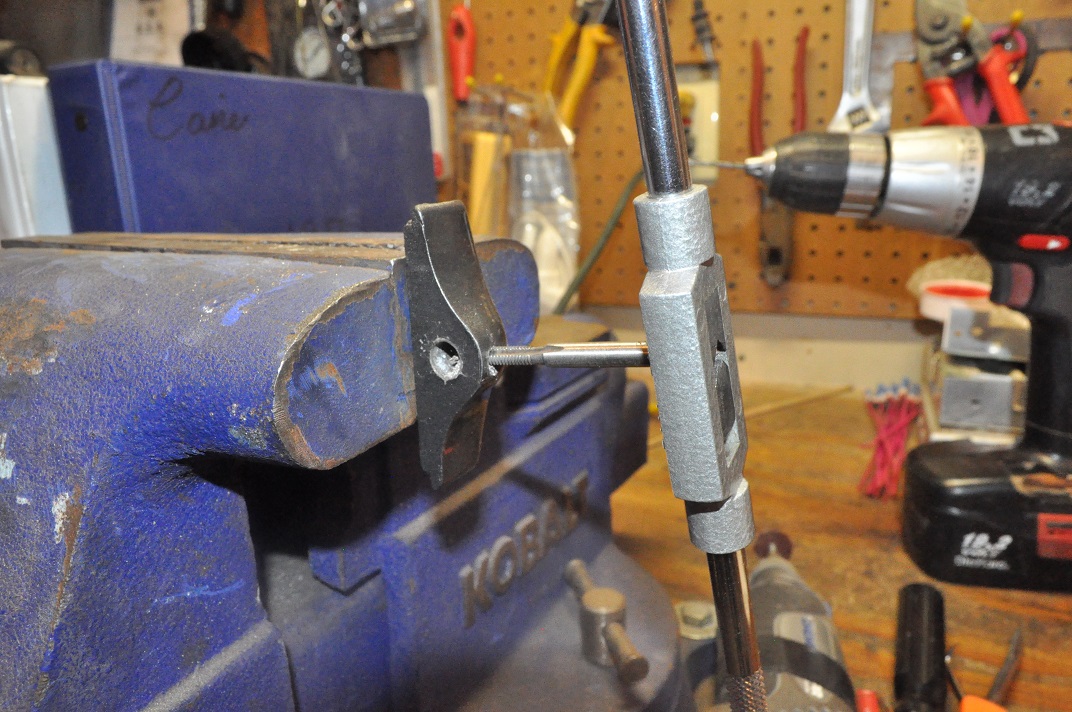
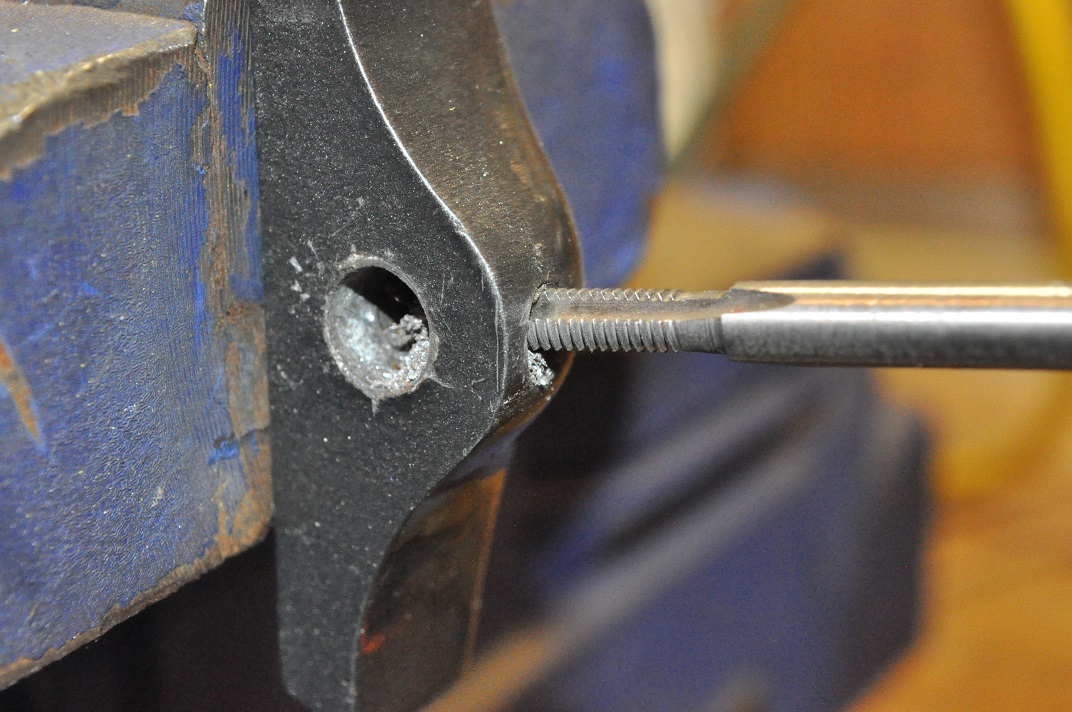
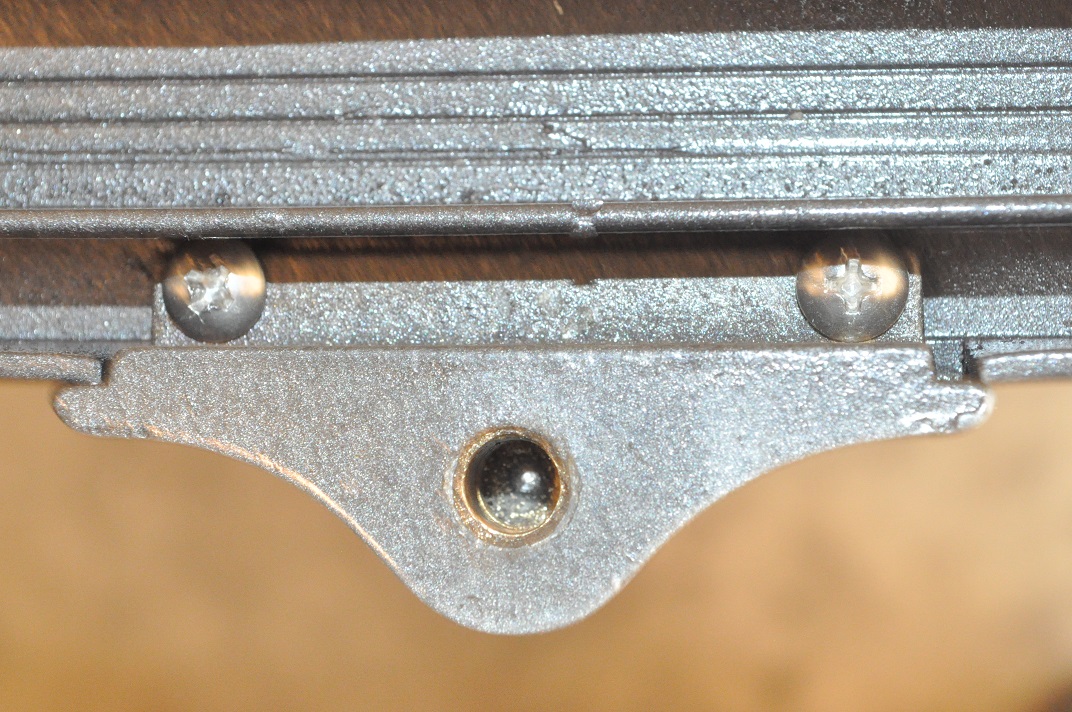
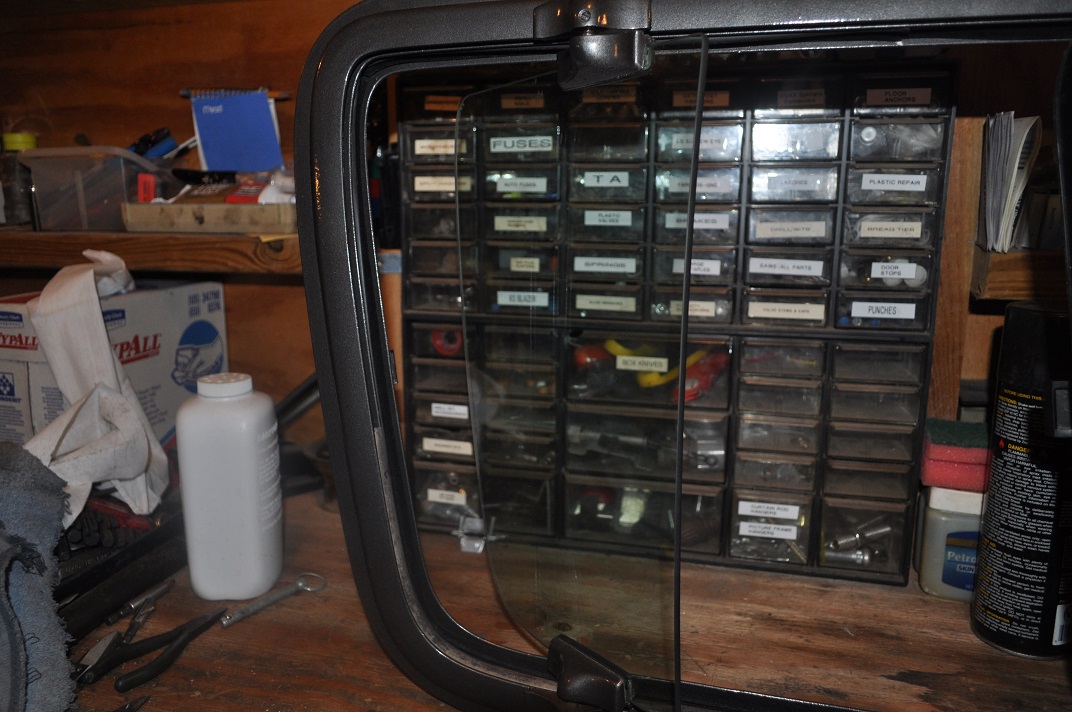
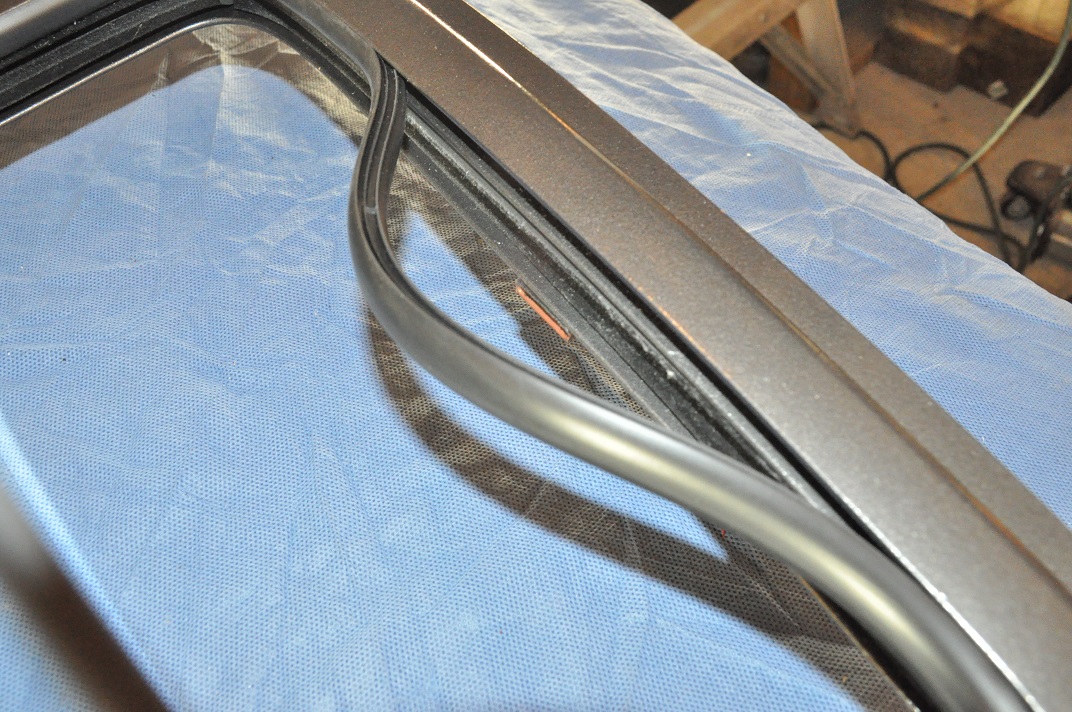
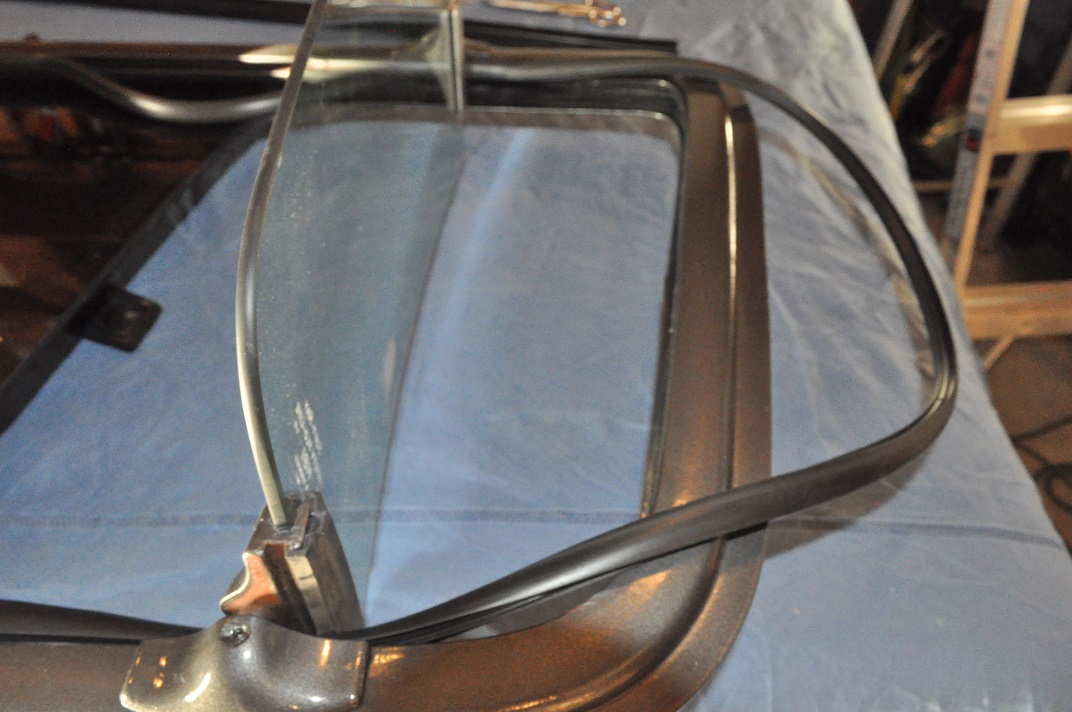
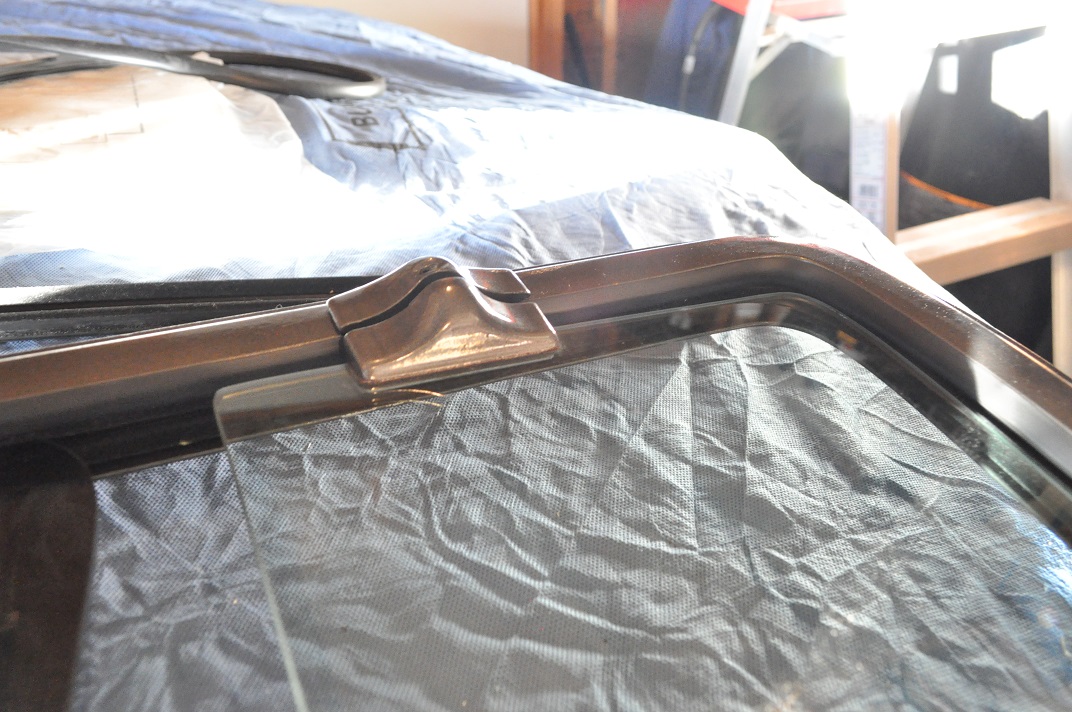
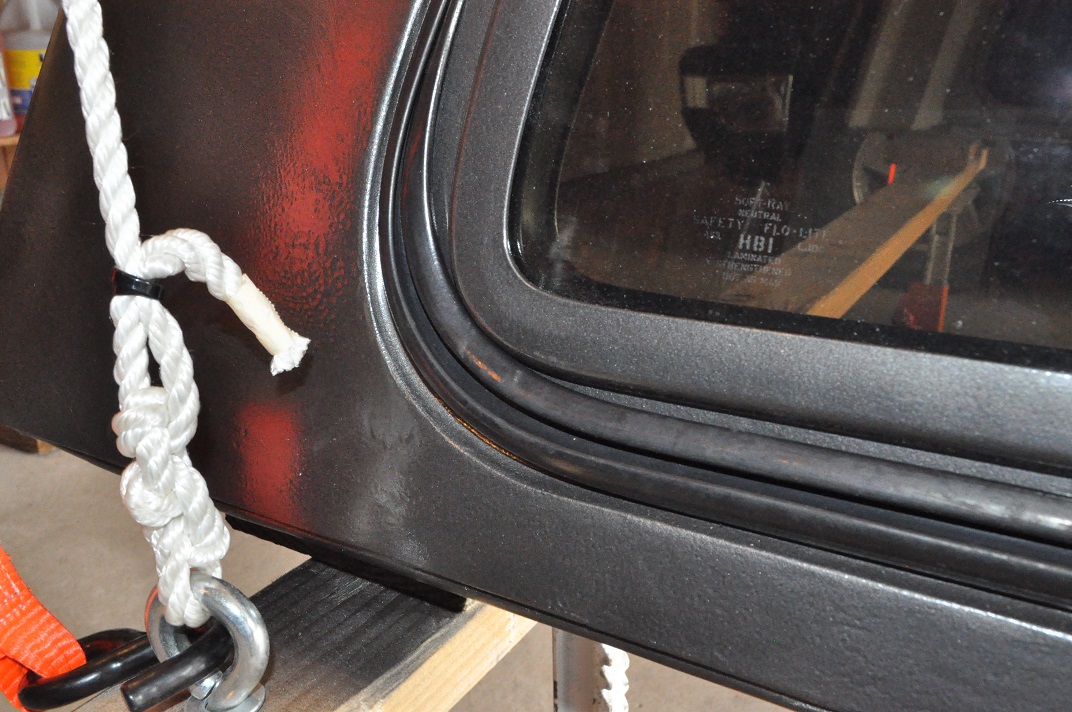
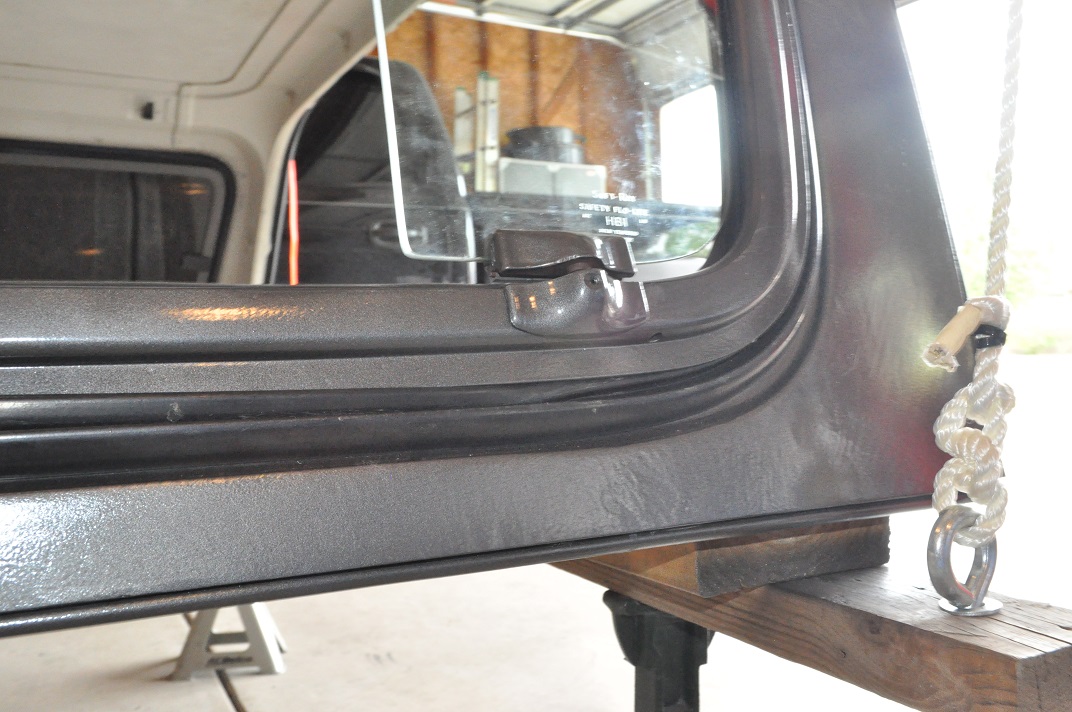
I primered and painted the frames and finally got them reassembled. The vent windows will not stay in one position so I'll put some rubber pieces in the holes of the brackets to take away some gap. This should give them more pressure to keep them more stable instead of flapping around in the wind.

full


full


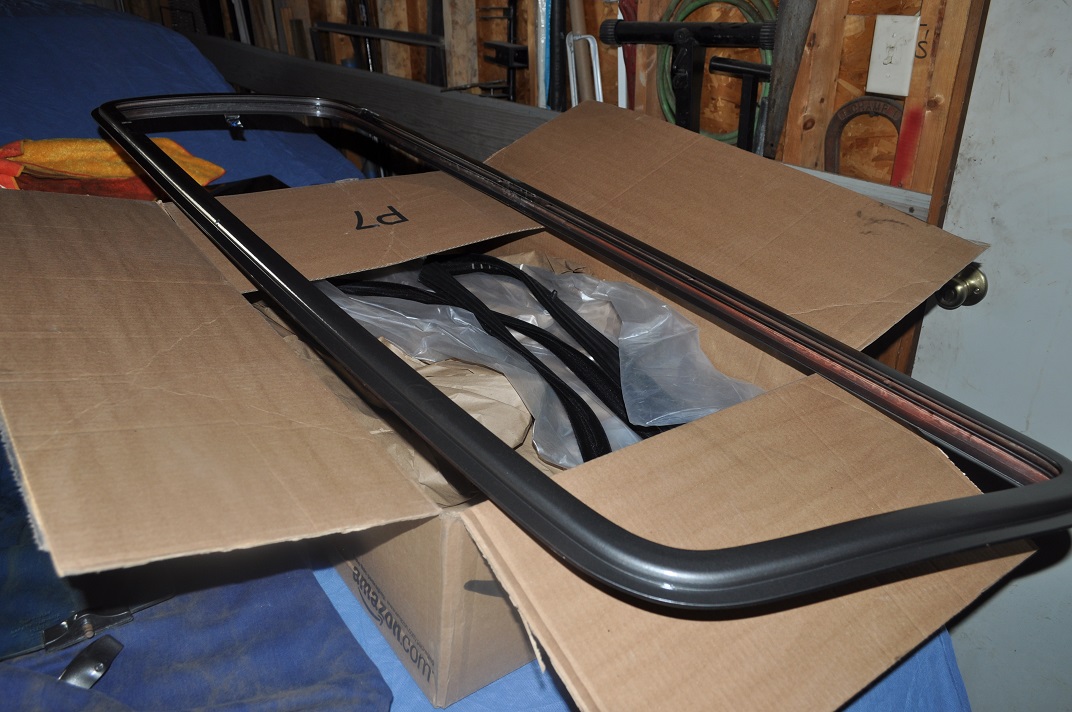
Assembly was pretty much a breeze.

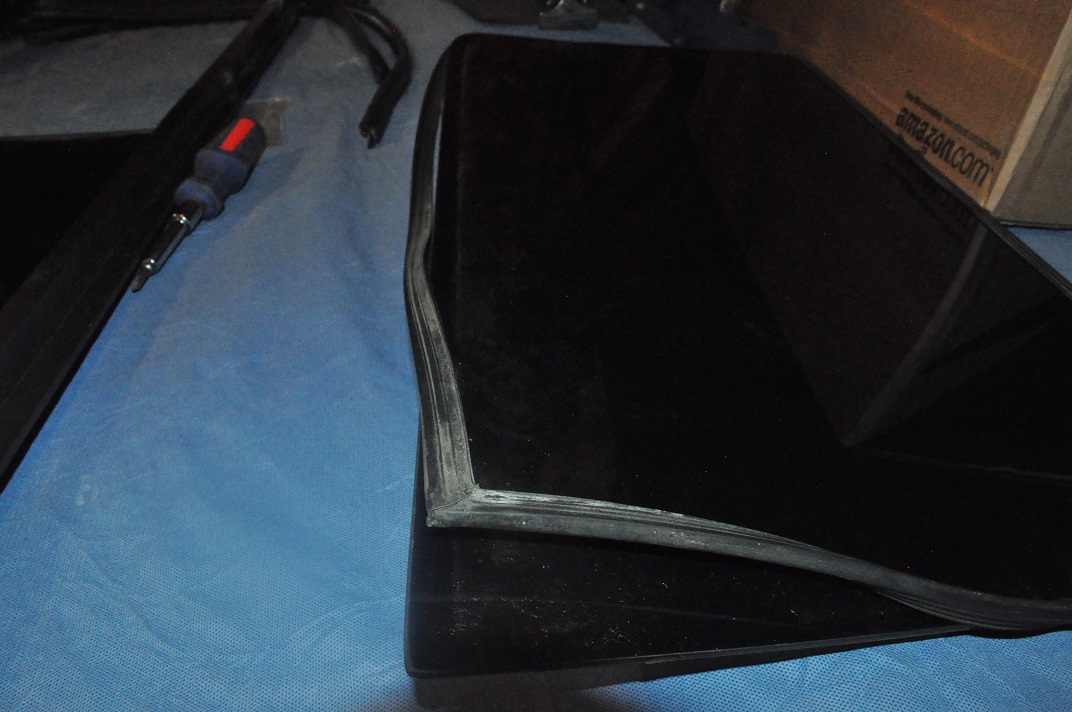
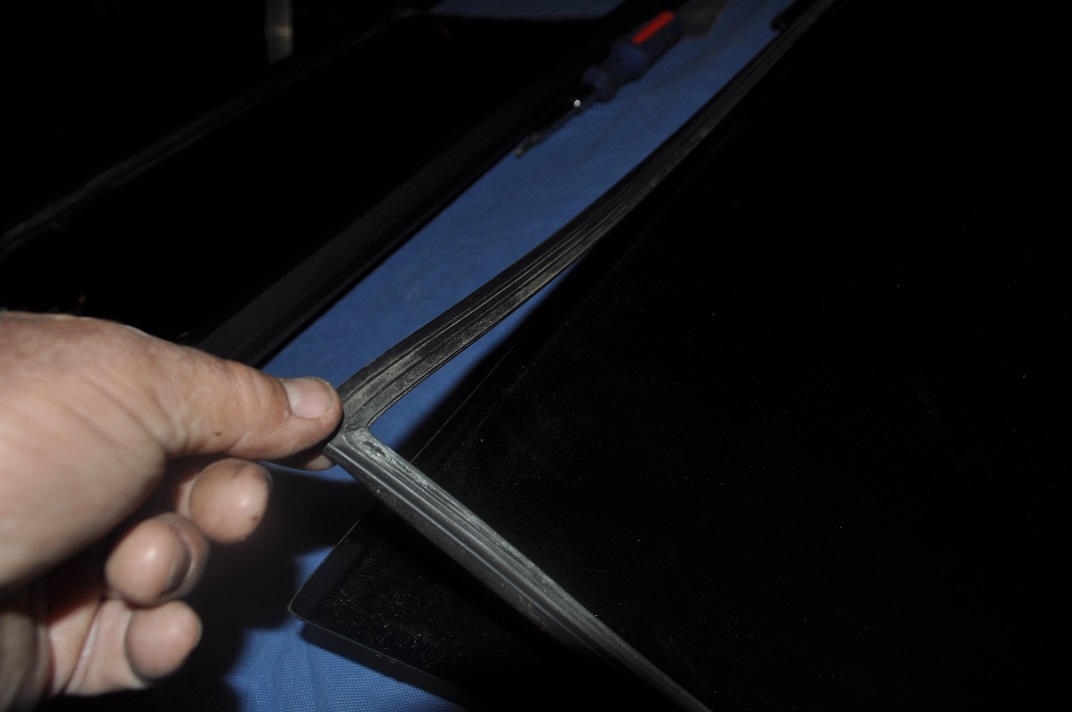
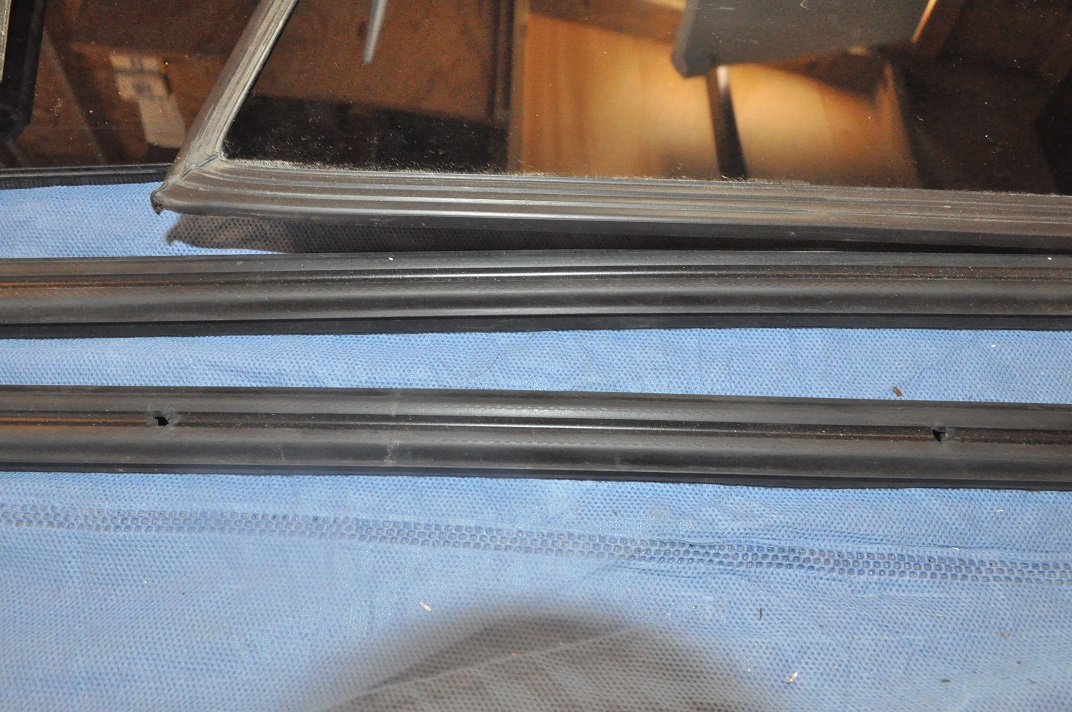
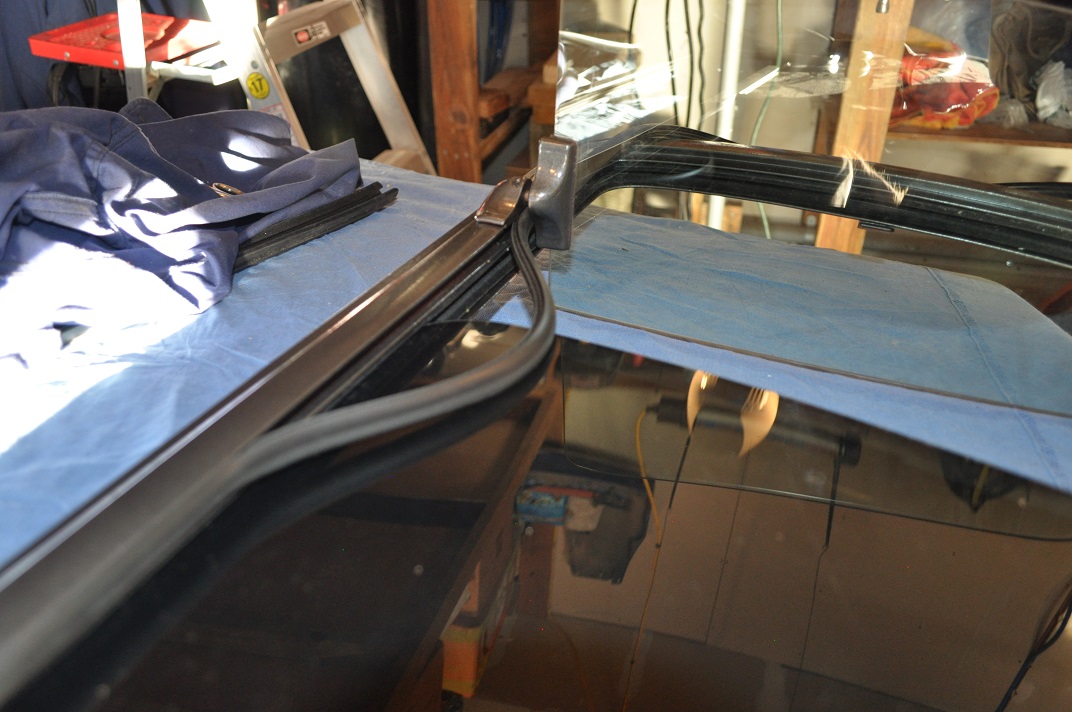
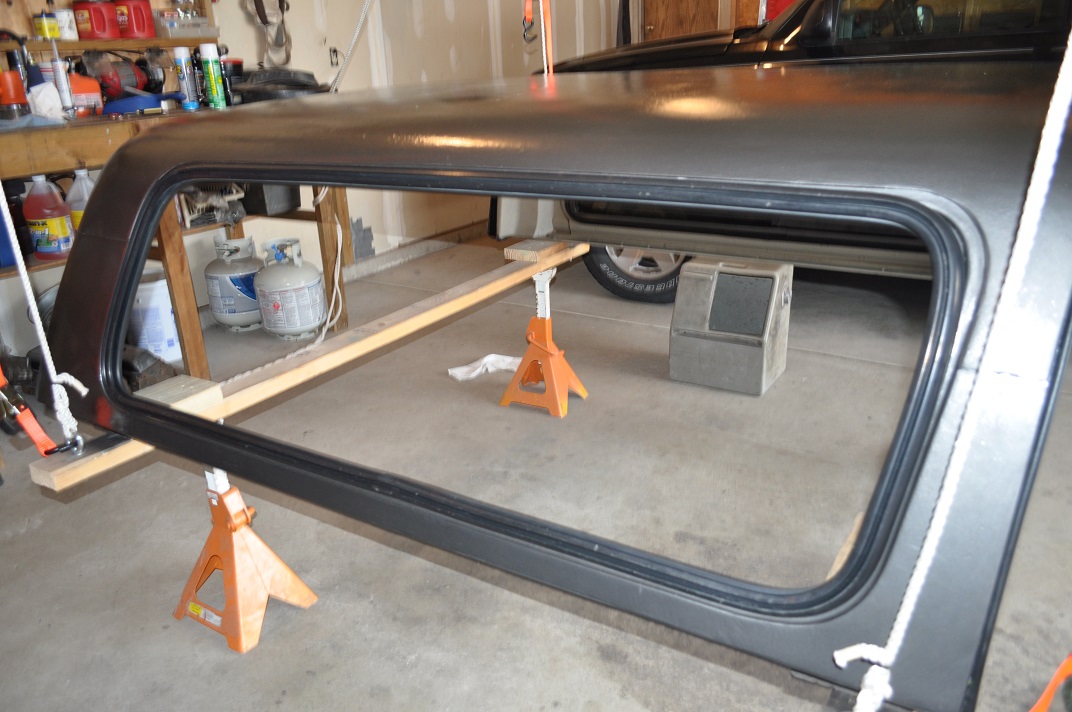
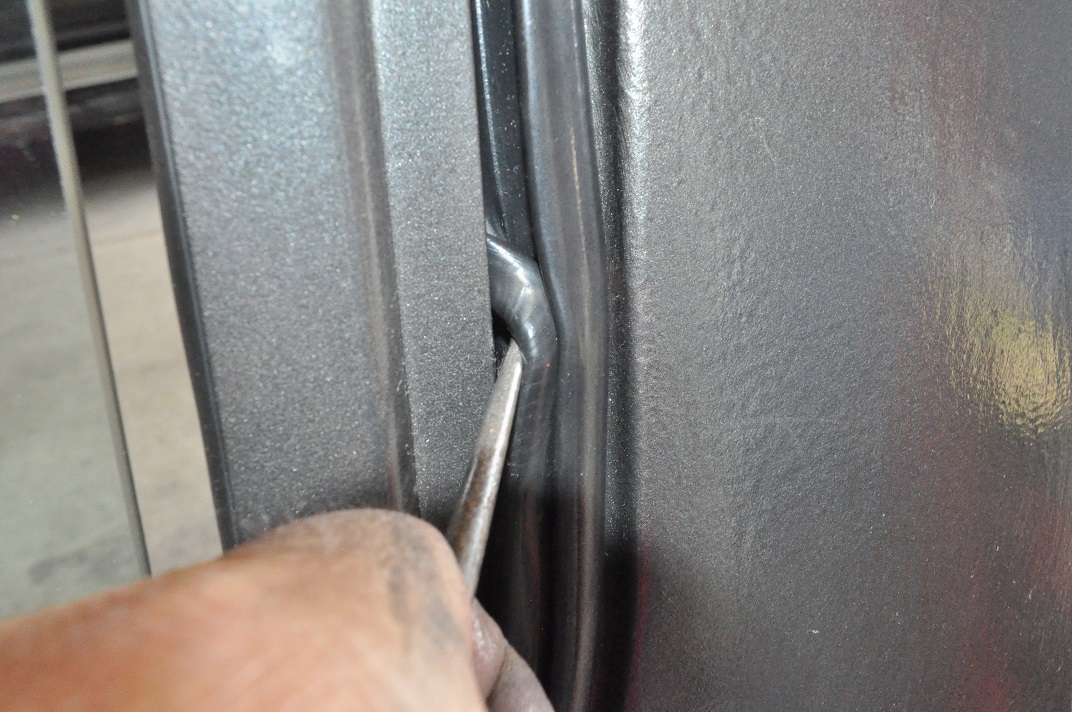
Start with the non sliding window. Prop up the frame just like you did when removing the glass. You can put the window in toward the back of the frame instead of starting at the very front. You have to separate the frame a little and work the glass w/weatherstrip into it's place. The weatherstrip will tend to move, so I used baby powder to help it all slide into place.

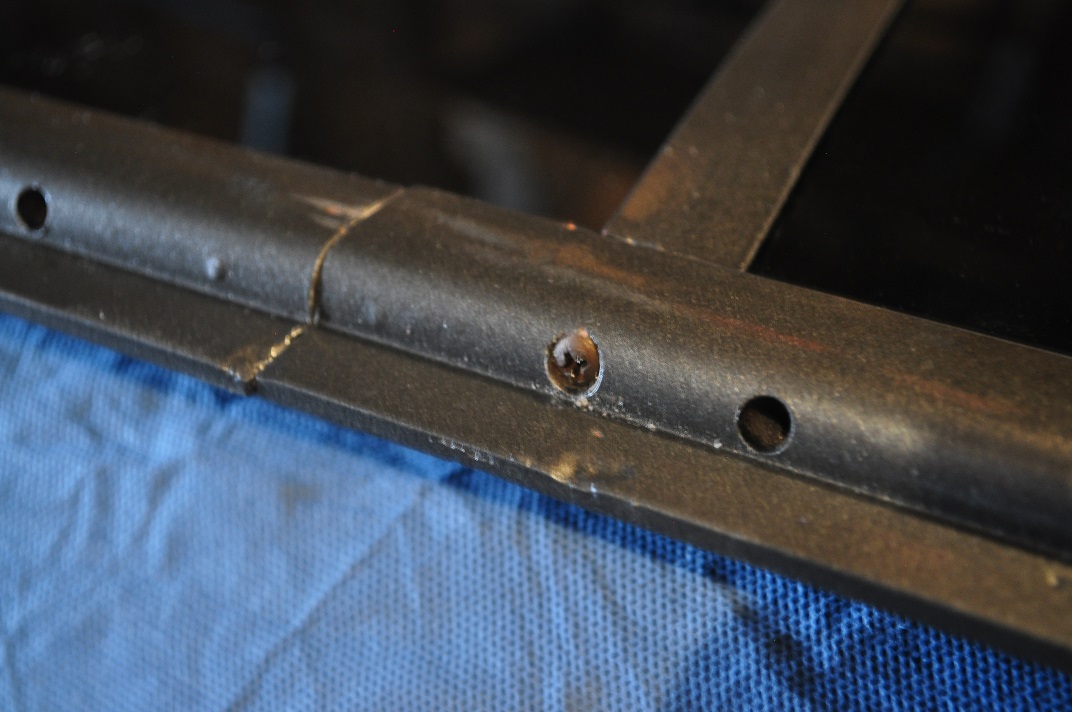
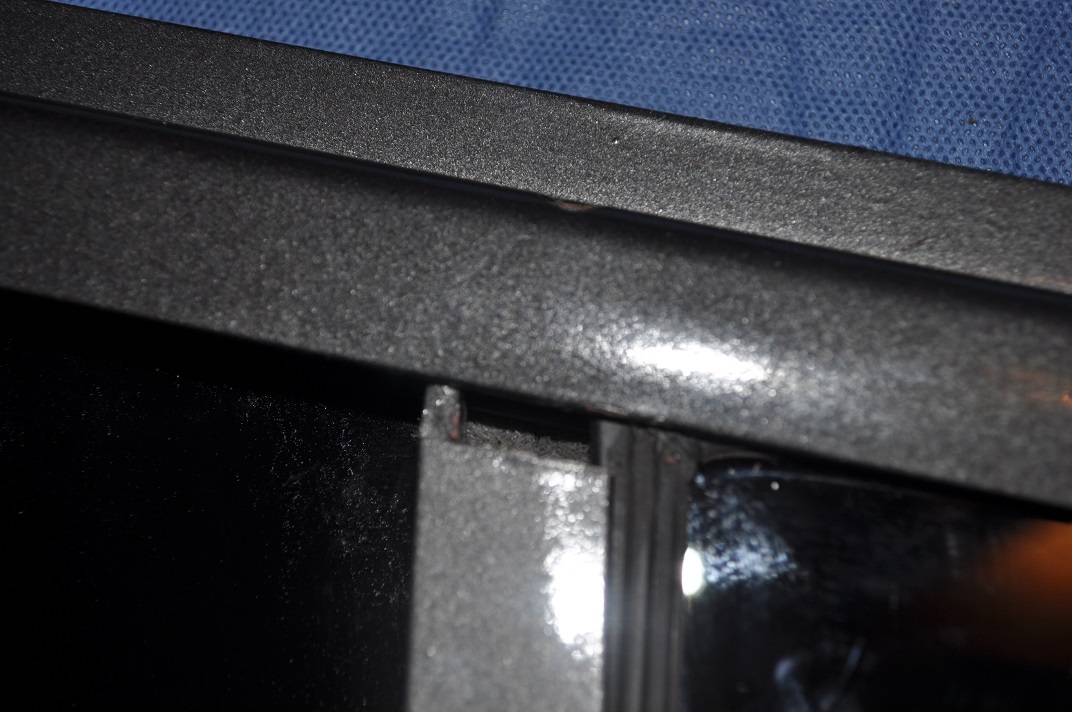
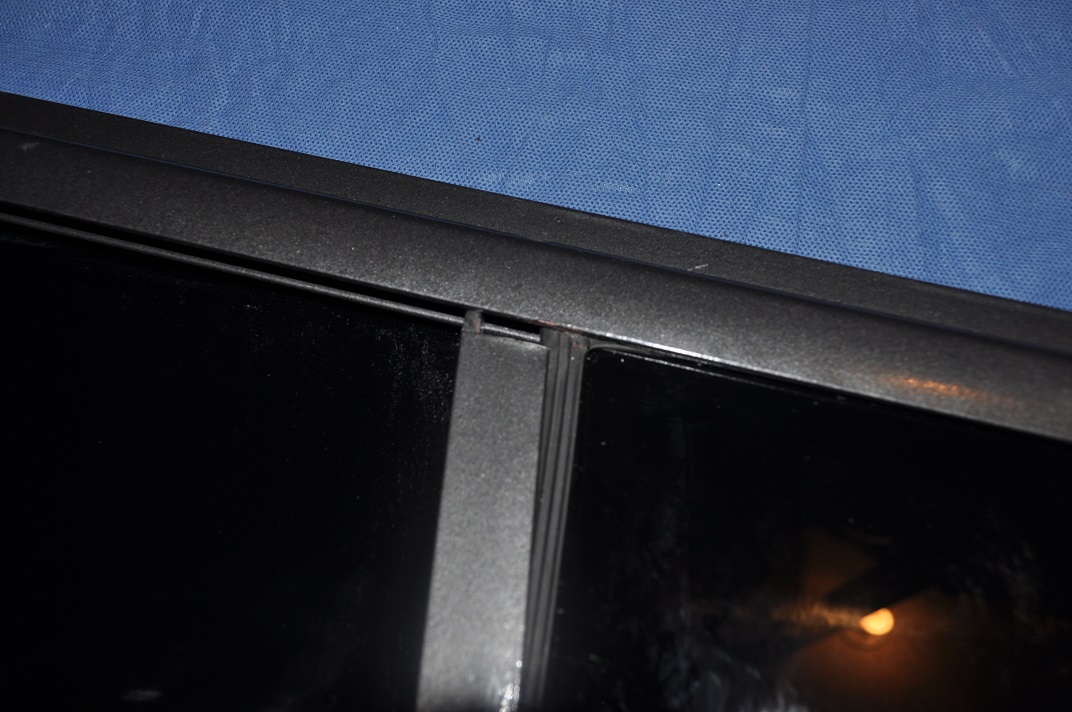
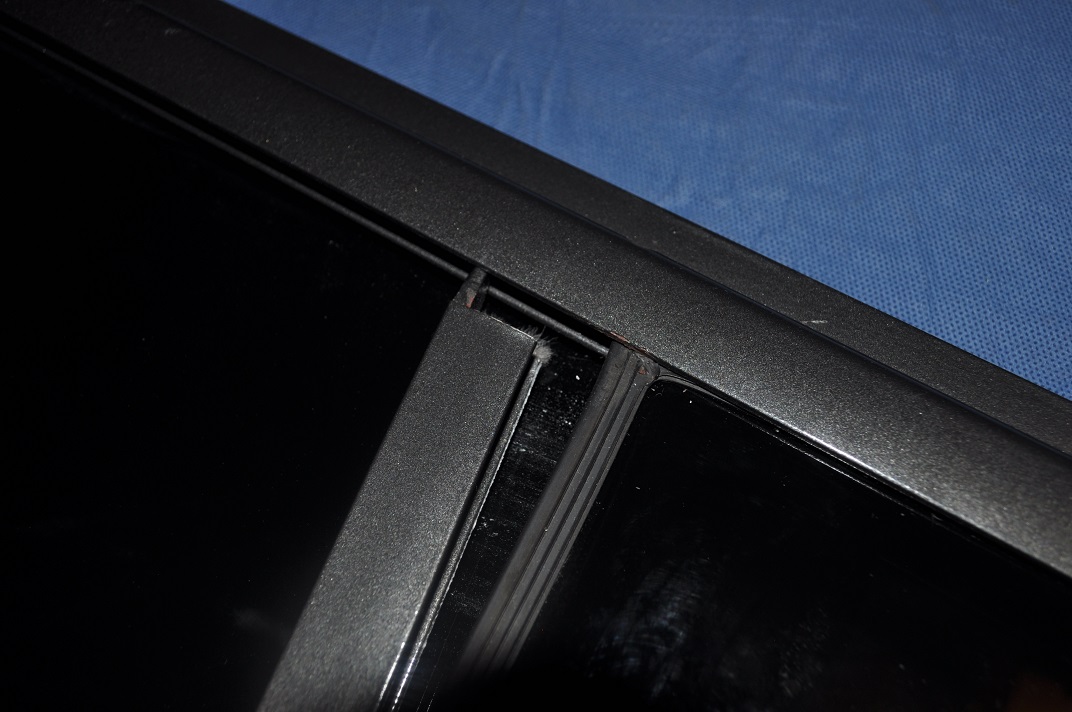
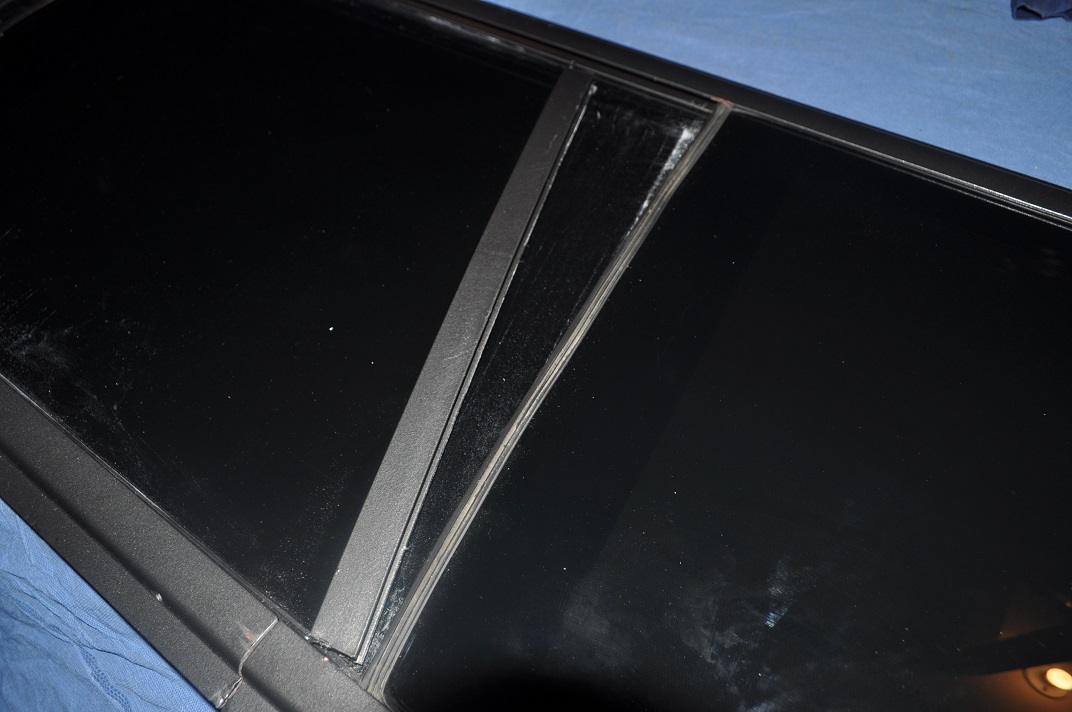
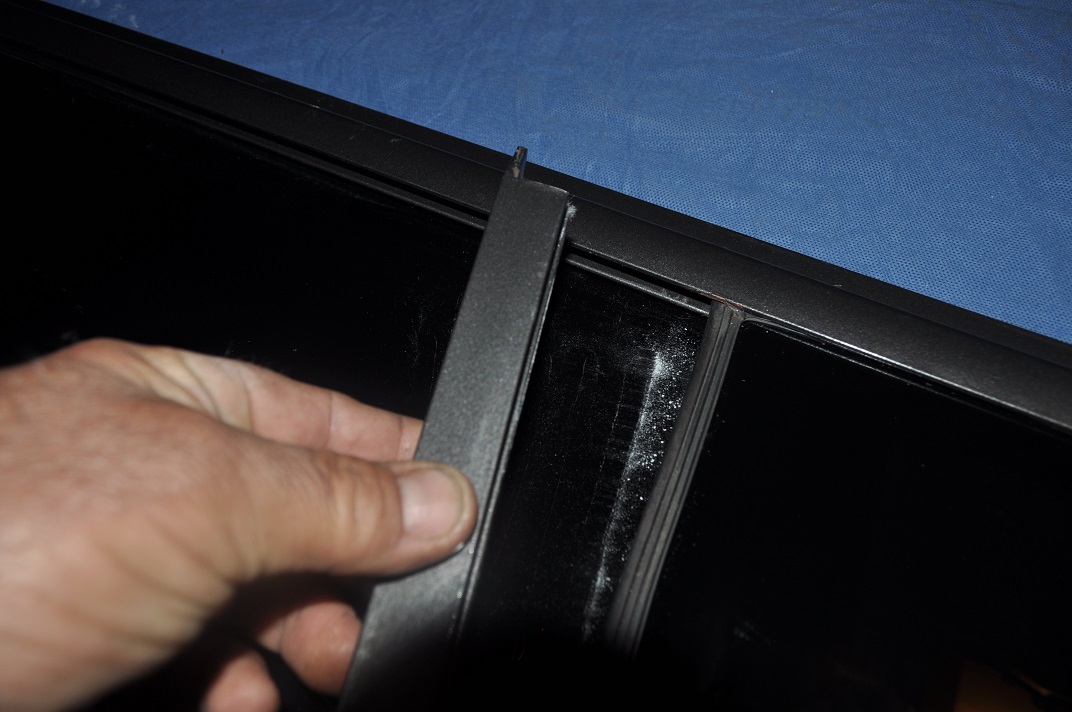
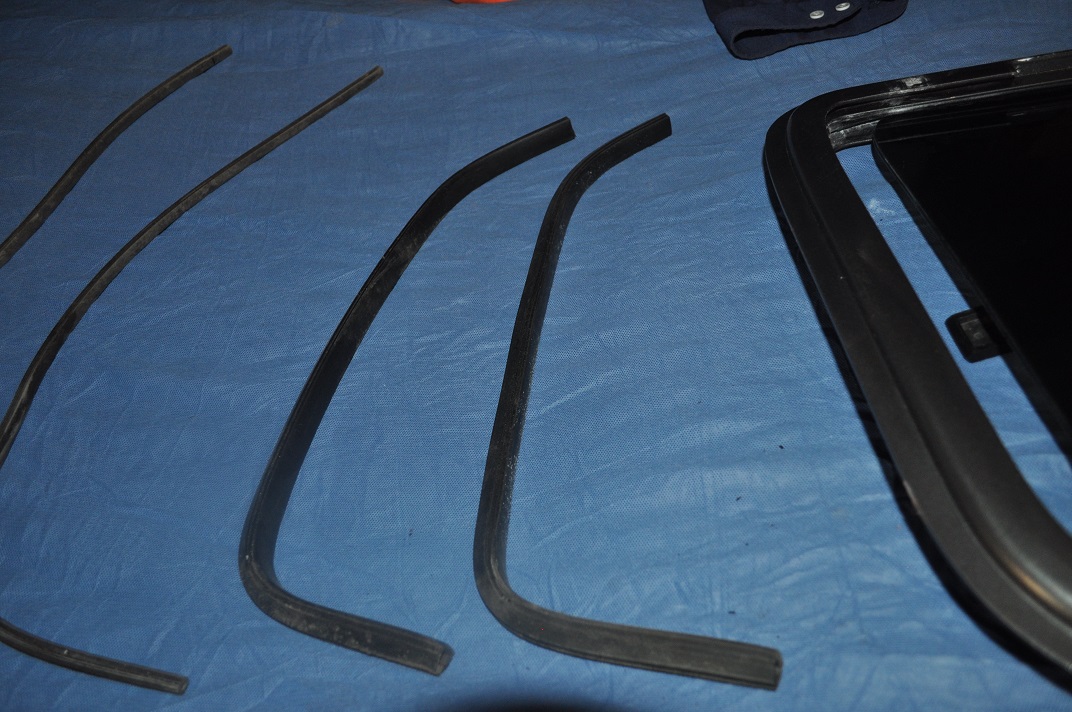
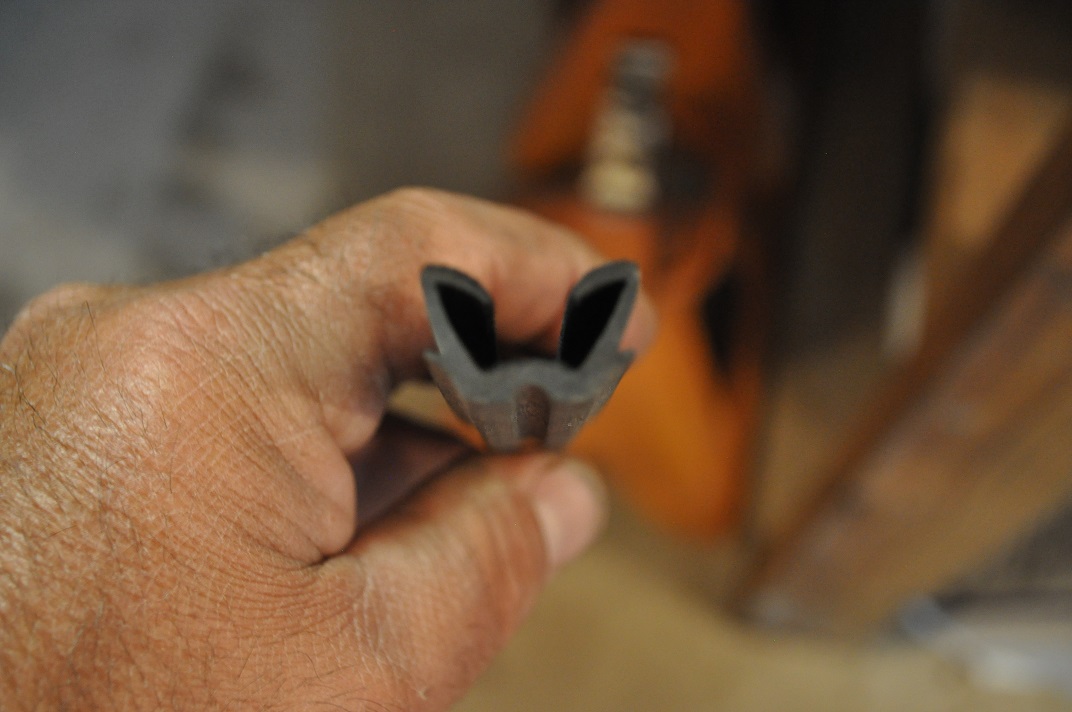
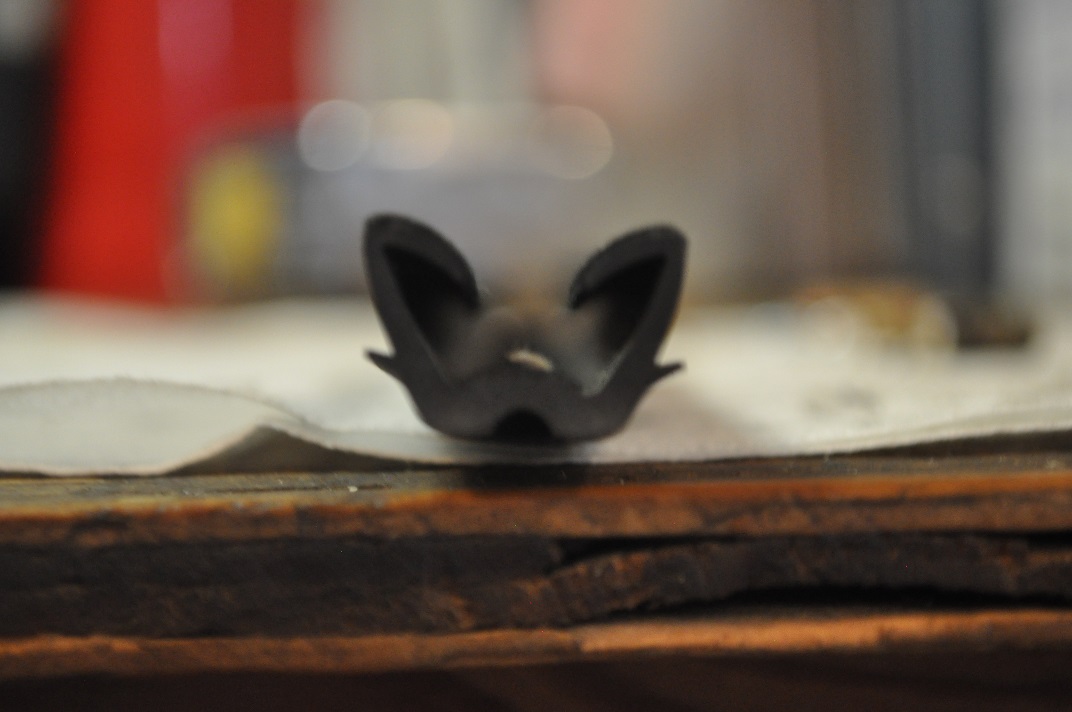
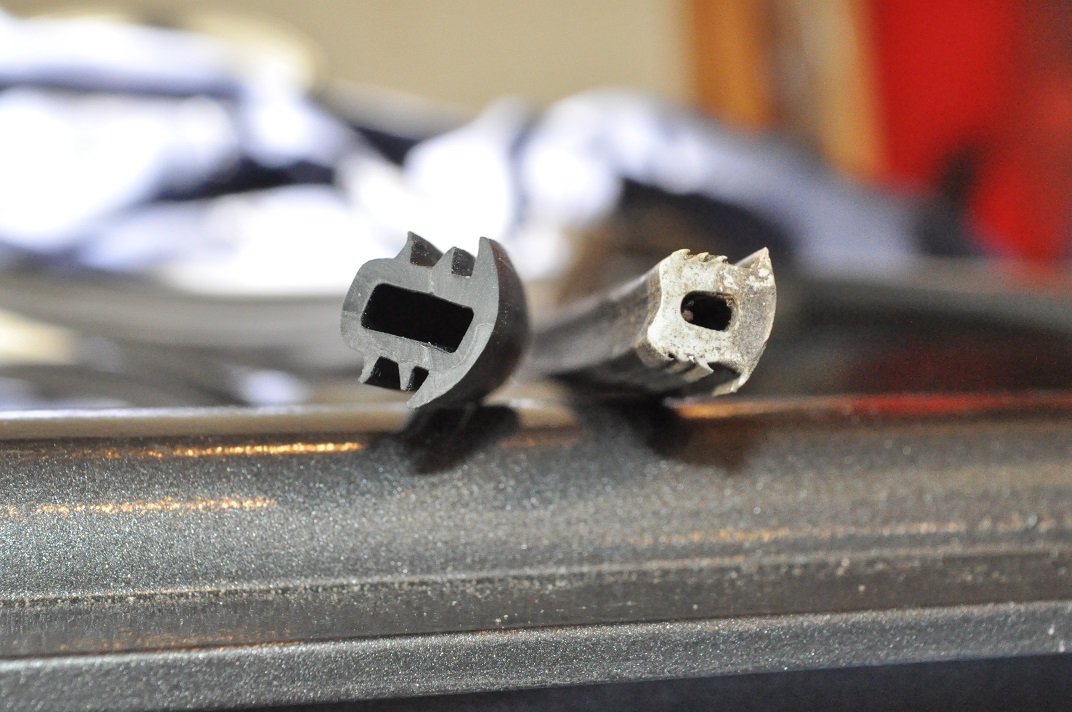
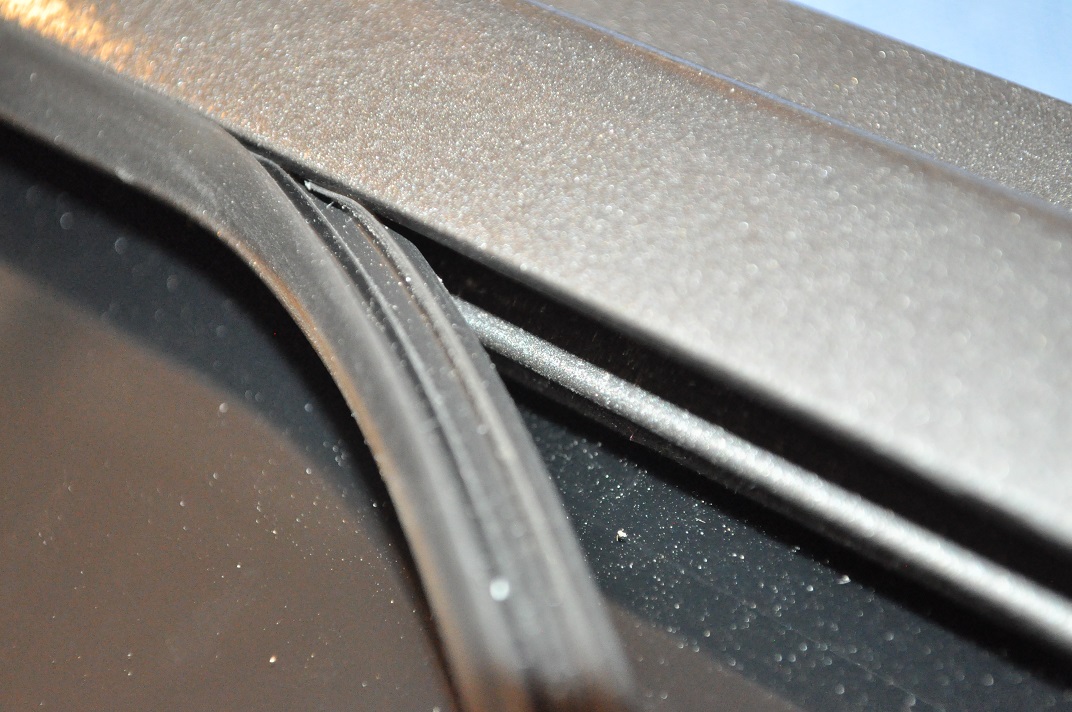
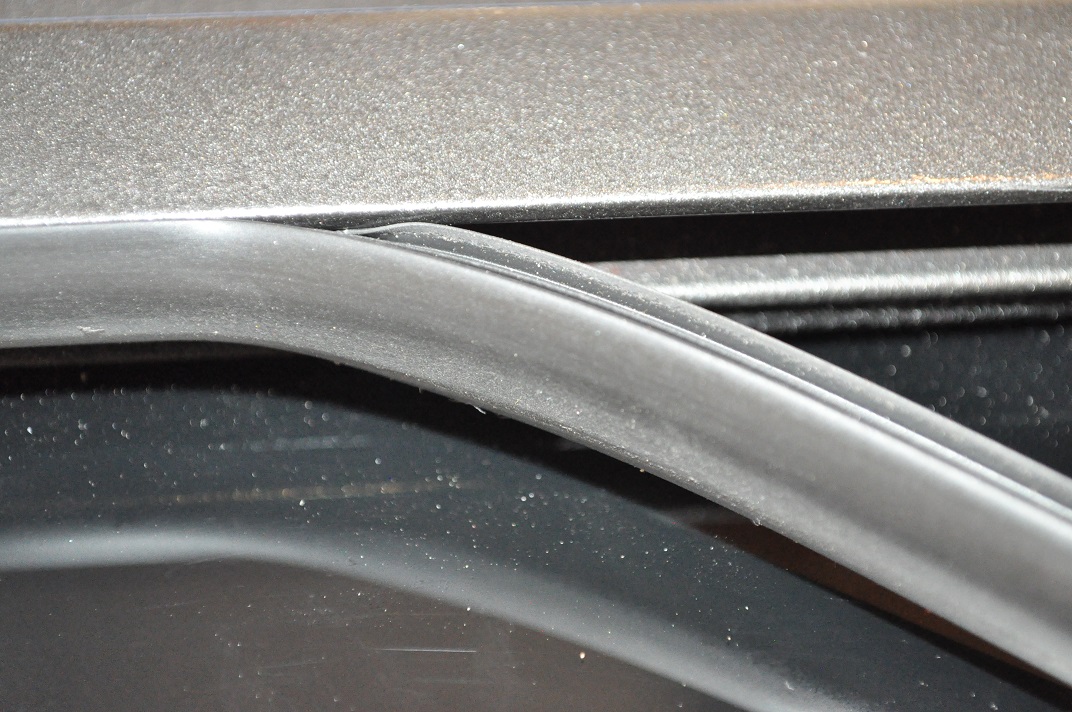
After the non sliding window was installed, I put the rubber stop in. That's the piece of rubber that goes to the back of the frame. It is a stop for the sliding window.

full


:eek1:
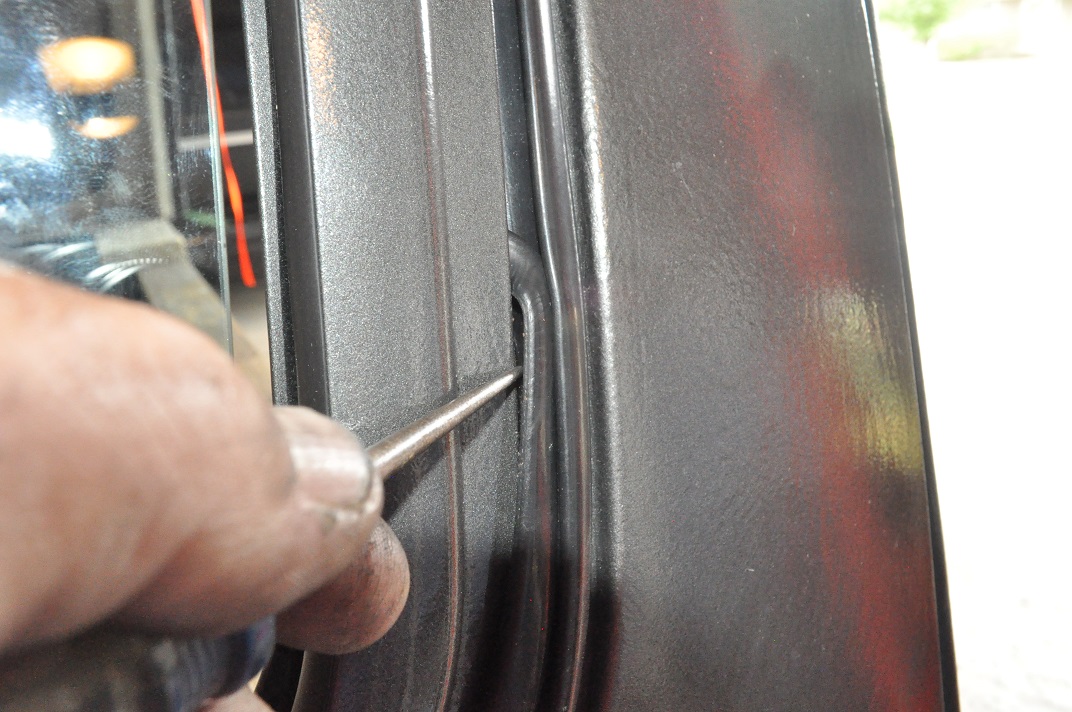
From this point on, until you screw the frame together, you will need to make sure the glass does not come out of the frame.

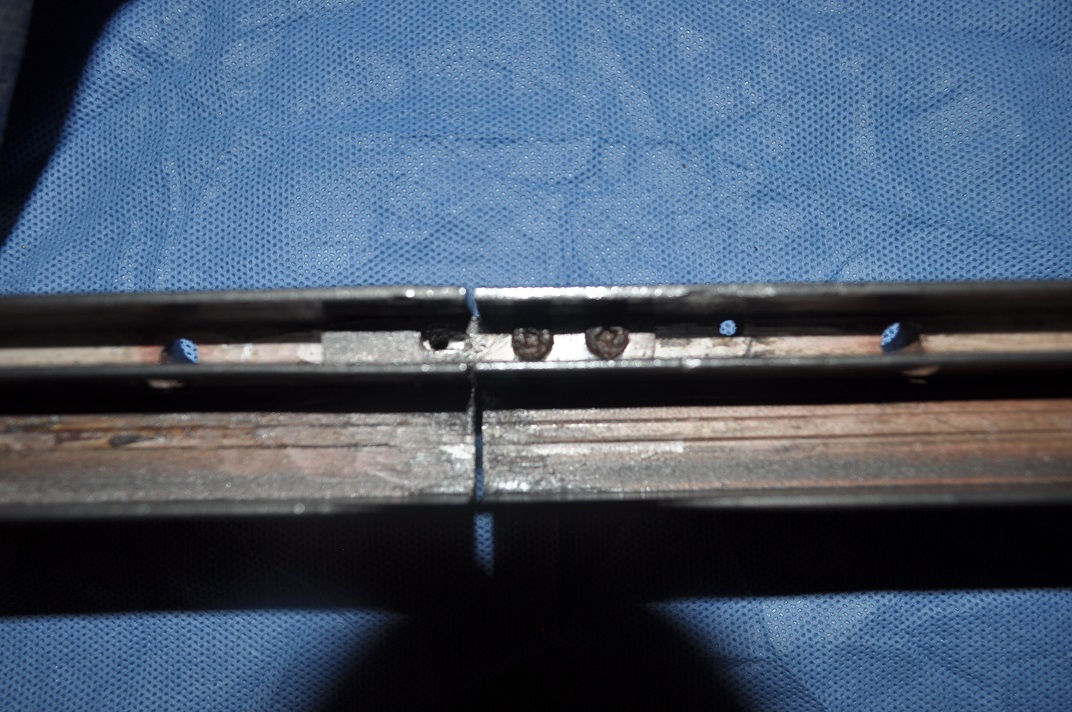
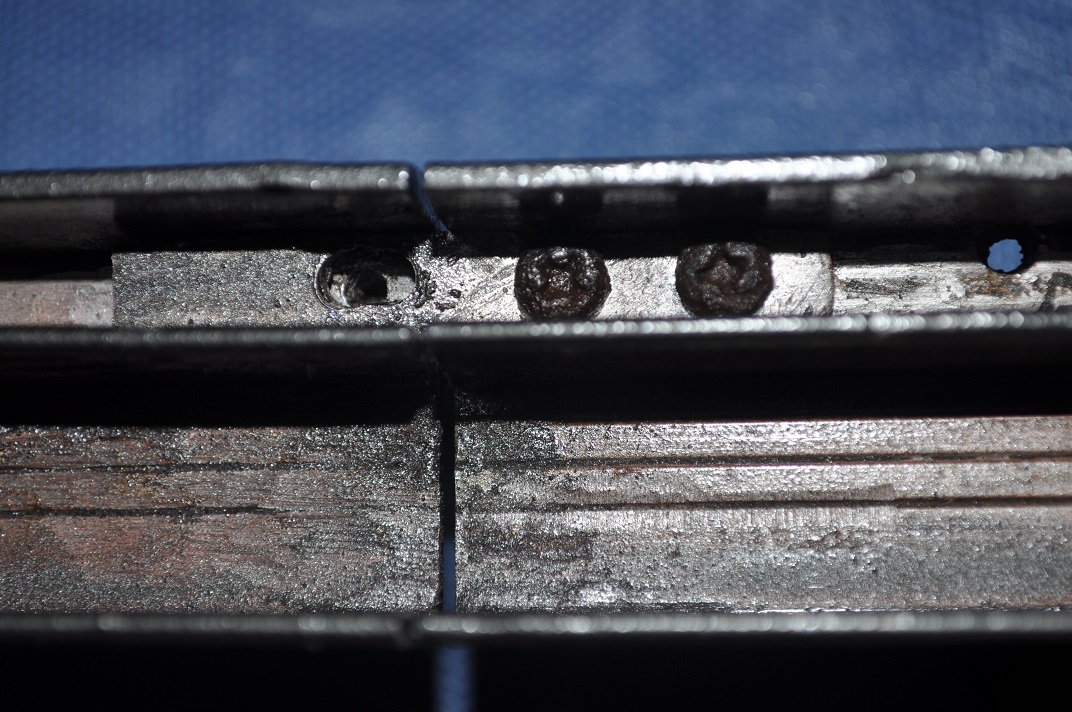
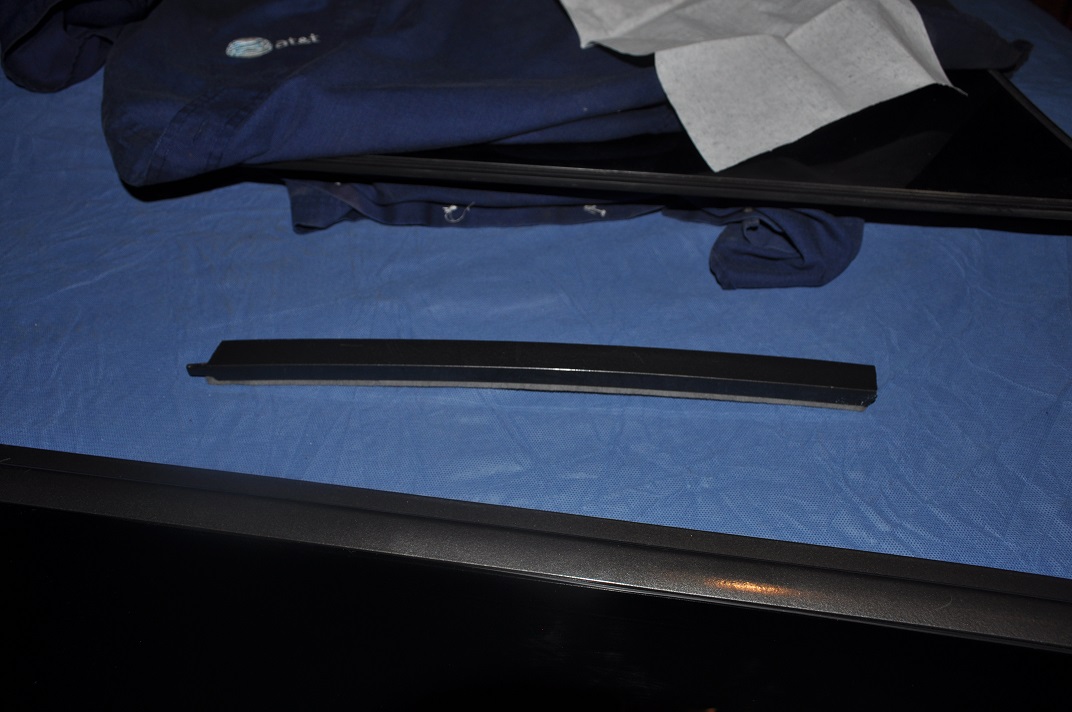
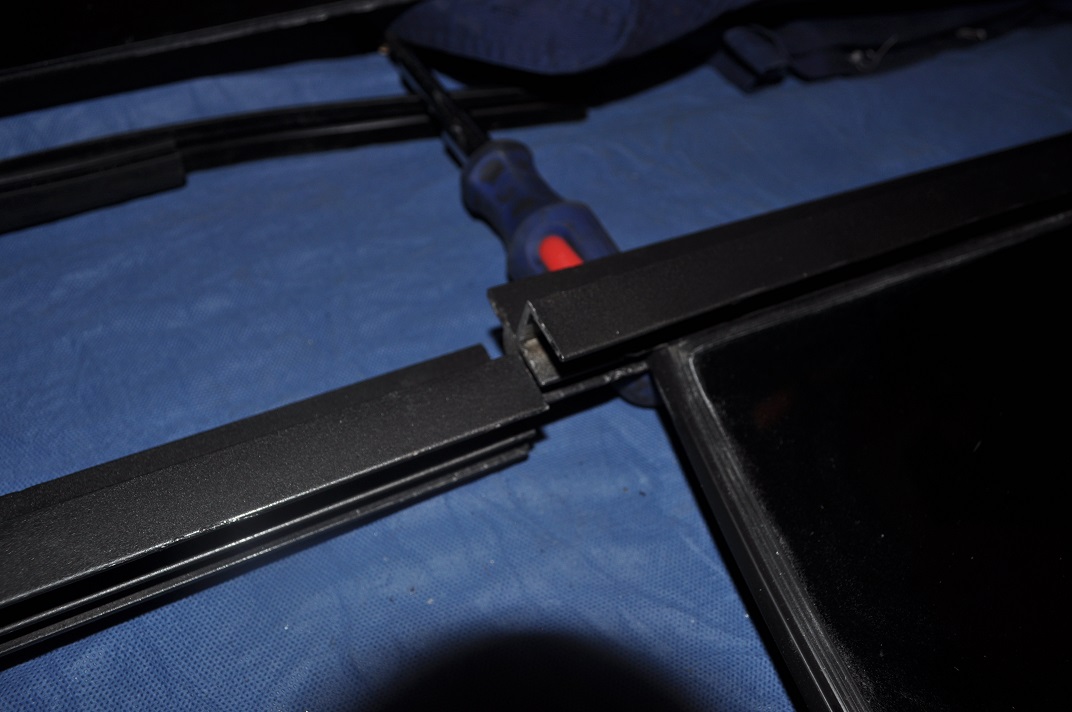
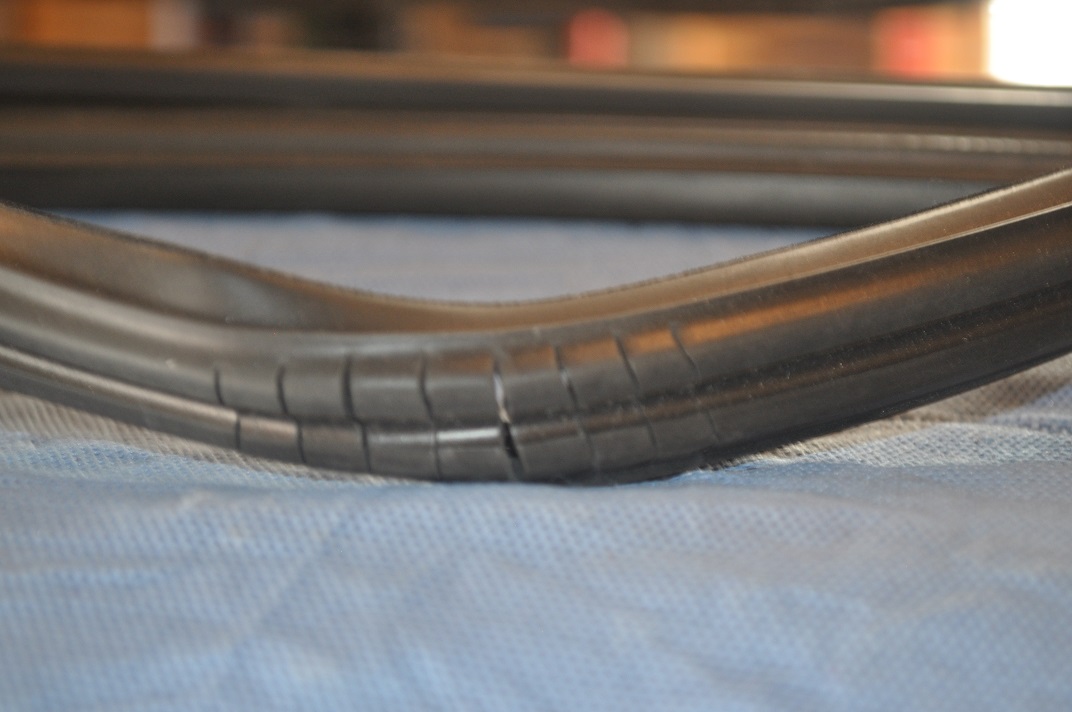
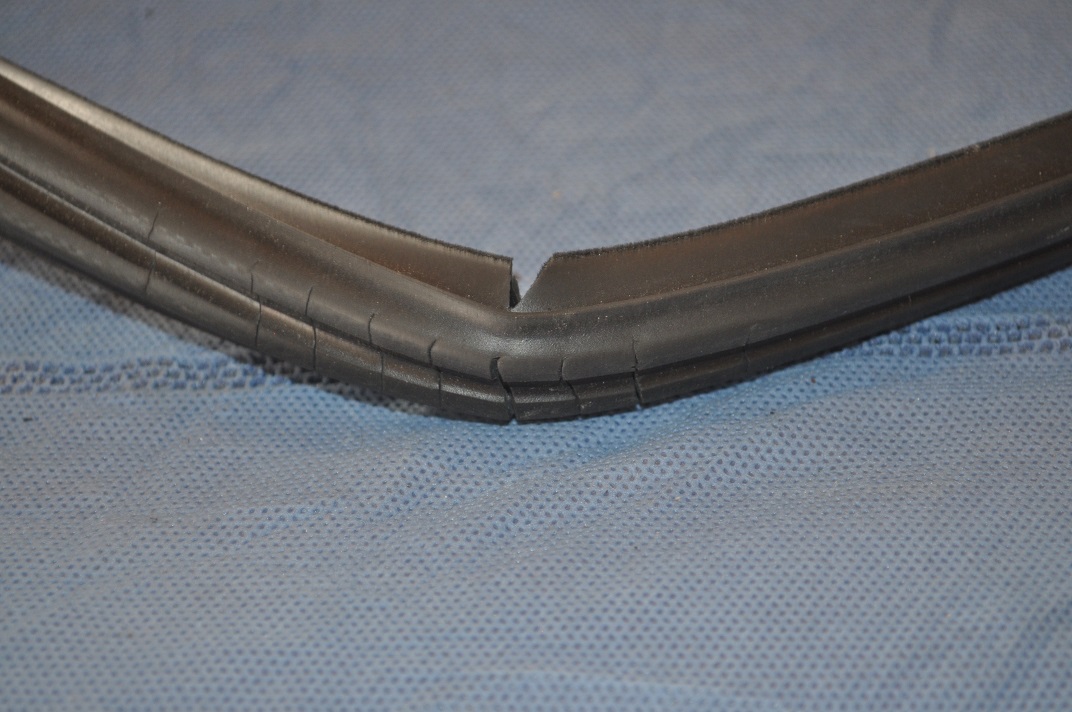
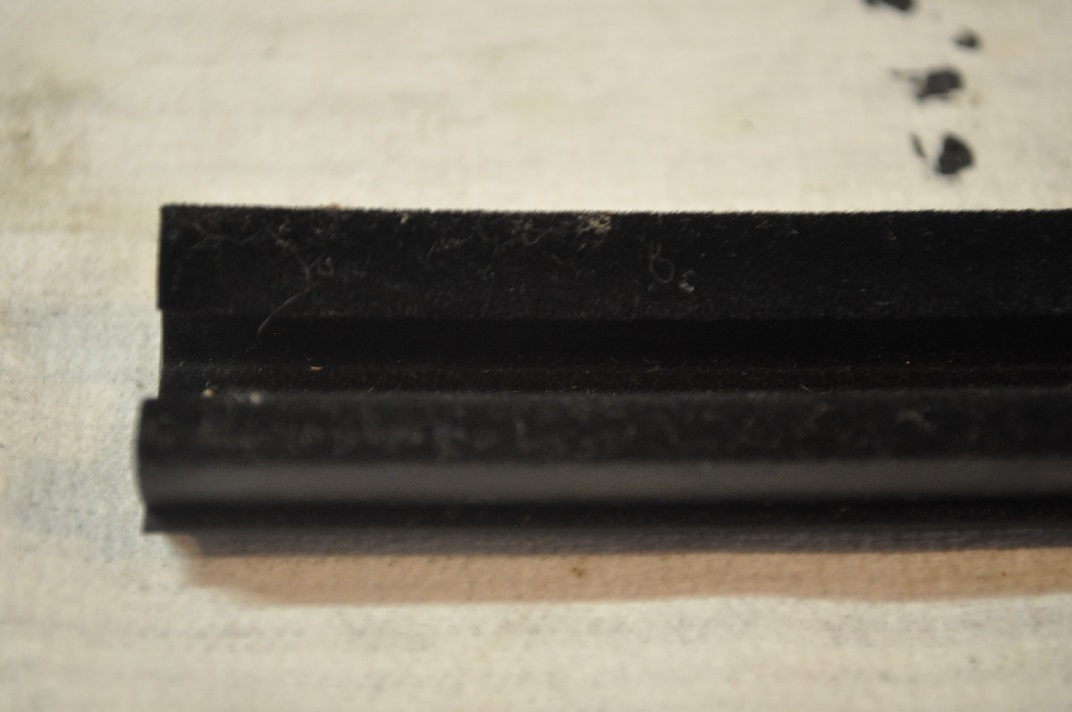
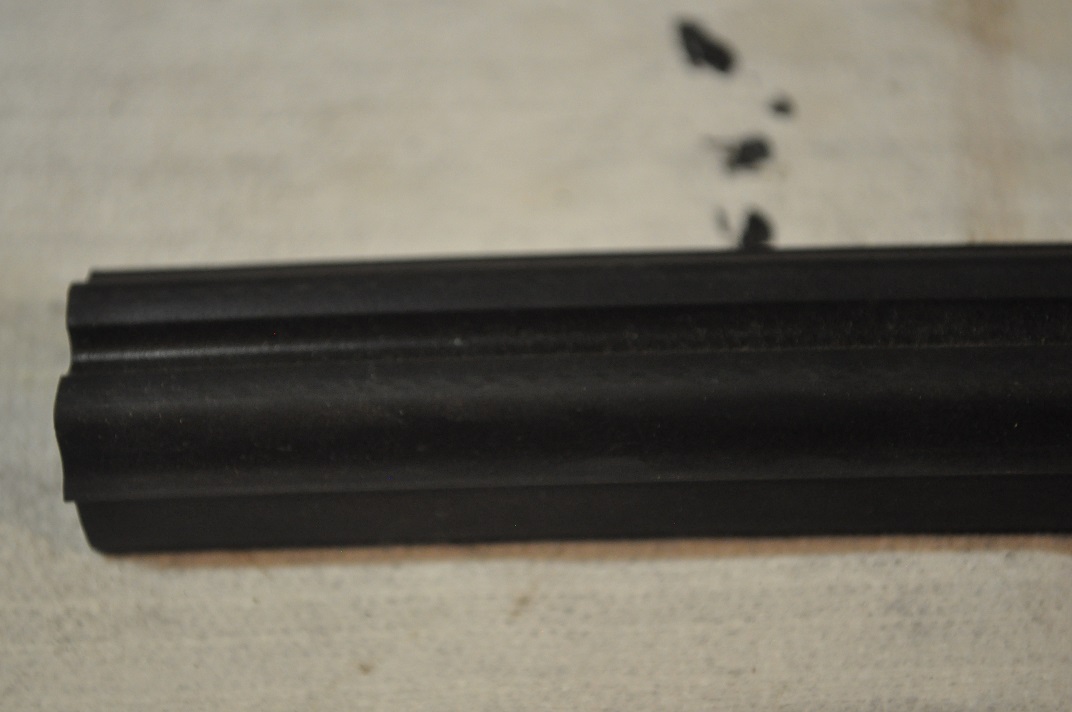
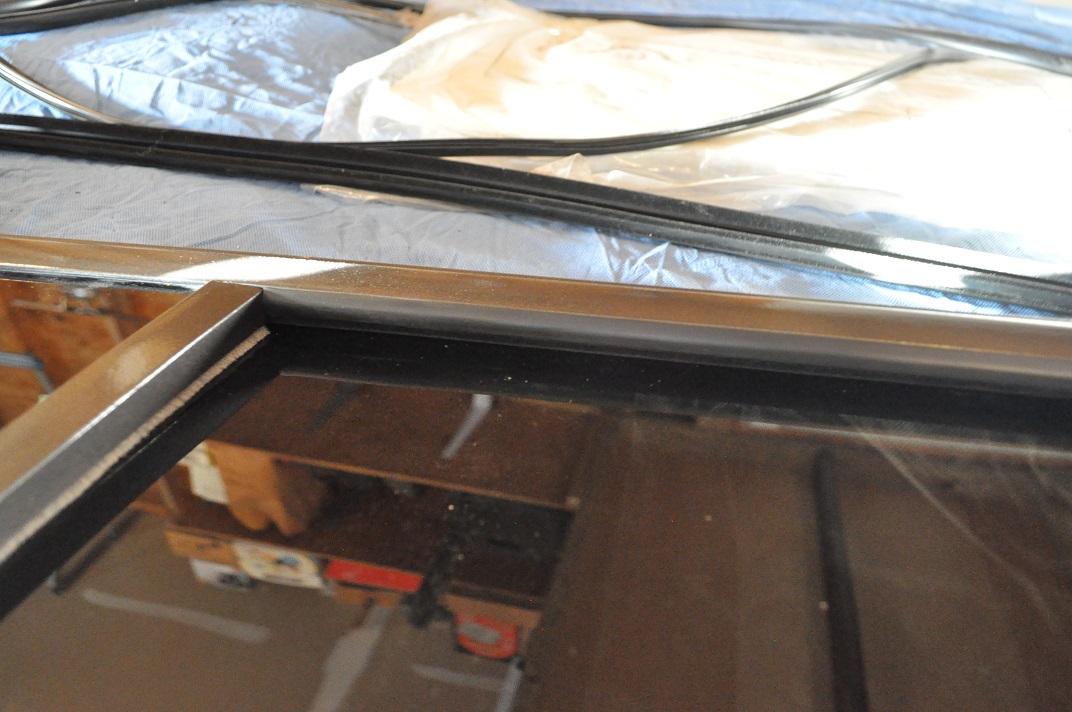
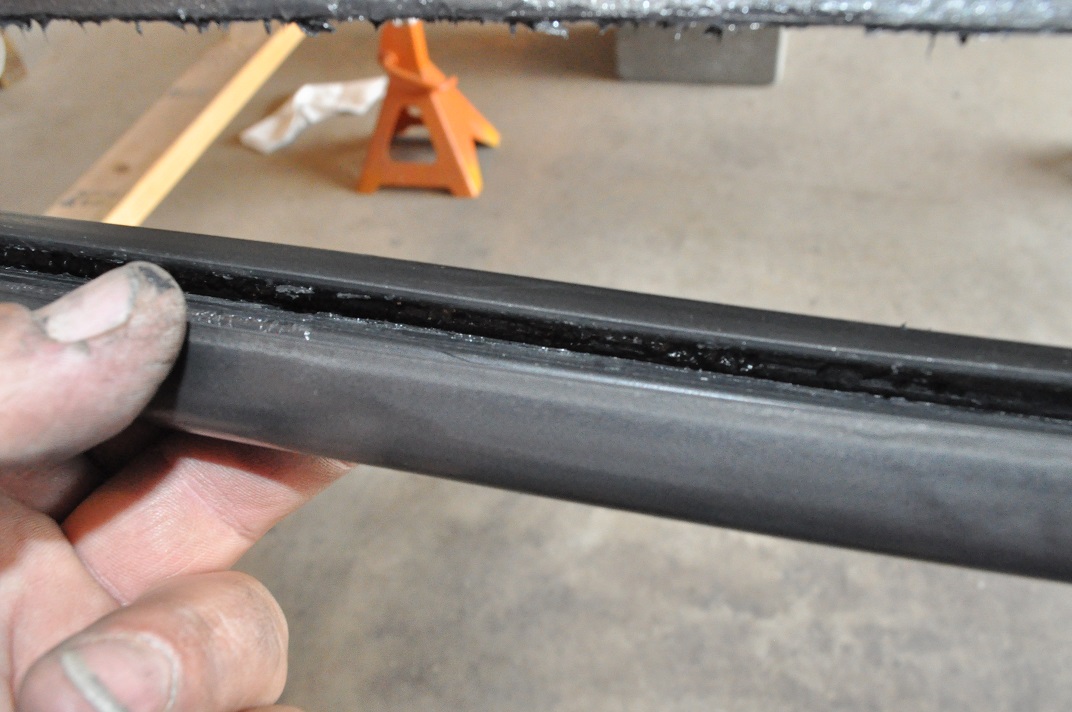
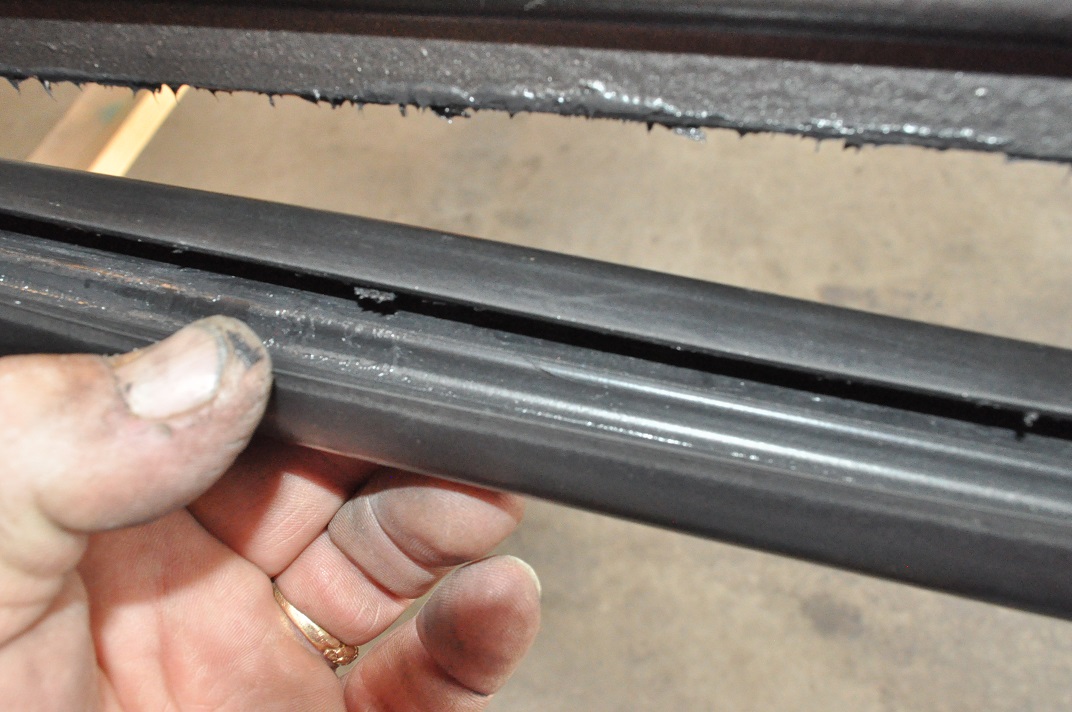
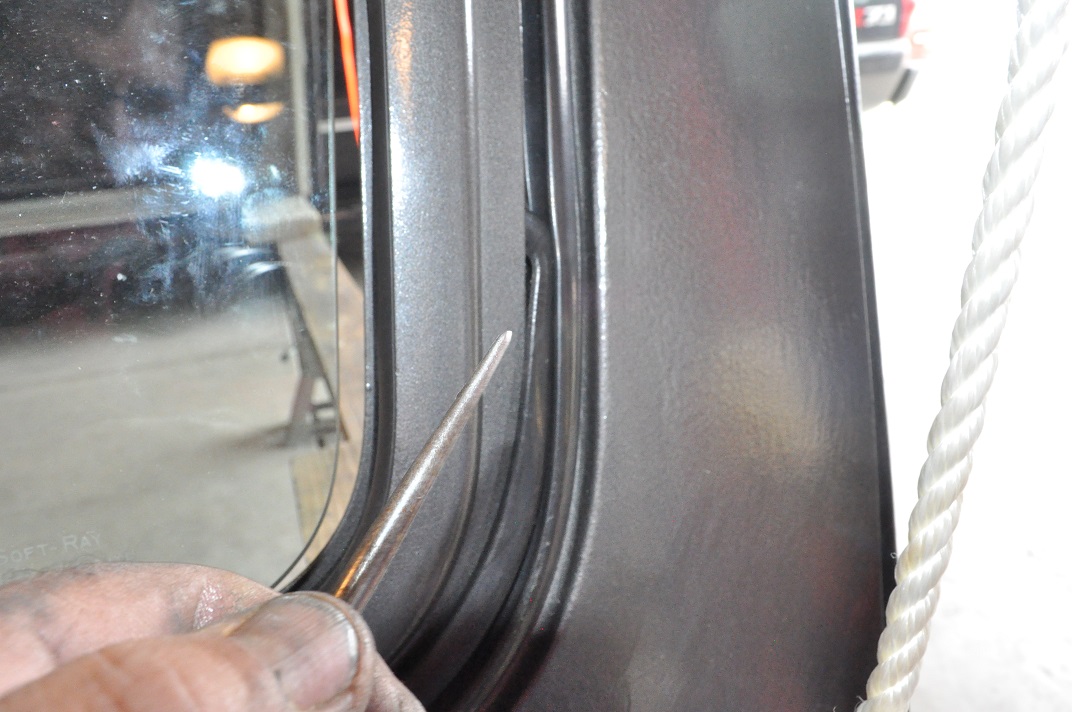
Next is the new window channel felt. If you can't get the felt in one piece, try to make the splice at the top of the frame. Install the felt in the bottom of the frame, starting at the end of the stop, but don't go past the seam towards the latch. Leave the rest going straight out the front of the frame. This will allow you to prop up the back of the frame so you can slide in the window. Just like removing the glass earlier except the felt is not removed. Once the glass is all the way to the stop, put the seams together and secure it with the bar and screws. Finish putting in the felt all the way to the back until it touches the stop and trim off any excess.

Slide the window back and forth and check to see if it latches easily. If it slides good, install the sash. Once the 2 screws holding the sash in are tight, check the sliding window again. If the window slides good, slide it all the way open and install the vent windows.
 
Last edited:
I talked about using some rubber pieces in the brackets to help give the vent windows some tightness so they wouldn't have free movement. Well, I was able to find the parts necessary to rebuild them.

The vent window works with a split type brass bushing. It is mounted inside the bracket that you remove from the frame. The window itself has a bracket, at the top and bottom, with a pivot pin. The pivot pin fits into the other bracket with the split bushing. The set screw in the bracket is used to tighten the bushing around the pivot pin. Without the bushing, the set screw would eat a groove around the pin and the window would swing freely, slapping the sliding window.

The bushings in my brackets were stuck, or corroded in place and were not coming out easily. There should be a split from end to end but it was full of junk. I ended up drilling out the old bushing. I started with a drill bit smaller than the outside diameter but big enough to remove some of the inside. After the third drill bit, it started to push the bushing out. I used a pair of needle nosed pliers to remove the remaining piece.

full


full


full


full


full
 
Last edited:
The set screw was rusted in place and was not coming out. I tried an "Easy Out" but I didn't want to bust the bracket so I decided to drill out the old screw and retap the hole. It worked out great. The first one didn't come out the way I hoped, but it was the quinea pig. It got better and finally had all 4 brackets with new bushings and set screws.

full


full


full


full


full
 
Last edited:
I got the new bushing at ACE Hardware. It was in the aisle with all the nuts and bolts. The size is 1/4" OD x 5/16 ID x 3/4" long. $2.52 each. They only carried the solid type so I used a dremmel tool to split the bushings. Then squeezed the bushing closed and inserted it into the bracket. Marked what was sticking out and trimmed it off.

I put in the set screw and joined it to the bracket with the pivot pin. After tightening the set screws the vent window had enough tension to keep it from moving without manually doing it yourself. That is how it is suppose to work and now they do.

full


full


full


full
 
Last edited:
This is the window channel I found at a glass company in town.

full


full


full


full
 
Last edited:
Got the new trim for the sliding windows today.

Left side is from Atwood Mobile, and right side is OEM. The OEM is only 27" long but I'm going to measure and cut it for the full length of channel run.

full


I took the new trim and fed it through the vent window brackets with plenty of slack so that the trim fills the track from top to bottom. Be sure to open the vent windows to make the installation easier. No screws for the vent window brackets or the bar that keeps the frame together can be seen once the trim is installed and pressed in. It really does make a huge difference on the appearance. A good difference.

full


I started at one end and started pushing the trim down into the track. It fits perfectly. I ran the trim all the way around and trimmed off the excess.

full


full


full


full
 
Last edited:
full


full


full


full


I will get them installed (with pics of the installation) and see how the new sliding window channel felt holds up, and test the new bushings for the vent windows. So stay tuned.
 
Last edited:
Had this done for awhile.....finally got around to sharing.

I put a very small amount of silicone on the top and inside the weatherstrip. It helped hold the rubber in place as you put it on.

full


full


full
 
Last edited:
Then I started at the lower back corner and set the frame inside the rubber. I used and awl and some water and slowly worked away at pulling the lip towards me and into place. It wasn't hard, just tedious.

full


full


full


full


full


full
 
Last edited:

Latest Posts

Top Bottom