CK5
Register an account today to become a member! Once signed in, you'll be able to participate on this site by adding your own topics and posts, as well as connect with other members.

Ryoken's 89 Crew Cab Tubebed build... aka Mutt....

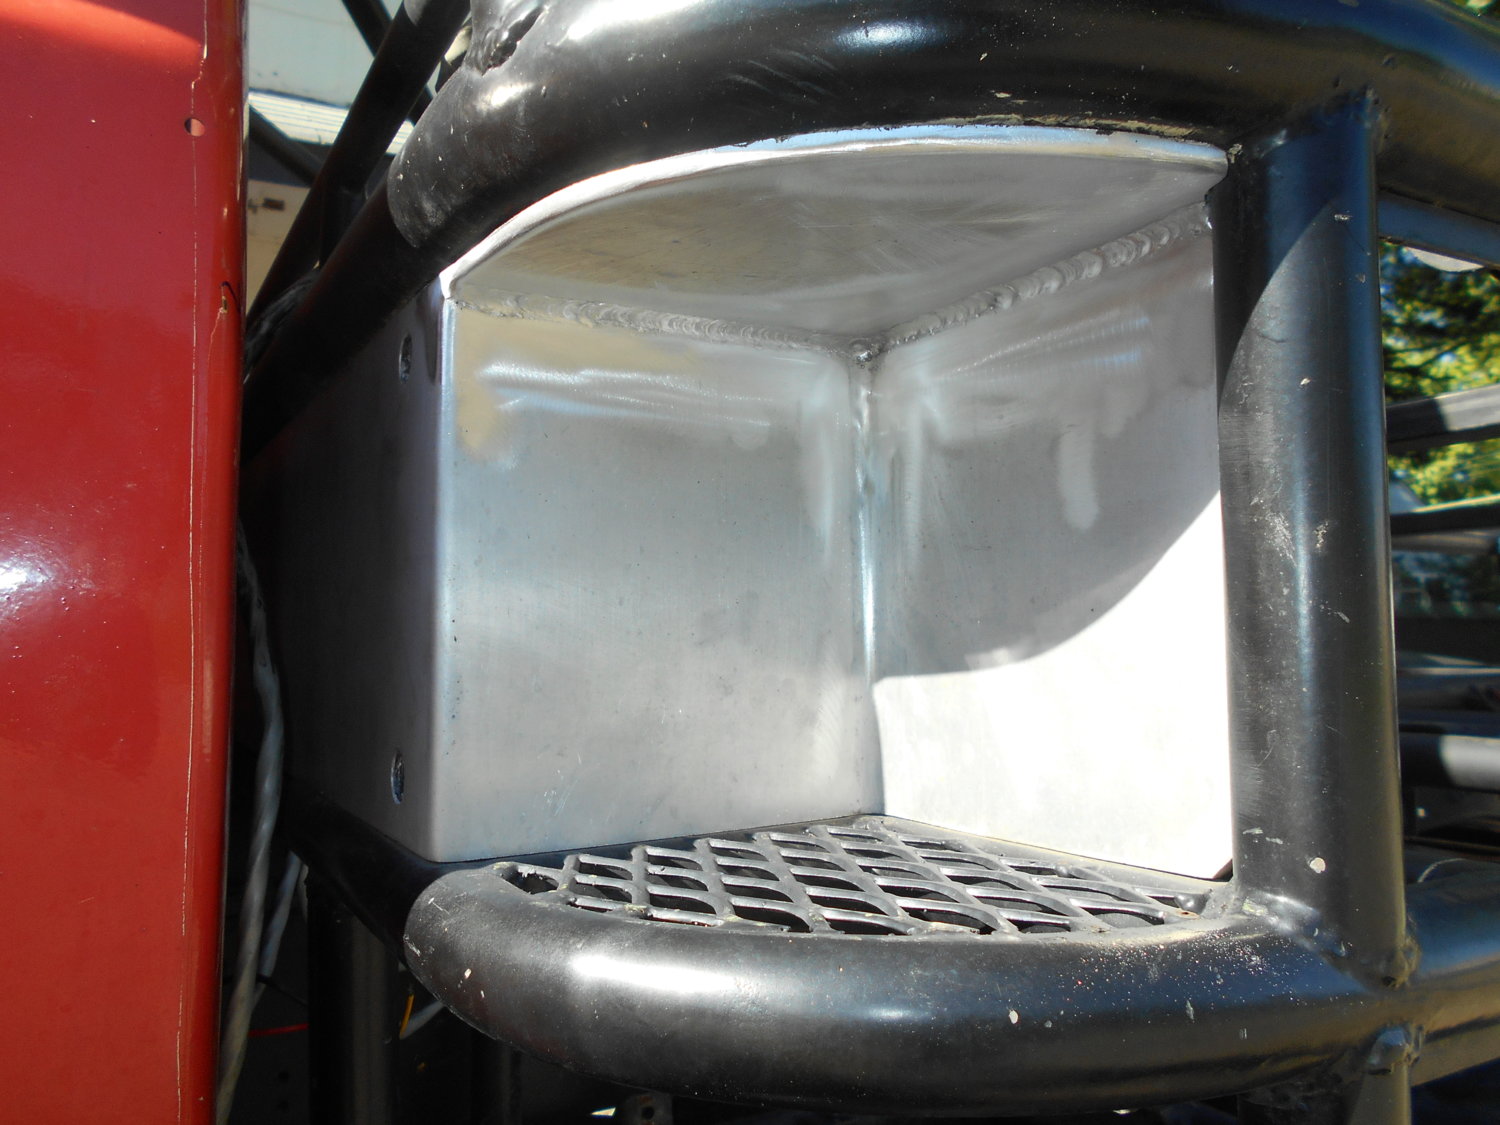
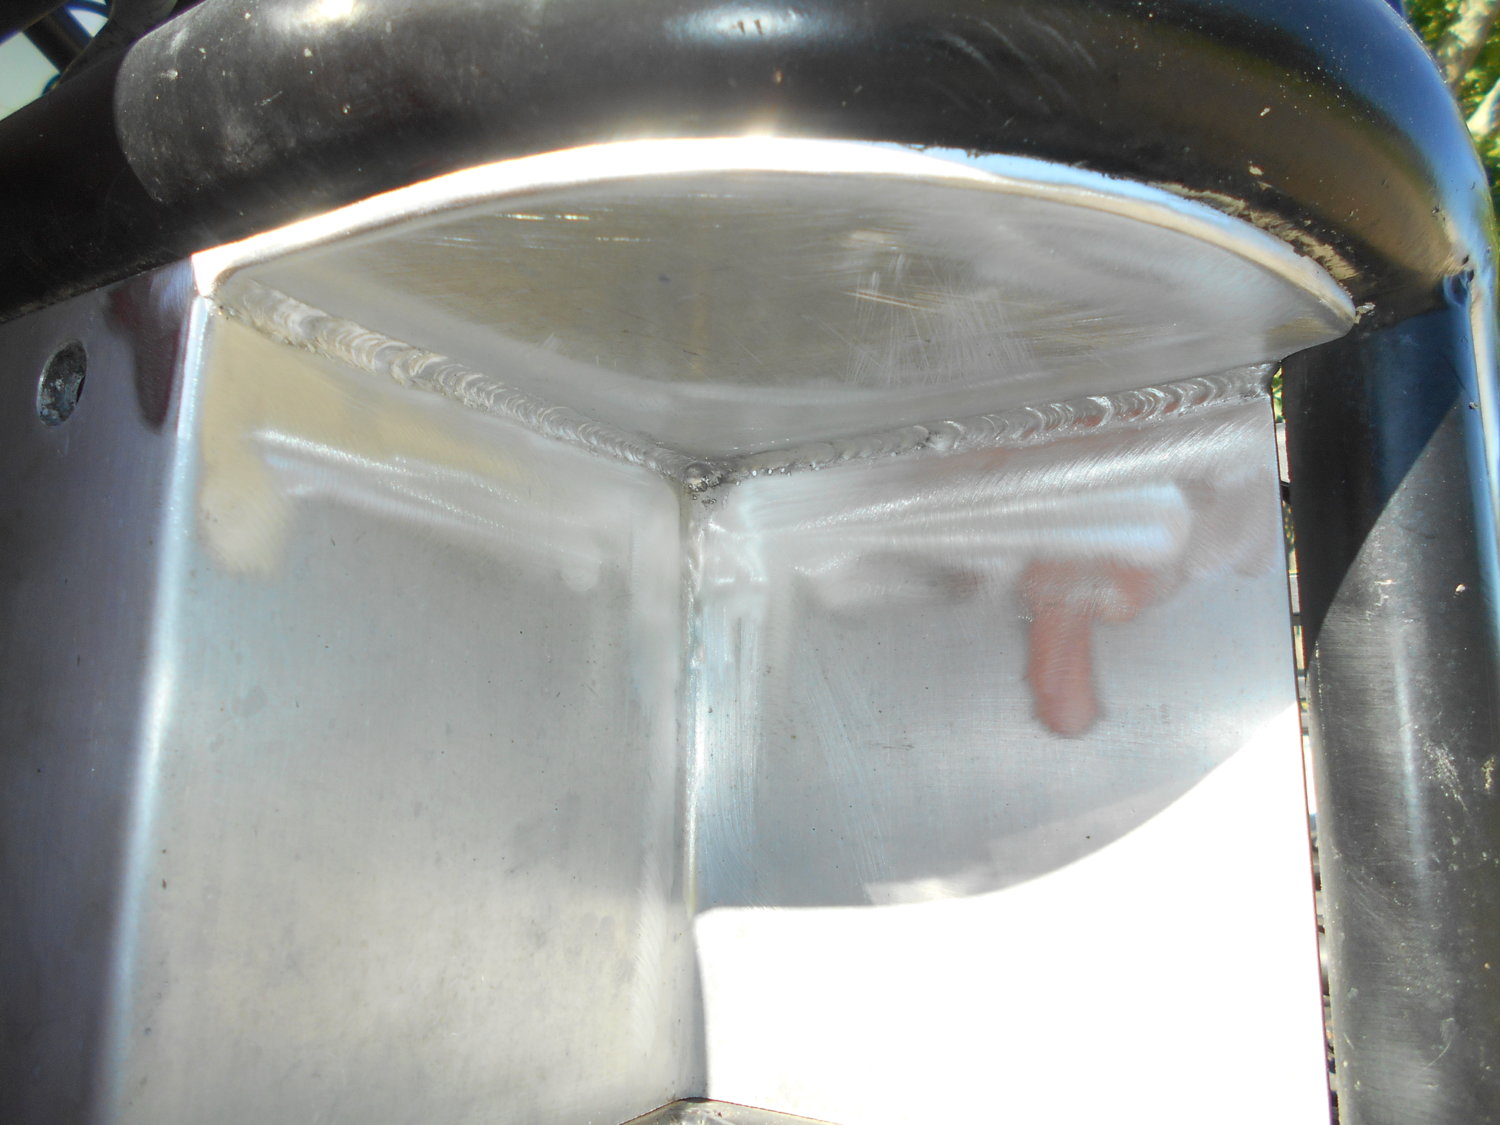
decided I'm gonna hold off on the rear bellys.... finally did the 2 additional mounts per taillight panel today... stoopid solid now.....


full


full


those panels do need to come back off for a good sand/sharkhide at some point in the next couple months....... tubegate too...


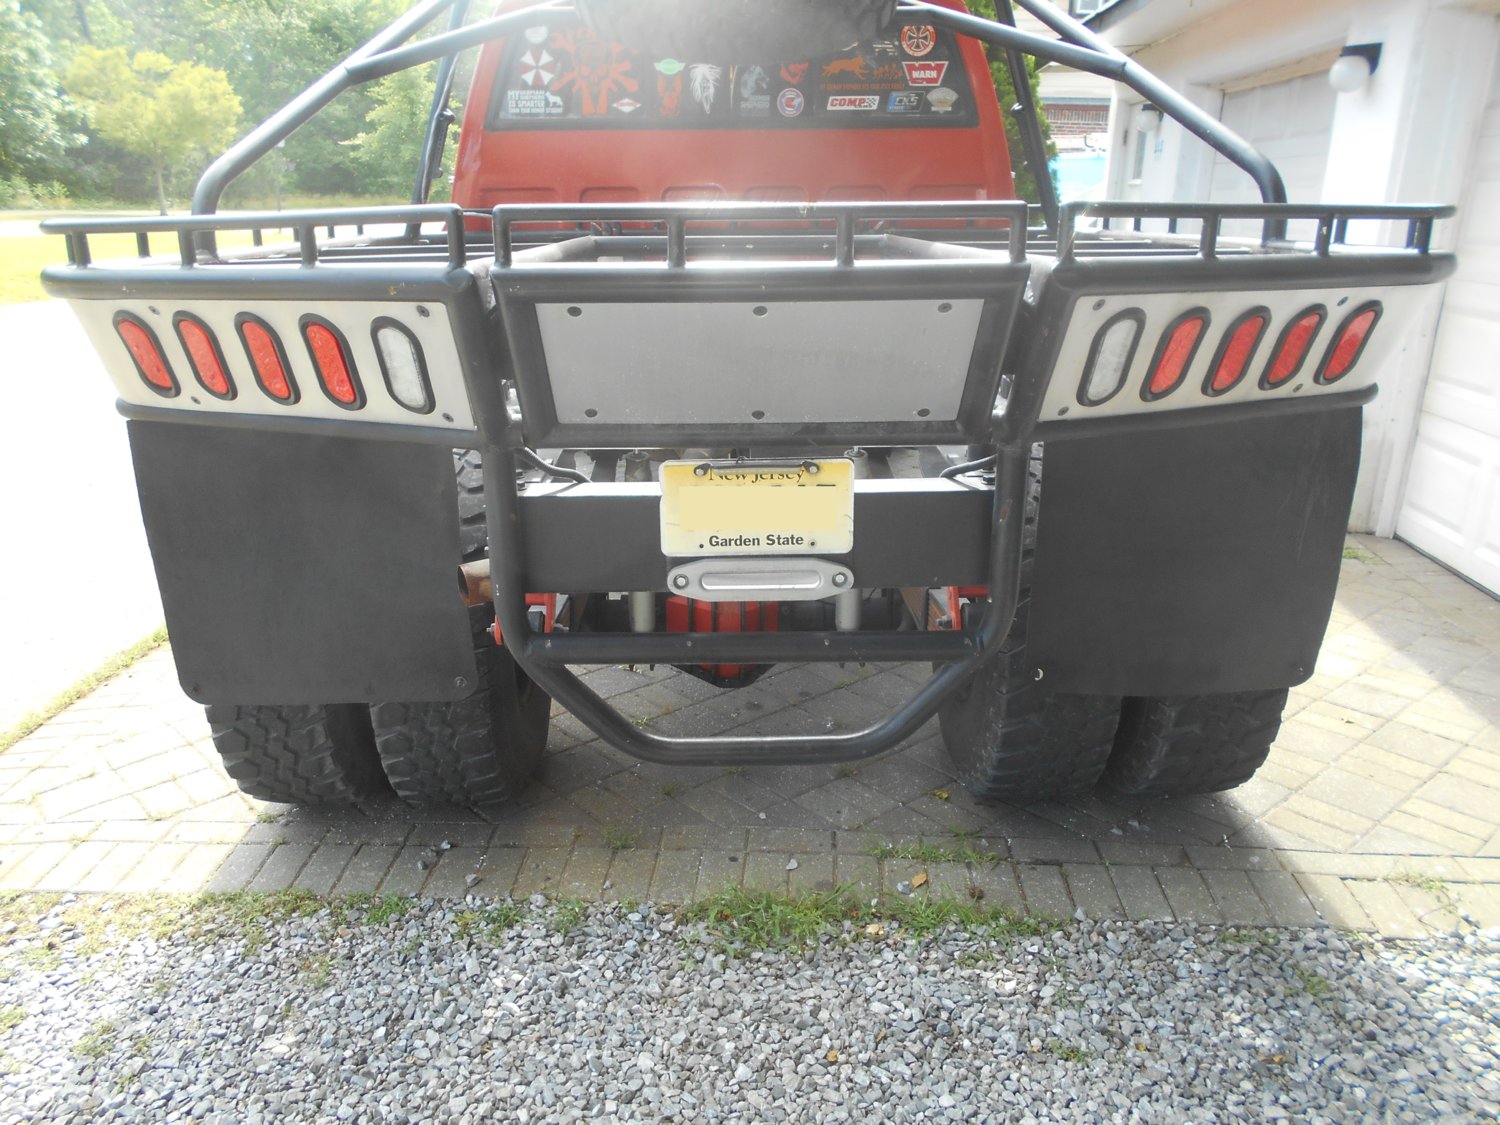
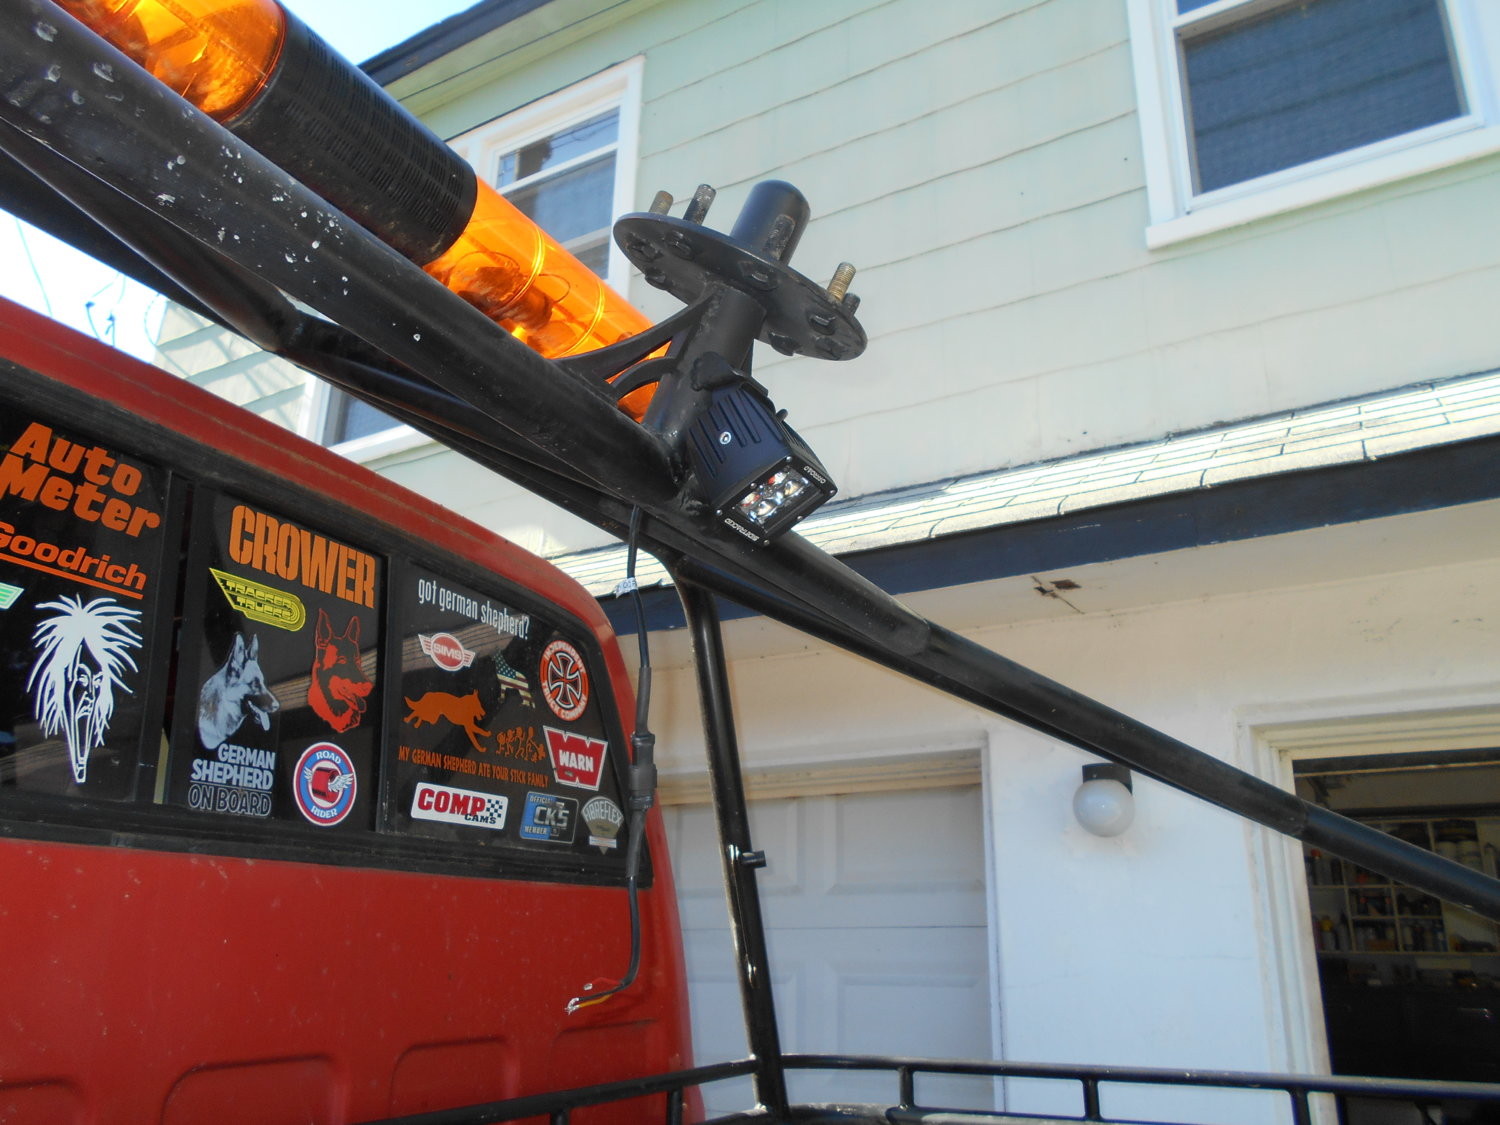
also mounted worklight #1 under the spare.... can't wait to put the 2 big ones up on the c-hoop..


.
 
that first load of panels are done, and stored till reinstall, tonight i start working on the second batch.. one big, and one smaller left...


added the "top" to the alum step area.... it's out for a sand/burnish now..


full


full


oh, and the spare is off for paint prep... here is worklight #1's mounting... you can't see it with the spare up there... it's a white/amber flood....


full


next weekend I''ll do worklight #2 and 3 mounting.. than pull the lightbar for paint prep..... hopefully I'll be reassembling the bed in 3, maybe 4 weeks... tomorrow will go towards panel prep...
 
so, got the majority of the bed wetsanded out today for paint......


in the course of the day i started to semi-plan out an engine stand for the fumMins........ than realized i had the perfect wheels for it... jumbo bastages that @Greg72 hooked me up with!


full
 
so.. when i put the lightbar up, I didn't give a rats tooshy if it worked.. other than a vid with the booster box hooked up to it.... but now that the worklights are going up, I wanted to at least do a "quicky" to get it all up and working..

did a diagram, had the relays..... switches, have a box full of conturas in every color combo...... simple, easy panel, as that will all be redone when i do the new bat box system....

well, got conturas.. got a hole from the missing AC vent in the dash, huh... who'd a thunk a 5 banger in the frames, fits absolutely perfect in the hole.. well, just found my temp solution till the full harness/dash psychoness.... ;)


ignore the colors, it was what i had convenient, i can do any color combo including red switches, red lenses...


full
 
Last edited:
Sweet gas gauge. Haha


it's never worked.... one of the reasons I wanna get the other tank in so bad..... 18 gal at 7 mpg means I'm counting mississippi's of run time.. ;) saving grace is we have pumps at the marina that I keep it topped off a couple times a week... the dash is pretty much the last thing I'm doing... the sending unit for the new tank is gonna be a "no moving parts" marine unit that can be calibrated for the odd shaped tank...
 
I just figured out what I need for this project....

a 36" throated, metal planer, but instead of a cutting head, it should be a giant scuff wheel...... i could just set tension and keep feeding a piece thru until desirable finish... even from one side to the other, yada..

where's @Fordum when I need em... ;)


considering running all my exposed alum panels to a 400 wet blocking.... just wanna make sure I get the right burnished look...... I have a problem..... :dunno:

oh, and.............

deposits have been made....

soon to be flying the Cummins flag next to the red/white/blue out back... flagwaver

I used to have access to one of these planer's at work but it had basically a huge belt sander belt. Imagine the belt sander upright on end so the part passed by the roller on the end with a conveyor below and a screw jack to adjust for height/thickness. Not sure what grit we had but aluminum came out real nice. I'm also positive it had a water bath too.
 
I used to have access to one of these planer's at work but it had basically a huge belt sander belt. Imagine the belt sander upright on end so the part passed by the roller on the end with a conveyor below and a screw jack to adjust for height/thickness. Not sure what grit we had but aluminum came out real nice. I'm also positive it had a water bath too.


man.... I wish I had stoopid munnay.. thanks, i know there's a machine out there to save my fingerprints... :haha: :doah: :pimp: :haha: (2 drunk hr's tonight wet-scuffing panels later).. it'll have to be the hard way.... just nice to picture the killa way... one guy asked me if i was sanding them to be painted?!!!!???/ might as well have done steel at that point????????????????? :haha:


plowing thru the panels.. come sept, sh*t's gonna be pretty tight... the 6BT is an underlying "git R' dun" push...... fug yeah, bring it.... bed's gonna be pretty trick, and fresh soon........


Mutt FTW........:pimp:
 
FTR....... trying to square block alum panels to a 600 grit inline perfection is fuggin retarded... :haha: :doah: 1 deep smash/divot and you are DA-ing sanding that spot to death... let alone an even 400 scuff to a 30+ " x 70" panel... even... giant magic planer, thank you....


I'm trying to achieve sumfin beyond my tooling capabilities...

oh, both Mutt's rockers are horrible...... whenever... late aug... next june, who knows.....
 
ok, question for those that have done the swap...... How advantageous is adding a 1" body lift? i'm talking firewall, hydrobooster, AC, trans hump, etc?

I'm thinking it can be a huge benefit... i'm not opposed to doing it... can always use the extra room up in the front wells... I'd have to make up some solid blocks for the bed, not a huge deal...

my biggest issue is reworking the front bumper to account for it... not sure if it's doable, might look a bit funnay... the back would be fine...
 
Same benefits as a non swapped truck. It's not required but it sure forkin helps. The hydroboost to intake horn clearance is close but an extra 1" might make enough room for a larger performance part fitting in there if you feel like it. Stock ac box is tight anyways that doesnt change much. It does help fit exhaust under the cab.
Generally speaking its helpful.
 
well, took a peak, I could relocate the bumper, but it would suck... i'll just have to play it by ear as i go for the install, *ORD on speed-dial* as of right now, I'm gonna see about not doing it, till I feel it's really needed...

second big batch of panels are 1/2 way thru coating... I may actually have all the coating done mid next week.. which times out well as the following weekend I'll be shooting black...

I'll be super stoked reassembling the bed this time...
 
Just make a 1.5" flat stock lip that runs up at an angle to bridge the gap at the front or something..
So that it sorta looks designed that way from the beginning
 

Latest Posts

Top Bottom