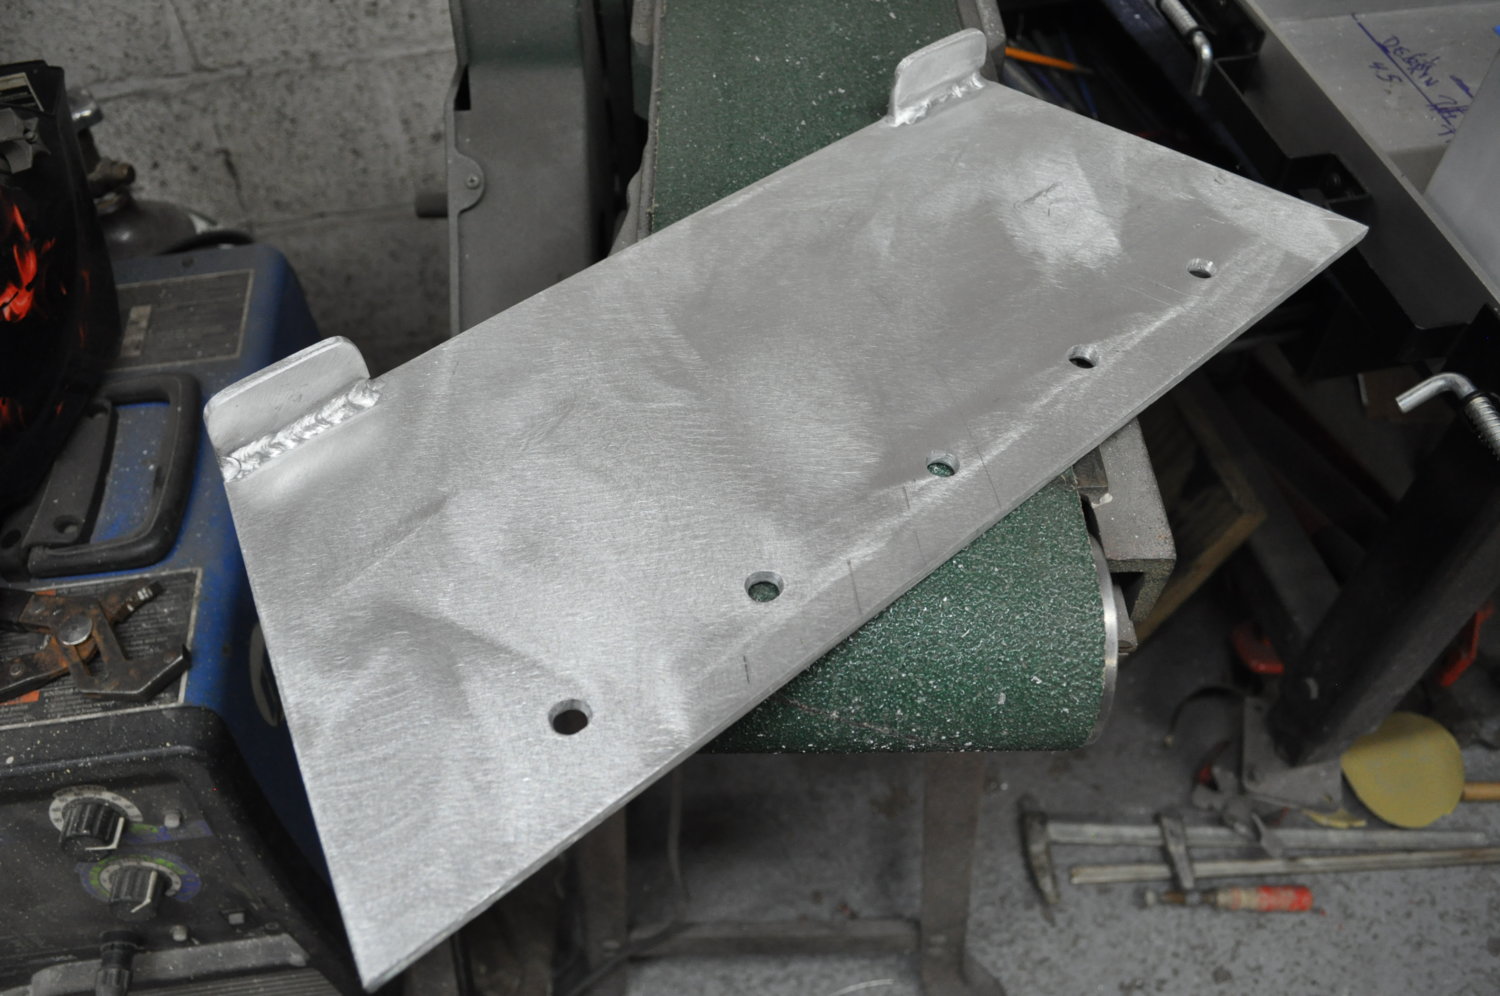
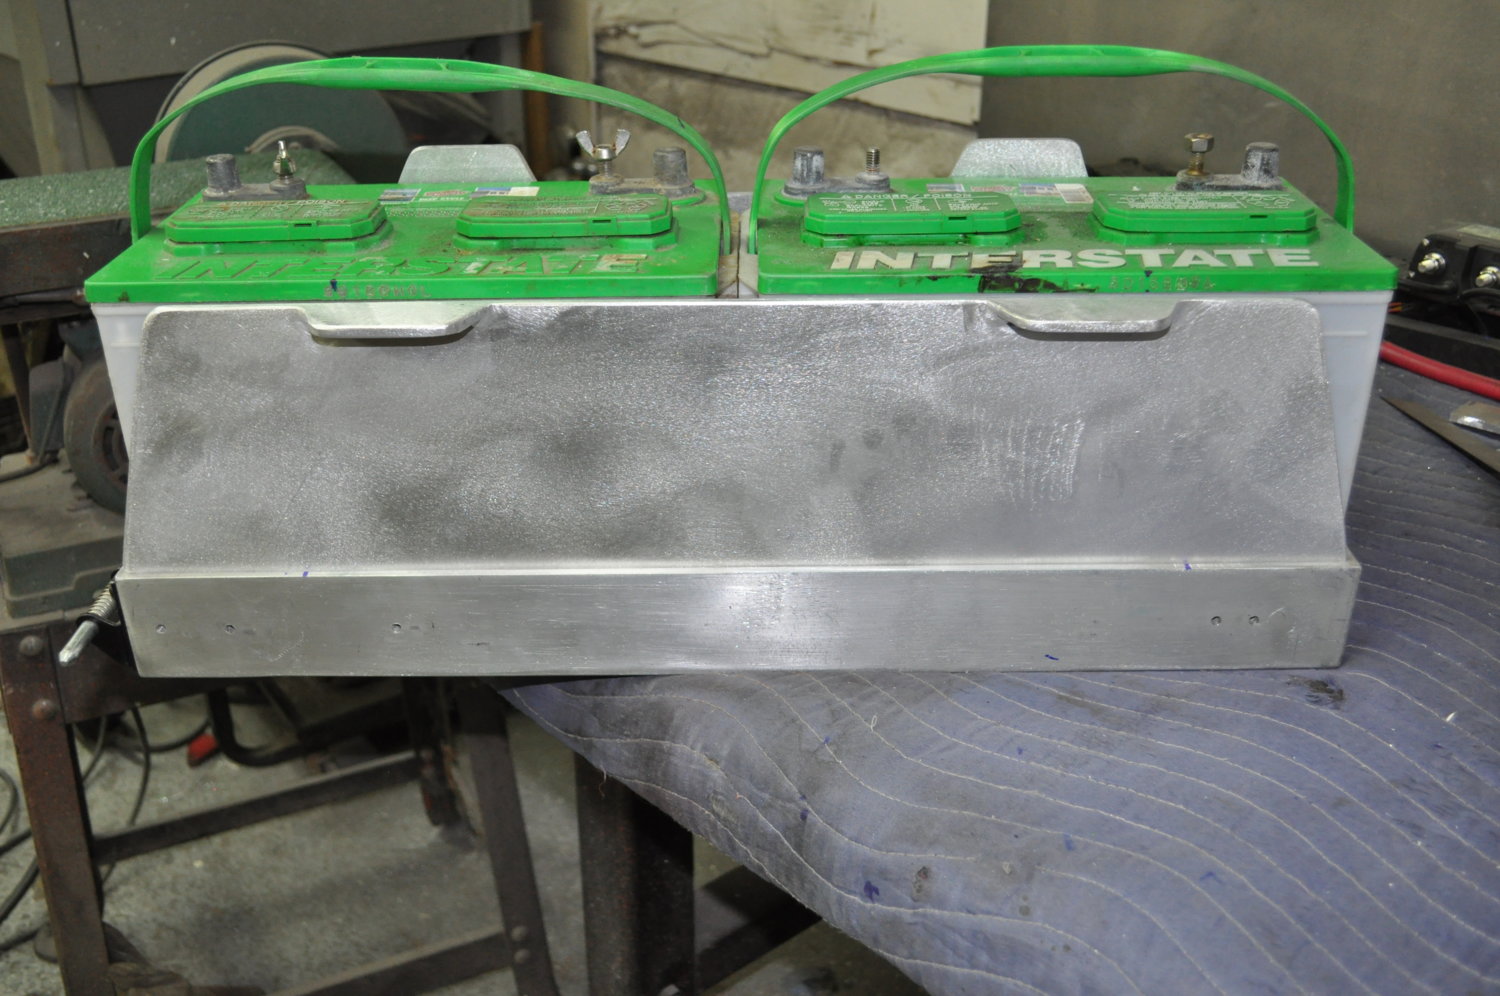
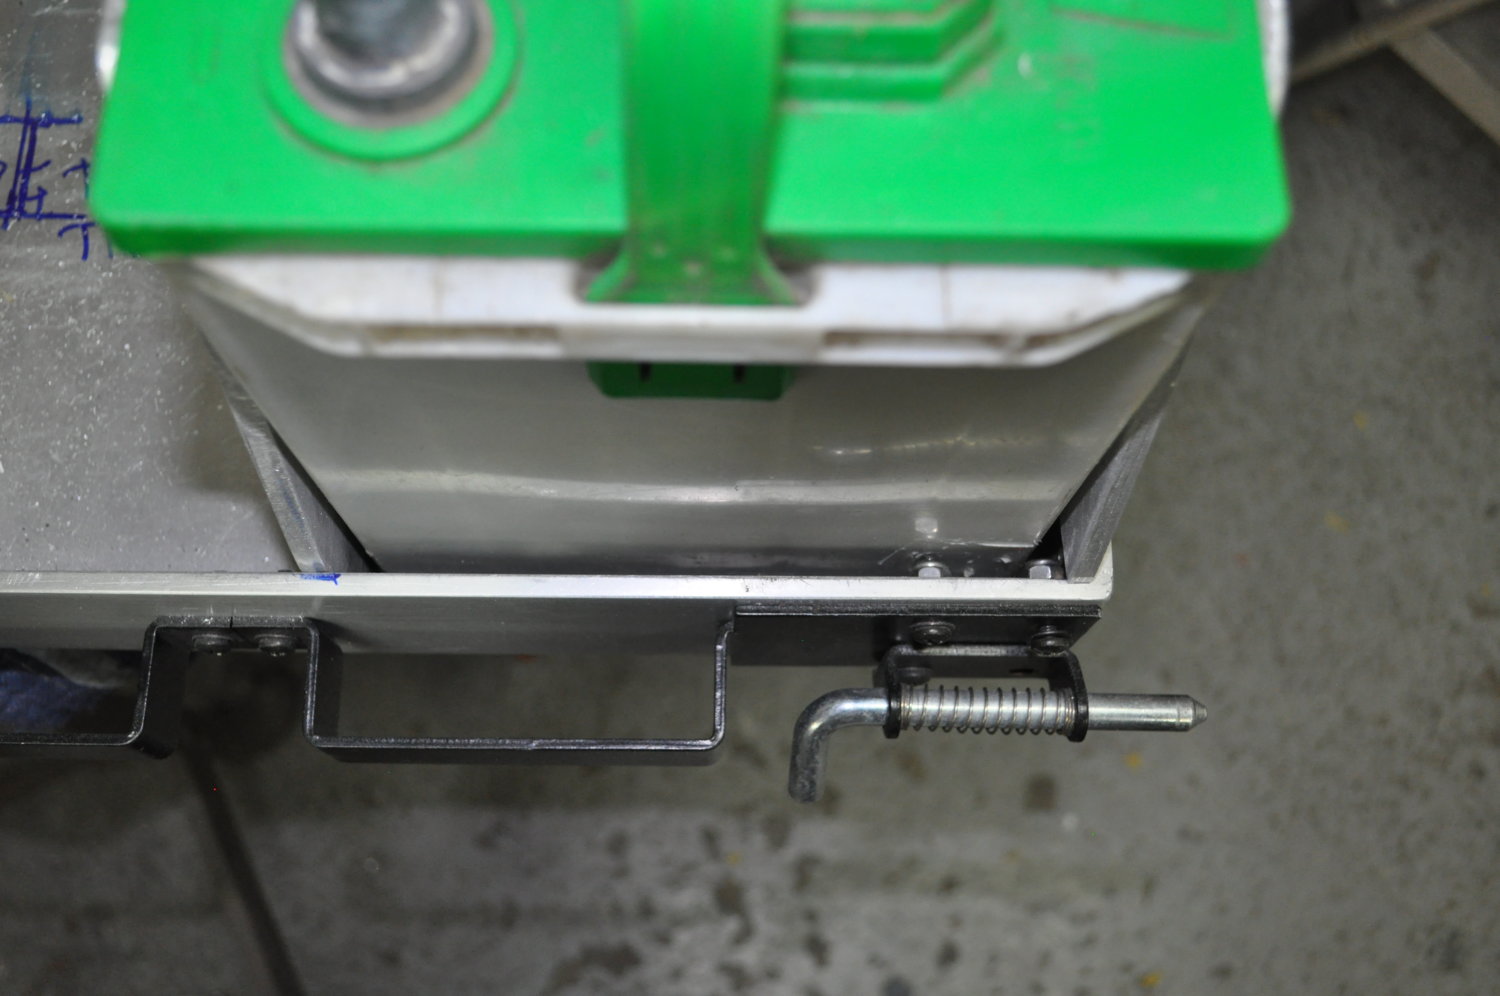
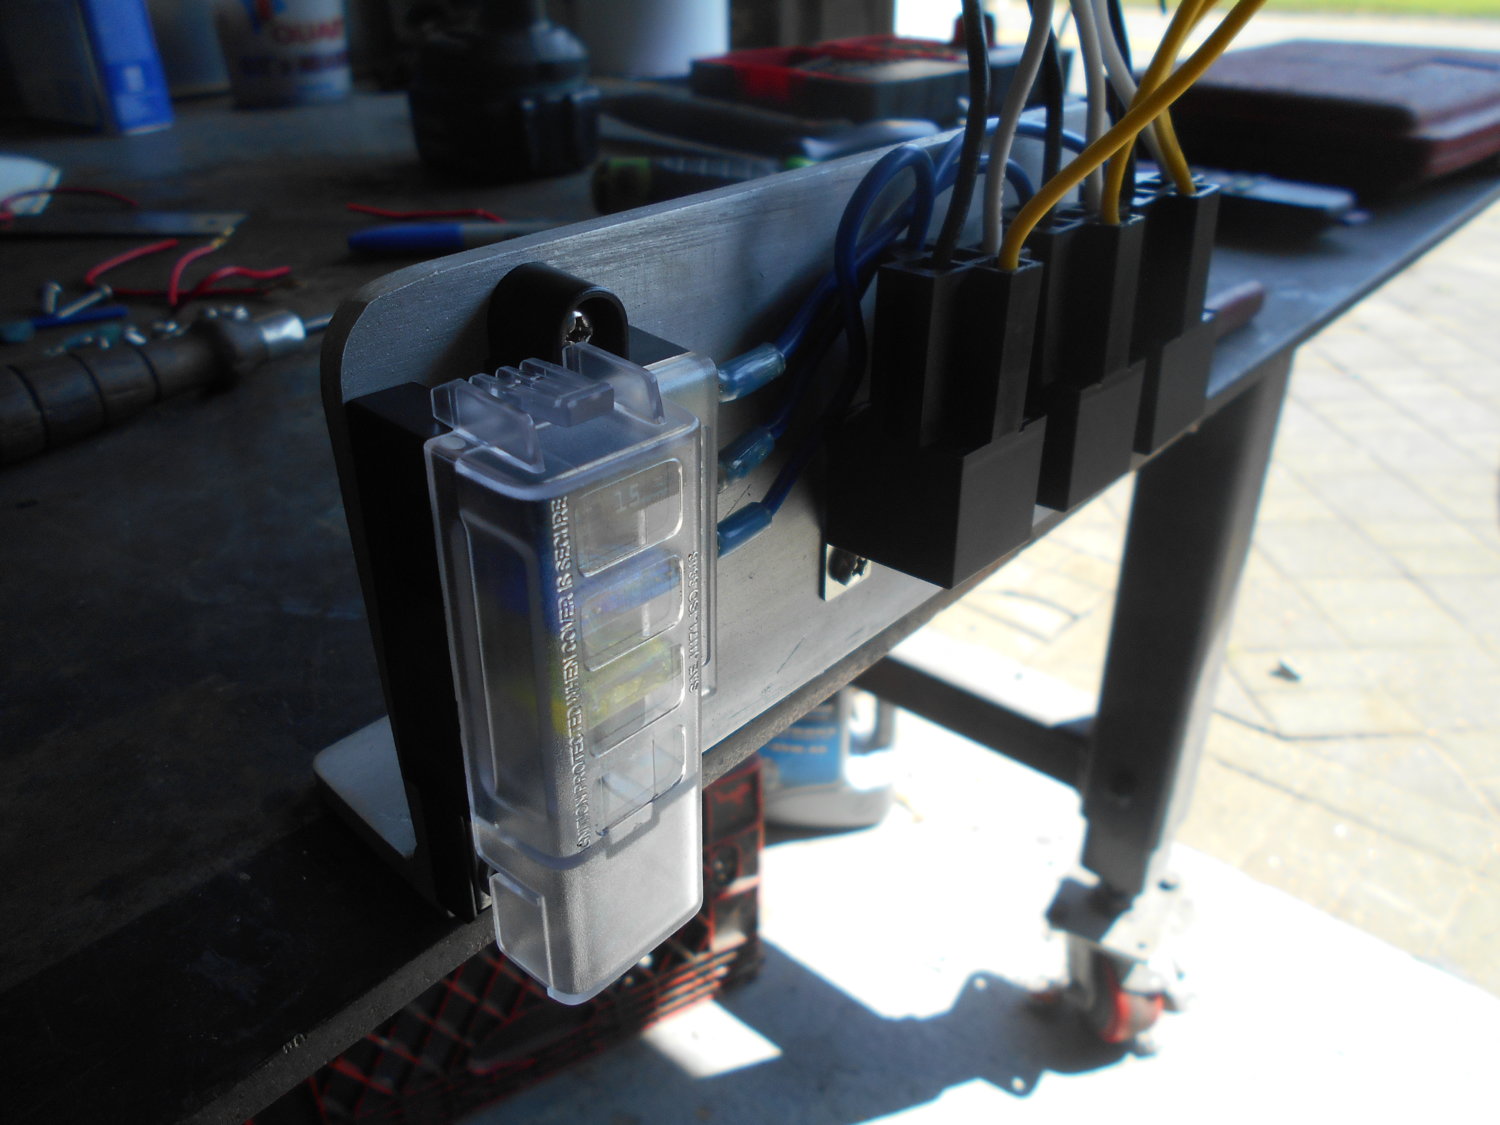
here's how that outside holddown will be.... the holes are for plugwelds.....


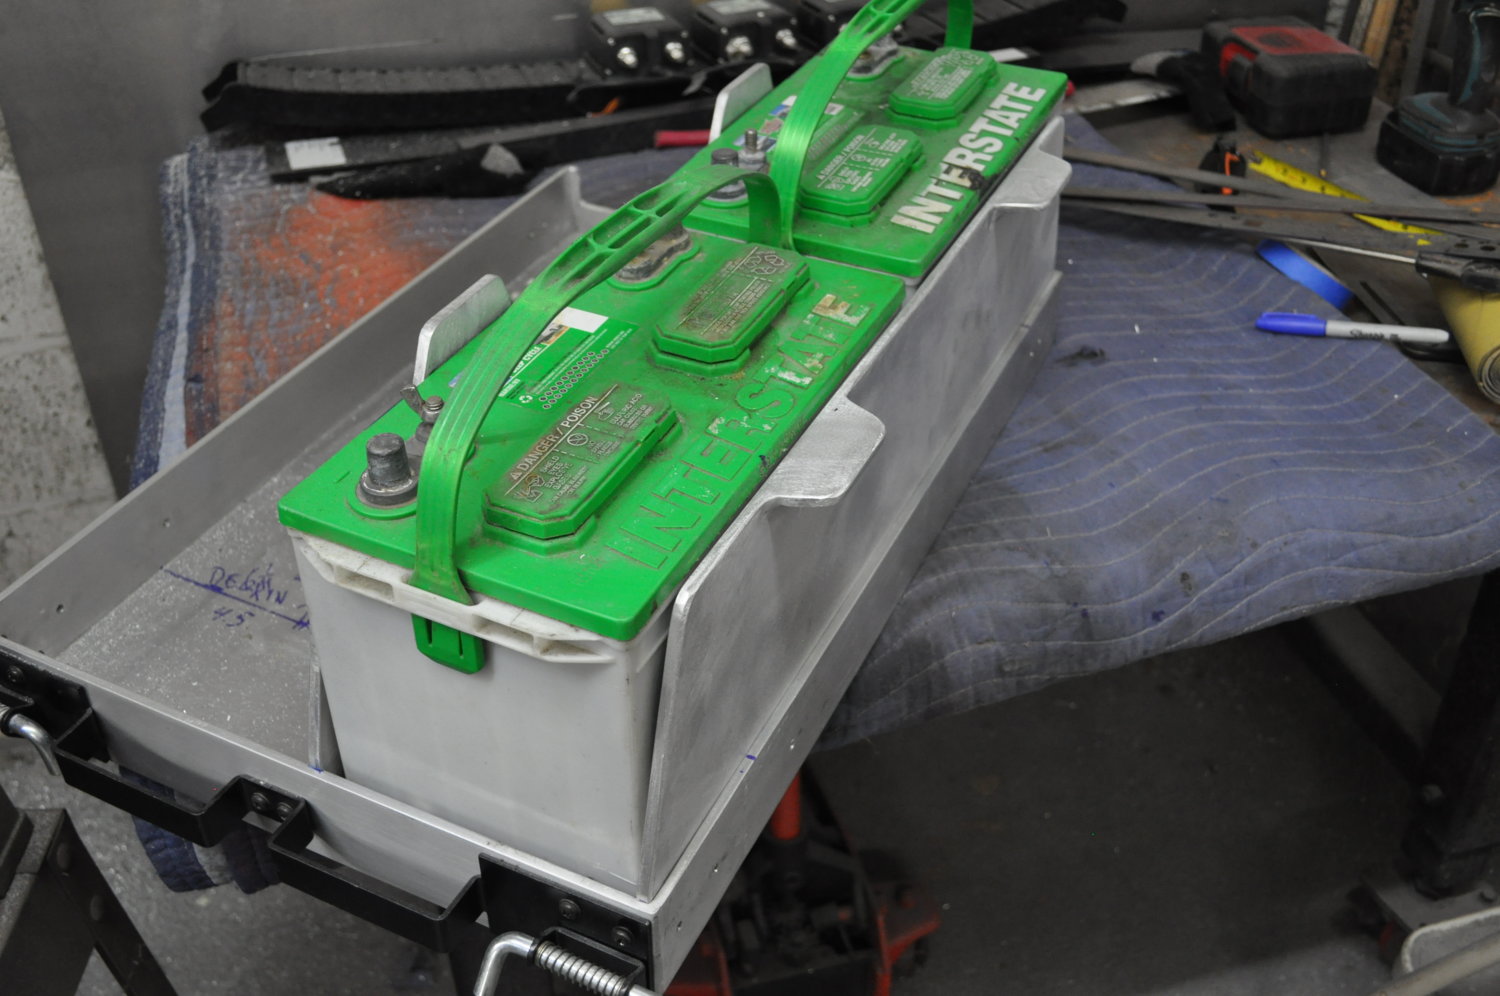
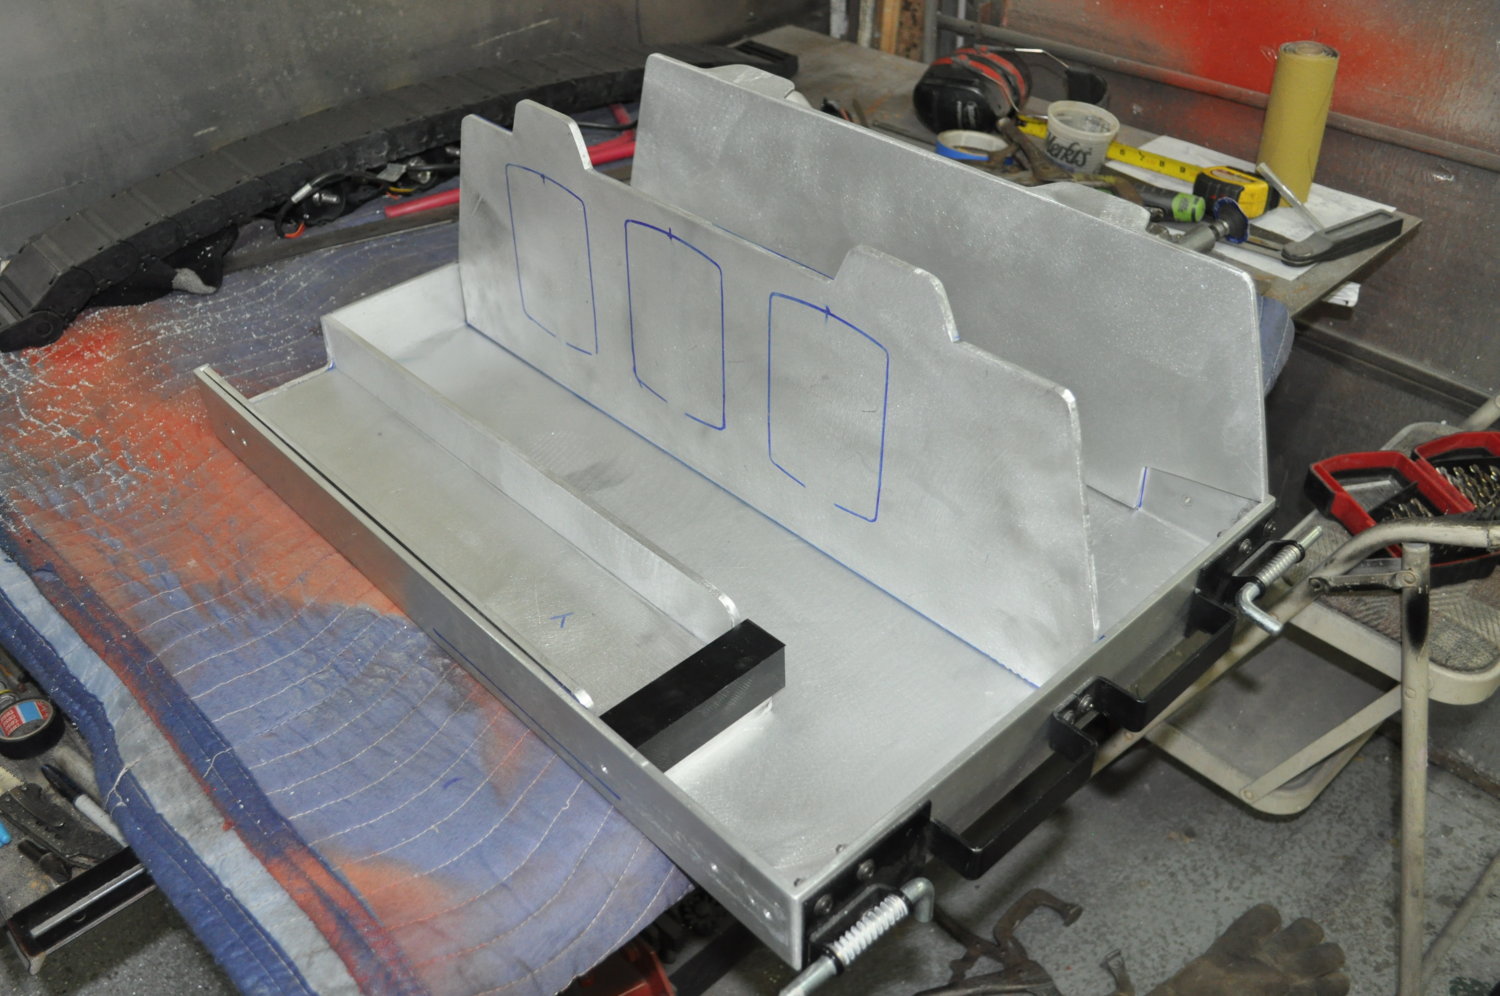
 need to throw that inner switch wall to the tuition pile.... no big.... plenty of alum kicking around, already rough cut a new one....
 already bent up some 1" x 1/8" for x-bars...


")
")
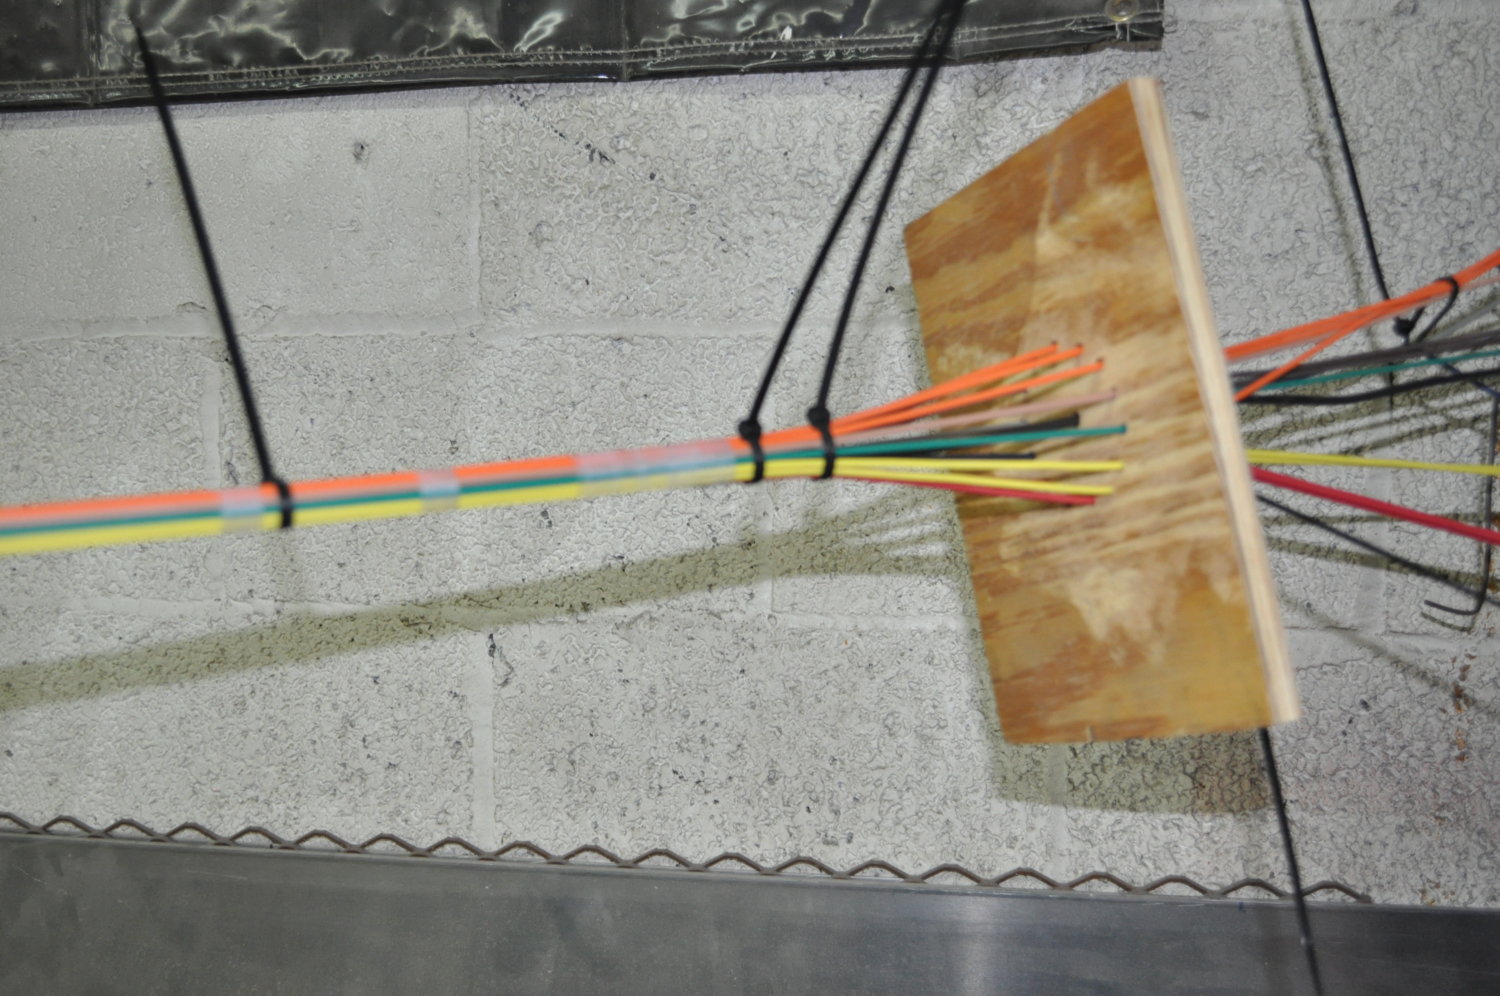
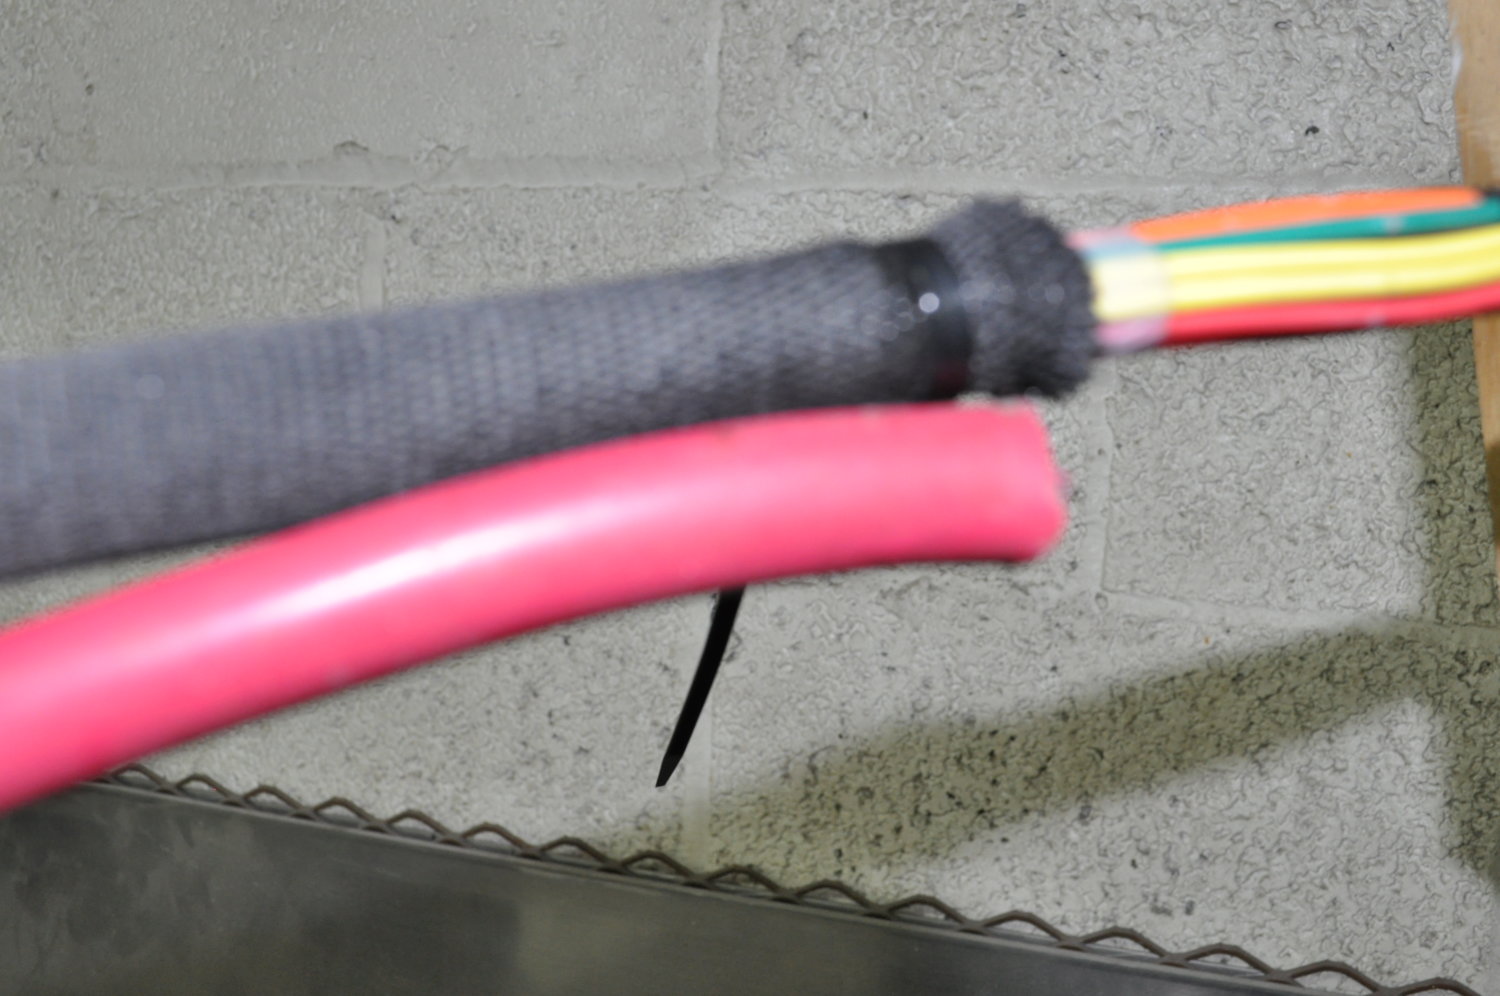
We use a similar Brady label maker at work but ours can do sticker labels or heat shrink but is kind of a pain to load. If you only want this type the cartridges are much more convenient. We've never had a problem with them.wire order came in early, so started working on the trigger harness today... mainly straightening the lengths i need in various colors... just waiting on a roll of 10g on friday..
I'm actually contemplating getting a label maker... was eyeballin this.... but i know nothing about them.... not looking to do shrinktube, just quality tags...
https://www.amazon.com/Brady-BMP21-PLUS-Handheld-Printer-Multi-Line/dp/B00IELD1O4/ref=sxin_2_ac_d_rm?ac_md=1-1-YnJhZHkgbGFiZWwgbWFrZXI=-ac_d_rm&crid=1GPENVOTFH5JL&keywords=wire+label+maker&pd_rd_i=B00IELD1O4&pd_rd_r=404eaf25-eb2a-48e0-b496-af7d1b44182d&pd_rd_w=eGBlI&pd_rd_wg=WmaAC&pf_rd_p=e2f20af2-9651-42af-9a45-89425d5bae34&pf_rd_r=4PTADCE9MNEQE4F474M6&psc=1&qid=1577194246&sprefix=wire+label,aps,143
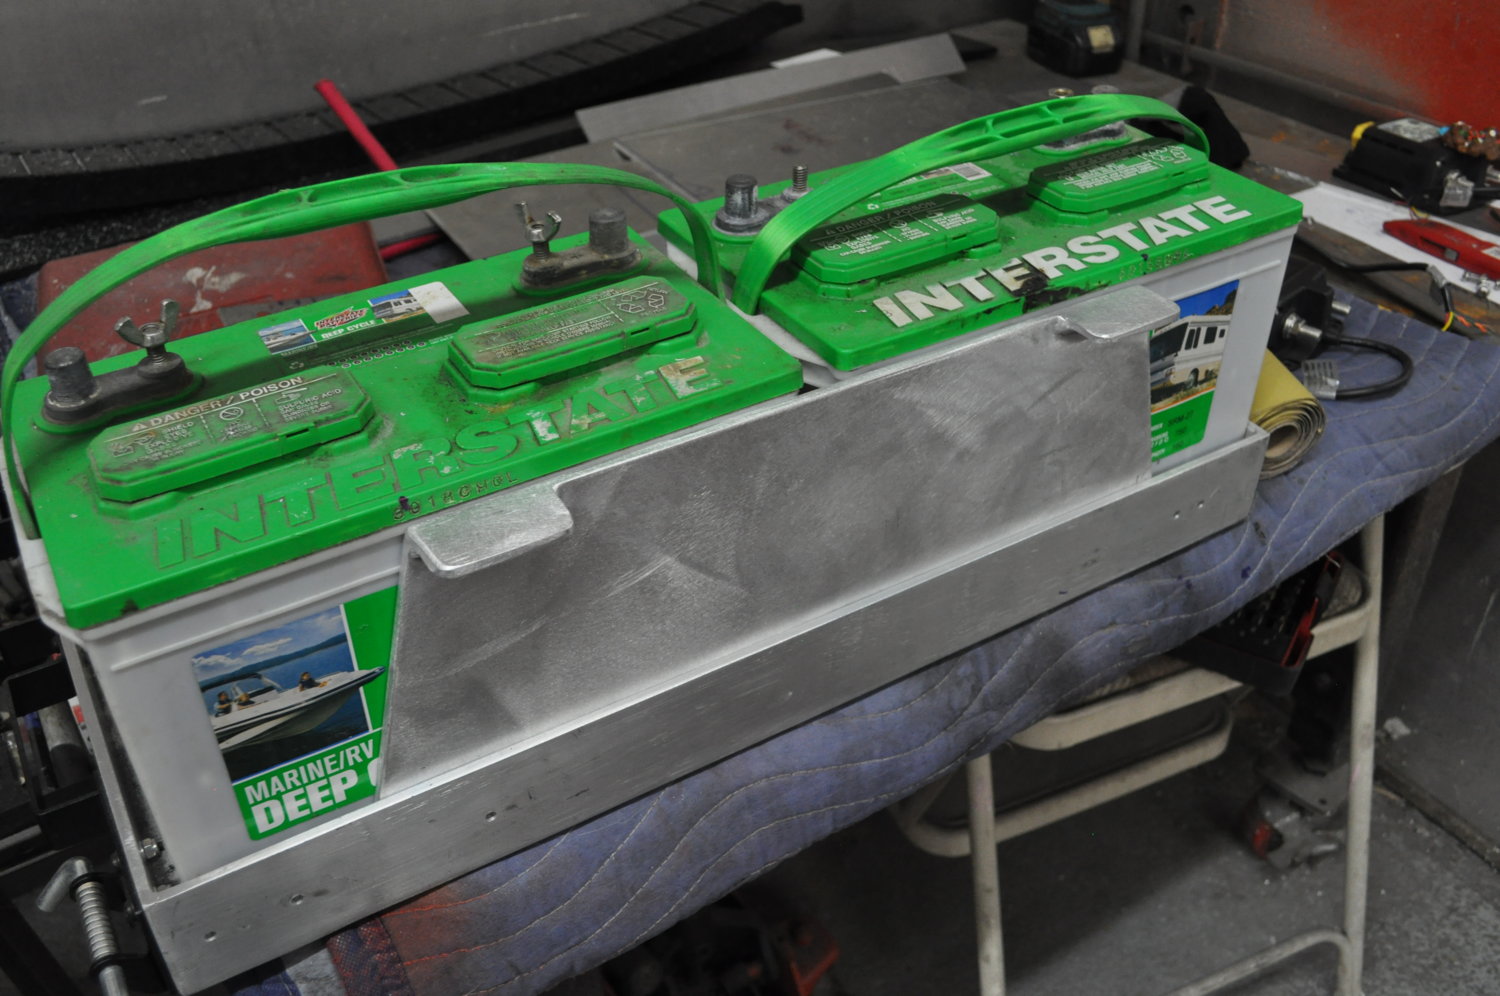
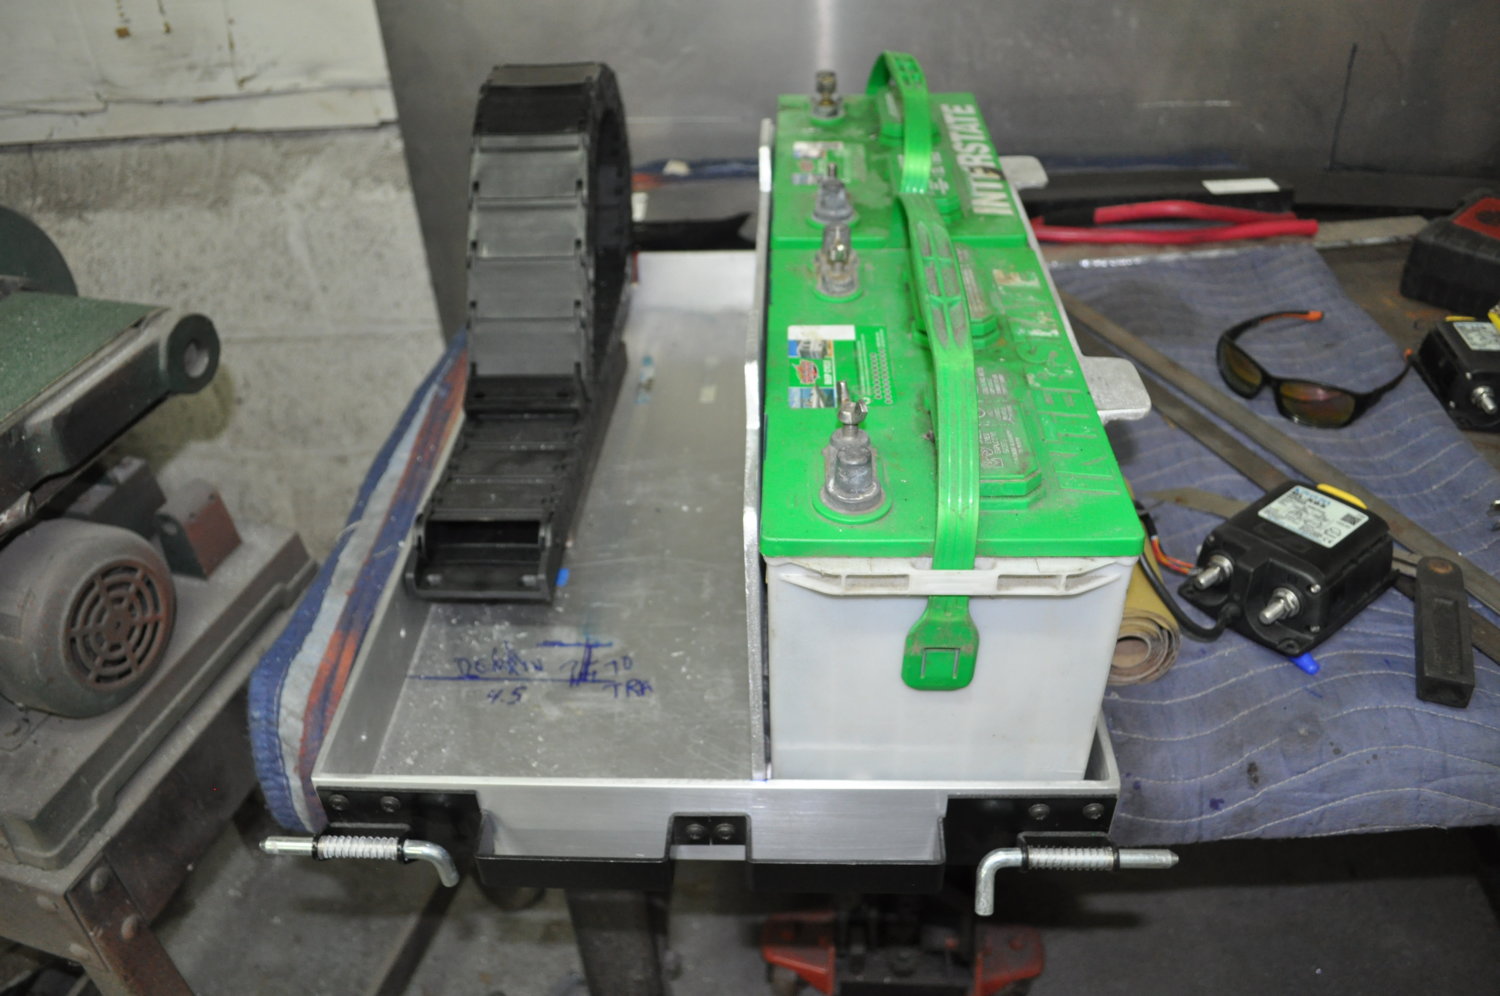
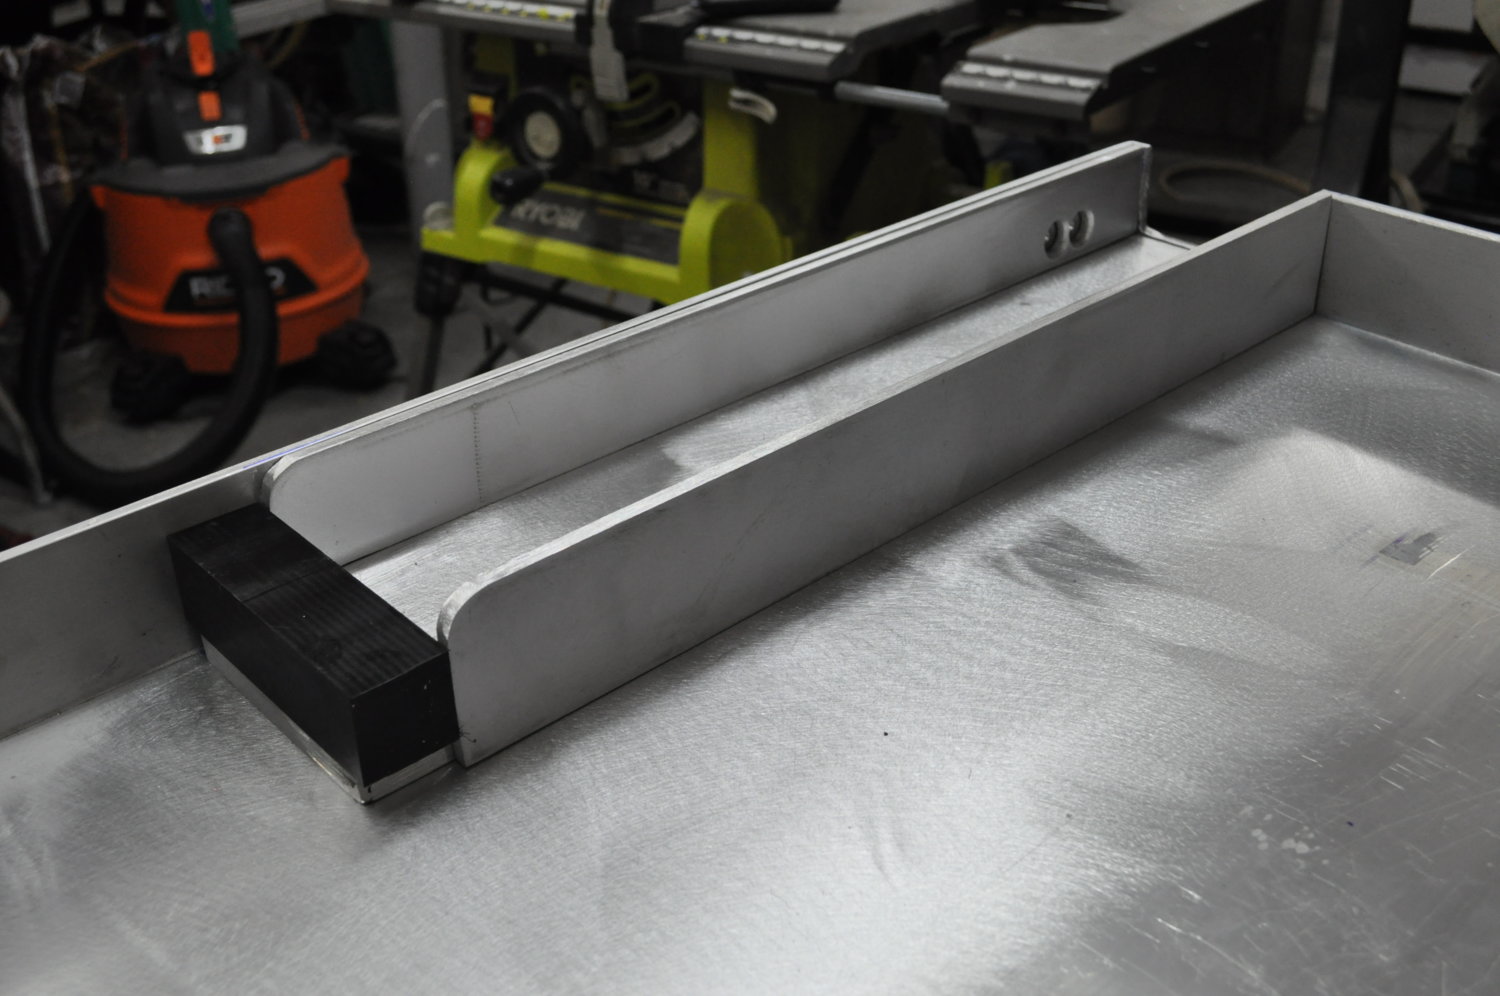
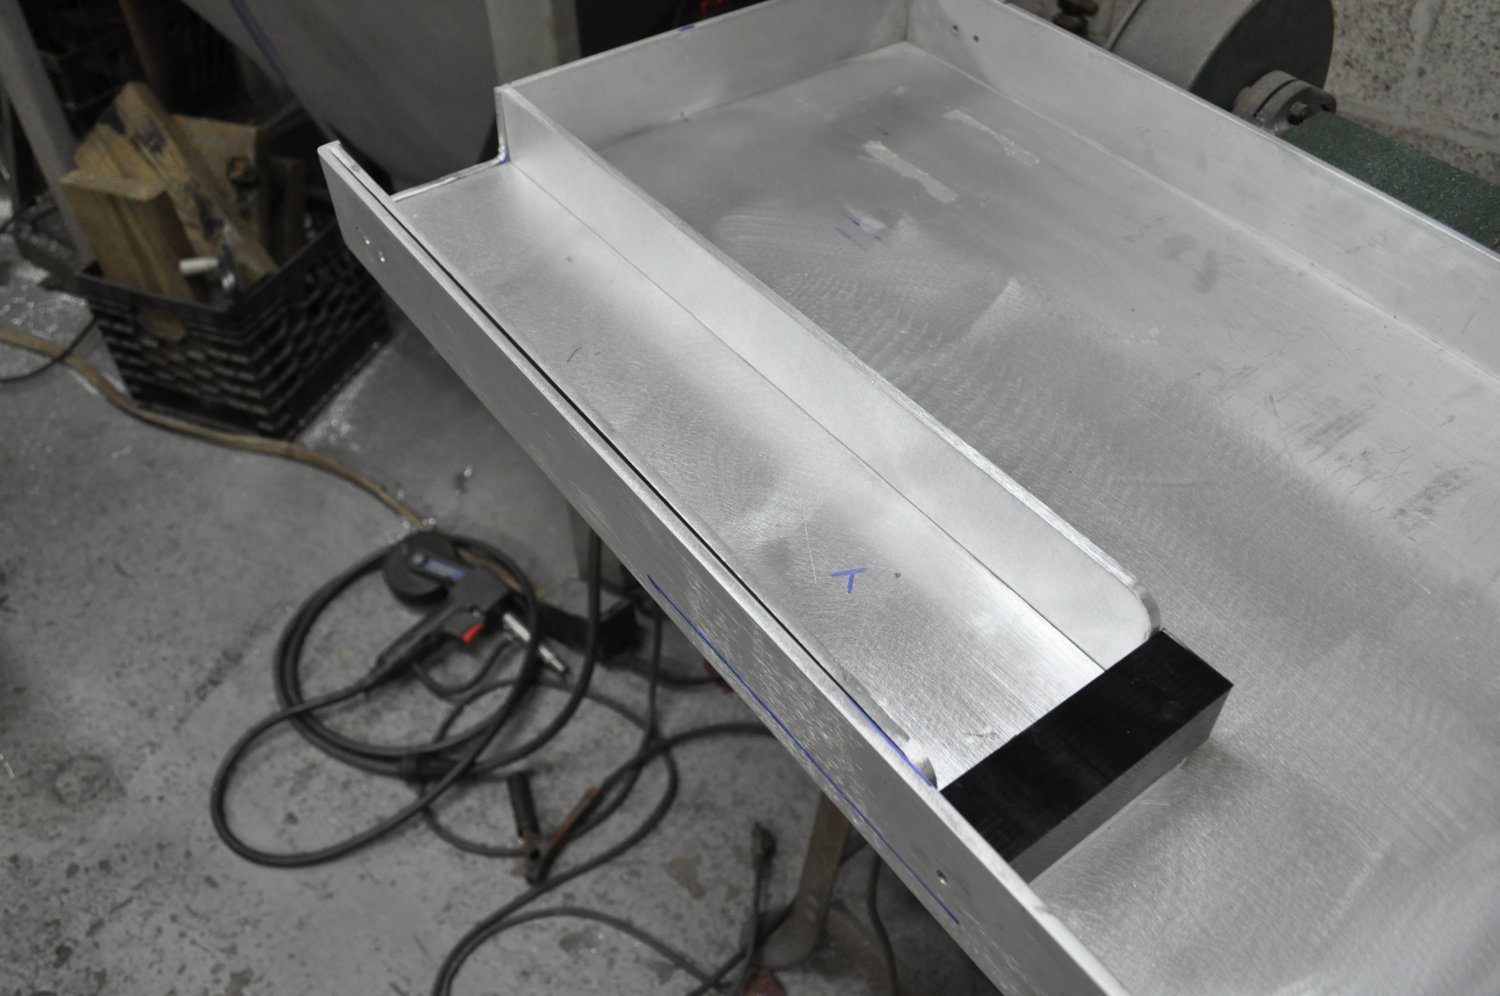
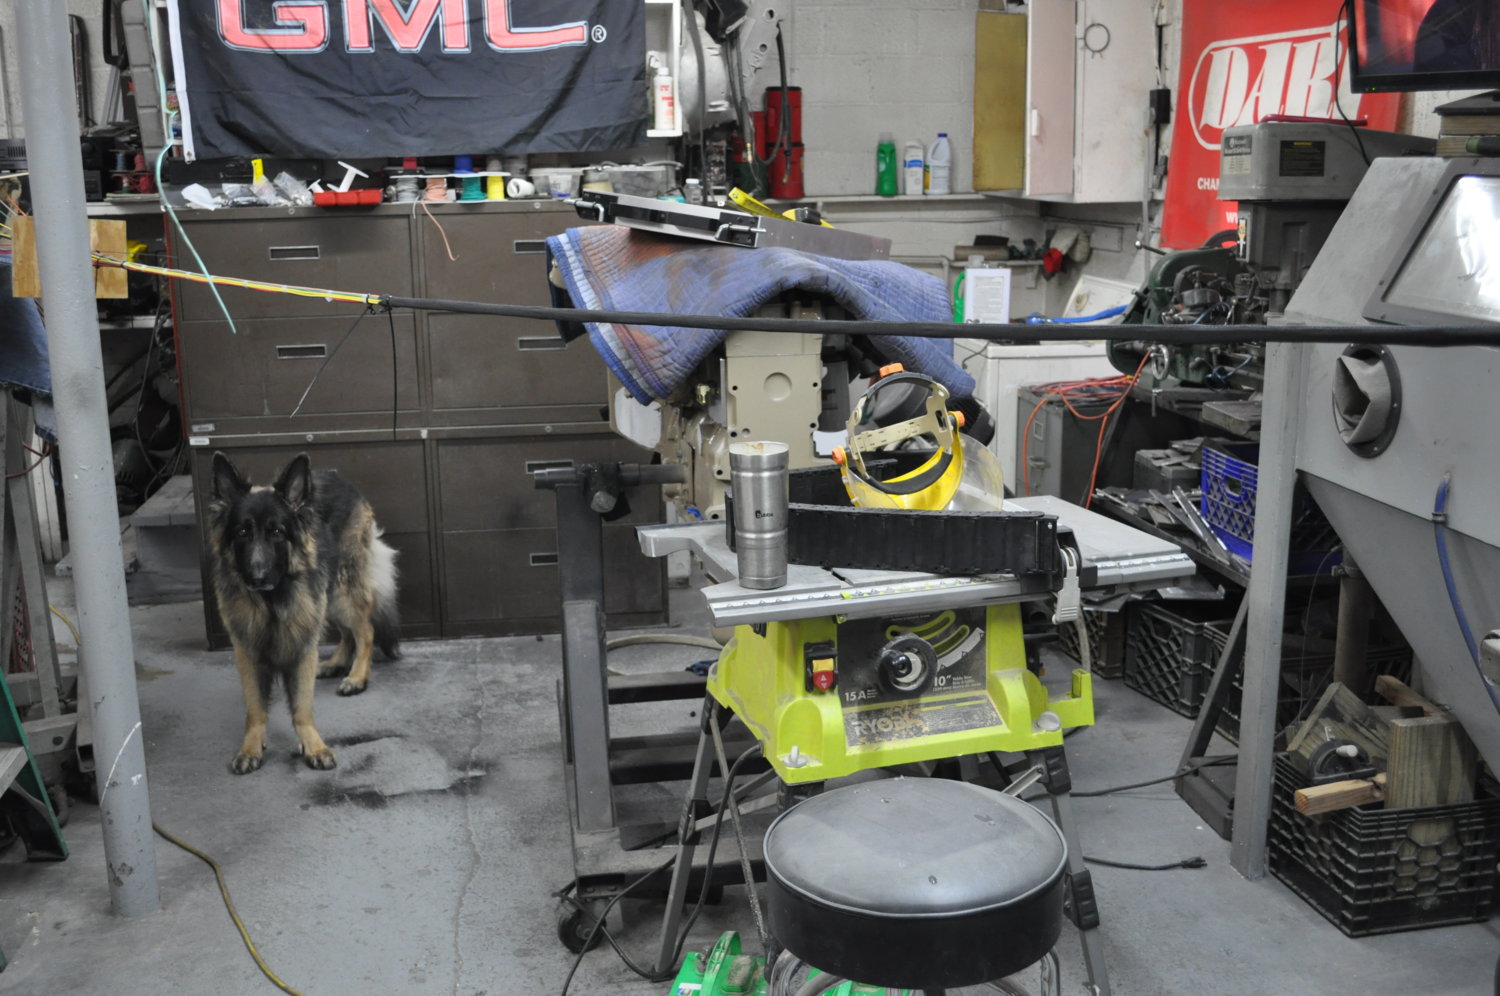
brought the tablesaw home to start the alumfab on the tray... farted around today trying to workout the mounting wall/holdown setup... think i have a plan......

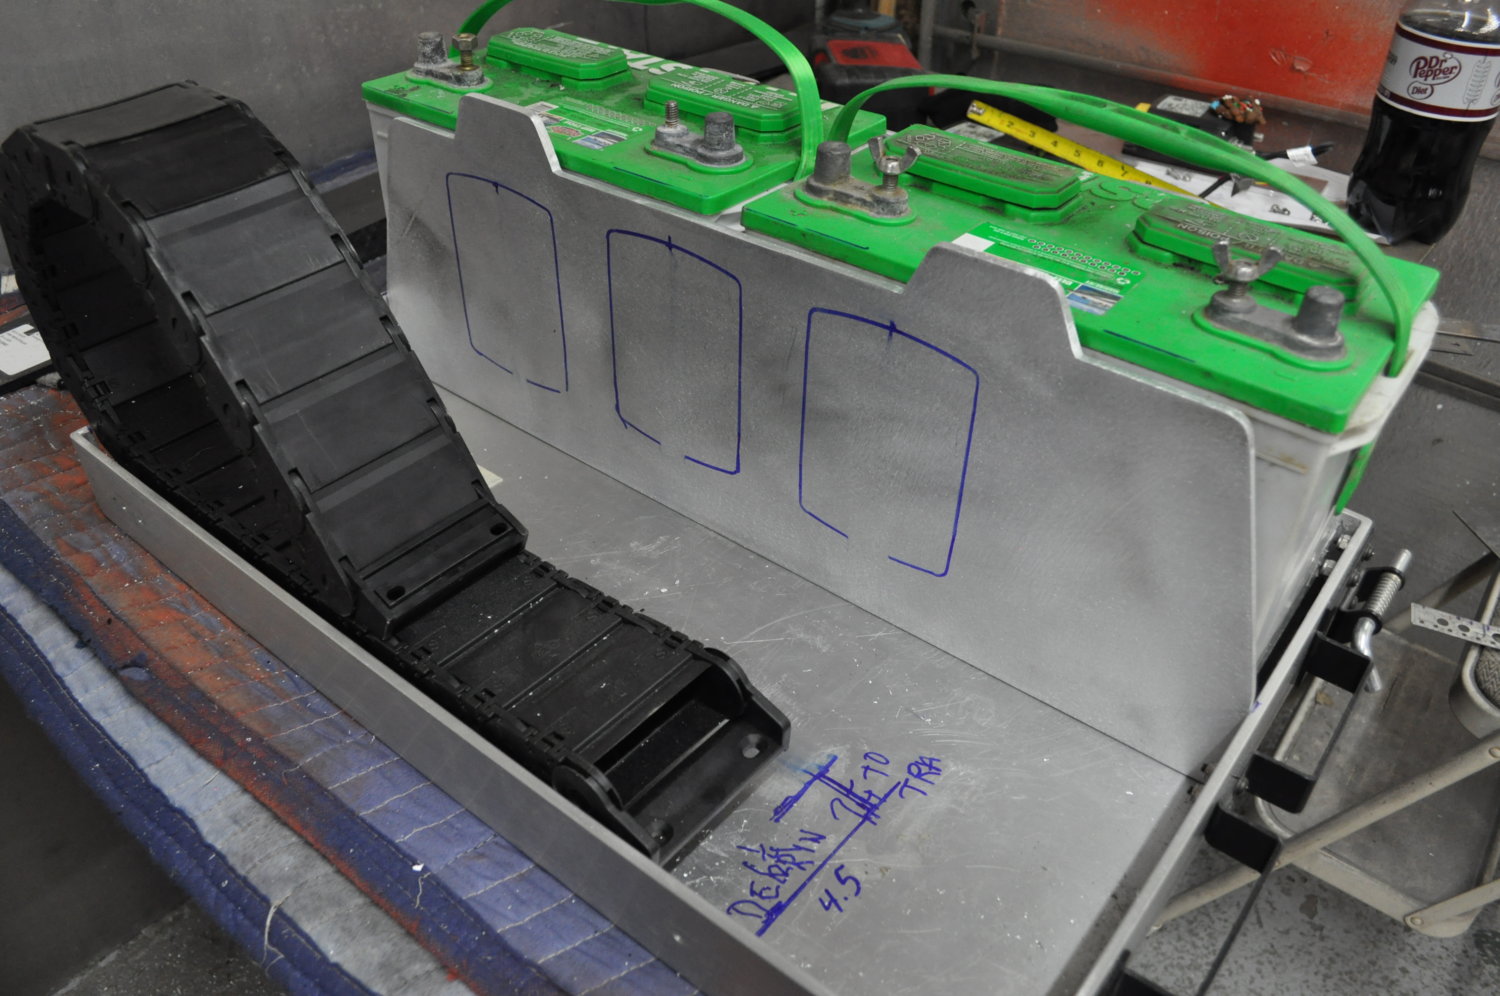
If you're gonna be using that cable-track do you need the U-channel also?
sometimes things work for future chit, and sometimes they don't...  my dumbarse didn't realize i actually should have the bats on the ds, as opposed to ps, and ran the full custom light harness down the bed to the frame on the PS... now, I actually have to completely tear that harness down and redo it down the ds to go directly into the bat box at some point.....
The starter is on the driver's side on the Cummins. You going have to cross over sometime during the build.
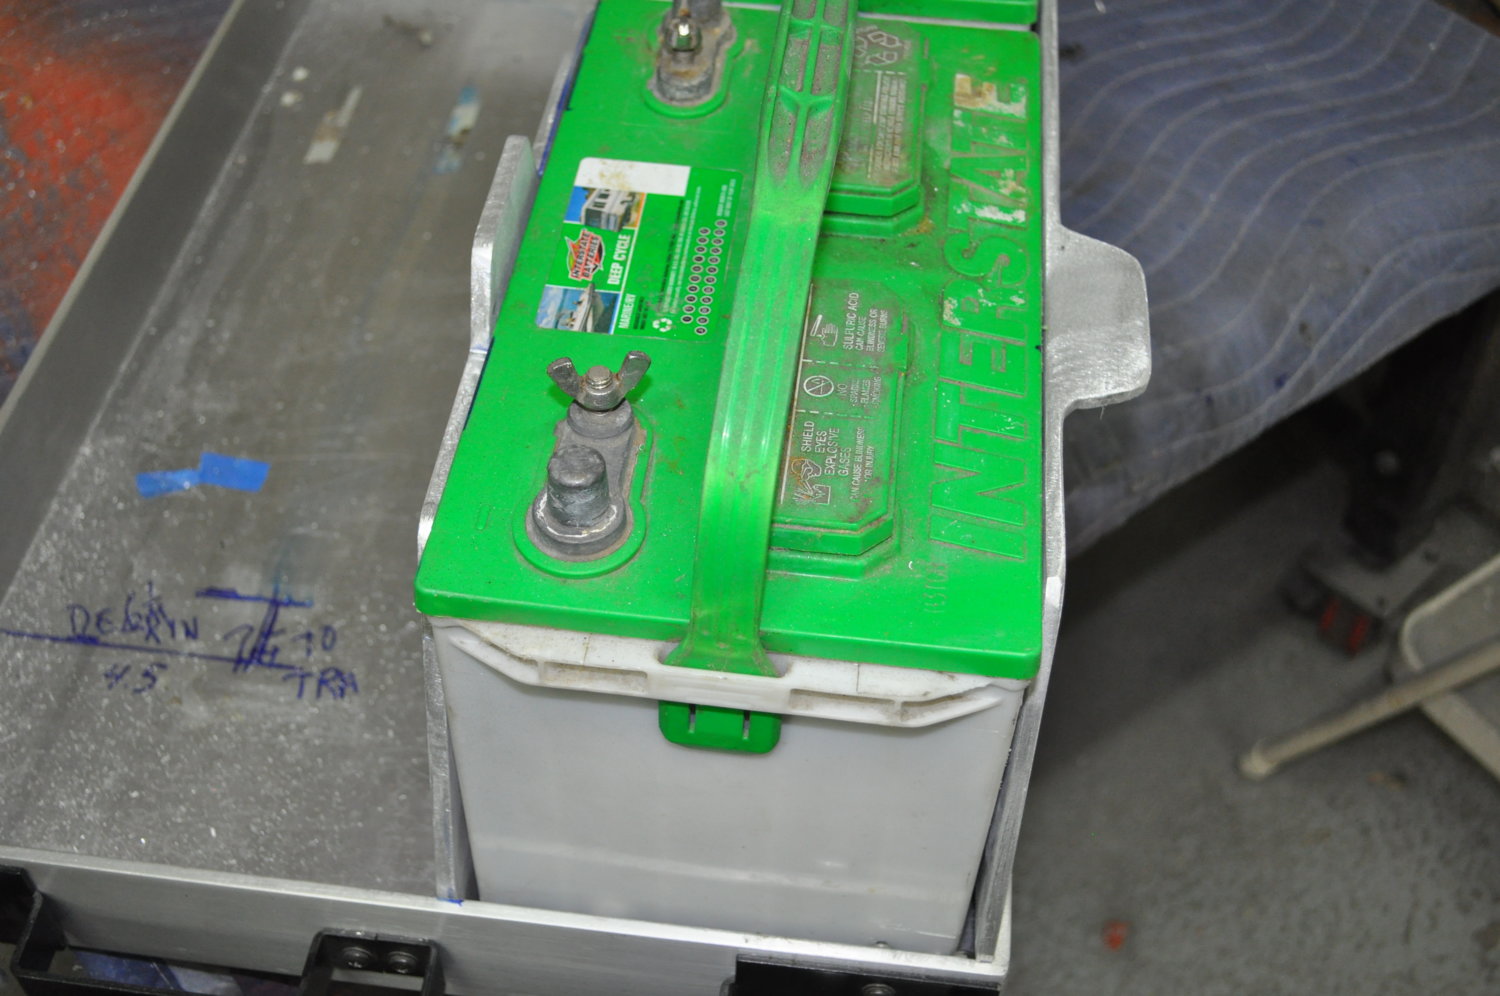
 after a couple hrs of cleaning alum chaffe ....
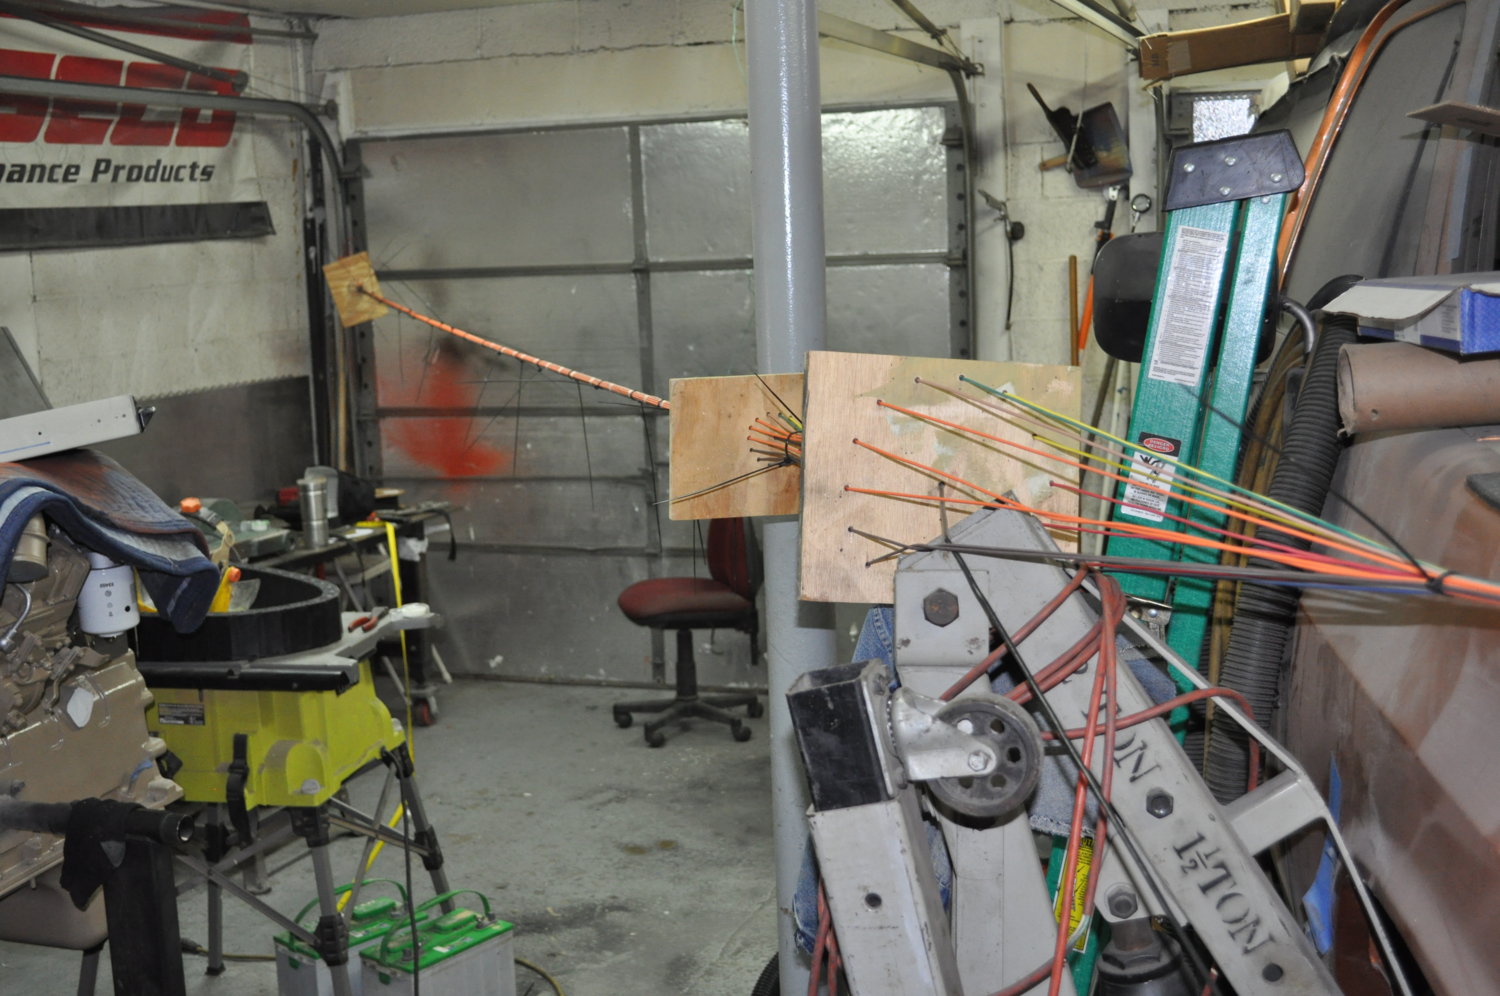
 i ended up running an extra pair of 14's to make them equal.... fine by me... nice to have them in there for any unforeseen project down the road...