CK5
Register an account today to become a member! Once signed in, you'll be able to participate on this site by adding your own topics and posts, as well as connect with other members.

Ryoken's 89 Crew Cab Tubebed build... aka Mutt....

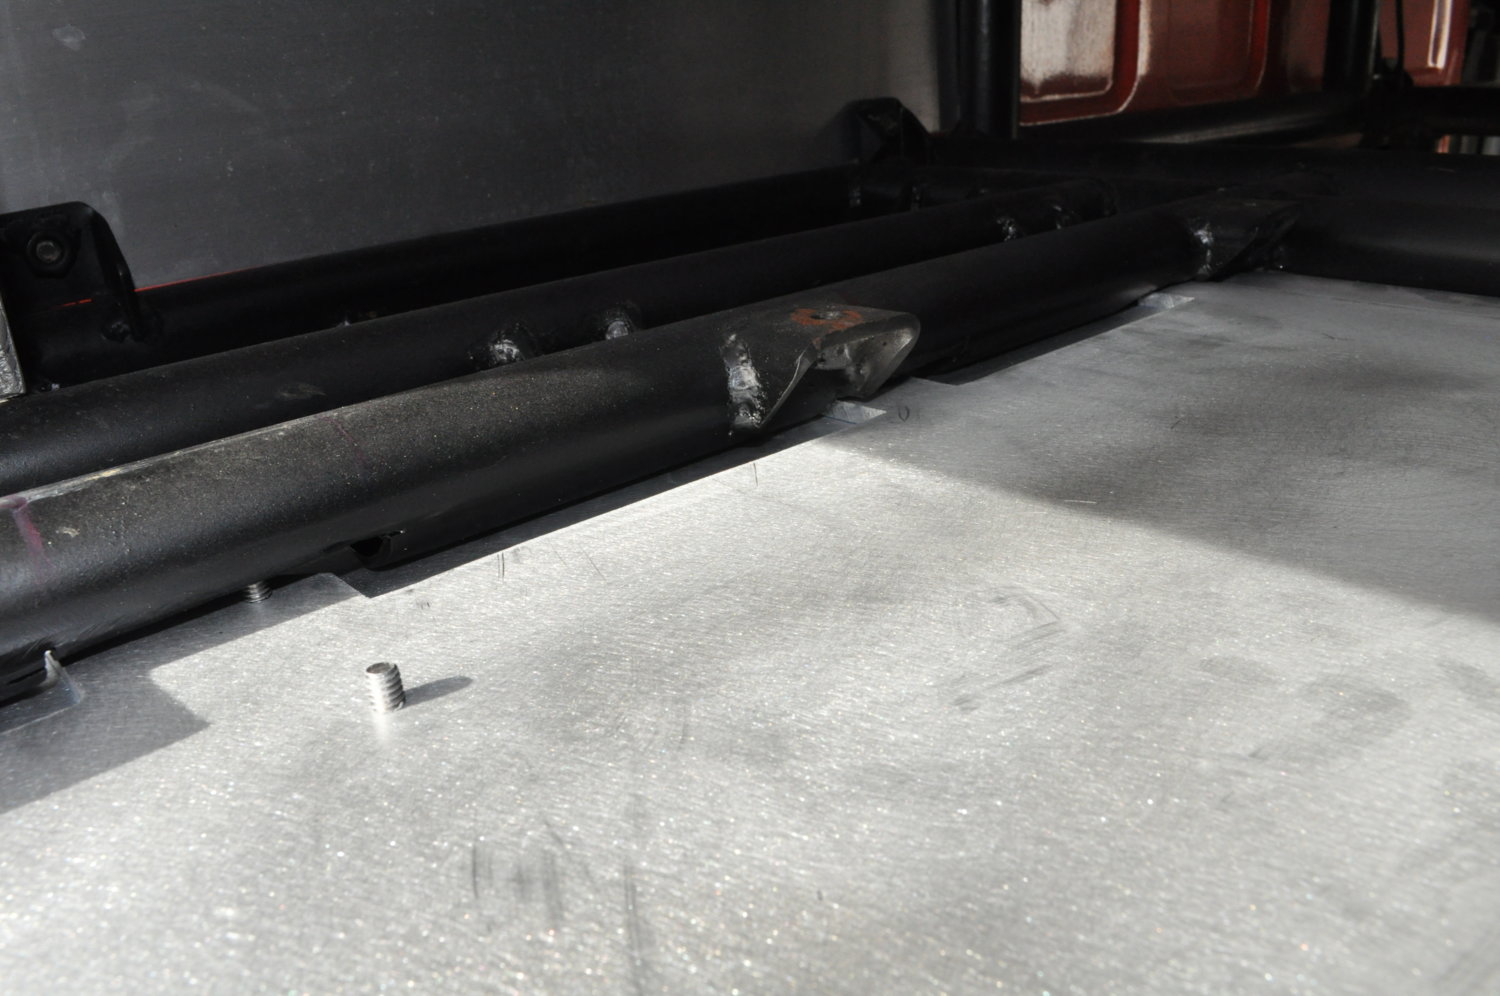
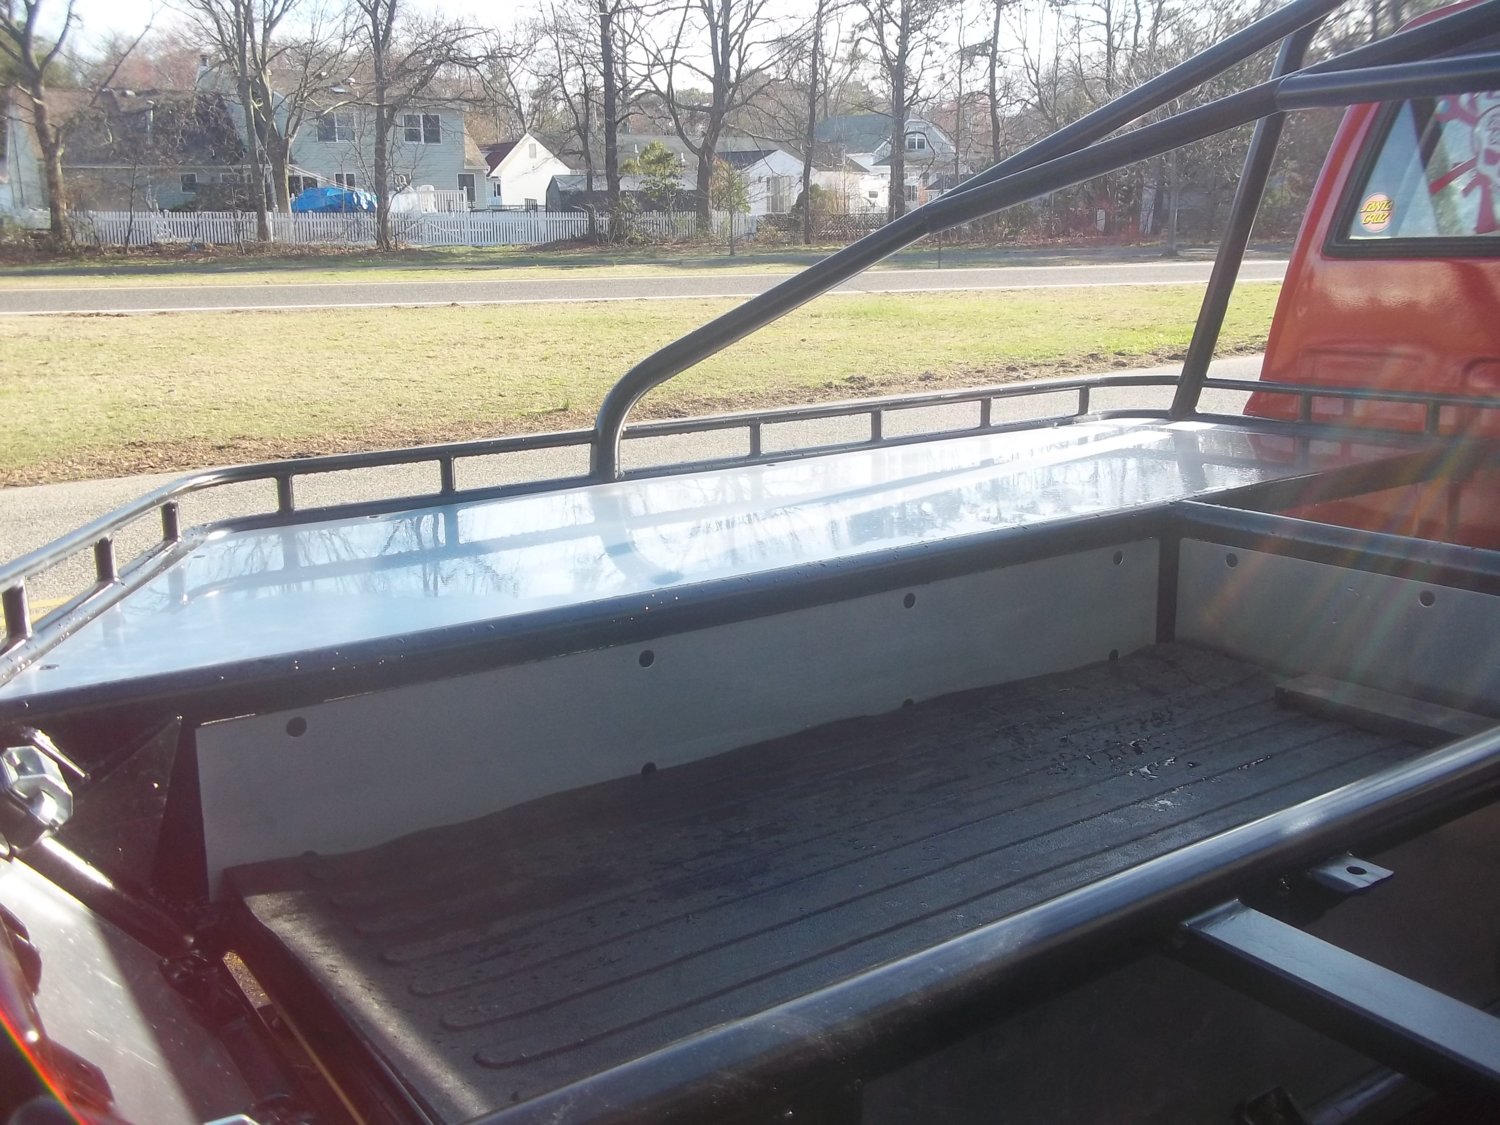
Looks very nice! What is that you laid down under the batteries?


thanks mang.... :)

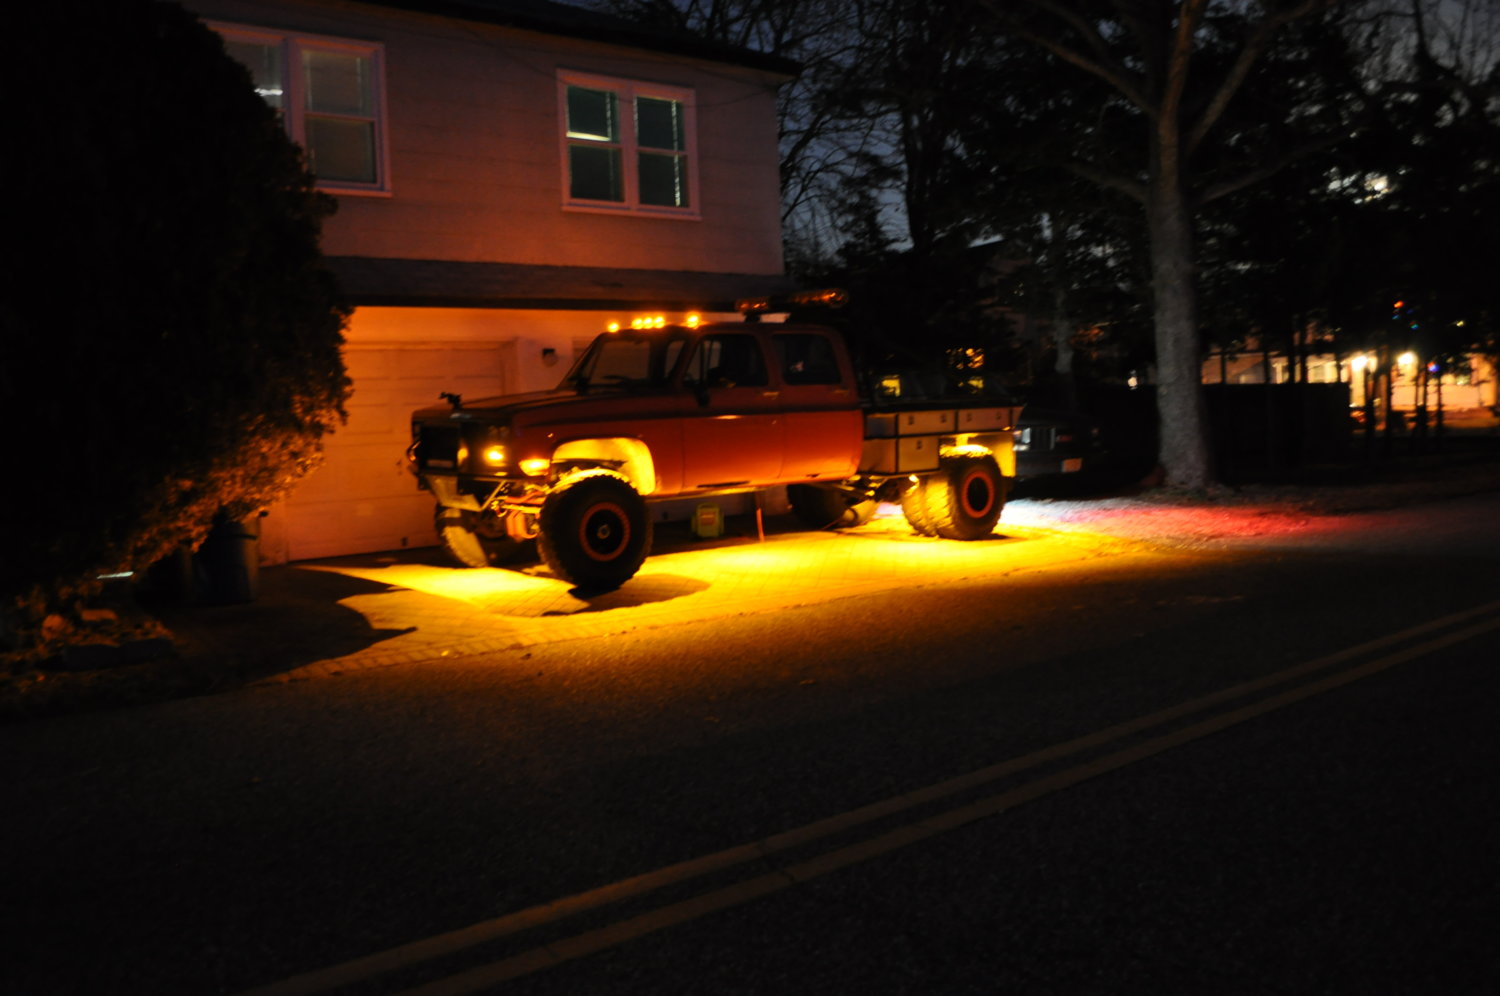
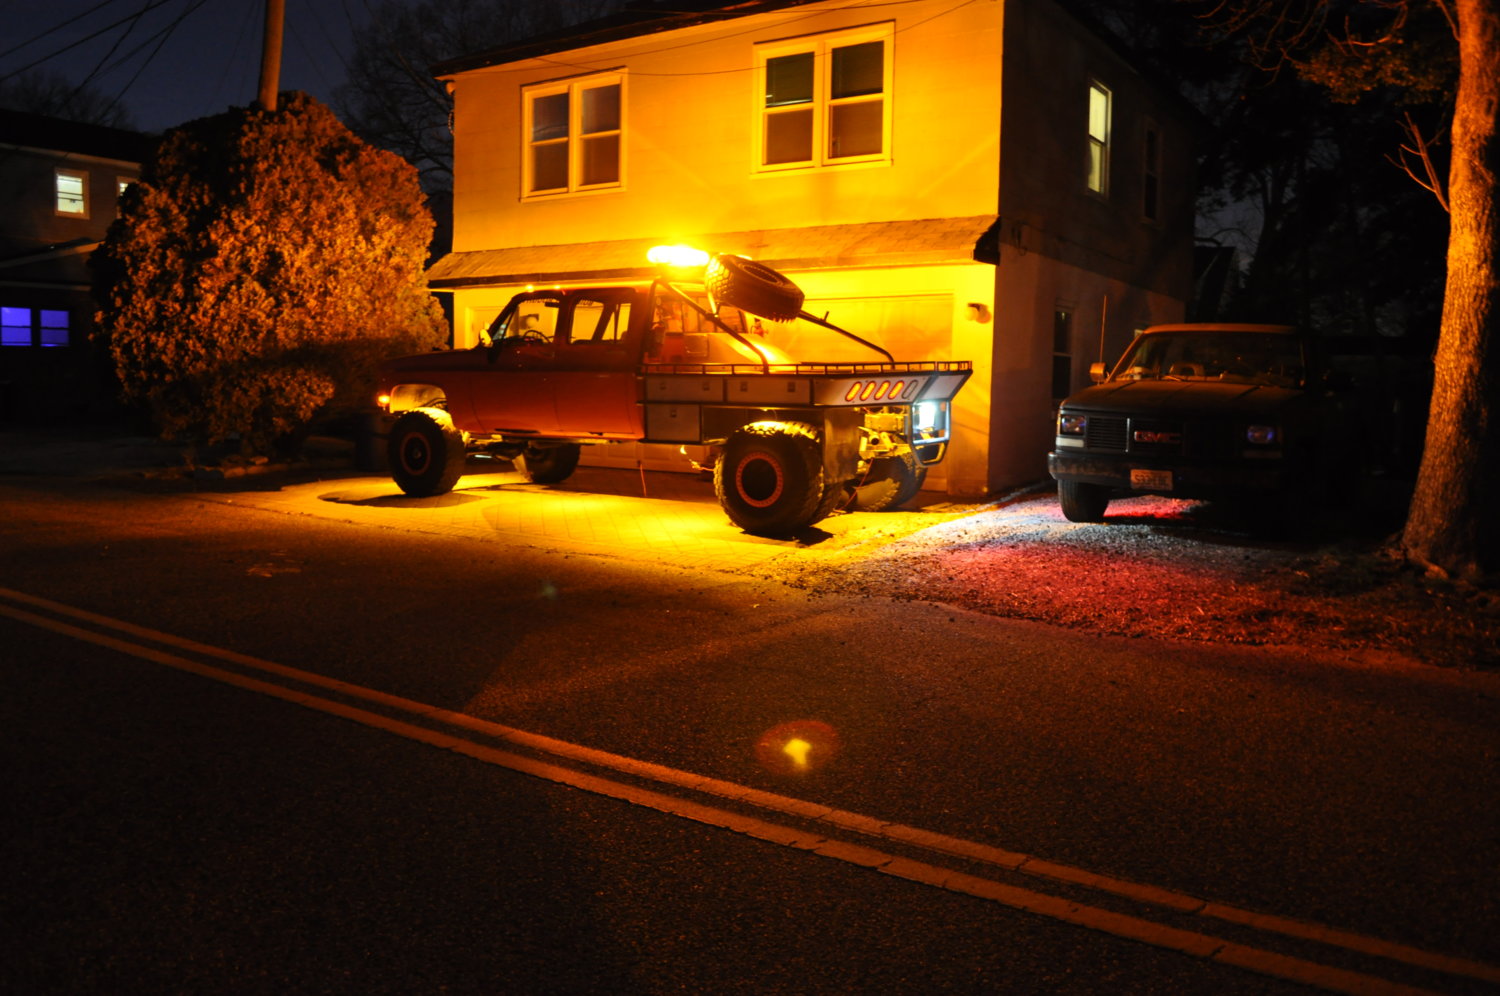
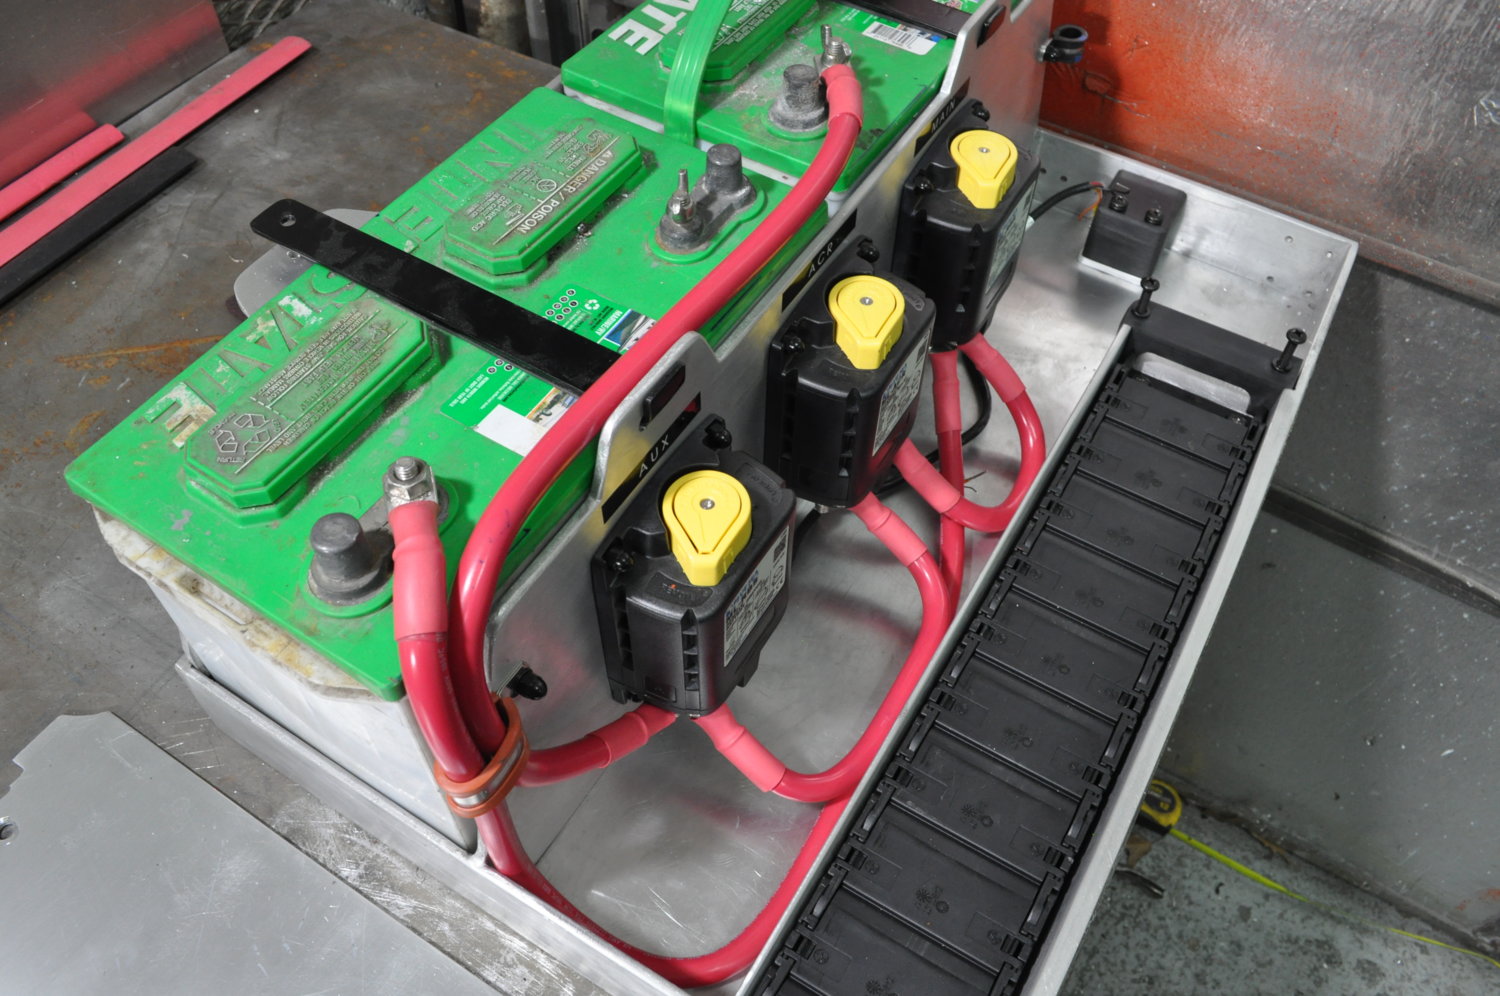
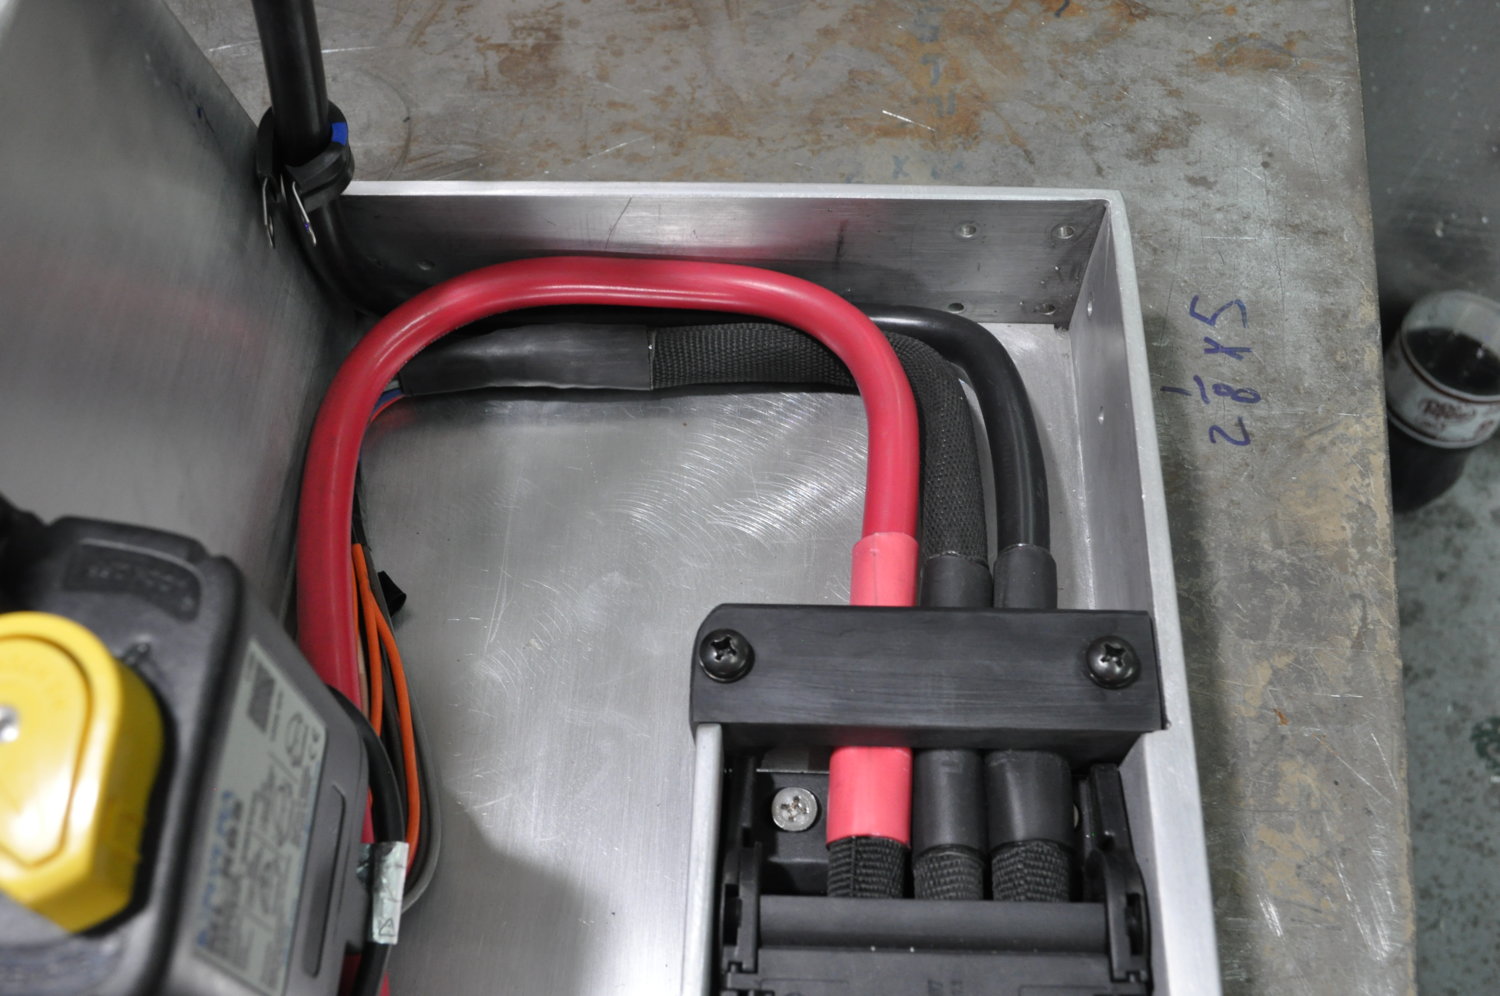
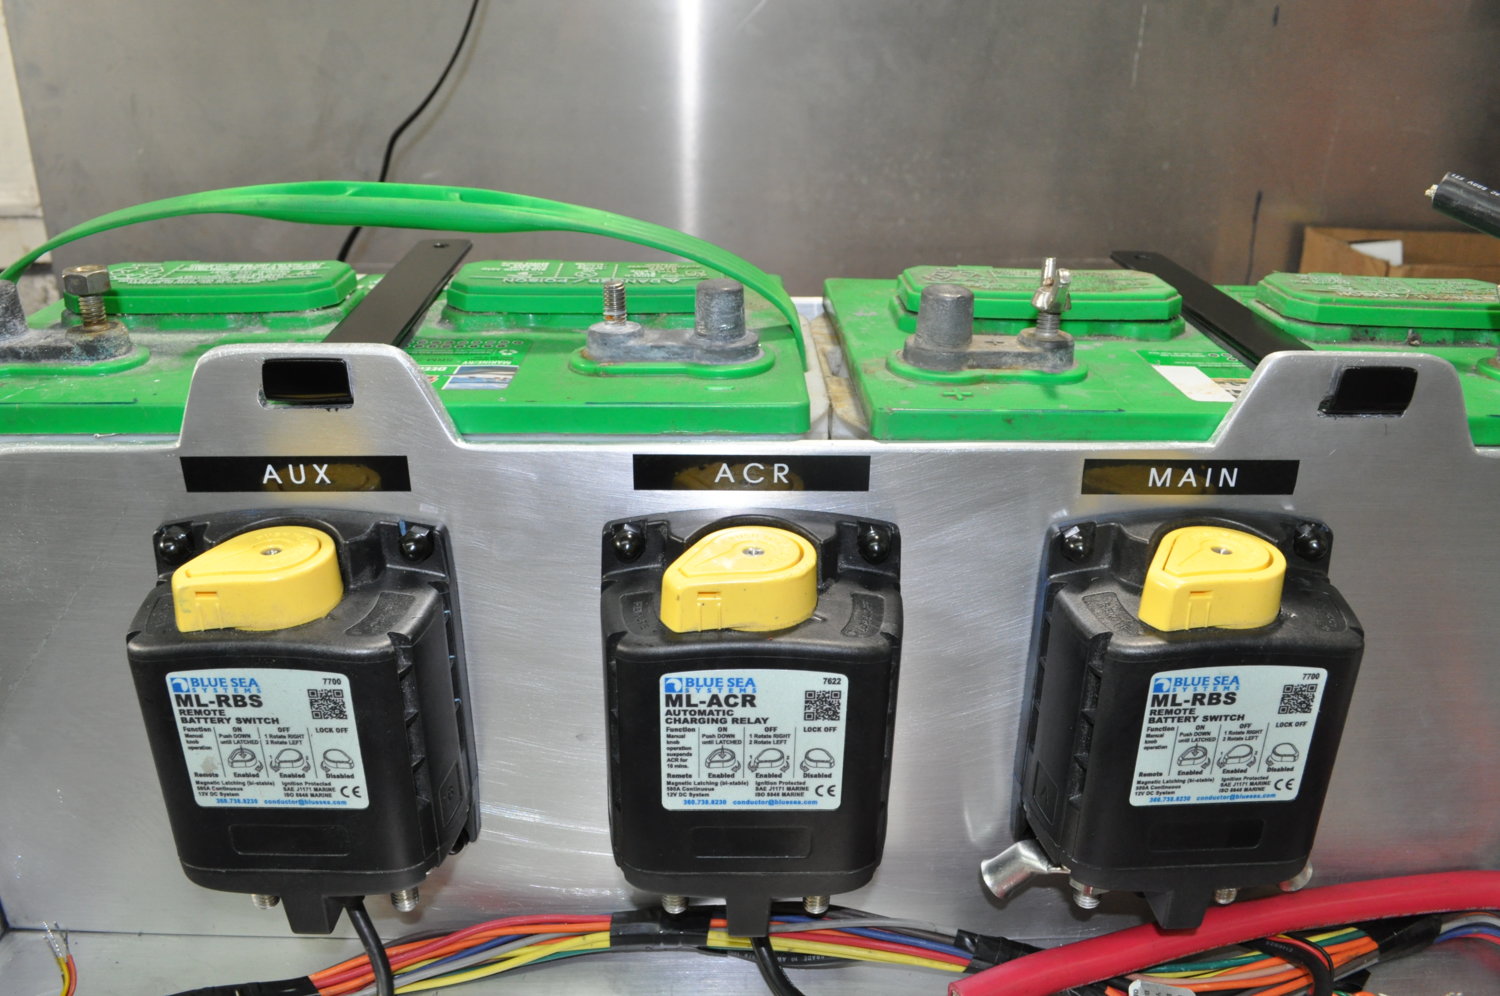
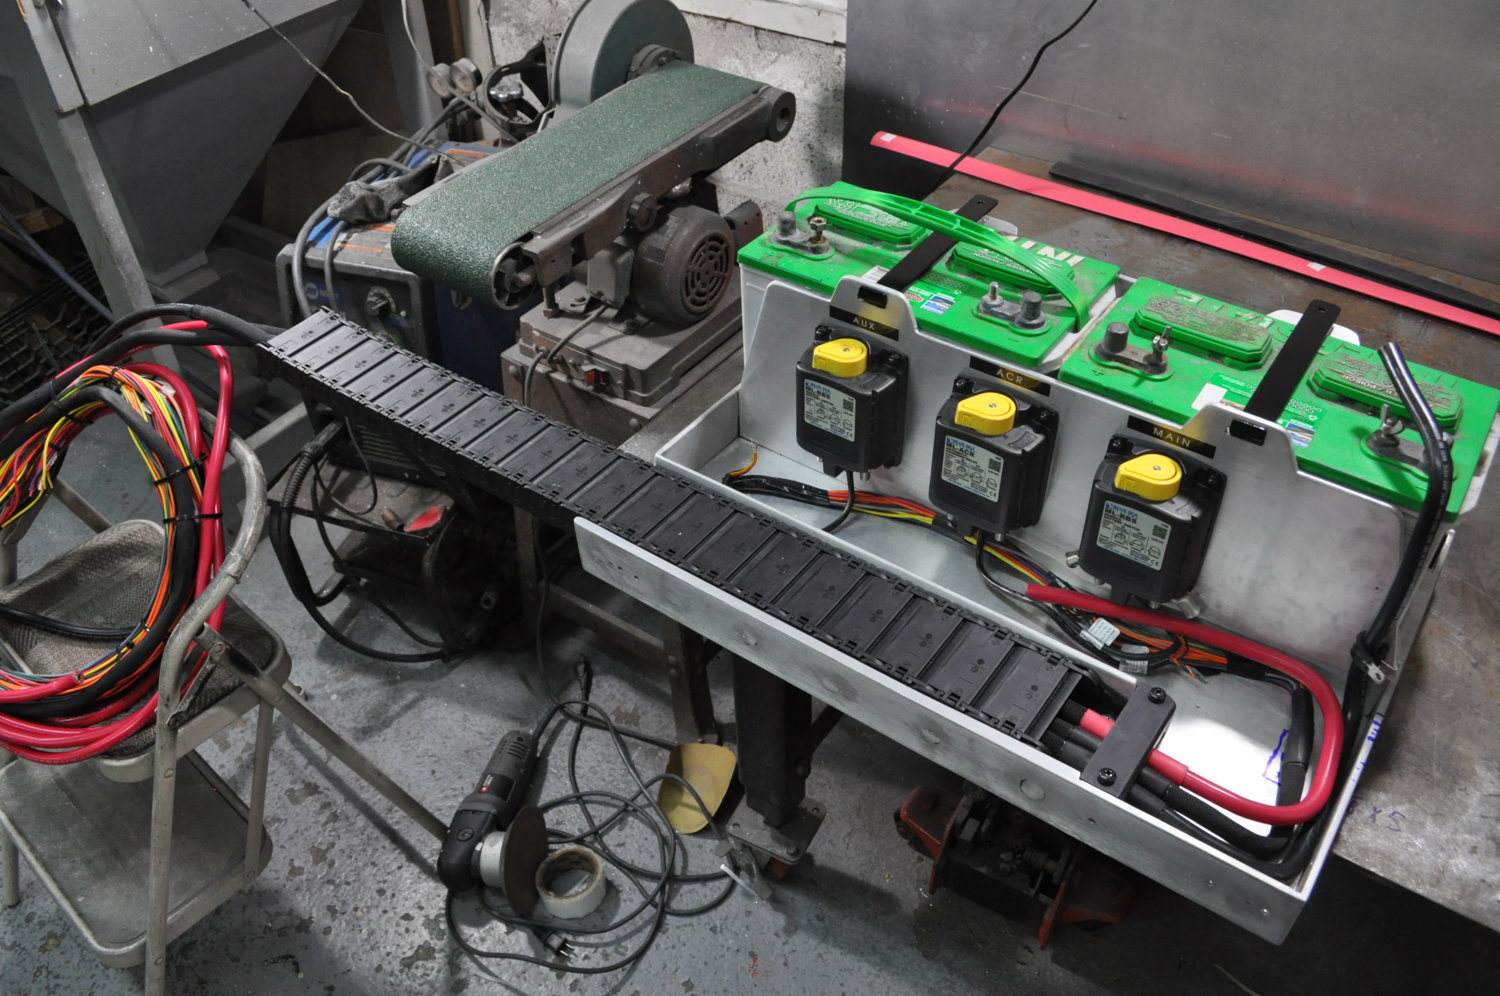
it's just 3/8" rubber bed liner.... same stuff that's in the "coffin".......


full


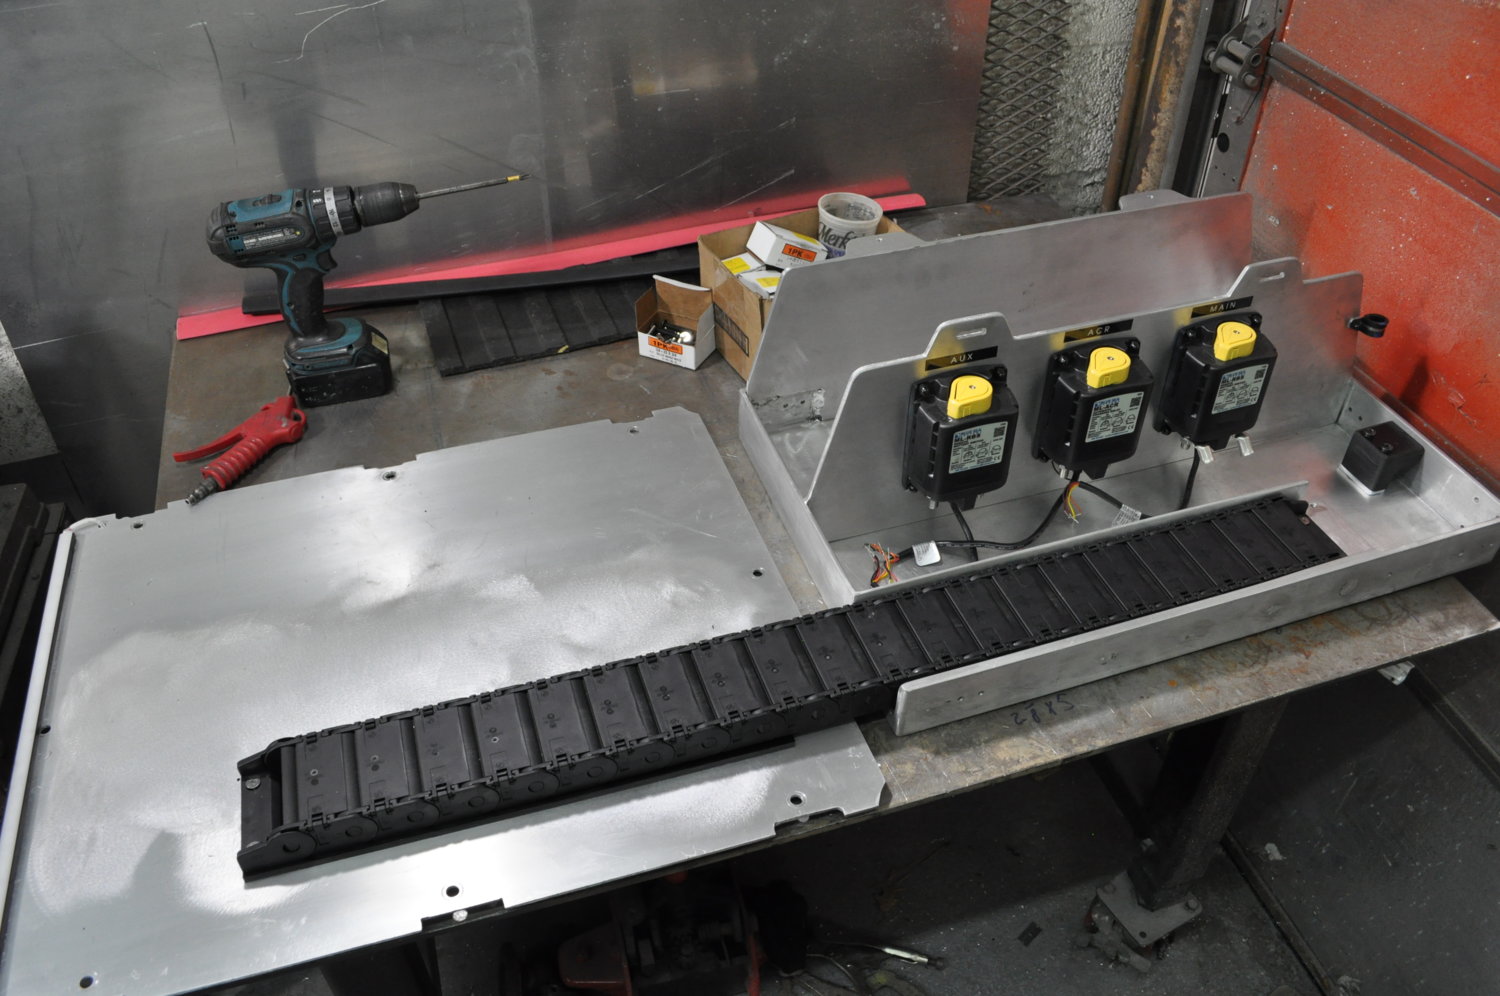
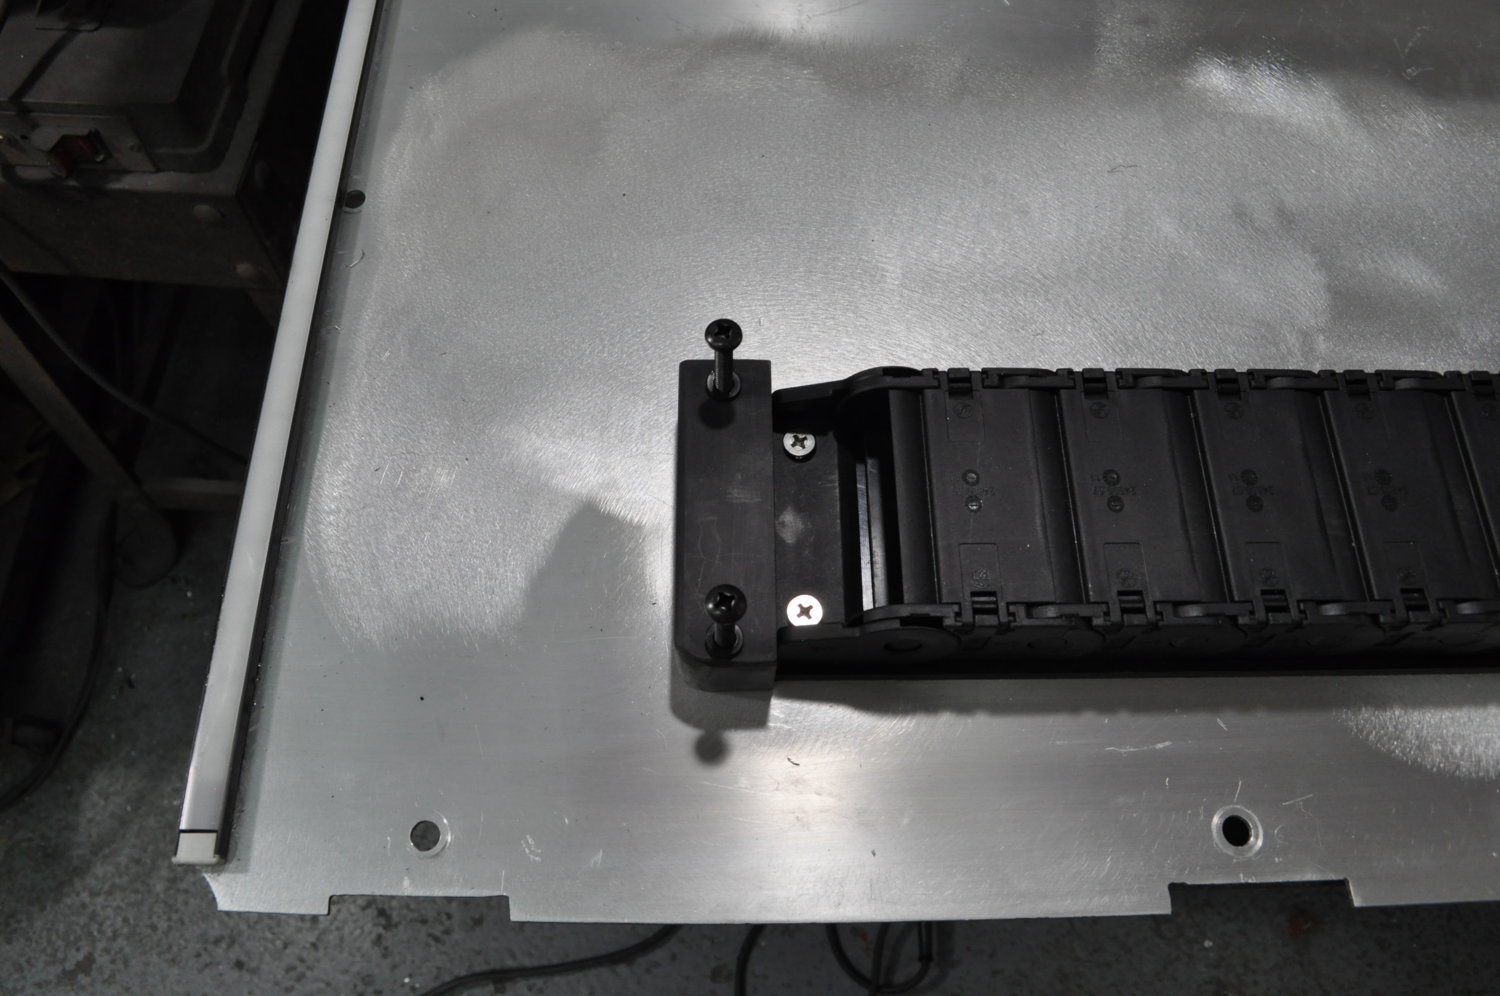
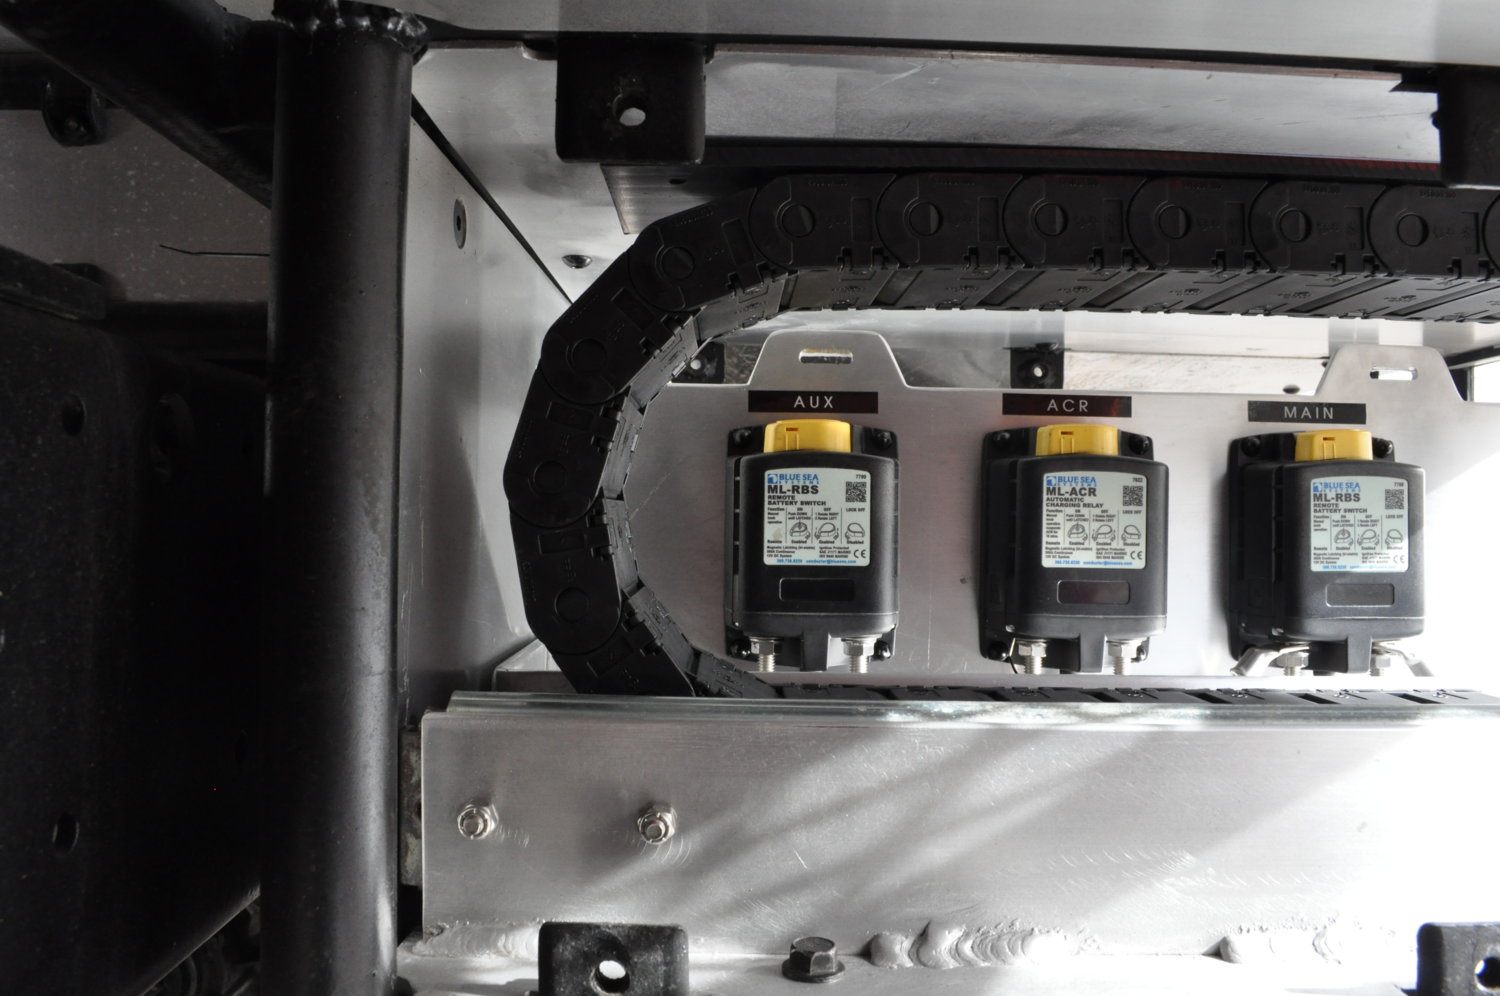
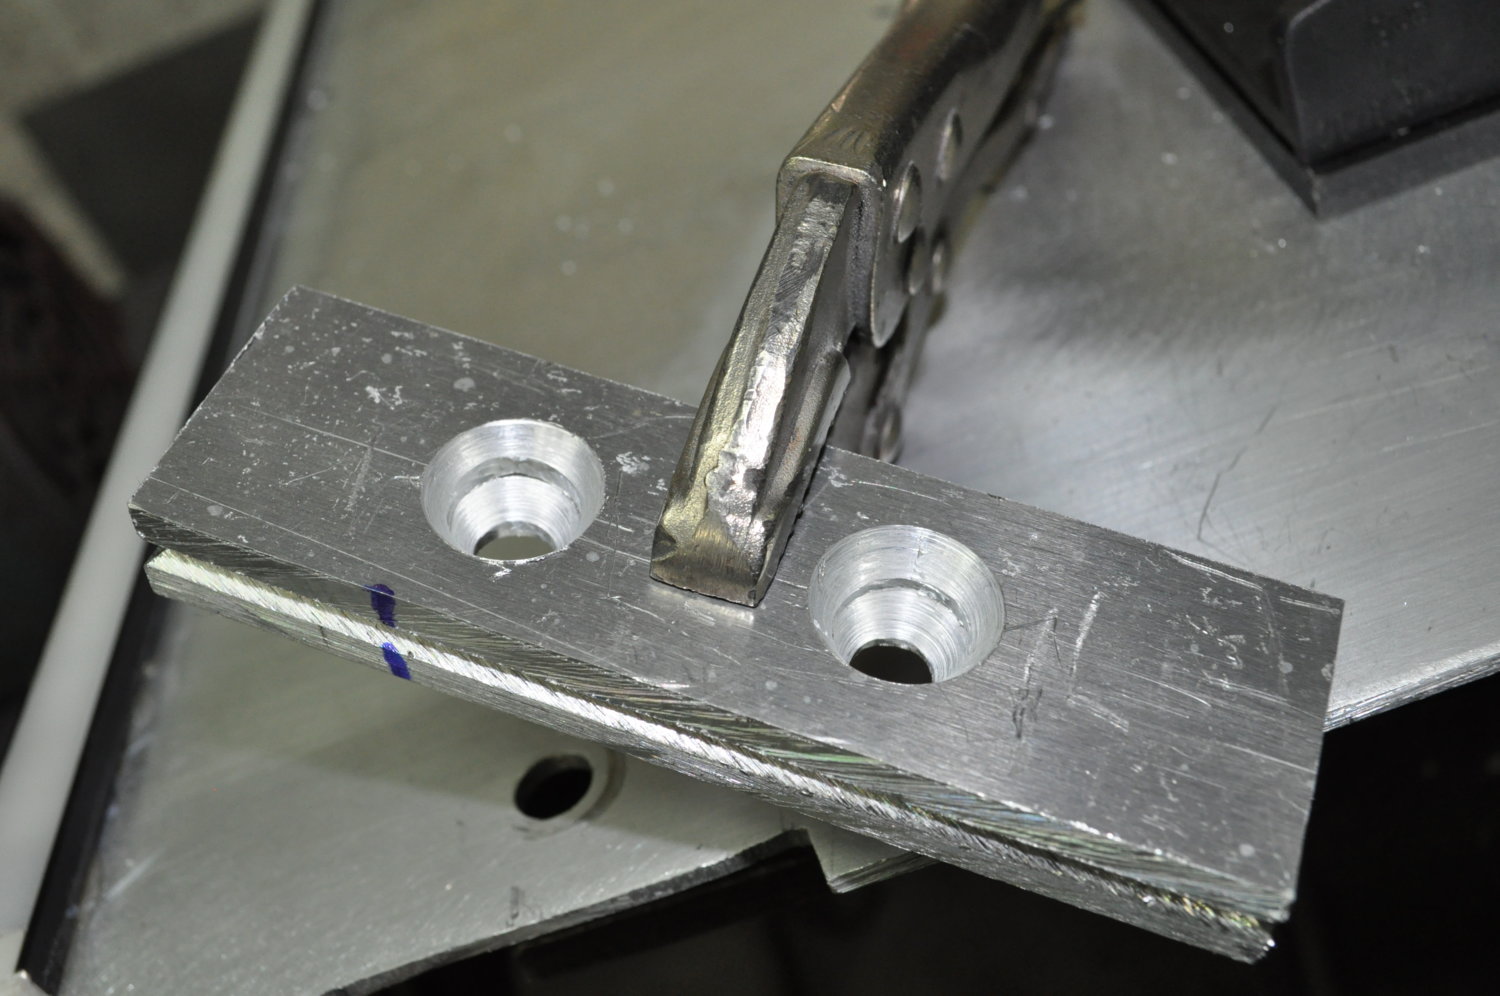
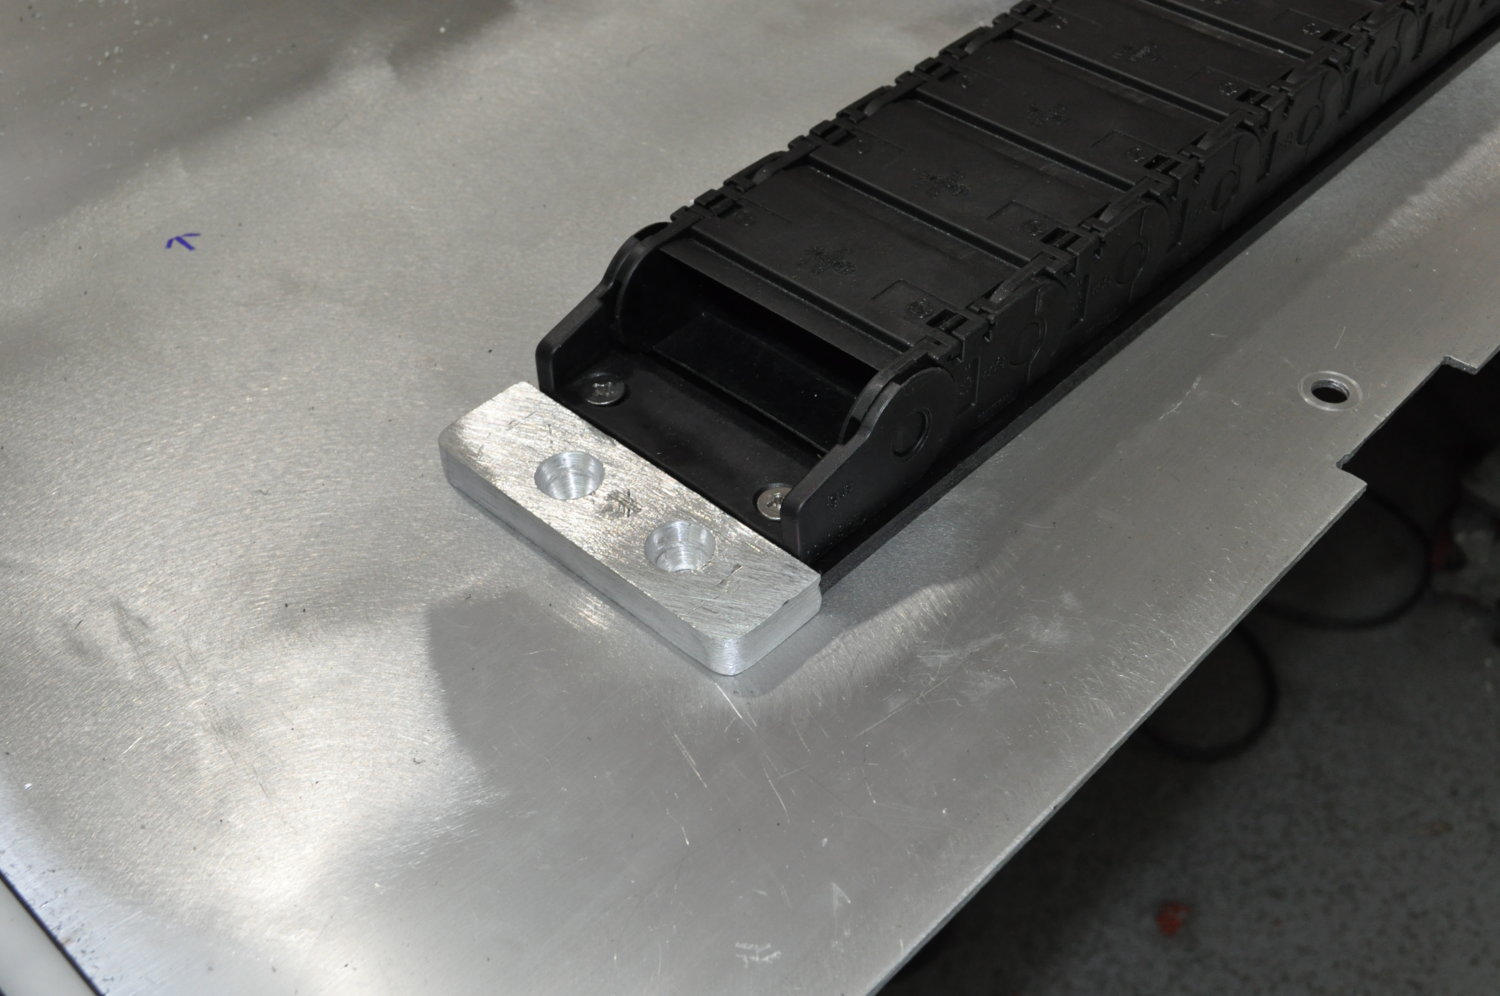
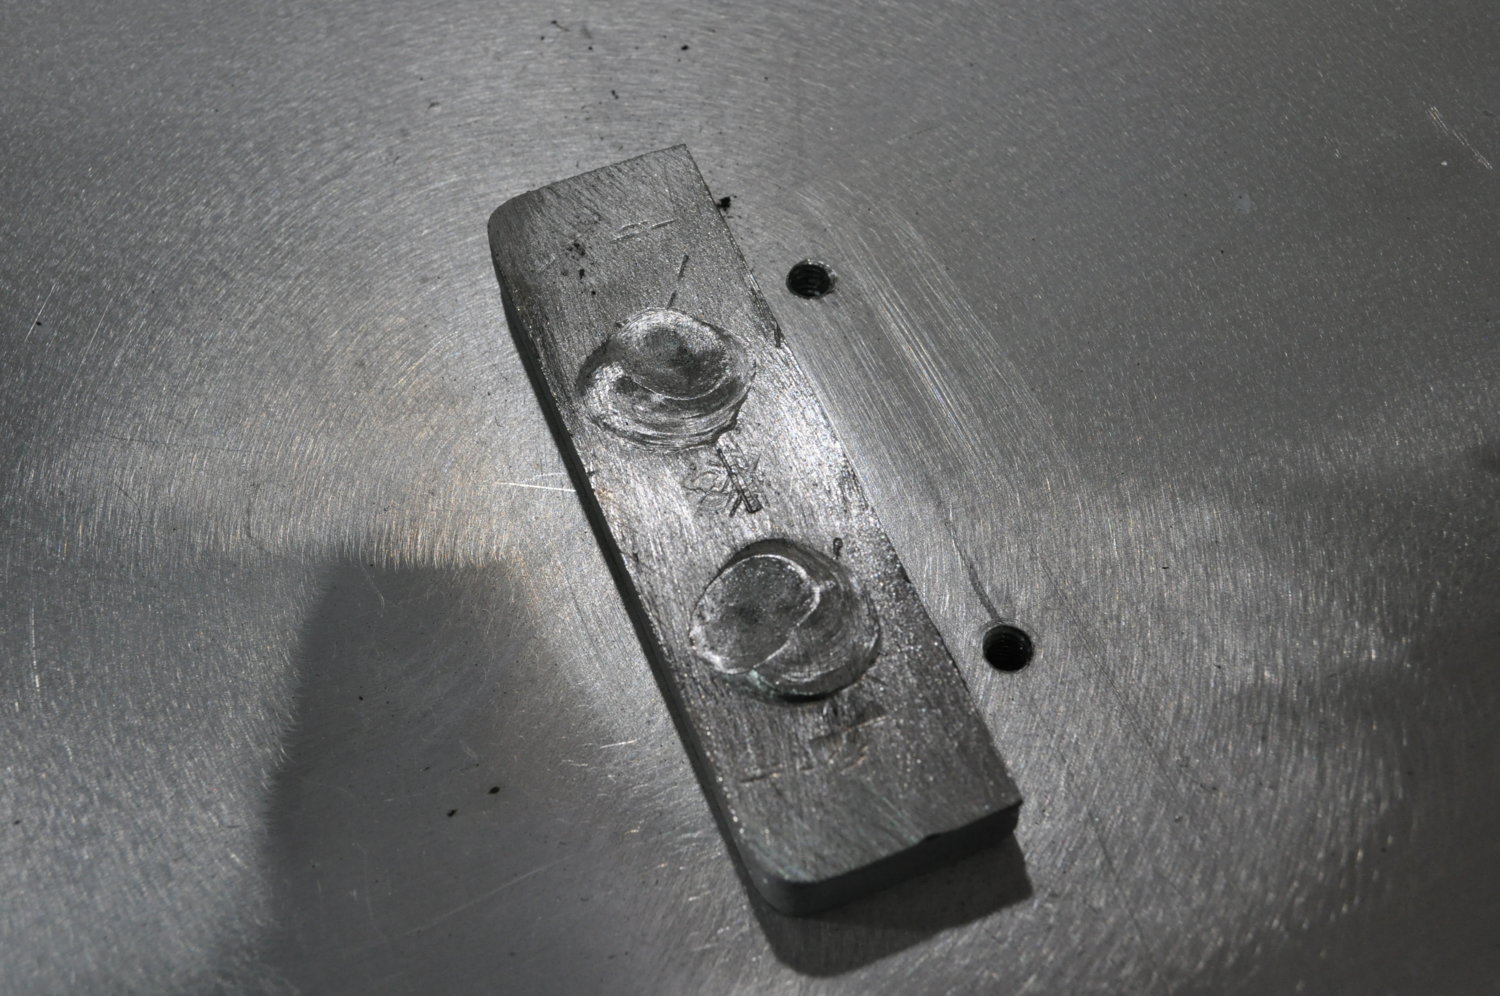
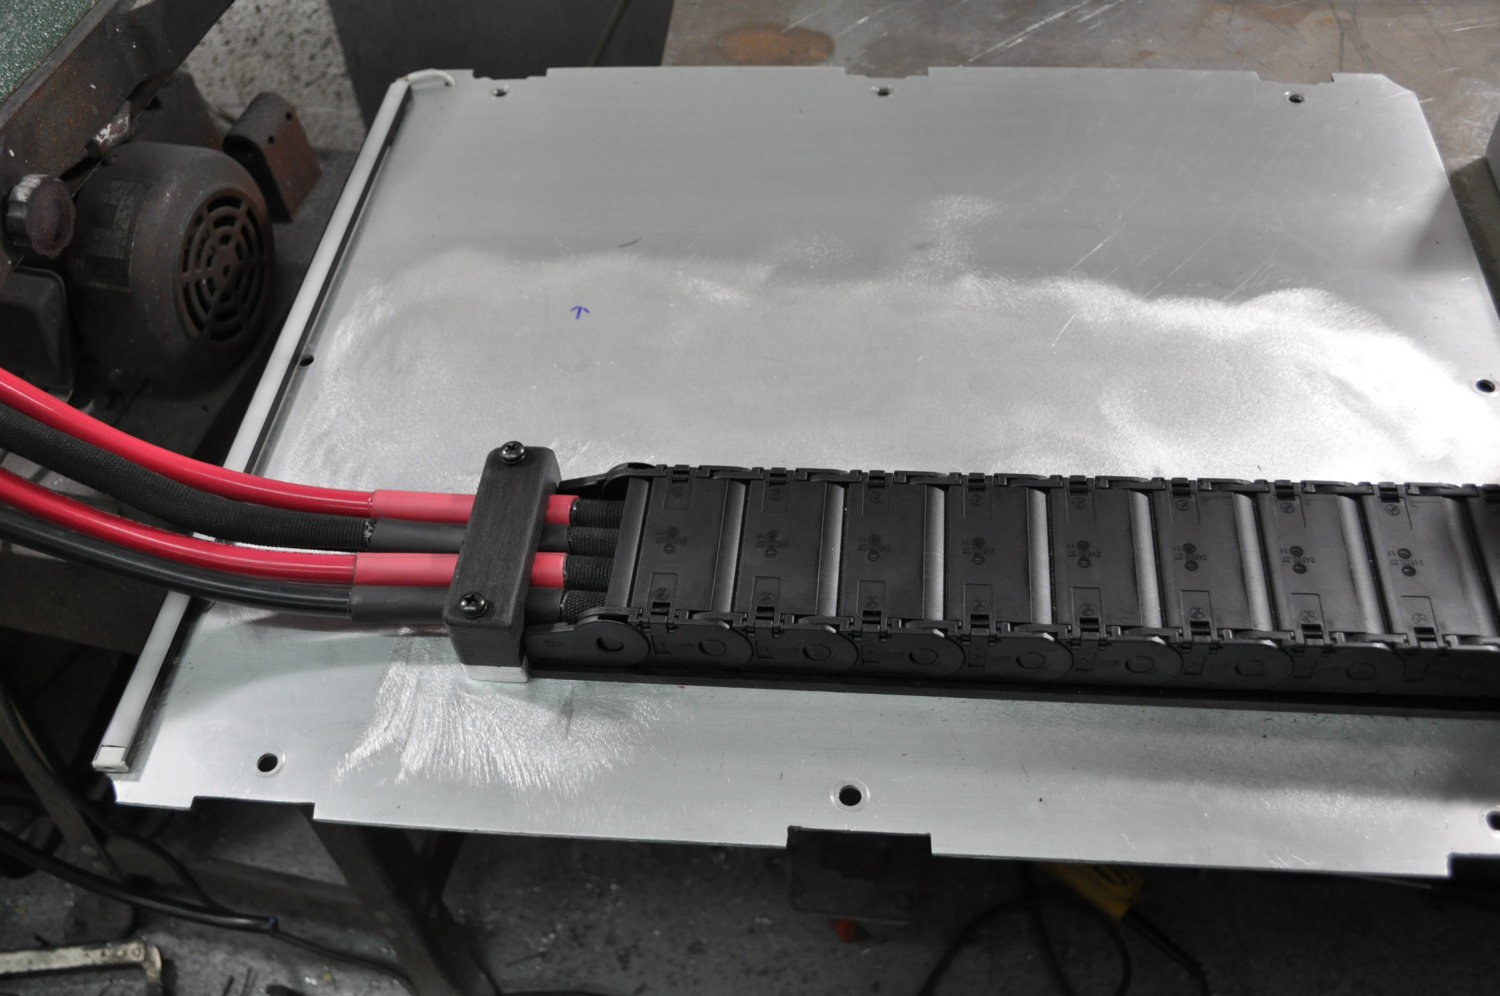
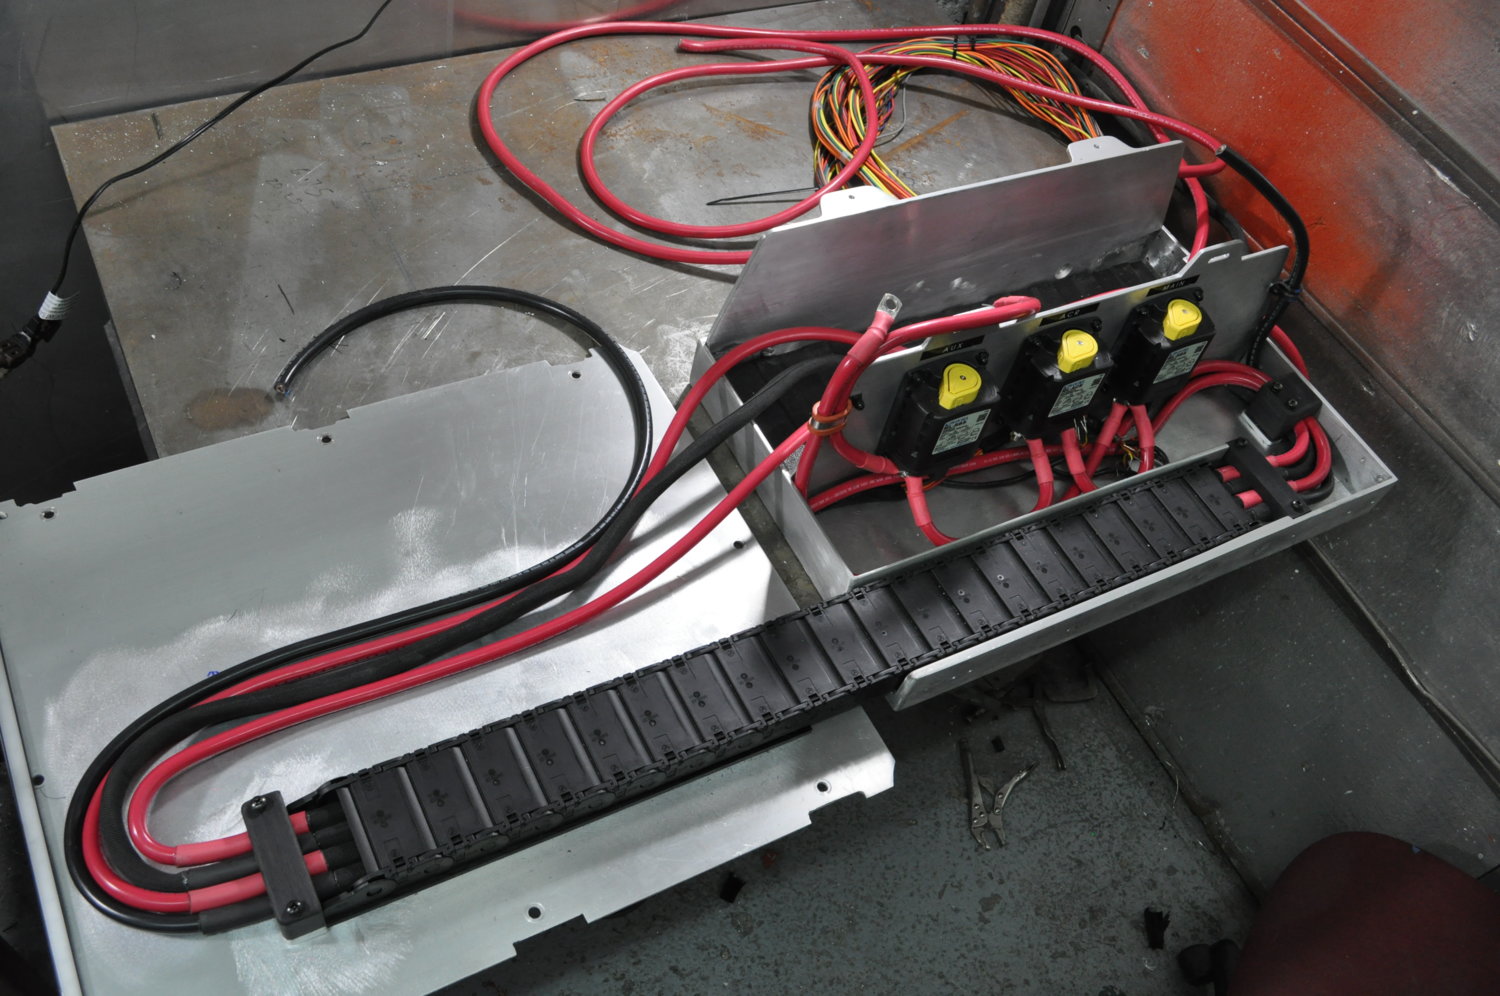
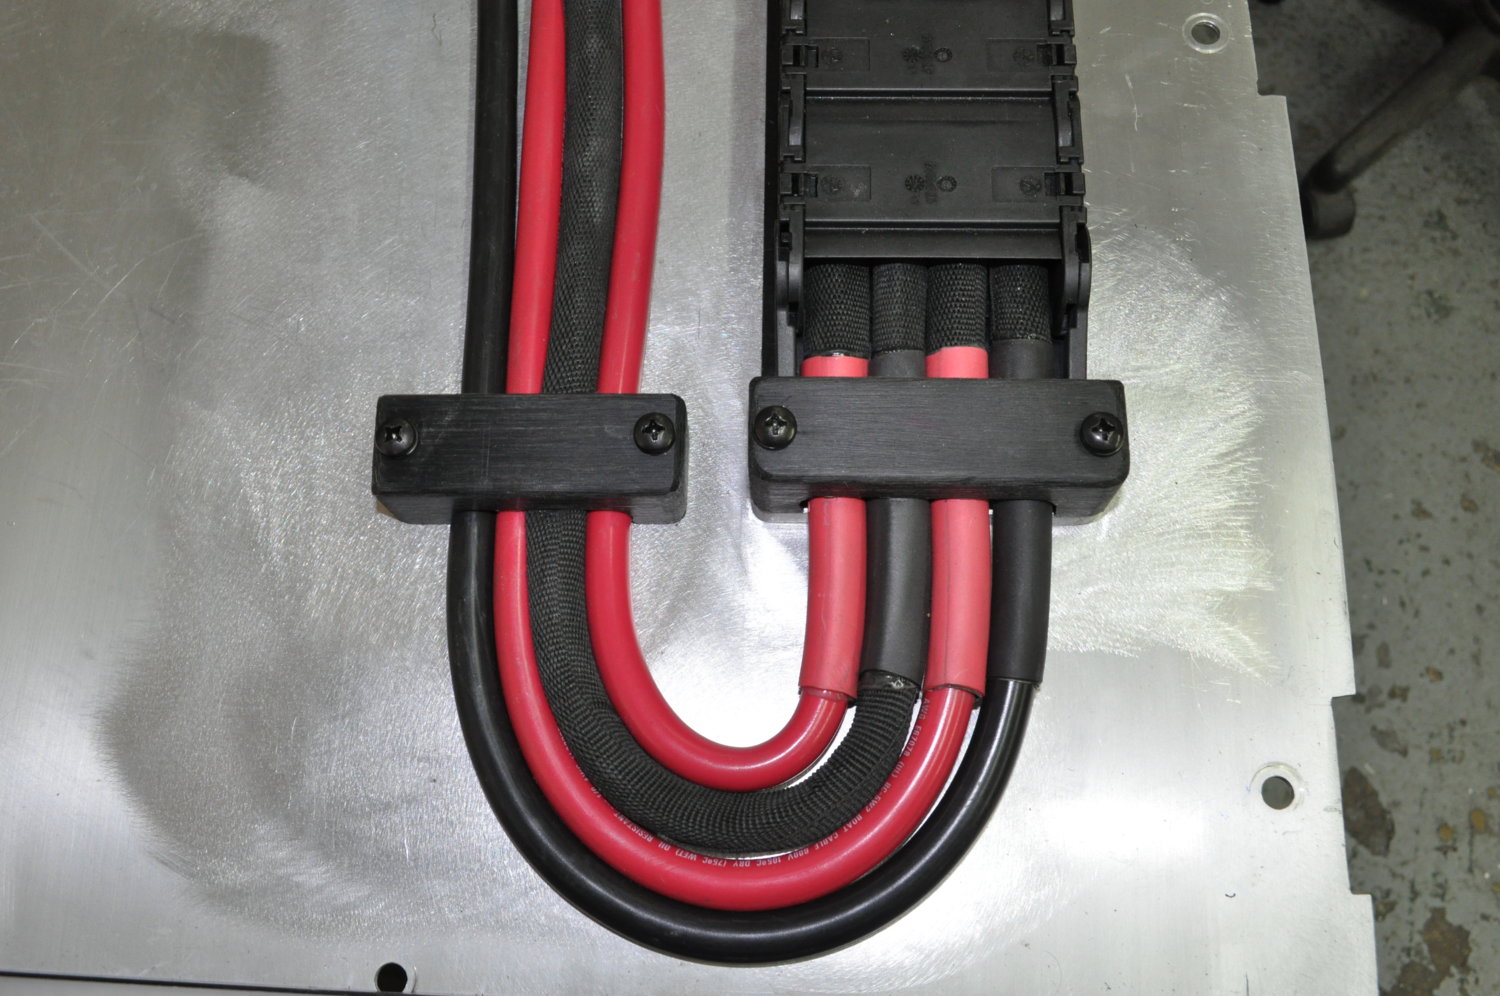
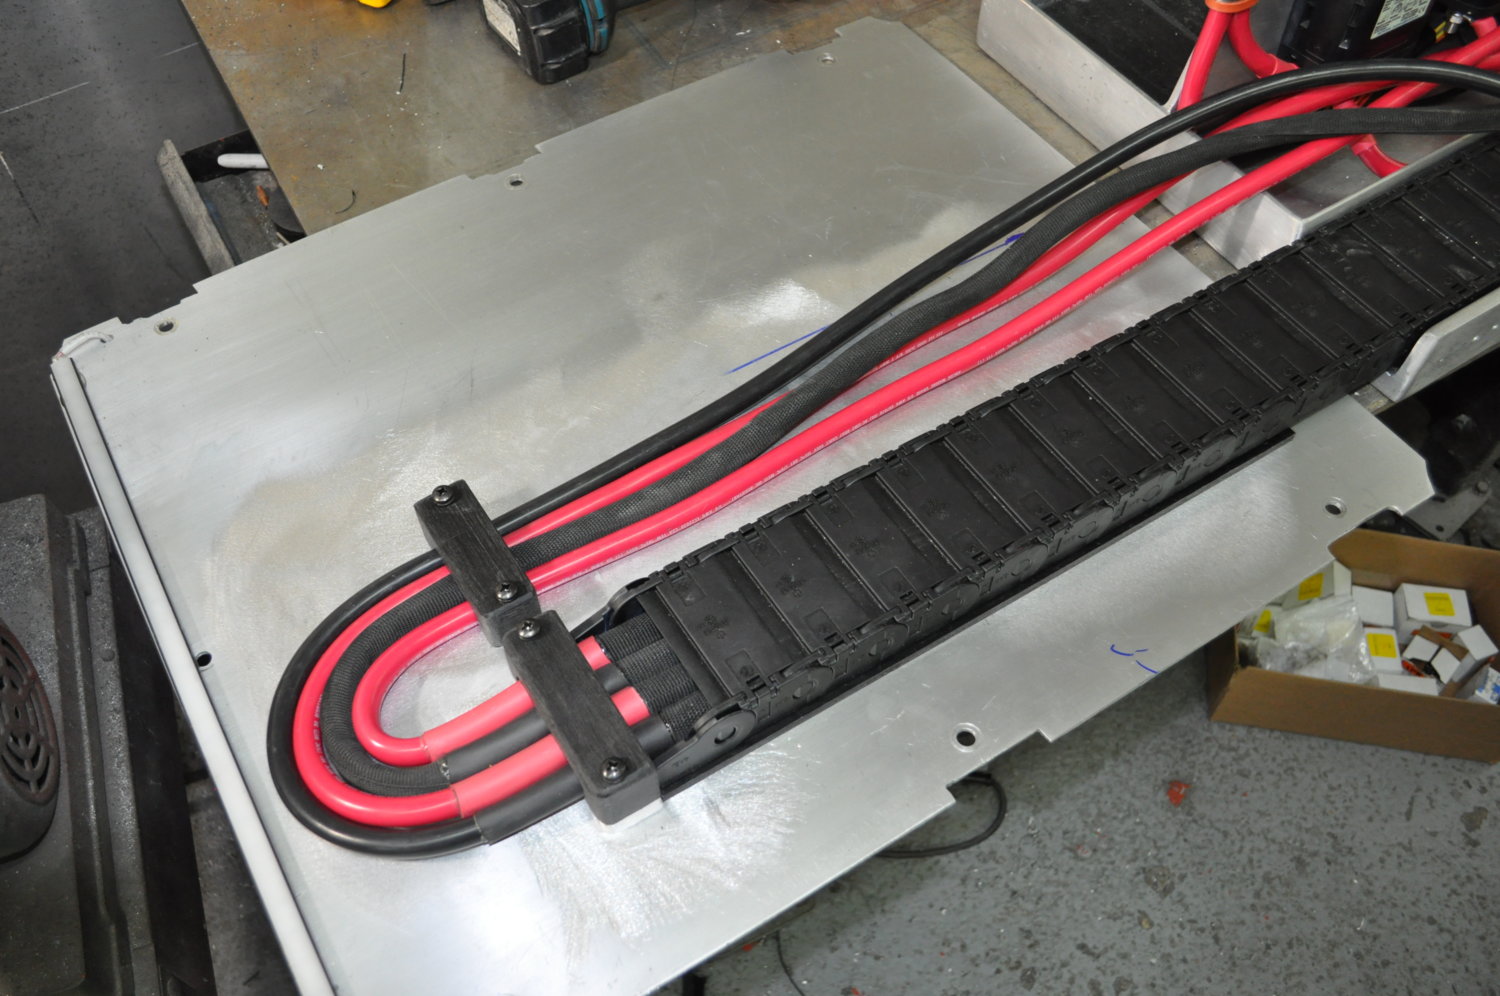
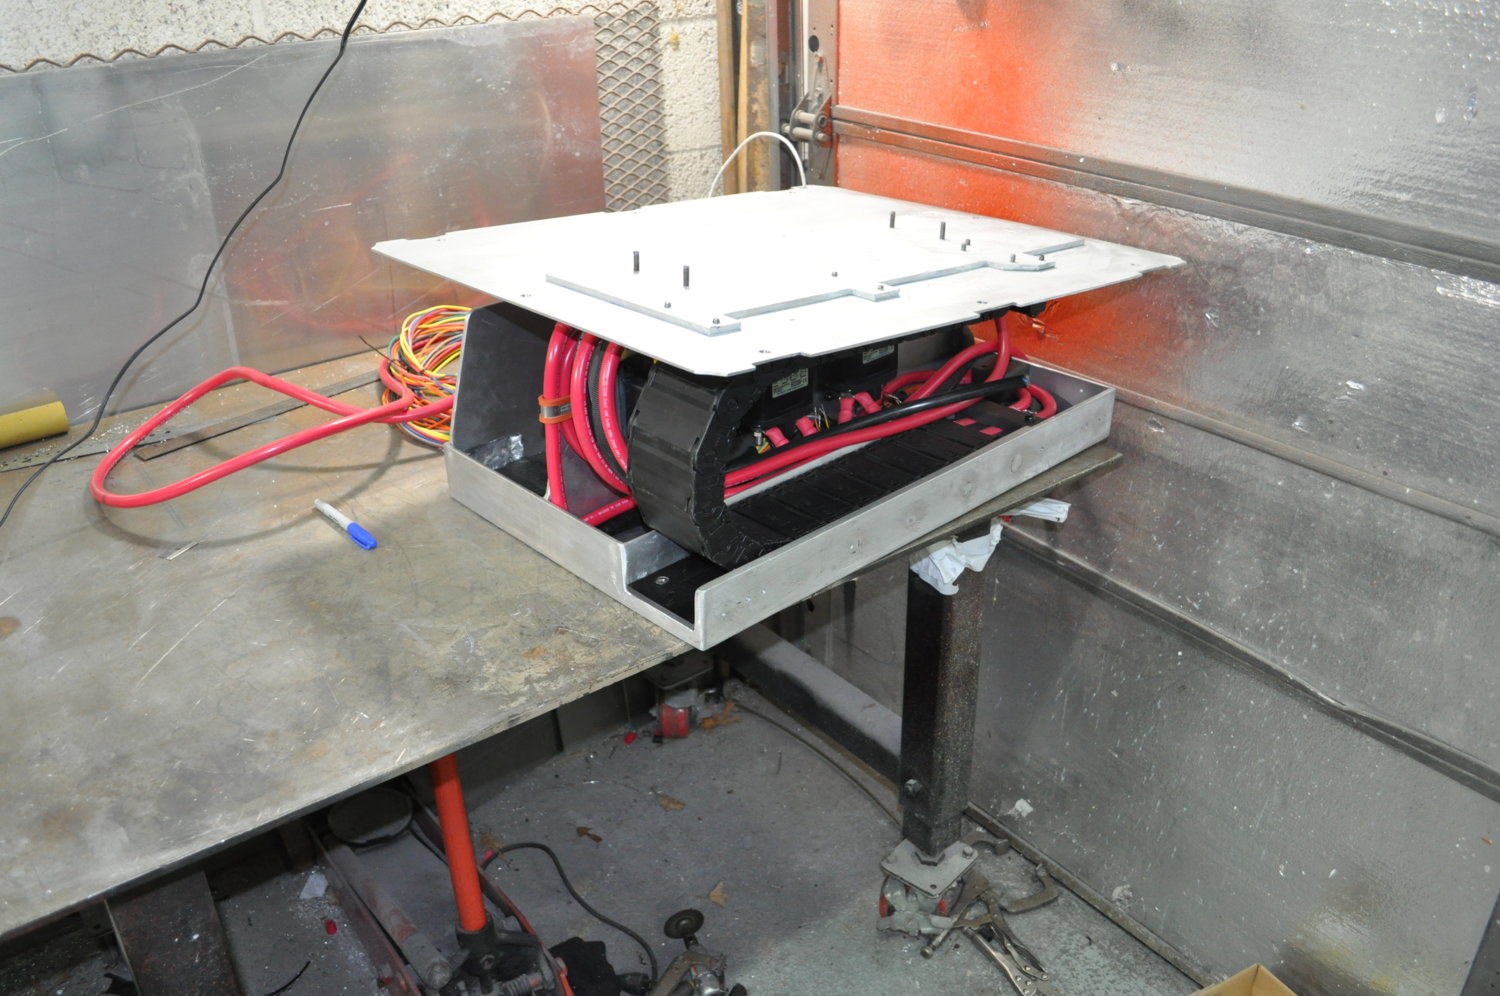
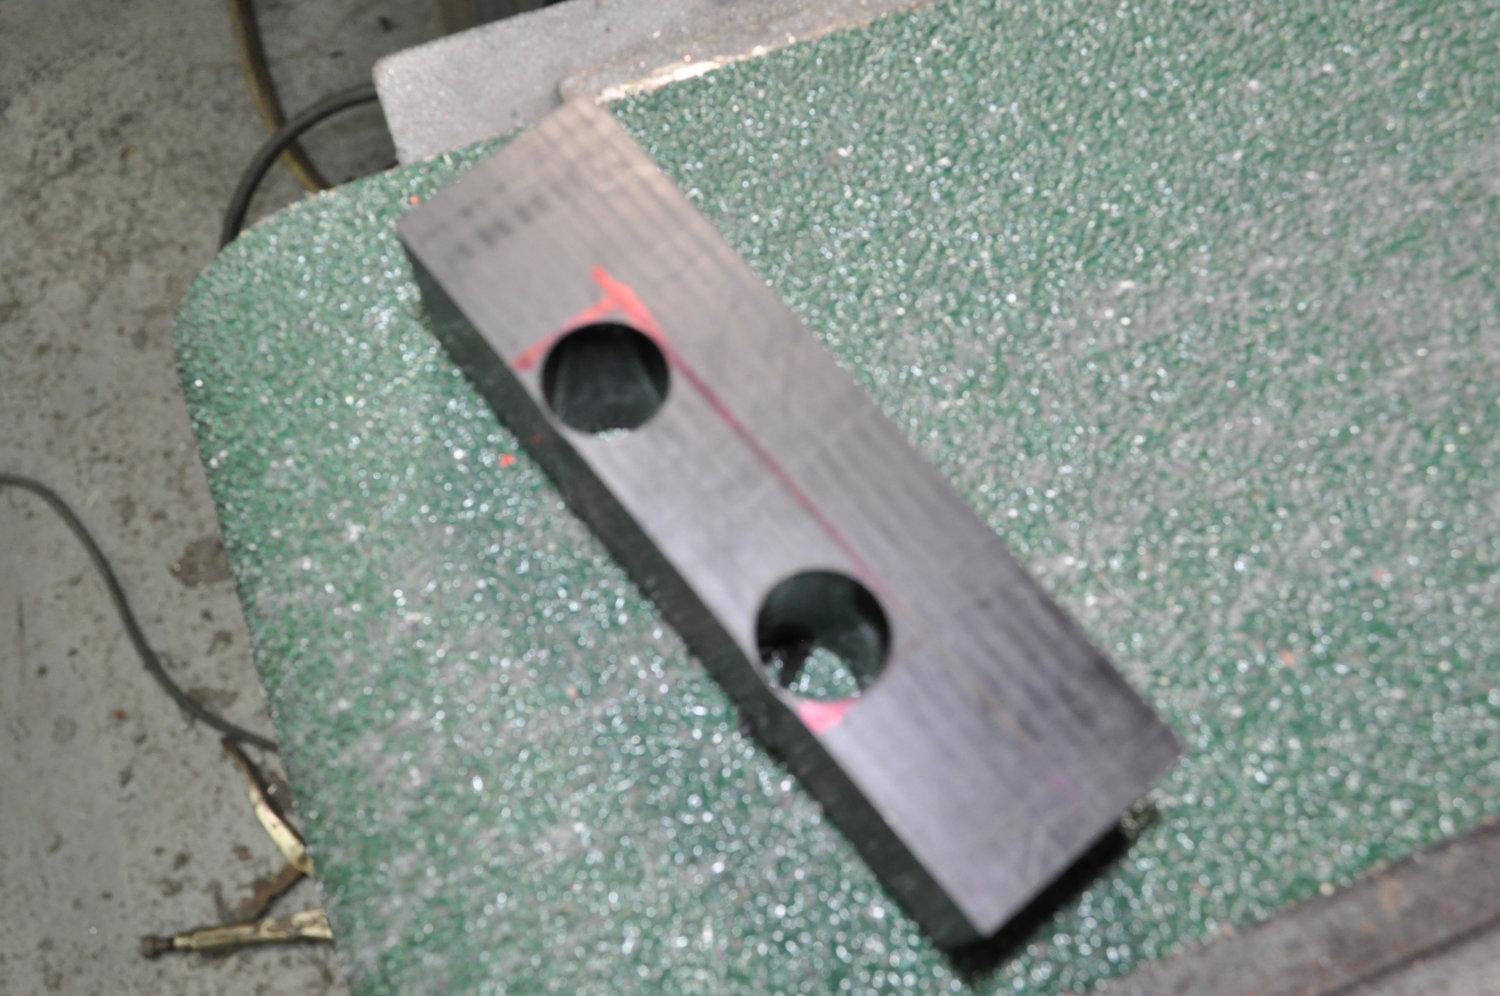
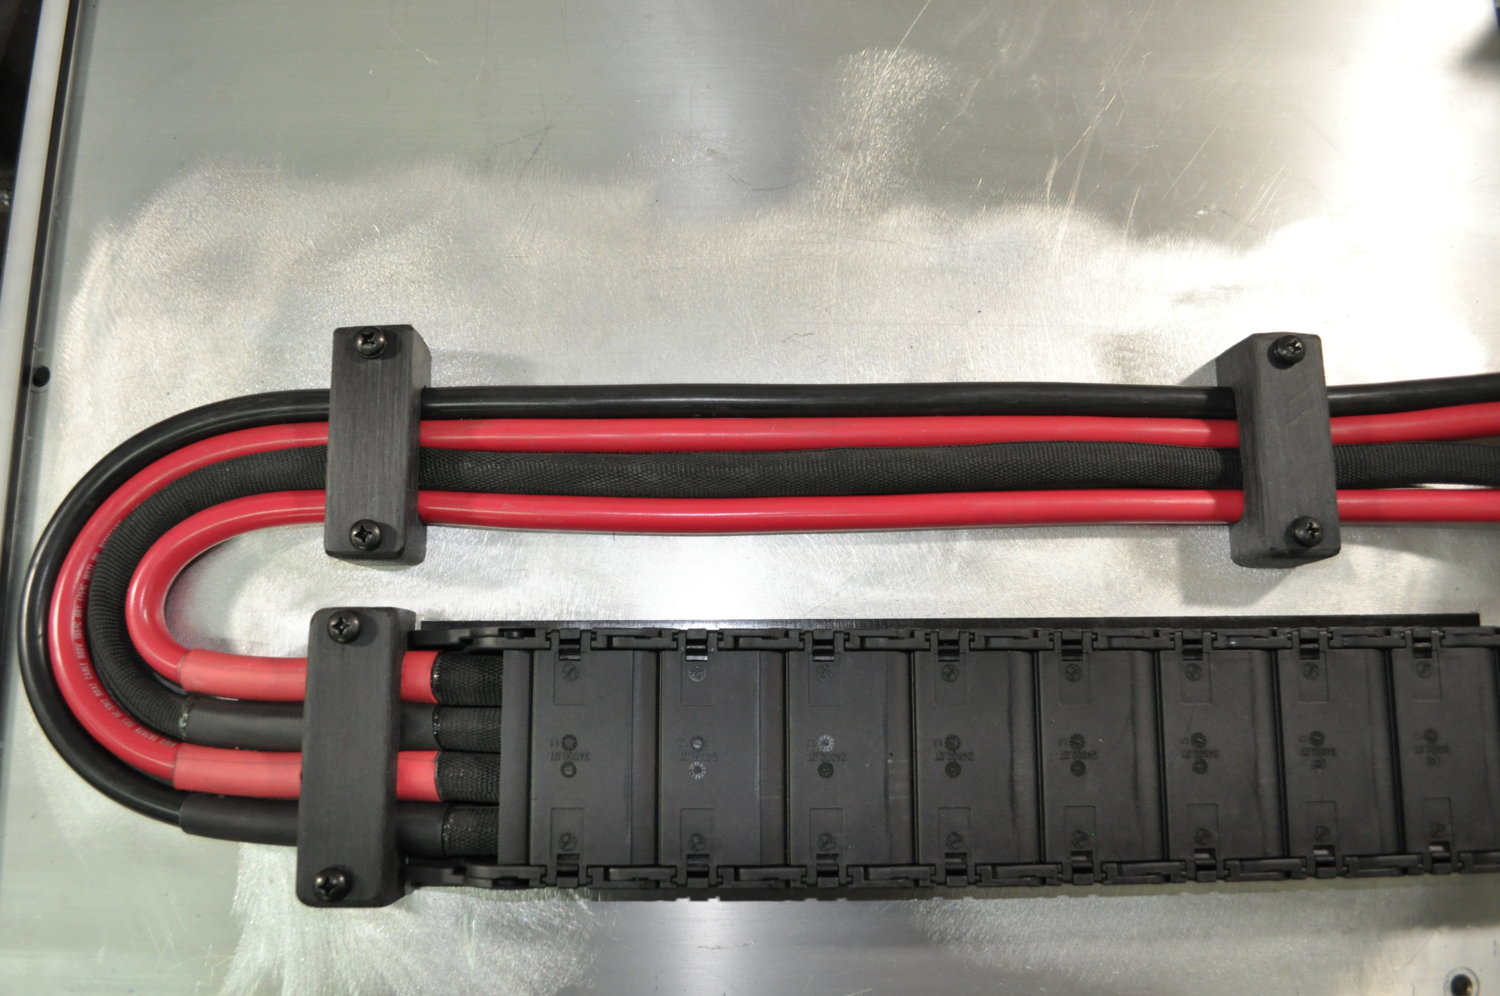
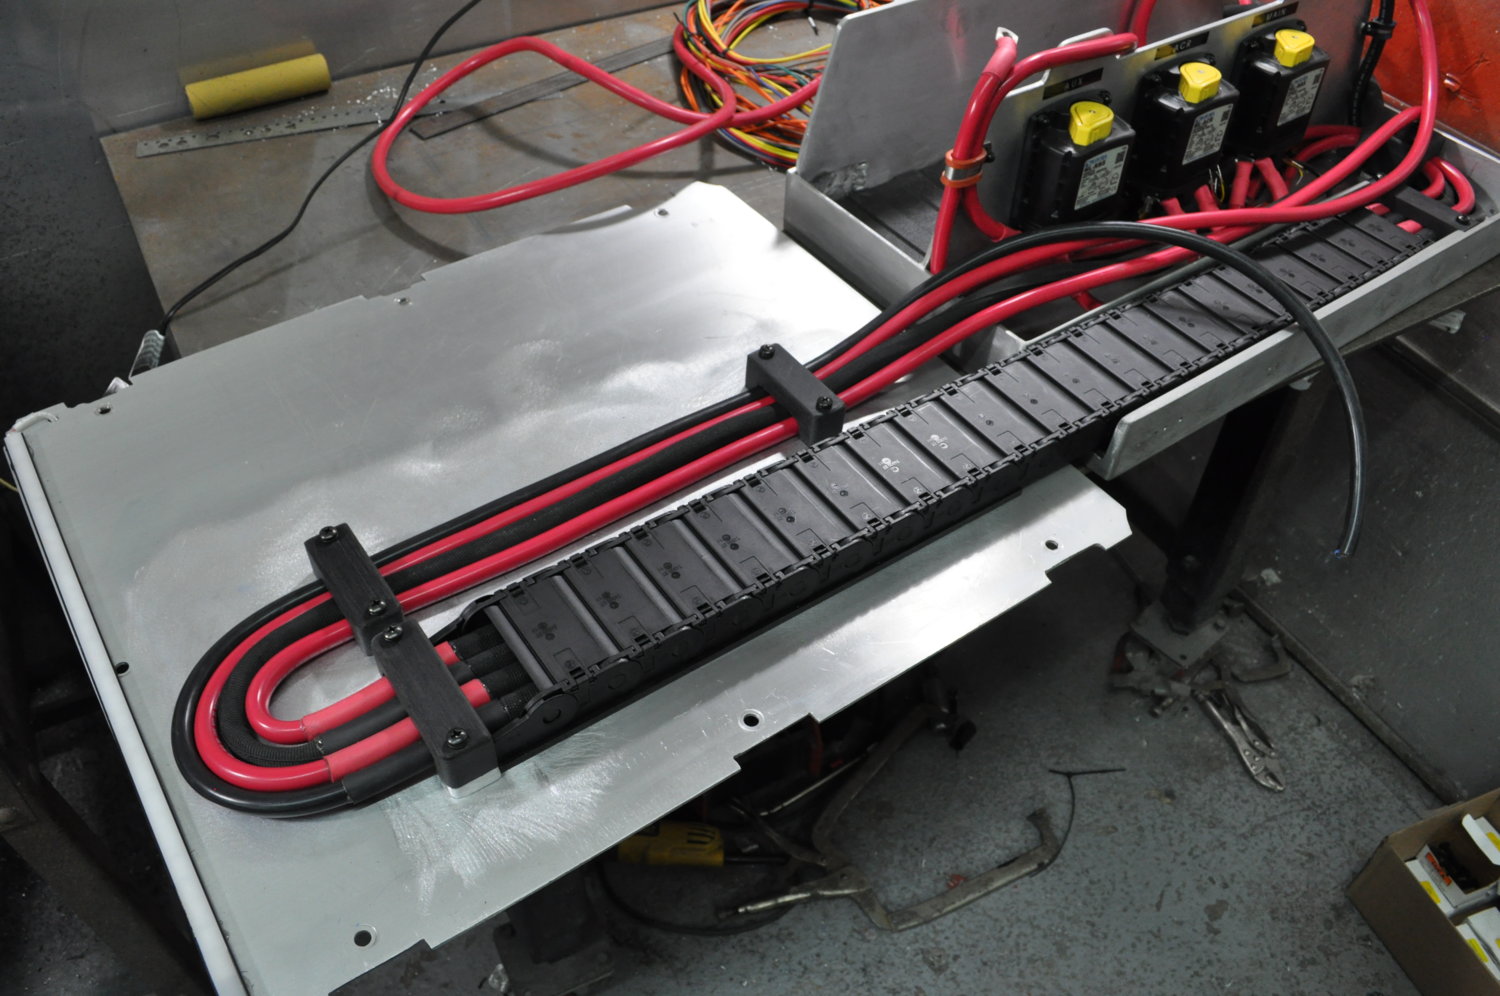
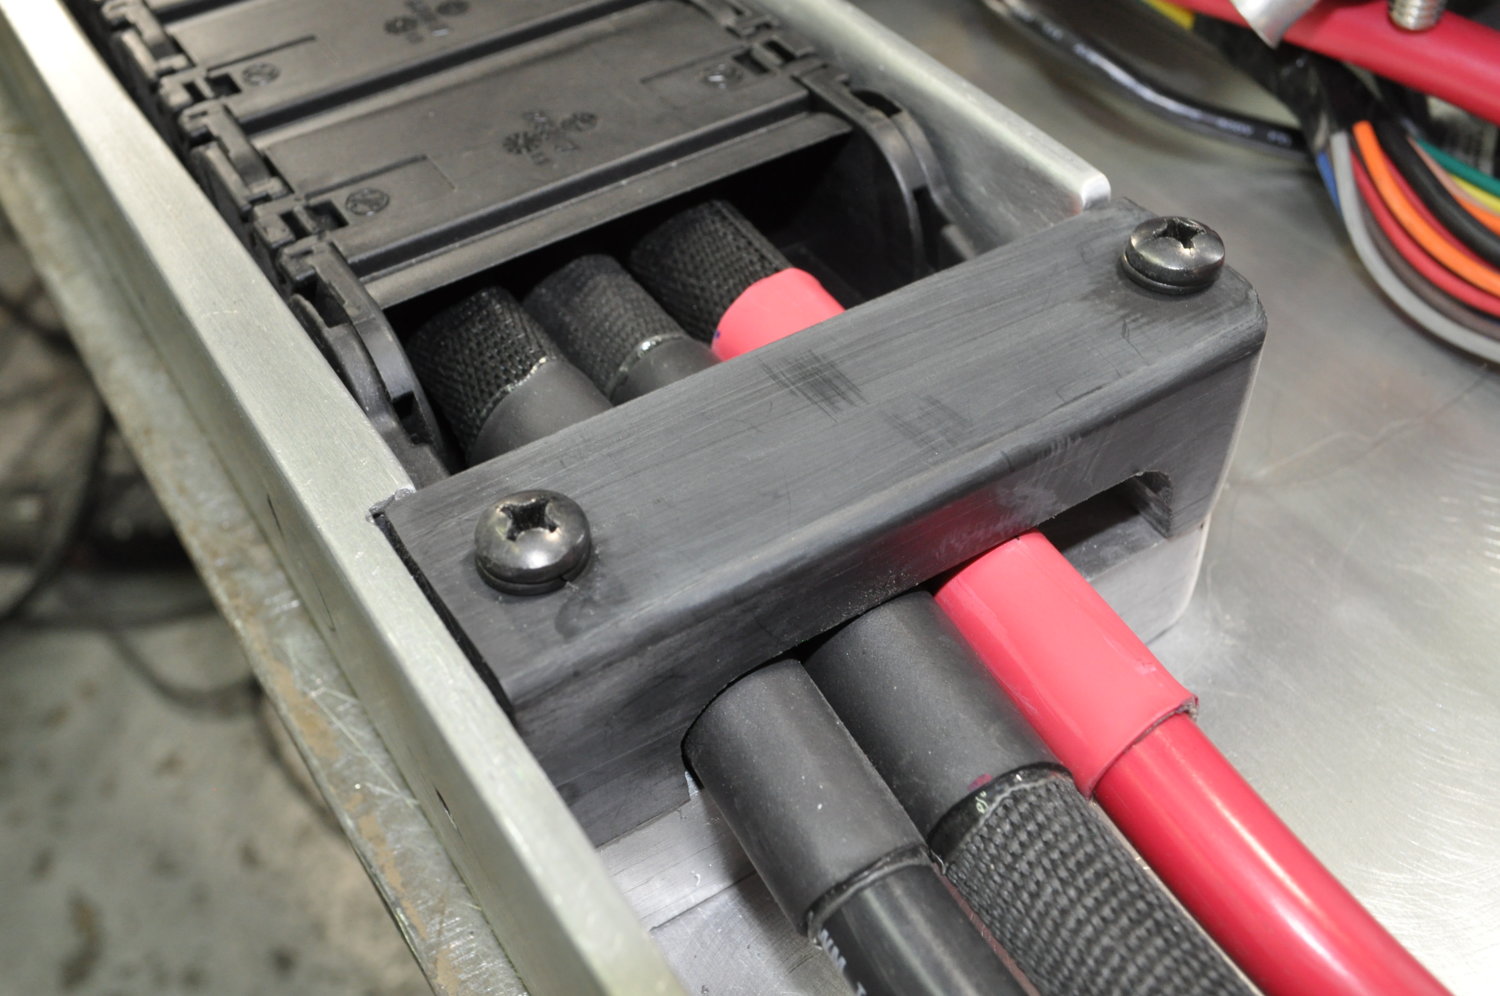
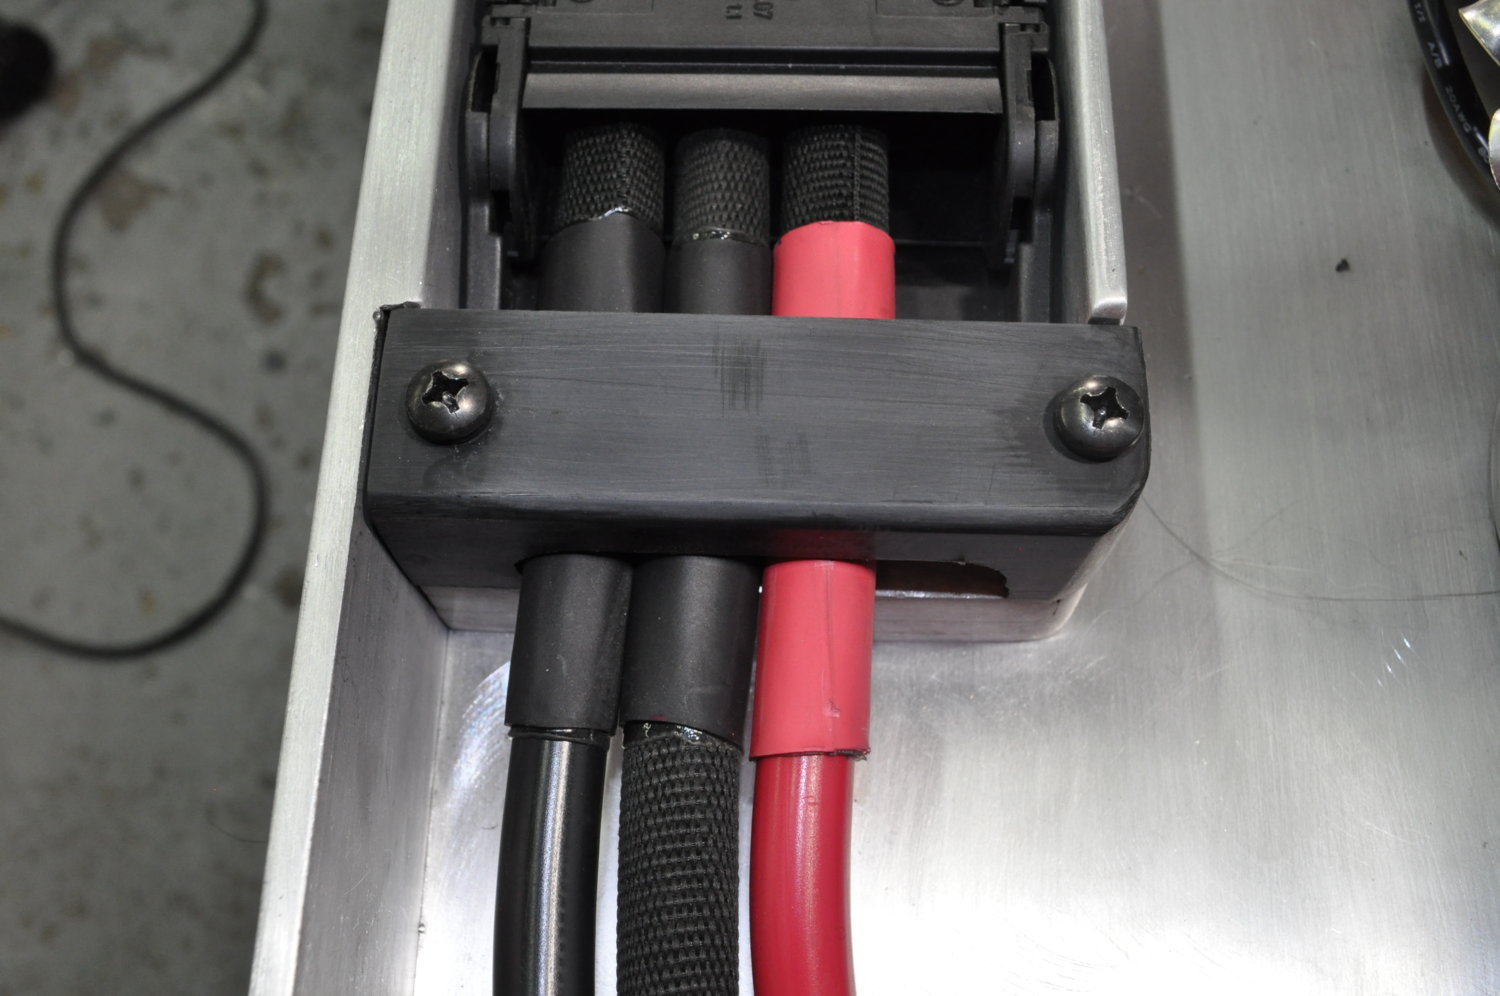
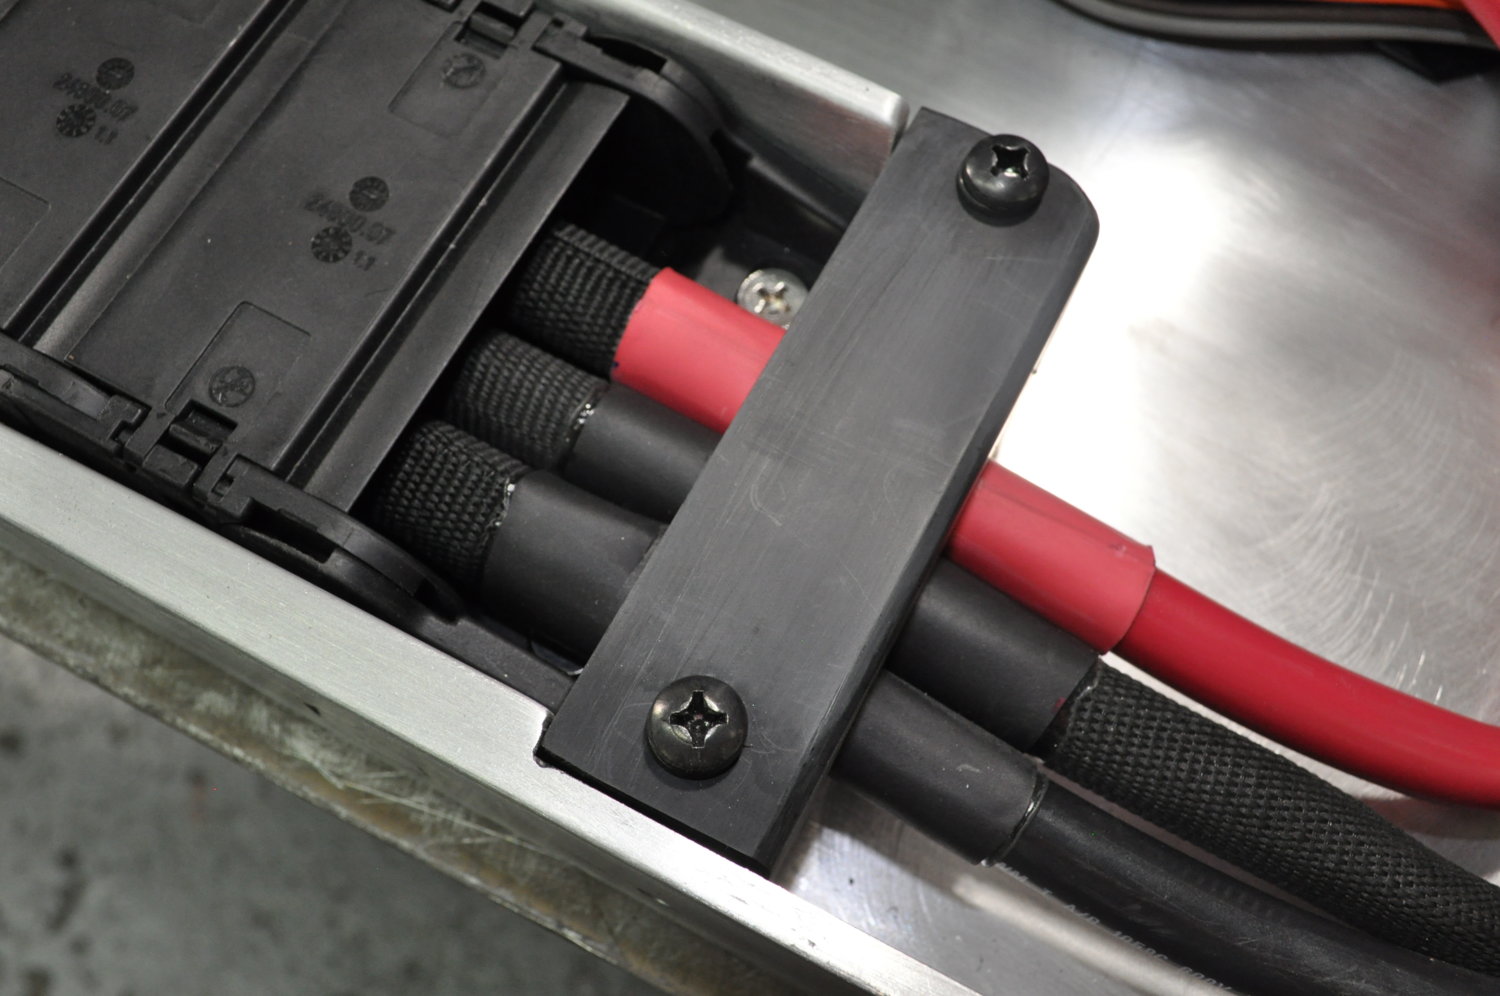
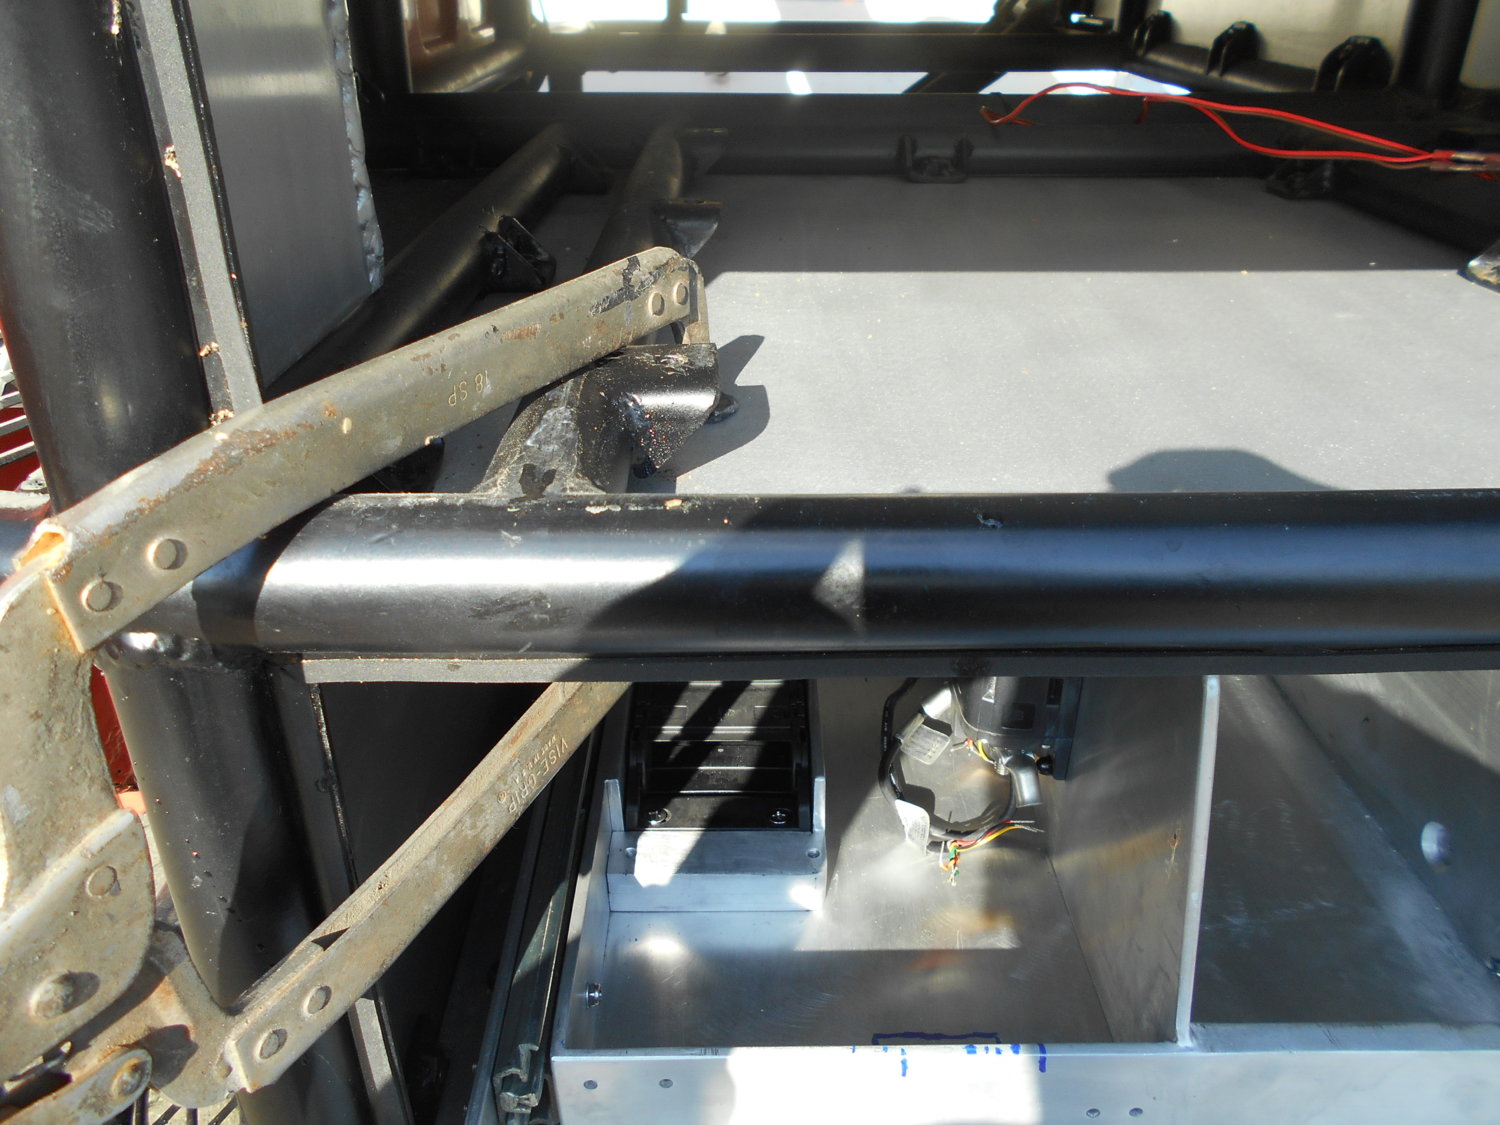
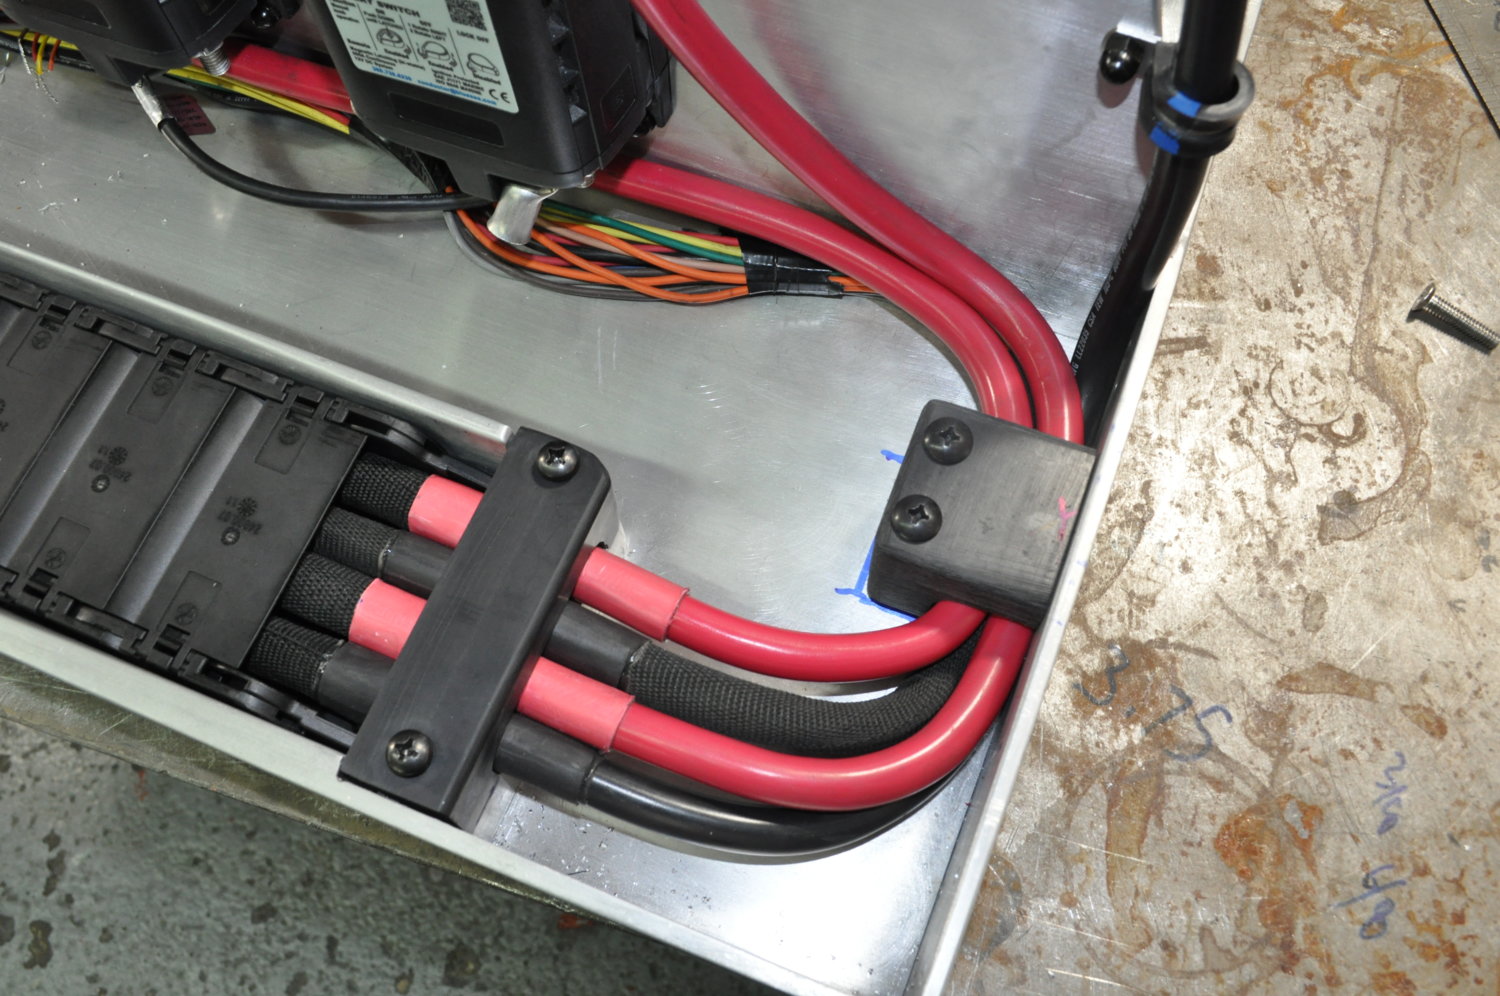
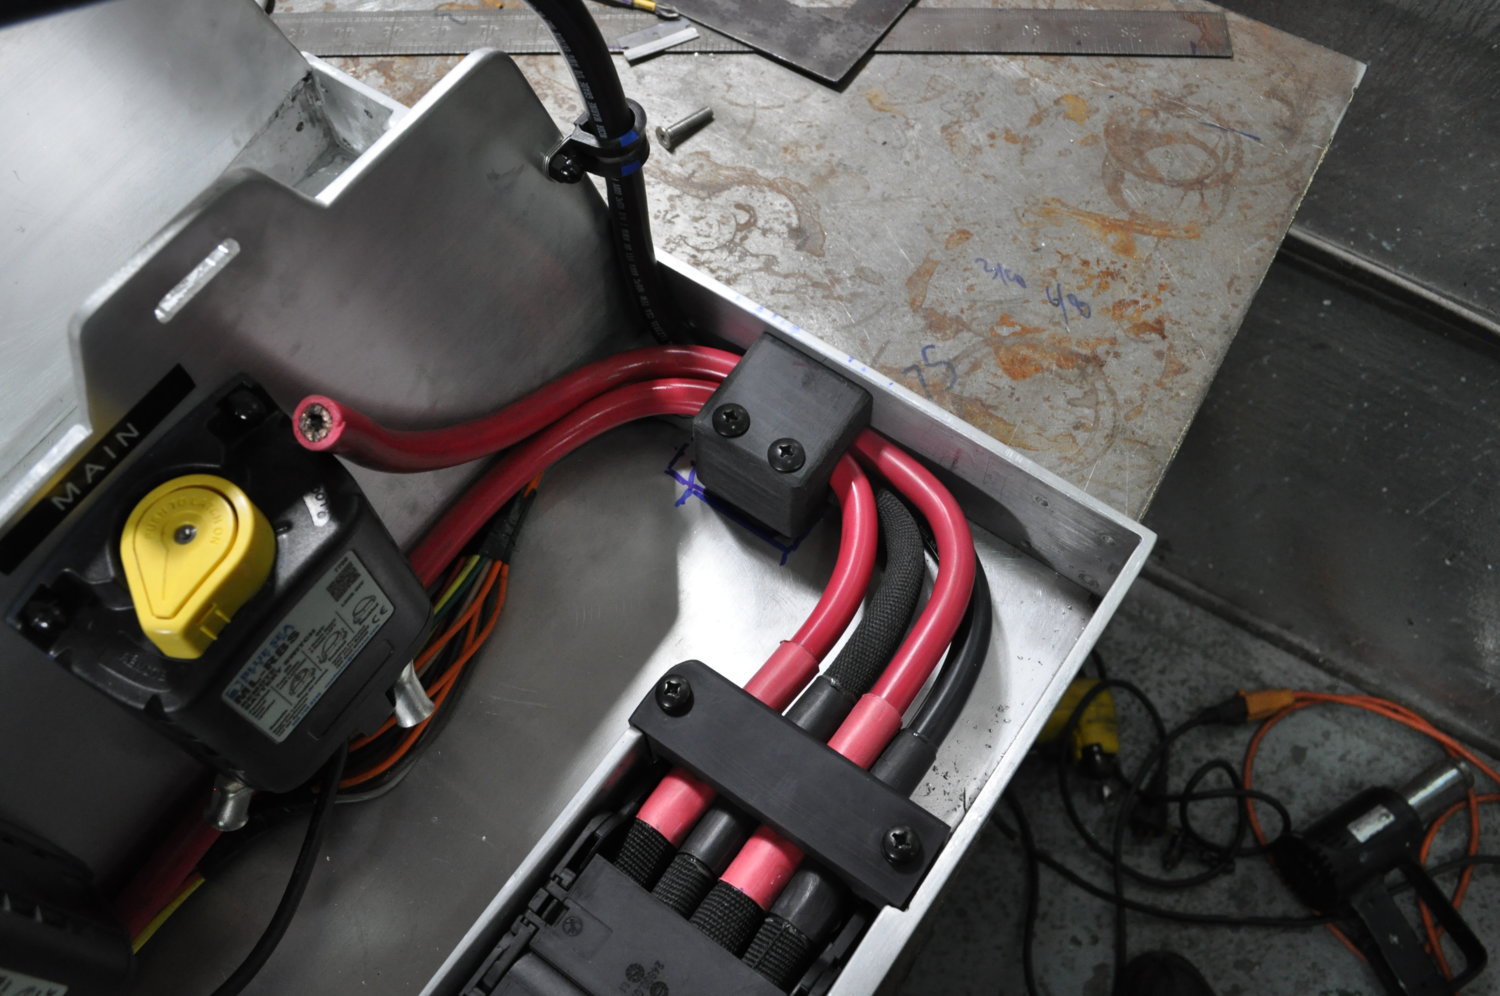
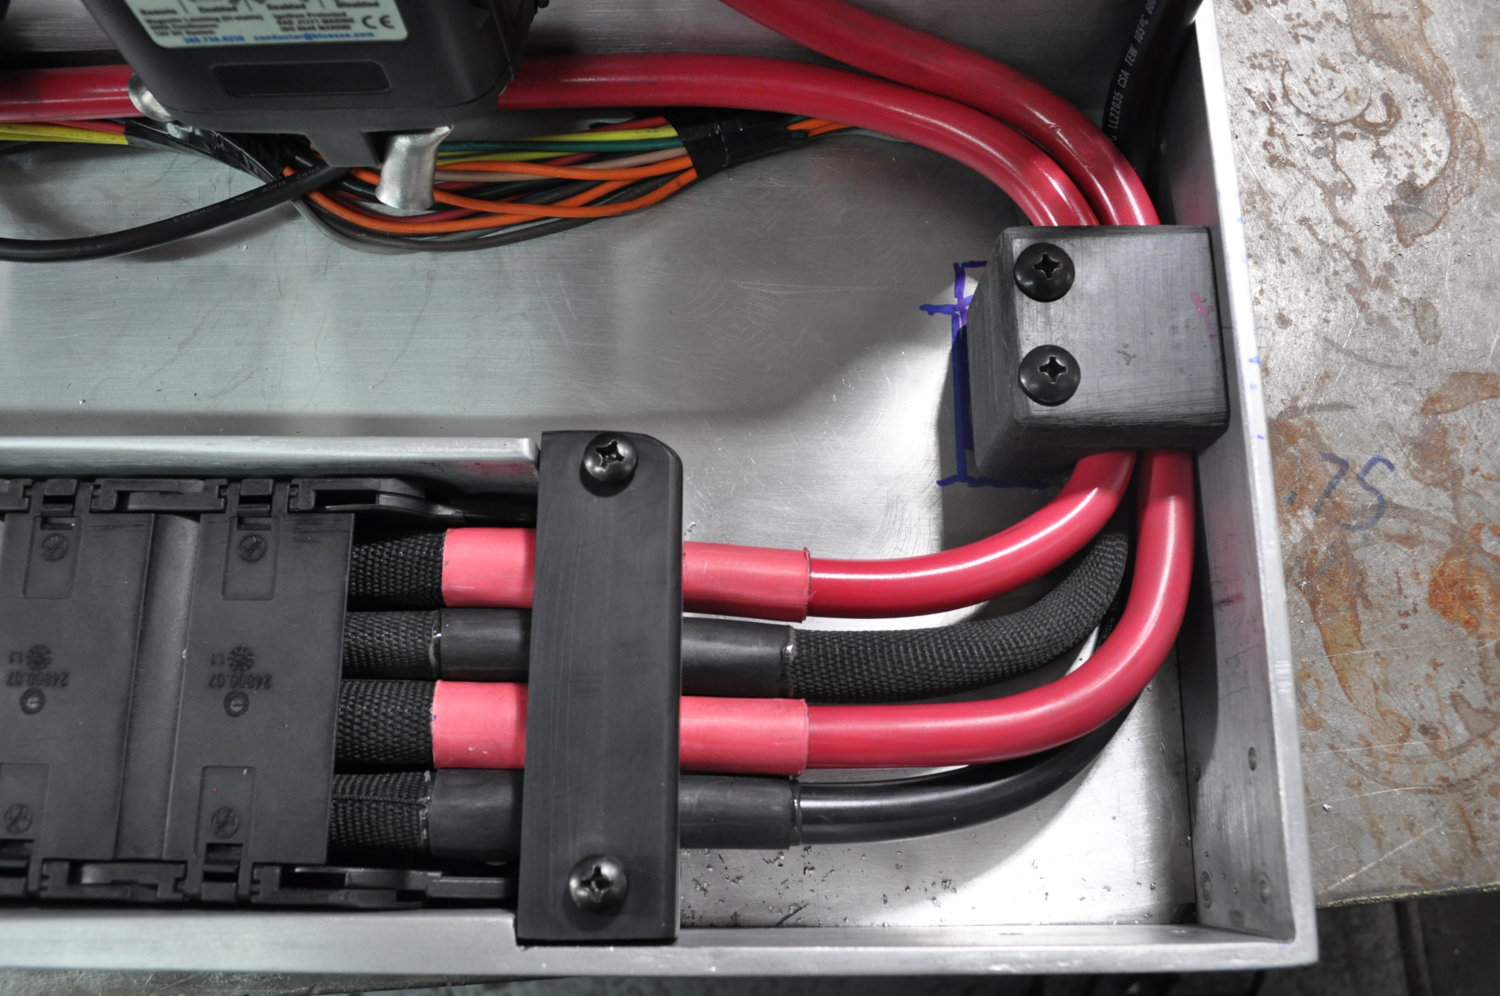
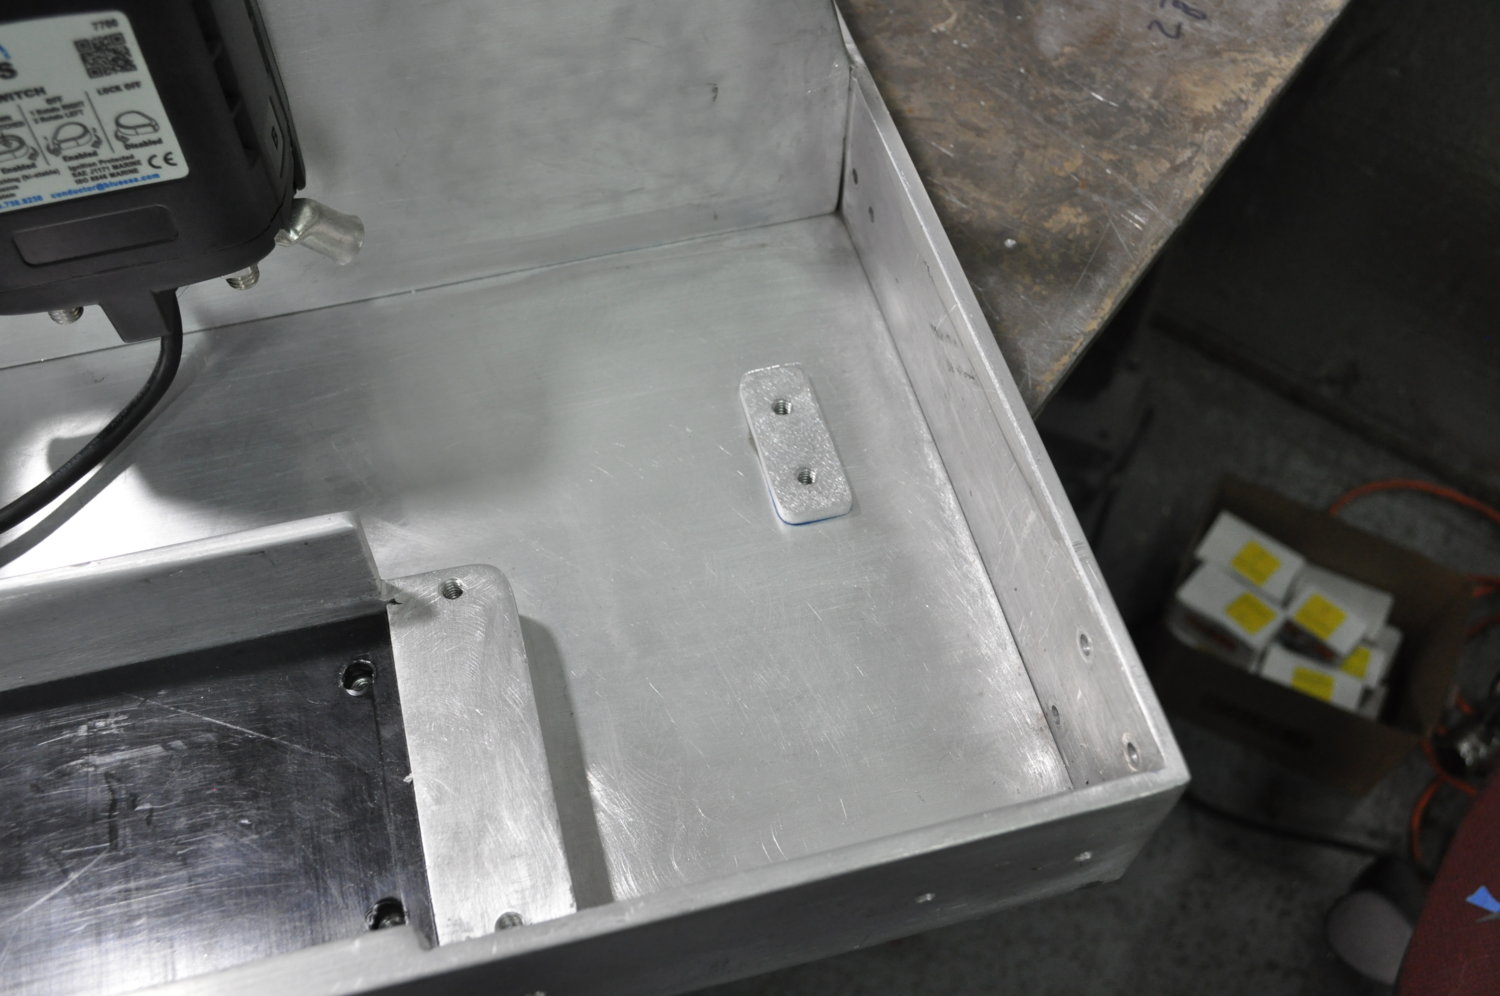
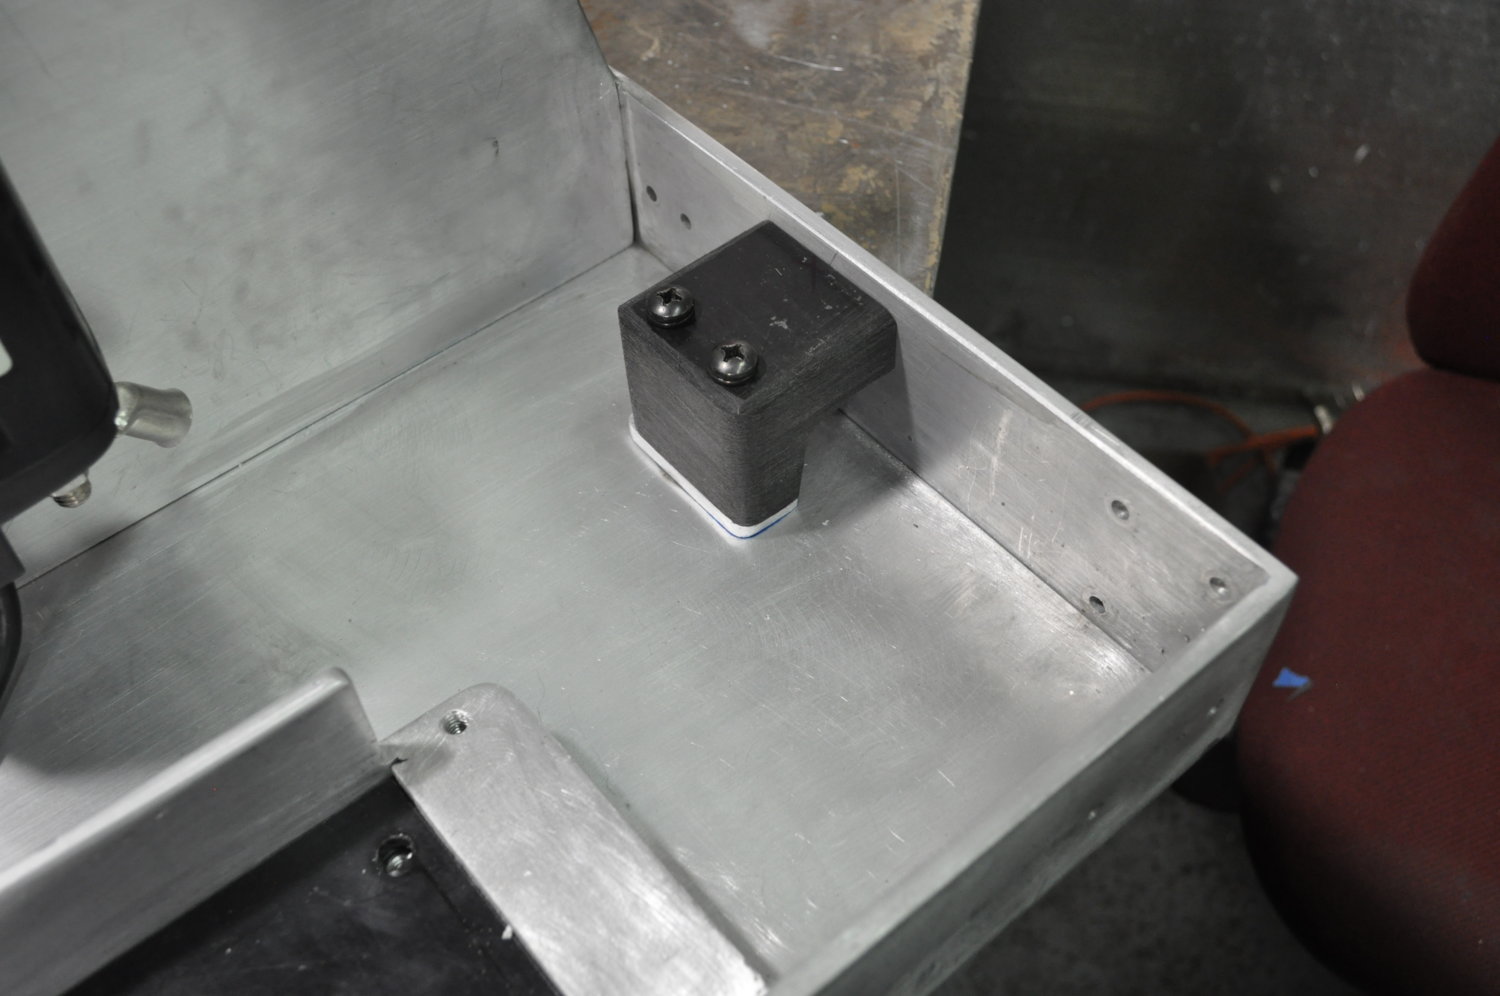
it looks like i have some warm weather coming in fri/sat, so I'm gonna shoot to start fitting this up in the box then... relatively involved.. need to pull the upper drawer.. and obviously locating the UHMV and track are the critical factor... need to make another delrin block.. may start trying to duplicate the one over the next couple days so it's kind of ready....... today it's finish the holddowns and start the bat cable...


got some wiring toys showing up today too....


.
 
Oh okay, that's simple. I thought maybe it was some fancy exotic battery mat. :D
 
here's kind of how the cables will work.. the other pos will lay on top, next to the other pos.... 2 over 2...


i'm thinking i'll run a single cushioned bandclamp around all 4, at that front wall, 1/2 way across, bolted to the bottom..... than as you can see, I'm gonna have a small single on the grd going up...


full


full
 
I'm such a kook... :woot: :saweet:

I'm not gonna run a band clamp on the bottom around the 4, only the single switch wall grd one.. instead, I'm gonna make another delrin piece... :cool:


I really need to be institutionalized.... :thinking: :doah: :screwy::dunno: :whistle: :1zhelp: :haha:
 
holddowns done.. just waiting on the studs tomorrow....

playing around with the label maker....


full


depending on weather, i may be blowing it all apart and starting on the box fitting tomorrow.....

one of the other things i decided to do is add some sort of backing plate, or multiples, to the top of the ceiling... so i can tap all the ceiling hardware too.. it's only 1/8"..... that will save me from taking the drawer out for maintenance down the road..... I'm VERY pleased that I decided to tap the tray hardware....


full

.
.
 
Last edited:
proof of concept clip.... and that's a bit sloppy, as the 1/4" UHMV isn't in up top...


one issue I've run into you can see in this pic is the tube above the ceiling, that mounts the upper drawer, is pretty much completely in the way of all the 3 screws that would mount down the left side.... i'm not particularly worried about the back 2 UHMV ones, i could shift those over or something... but the front track one is critical, want that stout... I may need to cut out the whole bottom of the tube and plate it, so I can put a 1/4" alum backer... I'll see...


full
 
Why not mount through the top plate of aluminum, and tap threads into steel that can be directly welded to the tube?
 
Why not mount through the top plate of aluminum, and tap threads into steel that can be directly welded to the tube?


well, the ceiling is flush against that, so no matter what, i'd have to remove steel to put a plate in to tap into... if the screws were directly under the middle of the tube, i would just tap the tube.. but i'm pretty sure they are about 1/2 way out to the edge, on an angle to the alum... not good... i'd also like to make it just mounted to the alum alone..


but i wont know anything till i pop a couple pilot holes were the holes need to go.... i may get away with just sliding a 1/4" alum plate over in there snug, and might make it..
 
* interesting build note...... machining delrin smells just like potent antifreeze... *
 
working on the ceiling backer plate now... it did end up on the angle, worse kinda spot deal.. but i'm only gonna have to do minimal hacking/grinding i think.....


but i thought i'd drop a couple of how that front wiring is coming along... decided i wanted to alternate the red/black.. looks cooler, , and feeds better over to that wall.....


full


i need to add a 1/4" alum "thickening" block down at the bottom of the delrin to tap... trying to avoid anything hanging out the bottom up front to be a finger catcher, etc...


full


tonight I'll prolly start doing the 1/0 lugs... i won't do the trigger harness until final install....


full


I must say, I don't think I could be any more pleased at how the track/cables/delrin worked out there.... serious beef.....


it's one thing I'm glad I've done thruout this build... big fasteners, and minimal 2 tool fasteners... makes taking chit apart/putting together easy peezy....


.
 
ok, hopefully this is the last welding on the tray...

the only things left other than final sand/sharkhide are gonna be the 2 pos's coming down in the back.. I'm hoping to just bandclamp those.. so just a couple holes....


here's the front tab/delrin setup......


full


full


now i need to fit the ceiling tomorrow... it's supposed to be stooopid warm here the next few days.. high 50's/low 60's..

it's plated, and the 2 track holes are done/tapped... the plate covers a large area so any other bandclamps/blocks i need, I'll have tapping material....but i need to mount it, to locate the other end of the UHMV properly.. mark... pull back apart.. tap those holes.. and start making another exit delrin mount like the tray has.... but first i need to clearance that tube... the 2 back spots are minor... the front one is a bit more involved....


.


.
 
another gear change..... ;)


messed around for an hr or so before trying to find spots for the underbody light kit i got at x-mas... this is 7 of the 12... middle front/back, and 5 down the ds...


full


and with the rotators on.....


full


I was looking for "ground light", (ya know dopey mechanics dropping screws and such...) think these will fit the bill... i was trying to hold off, but i really wanna mount/route/wire them while i got chit apart to do the box electric...
 
holy sh*tballs, it works.... ignore the flappy back UHMV...


here's how the plate worked out... i just windowed em and douched em... stays dry in there these days...


full


and the plate overall....


full
 
Last edited:
so everything is blown back apart again.. UHMV and track mounting are done.....


full


now i need to add a 1/2" high spacer in front of the track, to mount another delrin holddown to... here's the lower one for an example... I'll work on that stuff tomorrow...


full


I'm still finalizing wire routing and post/component locations in the box, but here is how much space i left at the back.... plenty up top for cables to pass....


full
 
Last edited:
You'll definitely be seen w/ those lights..:cool:


eh, not like I'm a tow truck driver on the side of the road or something... more so i can see what i'm doing picking up/dropping off a boat at night....


the harness is now attached to the ceiling...

couple process pics of stuff i do... 2 plates, beveled edges and countersunk......


full


after the edges are all welded and smoothed...


full


plugwelded...


full


upper harness attached.....


full


here's how they'll route back down the ceiling..... tomorrow I'll make up another delrin block that will sit exactly next to that block.. heading back.... i may still do 1 more at the back of the ceiling too....


full
 
alrighty..... the "contraption" as I'm referring to it, is basically complete.... 4 shorter bolts, bit of wetsanding and sharkhide...


full


here's how i machine the delrin blocks... holes for the corners,


full


than it goes to the vertical bandsaw and finished off with 2" rolocs/file... and shaped on the belt sander....


full


full


full


so, it's on to the box interior... won't be till thurs tho.....

that involves the grd bulkhead post on the back wall... #2 pos post on the left.. and running the other 2 cables out of the box thru liquid tights....


.
 

Latest Posts

Top Bottom