CK5
Register an account today to become a member! Once signed in, you'll be able to participate on this site by adding your own topics and posts, as well as connect with other members.

87 K5 "Cashbag"

Great build! Looks like mine. I do a lot of road driving and just replaced my D locker with an ARB. I did not like the locker pulling me to one side on speeding up and pulling to the other side when slowing down. Found it to bee too dangerous in traffic. It was great off road! Hope you don't have the same issue.
 
Last edited:
Topless......now hanging on ceiling with some large eye bolts.

DSC_0116-1.jpg


DSC_0117.jpg


DSC_0118.jpg


DSC_0120.jpg


DSC_0123.jpg


DSC_0109.jpg


DSC_0110.jpg


DSC_0115-1.jpg


DSC_0114-1.jpg


DSC_0112-1.jpg


DSC_0111-1.jpg
LOL The is the same thing I did! Love it!
 
Where did you get your power window motors? Not happy with the ones I got.
 
Hey, Tony

Sometimes the Detroit does grab on acceleration and then lets go on deceleration. Since I've had this for a while it doesn't bother me because I'm use to it.

The bilsteins are awesome. You can't go wrong with them. Unless you want to pay higher prices for the Fox shocks, which I believe are even better but I've never used them.

I got my power window motors from O'reilly Auto. The ones for the front door were good on the first purchase. The rear window took 3 times to get a good one.


Cool thanks!
 
Hey, Tony

Sometimes the Detroit does grab on acceleration and then lets go on deceleration. Since I've had this for a while it doesn't bother me because I'm use to it.

The bilsteins are awesome. You can't go wrong with them. Unless you want to pay higher prices for the Fox shocks, which I believe are even better but I've never used them.

I got my power window motors from O'reilly Auto. The ones for the front door were good on the first purchase. The rear window took 3 times to get a good one.

I have the fox shox, and the bilsteins. I will say this, since I got an amazing deal on my Fox Shox used, it's the only reason I have them. The bilsteins are fantastic, and for the money, they are one of the best options.
 
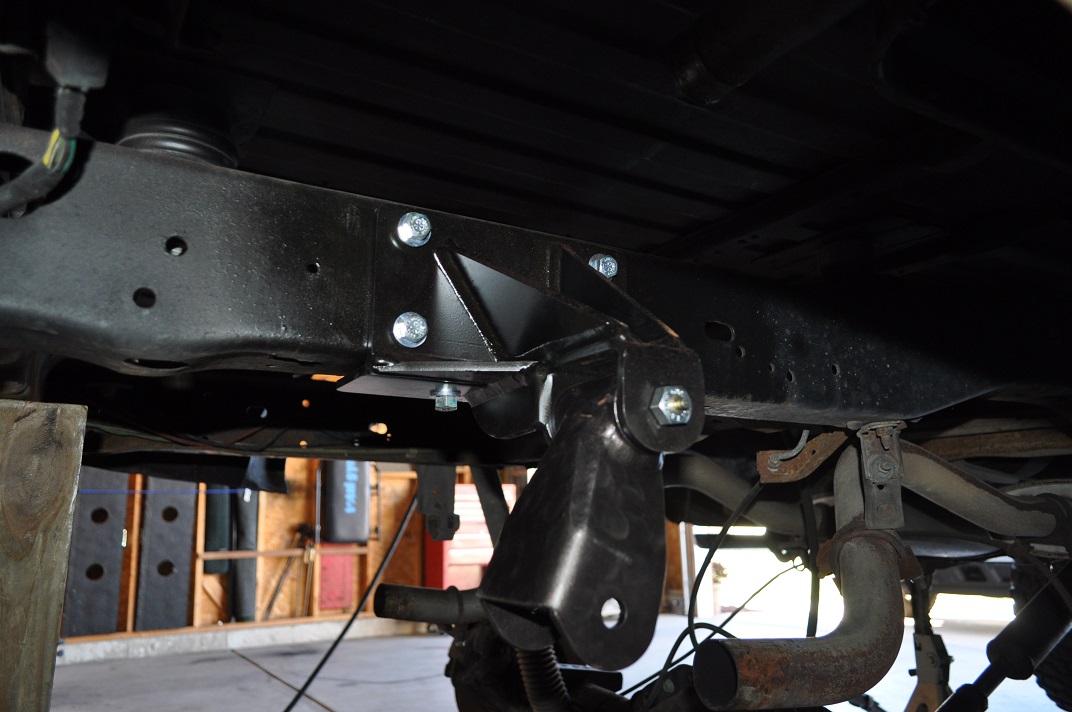
Finally got the 2 1/2"shackle flip done. Only problem I had.....there is a short somewhere in the system and it might be coming from the fuel pump. When I went to the driver side door to unlock the passenger door with the power lock button, nothing happened. I turned on the head lights and nothing. I figured I had a dead battery. I opened the hood to switch the marine switch to battery #2 and it had a small popping and some smoke coming from right by the breakers. I switched it back to battery #1 and had power again. Checked the voltage and had 11.75 volts. The truck started but it sounded like it wasn't getting enough fuel pressure. I stopped after that and decided to work on it next weekend. Anyway, here are some pics on the install.

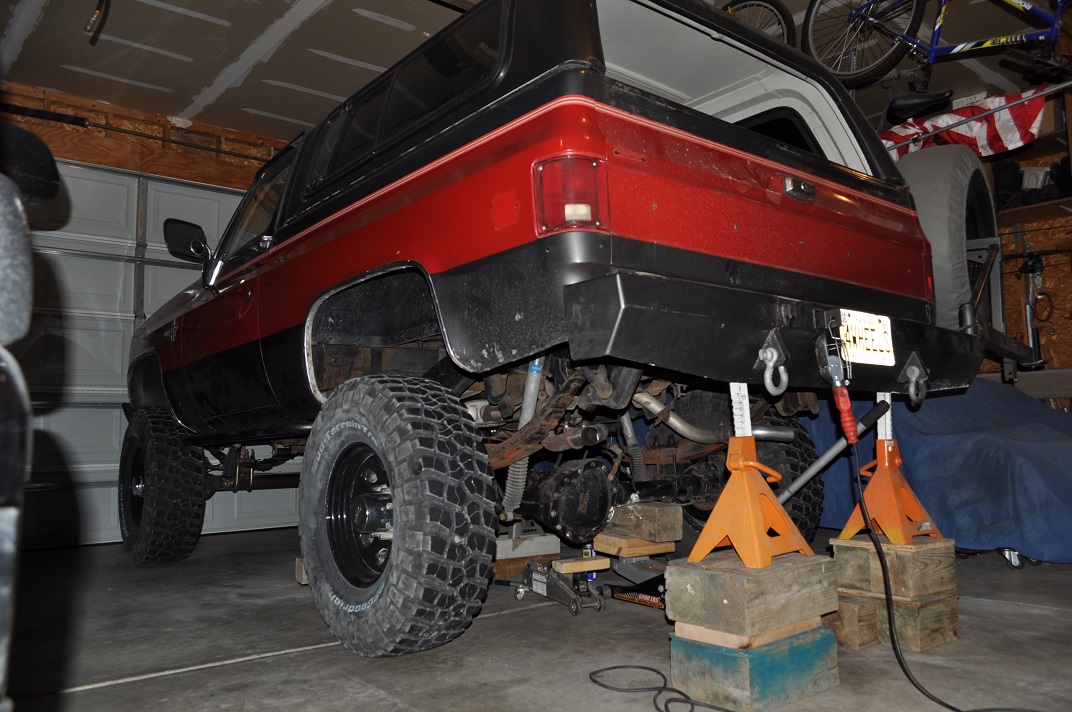
I really like to be safe as safety is #1 in my book and I hope it is in yours also. I had jack stands in the back and also about mid way towards the front. I never worked on it unless the wife was home and I had my phone with me just in case it collapsed. And I asked her to check on me every few minutes. Everything went very well.

full


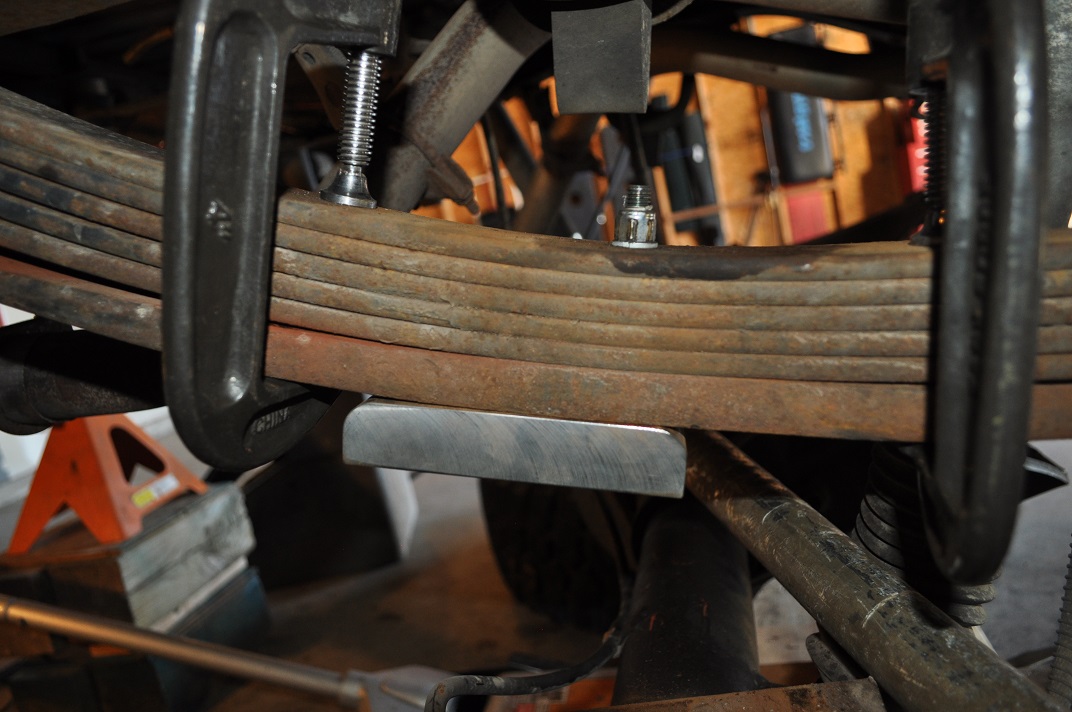
As seen in the pic, there is a jack under the rear differential to help take the pressure of the rear leaf springs when I removed them. I didn't get any pics of the leaf spring removal.

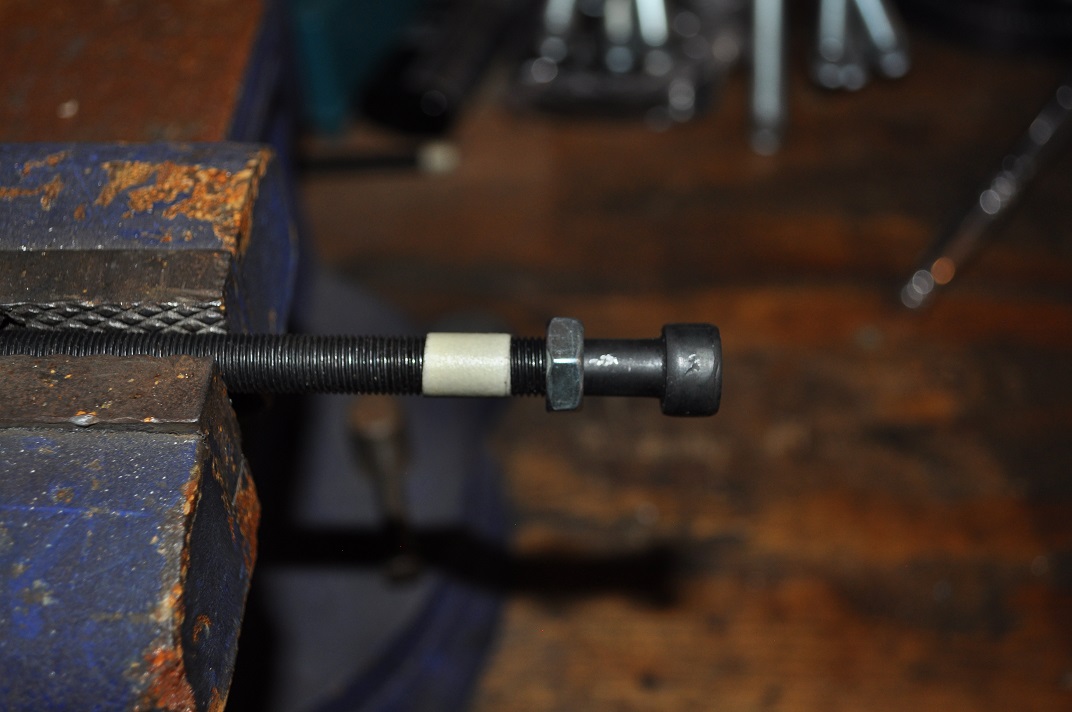
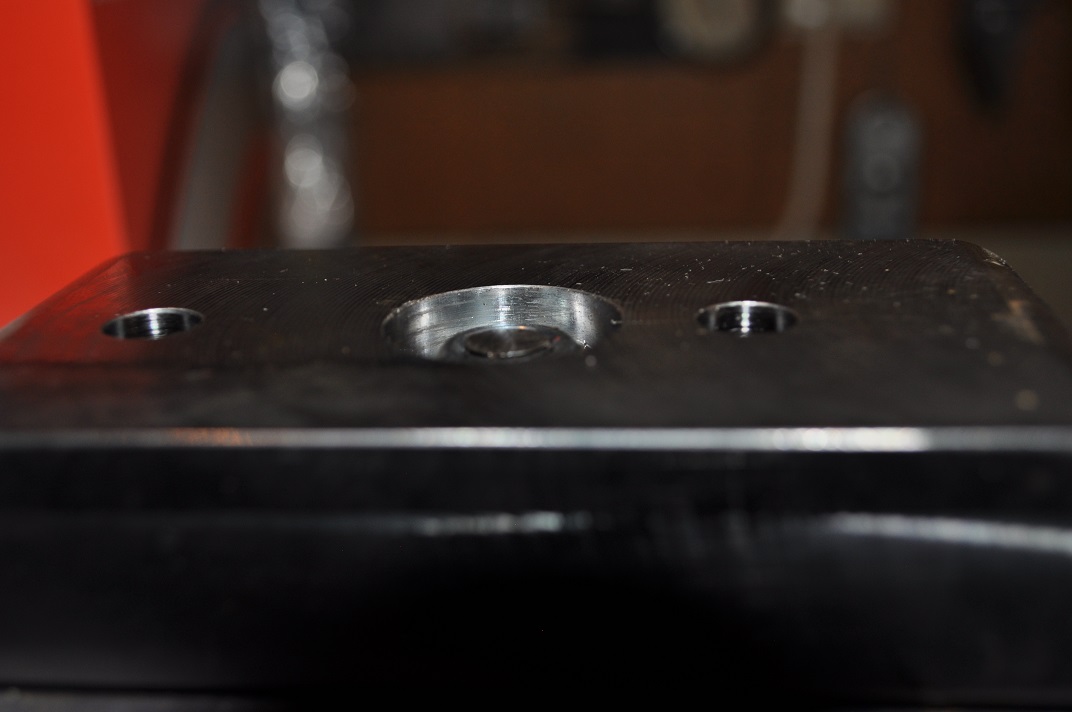
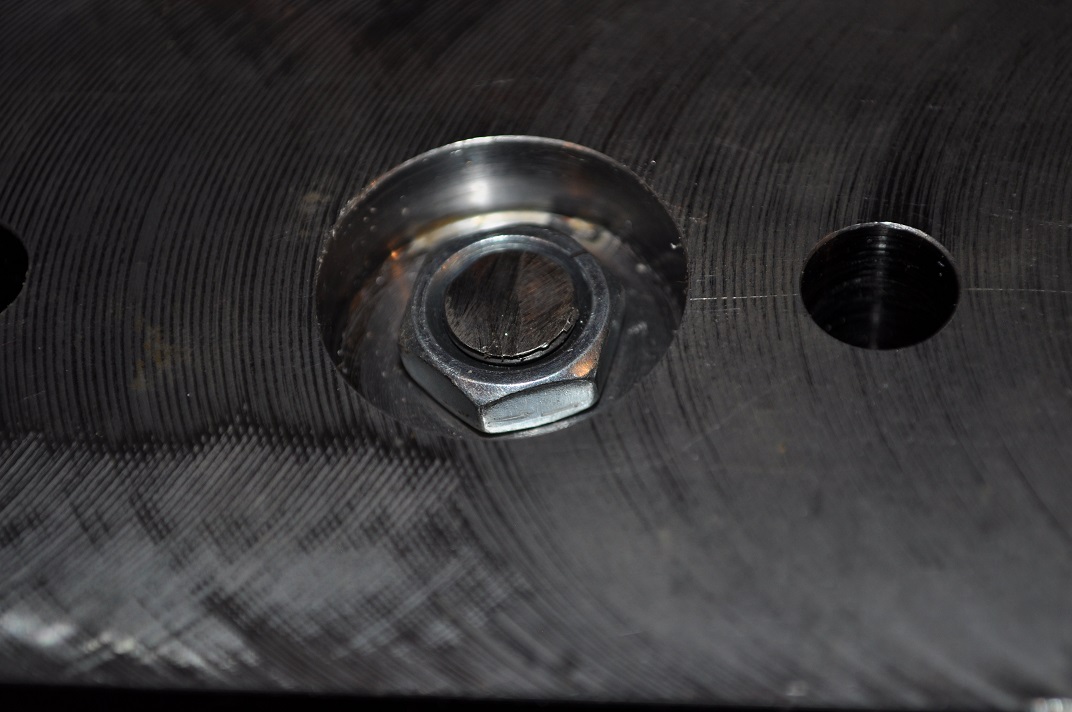
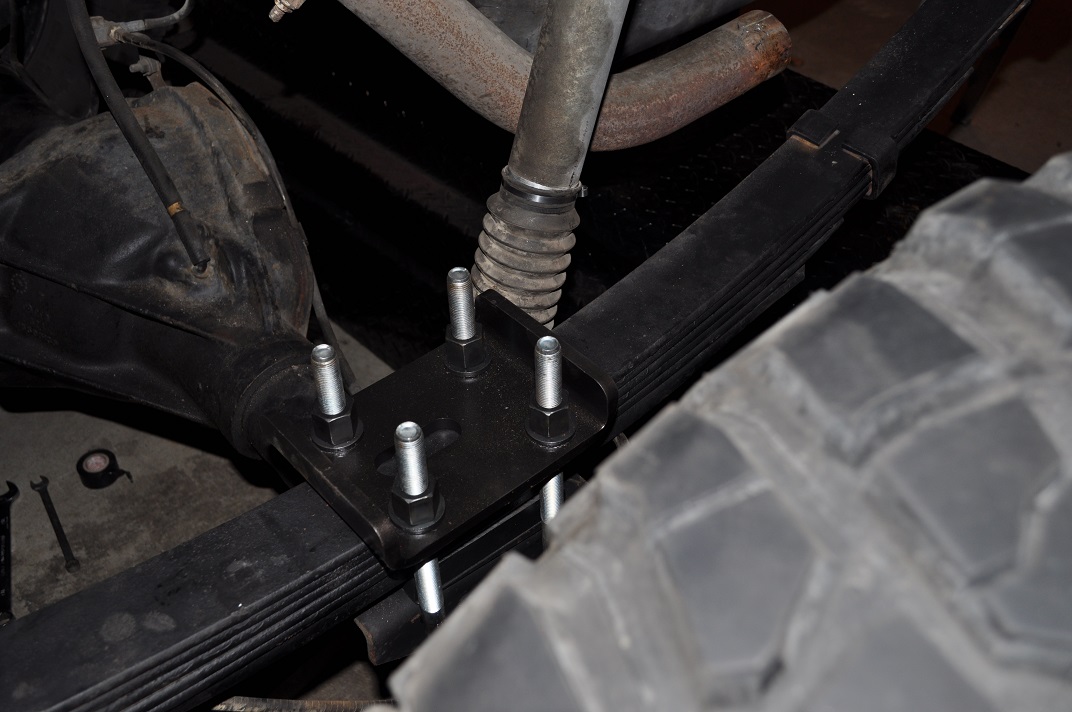
Next was installing the zero rates so I could move the axle back 1 1/2" to center the tires in the wheel wells. I cut the center pin the required 7/8" and put it in the center hole of the zero rate. Next was the bolt that will go through the zero rate and through the hole of the spring pack.

full


full


full


full


full


full


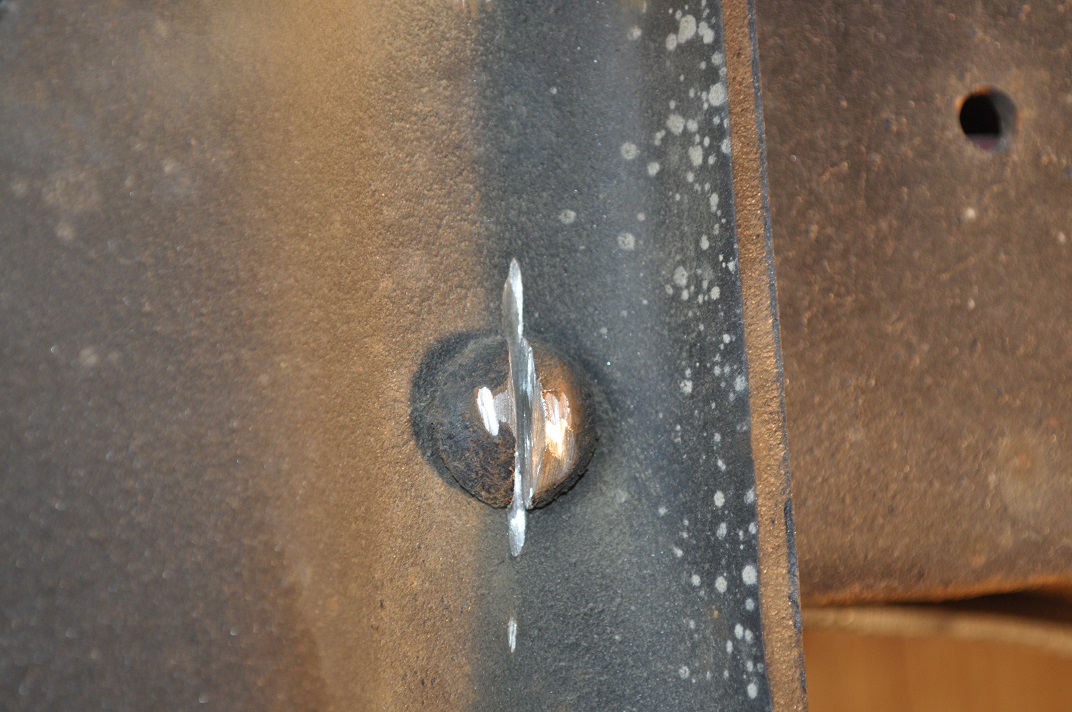
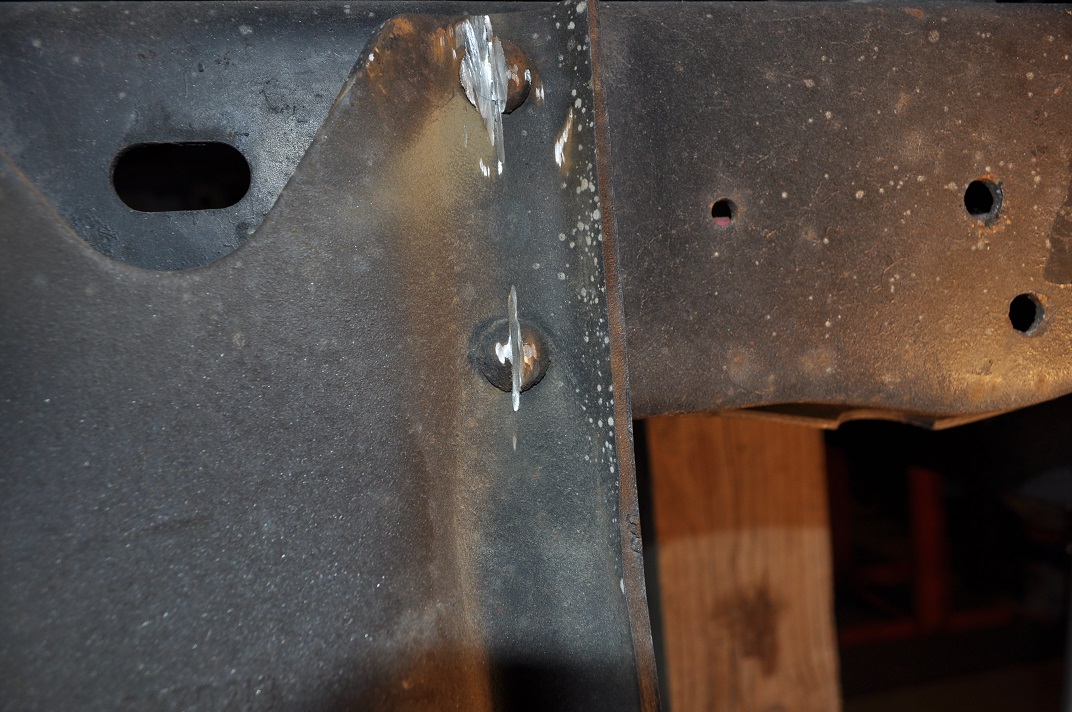
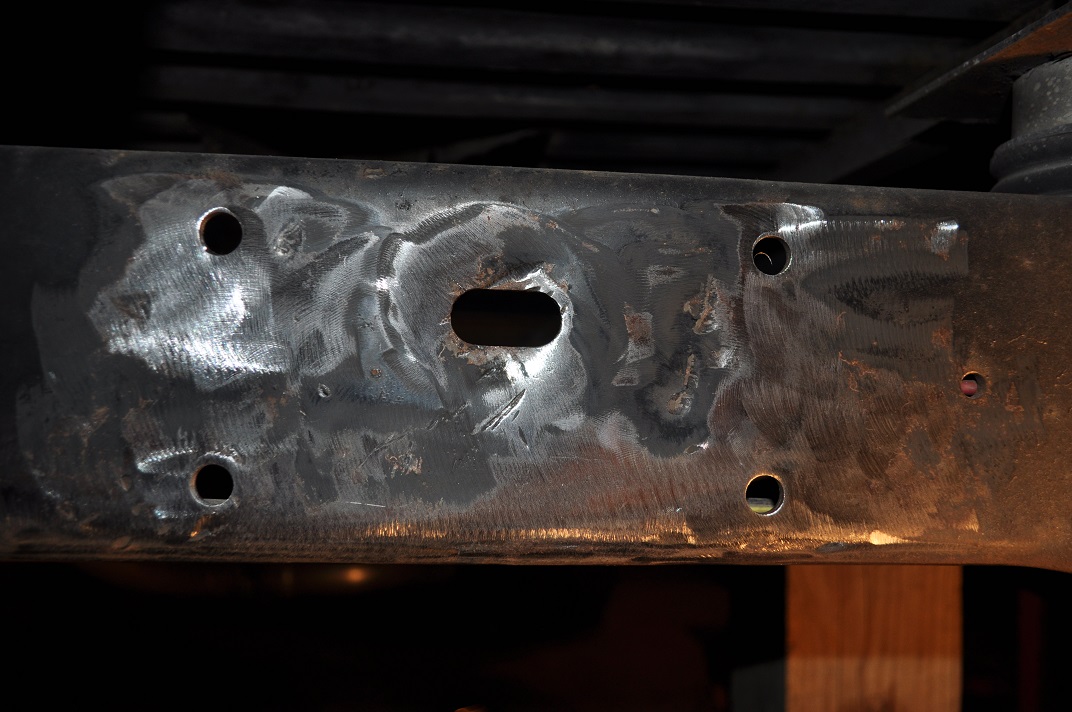
Next was the removal of the old shackle brackets. I used an angle grinder and cut a slit down the center of the rivet. Then started by cutting off one half, then the other.

full


full


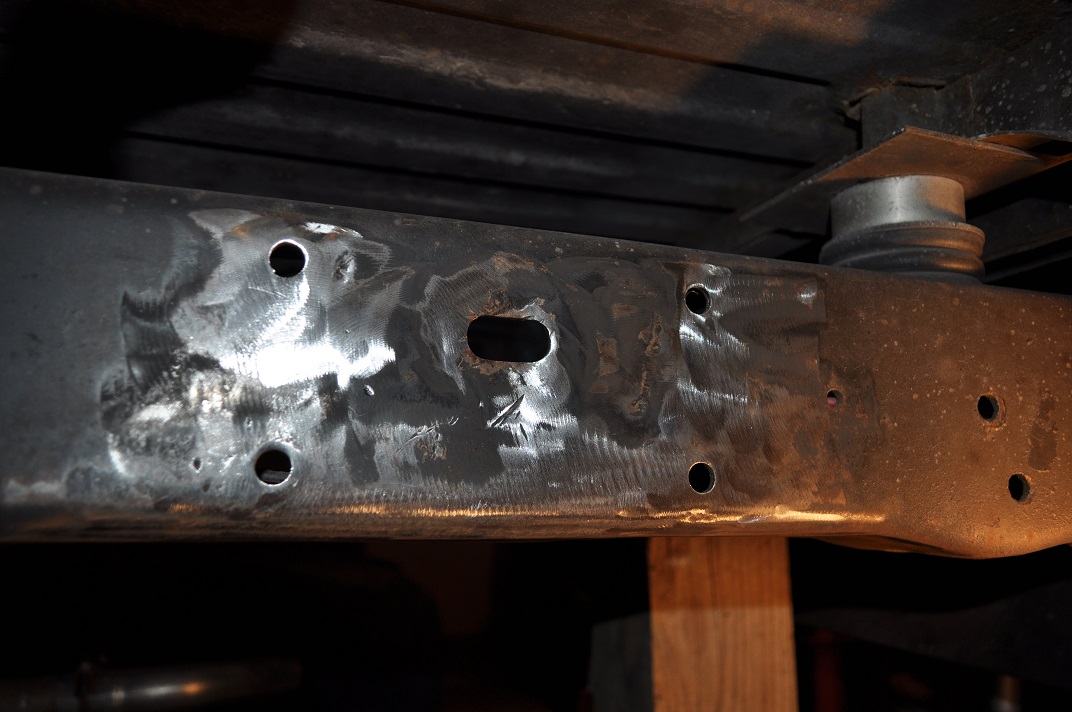
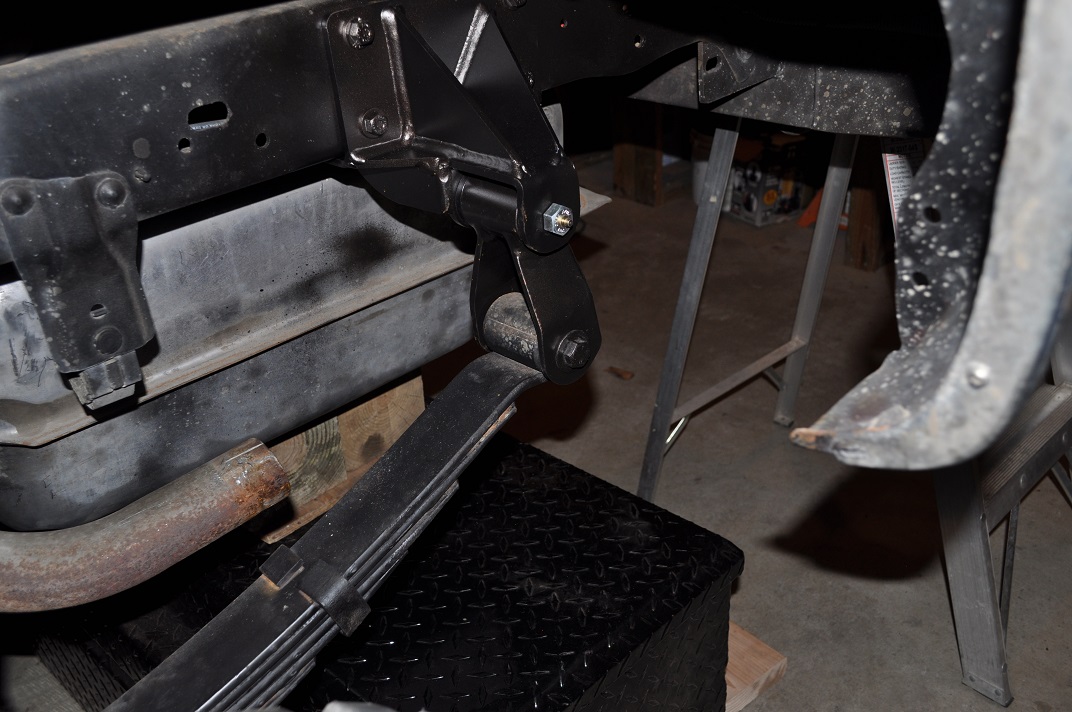
Once all the rivet tops were cut off, I used a 3 pound hammer and knocked out the rivet ends. I then used a large pry-bar and broke the old shackle brackets away from the frame until it just popped off. I cleaned up the holes, drilled them to the new 7 1/6 size hole, painted the frame and installed the new shackle flip and shackles.

full


full


full


full


full

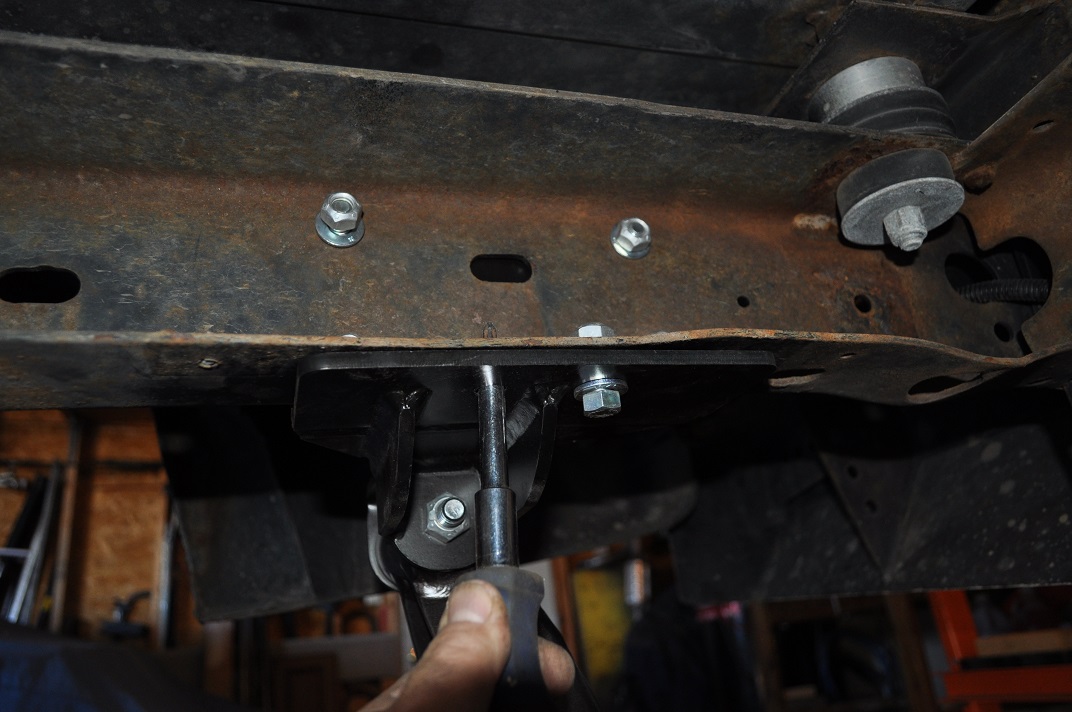
I used a screwdriver to line up the bottom holes for the shackle brackets, but the new bolts will fall into place when you tighten the bottom side bolts. Tighten to 38 ft lbs.

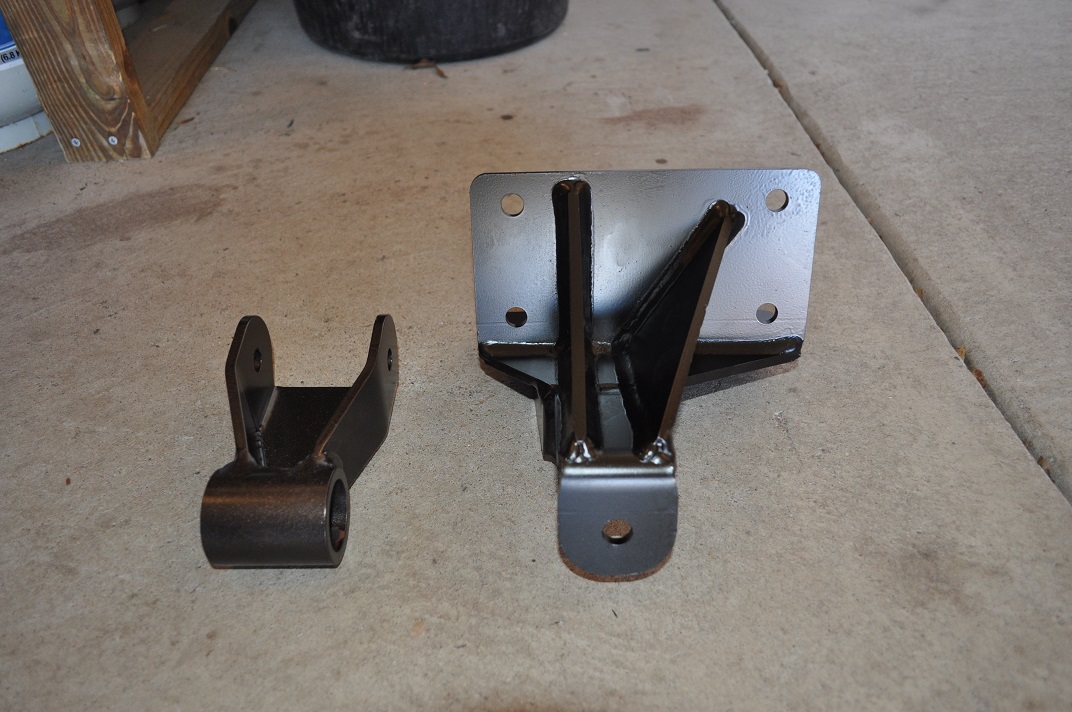
I forgot to get pics of the install with the tires off......I was too excited to remember. But here are some with the rear leaf springs painted and the new U-bolts and spring brackets. All from ORD.

full


full


The 2 1/2" shackle, plus the zero rate, plus the extra 1/2" on the new Heavy Duty shackles gave me an extra 2" of lift for a total of 9" in the back. I am going to add a zero rate up front when I do the Ram Assist to give me 7" total lift in the front. I may switch from 4" springs to 6" springs and forget about the zero rate for a total of 8" in front. Need some overtime first but it will happen.

I also need to get new shocks because of the difference in the new lift height. More overtime.

Plus, I just sent my rear drive shaft to Tom Woods to have it lengthened. And more overtime.
 
Last edited:
Sorry to jump back to your power window motor install, but is it necessary to have the window down 3" (held by mule tape in your pics) in order to get the regulator and motor assembly out? My passenger window is stuck in the up position, and I assume it's the motor since neither the driver's side switch nor the passenger's side switch will make it move. I want to try and replace my window motor, but won't be able to lower it down at all until I get the regulator/motor out.
 
Not a problem, glad to help.

If I can remember, you can remove the regulator with the window all the way up. But once you release the regulator from the inside of the door there is nothing holding the window up so the weight of both the glass and regulator will drop. You can use duct tape on both sides of the glass to keep it up while you remove the regulator. Just make sure you use a lot of tape.

When you get the door panel off, check the connections at the switch first. If the window doesn't move, then tape it up, remove the regulator bolts and slide it to where the wheels come to the opening that allow you to take the wheel out of the track, then manually close the regulator to make it as small as possible, unplug the connection inside the door (it will be a little tight to see inside to where the plug is on the motor), and pull the whole assembly out the opening.

Let me know it I can help any further.
 
I finally got around to getting my On Board Air installed. It is the Viair 10007 kit. All in all it's a nice set up. Only thing I changed was using a rubber line instead of the hard plastic line for the extension off the leader hose and for the extra port for the secondary hose.

It took about 4 hours total to install. The tank is underneath, mounted upside down. Pretty much right under the back seat. It is just above the exhaust pipe before it goes to the mufflers. I'm going to put in a heat shield to give it better protection from the exhaust heat. The heat isn't all that bad but it will help make all the wiring and hoses last longer.

The compressor is installed under the hood on top of the driver side fender. I used some home-made spacers to level it out. The vent is at the front of the compressor. The leader hose and extension, along with the wiring is at the back. It really worked out quite nice. There is a hose connection on a T-valve at the end of the leader hose. And another hose connection mounted on the passenger side of the rear bumper, attached to the gusset.

The pressure gauge and on/off switch is mounted on the driver side, next to where the seat belt attaches to the inside frame. It has a light that comes on, along with the power to the compressor, when ever the key is turned on or the truck is started. This way the compressor won't come on, or be turned on by accident, if the truck is off.

Installation Tip: DO NOT USE TEFLON TAPE ON THE FITTINGS......USE THREAD SEALANT!!!

The instructions are very easy to follow for anyone wanting to install an OBA system from Viair. Enjoy :waytogo:


Last edited:

Latest Posts

Top Bottom