CK5
Register an account today to become a member! Once signed in, you'll be able to participate on this site by adding your own topics and posts, as well as connect with other members.

'91 K5 Four Wheel Camper

This is the build for my 1991 V1500 Blazer, AKA the K5.3. It started out life being sold to the U.S. Government with a 350 TBI/700r4/241 combo. 4 years with a 5.3/700r4 Combo and now moving to an 8.1L Vortec and NV4500 5-speed.
Yeah my 5.3 was super close to the fire wall too. I used the dirty dingo mounts and just aligned them with the trans in the stock location. Maybe 1/4 to 1/2 inch of clearance between the head and firewall.

I ran the stock 5.3 manifolds too. Tight fit but they work
 
Nothing monumental for updates today, but did spend some time polishing up the best lens I had for the cluster. I put the cluster back together, just need the LED bulbs to finish it. While I was polishing stuff, I pulled out the underhood light/reel cleaned it and polished the lens too. Larry wants the underhood light to mount on the firewall so the pcm location can be finalized.

Here's some pics of the restored cluster..


Last edited:
Have you ever heard the country song "two steps forward, one step back"? That's how today's work session in the Bigassgas Garage went.

Plan of the day was for me to get the TCC wiring and TV spring and cable install done on on the trans and Larry was going to wrap up the fuel lines and get them all tied down to the frame with the filters. Work was going along smooth with a little help on the phone by another work buddy Jesse since he's our resident expert on all things 700r4. He's another square nut too. Thanks Jesse! I owe you Beam N Seven for the knowledge!

I went on to the TV spring and cable install next. The plunger and bushing were tight to get out of the valve body but the Bowtie overdrives gave a great tip to use the spring and plunger to "slide hammer" the bushing out by pressing in on the plunger and letting it snap out. It worked like a charm. I will say the Bowtie Overdrive kit so far has been very easy to install and the instructions with it are very clear with great color pics to make it easy to follow.

I buttoned up the trans with a fresh filter, front pump seal and dipstick tube seal. Larry brought out the power washer and gave it another douching on the stand. This is about where the one step backward came in. Larry started prepping the t-case for a clean up and fresh paint he noticed something odd about the output shaft. It wasn't centered in the seal. He spun it by hand and sure enough the output shaft is BENT!

So took some time to blow the extension housing off the case and found more damage. The pump housing is broke at one of the bolt holes and the hilljack previous owner made a lame attempt at gluing it back together with silicone rtv. SOB! Larry had tried to drain the oil earlier and got NOTHING. Well a couple of water drops, but no oil. Not a good sign. I've got to search for another 241c and do some research on replacement parts at work.

On to some pics.

TCC wiring. All that was required was removing the silver two prong sensor and eliminate the connector then splice the brown wire to the black one. Done.


Getting ready to button it up with the pan.
full


Rattle can rebuild is complete.
full


Uh-oh. This shouldn't come off this way.
full


Housing is junk. Notice the wrong bolts and washers below it that I pulled off.
full


The more I think about it, the more I'm inclined to look for another one. We found signs that bolts were pulled off the input side by the darn things being rounded off. Something tells me there is more wrong inside from some nitwit trying to band-aid it back together.

Even despite the setback it was good to get to work on it. Thinking on a positive note, it's better that the trans was ok and the t-case fubar'd as I have more options than if it was the other way around.
 
Last edited:
That housing gets broken like that whenever the pump ears are not lined up with the pockets in the housing; then the bolts got tightened down...ask me how I know. The PO must've been special

Hopefully you can find a replacement quickly, good luck!
 
The budget is lighter, but at least I found a 241c t-case locally. We buy a good amount from this local boneyard so I got a better price than they advertised on the web. They wanted a core back. Larry was thinking ahead about keeping the old case as a backup if I managed to smack it on a rock and crack it like an egg. It just so happened one of my techs at work traded me a couple of parts for the old tailgate from my 75. One of those parts was a 207 t-case from a early S10 Blazer. Completely worthless to me but he gave it to me anyway. So I talked to the guys at the boneyard and offered the 207 as the core return. Bingo. They were cool with it. We got spare case now.

It's just in case. I'm going to have to tighten up my driving style now. The 75 was ratty enough I could wheel with reckless abandon. My rear driveshaft and doors showed the results of my size 15 boot.

Work is suspended for the weekend. I'm riding shotgun in Larry's rig for a weekend fishing run with a few buddies. The expected target for a fish antics is over a pass below timberline. It's a new area we've never explored before, but we both have been itching to get some dirt on the tires. We got beers, steak and snacks. Should be a good weekend.
 
Work is suspended for the weekend. I'm riding shotgun in Larry's rig for a weekend fishing run with a few buddies. The expected target for a fish antics is over a pass below timberline. It's a new area we've never explored before, but we both have been itching to get some dirt on the tires. We got beers, steak and snacks. Should be a good weekend.

I await the pictures! :popcorn:
 
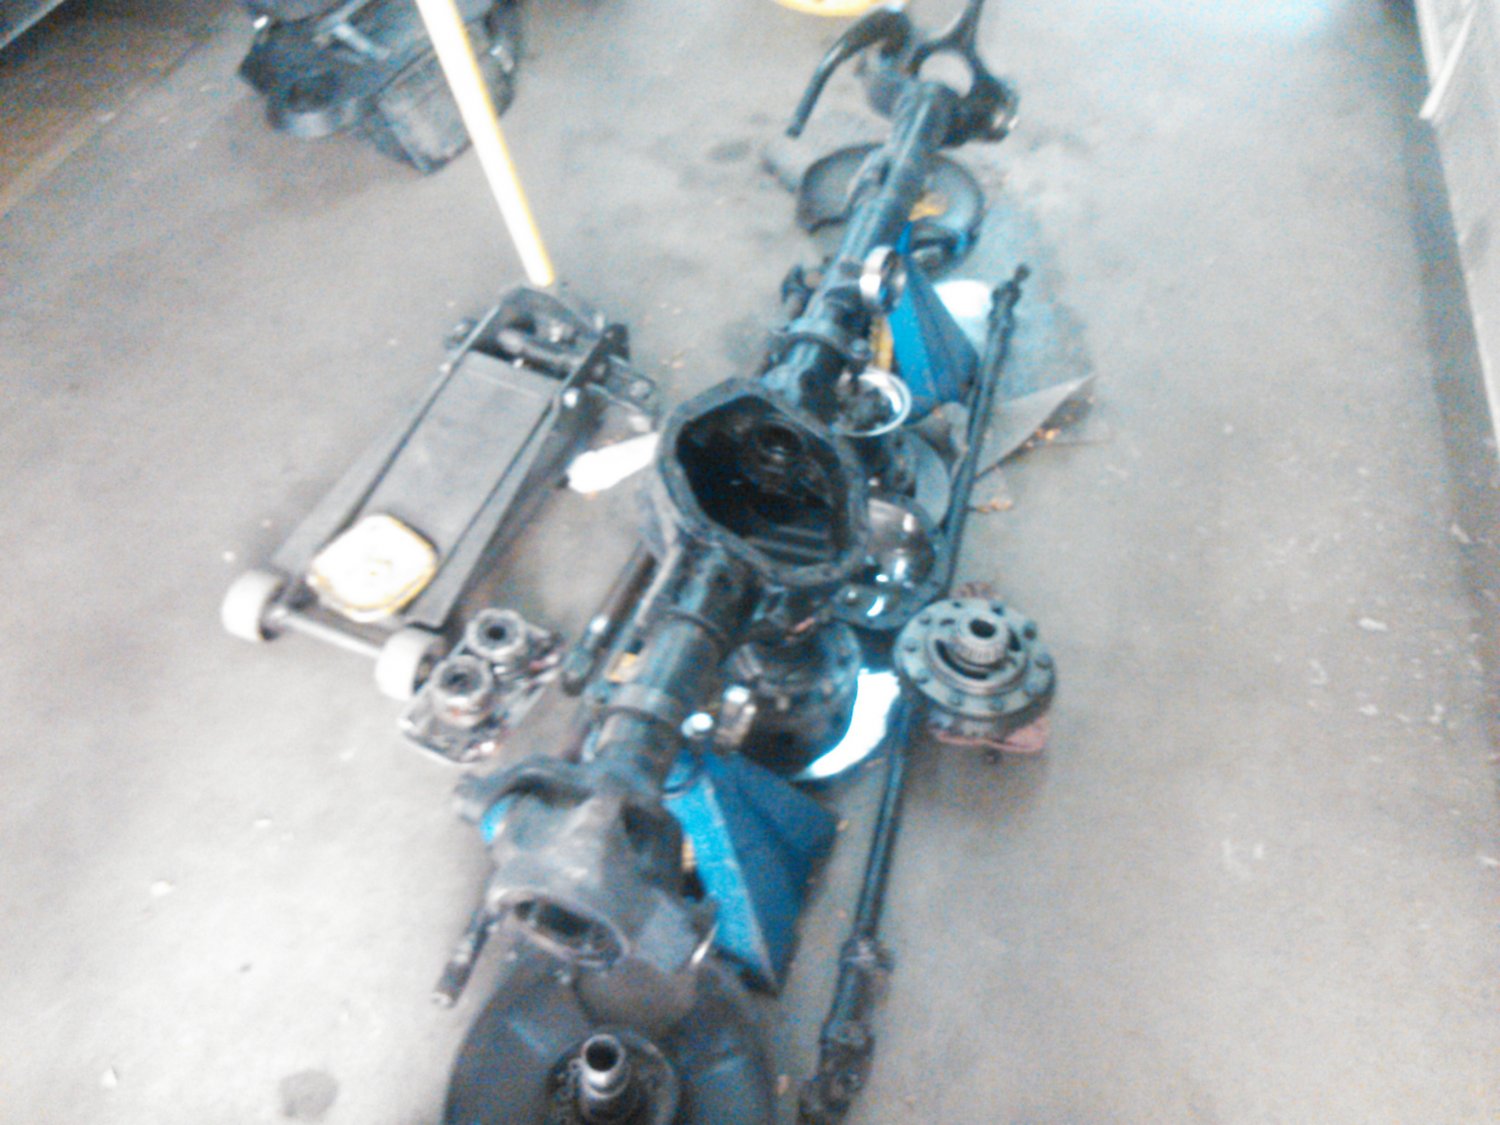
While Larry and I were camping and fishing at 10,000ft last weekend, one of my techs was busy blowing apart my front axle to install the tru-trac. Here's where he stopped:

full


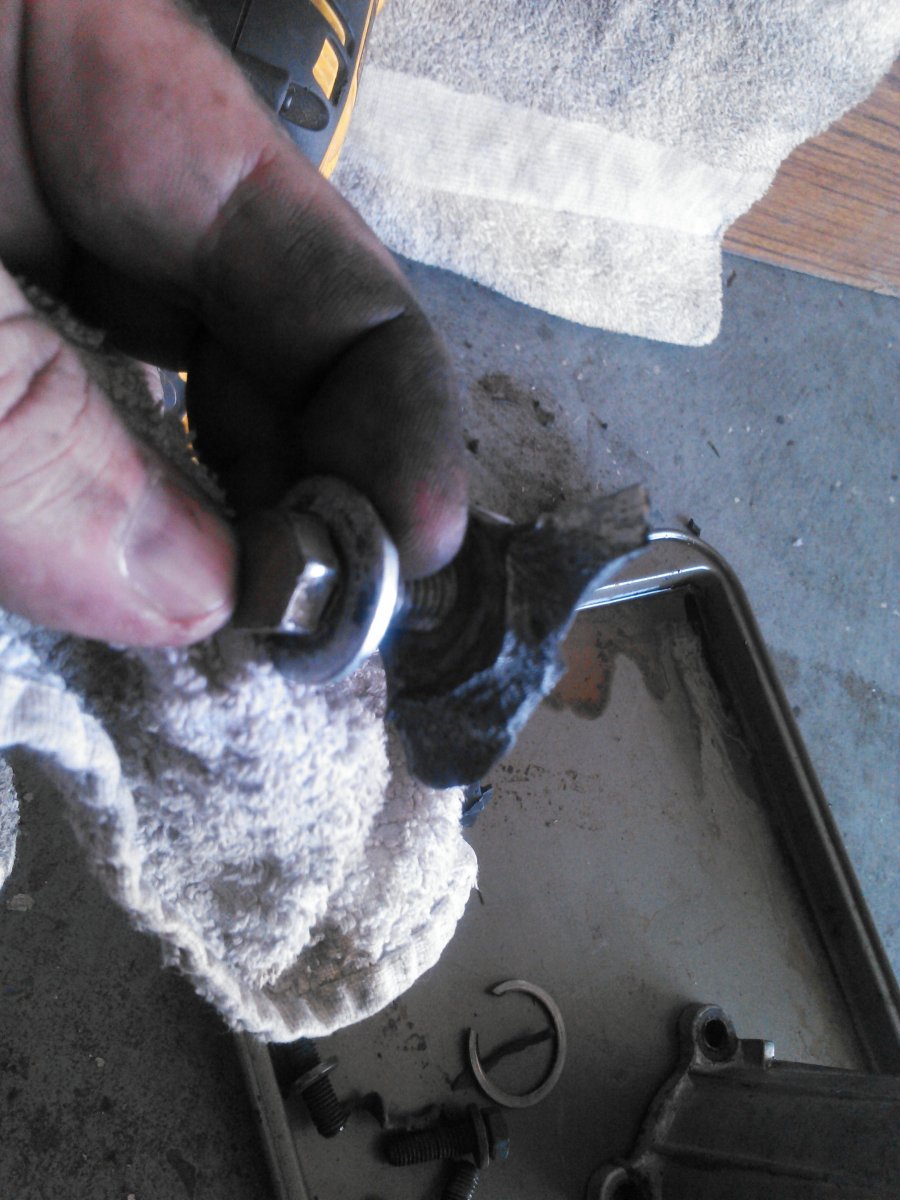
He pulled the ring gear off of the original carrier and one of the 10 ring gear bolts came out funny. Like missing half the threads funny. So he wisely stopped to consult with me once I got back to work. Keep in mind this axle is from Larry's family wrecker truck he dismantled and was bought new by his Dad. The axle had never been blown apart..ever. So it was kind of odd to have the threads wipe out. Still we both agreed new ring gear bolts should have been on the parts list from the get-go, so we kinda dodged a bullet. I called up the Pueblo brake and clutch and had a set delivered up the next day. I will say I'm proud to have a part of Larry's truck history under my K5.

Not much else to report except Larry's been busy fogging paint on. So much so he ran out of the tan I had mixed up and ran out of his favorite satin black tractor paint too. Lucky for us the local farm store got restocked this week. So I sent Larry this pic:


We had a pretty good time off the grid last weekend. Wasn't a typical wheeling trip as the trail was pretty basic. Just long and rocky, but the views were great over Hagerman pass. We dropped into a secluded valley that was still at 10,000ft and camped on a old railroad bed that splits Ivanhoe lake in two. Kinda trippy to wake up and see water out of both sides of the camper after an afternoon/night of adult beverages.

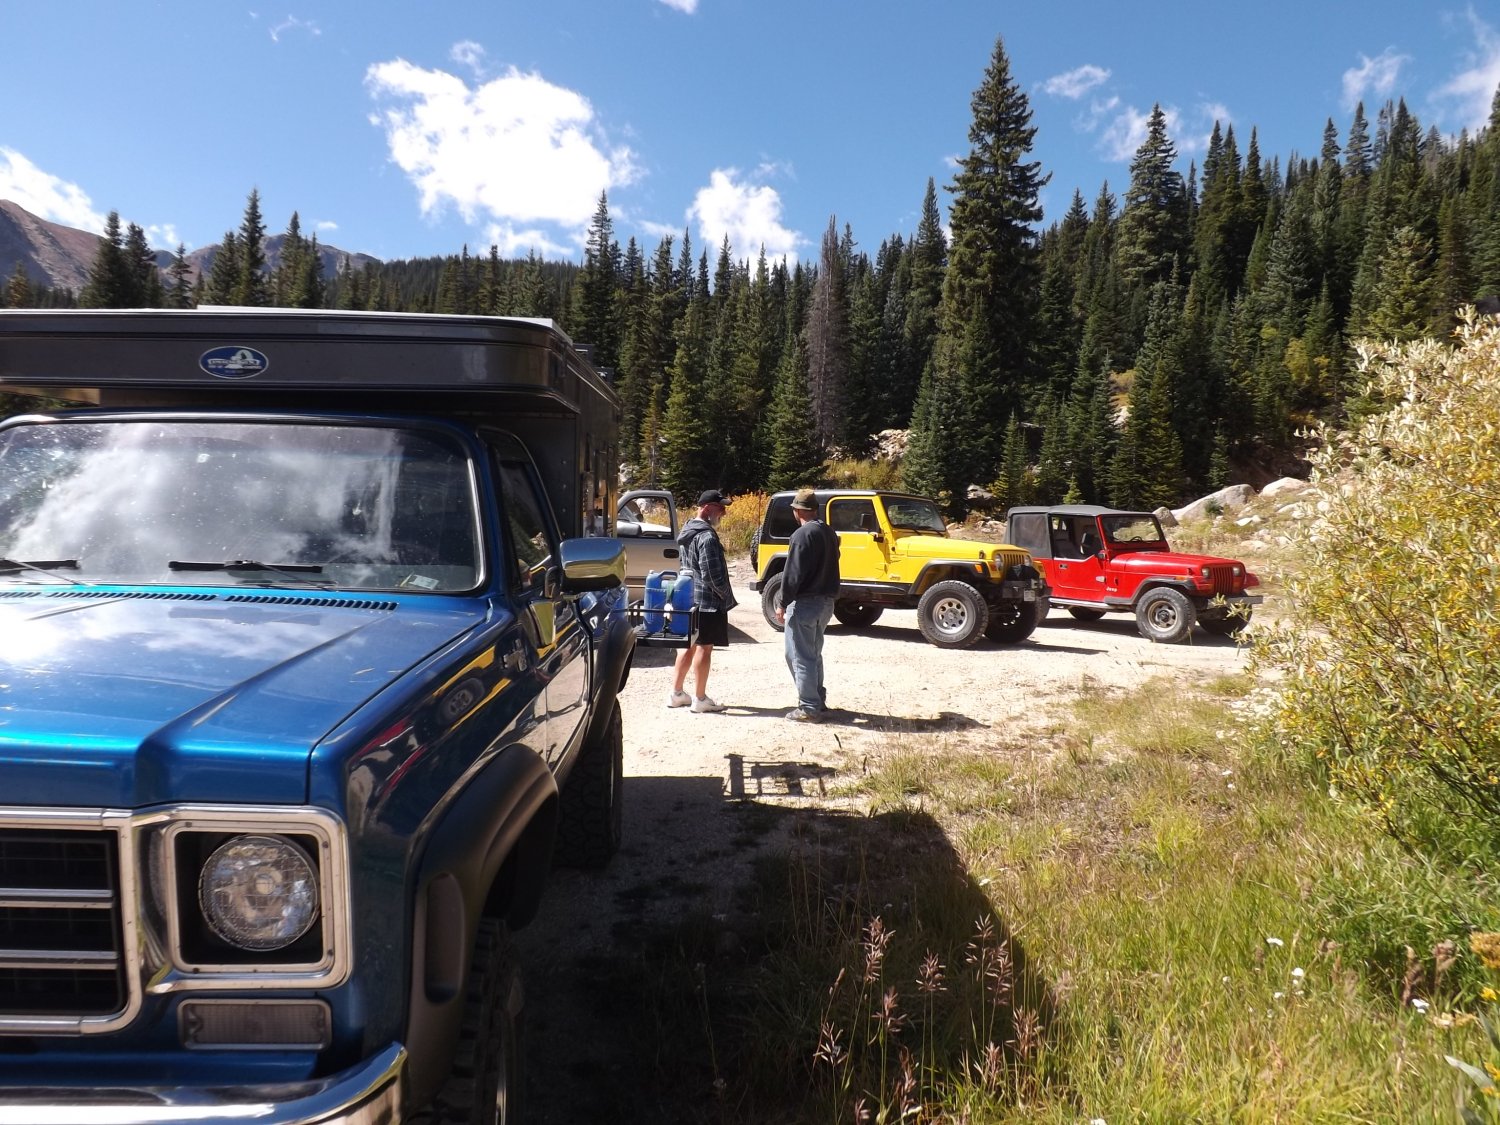
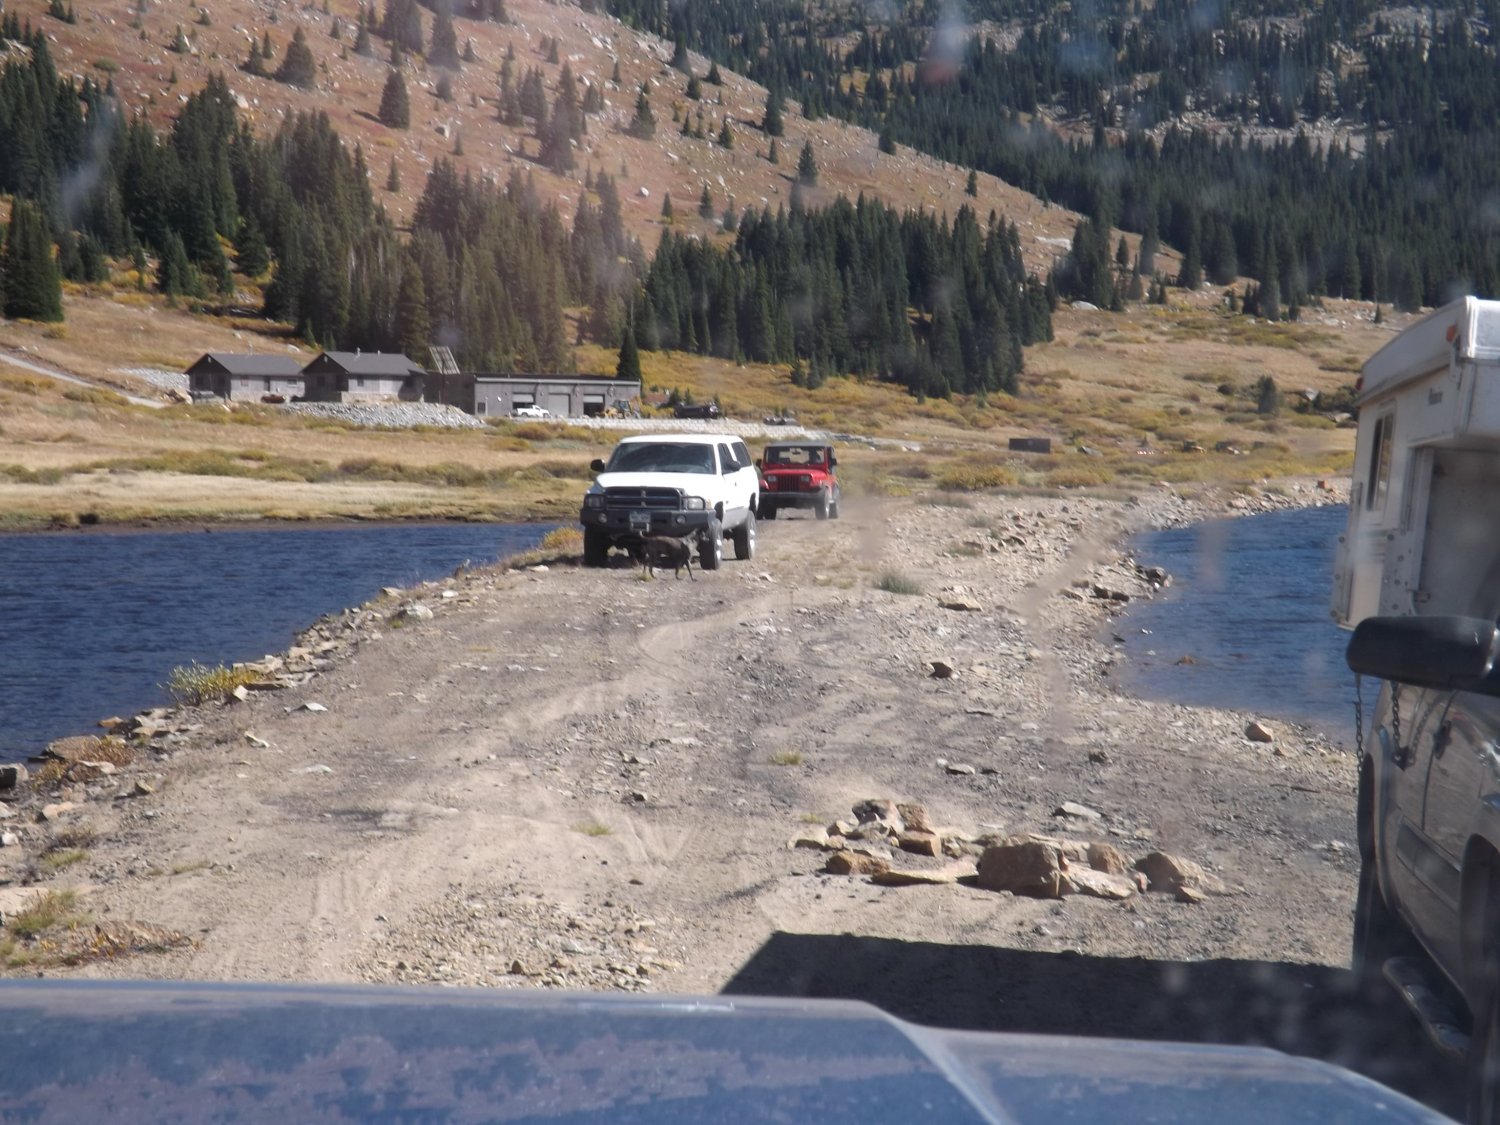
The cast of characters, Larry's K10 out in the back, his neighbor's Silverado behind it, our Buddy Bill's Dodge behind it. The yellow TJ and red YJ Jeeps are couple of brothers that are our guides to the new area. John has the yellow jeep and his son and my son are best buds. Shane is his brother and has the red jeep. Larry dubbed them, ketchup and mustard.

full


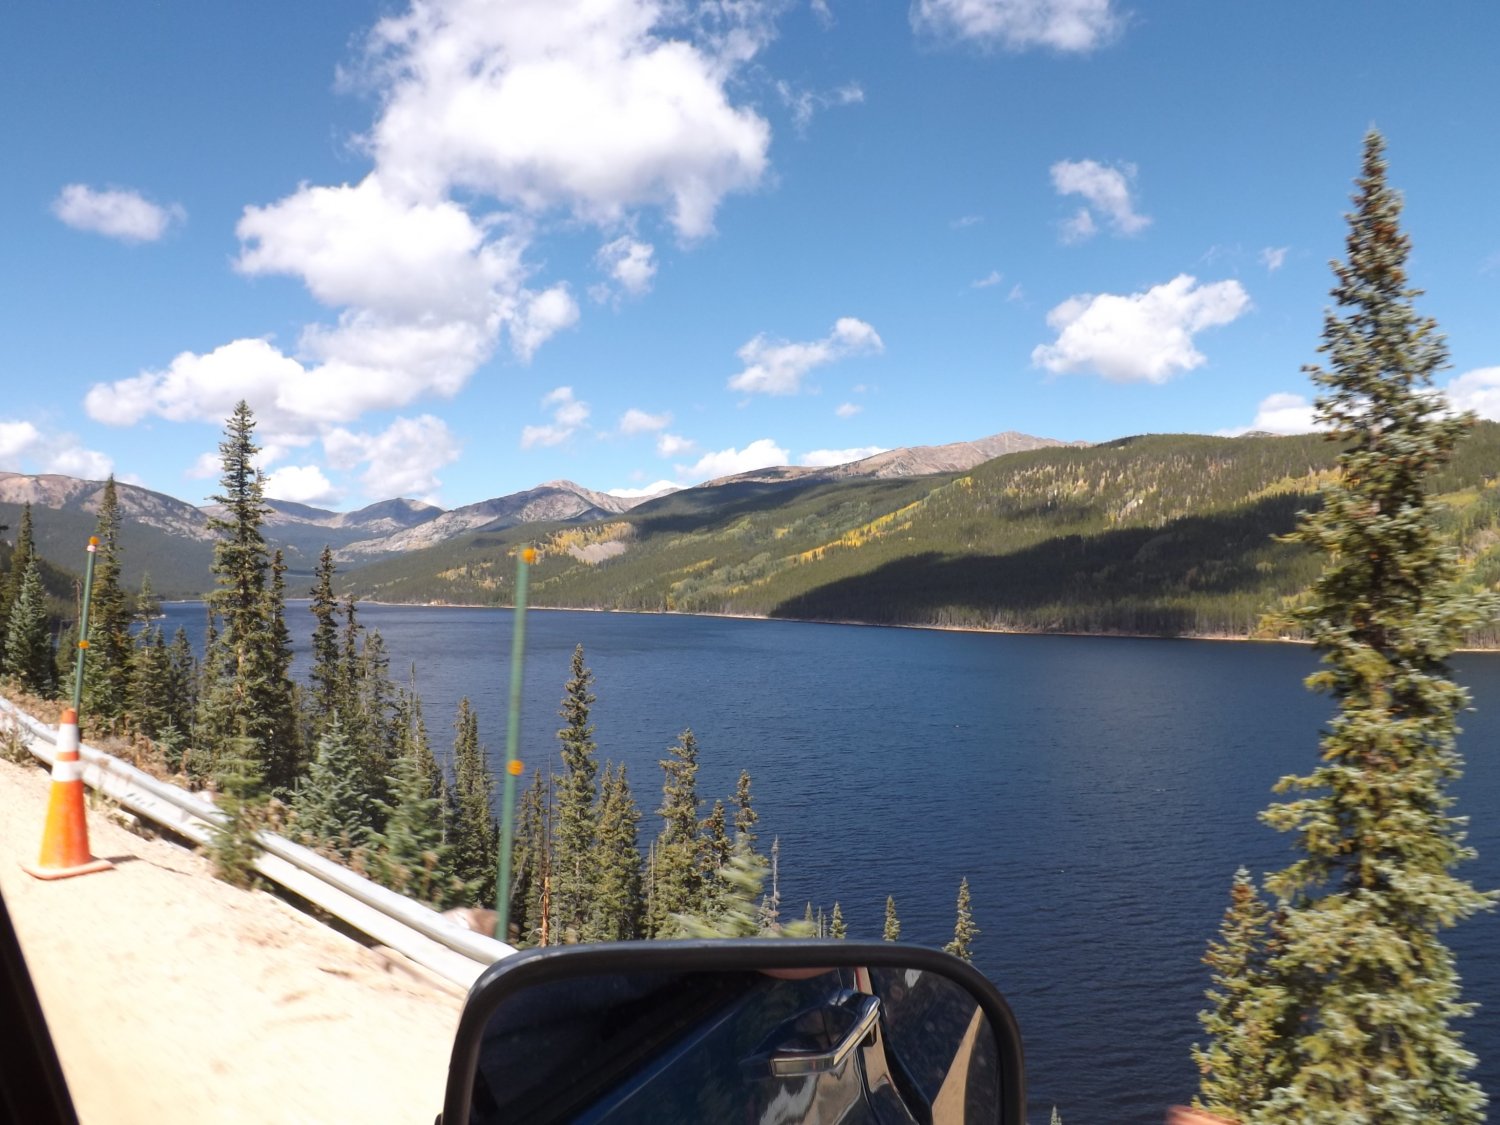
Looking east off of Hagerman pass at turquoise lake.

full


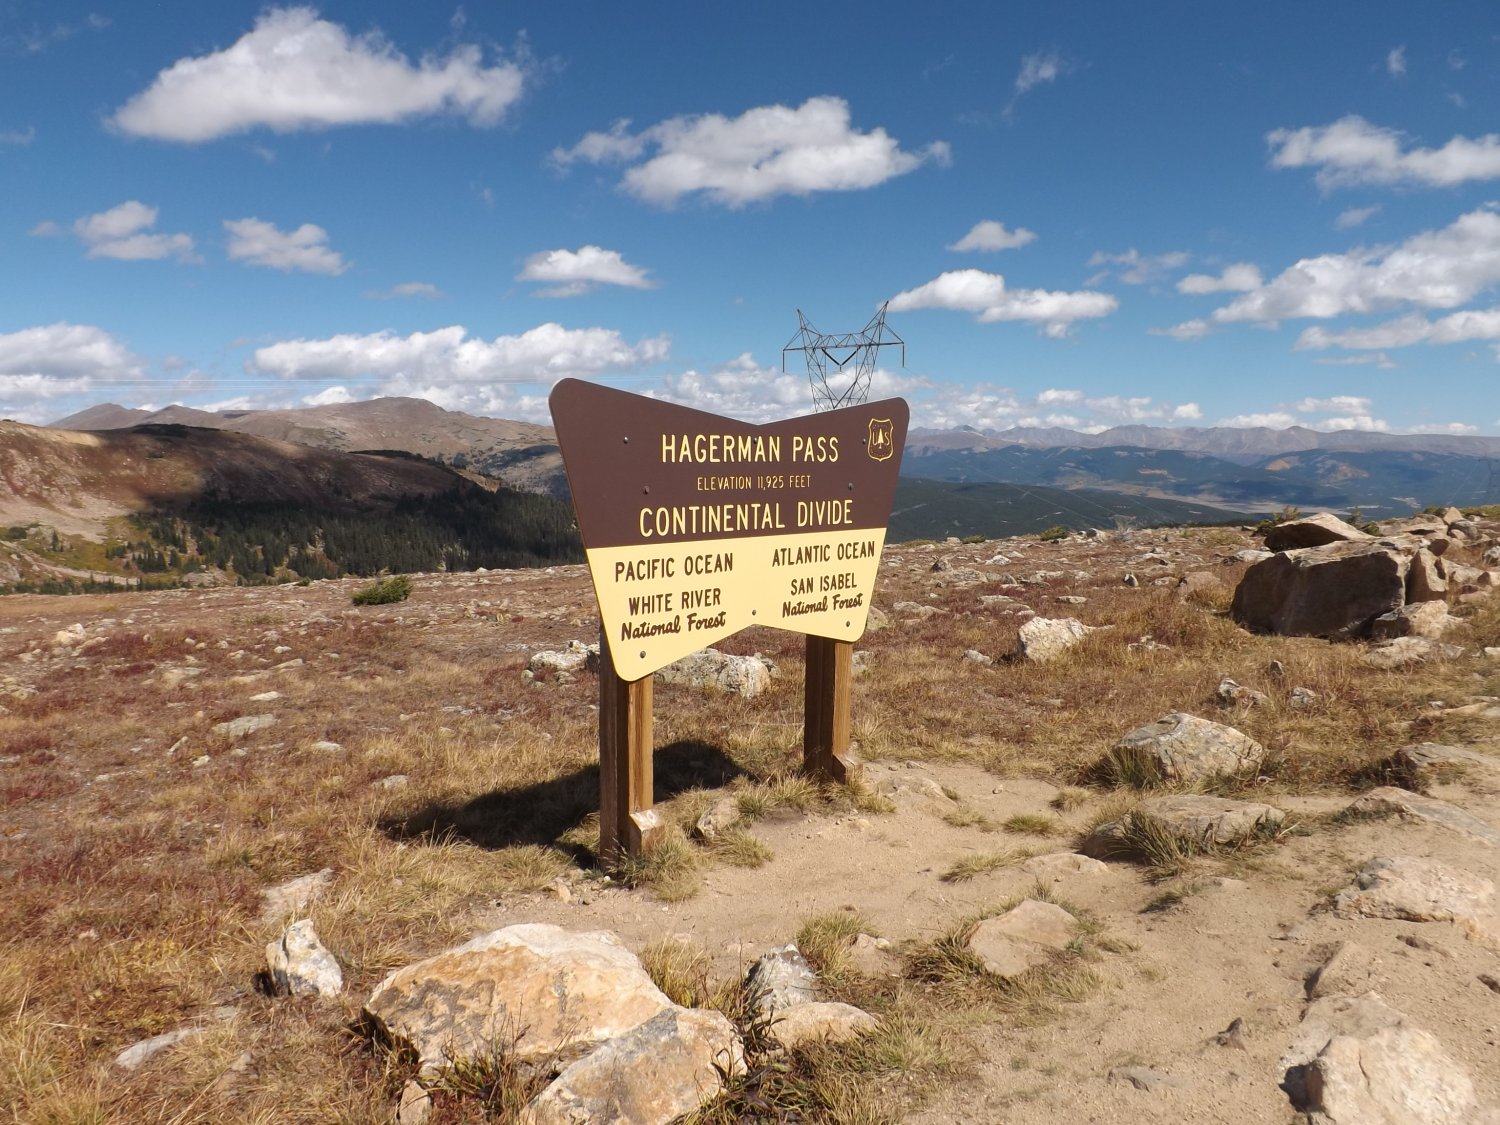
The top of the pass. 11,925 ft. For you flatlanders, that's up there.
full


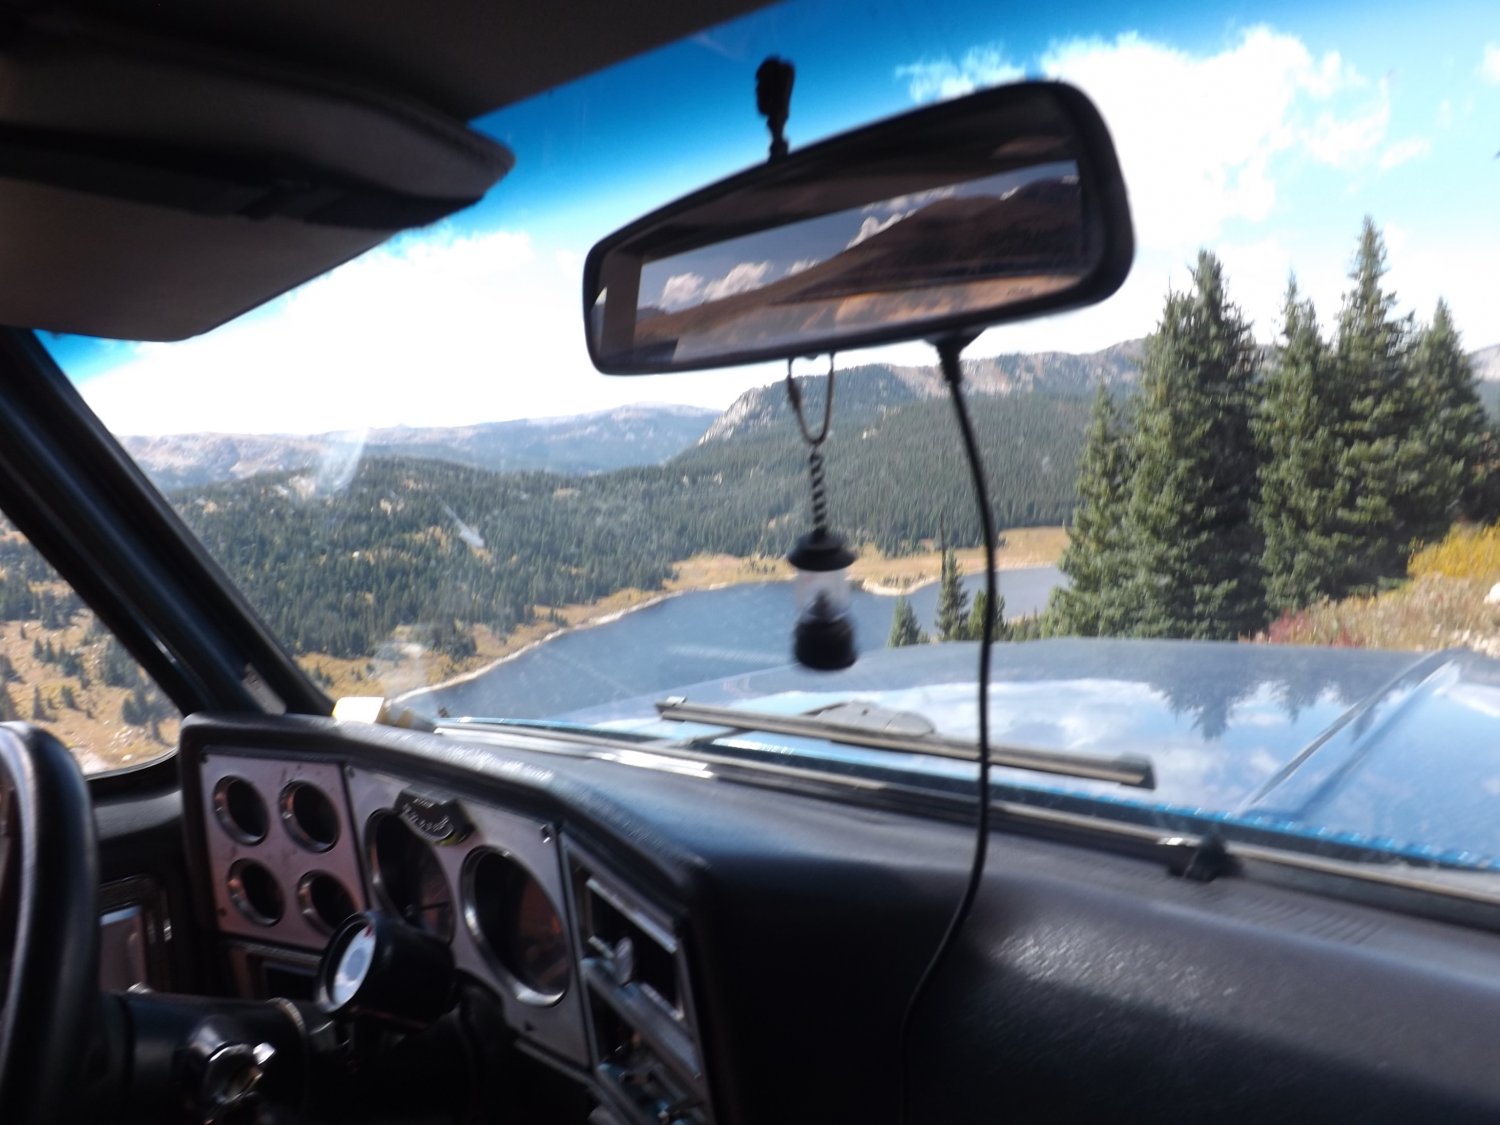
Something you don't always see. Action from inside Larry's K10. This is looking down the west side of the pass over our target fishing spot, Ivanhoe Lake.
full


This was hard to tell it was actually an old railroad bed we were on, but once we got up above the lake on the other side it was pretty obvious. The black sand, rusty railroad spikes and rotten rail road timbers were a pretty good giveaway too. The only problem with this spot is it lacked any protection from the wind. Which never really stopped until early in the morning.

full


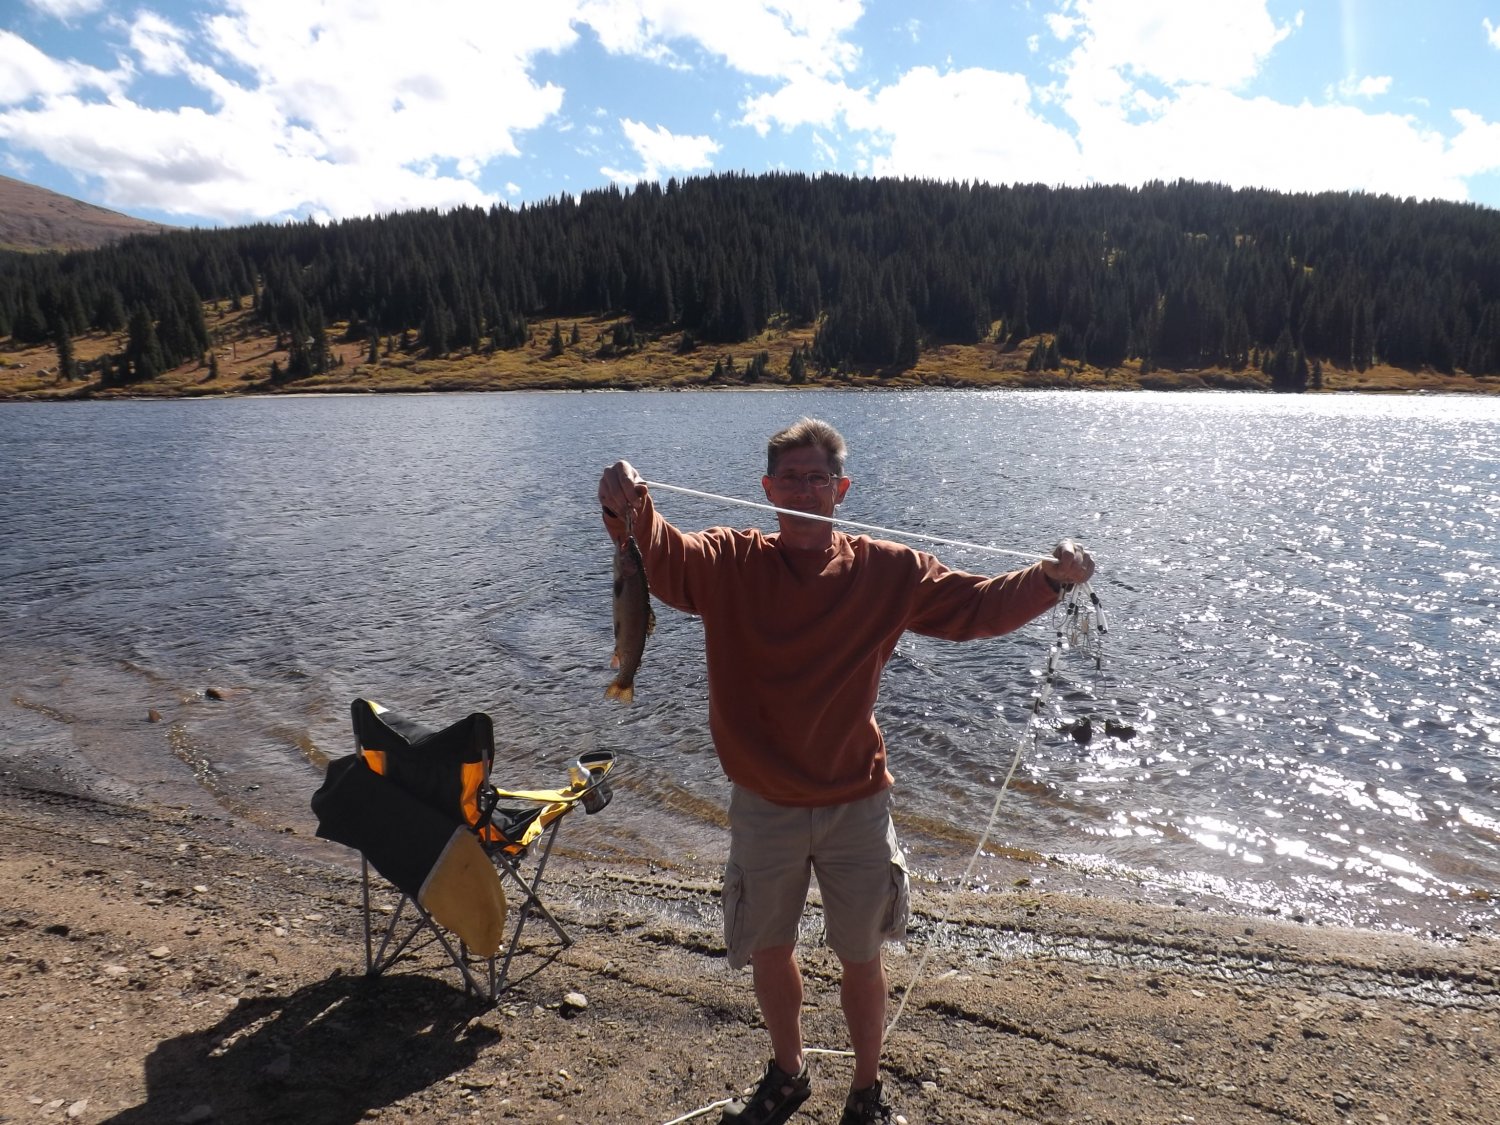
Third cast out, Larry nailed a nice rainbow.
full


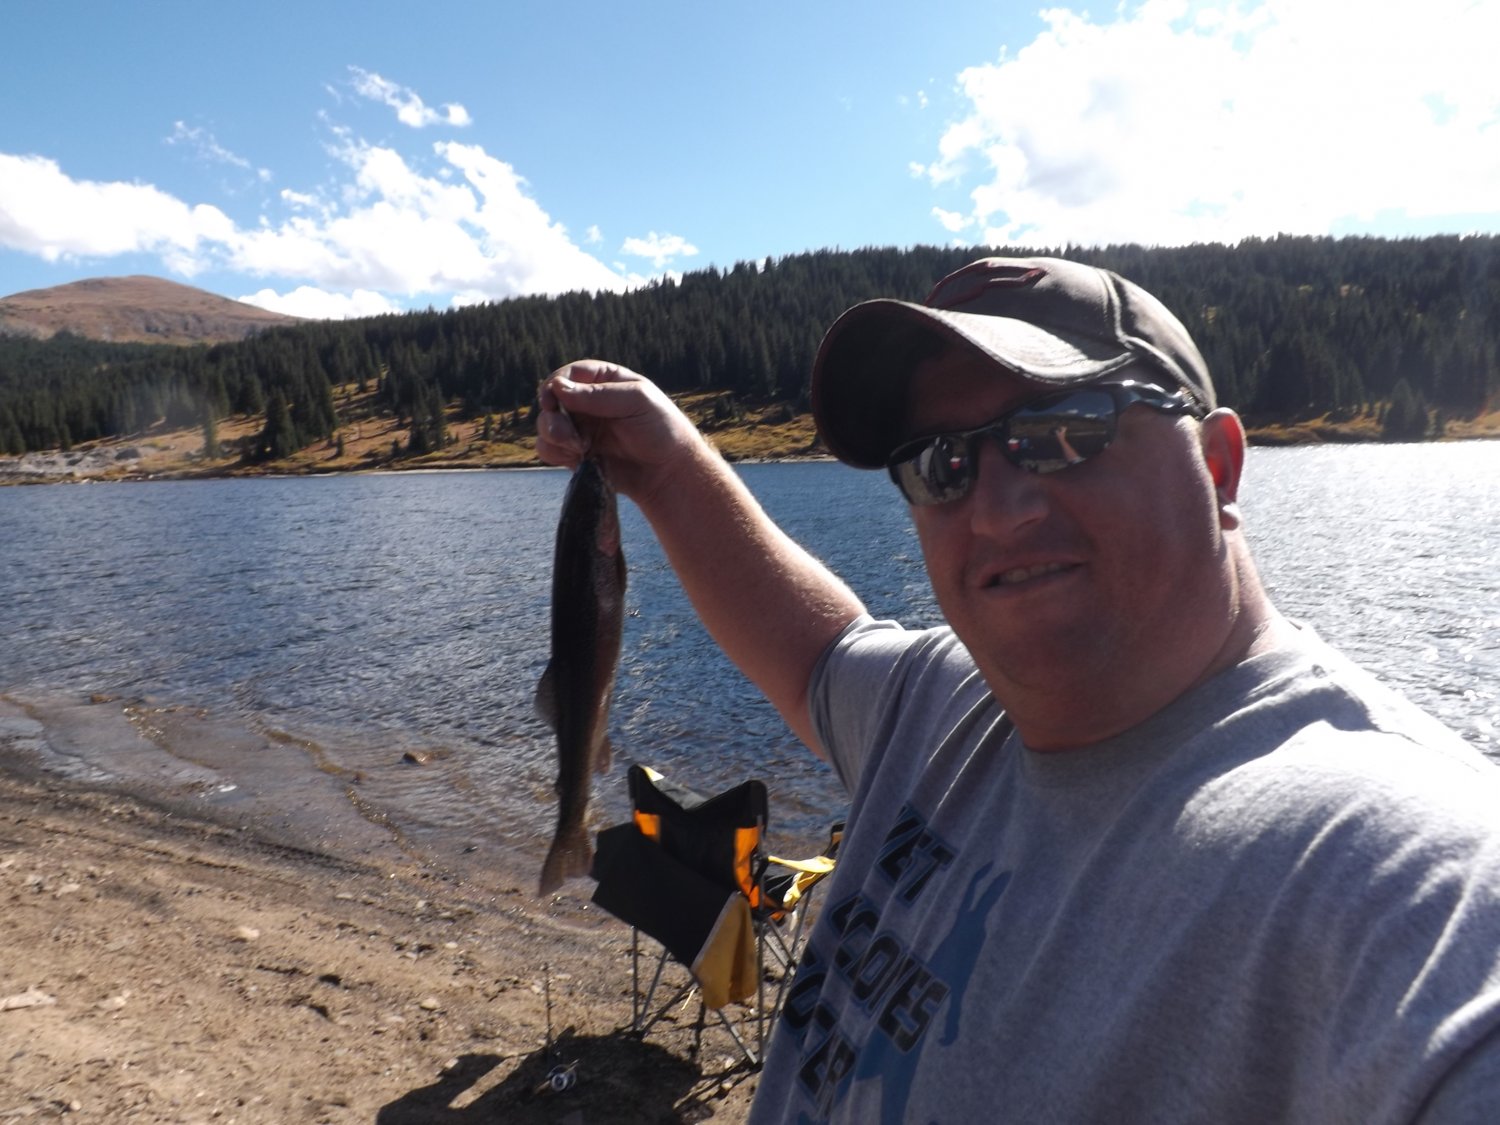
My third cast out after restringing my reel I got one too!
full


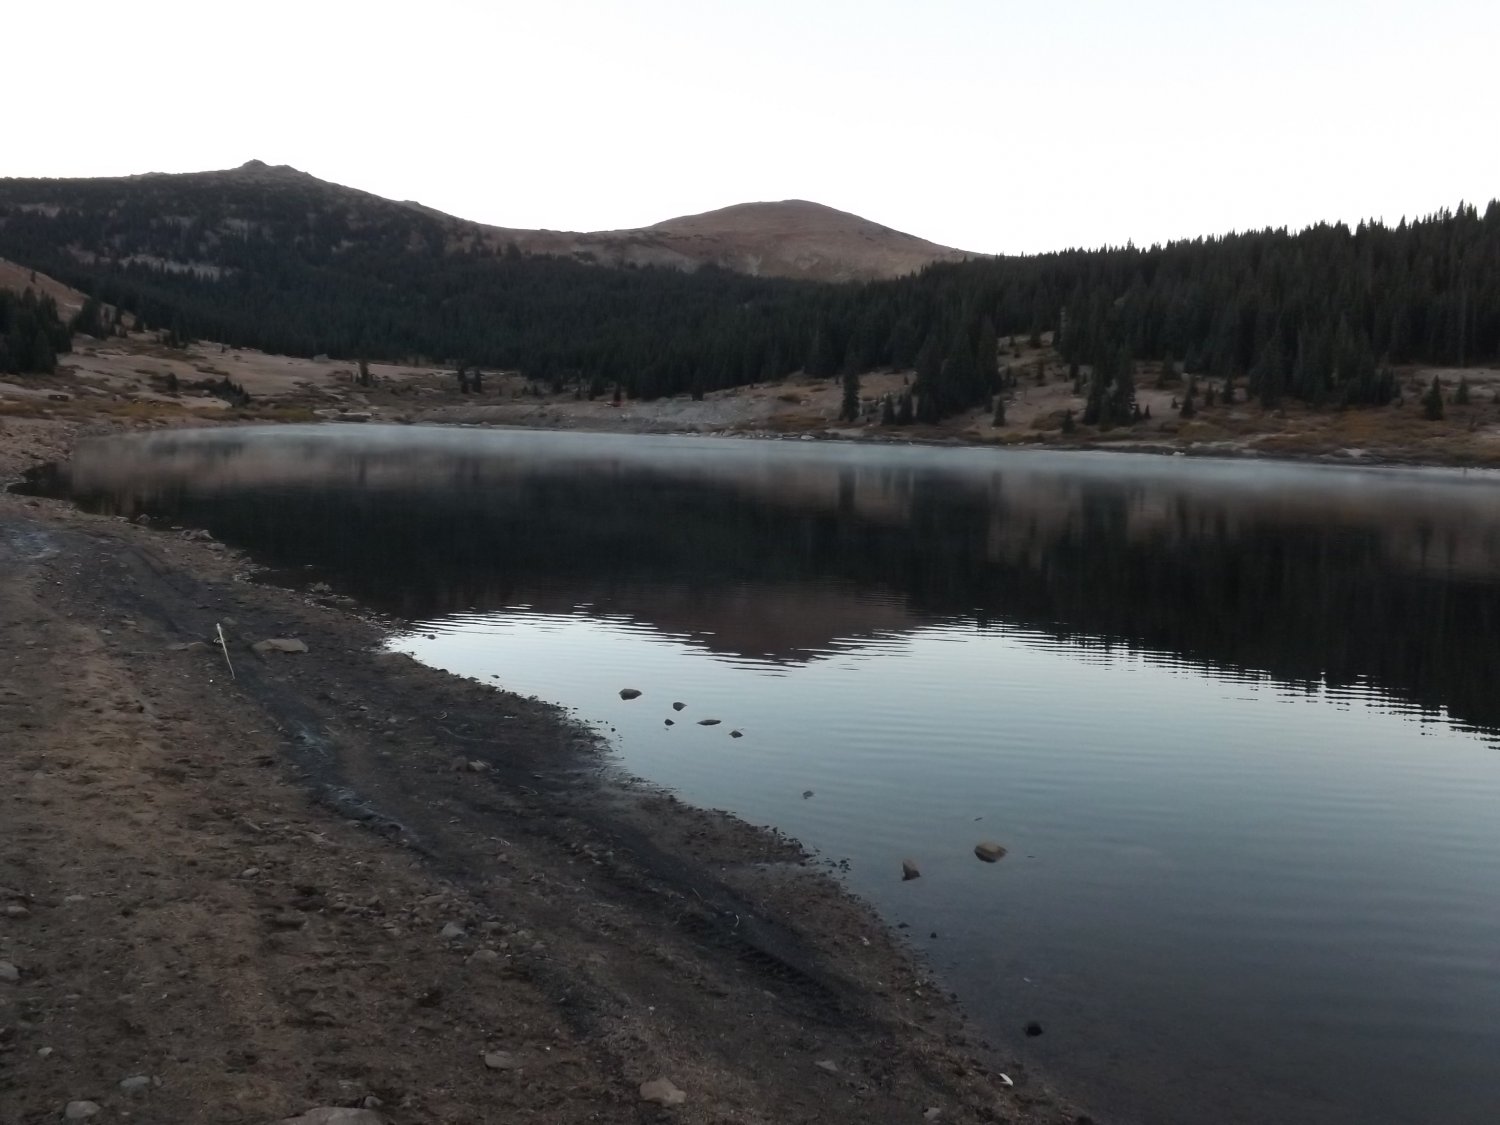
Saturday morning, just before sunrise. Butt freaking cold by the way..

full


All in all, we had a great weekend. More fish were caught, lies told, meat burned over an open fire and beers downed.

Got to finish putting the 44 back together tomorrow after work with my tech and meet up with Larry at the Pueblo res for some local fishing.
 
Last edited:
Larry's been a busy dude this week since work is going to have him on the road for the next couple of weeks. He's shot a couple of cell phone pics to show some progress.

Frame has been pruned of the stock rear spring hangers and ready for some black paint.


Paint is on and now ready for the ORD shackle flip brackets.


Flip brackets installed.


Springs got a fresh coat of tractor paint and awaiting the 14 Bolt's arrival.


Axle is in and Larry's q78 swampers installed as rollers. Sitting tall as there is no weight on the rear of the truck, no top, fuel tank or seats.


A shot from the rear.


The 44 awaiting springs to bolt up into it's new home.


Bonus shot. The air intake ductwork solution. We had a UPS truck in the shop a couple of weeks ago for a charging problem. This was a Workhorse W42 chassis running a GM 6.0L engine. The air intake caught my eye as a possible solution to look more stock and less aftermarket. I looked it up in the Workhorse part catalog online and sent the details to Larry. He ordered a new one up and the price was less than even no-name aftermarket options on ebay or amazon.


Larry did have to order some fresh front spring eye bushings for the front springs. So he got some fresh bushings with greaseable bolts coming in from ORD. He did let me know the sway bar end bushings are wiped out and suggested we refresh them and the ones on the frame side. I picked up some from a couple of the local parts places to the shop. Need to drop them off tomorrow.
 
Larry's got the 8Lug 4.10 tru-trac equipped front axle bolted under the Blazer.


It's going to take a little time to get used to the look of 8 lugs on my stuff. Not long, but a little time.


Larry's kicking tail on this for sure.
 
Nice! Reckon there is anyway the common man can order one of those workhorse intakes?
Sure. The Workhorse part number is W0009783. Closest Workhorse dealer to you is this one:

DSU Peterbilt & GMC Truck, Inc.
4810 N. Basin Ave
bullet.gif
Portland, OR 97217
(503) 285-7771
(800) 556-4998
Fax: (503) 283-6657
http://www.dsutrucks.com/

If they bowed out as a Workhorse dealer, here's the rest of the dealers listing for Oregon:
http://workhorse.navistar.com/Default.aspx?tabid=197

If you can't get one through them, PM me here and I'll shoot you my cell number. The dealer I'm at is still a Workhorse dealer and we can order it. We can charge your card and get it drop shipped to you. It's probably best to deal with somebody local to you, but if it's not possible I'll help out.
 
Not a whole lot going on this week. Larry's been on the road and I've been keeping my nose to the grindstone. I did stop by to drop off some fresh braided steel brake lines for the front, ORD sway bar bushings and a pair of speakers for the dash.

To take some of the load off of Larry for the detail work I brought home the shocks and steering stabilizer to clean up and paint. This is a true budget build as I didn't have extra coin to spend on fresh shocks. They were still riding just fine, not leaking but the paint was blown off over the years. So, we'll clean them up and fog some paint on them.

Here's what I started with, the top one was the test subject to see how the wire wheel on the angle grinder would do. It did awesome. It ripped the paint and rust scale off in a couple of minutes.


After a little more noise, we are left with 4 stripped shocks. I grabbed some more 320 grit sanding pads to replenish Larry's supply and smoothed them out further and followed up with a finishing grit scotch brite pad.


Wiped clean they got hung in one of my trees and fogged with some primer.


After letting the primer dry I hit it with Larry's favorite tractor paint. This time in of all colors, Ford Gray. Which actually is more of a tan color. More fitting we thought.


Got to still hit the stabilizer and clean up the winch to ready it for paint. Stuff to do for Sunday.
 
Made a run to the farm store to pick up more of the Ford gray. While I was there I picked up some fresh hardware for the shocks. Gotta love grade 8 stuff sold by the pound.

Today after getting back I cleaned up the steering stabilizer and fogged it with primer and paint. I also cleaned up the winch and masked it to be ready for primer.


I let it dry and laid down the satin black.

No pic as the image quality sucked from my phone.

Not much planned for this week. Larry's going to check the rear driveshaft length in prep for me to get it cut down.
 
I've never seen someone repaint a pair of shocks before, that's great.

Keep the updates coming.

Martin
 
I've never seen someone repaint a pair of shocks before, that's great.

Keep the updates coming.

Martin

Thanks for the interest. We've taken a direction to spend the money wisely on what's needed to get the project rolling and recycle or reuse what we can to save money. With all the effort Larry has put in to clean and paint the frame, springs and axles it would look hideous to throw these crusty shocks back on. Rather than spending a couple of hundred bucks on new shocks or more, $10 worth of paint and primer is going to be a whole lot cheaper. Like I said before they didn't leak a drop and still did the job just fine. It's worth keeping them. Besides, like everything else getting all cleaned up and painted it will be easier to keep clean and watch for leaks down the road.
 

Latest Posts

Top Bottom