Excellent! It don't look that bad at all, at least for what I need it for. If you need windows, pull them for yourself and keep them. The rest can get chopped up.
CK5

You are using an out of date browser. It may not display this or other websites correctly.
You should upgrade or use an alternative browser.
You should upgrade or use an alternative browser.
'91 K5 Four Wheel Camper
This is the build for my 1991 V1500 Blazer, AKA the K5.3. It started out life being sold to the U.S. Government with a 350 TBI/700r4/241 combo. 4 years with a 5.3/700r4 Combo and now moving to an 8.1L Vortec and NV4500 5-speed.
I went ahead and made it a little easier for you to transport.
![IMG_20171004_173208723[1].jpg](https://ck5.com/forums/data/attachments/225/225140-5f3046872425ba2a19c31d30e14e73fe.jpg "IMG_20171004_173208723[1].jpg")
Pretty much how I would have done it. Nice work. Many thanks for going after that and chopping it down to a manageable chunk to move. I won't be up this weekend, but in a couple of weeks since my Mom is getting a knee replaced and I will be coming up to visit. I'll let you know.
Had a camper work day today. My son is down for the weekend so he helped too. The plan was to get the roof sealed up today before we get snow sitting on it. First up peeling all the silcone they dolloped on all the screw heads in attempt to seal them. A little work with a wire cup brush on a drill got the rest off. I pulled the busted roof vent out with a little help from the boy from underneath. I had to make a run out for supplies so the guys got after it with the wire wheel.

I came back to find out they pulled the rack off of the back too. Armed with new screws, more silicone and 2 quarts of Flex Seal (it's like rubber in a can!) we pulled all the old screws, replaced with the new. The roof got a quick scrub with water to rinse off the crud we peeled off with the wire wheel. We let it sit while we ate lunch to dry in the sun.
With everything clean we popped open the first quart of Flex Seal. The can indicates it covers 37 square feet. I can say BS to that. One quart was just enough to cover one side completely. I will say this the stuff goes on pretty easy. Pour it out and spread it with a brush. Covered the screw heads and all. Needs one more coat, but it has to dry for 24-48 hours. Came out pretty good though.


All in all we were pretty productive. Although we joked with the Flex Seal we could flip it over and use the camper as a boat now.
I came back to find out they pulled the rack off of the back too. Armed with new screws, more silicone and 2 quarts of Flex Seal (it's like rubber in a can!) we pulled all the old screws, replaced with the new. The roof got a quick scrub with water to rinse off the crud we peeled off with the wire wheel. We let it sit while we ate lunch to dry in the sun.
With everything clean we popped open the first quart of Flex Seal. The can indicates it covers 37 square feet. I can say BS to that. One quart was just enough to cover one side completely. I will say this the stuff goes on pretty easy. Pour it out and spread it with a brush. Covered the screw heads and all. Needs one more coat, but it has to dry for 24-48 hours. Came out pretty good though.
All in all we were pretty productive. Although we joked with the Flex Seal we could flip it over and use the camper as a boat now.

As hillbillies, we do decent work.
Almost forgot, while we were cleaning things up my buddy John gave the camper jacks a "lift" too. Both times we've had to use them they lacked enough reach up to get the camper off of my higher than stock Blazer. We ended up playing jenga stacking for the jacks to get set on up high enough to reach the camper on my truck. So John chopped the tube and added a section of thick wall pipe in about 10" long and burned them in. Now we can keep the jacks on the ground. Much safer.
Almost forgot, while we were cleaning things up my buddy John gave the camper jacks a "lift" too. Both times we've had to use them they lacked enough reach up to get the camper off of my higher than stock Blazer. We ended up playing jenga stacking for the jacks to get set on up high enough to reach the camper on my truck. So John chopped the tube and added a section of thick wall pipe in about 10" long and burned them in. Now we can keep the jacks on the ground. Much safer.

beags86
Eastbound and Down
So zoo... Back to the radiator info.
I re-read all the posts about your 6.2 radiator and upper brackets.
I was looking over my dump truck tonight as I was doing some work on it and noticed that the radiator is awfully big. Suspiciously big. Would a k30 cab and chassis truck w/ a 350 have the HD cooling system?
Is the 6.2 deslow the same as the HD cooling system you were talking about?
Do you have a rpo code I could double check the numbers?
So zoo... Back to the radiator info.
I re-read all the posts about your 6.2 radiator and upper brackets.
I was looking over my dump truck tonight as I was doing some work on it and noticed that the radiator is awfully big. Suspiciously big. Would a k30 cab and chassis truck w/ a 350 have the HD cooling system?
Is the 6.2 deslow the same as the HD cooling system you were talking about?
Do you have a rpo code I could double check the numbers?
I opened up the GM parts catalog to look tonight. Unfortunately, things get fuzzy on this older stuff. Drawings are still in there but 98% of the stuff is discontinued so I can't break down to the part number. Just looking at 1987 V30's I can see 10 separate callouts for the radiators. Each callout has a series of 2 digit codes (not RPO's) that probably match up to a specific combination. I just can't tell what the codes match up to.
I wouldn't be surprised if a K30 was spec'd out with an HD cooling package for the cab & chassis model. I'd compare your setup with what I've posted up and see how it looks.
beags86
Eastbound and Down
I opened up the GM parts catalog to look tonight. Unfortunately, things get fuzzy on this older stuff. Drawings are still in there but 98% of the stuff is discontinued so I can't break down to the part number. Just looking at 1987 V30's I can see 10 separate callouts for the radiators. Each callout has a series of 2 digit codes (not RPO's) that probably match up to a specific combination. I just can't tell what the codes match up to.
I wouldn't be surprised if a K30 was spec'd out with an HD cooling package for the cab & chassis model. I'd compare your setup with what I've posted up and see how it looks.
This is the only picture I found that would be of help. Would you happen to have another one with the brackets?
I'll have to look. Thought I did.
All I've got online currently. I'll take some better shots when I get back home later today.
Taking advantage of the nice fall day we had around here I finally got after finishing something on the inside. Thanks to @Capt Ron I finally got a dash pad that didn't look like the desert floor after 100 days of no rain. As in cracked to hell fugly. The pad has one main crack in the center and a couple in the pass side speaker holes, but outside of that it's mint. The color isn't bad and I really didn't want to fool around going after it with paint or dye. I just wanted to put it in. I added the the non-ac side trim panel I picked up at the boneyard earlier this year. Just need a Silverado badge to get rid of the Sierra badge it has now. On to the pics...
Pass side:

The tach perched on the top of the steel dash wasn't going to play on the new pad. @Larry did the restoration on this bezel and it's like brand new. No blown out corners or cracks to be found. Good thing as this one isn't reproduced due to the large GM din sized radio opening on the bottom.

I threw the dash mat on for protection and installed the tach on the column. It's not my favorite place for it as the size obscures part of the speedo and fuel gauge and all of the shift indicator. I'll fab up a bracket eventually to hang it on the a-pillar but it works ok here for now.

All in all it looks great and finally looks complete. I really had been dragging my heels because I really didn't want to do this multiple times because of the crappy look of the original pad and my search to find a better one. Figured I'd wait until one turned up. I did end up throwing some bass blockers into the dash speakers before putting the pad on as the Kenwood was a little too much for the speakers up front. They were snapping on hard bass hits. Now the bass is coming from the 6x9's where they should be. All is well in the stereo world too.
Pass side:
The tach perched on the top of the steel dash wasn't going to play on the new pad. @Larry did the restoration on this bezel and it's like brand new. No blown out corners or cracks to be found. Good thing as this one isn't reproduced due to the large GM din sized radio opening on the bottom.
I threw the dash mat on for protection and installed the tach on the column. It's not my favorite place for it as the size obscures part of the speedo and fuel gauge and all of the shift indicator. I'll fab up a bracket eventually to hang it on the a-pillar but it works ok here for now.
All in all it looks great and finally looks complete. I really had been dragging my heels because I really didn't want to do this multiple times because of the crappy look of the original pad and my search to find a better one. Figured I'd wait until one turned up. I did end up throwing some bass blockers into the dash speakers before putting the pad on as the Kenwood was a little too much for the speakers up front. They were snapping on hard bass hits. Now the bass is coming from the 6x9's where they should be. All is well in the stereo world too.
I am kinda needing a camper update.
I am kinda needing a camper update.
So do I! Got to visit it when the wife and I went to John's place for a birthday party. He's headed for Kansas for the opening weekend of pheasant season so no camper session this weekend. This next session we will be fitting the camper back to the truck, getting the top section you got for me grafted on and finalizing the shape/size of the cabinet on the drivers side .
I need a dang stereo now that I could use it!
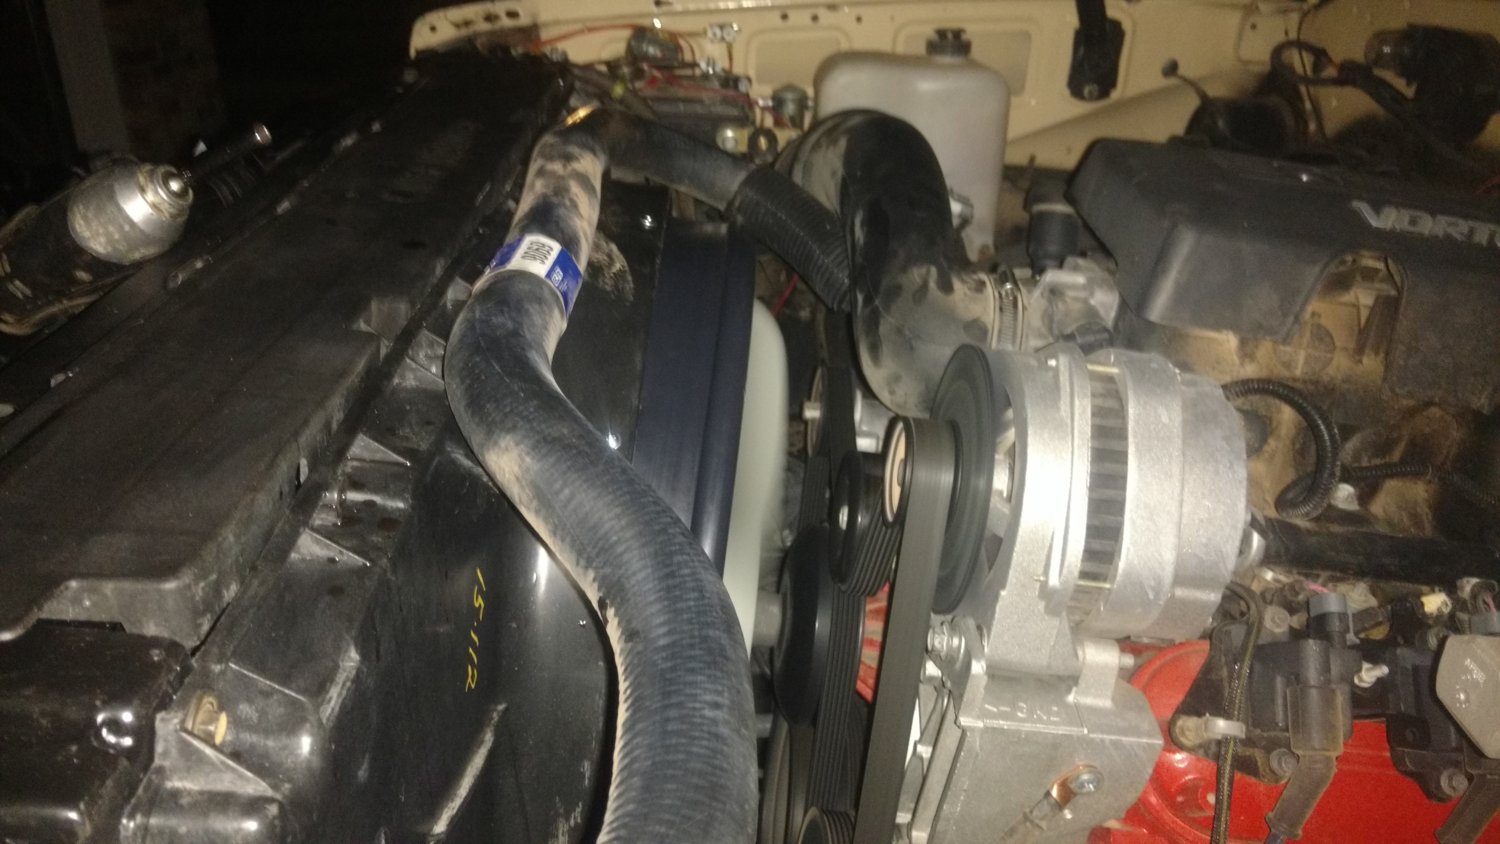
Nothing earth shattering completed today. Had to cover parts for the 1/2 day at work and decided to get some maintenance done on the K5.3 after work in the shop. Much easier to the do the work without crawling my fat arse around on the ground. Oil/filter changed, lubed all zerks, Checked diffs/t-case all good. Everything looking good.
Depending on what the better half has planned for me, I'll try to get back on track with the on-board air install. In the meantime I'm processing videos from the Desert trip and our mountain run this year.
Depending on what the better half has planned for me, I'll try to get back on track with the on-board air install. In the meantime I'm processing videos from the Desert trip and our mountain run this year.
Toying around with some of the video footage from our last off road run this year. Condensed 50+ minutes of riding up Pearl Pass to the beginning of the tough stuff.
Took advantage of the crazy warm December weather to get a work day in on the camper. So John, Shane and I hit it again this time to get the Blazer top section grafted on the front wall of the camper. The stock top came off and we lined up the truck to get under the camper one of many times today.

We realized a good idea earlier wasn't such a good idea after all. We had installed an oak block to gusset the roof to the front wall, but it was too tall to allow the new section of top to fit in. Before we could proceed we had to pull it back off again. As you can see there isn't much room between the top of the truck and cab-over section of the camper.

With the camper in place we measured in multiple spots for the amount of distance we needed to cover from the front wall of the camper and where the front edge of the stock top lands. Turns out we needed 1 3/4".

I then took a sliding t-square off of the front lip of the top section and marked out the needed 1 3/4" with an added 1/8th to cover the blade thickness of the cut off wheel we were using. In order to get a straight cut and have a "fence" to guide the cut we took some landscape edging and screwed it to the section of the top.

The actual cutting went smoothly. But damn the dust! Could have used two respirators!

With the outside cut, it was time to cut the inside. As it turns out there is a perfect ledge formed on the inside that is just over 1 3/4" from the front edge so we set the part down on the lawn and used the ledge as the guide. Worked perfectly.

The final product. It was amazing how many spider webs and wasp nests we cleaned out of the cavity after we cut it open.

Test fitting with the camper to the truck. Fits pretty darn well.


While we had the tools out we finished out our rough cut for the cab wall to match the contour of the cab opening.

With a location line traced where the top section is to sit we added a temporary screw on each side to hold it so we could drill out the holes for the bolts that will attach the camper to the roof of the cab.

With the camper on we took care of another issue too. The forward section of the driver's side cabinet floor encroaches on the driver's seat going back all the way. A quick radius was drawn and cut out with a jigsaw.


Now the seat can go all the way back and tilt to a comfy angle. All in all, this was a major milestone in the construction phase. We can now move on to cabinetry and rebuilding the bench/storage area. Not too much more and it's getting mounted permanently.
We realized a good idea earlier wasn't such a good idea after all. We had installed an oak block to gusset the roof to the front wall, but it was too tall to allow the new section of top to fit in. Before we could proceed we had to pull it back off again. As you can see there isn't much room between the top of the truck and cab-over section of the camper.
With the camper in place we measured in multiple spots for the amount of distance we needed to cover from the front wall of the camper and where the front edge of the stock top lands. Turns out we needed 1 3/4".
I then took a sliding t-square off of the front lip of the top section and marked out the needed 1 3/4" with an added 1/8th to cover the blade thickness of the cut off wheel we were using. In order to get a straight cut and have a "fence" to guide the cut we took some landscape edging and screwed it to the section of the top.
The actual cutting went smoothly. But damn the dust! Could have used two respirators!
With the outside cut, it was time to cut the inside. As it turns out there is a perfect ledge formed on the inside that is just over 1 3/4" from the front edge so we set the part down on the lawn and used the ledge as the guide. Worked perfectly.
The final product. It was amazing how many spider webs and wasp nests we cleaned out of the cavity after we cut it open.
Test fitting with the camper to the truck. Fits pretty darn well.
While we had the tools out we finished out our rough cut for the cab wall to match the contour of the cab opening.
With a location line traced where the top section is to sit we added a temporary screw on each side to hold it so we could drill out the holes for the bolts that will attach the camper to the roof of the cab.
With the camper on we took care of another issue too. The forward section of the driver's side cabinet floor encroaches on the driver's seat going back all the way. A quick radius was drawn and cut out with a jigsaw.
Now the seat can go all the way back and tilt to a comfy angle. All in all, this was a major milestone in the construction phase. We can now move on to cabinetry and rebuilding the bench/storage area. Not too much more and it's getting mounted permanently.

