I'm not much help here.
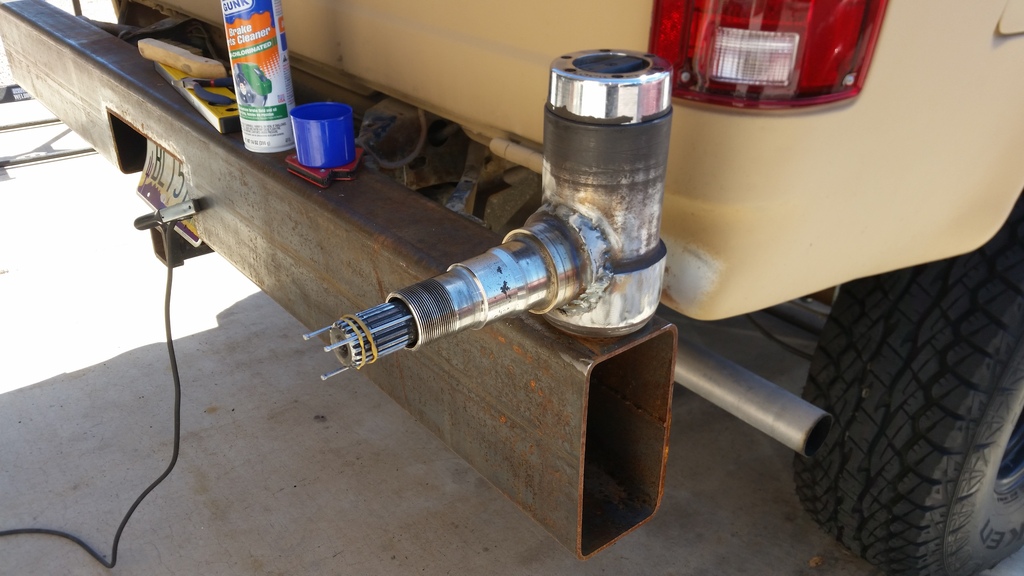
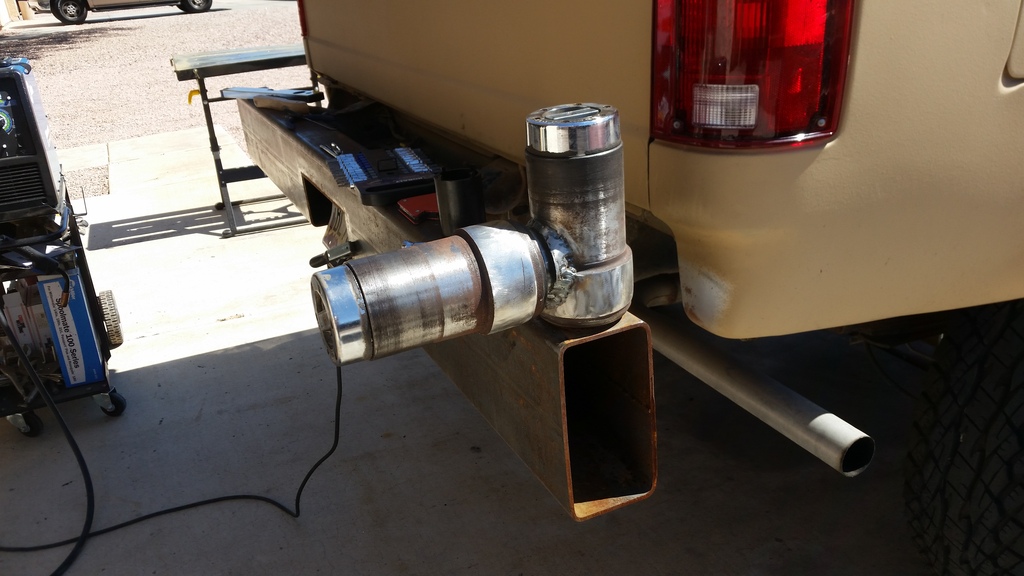
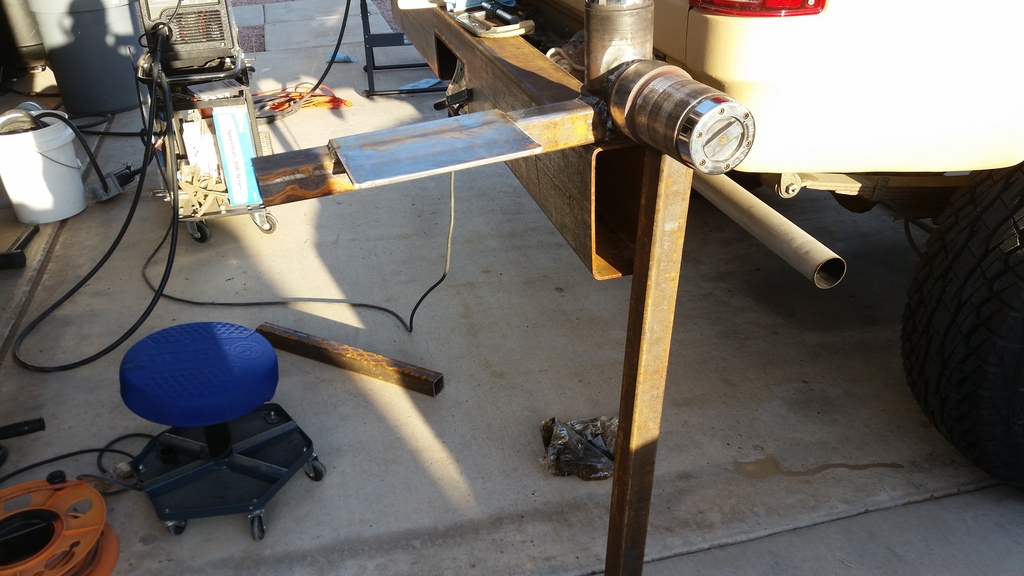
This is the route I went. I need to add bars to mine.

This is the route I went. I need to add bars to mine.

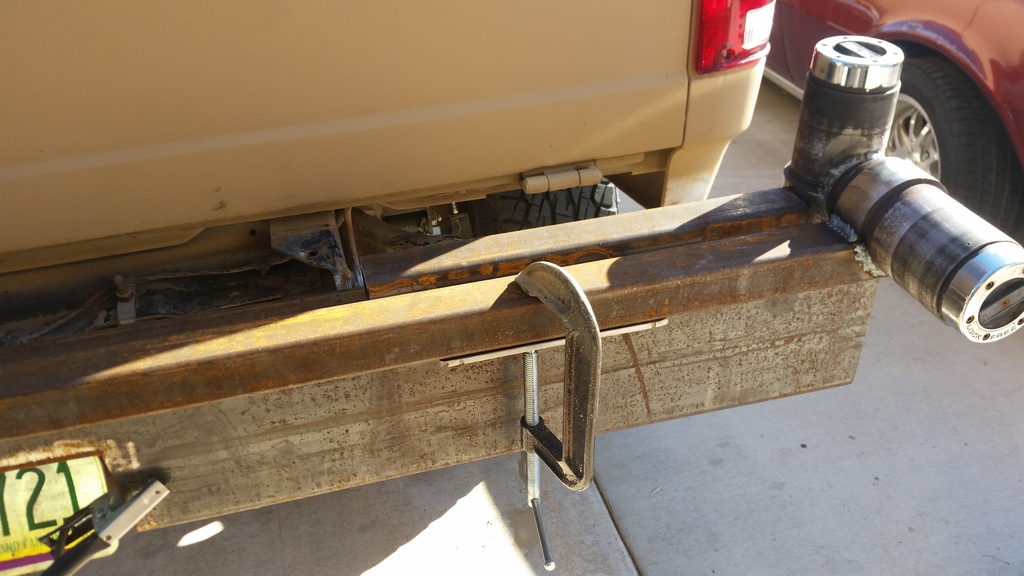
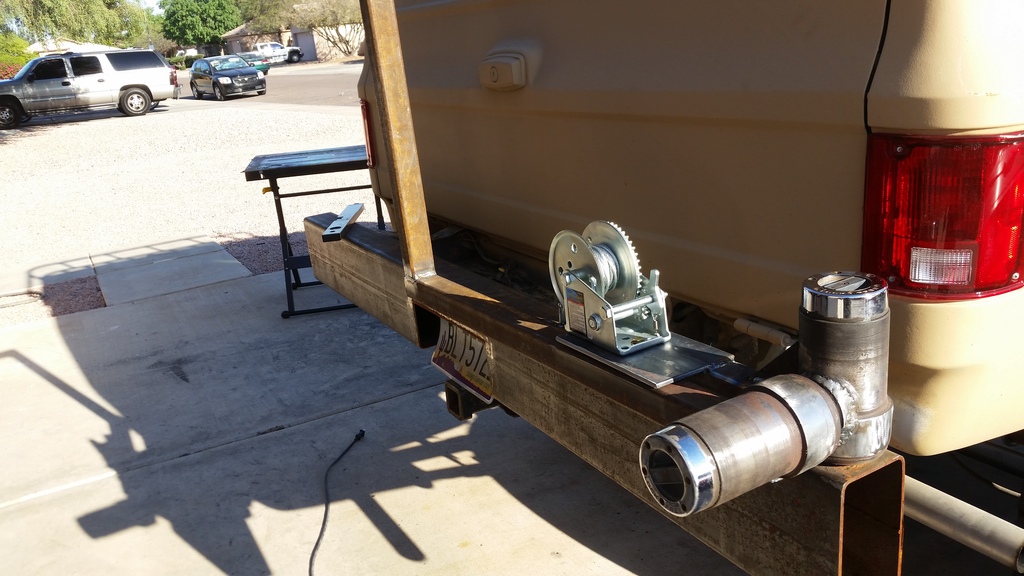
Yes, my assist springs are gone. But I plan on swapping to a truck gate.Can't tell, but did you remove the assist springs?
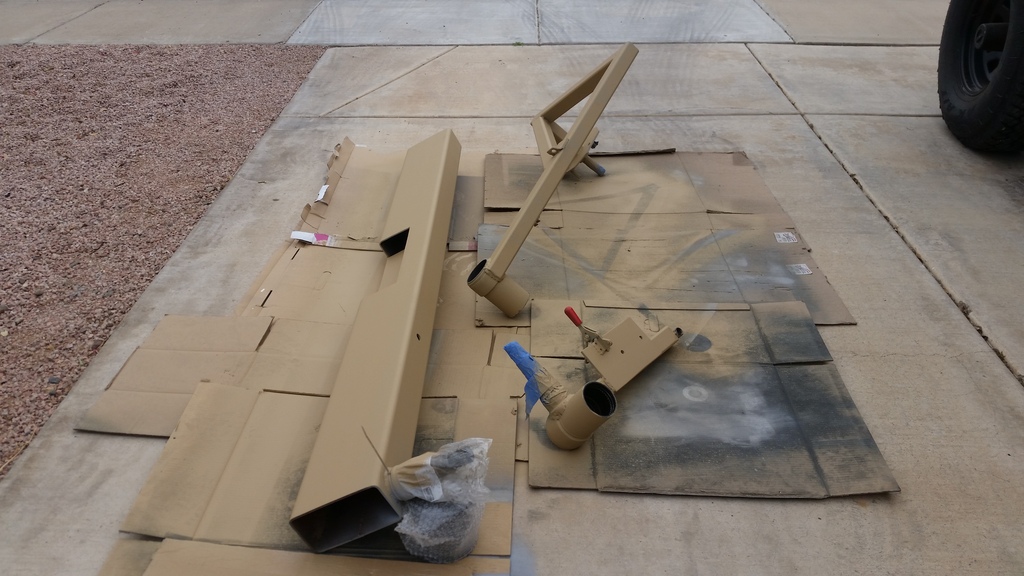
I ended up just cutting those brackets and flattening them out. Sticks out a bit so I loose some departure angle but will look a bit better once the spare tire is back there...
Yea, those perches took me a long time to cut out also. What lift did you end up having?After completing the front bumper I decided to get going on the front axle. Also, swapped to 2wd box and crossover.

Went to local yard for the 2wd box and when I got home and cleaned it up, found that it’d been remfg already and was very slop free. Score!

Kinda nasty in the hubs
Didn't take a lot of pics of the d60's There's plenty of them out there to view. I did clean them up and paint.


new shoes

old vs new
Although the D60 was a bolt in swap, the AAM was not. The reason I went w/ the newer axle was 2 fold.
- Those drums are expensive and heavy as hell.
- Disk swap kits didn’t have what I considered an acceptable parking brake assy.
And the new ones did away with both.
Had to cut off the perches and shock tabs. Those spring perches were not ever meant to come off. That was many hours w/ the cutoff wheel and grinding wheel and flapdisk later it relented.


Those were some thickass perches there...

But eventually they succumbed. you can see all of the grinding mess on the floor there...

I ended up having to take the shock tabs off later and put some different ones on.
Used ord’s 14bolt shackle reversal and perches for mounts. Although I did have to specify that this was a 3.5” tube diameter compared to the normal 3.25”.
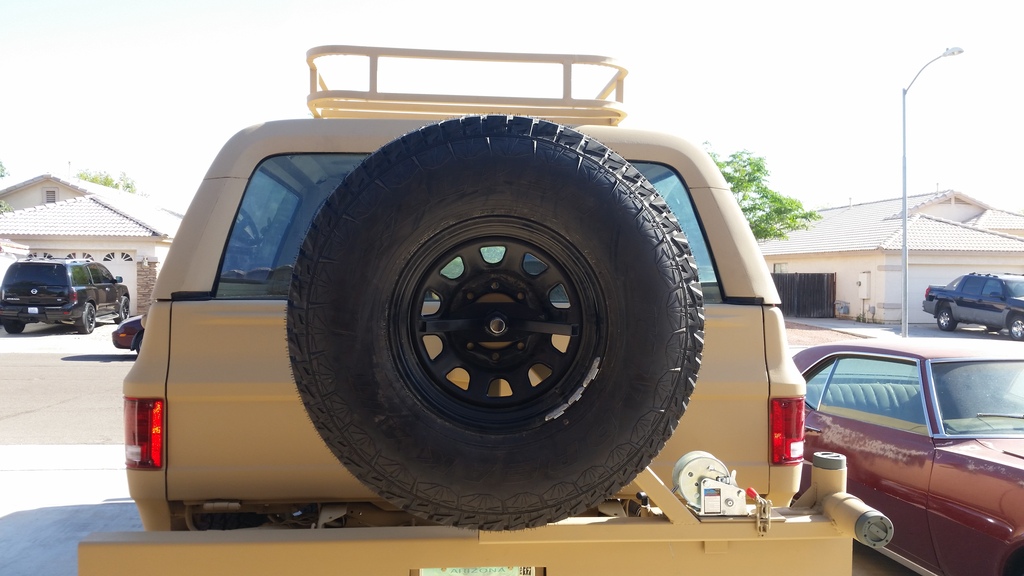
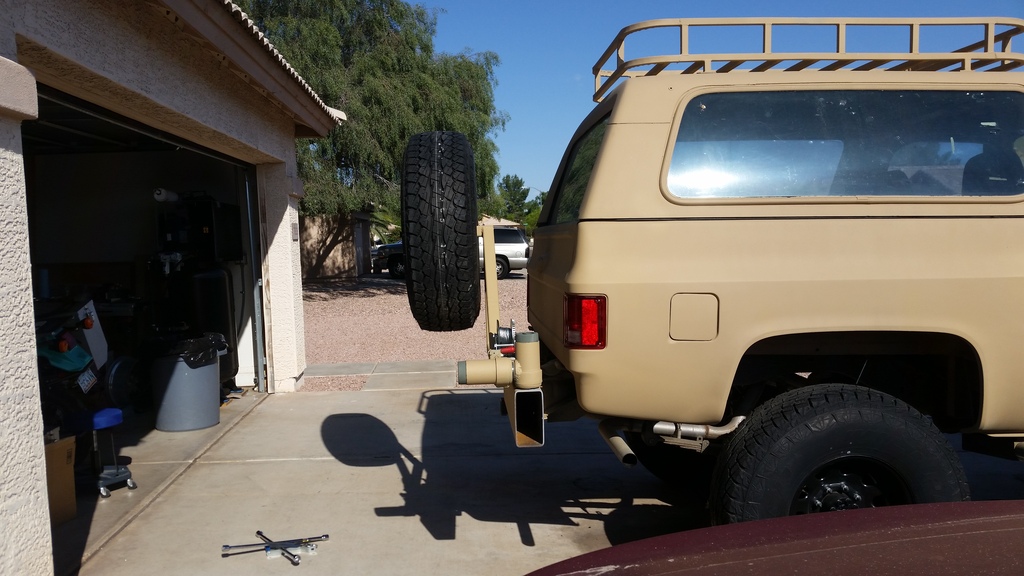
After a day of swapping the rear - that's about what she looks like now.

Believe it to be about 4" I have a set of 0-rates in the garage incase I need them.Yea, those perches took me a long time to cut out also. What lift did you end up having?
Just read through the build after coming across in search.
I just finished swapping in a 10.5 AAM rear in my 77. I didn't see any mention of how you retrofitted the E-brake to work? Do you have any pics of how you did that?
https://ck5.com/forums/threads/80-jimmy-the-monkey-paw-rear-bumper.325135/page-3#post-3620745
just cut down the outer sheaths, put the plastic/resin caps back on and then used hydraulic wire crimper to shorten the actual cable. The plastic cap pieces fit right into the stock brackets.
 So I got on Amazon and did a return/exchange. Pretty painless. Should be here Monday!