CK5
Register an account today to become a member! Once signed in, you'll be able to participate on this site by adding your own topics and posts, as well as connect with other members.

87 K5 "Cashbag"

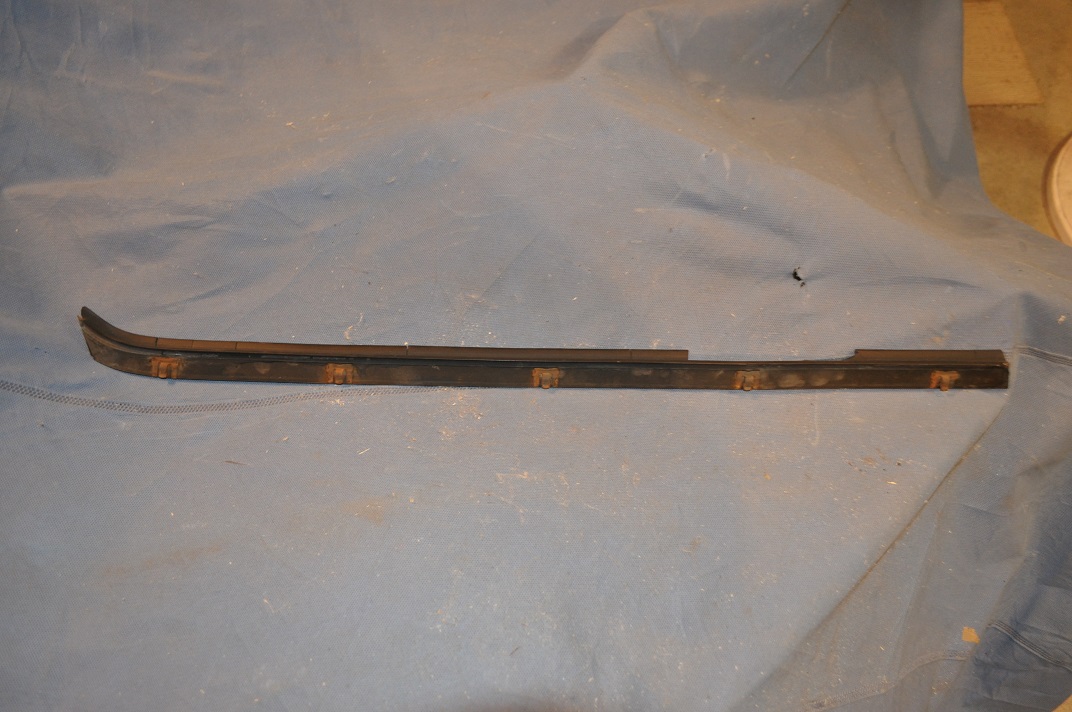
On the trim that fits inside the main weatherstrip, start where the clip was when you first pulled it off. Pretty much reversal of how you remove it. Try not to pull the trim as you install it so you will have less to trim off. I just used a small screw driver to push it into place.

full


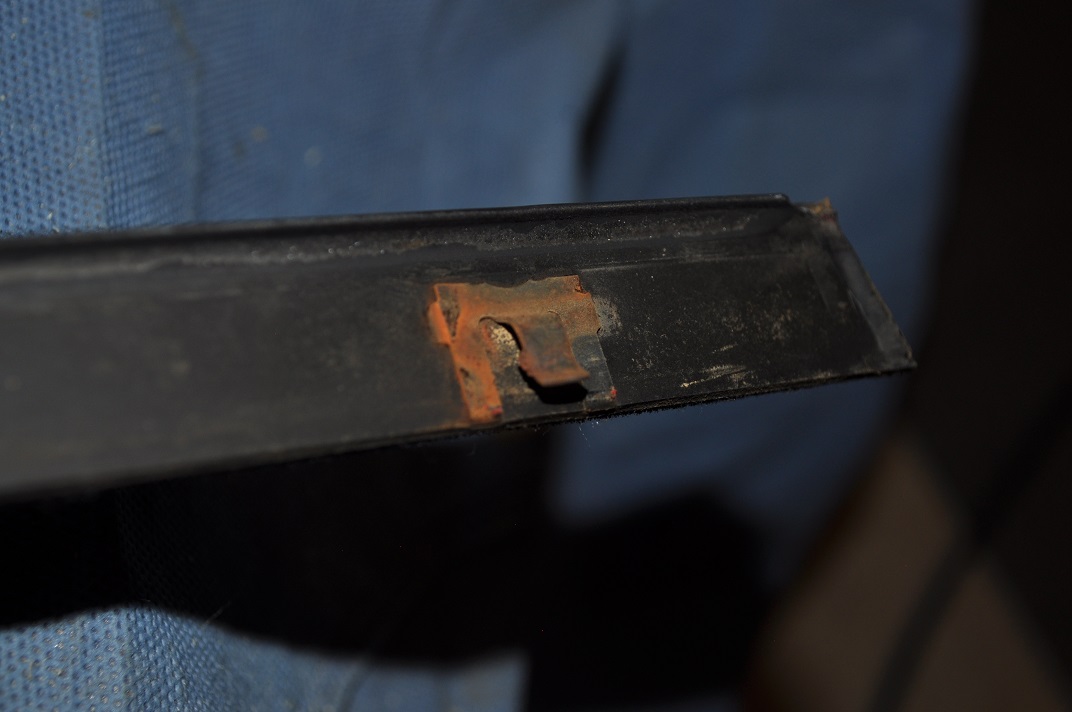
I didn't take pics of the clip install (beer), but all I did was: after trimming off any excess, put one end of the trim halfway inside the clip and as you get ready to press into place put the other end inside the clip and then slowly wedge one side in and I used a small flat head screwdriver to pry the other side into place. Install complete
 
Last edited:
Getting ready to do a dual battery setup. It will be very similar to ryokens' but without the electric fans.


Going with Blue Sea 7620 ACR to keep both batteries charged.

full


full


full


full


full


It will be set up to allow starting from either battery, join both batteries (From isolator switch or selector switch), or off.

I'm waiting for the 1/0 welding cable, which should be here tomorrow, and the driver side battery tray. I have the crimper and ends so all cables will be made to fit. Should be another good project to do on a weekend. I'll have pics when all parts arrive and the fun begins.
 
Last edited:
Done and working like it should. When the engine is running, you can hear the ACR switch between A and B.

full


Removed the overflow jug to install 100 amp breakers for each battery

full


full
 
Last edited:
Mounted the ACR just to the left of the A/C box. It fit really good in this corner.

full


Put the Switch between the overflow jug and firewall

full


full
 
Last edited:
All 1/0 cable in this project. Bought a crimper and all necessary ends to make the cables. On the top posts, I soldered those with no crimping.

full


Under the switch, I covered the ends of the posts with rubber hose to help keep any unknown contact or rubbing from occurring.

full


full
 
Last edited:
I was able to pull the positive cable, for the second battery, through the top channel in front of the radiator. I made a grommet from a small hose. I'm not done with the main battery side yet, still working on it as we speak. Just needed to get some pics in.

full


full


full


full
 
Last edited:
nice.... ACR's rule...

Yes sir.....been reading through your builds and thought this would be a good choice.

I'm up to page 110 on Mutt and around page 40 on the K5. Damn, there's a lot of great stuff in there.

Thanks for all the interests.

The next upgrade/mod will be learning to burn my own chips. I have the tools to do so, just need to learn how.
 
Last edited:
Why not go with a system like the hellroaring isolator / combiner? My knowledge of electronics is sparse but I went with the hellroaring unit. It uses solid state switches instead of mechanical relays resulting in less battery draw. Also small and easy to install.

I went with their remote unit that gives me the option of combined, isolated or off. I essentially leave it in combined all the time as it gives both batteries charging and conditioning but only allows draws from my primary battery. I can combine for one pool of amps for winching etc. Should I need to start off the backup it is the same thing, switch to combined.

The remote also gives me some indication of my charging system health. The LED will illuminate when the output charge goes above 13.4 and stay illuminated while operating when the output charge remains above 13.2.

Right now I am having the light go out while driving which indicates that I may have an alternator that is dropping or may be losing a diode.

Also when I turn off the truck the LED will stay illuminated for about a minute indicating the surface charge of the batteries is good.

Not trying to critique your system I just see a lot of guys build complex (to me) setups when the hellroaring could do the same thing. I may be missing some details.

My setup. Hellroaring unit on the firewall


9115f3b7480a407aa72490cb1b53ab06.jpg
 
Sorry for the late reply

I think the hellroaring system is a great set up. The research points to it. And it will suit your needs as well.

I researched and read a lot on this subject and found that there are many different ways to hook up a dual battery system.

Ryoken has some good write up on the ACR system and it caught my attention that I can have a few more options. The ACR has a cab switch similar to the hellroaring system. But with the marine switch I can go from battery 1 to 2 or both while under the hood. If the ACR fails I will still have a charge to what ever battery the marine switch is set on. I don't know what would happen if the hellroaring system failed, and I mean completely died. And yes, I know the hellroaring isolators are not known to fail. I just felt more secure knowing what the ACR combo would do. The ACR w/marine switch does cost a little more than the hellroaring set up does.

Sometimes I learn as I build and this seemed to be a good project. And now that it's completed I'm ready for the next one. And that will be learning to tune my own chips.
 
I've been needing to work on the passenger side drivers door power window motor. It has been super slow since I've owned this K5 and it's time to make it new again.

I will take some pics of the process to help anyone who may need to do this in the future.

The first thing I took off was the lower panel. It is not in the way but I wanted to clean everything up when I was done replacing the motor. There are only 8 screws holding it on.

full


On the upper panel I removed the strap covers first. Just push on the very bottom of the side and lift it up just a little. There are two tabs on the opposite end that will need to be slid out of their spot. Remove both covers to expose the large screws. Remove the large screws to take off the strap.

full


full


full


Remove the door lock knob if applicable.

full


Remove the door pull handle escutcheon. 2 screws

full


Remove the 2 screws inside the door arm rest

full
 
Last edited:
This would be a good time to lower the window to the lowest setting if it is not there already.

There are 5 screws left that need to be removed then the panel can come off.

full


Start at the bottom of the panel and lift up while pulling away from the door. There are two clips, one on each end, that should stay attached to the panel and pop out of their hole if maneuvered just right. You can use a flat head screwdriver to help them out. Mine ended up popping off the panel so I just removed them from the door with said screwdriver. They're made up of a flimsy plastic and luckily didn't break.

The top of the panel will have a piece of trim with 5 small clips that attach to the inside of the door sill. It will take a bit of adjustment and maneuvering but it will lift off.

full


After the panel is off, remove the blue caps by twisting them counterclockwise and unplug the connectors. I used a screwdriver to help pry them off.

full


full


full


full


I removed the switches from the panel and reconnected them to the harness so I could use the window switch for later. The lock switch was not needed but helped me remember where it was.

full


Next, I removed the outer window sweep. It has 5 clips on the inside of the sweep that attach to the inside of the frame. Just start at the door handle end and pop one clip loose at a time working your way toward the front of the door.

full


full
 
Last edited:
The arm rest bracket is not really in the way but I removed it anyway. It was only 2 bolts.

full


The bracket above the arm rest needs to be removed. Only 2 bolts.

full


Remove the 3 bolts to the door handle. You do not need to remove it completely from the door. Just let it hang loose.

full
 
Last edited:
Roll the window all the way up. Since the outer window sweep was removed, it left a gap between the glass and door sill. I ran a piece of mule tape through that gap and under the lower window frame, then up to the top of the door. I tied it off there, leaving a 3" slack in the rope, to help hold glass in place and it allowed me to make adjustments. Mule tape is a ribbon style rope that can handle heavy weight.

Now, lower the window to fill the 3" slack. The rope should be supporting the glass but not tight.

full


Remove the 2 bolts from the bottom of the window regulator first

full


Then remove the 2 sets of nuts on the regulator studs.

full
 
Last edited:
Hold the regulator through one of the openings, and push it away from the door. It should hang on its own inside the door. You can now move the regulator back and forth with some effort. There will be a cut out on the window frame rail that will allow the left wheel to come out. Slide the regulator until the wheel gets to the opening and pull it out.

full


Then move the regulator back to slide the right wheel out the back. This will also allow you to slide the lower wheel out of the rail mounted to the inside on the door.

full
 
Last edited:
Once all 3 roller wheels are freed, pull the window up to the very top of the door and tie it off.

Now you can unplug and remove the regulator and motor in one unit.

The plug will have a rocker type release to remove it from the motor. Push down on the lever and pull away from the motor. It's located on top of the motor when it's mounted inside the door.

After it's unplugged, slowly remove the unit through the large opening.

full


full


full


full


Someone had worked on this before so there was already a hole drilled into the regulator to keep the arms from closing while working on it. This could cause serious injury so please use caution. I placed a screw in the hole for support.

full


full


Remove these 3 bolts to take off the motor.

full


Old on the left, New on the right. The new one does not have the mounting bracket needed to attach to the door. I ground off the rivets and pried the bracket off the old one. Then mounted it to the new motor with the set of nuts and bolts that the new one came with.

full


full


full


full


full


One thing that helped me when putting the panel back on.....I put a small hose on the door lock post to help feed through the ferrule. Made it much easier when trying to line it up.

full


And as with many final instructions...........Installation is the reversal of removal.

Any questions, please ask.
 
Last edited:
Nice write-up!

Man, you always do the best write-ups!

Thanks......Glad to help.

That was thorough. Did the new motor help?

Martin

Yes.....the new motor fixed the issue. I also put in new weatherstripping, for the channel run, while the window was completely loose and sitting in the bottom of the door. I didn't take the window down for a couple of days to give the weatherstripping time to loosen up. Goes up and down like it was new and no more wind noise.
 
Top Bottom