Good deal!
Martin
Martin

That’s for sure. Missed it bad. But all the life turmoil would have prevented its use short of driving it to work periodically. Plus there was a period of time where my head was squarely in the sand in denial of the problem. I couldn’t look at it without being pissed it was broke.Nice! Bet you're looking forward to getting out on the dirt again soon.
That’s great news!The Crawlabago is back at my house. Between Larry’s monumental help and Bill’s it’s back on the road.
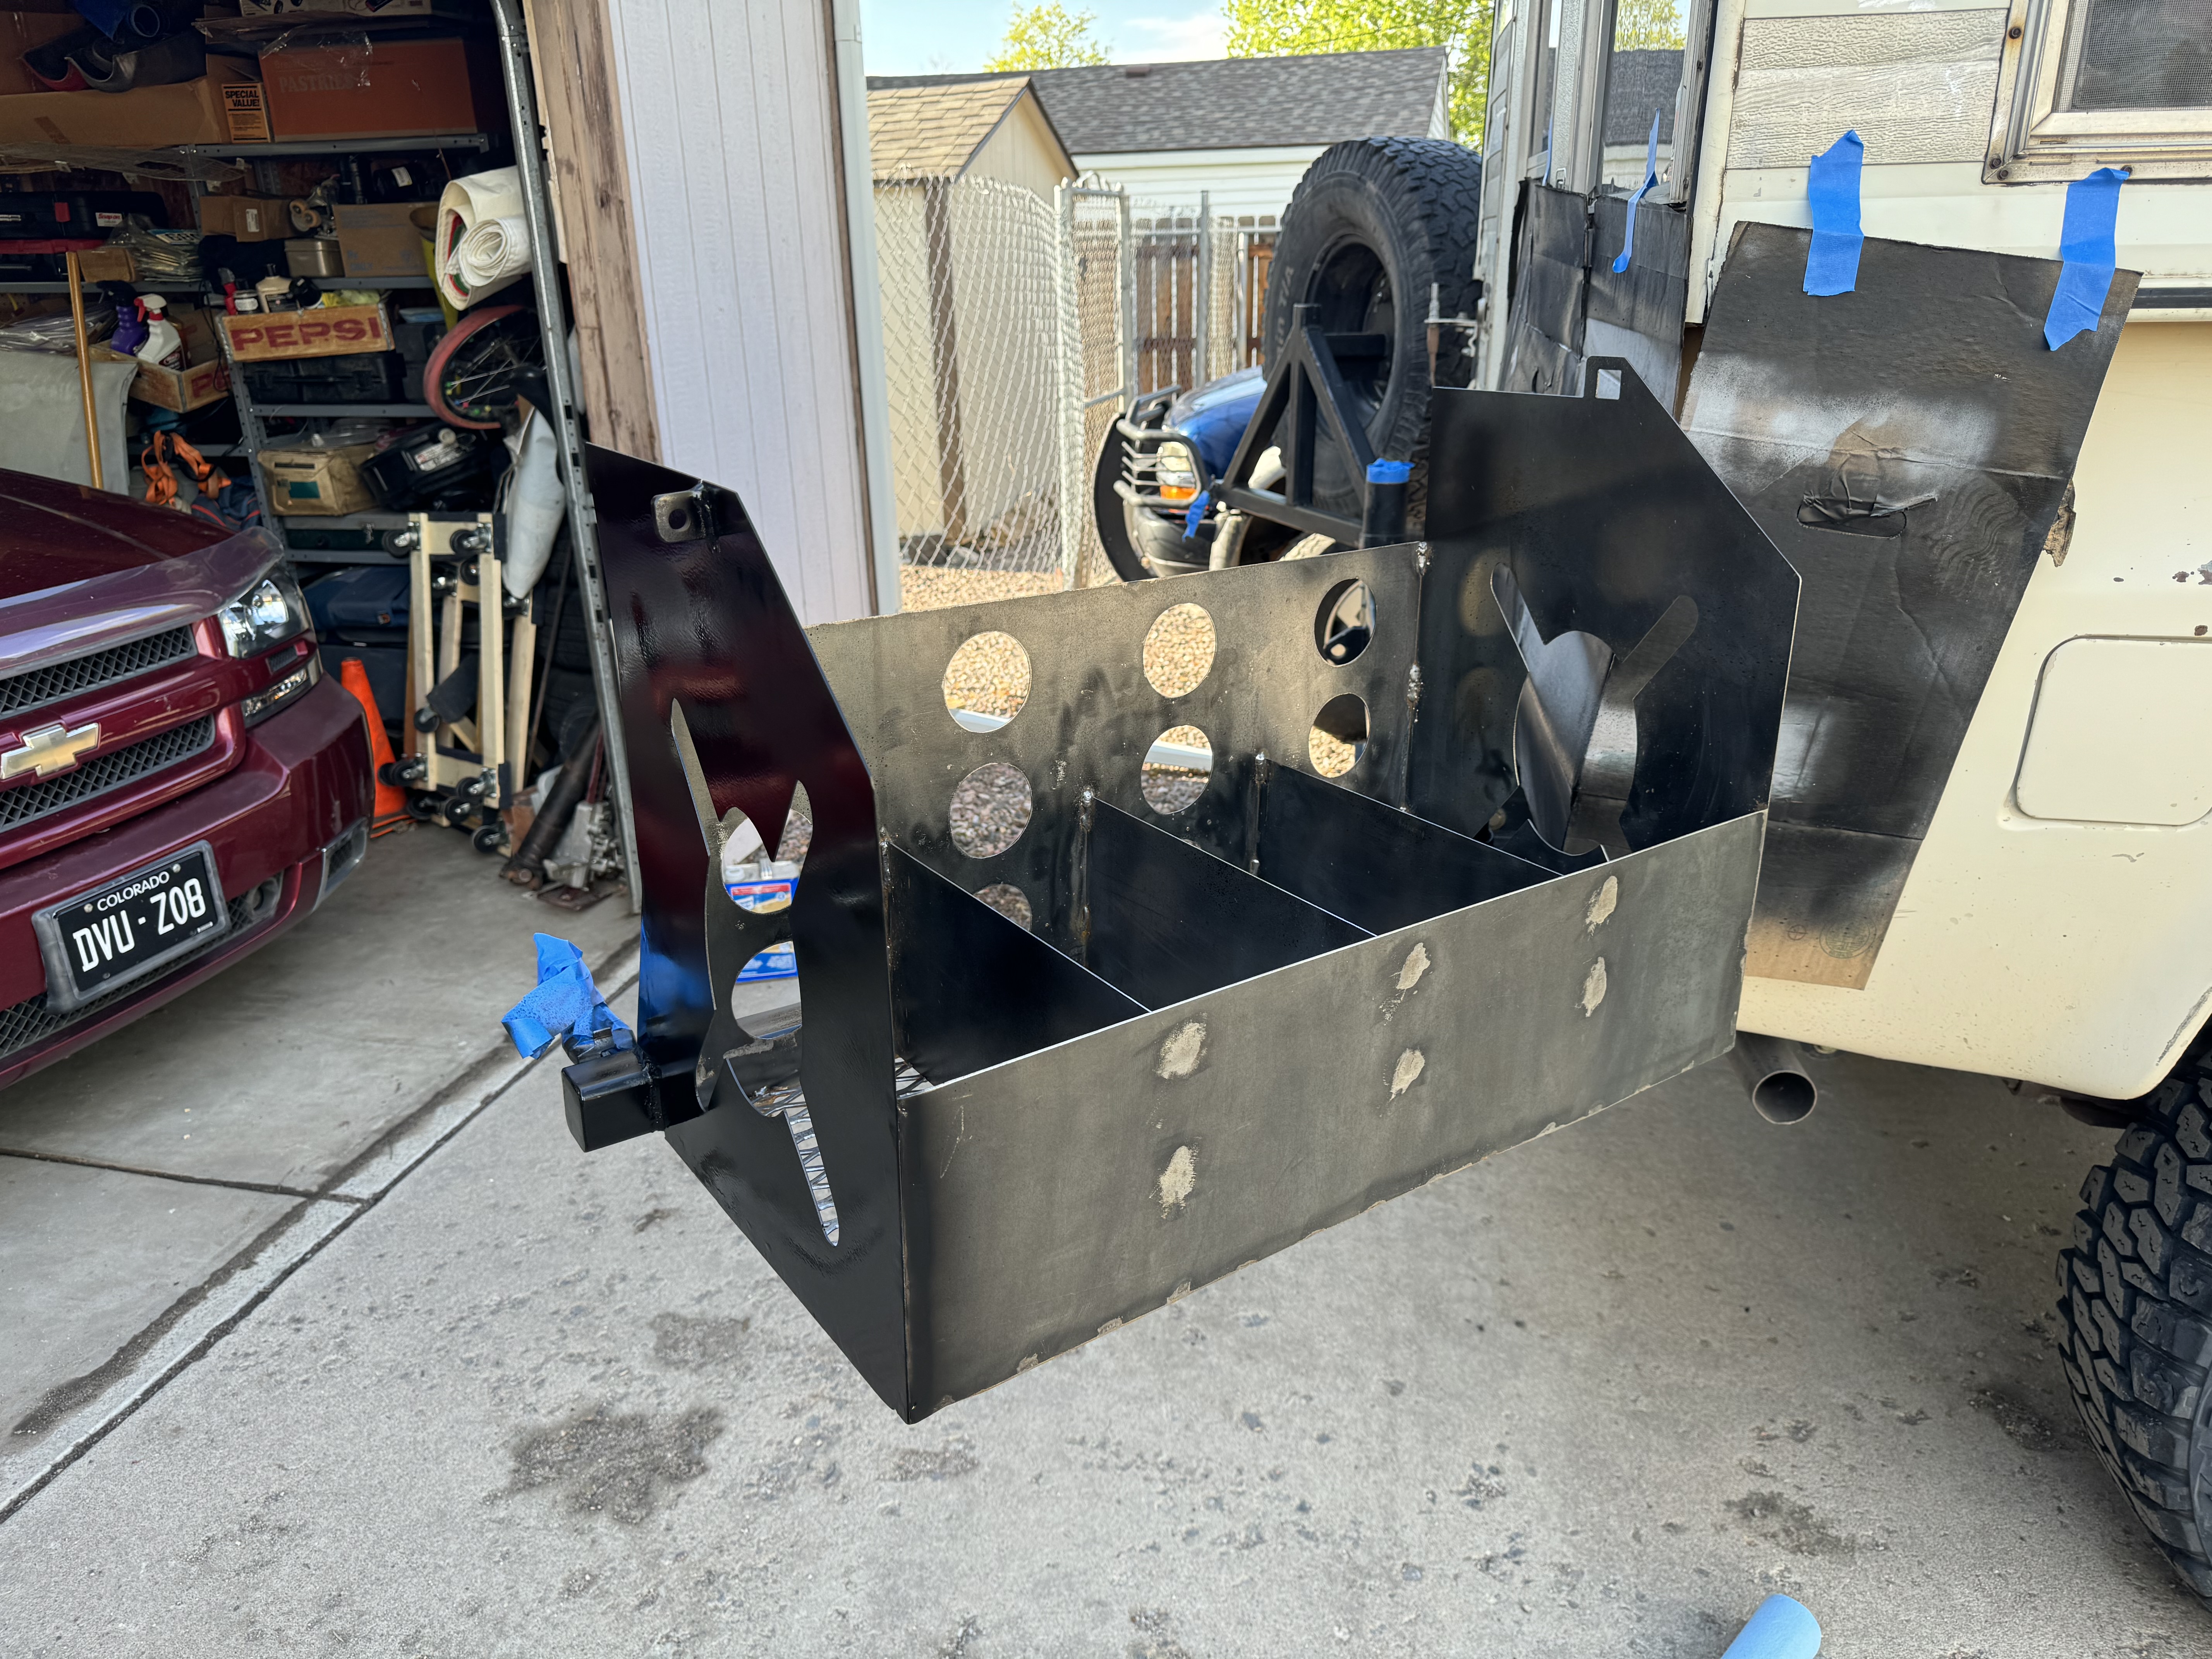
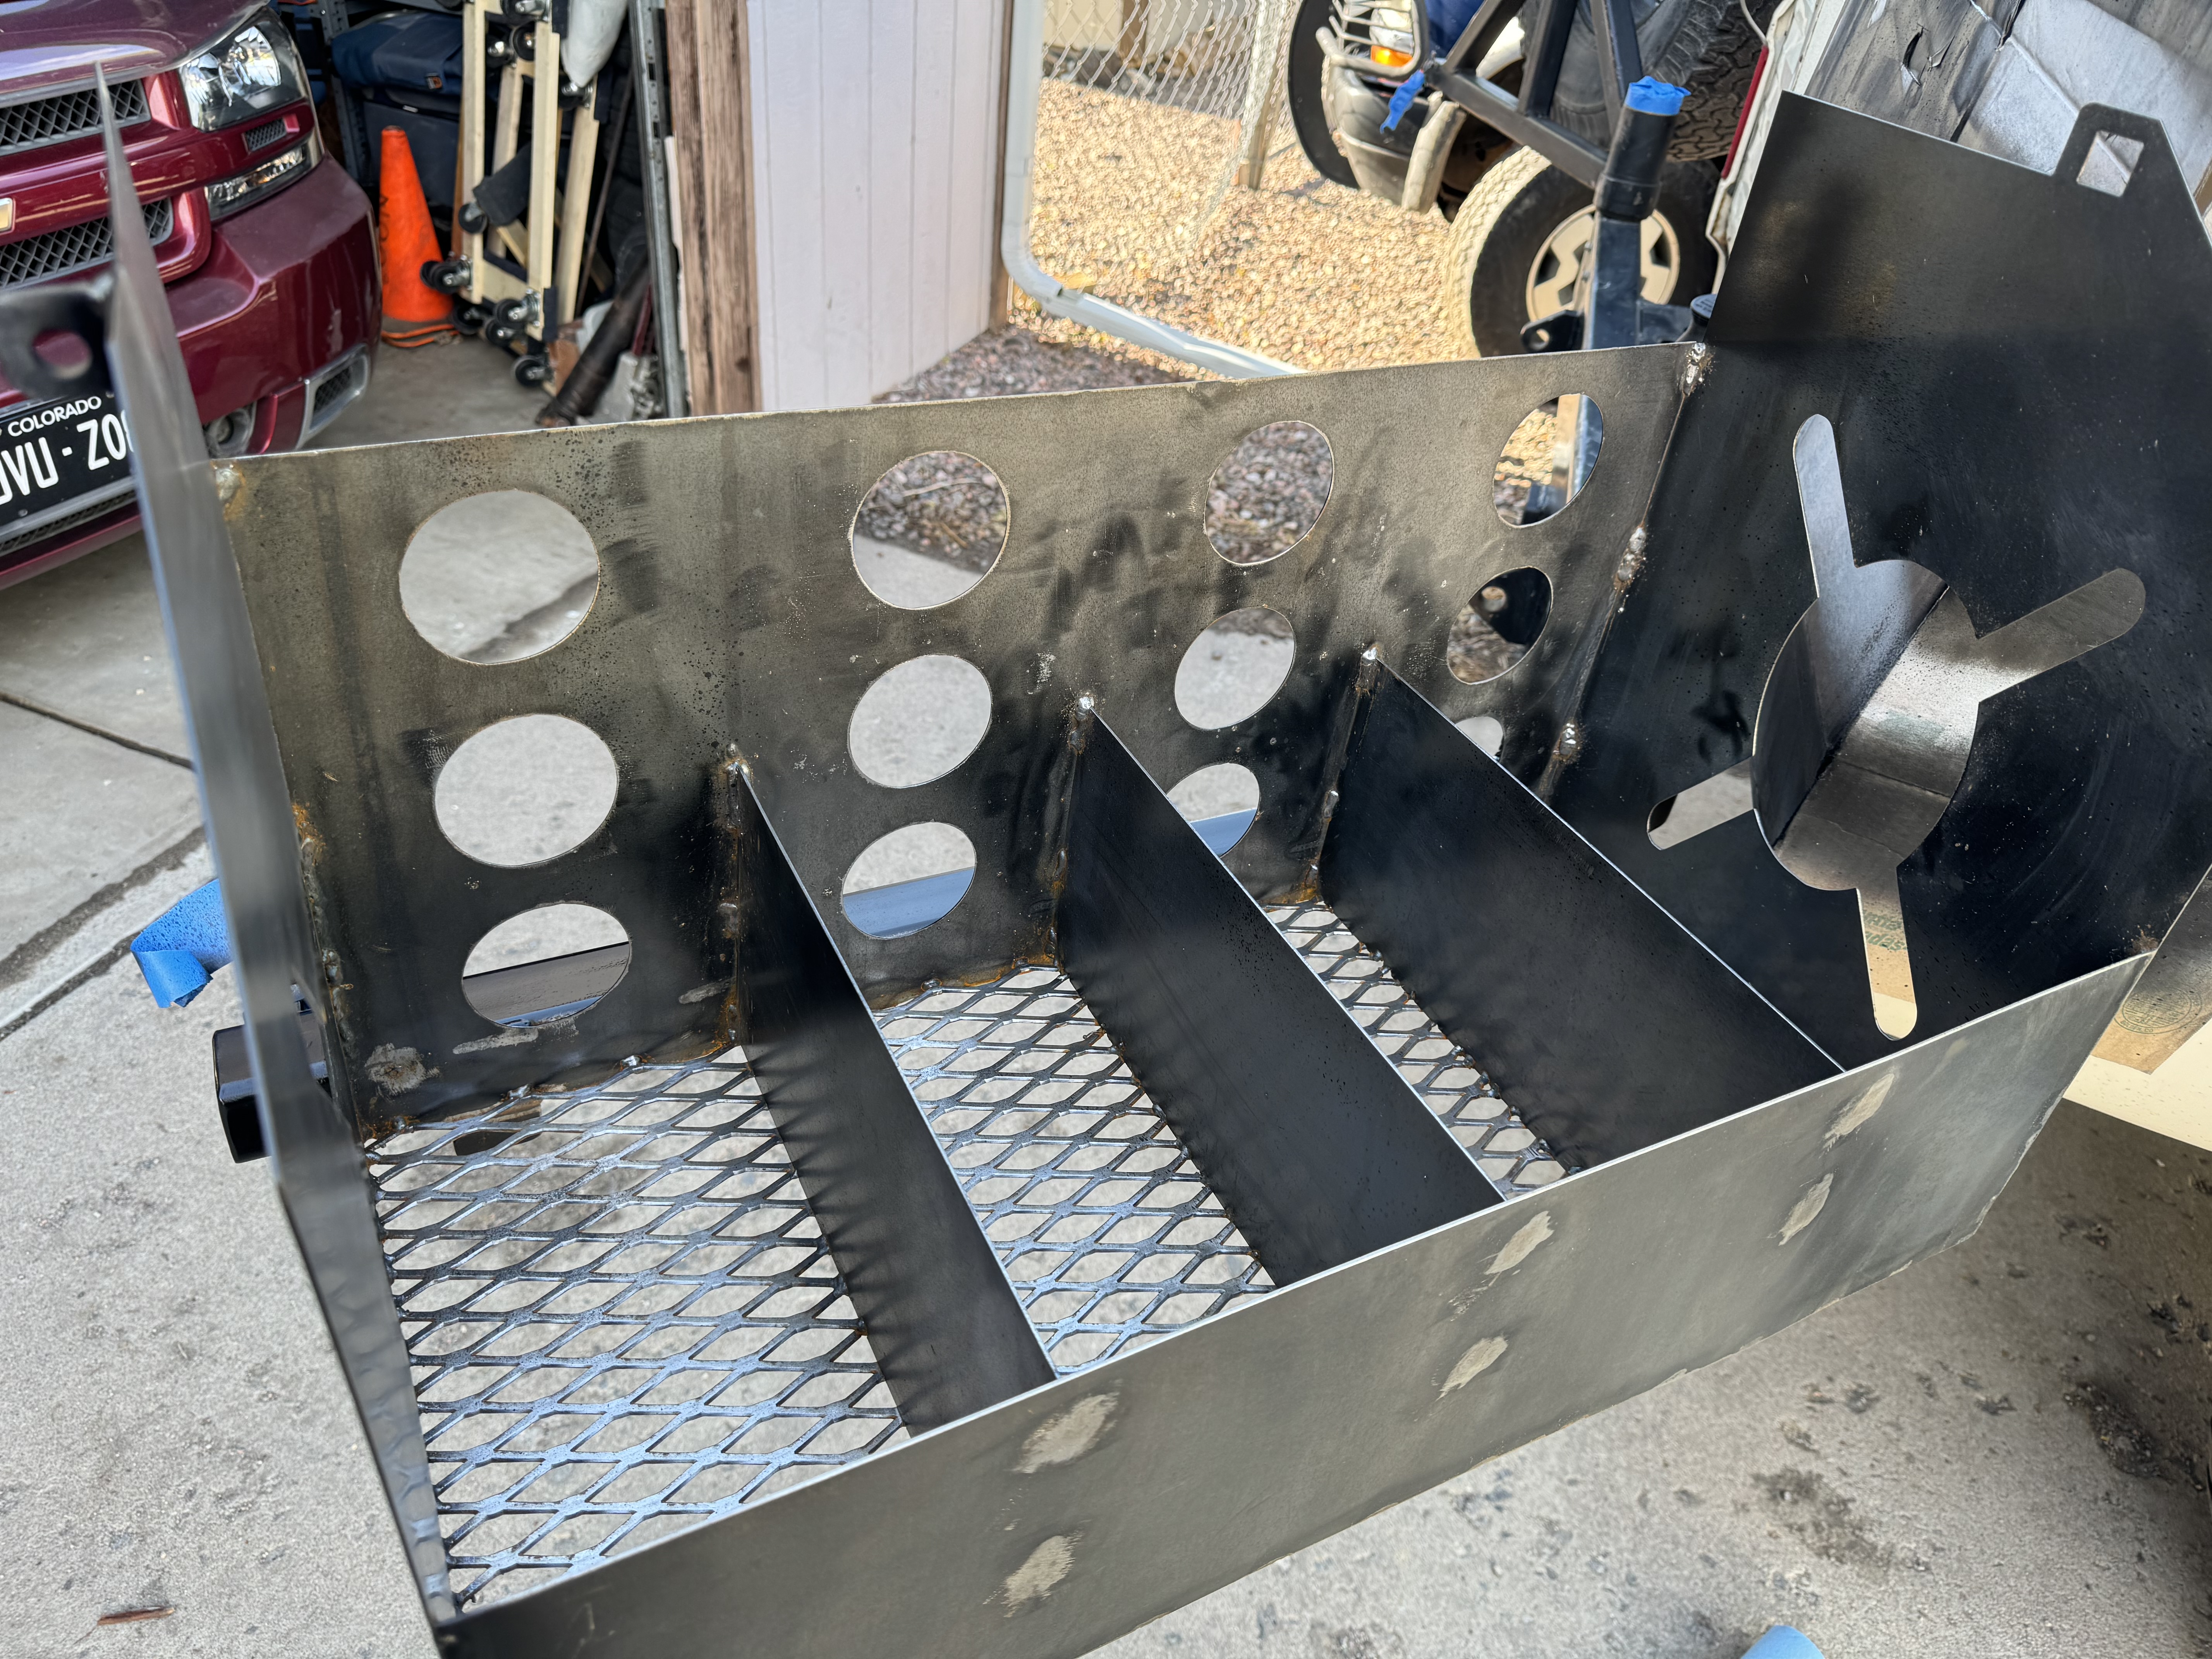
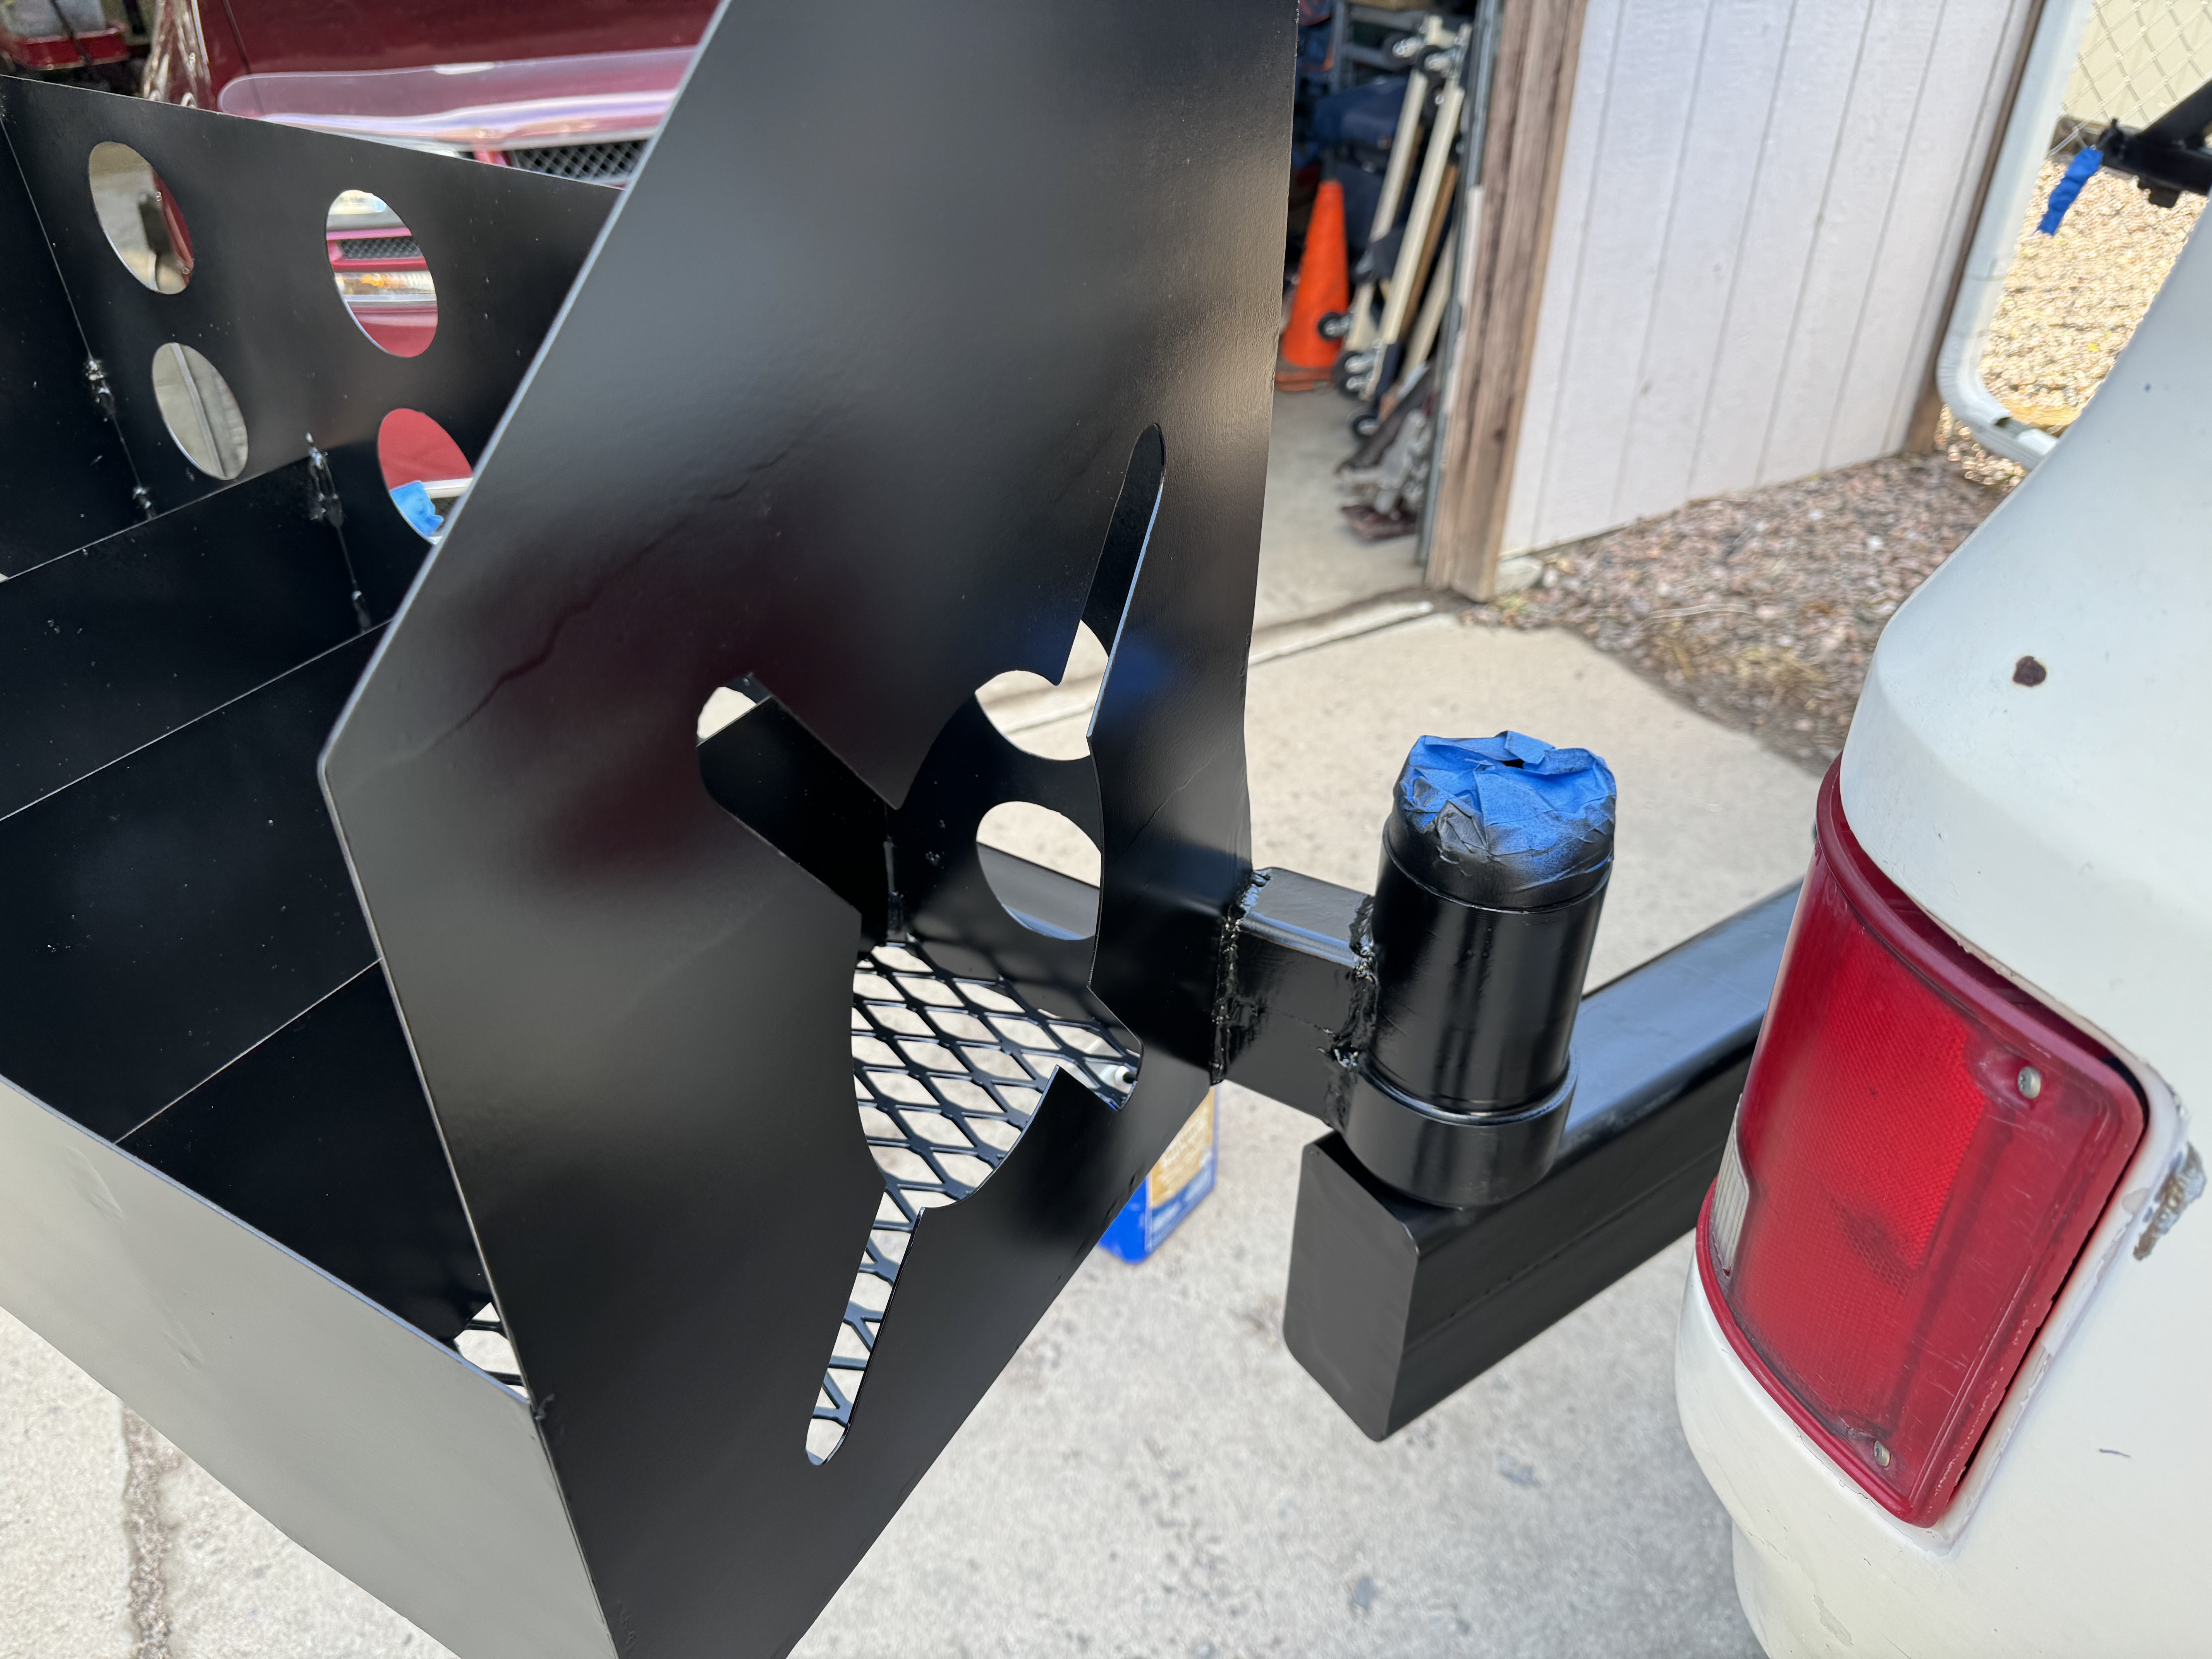
Bill came and picked me up this morning and we got to Larry’s house to put the driveshaft in and boogied to his his shop to do bumpers. Bill had built a new can rack to put on a swing like the spare tire side.
I had the same guy that cut out Larry’s can rack cut out two more versions for me and Bill. I bought Bills as payment for the fabrication. I had already given him another spindle, hub and stub axle to prep for it.
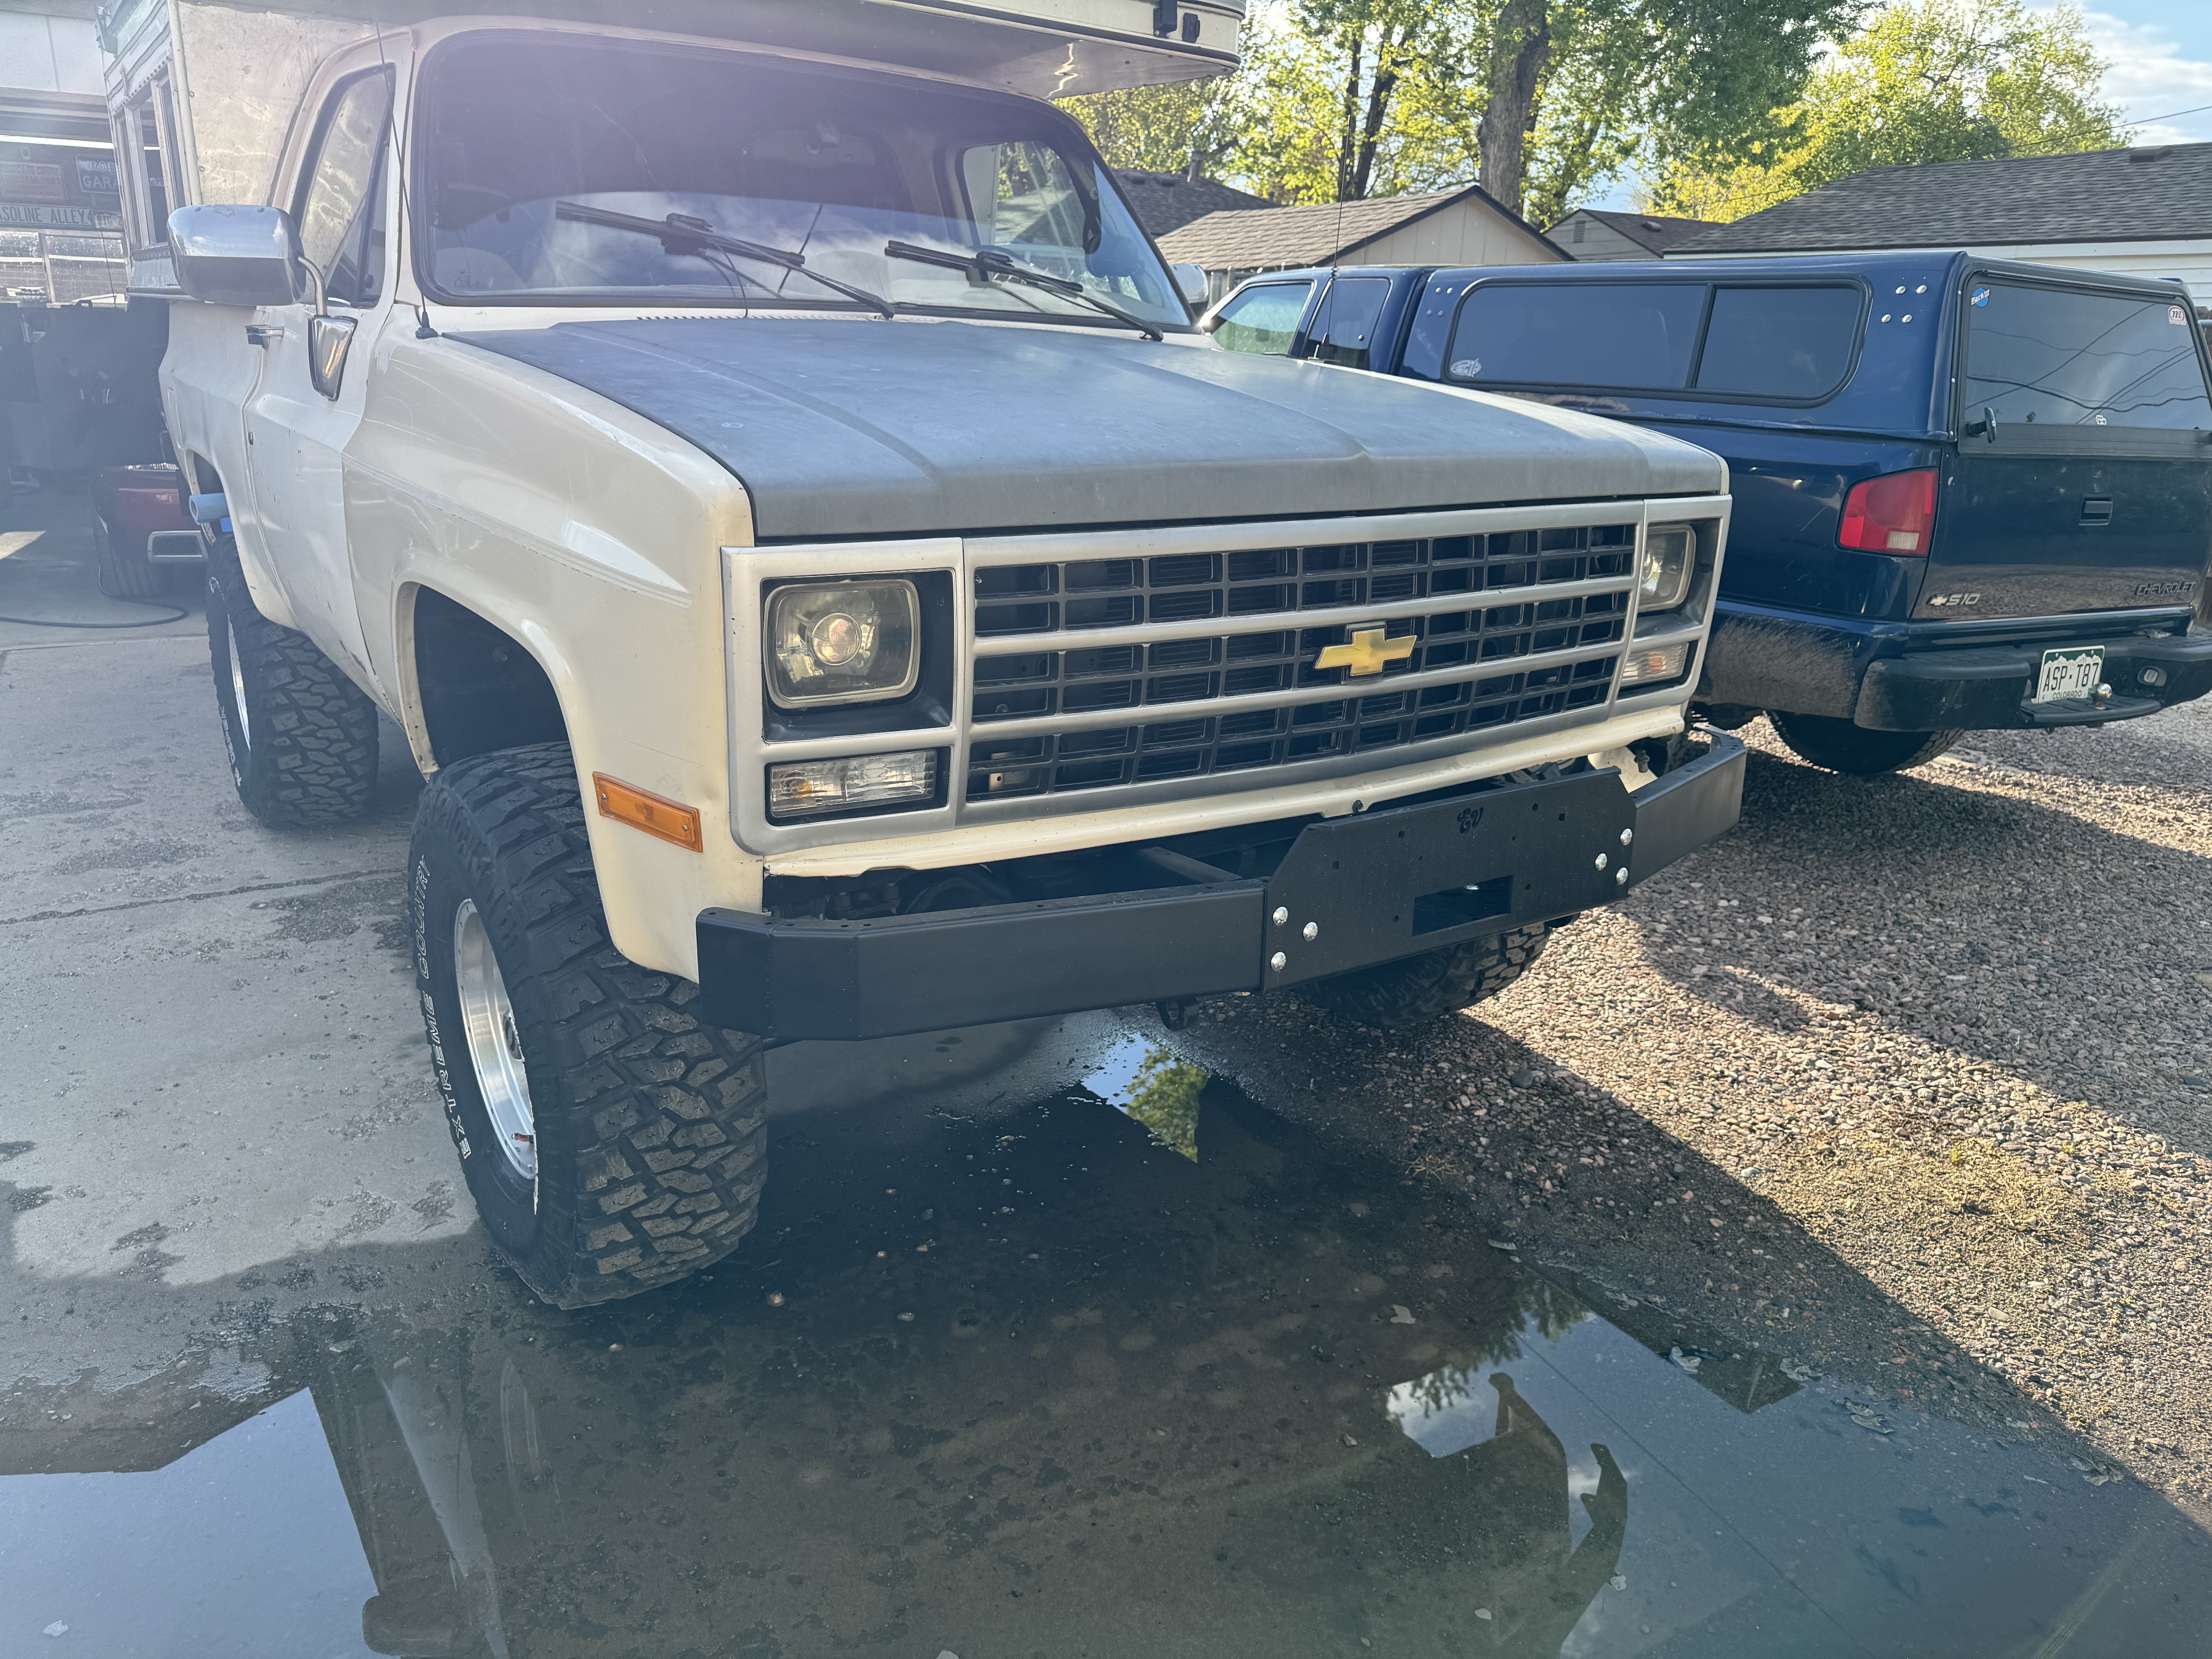
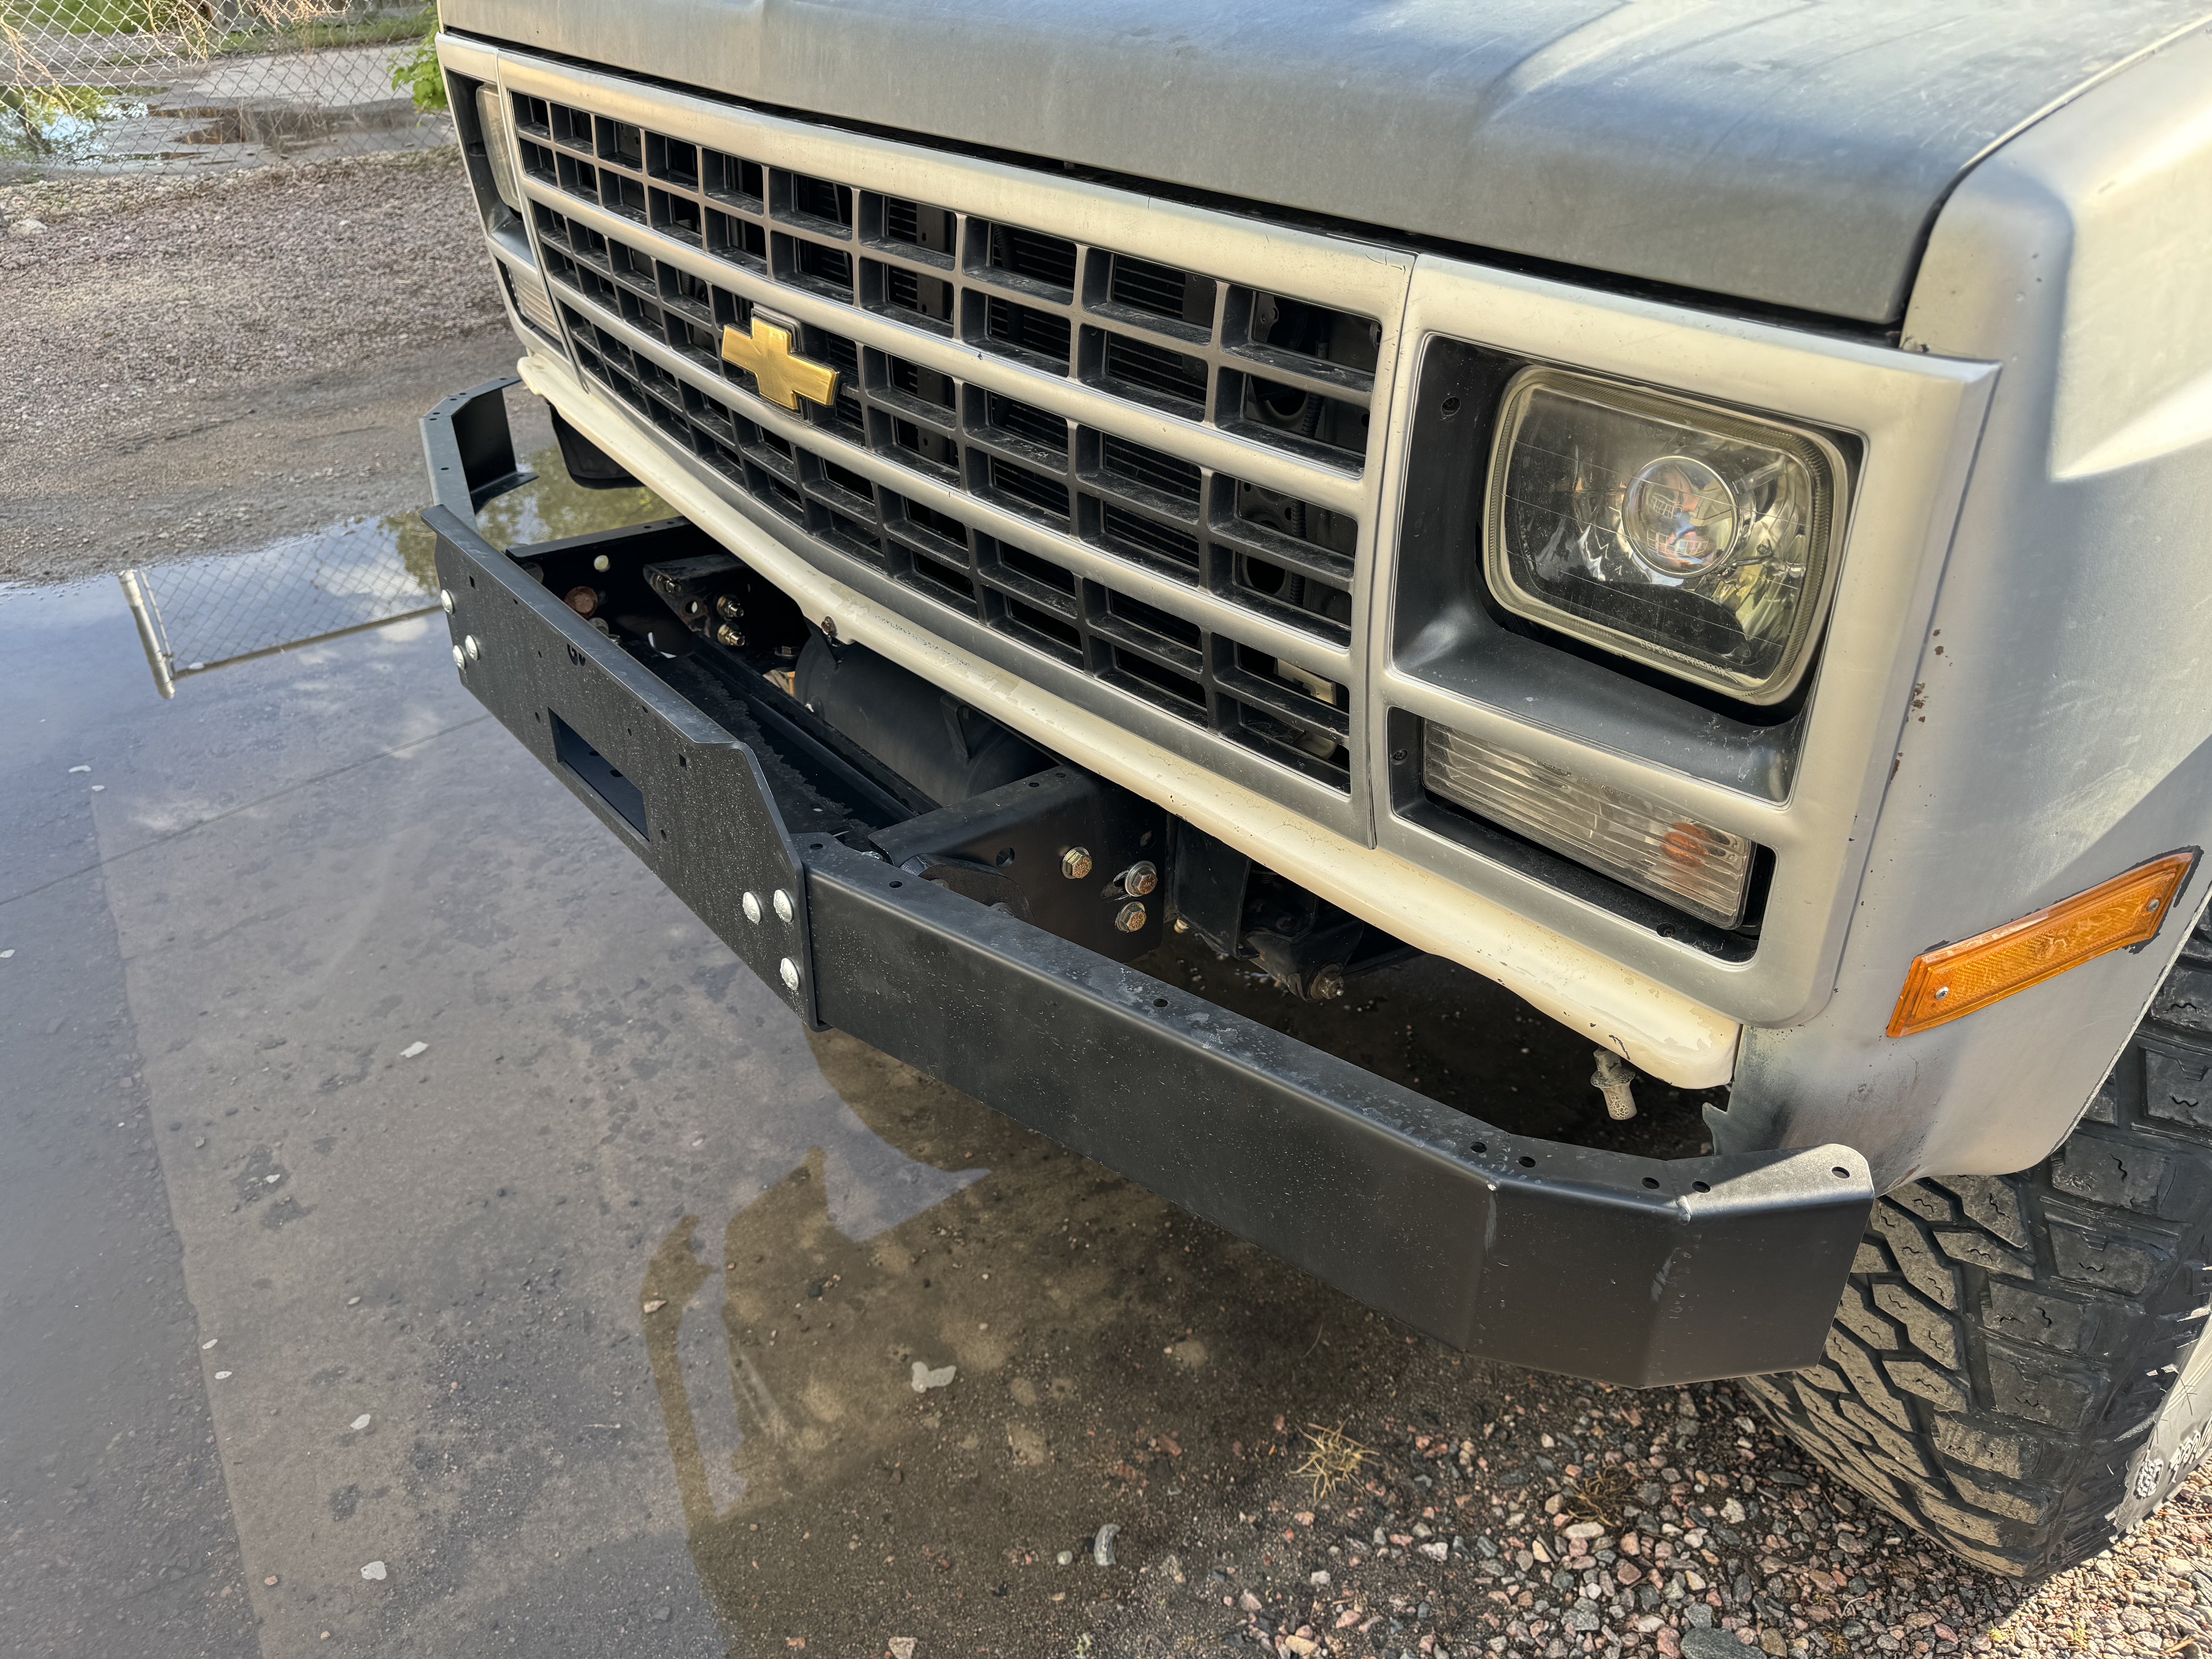
I had also brought down my fresh @Engineered Vintage Goat front winch bumper. I’ve only been sitting on that for over a year now. I painted it last weekend.
Priner
View attachment 475135
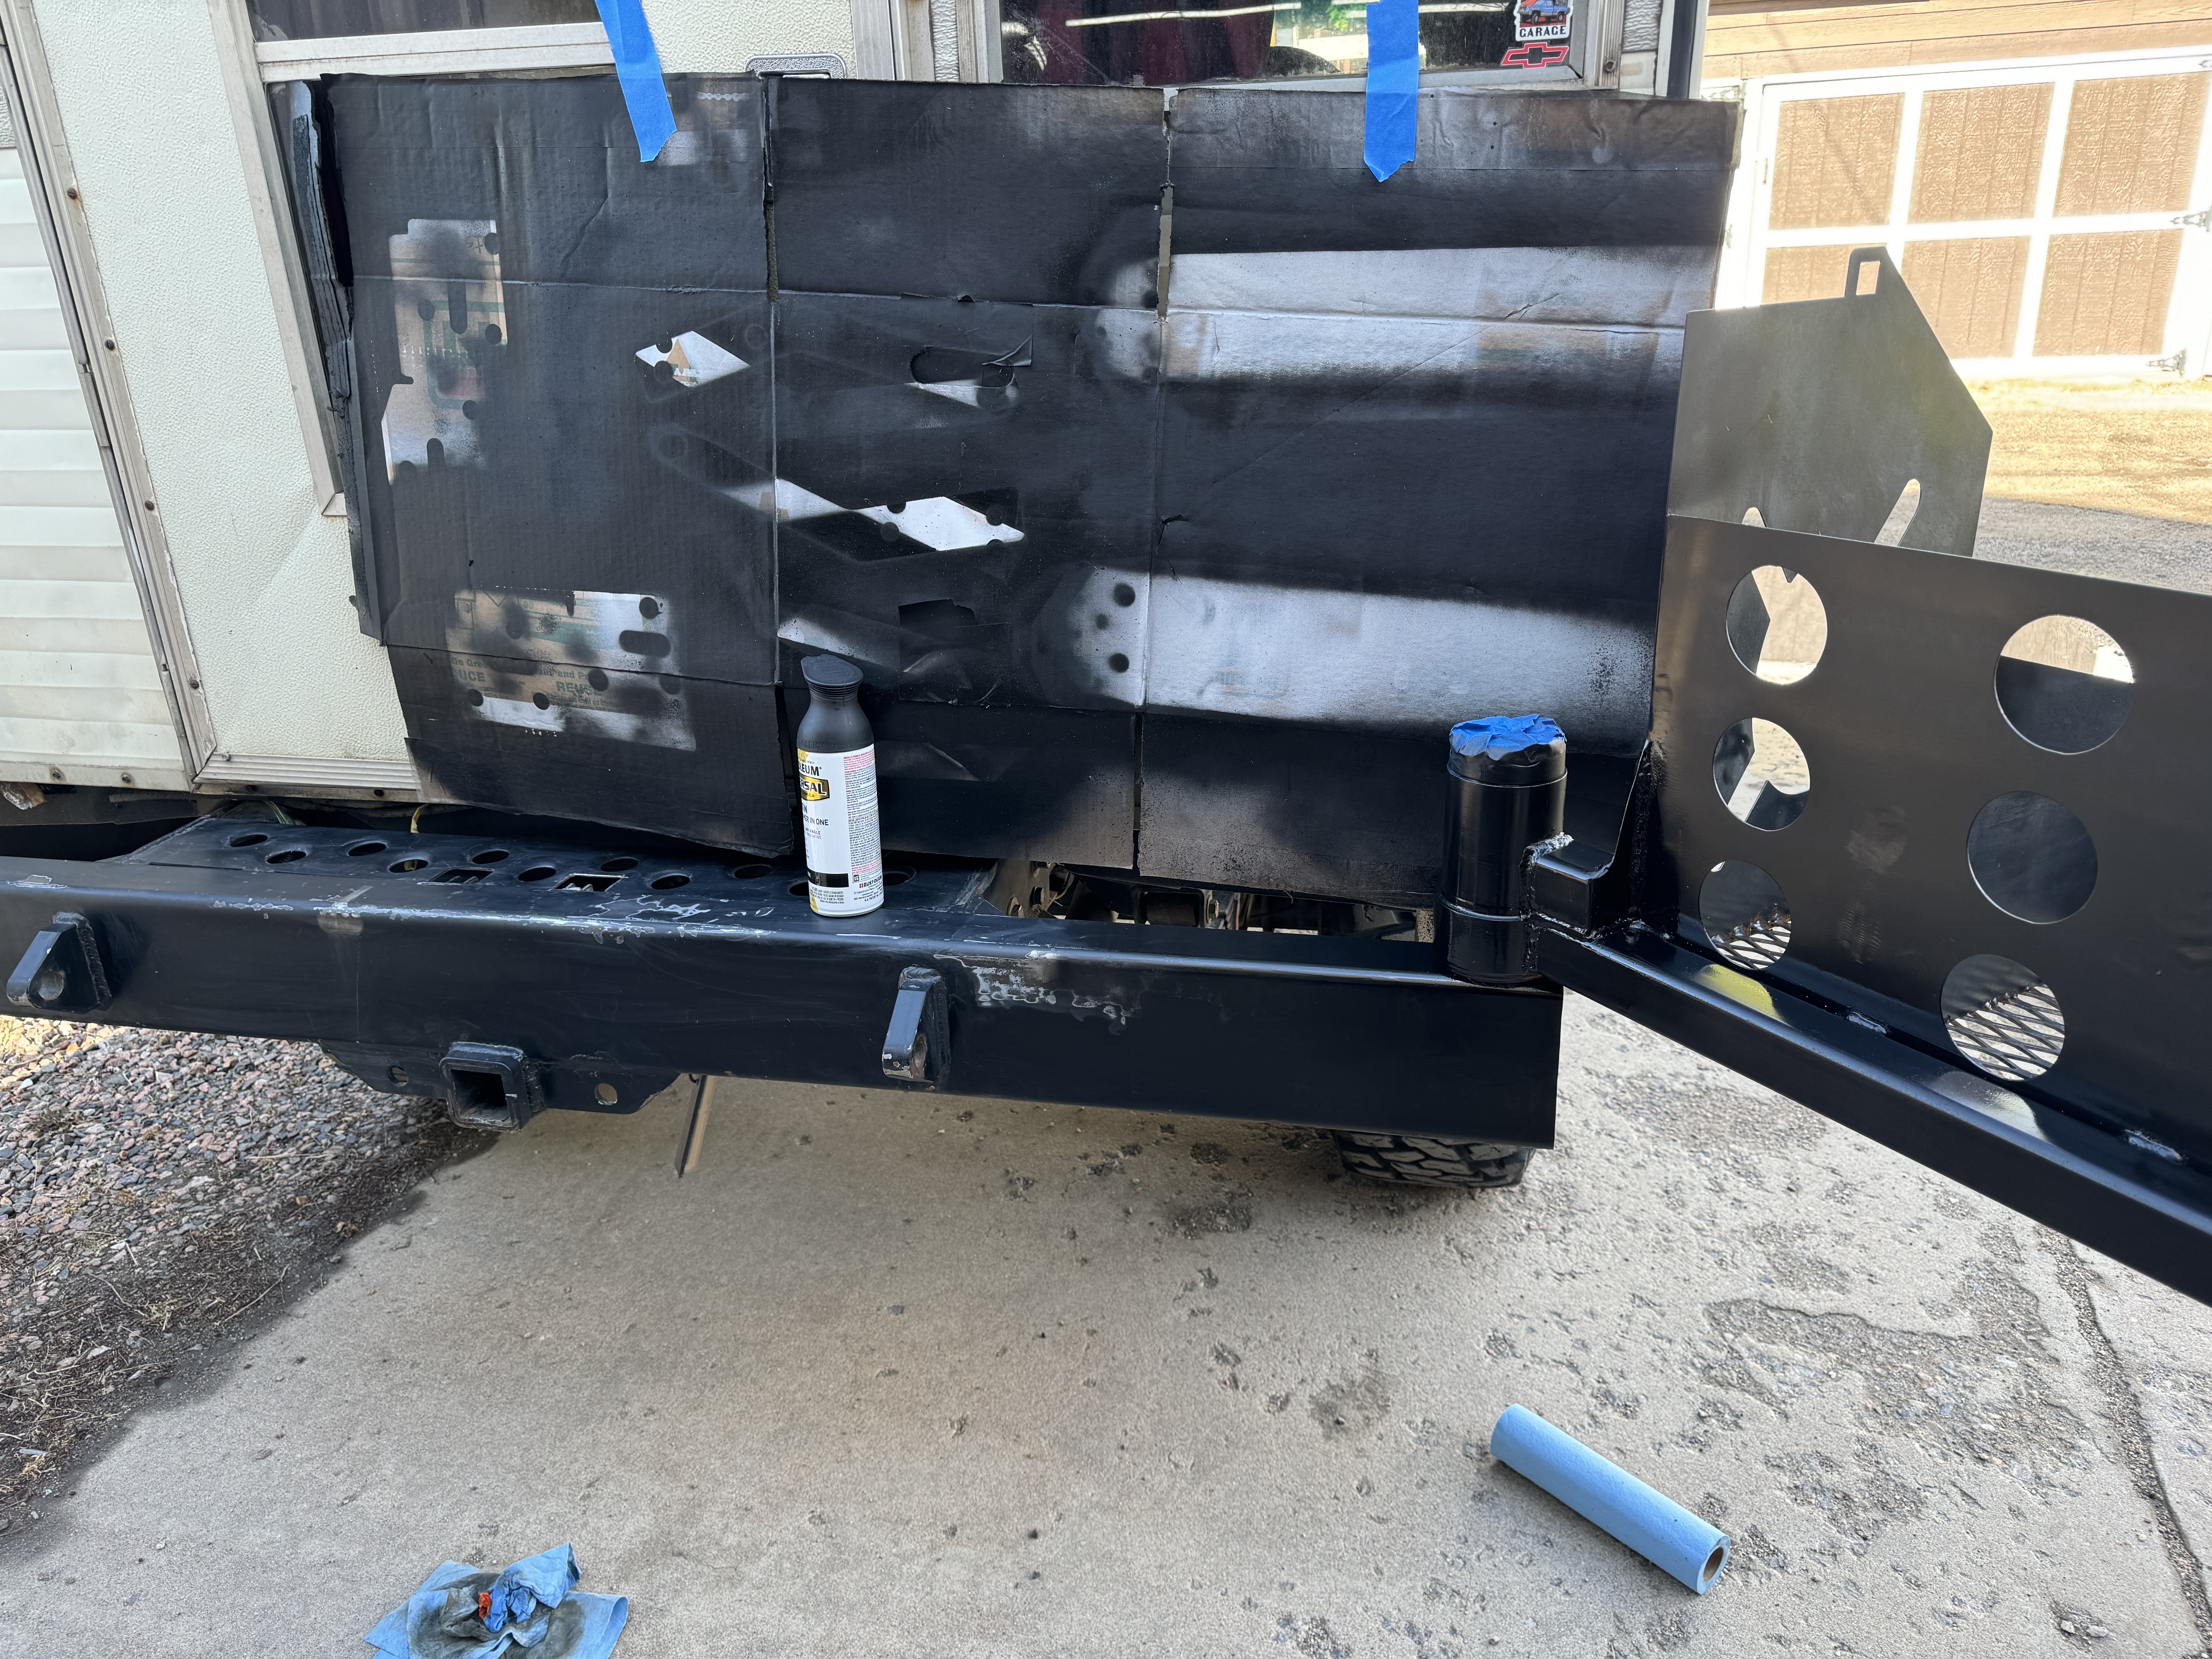
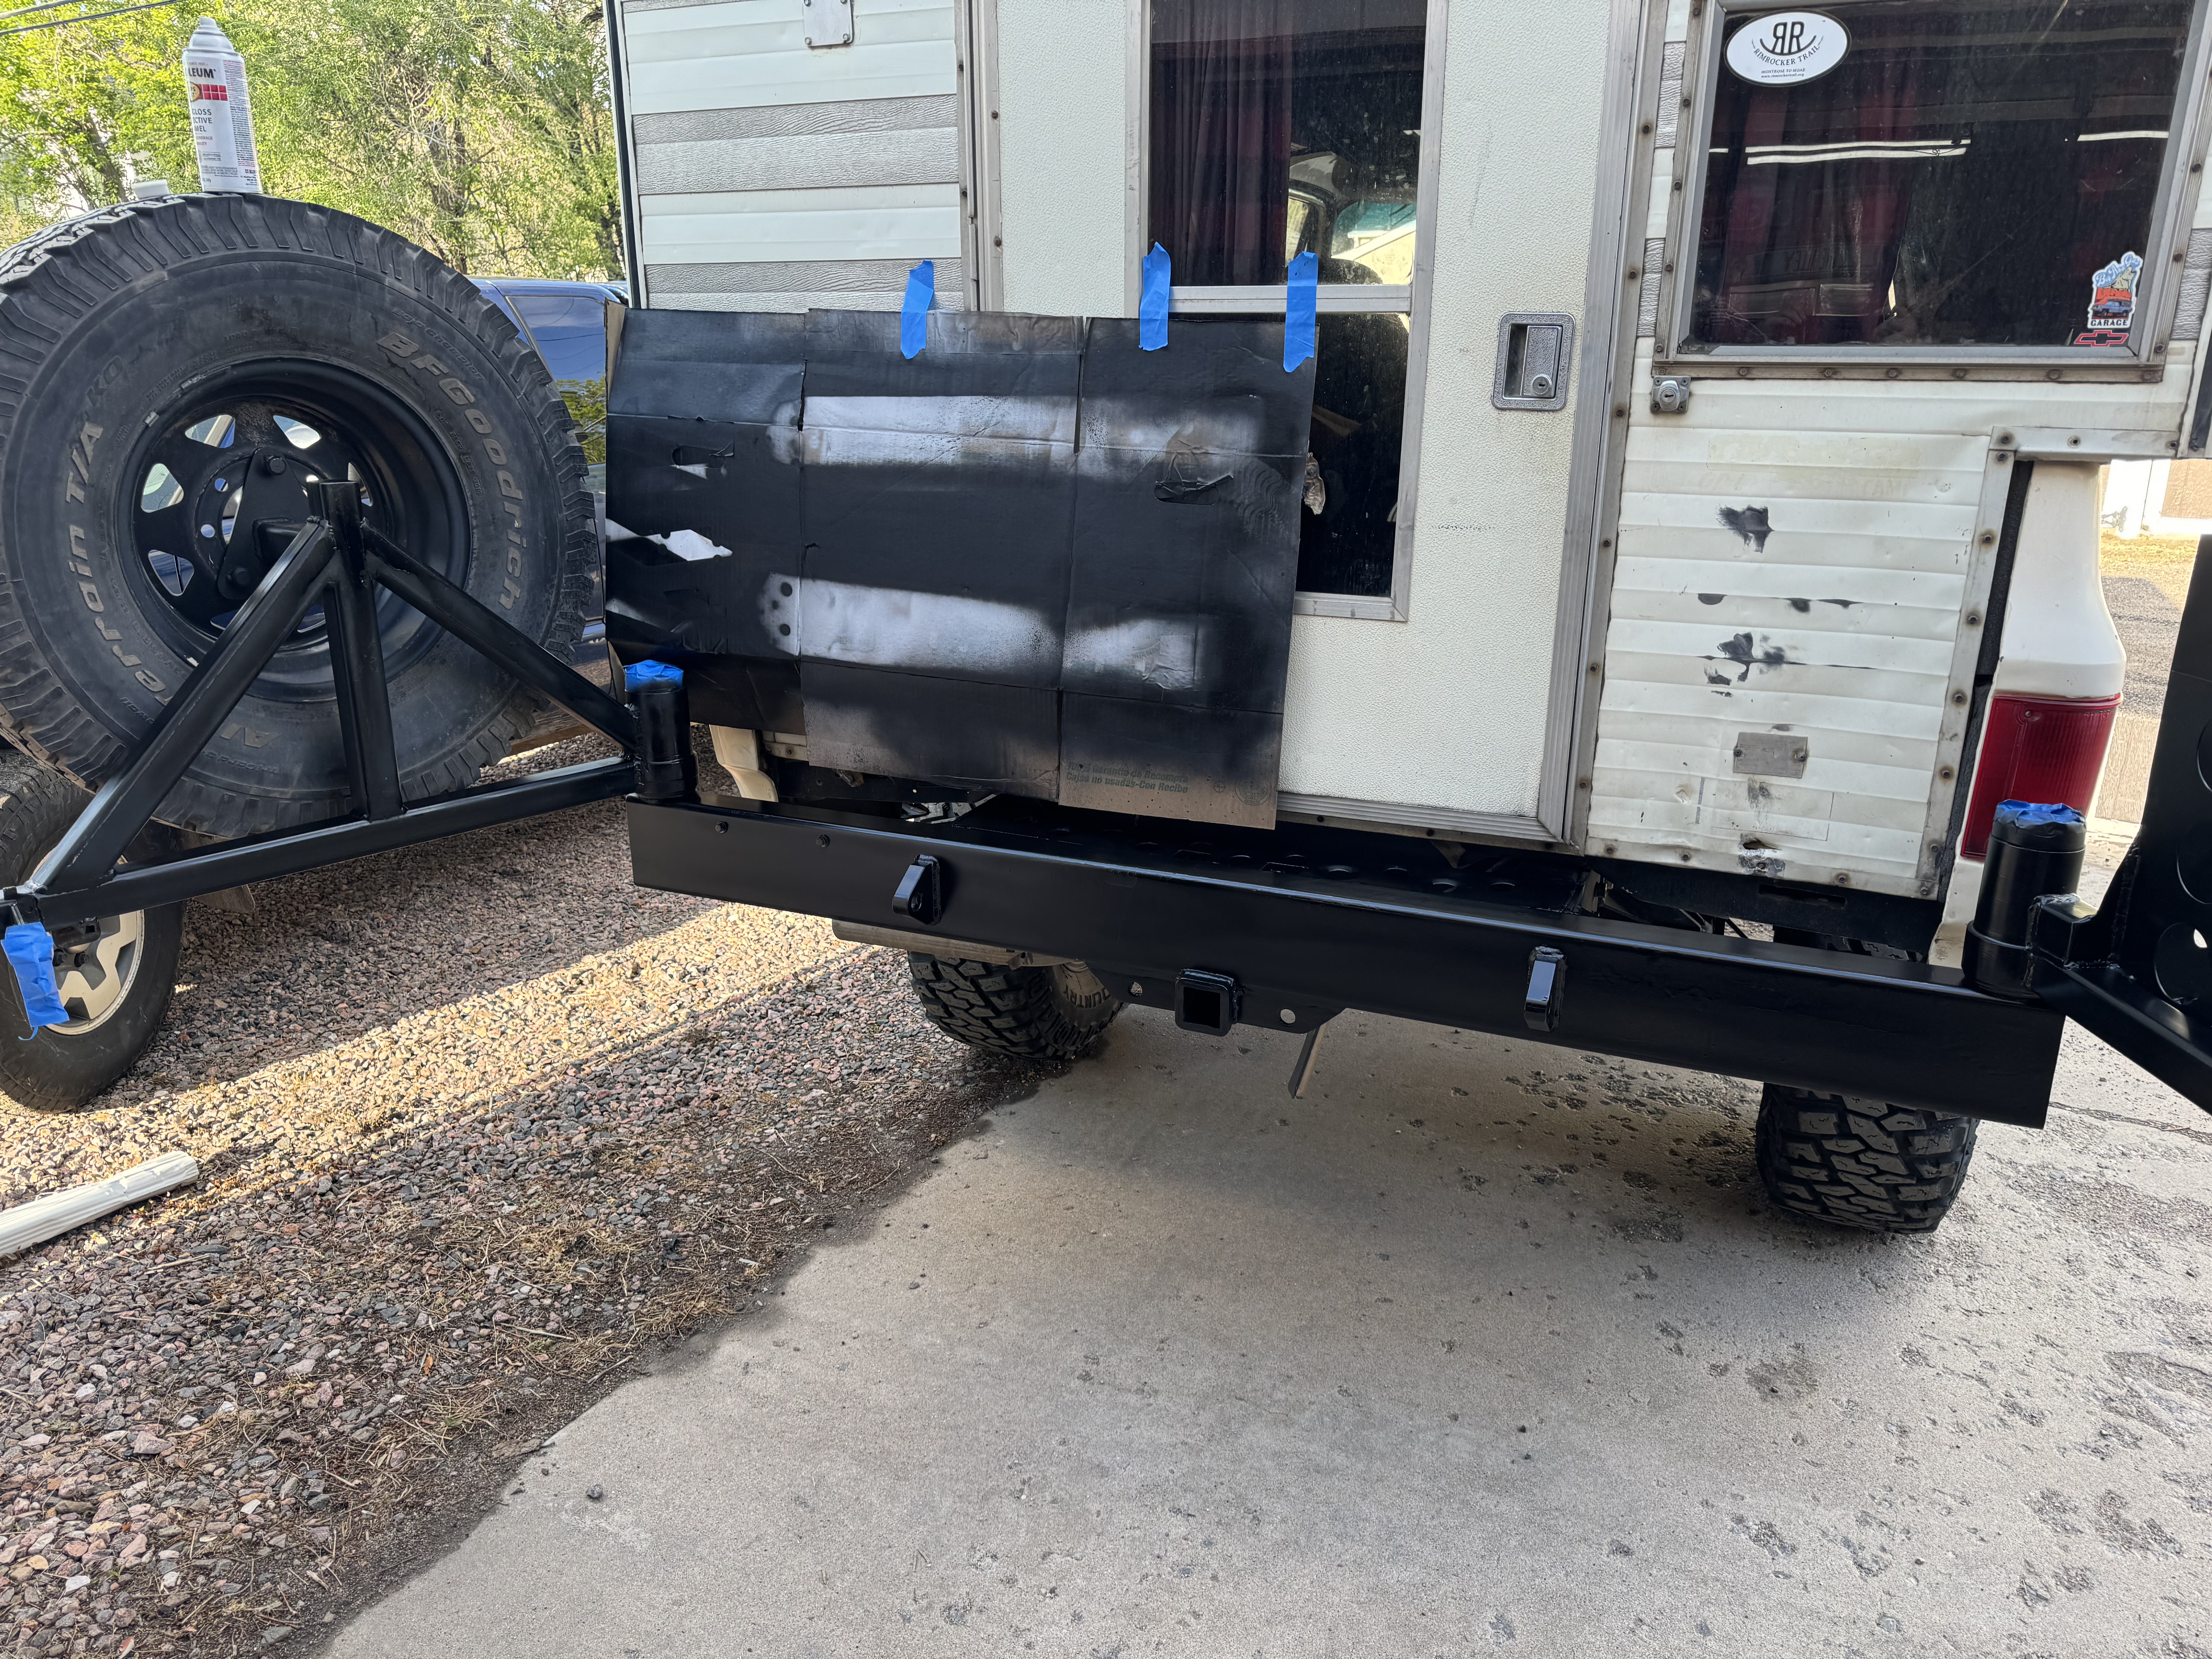
Paint. Or I should say paint with a side of dirt. I painted on the absolutely windiest day possible and dirt was flying.
View attachment 475136
So while Bill was finishing up some little bits on the can rack I put the front bumper in place.
View attachment 475138
Beyond this point the phone decided it didn’t want to take pics.
I did spring for the HD triangulation upgrade parts and since I’m going to run a Warn 8274 I got the extra gussets that tie the face of the bumper down to the base. The whole thing goes together pretty easy but my air tank did pose a few hiccups as the airline fitting and blow off valve was right in the way of the triangulation brackets.
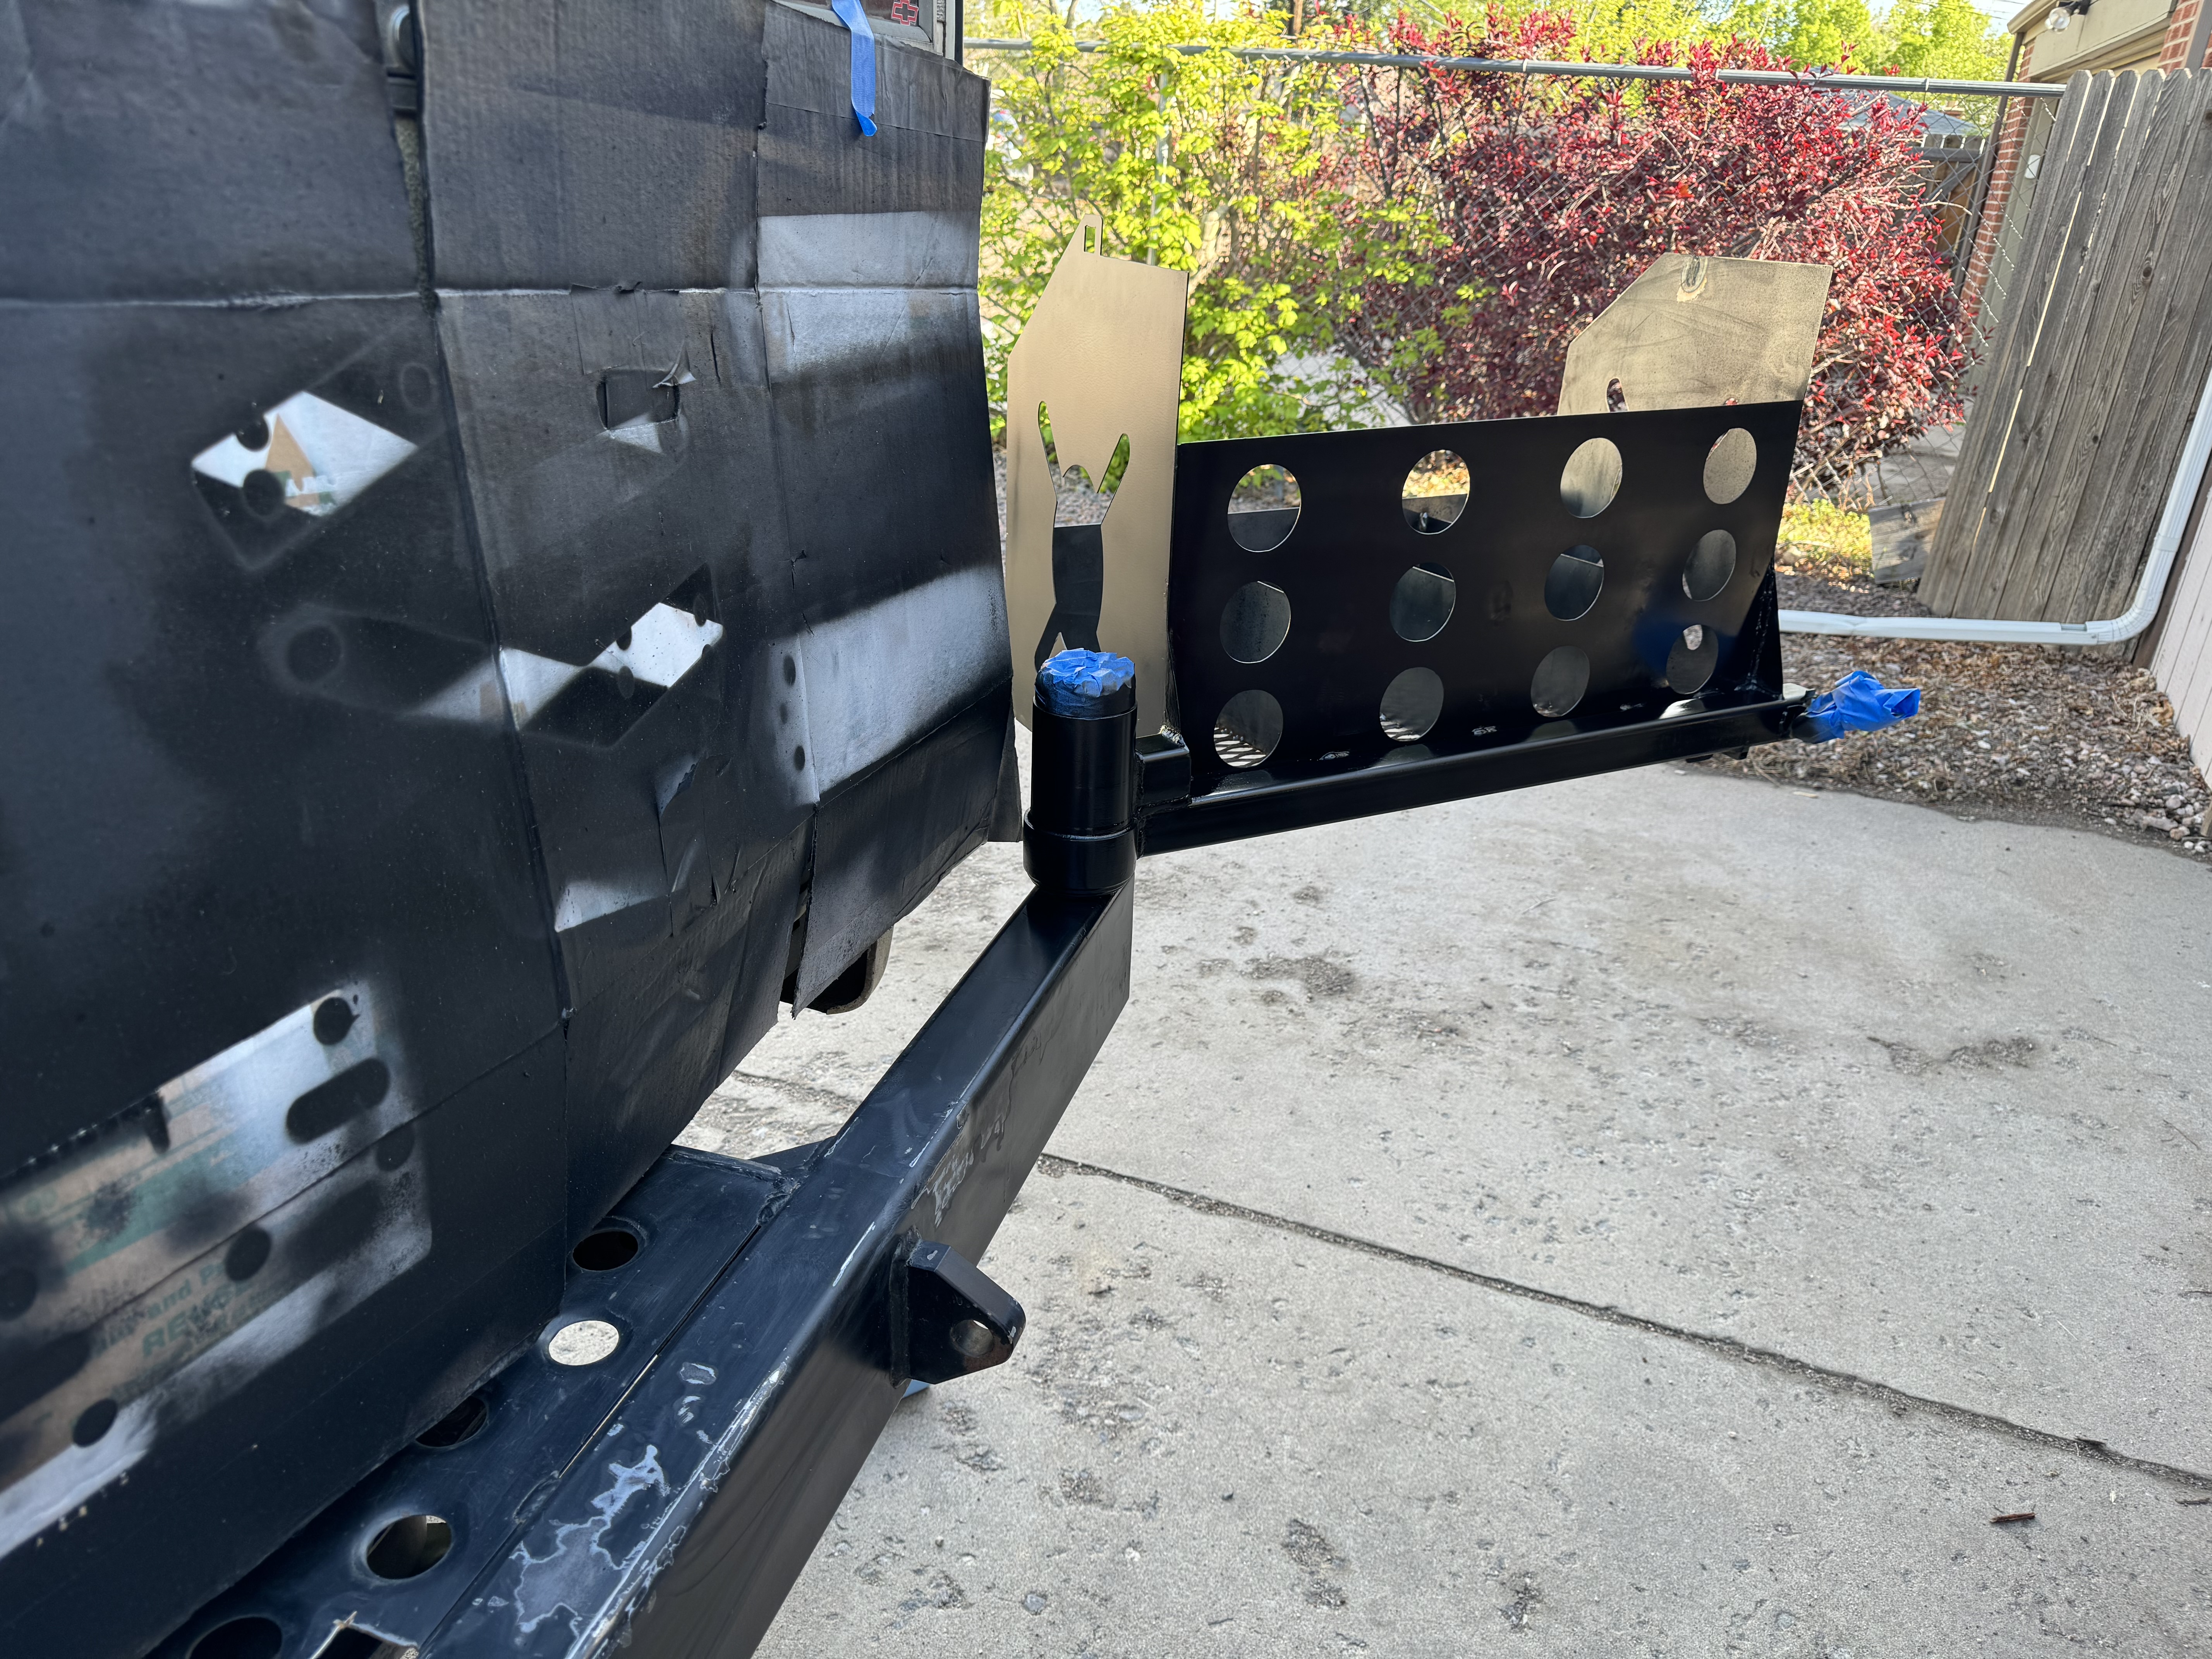
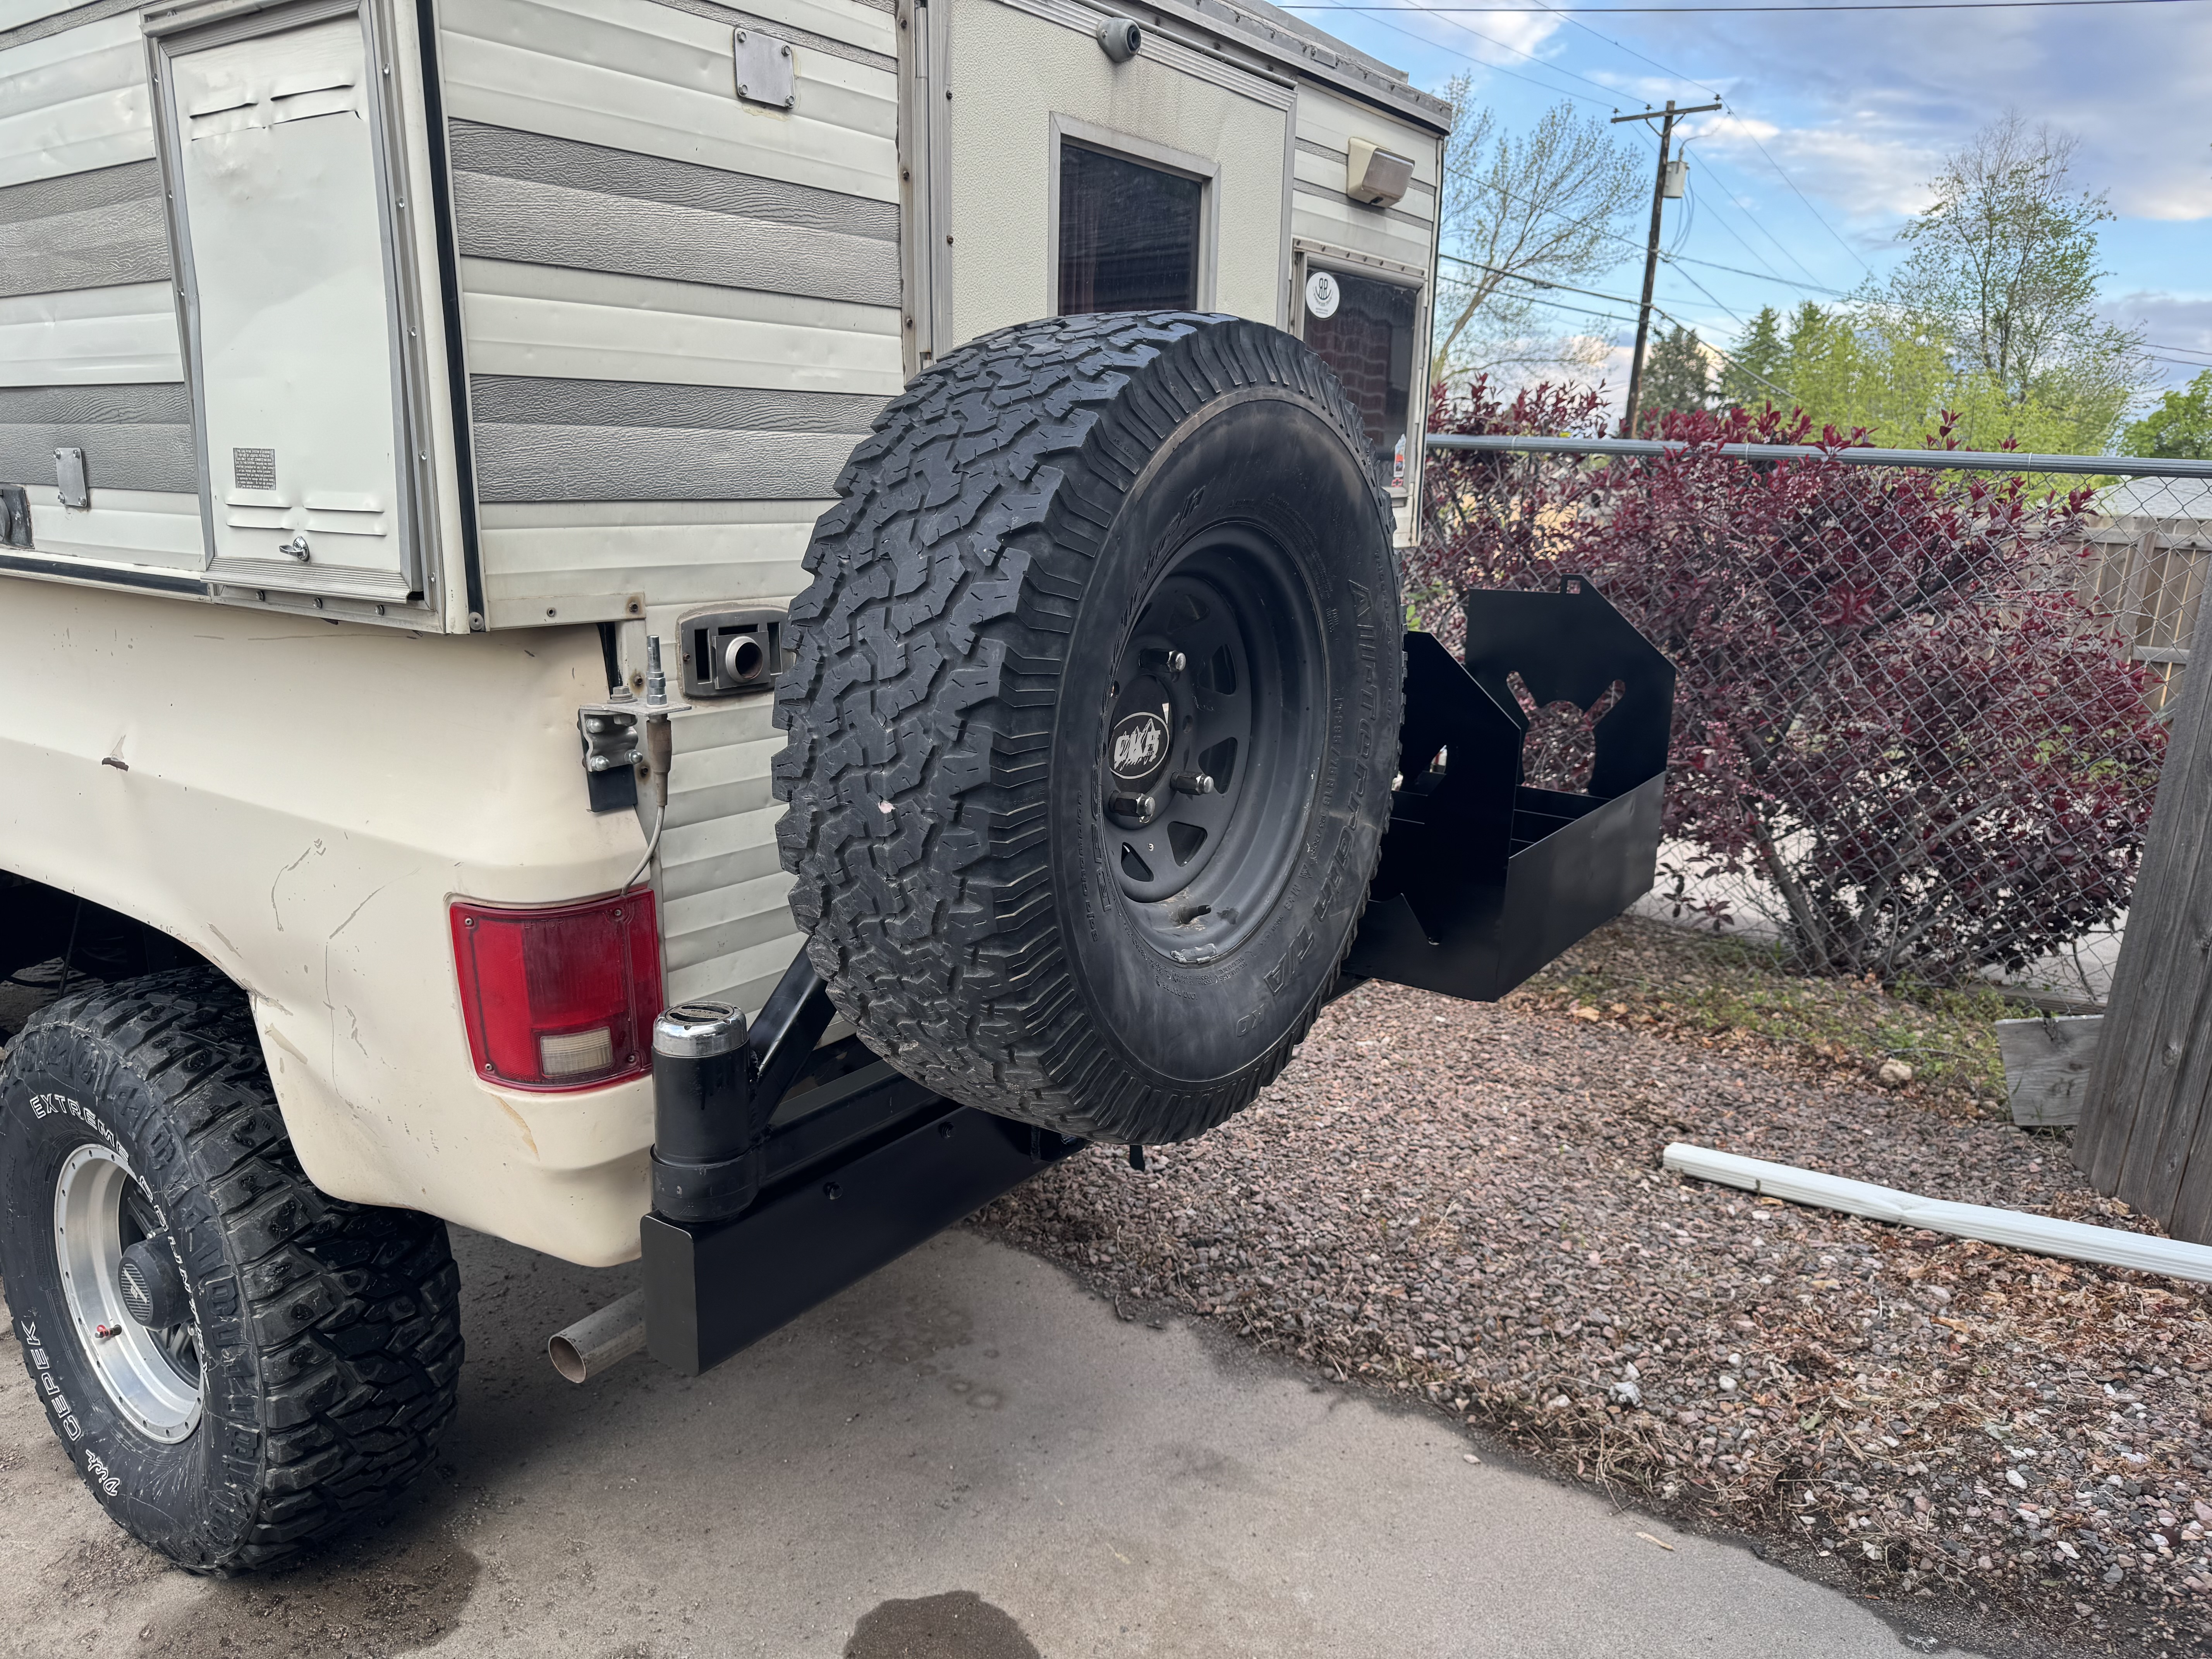
Bill got the rear bumper set in place and then set the swing arms on. We got done fairly early so I decided to head north and come on back home. The truck drove great. Zero driveline vibration, plenty of power and ate up miles with ease.
Super happy to have it back home. Lots left to do but at least it’s home to do it.
Thanks!That’s great news!
Very good feeling. It was like slipping back into a comfy pair of shoes. The new 8.1 runs great and dare I say it has a smidge more power than the last one. However, my frame of reference on driving the truck is skewed by a bunch of time. On the way up the engine ran cool, held good oil pressure, and just ran flawlessly. It's a testament to how everything is set up to just drop in a fresh engine and drive it a hundred miles like it always has.Woohoo that has got to be a good feeling.
janky Nissan's....... Mr. Juan and Mr. Wong to you sir!I have to look at 2 janky Isuzus
Just close your eyes as you drive by. I am sure nothing bad will happen.But thanks. Now that you moved the dirty brown buffalo, I have to look at 2 janky Isuzus
For sure. It’s going to get put to good use.I am glad I hung onto that engine for so long. I feel like I am part of your wheeling stories now.
It was pretty visible there for sure. I’m surprised my ex never messed with it. But between my attitude that she knows that was a line not to cross, she’d have to deal with Larry too. Happy it’s back with me.Good job Zoo
But thanks. Now that you moved the dirty brown buffalo, I have to look at 2 janky Isuzus
Thanks man! I meant to put pics up of the GOAT bumper with yesterday’s post. I really like how it’s turned out. Super beefy in the right spots. I’m glad I sprung for the hd triangulation setup too. Man does that add a ton of support down the frame.Looking good!
The little holes on the top of each wing are where the top plate bolts on to close that area off.Are all the holes in the top for mounting lights or part of the assembly jig?
For sure. It’s going to get put to good use.
It was pretty visible there for sure. I’m surprised my ex never messed with it. But between my attitude that she knows that was a line not to cross, she’d have to deal with Larry too. Happy it’s back with me.
Thanks man! I meant to put pics up of the GOAT bumper with yesterday’s post. I really like how it’s turned out. Super beefy in the right spots. I’m glad I sprung for the hd triangulation setup too. Man does that add a ton of support down the frame.
Though I noticed something when I was going through the instructions and parts in the two boxes. The instructions show reusing the outer bumper support brackets from the oem bumper with a small bracket that goes in the corner of the goat unit. Was that a later addition to the setup? I know I bought mine as soon as you opened up ordering and then promptly sat on it with the truck being broke. But I wasn’t sure if it came later or not. Is there a way I could get them now?
I need to do a final adjustment to level it up but it’s at least on.