I like it!
CK5

You are using an out of date browser. It may not display this or other websites correctly.
You should upgrade or use an alternative browser.
You should upgrade or use an alternative browser.
'91 K5 Four Wheel Camper
This is the build for my 1991 V1500 Blazer, AKA the K5.3. It started out life being sold to the U.S. Government with a 350 TBI/700r4/241 combo. 4 years with a 5.3/700r4 Combo and now moving to an 8.1L Vortec and NV4500 5-speed.
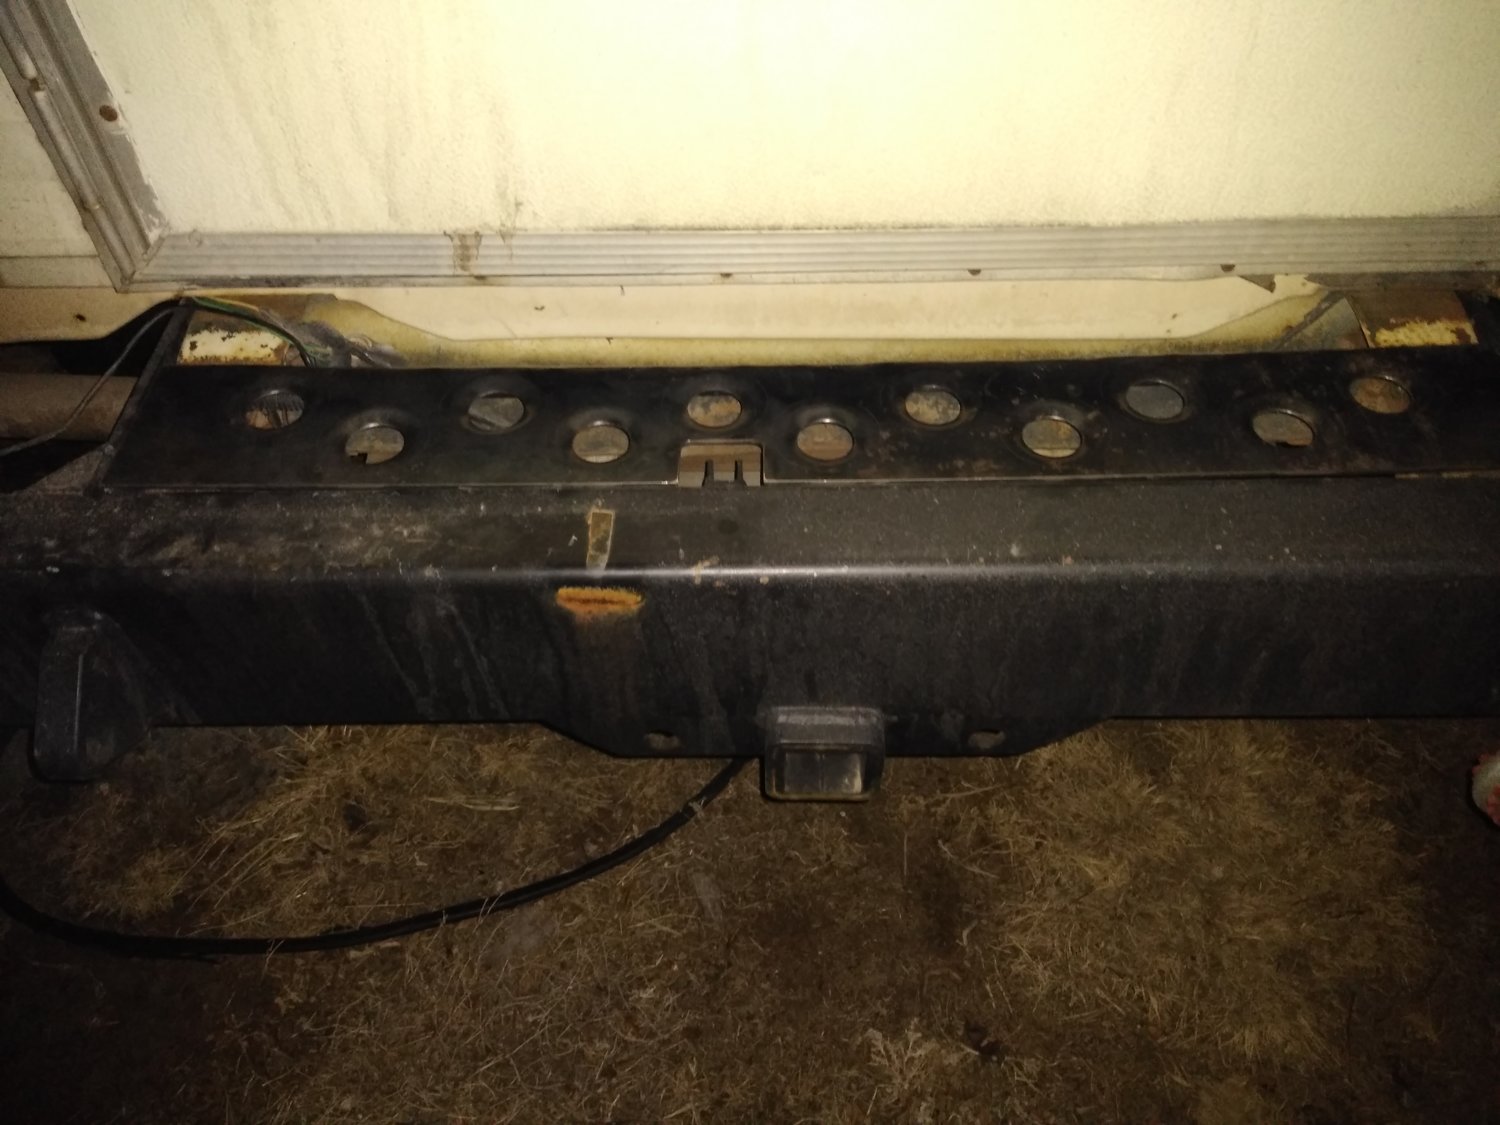
I brought the step plate home from my guy at work today to mock it up. Fits like a glove in all directions. It should be pretty sweet once burned in and painted to match. Here's how the overall view looks.
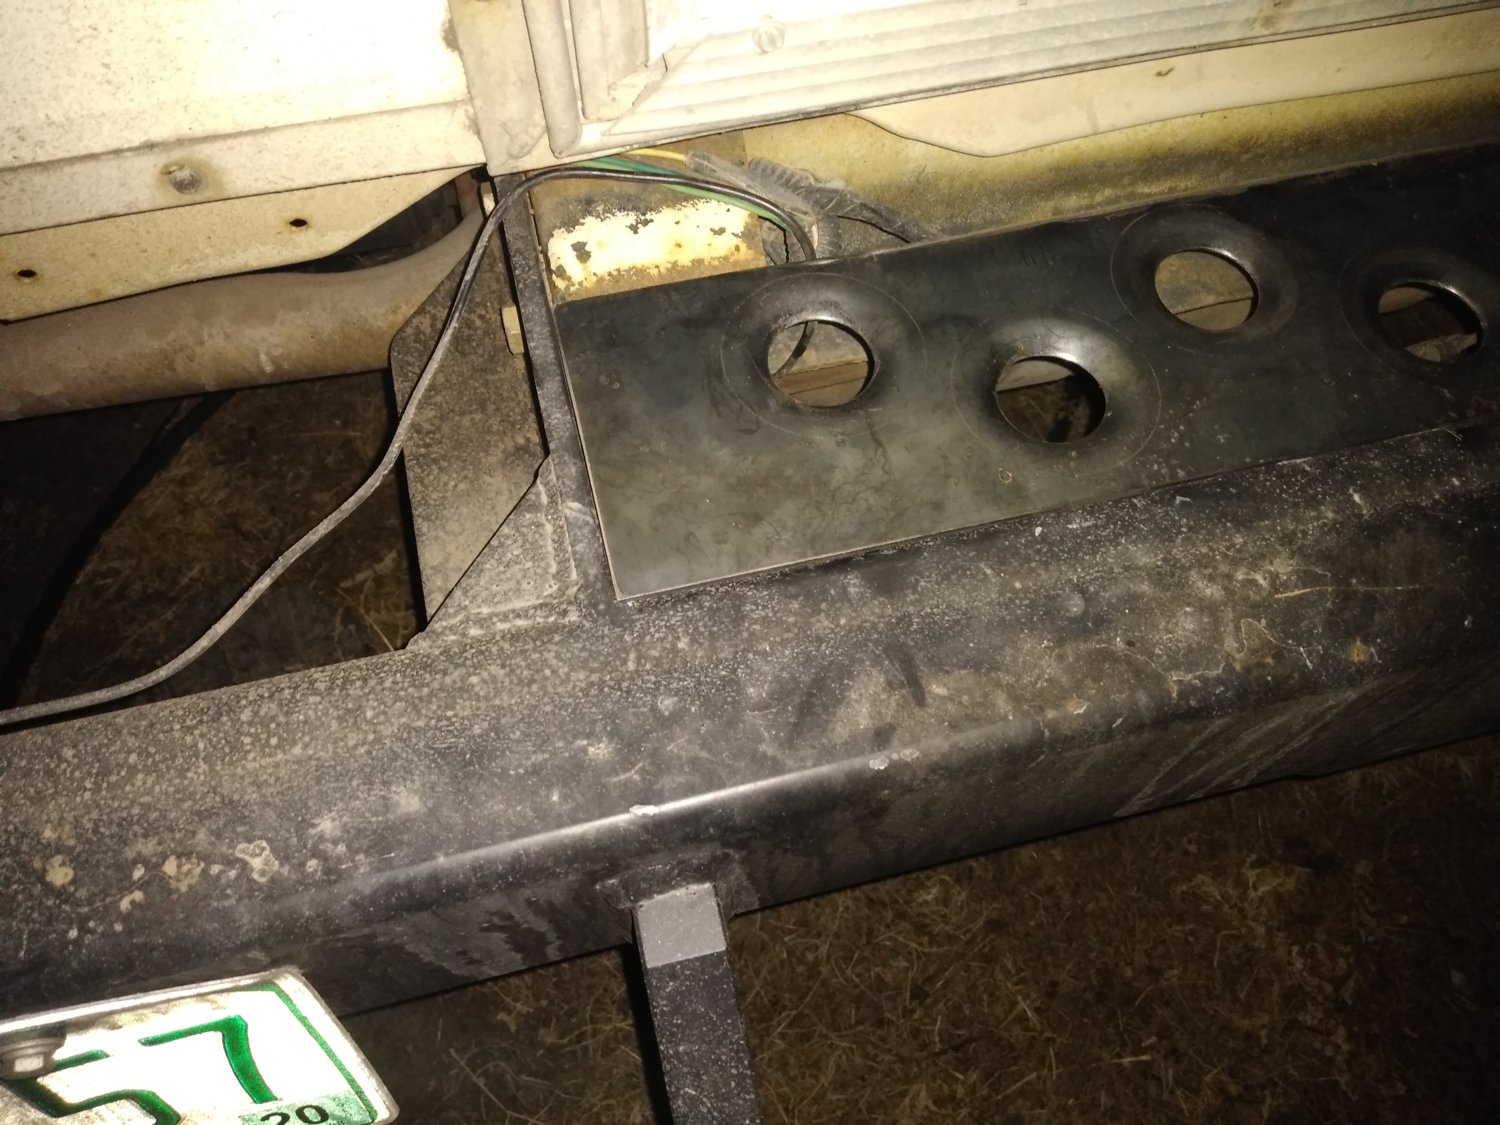
Fit to the left side:
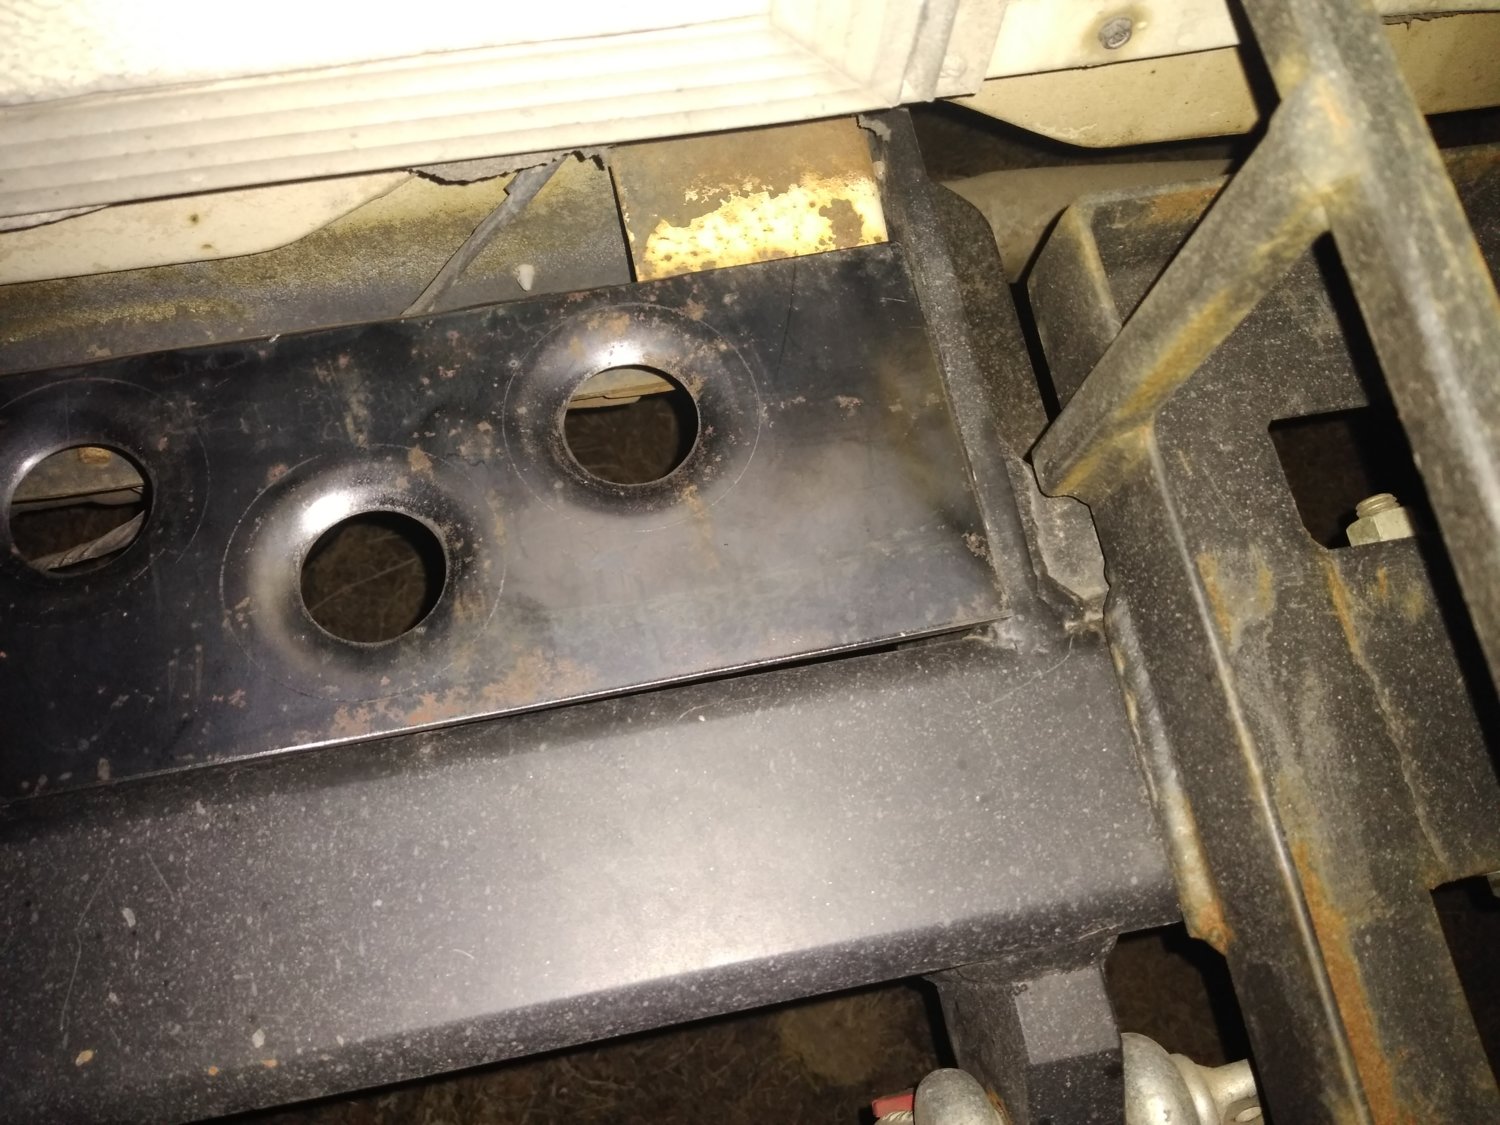
Right side:
Latch access:
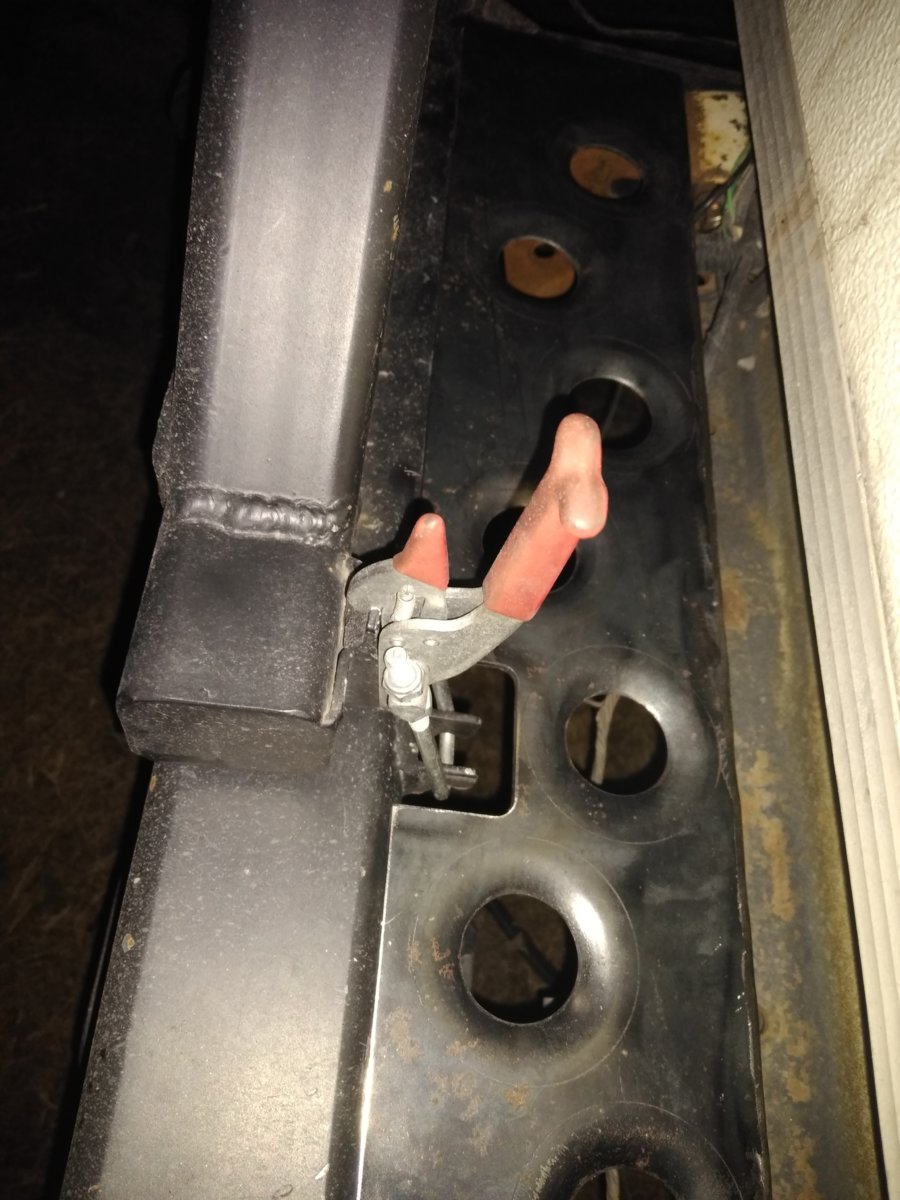
its already made, but i have done that before but turned the dimples upward and it adds traction.
My guy said the same thing. I asked to keep the dimples down. Mainly because if I need something out of the back but don't need to go all the way in I tend to kneel on the top of the bumper with my knees and reach in. Had the dimples go up I can see my knees getting tore up easy. Plus going barefoot would suck with them up.
Thanks for the suggestion still.
Thanks for the suggestion still.
Then put some non slip tapeMy guy said the same thing. I asked to keep the dimples down. Mainly because if I need something out of the back but don't need to go all the way in I tend to kneel on the top of the bumper with my knees and reach in. Had the dimples go up I can see my knees getting tore up easy. Plus going barefoot would suck with them up.
Thanks for the suggestion still.
My guy said the same thing. I asked to keep the dimples down. Mainly because if I need something out of the back but don't need to go all the way in I tend to kneel on the top of the bumper with my knees and reach in. Had the dimples go up I can see my knees getting tore up easy. Plus going barefoot would suck with them up.
Thanks for the suggestion still.
ya that is one concern about doing it that way
Thanks Mark! I appreciate the help for sure. I know when I went back through fixing the photobucket crap I caught stuff I had forgot about.@ZooMad75
You're on your own with the index now, make sure you add back anything I missed
Great rereading the thread bumper to bumper. A lot of details and conversations I missed as we went that I was glad I went back though
I took advantage of a warm Sunday to get my new HAM radio installed into the K5. Installation isn't much different than any other mobile radio but the Ham pros and the instructions highly suggest running the power and ground wires all the way to the battery to reduce RFI into the radio. So I used that as an excuse to clean up some wiring at the auxiliary battery.
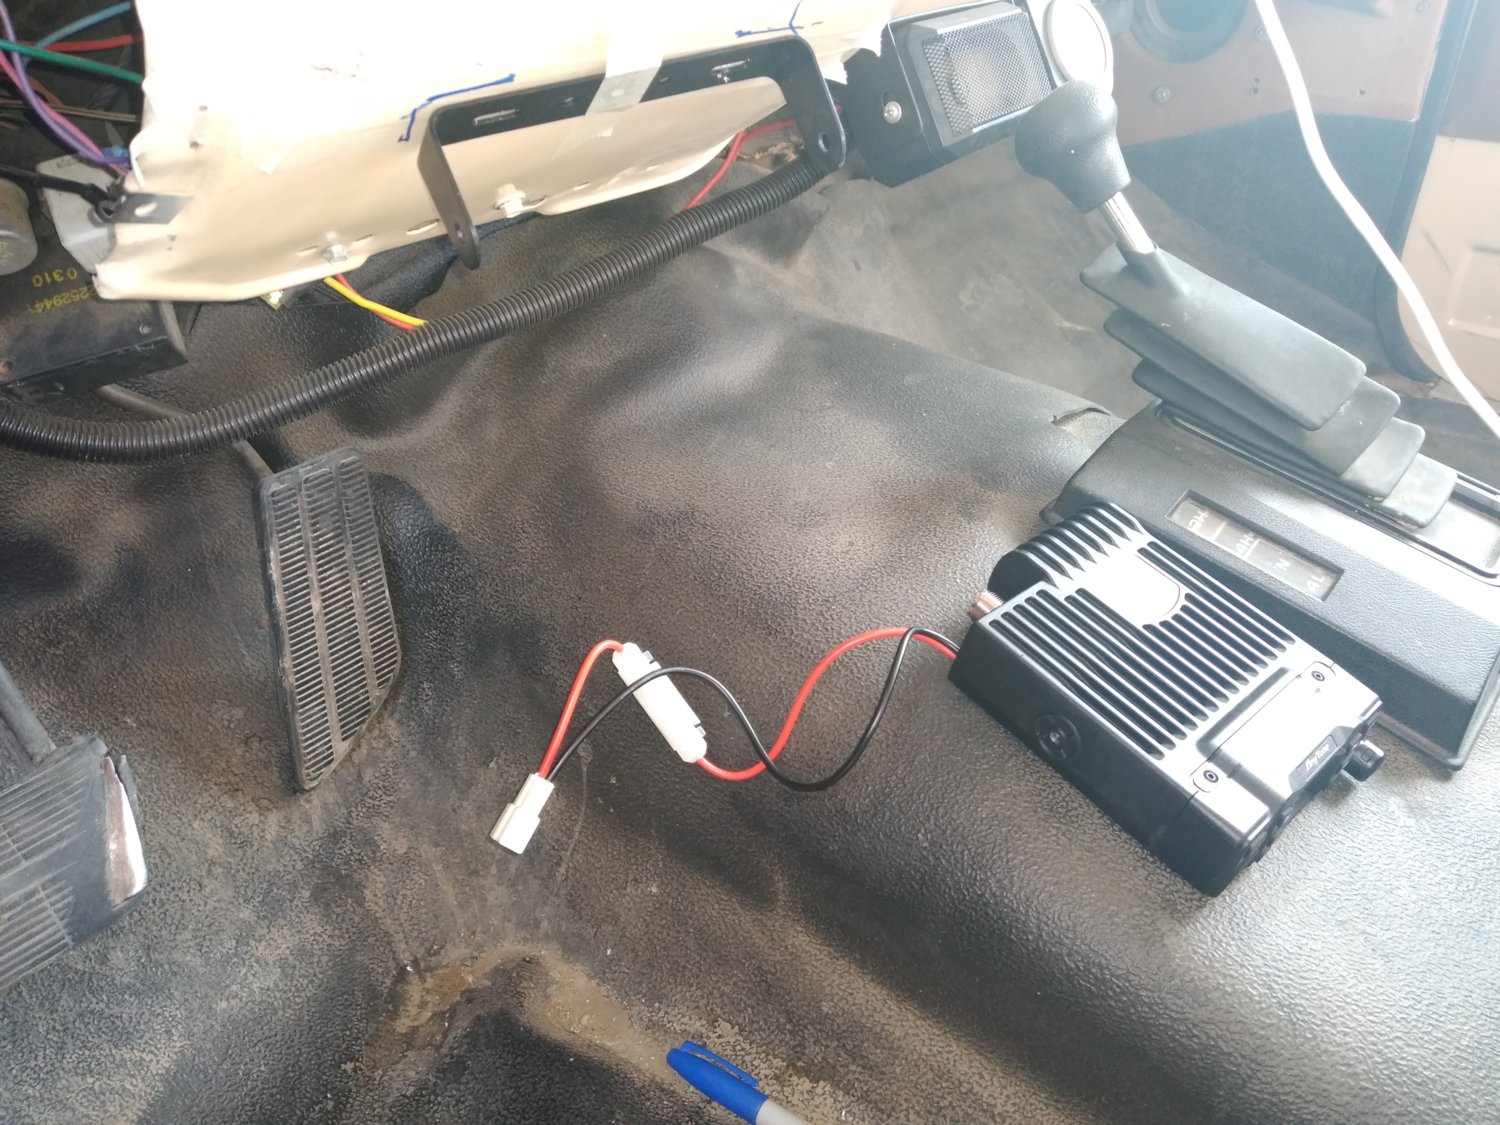
First off was finding a place to put the radio. I thought about bolting it to the front of the Tuffy console but after messing with it I decided to go to the dash with it. So to be true to the great CK5 fabricators I broke out the blue sharpie and marked where the mount needs to be and punched a couple of holes with my drill. (note to any guys with 90-91 electric speedo clusters- remove the DRAC module before drilling as it sits right above the target)
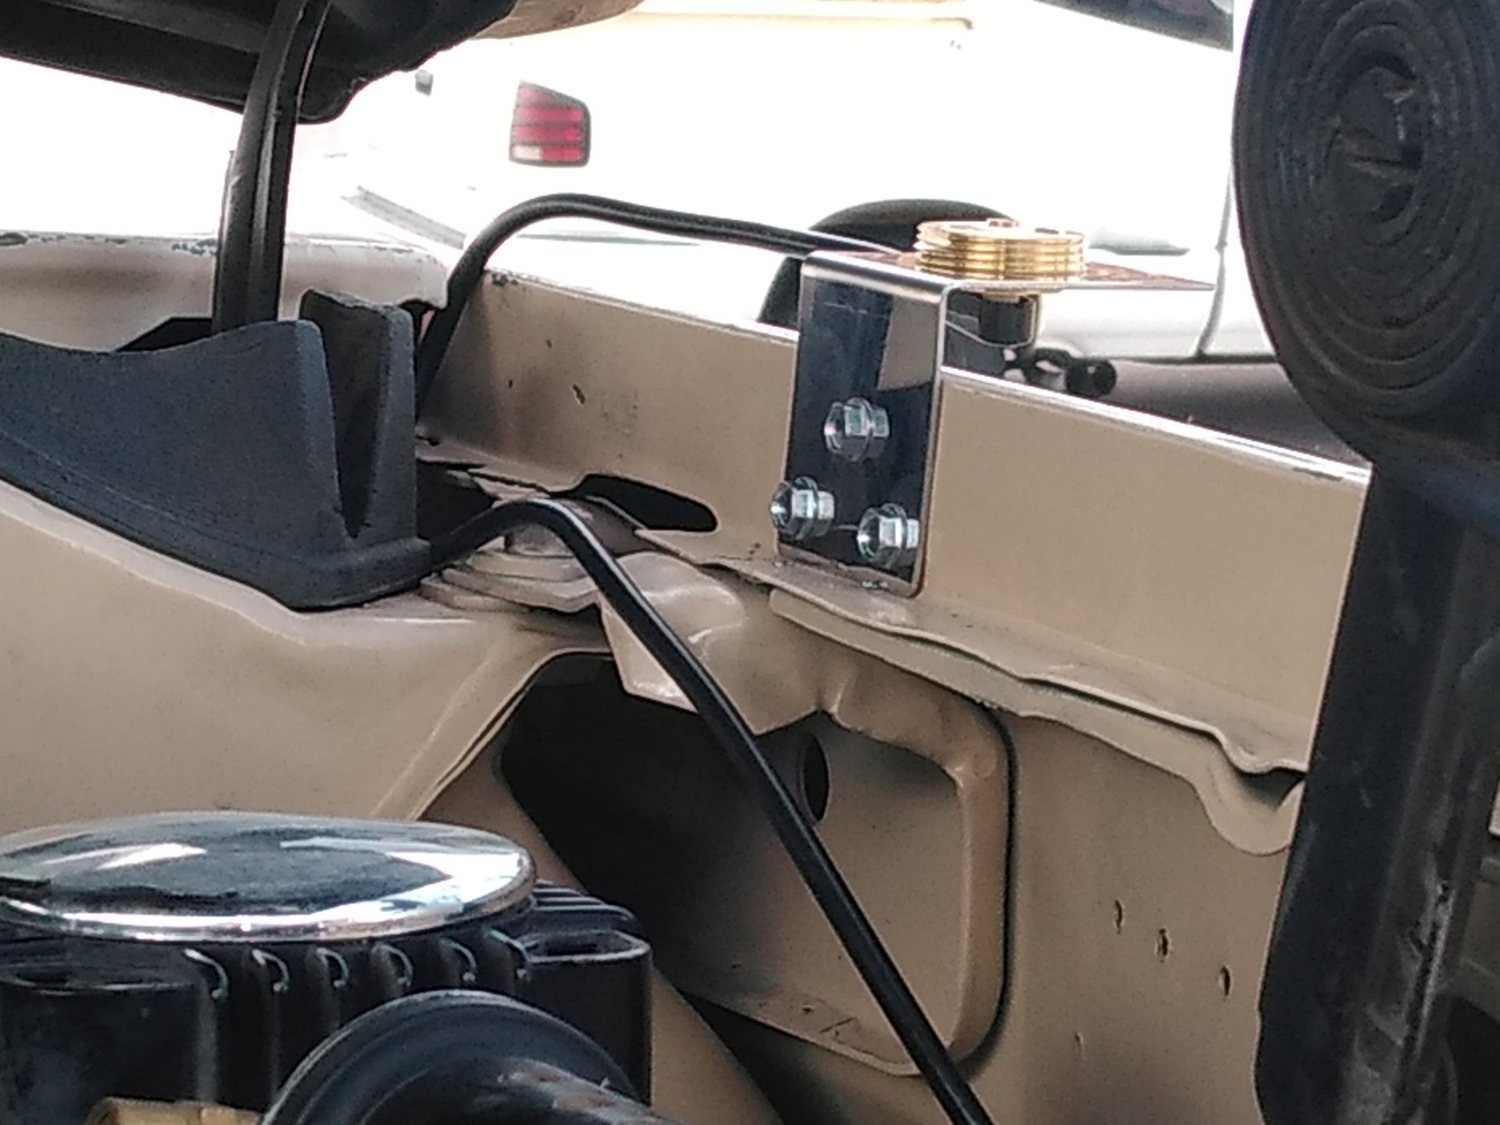
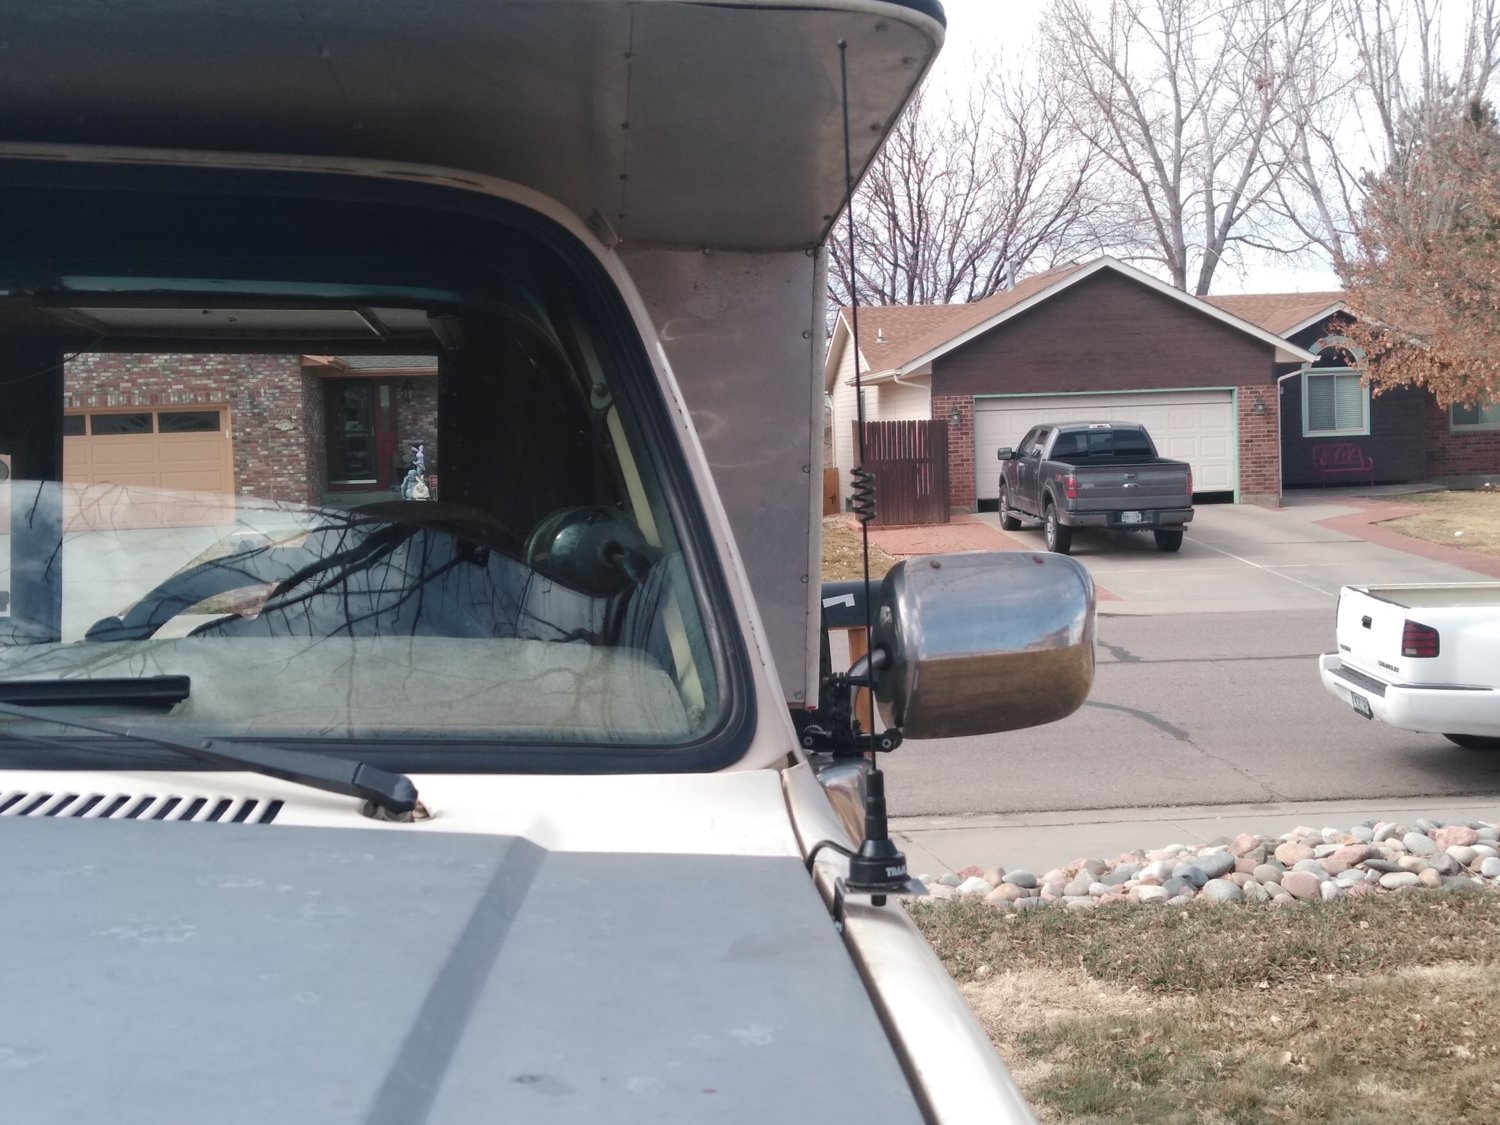
I put another hole in the firewall to run the antenna, power and ground wires. A 3/4" hole saw is perfect as it's the same size as the barrel on the antenna coax connector. I added a grommet for protection as well and set to mount the antenna on the driver side fender. My antenna cable (NMO mount) came with a simple stainless steel 90 degree bracket that fits right inside the fender. It zipped right in with some self tapping screws.
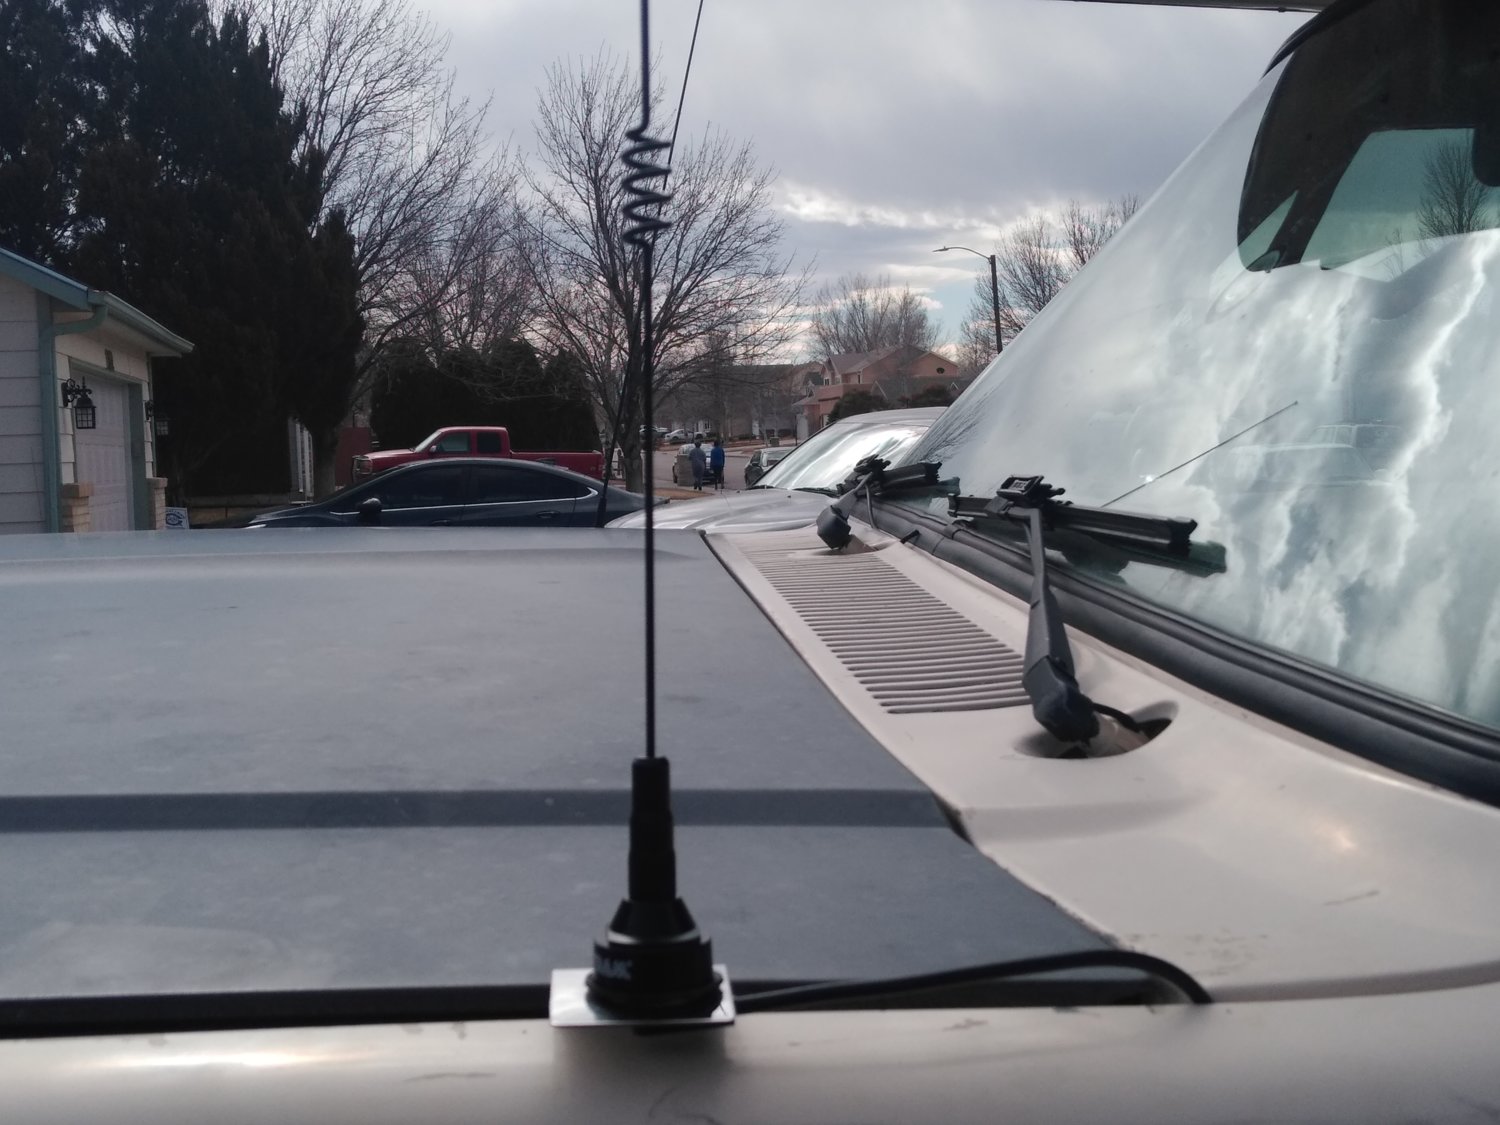
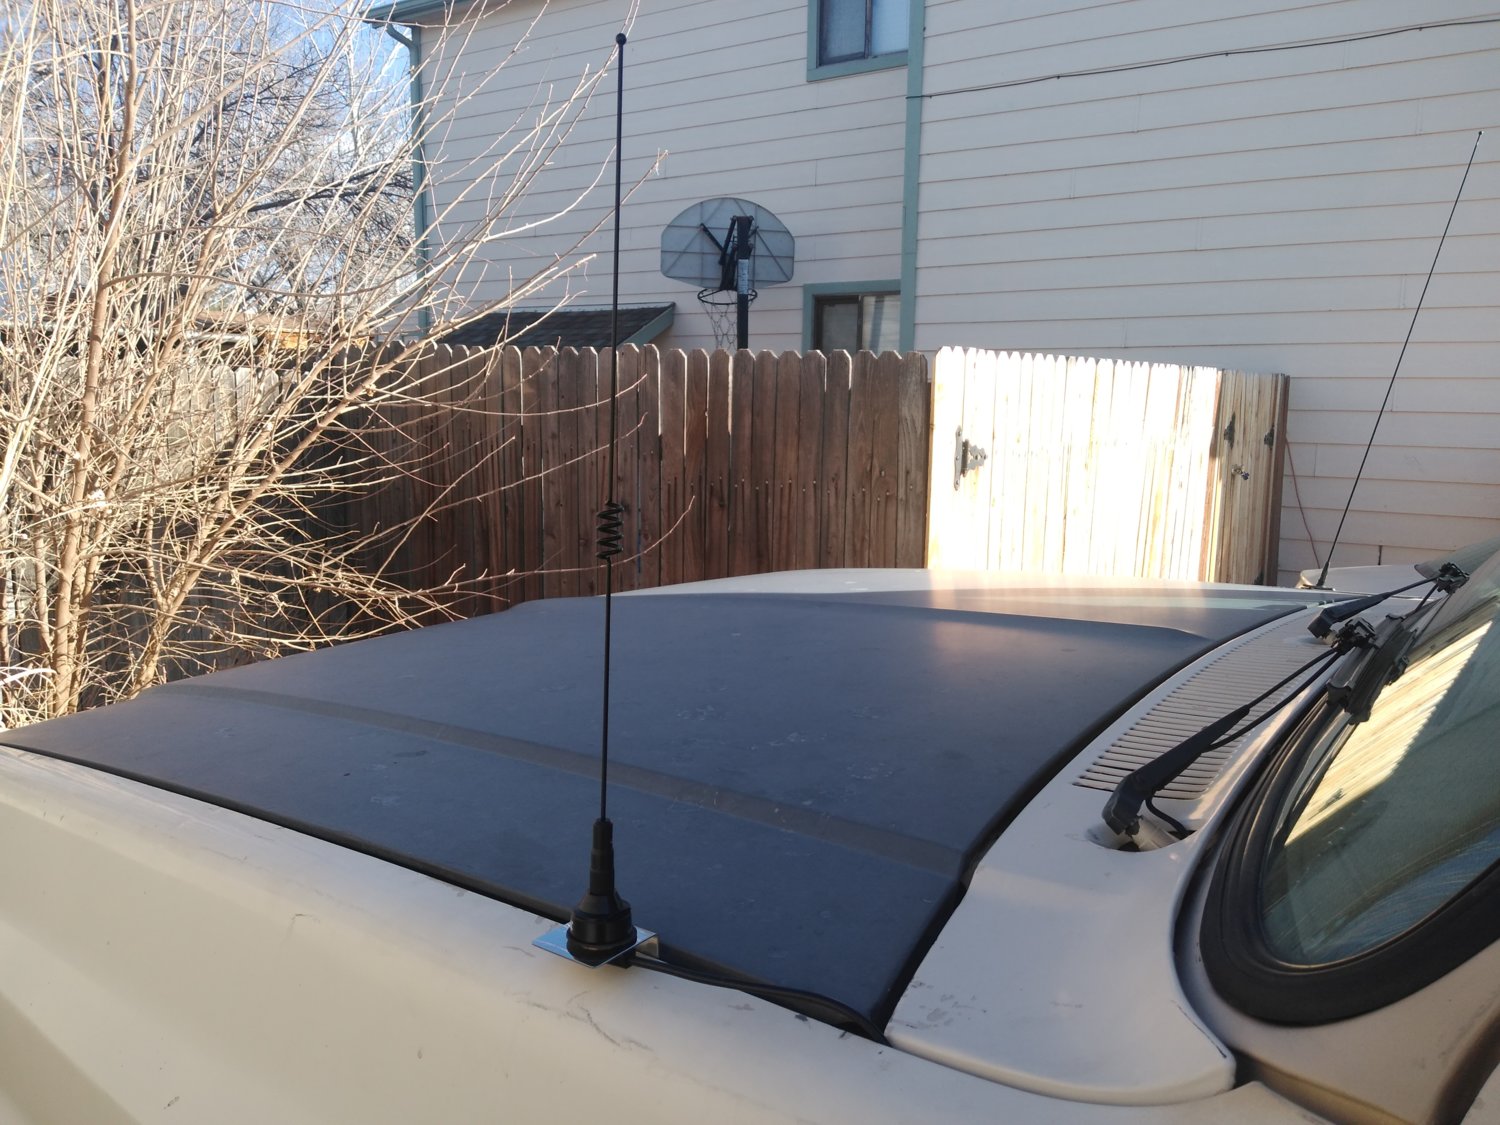
The mount is pretty low profile.
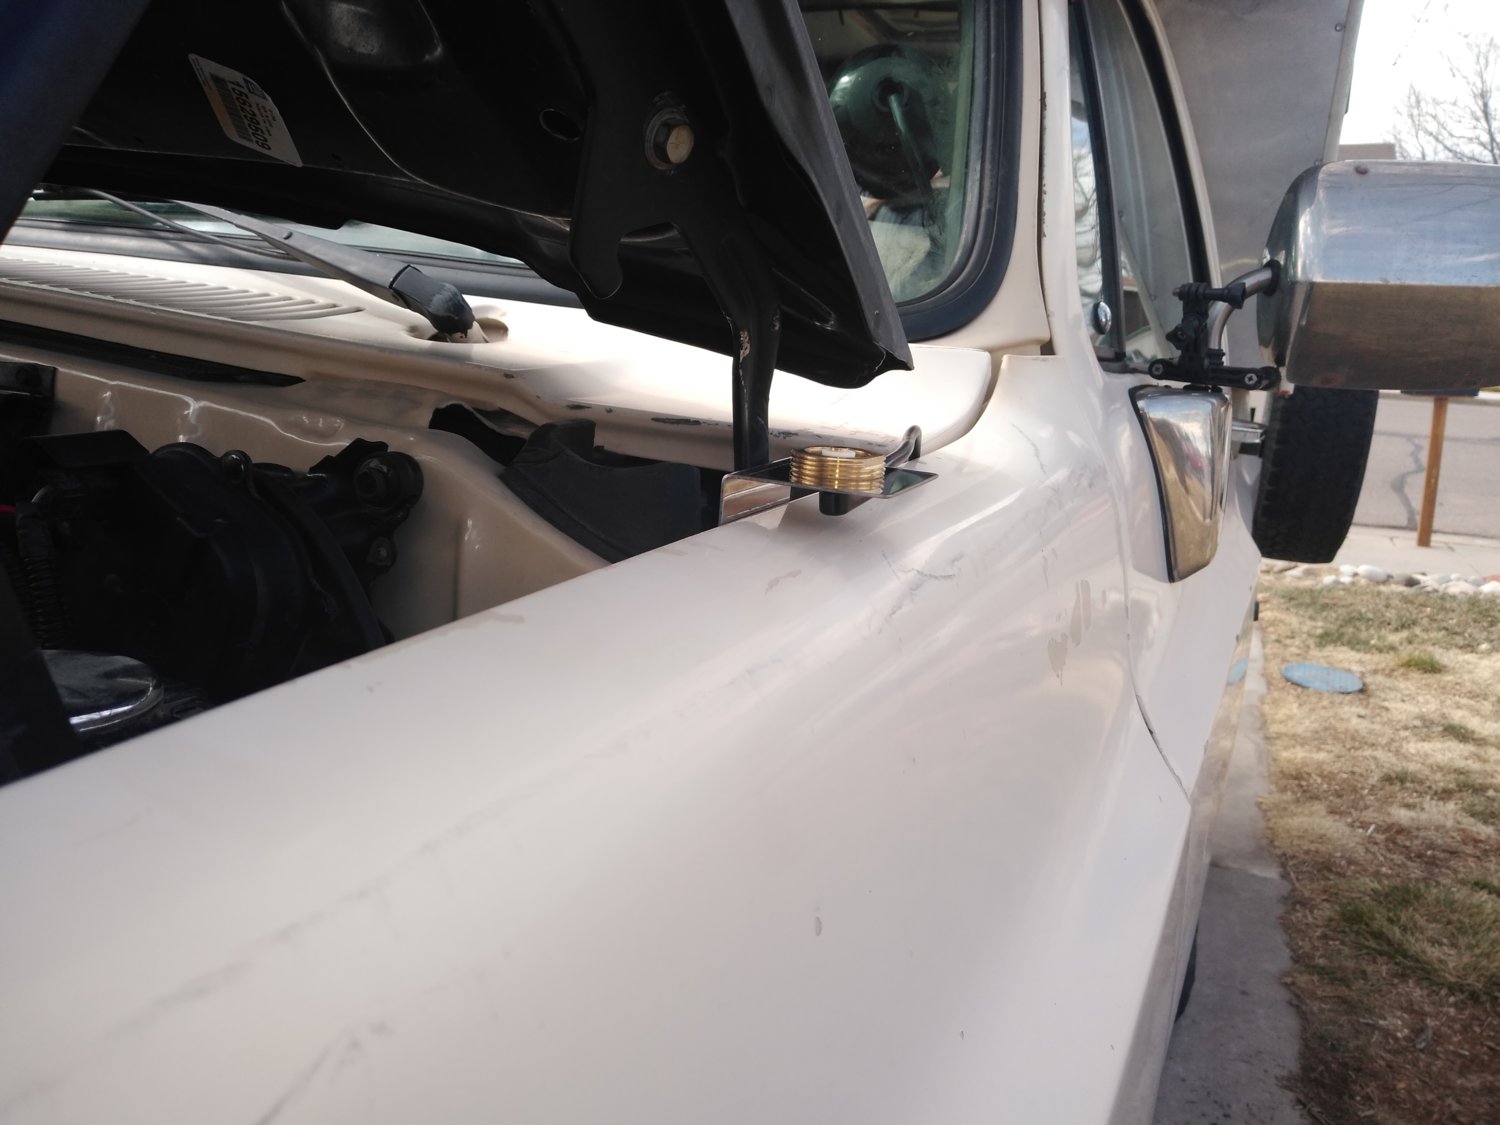
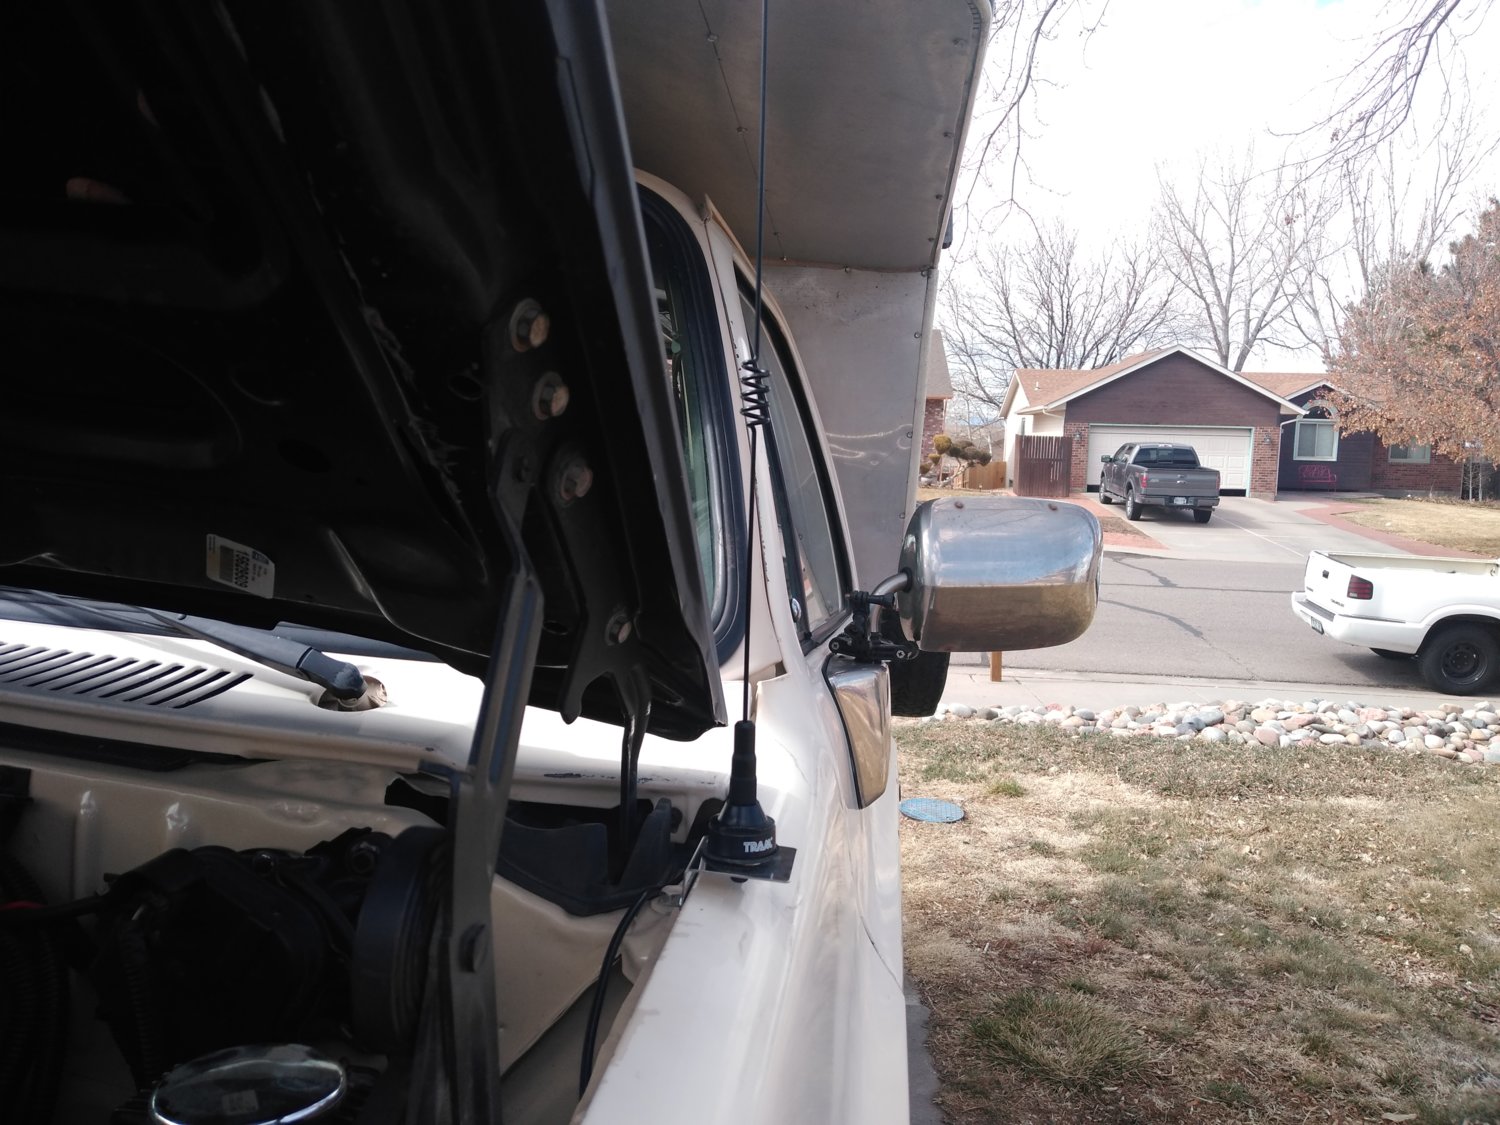
Thanks to the squarebody's tight body gap tolerances the mount clears the hood with room to spare.
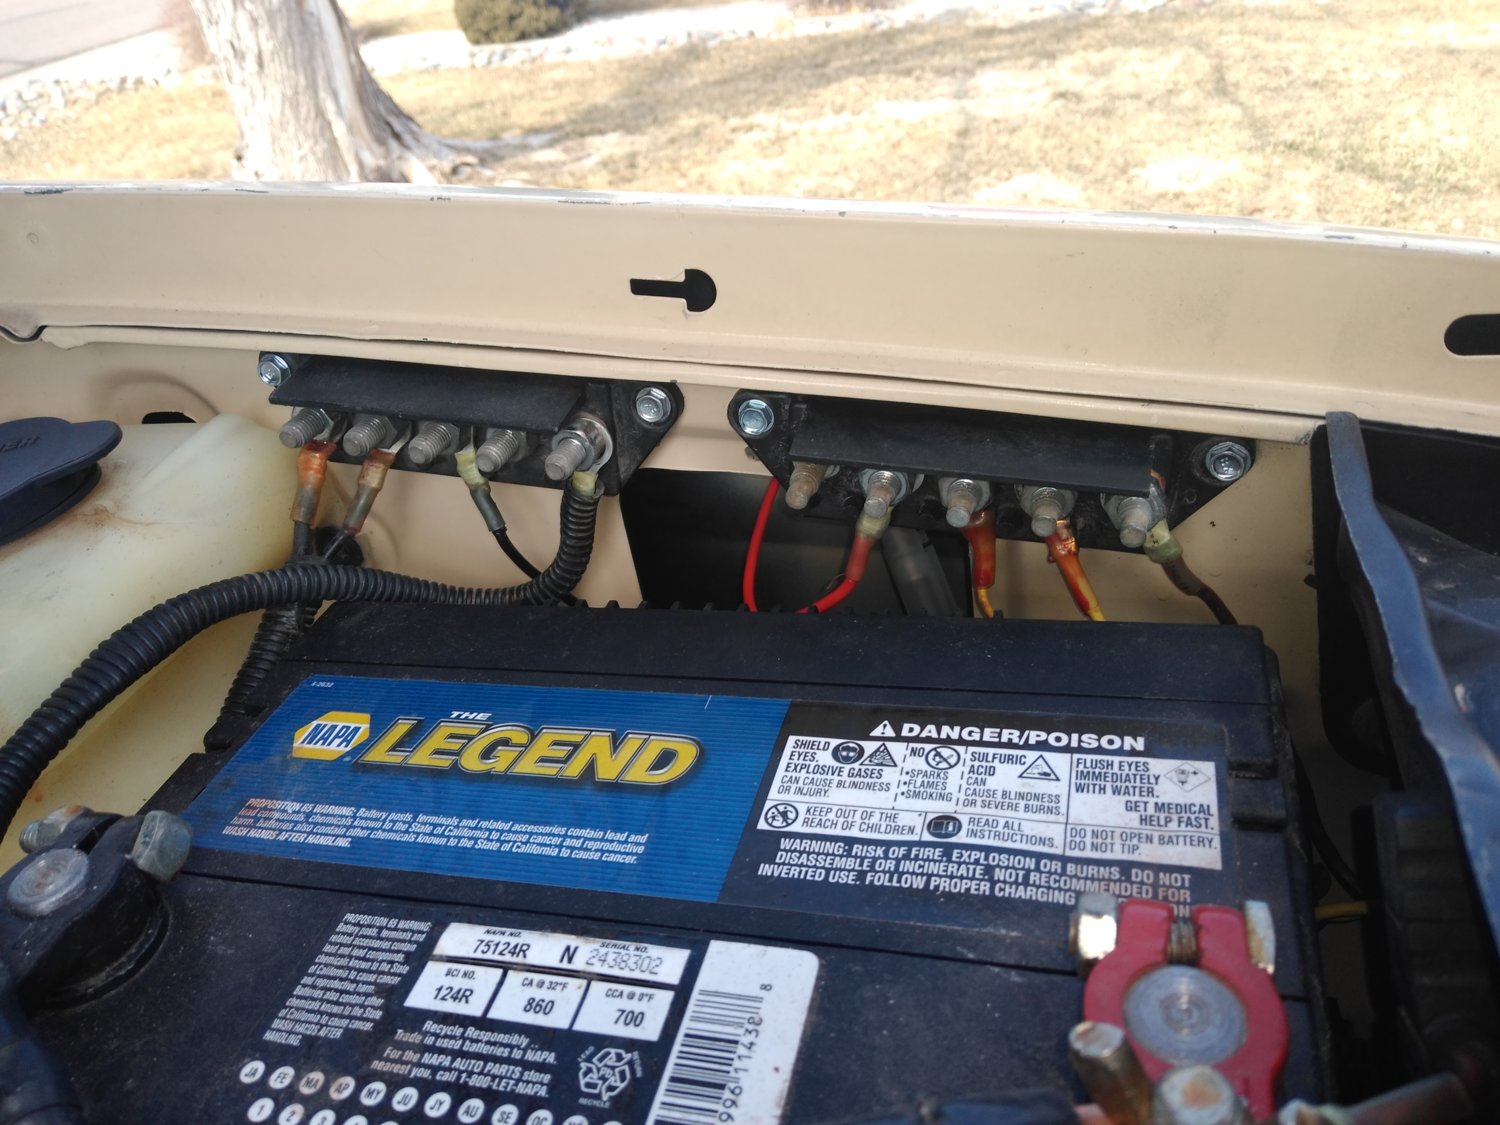
Since the power and grounds needed to run to the battery I added in a couple of buss bars I picked up at the junkyard off of early GMT400 trucks. I had too many single ring terminals stacked up on the battery clamps and felt this was a good time to clean it up. The positive bus bar is fed with a heavy gauge wire with an in-line fuse holder and 20 amp fuse. The ground side was given the same treatment, allowing future expansion without too much issue.
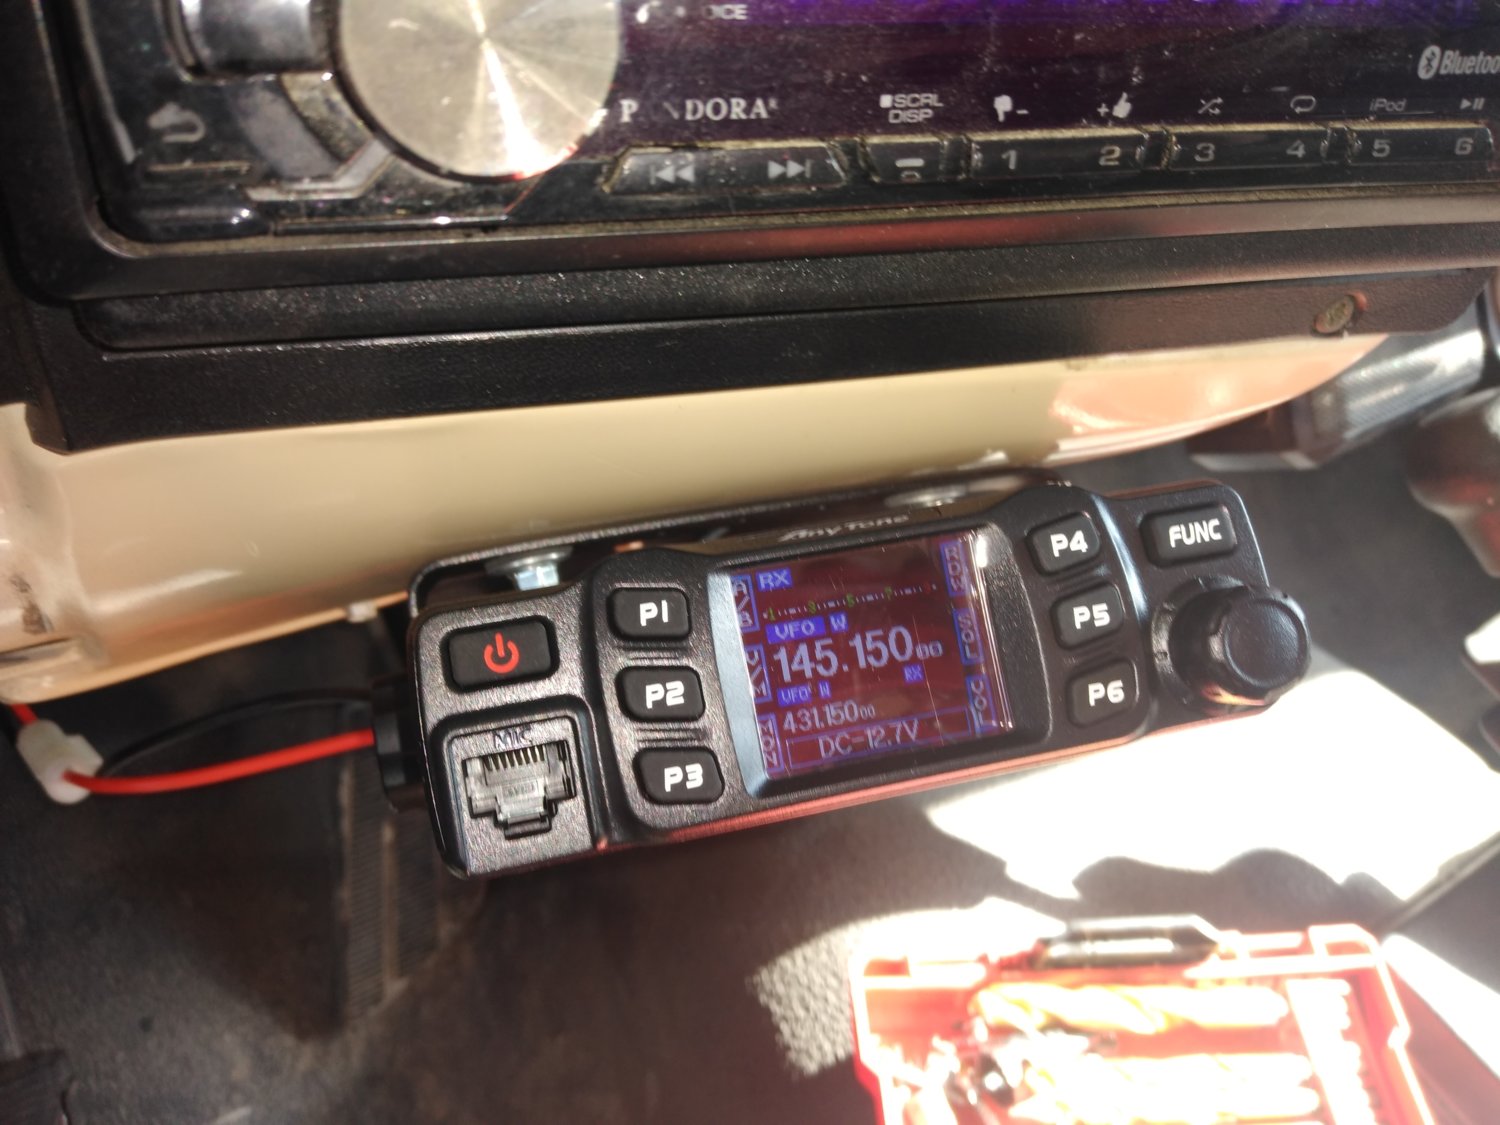
The radio in it's mount powered up.
I played around with it a little by using my Baofeng handheld to confirm the system sends and receives on any channel I tune them too. Sounds good and clear. Called my buddy Bill and we will get together and give our radios a try out next weekend. I was able to unlock the GMRS bands pretty easily too. Programming frequencies is proving to be a pain in the rear for a Ham noob like me. I've downloaded 5 different versions of the programming software to my laptop. Three are from Anytone, one from Midland and another from Retivis as they all sell a similar version of the same radio. The Anytone versions kept giving a version error even though I found 3 different versions (one coming from a Russian Ham forum that seemed sketchy, but multiple YouTube reviews called it out as the only choice).
I'd use Chirp as the way to program the radio, but Chirp does not support this radio yet. So with all the google-fu looking for the Anytone software one company kept coming up in the results for another option through a company here in Colorado that has developed software to program this radio. It's a pay to play deal and they take it one step further in making the cable they sell the only one that works with the software. There went $12 on the stock programming cable when I bought the radio. I bought the kit tonight with the cable. I thought I'd try the new software with the cable I already have and can confirm, it doesn't work so I'll have to wait for the other cable to arrive.
Meanwhile, I'll work on loading the frequencies I want to store on the radio while I wait. I'm studying for the Ham exam too.
First off was finding a place to put the radio. I thought about bolting it to the front of the Tuffy console but after messing with it I decided to go to the dash with it. So to be true to the great CK5 fabricators I broke out the blue sharpie and marked where the mount needs to be and punched a couple of holes with my drill. (note to any guys with 90-91 electric speedo clusters- remove the DRAC module before drilling as it sits right above the target)
I put another hole in the firewall to run the antenna, power and ground wires. A 3/4" hole saw is perfect as it's the same size as the barrel on the antenna coax connector. I added a grommet for protection as well and set to mount the antenna on the driver side fender. My antenna cable (NMO mount) came with a simple stainless steel 90 degree bracket that fits right inside the fender. It zipped right in with some self tapping screws.
The mount is pretty low profile.
Thanks to the squarebody's tight body gap tolerances the mount clears the hood with room to spare.
Since the power and grounds needed to run to the battery I added in a couple of buss bars I picked up at the junkyard off of early GMT400 trucks. I had too many single ring terminals stacked up on the battery clamps and felt this was a good time to clean it up. The positive bus bar is fed with a heavy gauge wire with an in-line fuse holder and 20 amp fuse. The ground side was given the same treatment, allowing future expansion without too much issue.
The radio in it's mount powered up.
I played around with it a little by using my Baofeng handheld to confirm the system sends and receives on any channel I tune them too. Sounds good and clear. Called my buddy Bill and we will get together and give our radios a try out next weekend. I was able to unlock the GMRS bands pretty easily too. Programming frequencies is proving to be a pain in the rear for a Ham noob like me. I've downloaded 5 different versions of the programming software to my laptop. Three are from Anytone, one from Midland and another from Retivis as they all sell a similar version of the same radio. The Anytone versions kept giving a version error even though I found 3 different versions (one coming from a Russian Ham forum that seemed sketchy, but multiple YouTube reviews called it out as the only choice).
I'd use Chirp as the way to program the radio, but Chirp does not support this radio yet. So with all the google-fu looking for the Anytone software one company kept coming up in the results for another option through a company here in Colorado that has developed software to program this radio. It's a pay to play deal and they take it one step further in making the cable they sell the only one that works with the software. There went $12 on the stock programming cable when I bought the radio. I bought the kit tonight with the cable. I thought I'd try the new software with the cable I already have and can confirm, it doesn't work so I'll have to wait for the other cable to arrive.
Meanwhile, I'll work on loading the frequencies I want to store on the radio while I wait. I'm studying for the Ham exam too.
Good work, I have been waiting to see how you do yours before I do mine. My hand throttle and different style hood will make things a bit different than yours but I will figure something out.
If you get a similar cable/mount setup you should be able to mount it to the inner lip of the fender. Since the hood goes all the way back to the windshield on yours, you may just have to use a p-clamp to the cable to make sure it stays in the gap between the hood and fender.Good work, I have been waiting to see how you do yours before I do mine. My hand throttle and different style hood will make things a bit different than yours but I will figure something out.
Thanks to the squarebody's tight body gap tolerances the mount clears the hood with room to spare.
Hahaha!
Looking nice.

Our comm tech at work uses that style antenna mount with a different antenna. He does cut to length coax that you install the ends on our self so you can run them through a door grommet or other small hole.
Did you clean the paint off the inside of your fender for grounding the antenna bracket? Otherwise your ground path is through the bolts. A small clean spot with dielectric grease would provide a better ground for lower SWR.
I used the same style mount on my Duramax for years for a Cb antenna. Was a much tighter fit than on your square. Lol!
Did you clean the paint off the inside of your fender for grounding the antenna bracket? Otherwise your ground path is through the bolts. A small clean spot with dielectric grease would provide a better ground for lower SWR.
Good eye. You are right. I just screwed the sucker down. Didn't even think about it. But you are right. I'll pull it off and clean off the paint and add the dielectric grease when I put it back on.
Lots of radio shops would say that the new screws on the bare aluminum bracket will do the job..Good eye. You are right. I just screwed the sucker down. Didn't even think about it. But you are right. I'll pull it off and clean off the paint and add the dielectric grease when I put it back on.
You guys are always trying to do things right!! What the heck??

With the money I got into all the radio gear it better damn well work. So doing the last little detail work to maximize range isn't an issue in my book. Plus I don't want to fry the radio with high swr values.Lots of radio shops would say that the new screws on the bare aluminum bracket will do the job..
You guys are always trying to do things right!! What the heck??
Technically, they would be right for 3-6 months or so until the bolt hole connection corrodes.Lots of radio shops would say that the new screws on the bare aluminum bracket will do the job..
You guys are always trying to do things right!! What the heck??
Beefy.

