CK5
Register an account today to become a member! Once signed in, you'll be able to participate on this site by adding your own topics and posts, as well as connect with other members.

'91 K5 Four Wheel Camper

This is the build for my 1991 V1500 Blazer, AKA the K5.3. It started out life being sold to the U.S. Government with a 350 TBI/700r4/241 combo. 4 years with a 5.3/700r4 Combo and now moving to an 8.1L Vortec and NV4500 5-speed.
Thanks guys. The company that made the round lights I have also make them in the grommet mount style and oval too.

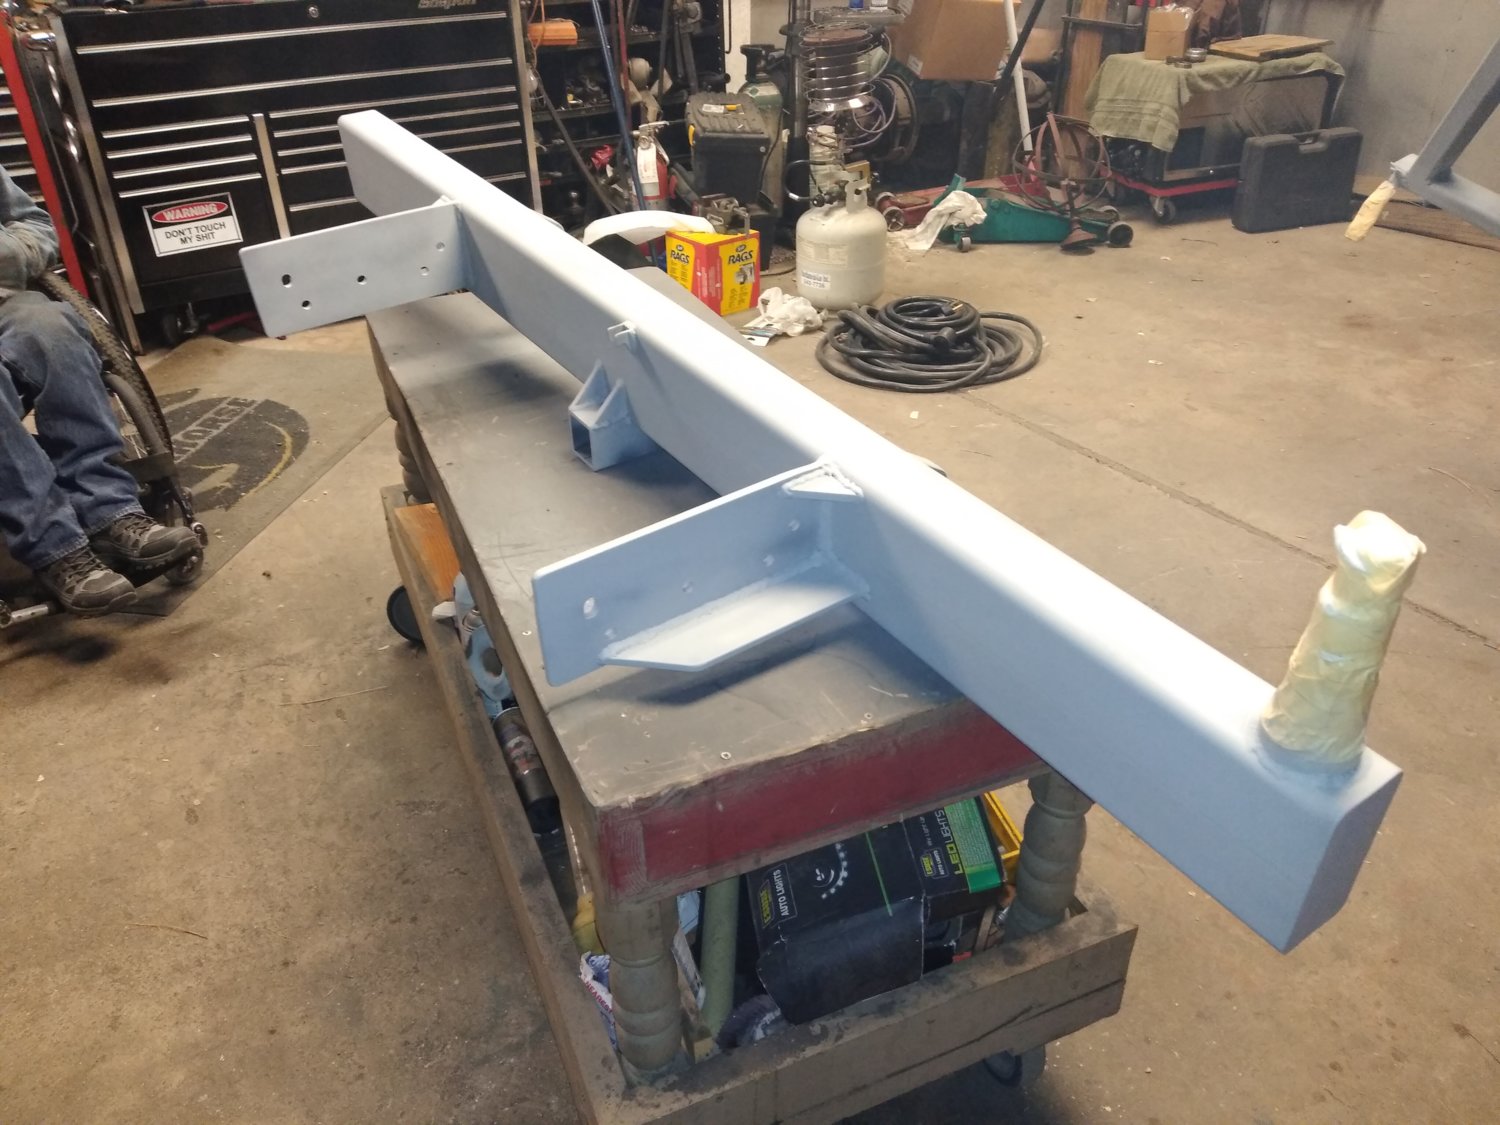
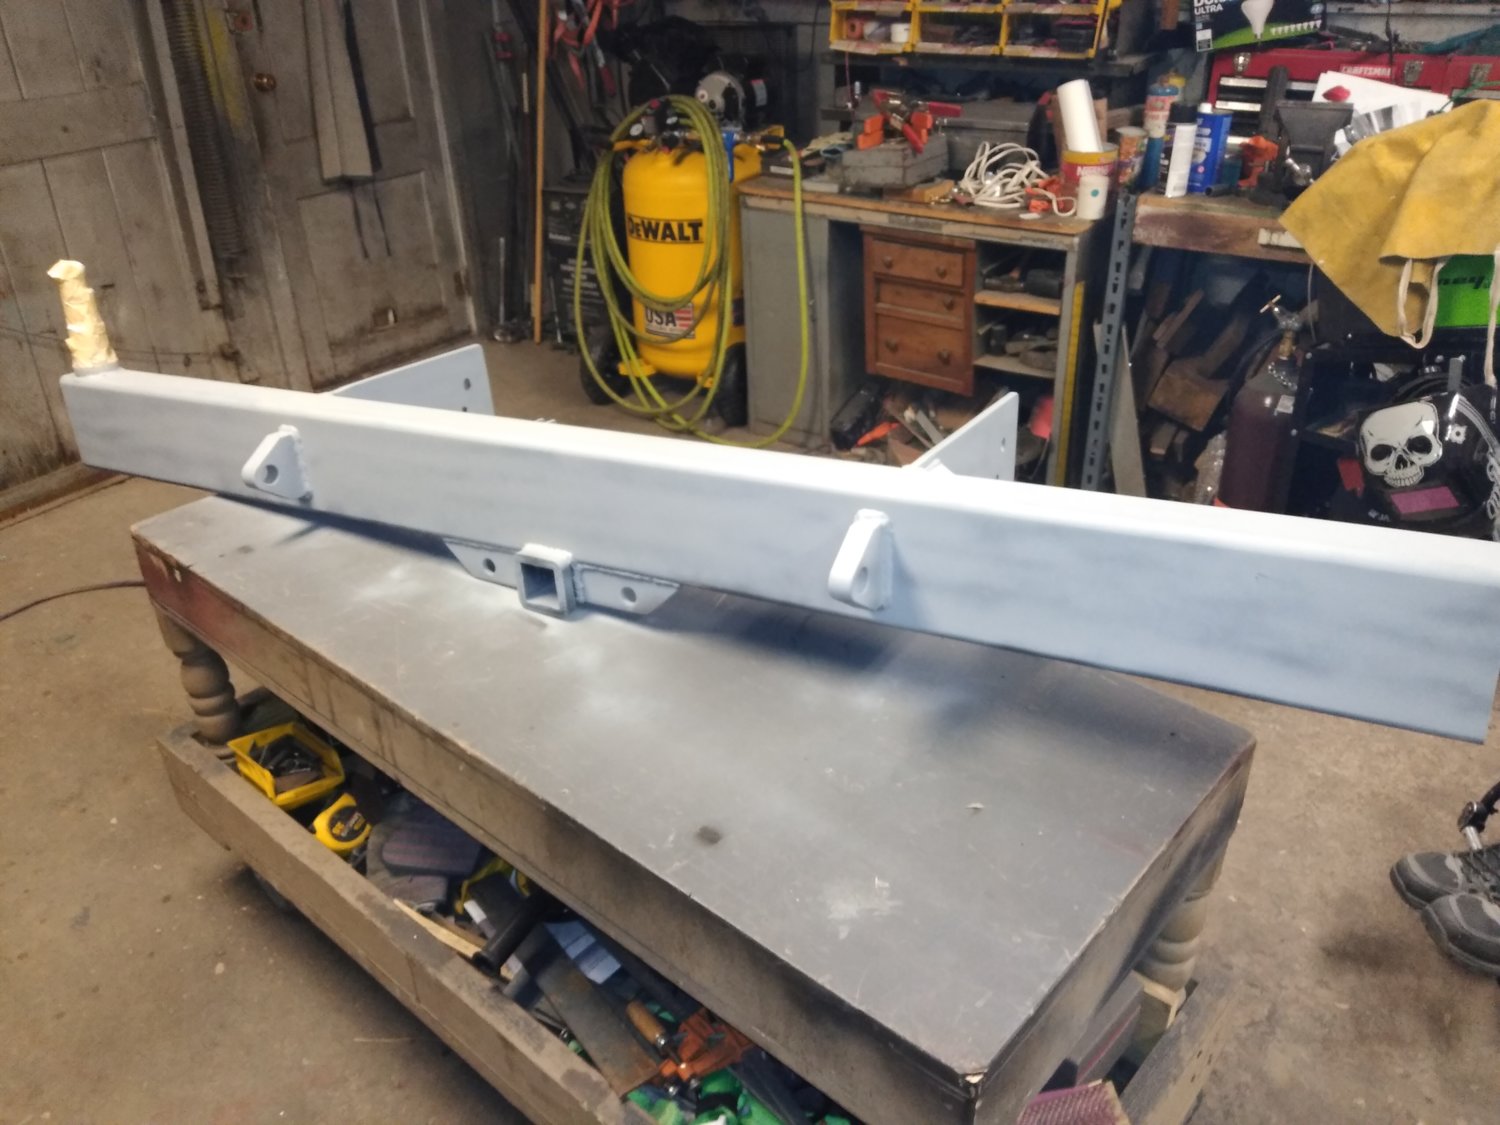
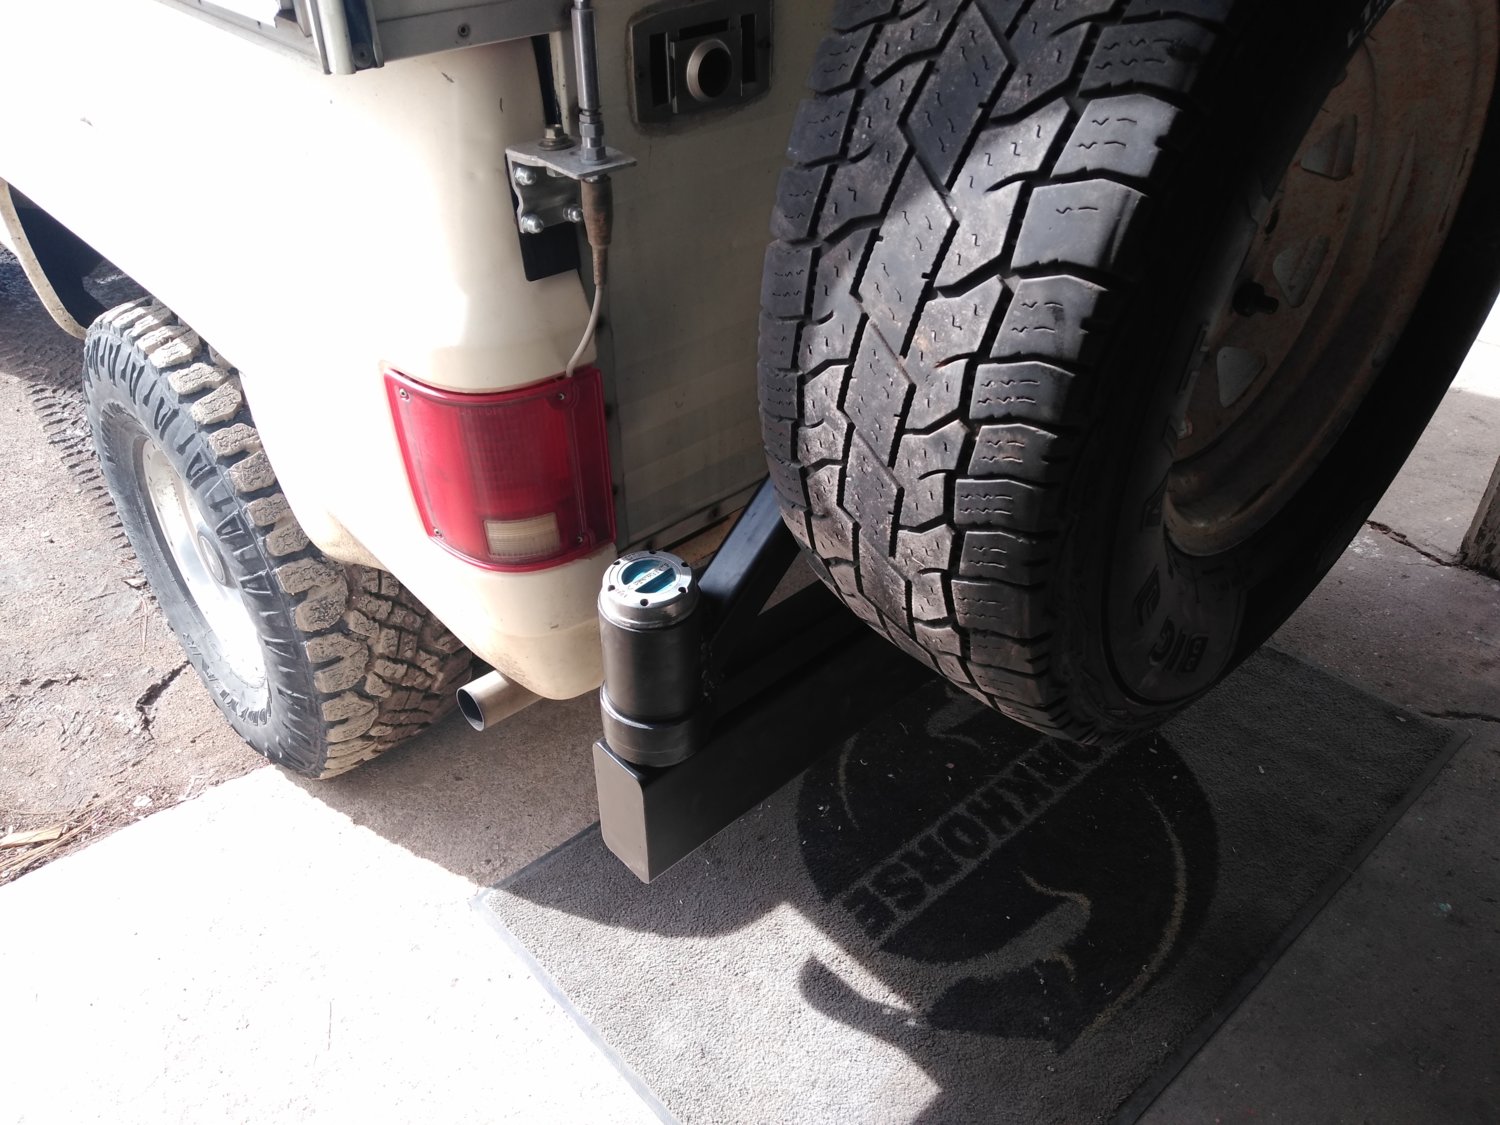
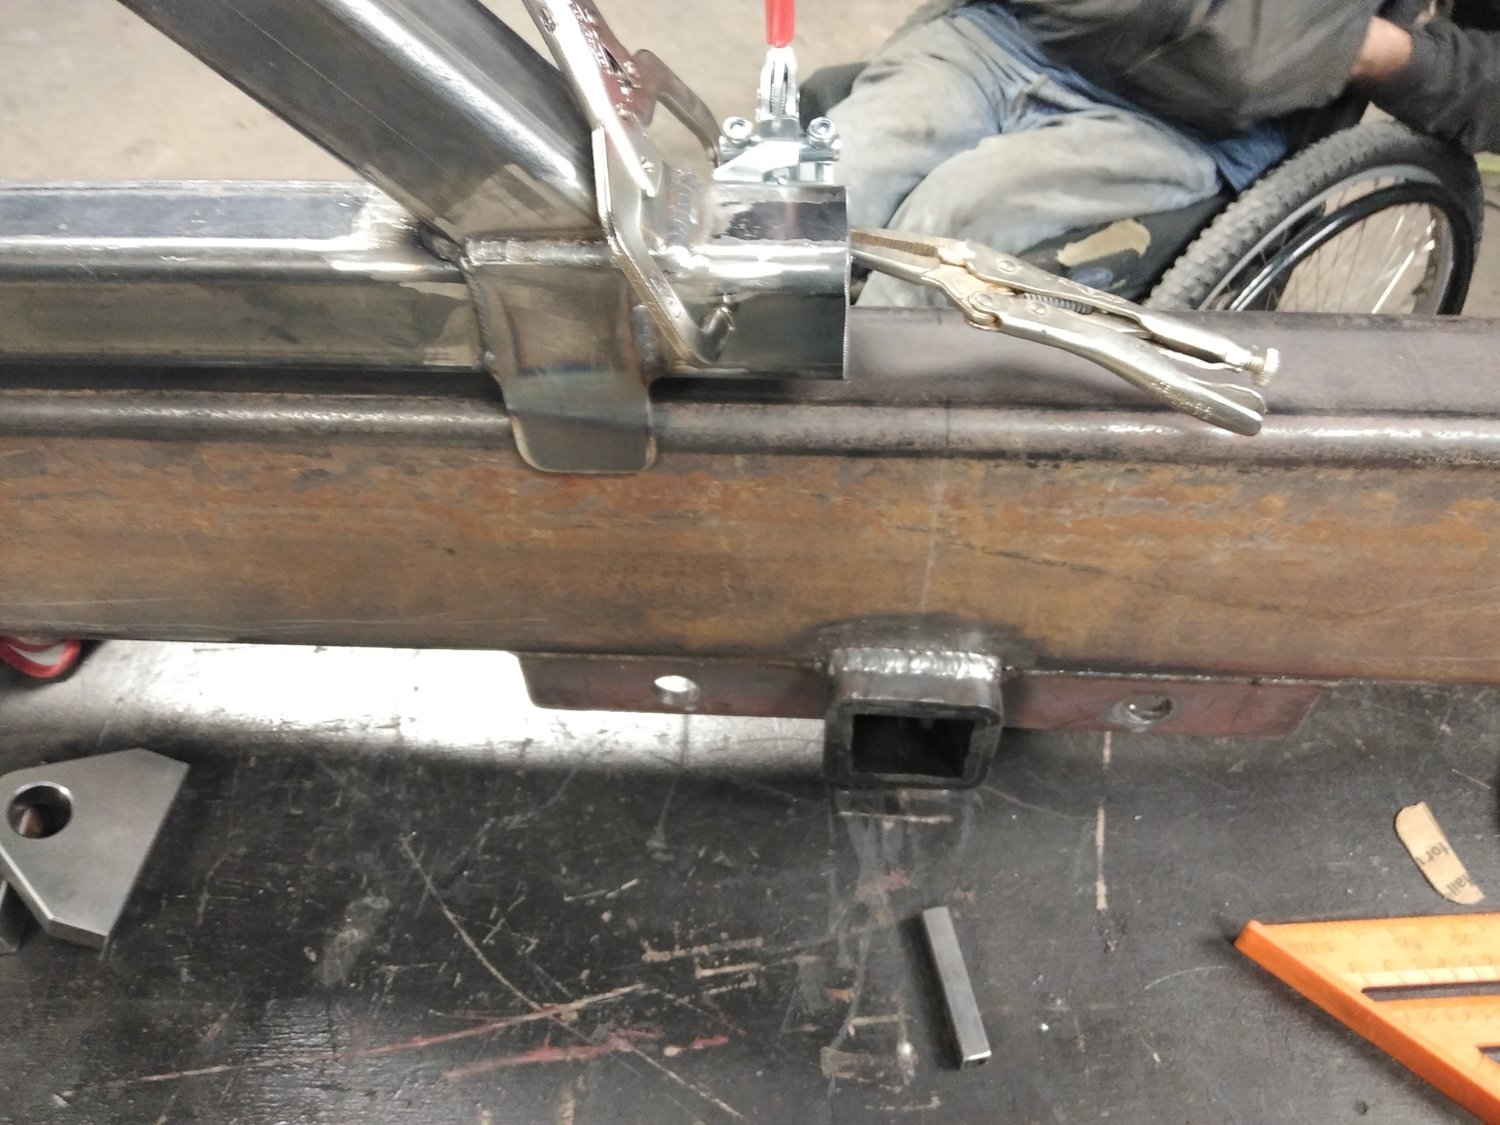
Still not sure what I want to do for lights. I'm getting wishy washy on what I want to do there. Playing around with a calculator I figured the interior volume of the bumper works out to 4.8 gallons, which would double my air tank capacity for my on board air. Who knows.
 
As far as I know it is incredibly difficult if not impossible to build an air tank from any thing other then a round cylinder. I am sure smarter people then me will chime in. If Bill can make a rectangular bumper/air tank combo he has a lifetime job offer from me.
 
As far as I know it is incredibly difficult if not impossible to build an air tank from any thing other then a round cylinder. I am sure smarter people then me will chime in. If Bill can make a rectangular bumper/air tank combo he has a lifetime job offer from me.
I'm by far not the first one to think it up. I've seen it done before and it's worked without issue. It's all 1/4" wall material, so as long as there are no pinholes in the welds and the pressure is kept to 125psi or less it should be ok. My compressor maxes out at 125 psi anyway.

Any engineering type dudes can double check me on the use the material for this idea I'm open too it. Nothing is set in stone and it's purely an idea to kick around at this point. I've already got a 3 gallon air tank up front so any added storage is a bonus.
 
Got more work done on the bumper today. Arm stop and latch installed and the brackets to mount the bumper have been made and tacked in place. Onward to pics.
Bill added in a stop on the arm to keep it flush to the main bumper when shut. We still need to add in the 1/2" rest for the arm to sit on when closed.

Mocking up the latch location.

Welded into place.

Bill mocking up the brackets to the frame. I've stripped the bumper and receiver hitch out of the way.

Bracket mockup. We'll end up having 5 bolts per side holding the bumper to the truck.

Grinding the face to accept the brackets.

Tacking the brackets.
.

I threw the swing arm on to see it in place.

To do the final welding on the brackets and to install the d-ring mounts we need to take it over to Larry's as he has Ian's 220v welder over there that we can burn it in with. The brackets were made out of 3/8" plate so we want to get good solid welds as this connection is critical.
 
A little video to show the movement and latch closing. Don't worry about the gap between the bumper and the body, we intend to add some sheet metal or diamond plate to extend the top of the bumper to make a wider step to get into the camper.


Looks great dude!

The only thing the bumper is missing is some nice trailer LED tail lights like these mounted right in the bumper
STL42RB_1000.jpg


Ha, ha! I just couldn’t resist. :flipoff13: 
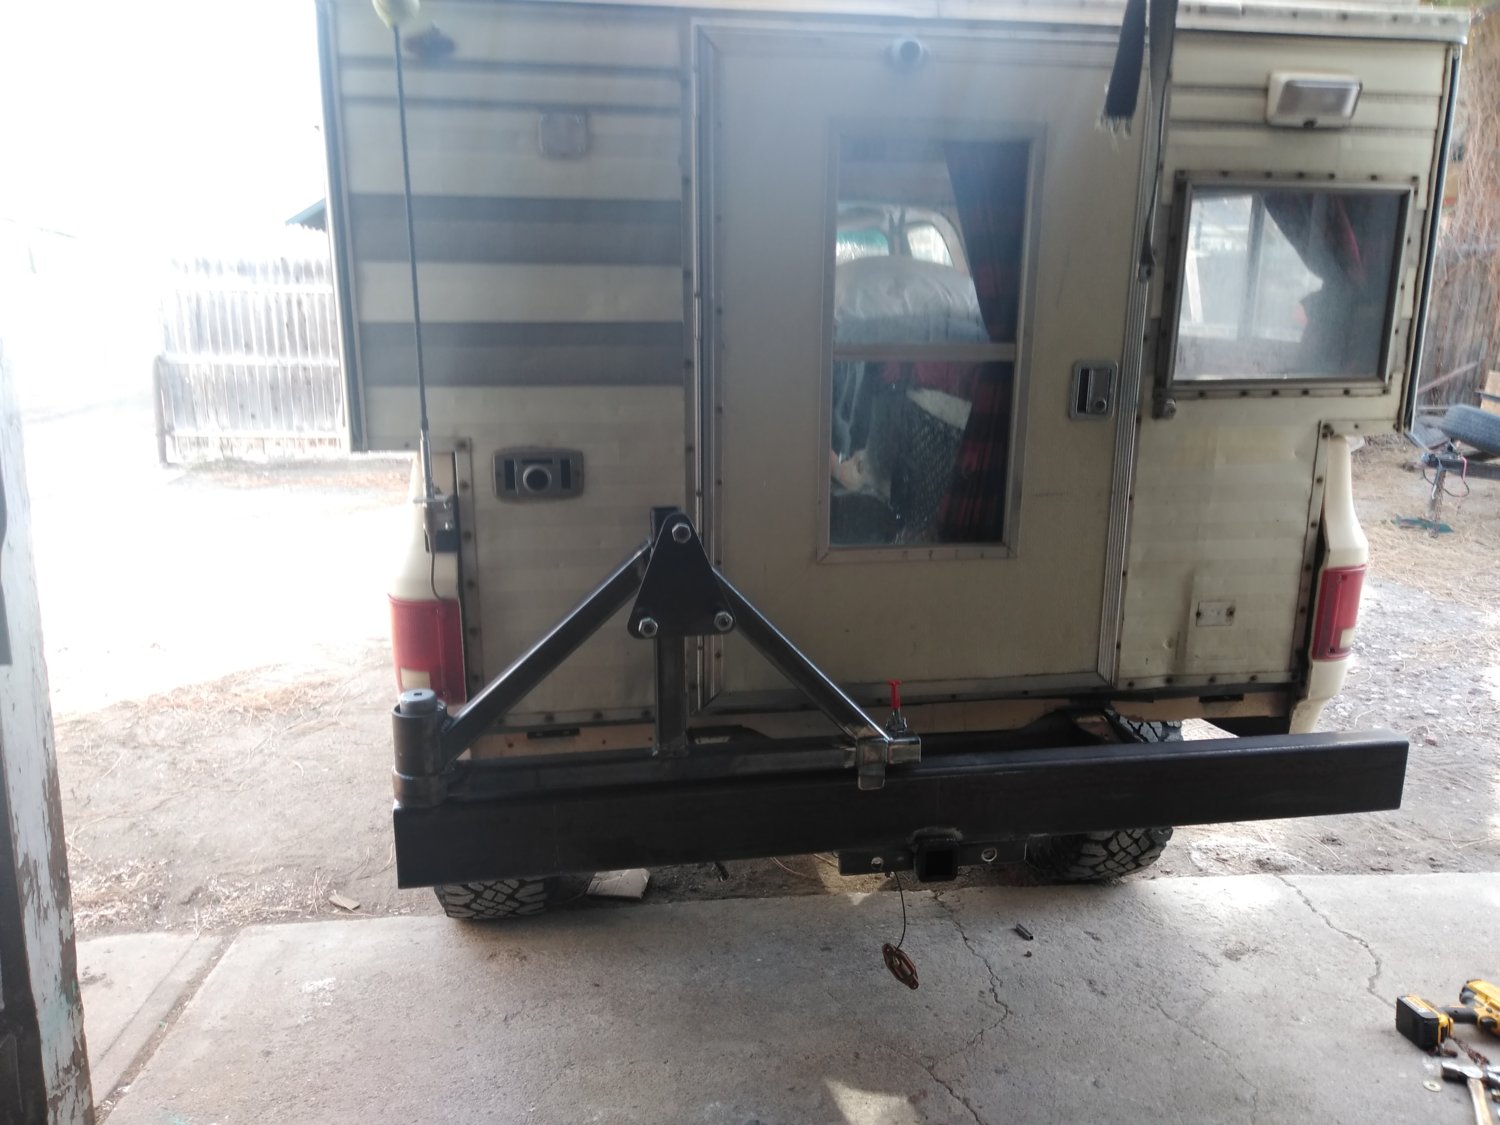
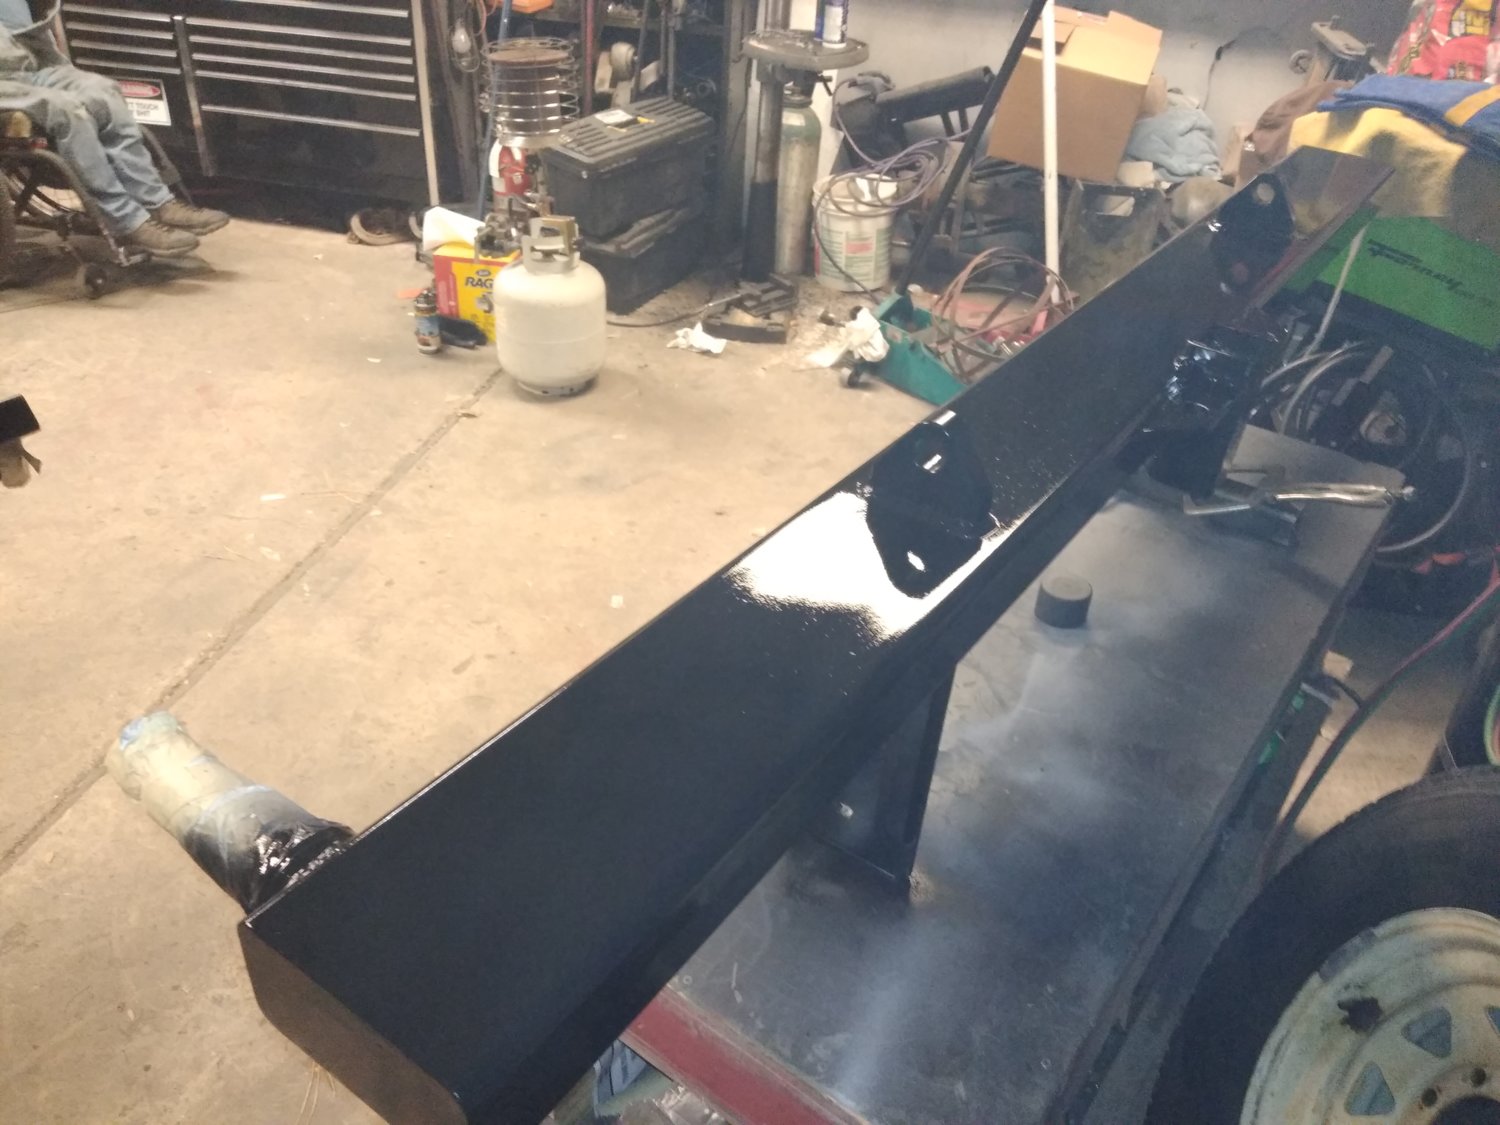
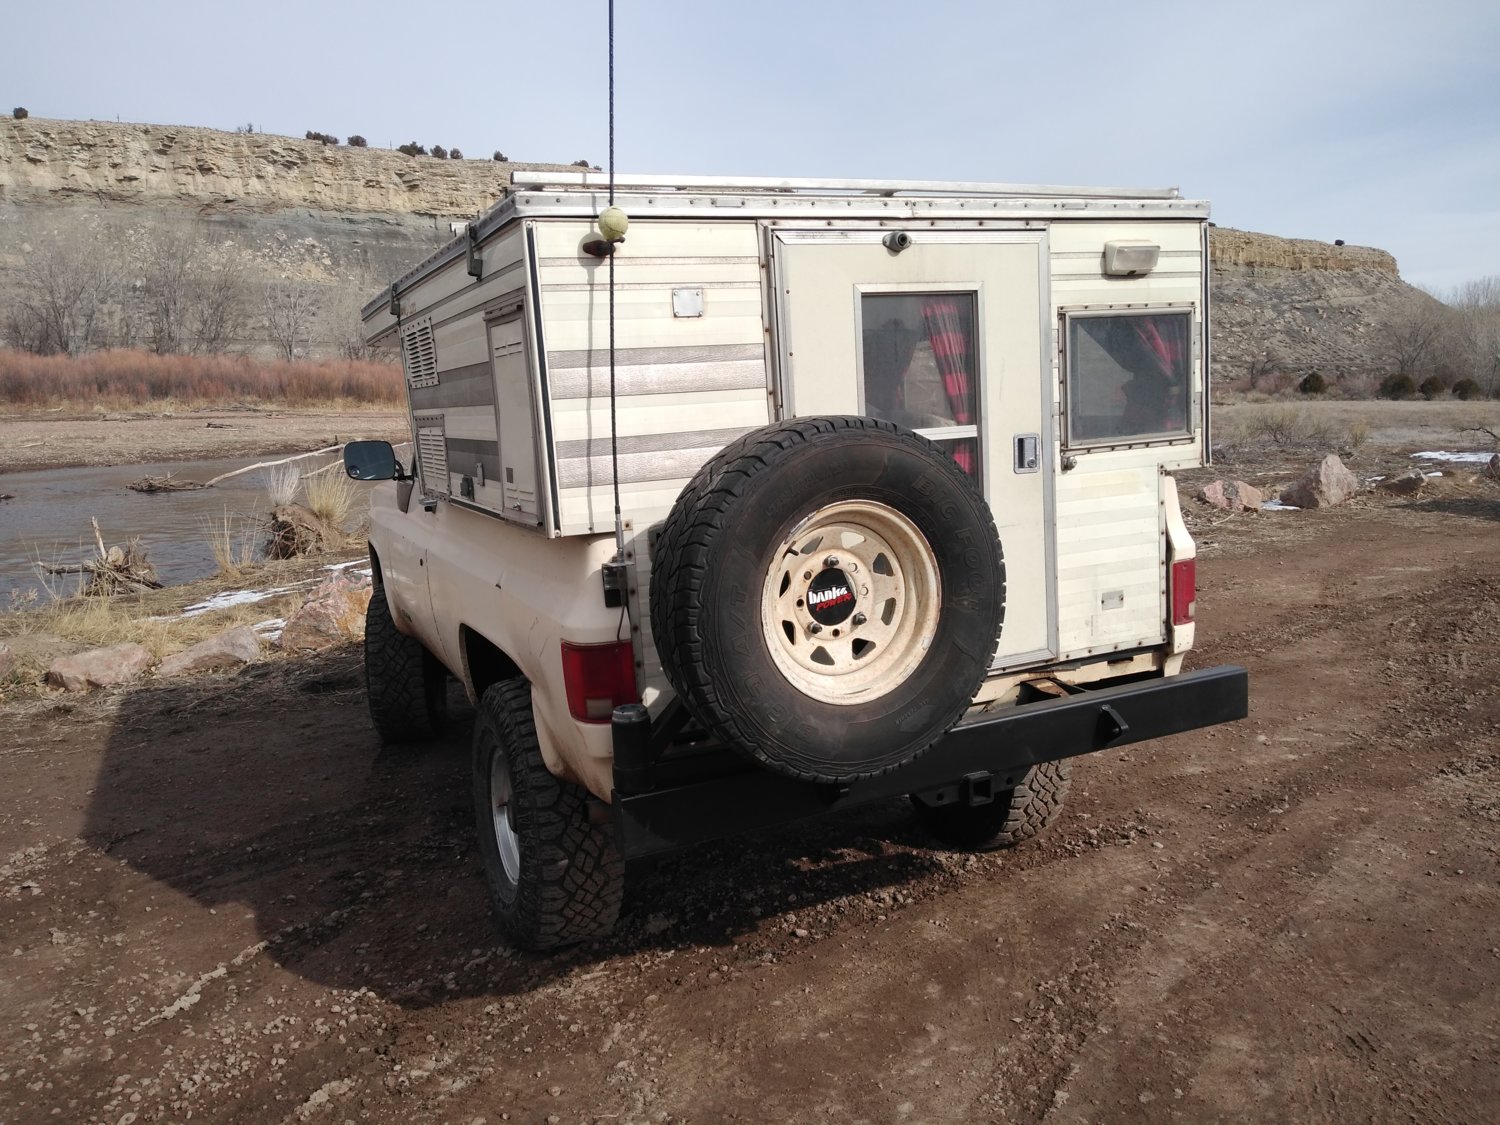
Glad you didn’t use those big farmer lights as those are reserved solely for Cummins powered flat bed pick'em up trucks and your name must be Bubba to own such a rig. Your bumper looks so much better without them.

As far as we 220 welder, no bueno. I have the opposite 220 tool here… a 220 plasma. Not the 220 glue gun, but Ian is due back from Kuwait next weekend so the welder will be easy to get soon enough
 
I'm by far not the first one to think it up. I've seen it done before and it's worked without issue. It's all 1/4" wall material, so as long as there are no pinholes in the welds and the pressure is kept to 125psi or less it should be ok. My compressor maxes out at 125 psi anyway.

Any engineering type dudes can double check me on the use the material for this idea I'm open too it. Nothing is set in stone and it's purely an idea to kick around at this point. I've already got a 3 gallon air tank up front so any added storage is a bonus.
Been done plenty.
I have seen complete frames made into tanks.
Some used thinner materials but I would stick with the 1/4"
Just make sure you have clean welds on the caps and you are golden
 
Ok, so today's fun got put on the road. Bill's 110v mig just doesn't have the oats to do the critical welds to the frame brackets or the D-ring mounts. Our buddy (and my co-pilot from our desert trips) Ian has a nice Hobart welder and brought it over to @Larry 's place to work inside his shop. I can say this, as it's always been said the right tool makes all the difference. That Hobart really worked awesome, Bill laid down some sweet beads with it. Onward to pics of the fun..

Bill getting the patient ready with the mounts tacked in place.

The d-ring mounts burned in place.


The frame brackets with gussets.


A little cleanup and it's ready for primer and paint. Totally happy with the progress and a big thanks to the crew for helping out.
 
Got a couple of nights in after work this week to prep, prime and paint the bumper. Hopefully the tractor paint will be dry enough to touch Sunday for us to finally install it.

Bill cleaned up a couple of welds and blended and I scuffed it all and shot primer on both.


Last night we fogged it with the semi gloss tractor paint. Still kinda glossy here.


Now to install it without scratching it.
 
Bumper fabrication complete and installed. It came out exactly as we had planned. Thankfully the tire does not obscure the left tail light at all and it only encroaches an inch or two at the tire's widest point into the window of the door. Onto the pics..


Pay no mind to the Banks sticker, Bill thought it needed something there. It's coming off.


Opening:
Closing:
Bill was a little concerned about the latch holding, but where I took these shots was 9 miles up a washboarded dirt road leading to the Arkansas river. The tire does not budge on the rough stuff. No wiggle or anything. Next up is the step, table and jerry can rack. I do need to make a sheet metal close out panel to cover the rear frame back up to the body under the camper.
 
Last edited:
Bumper fabrication complete and installed. It came out exactly as we had planned. Thankfully the tire does not obscure the left tail light at all and it only encroaches an inch or two at the tire's widest point into the window of the door. Onto the pics..


Pay no mind to the Banks sticker, Bill thought it needed something there. It's coming off.


Opening:
Closing:
Bill was a little concerned about the latch holding, but where I took these shots was 9 miles up a washboarded dirt road leading to the Arkansas river. The tire does not budge on the rough stuff. No wiggle or anything. Next up is the step, table and jerry can rack. I do need to make a sheet metal close out panel to cover the rear frame back up to the body under the camper.

Looks great! nice work guys!
 
Great design and execution. I love the old superwinch lockout.

David
 

Latest Posts

Top Bottom