Haha yah about that.... Sounds like when i get back to MI that stupid white fluffy stuff will be everywhere which im okay with cause now ill lock myself in the shop and get some work done.But then he does silly things like strap dirtbike to back of Ford Fusion and drive to Texas....
CK5

You are using an out of date browser. It may not display this or other websites correctly.
You should upgrade or use an alternative browser.
You should upgrade or use an alternative browser.
79 K5 Prerunner "Lucy"
- Thread starter sreidmx
- Start date
The beams are looking good!
Sorry to hear about your barn!
Sorry to hear about your barn!
Thanks! I'm trying to save the updates so they are good! The barn is taking a bit of time at the moment so when that's finished Ill be moving much faster on the truck..
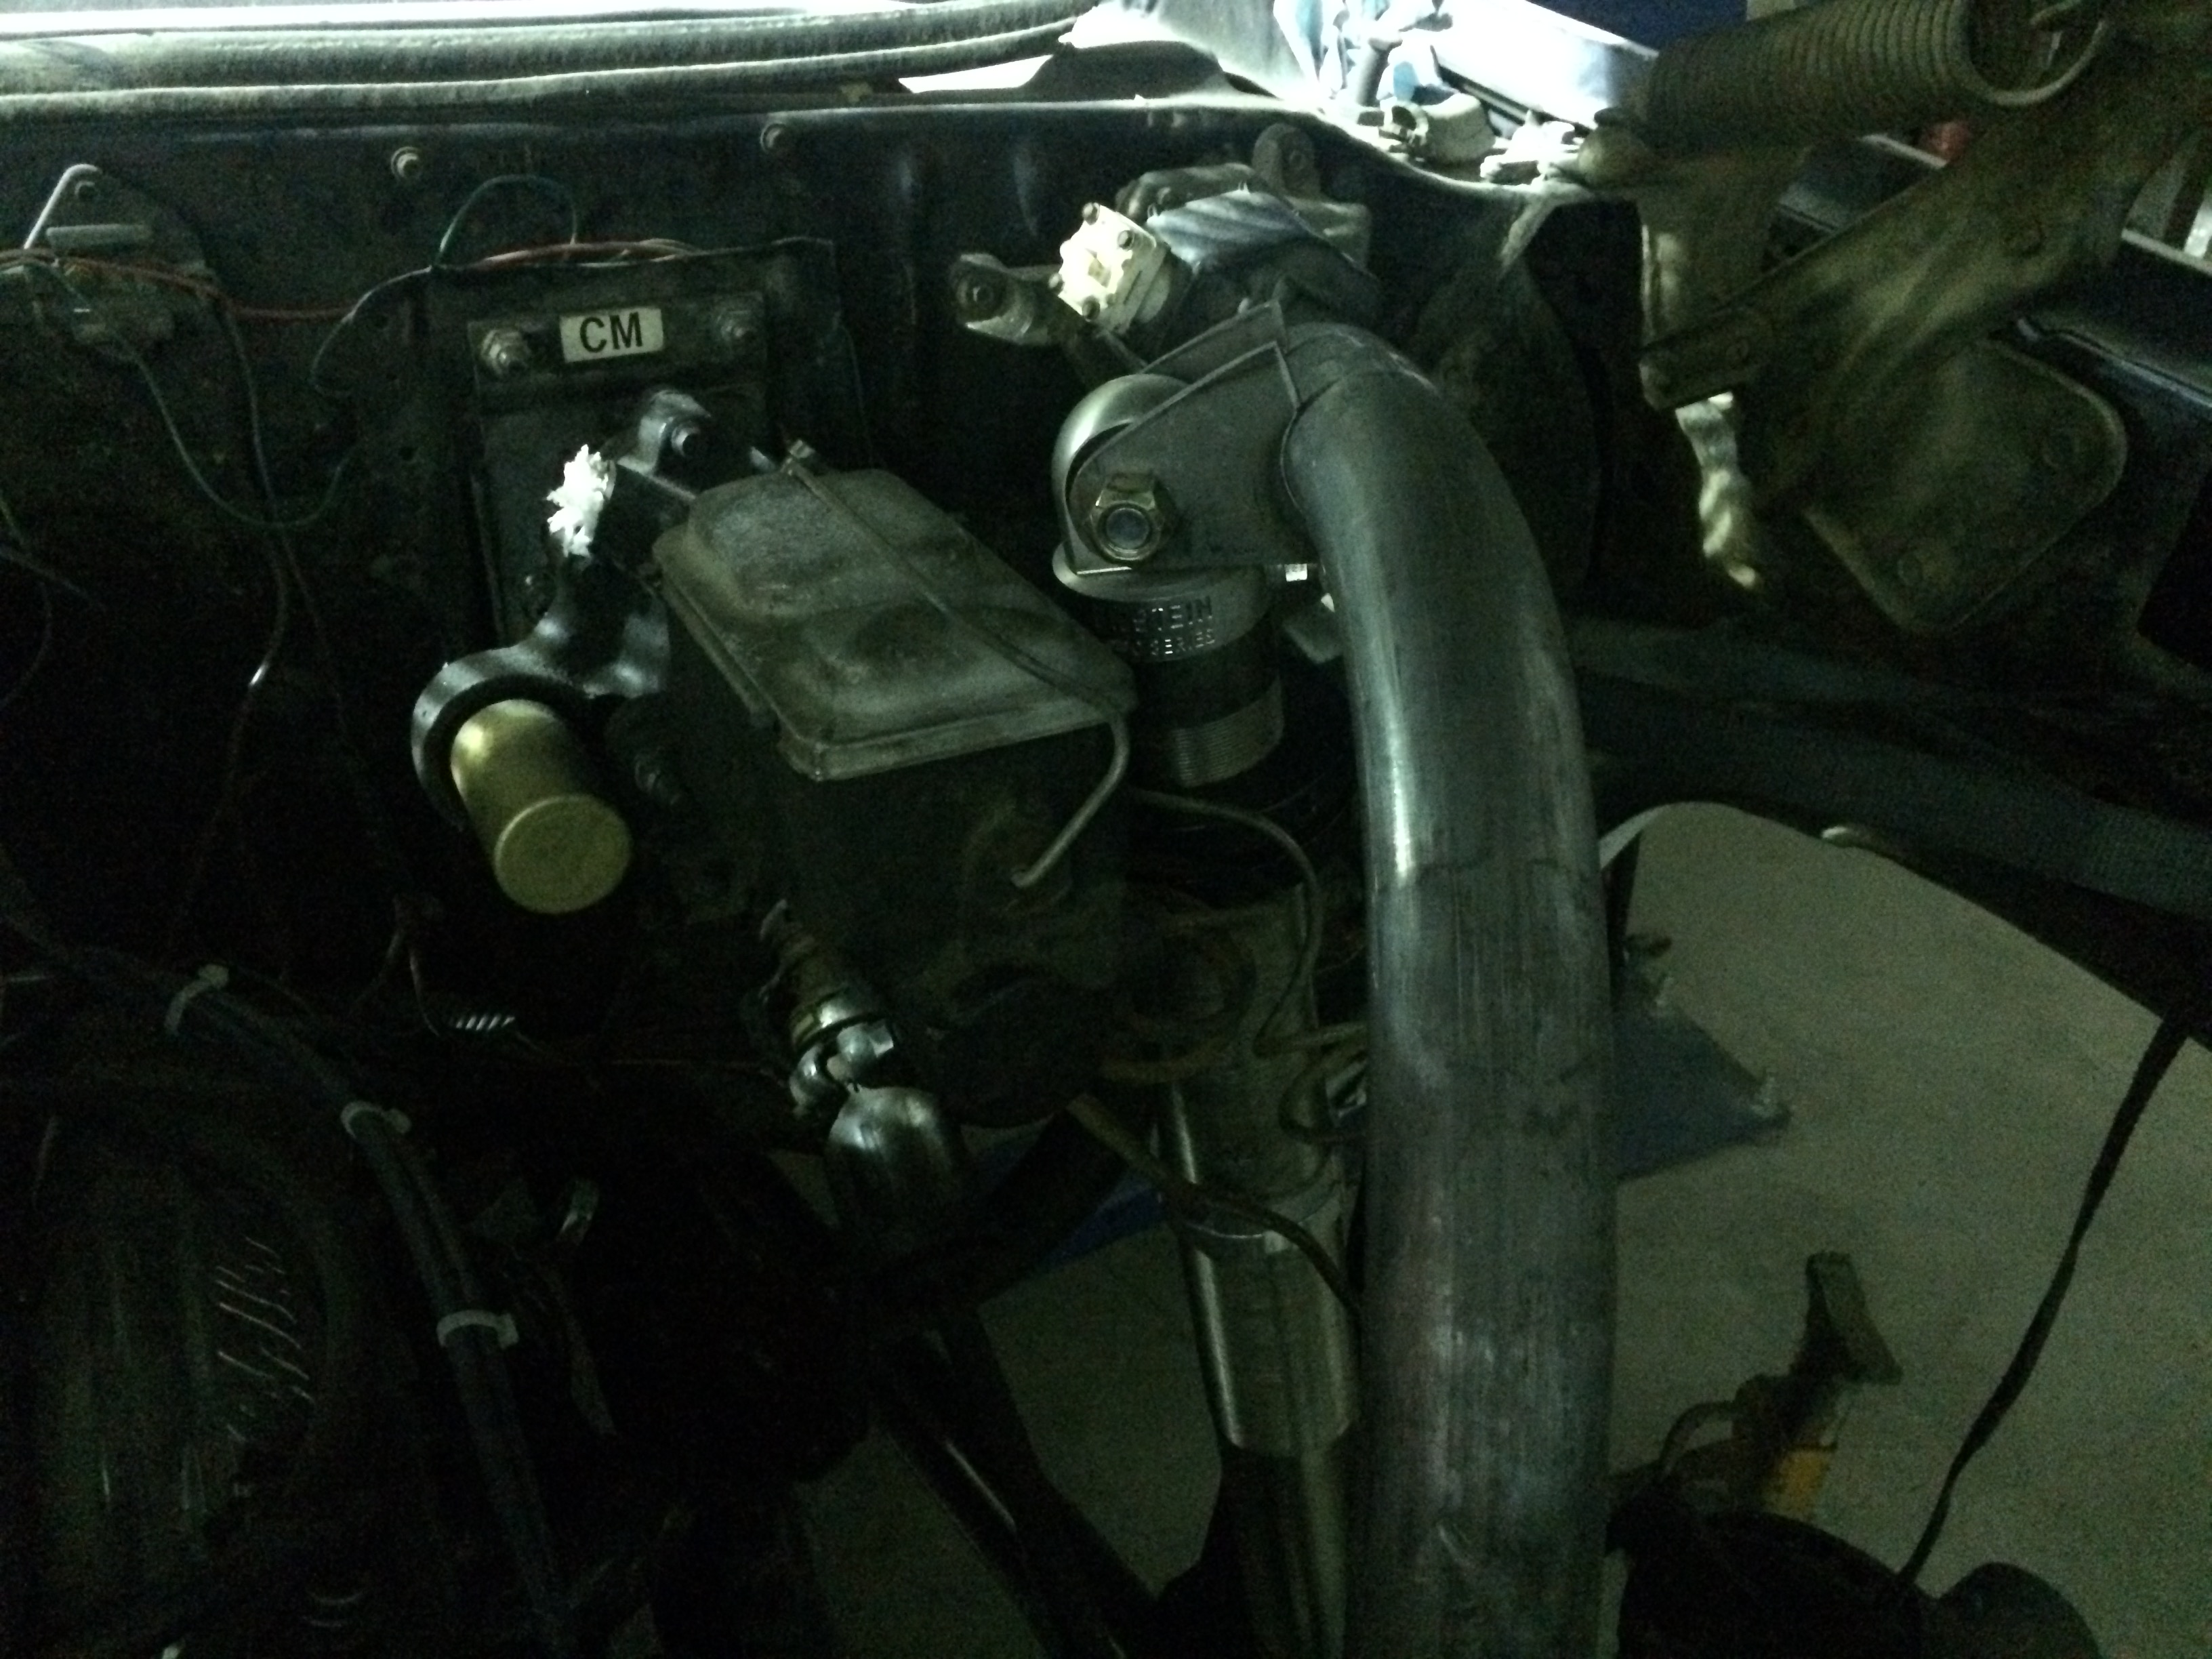
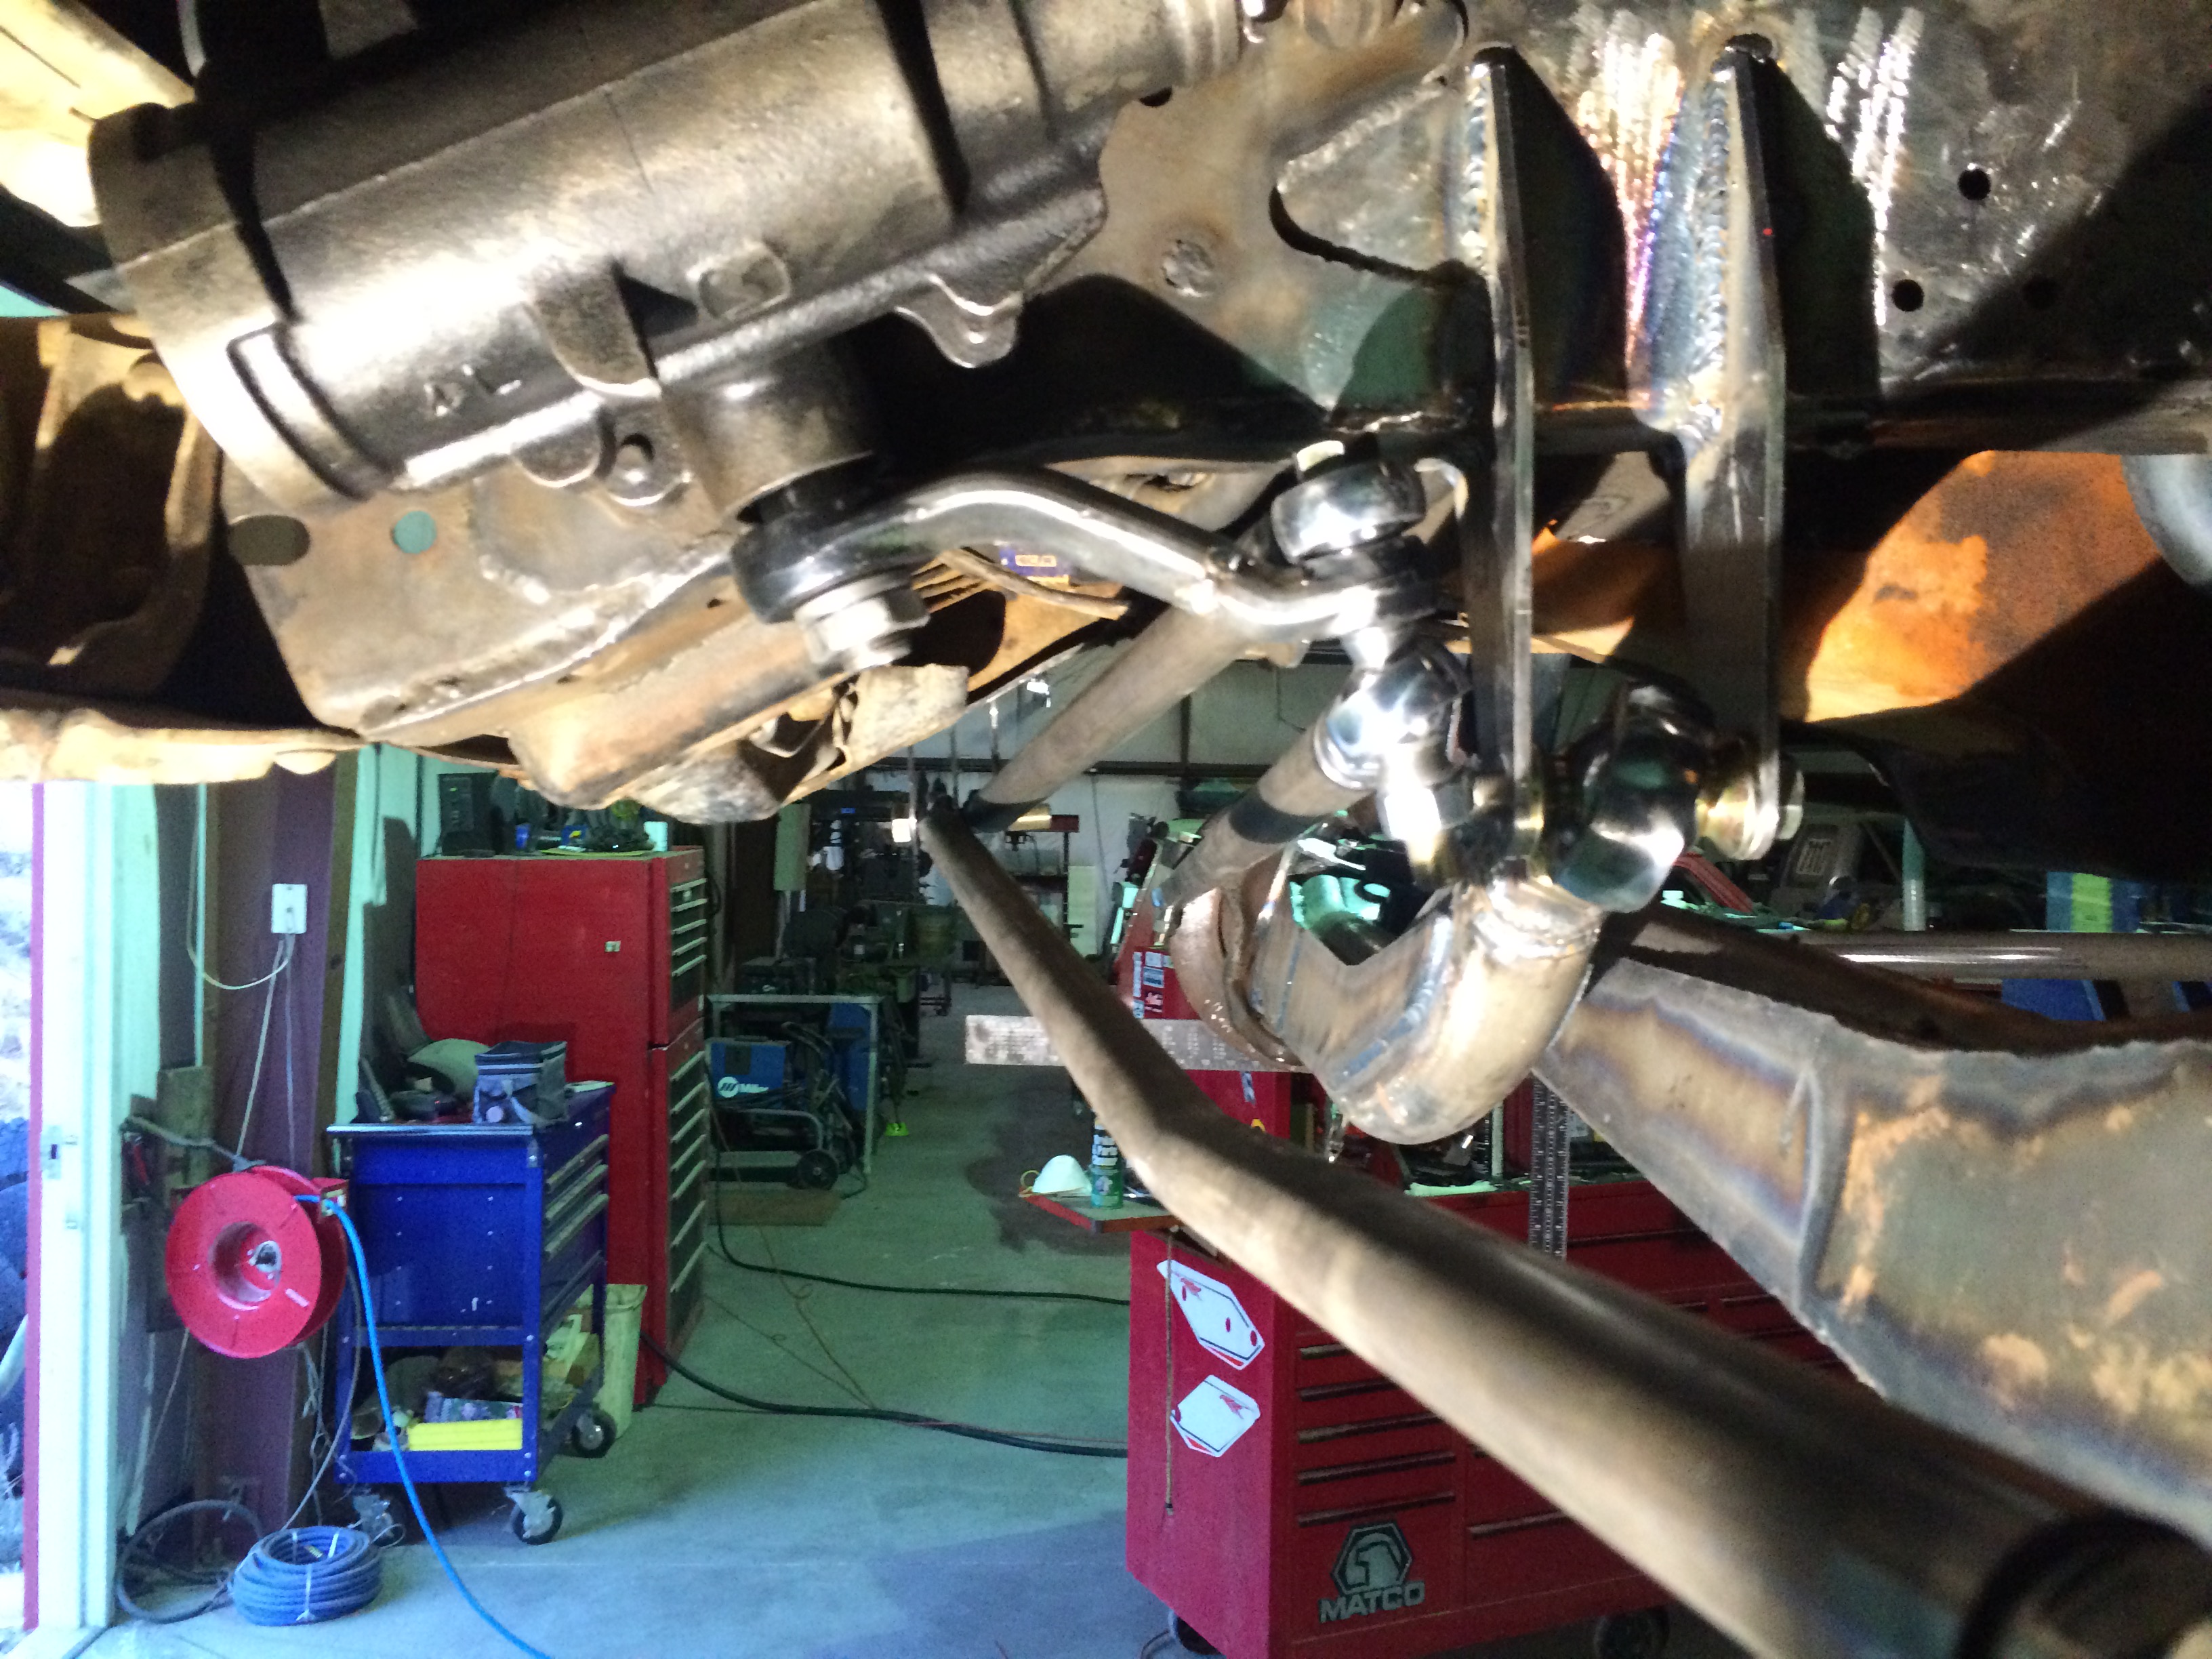
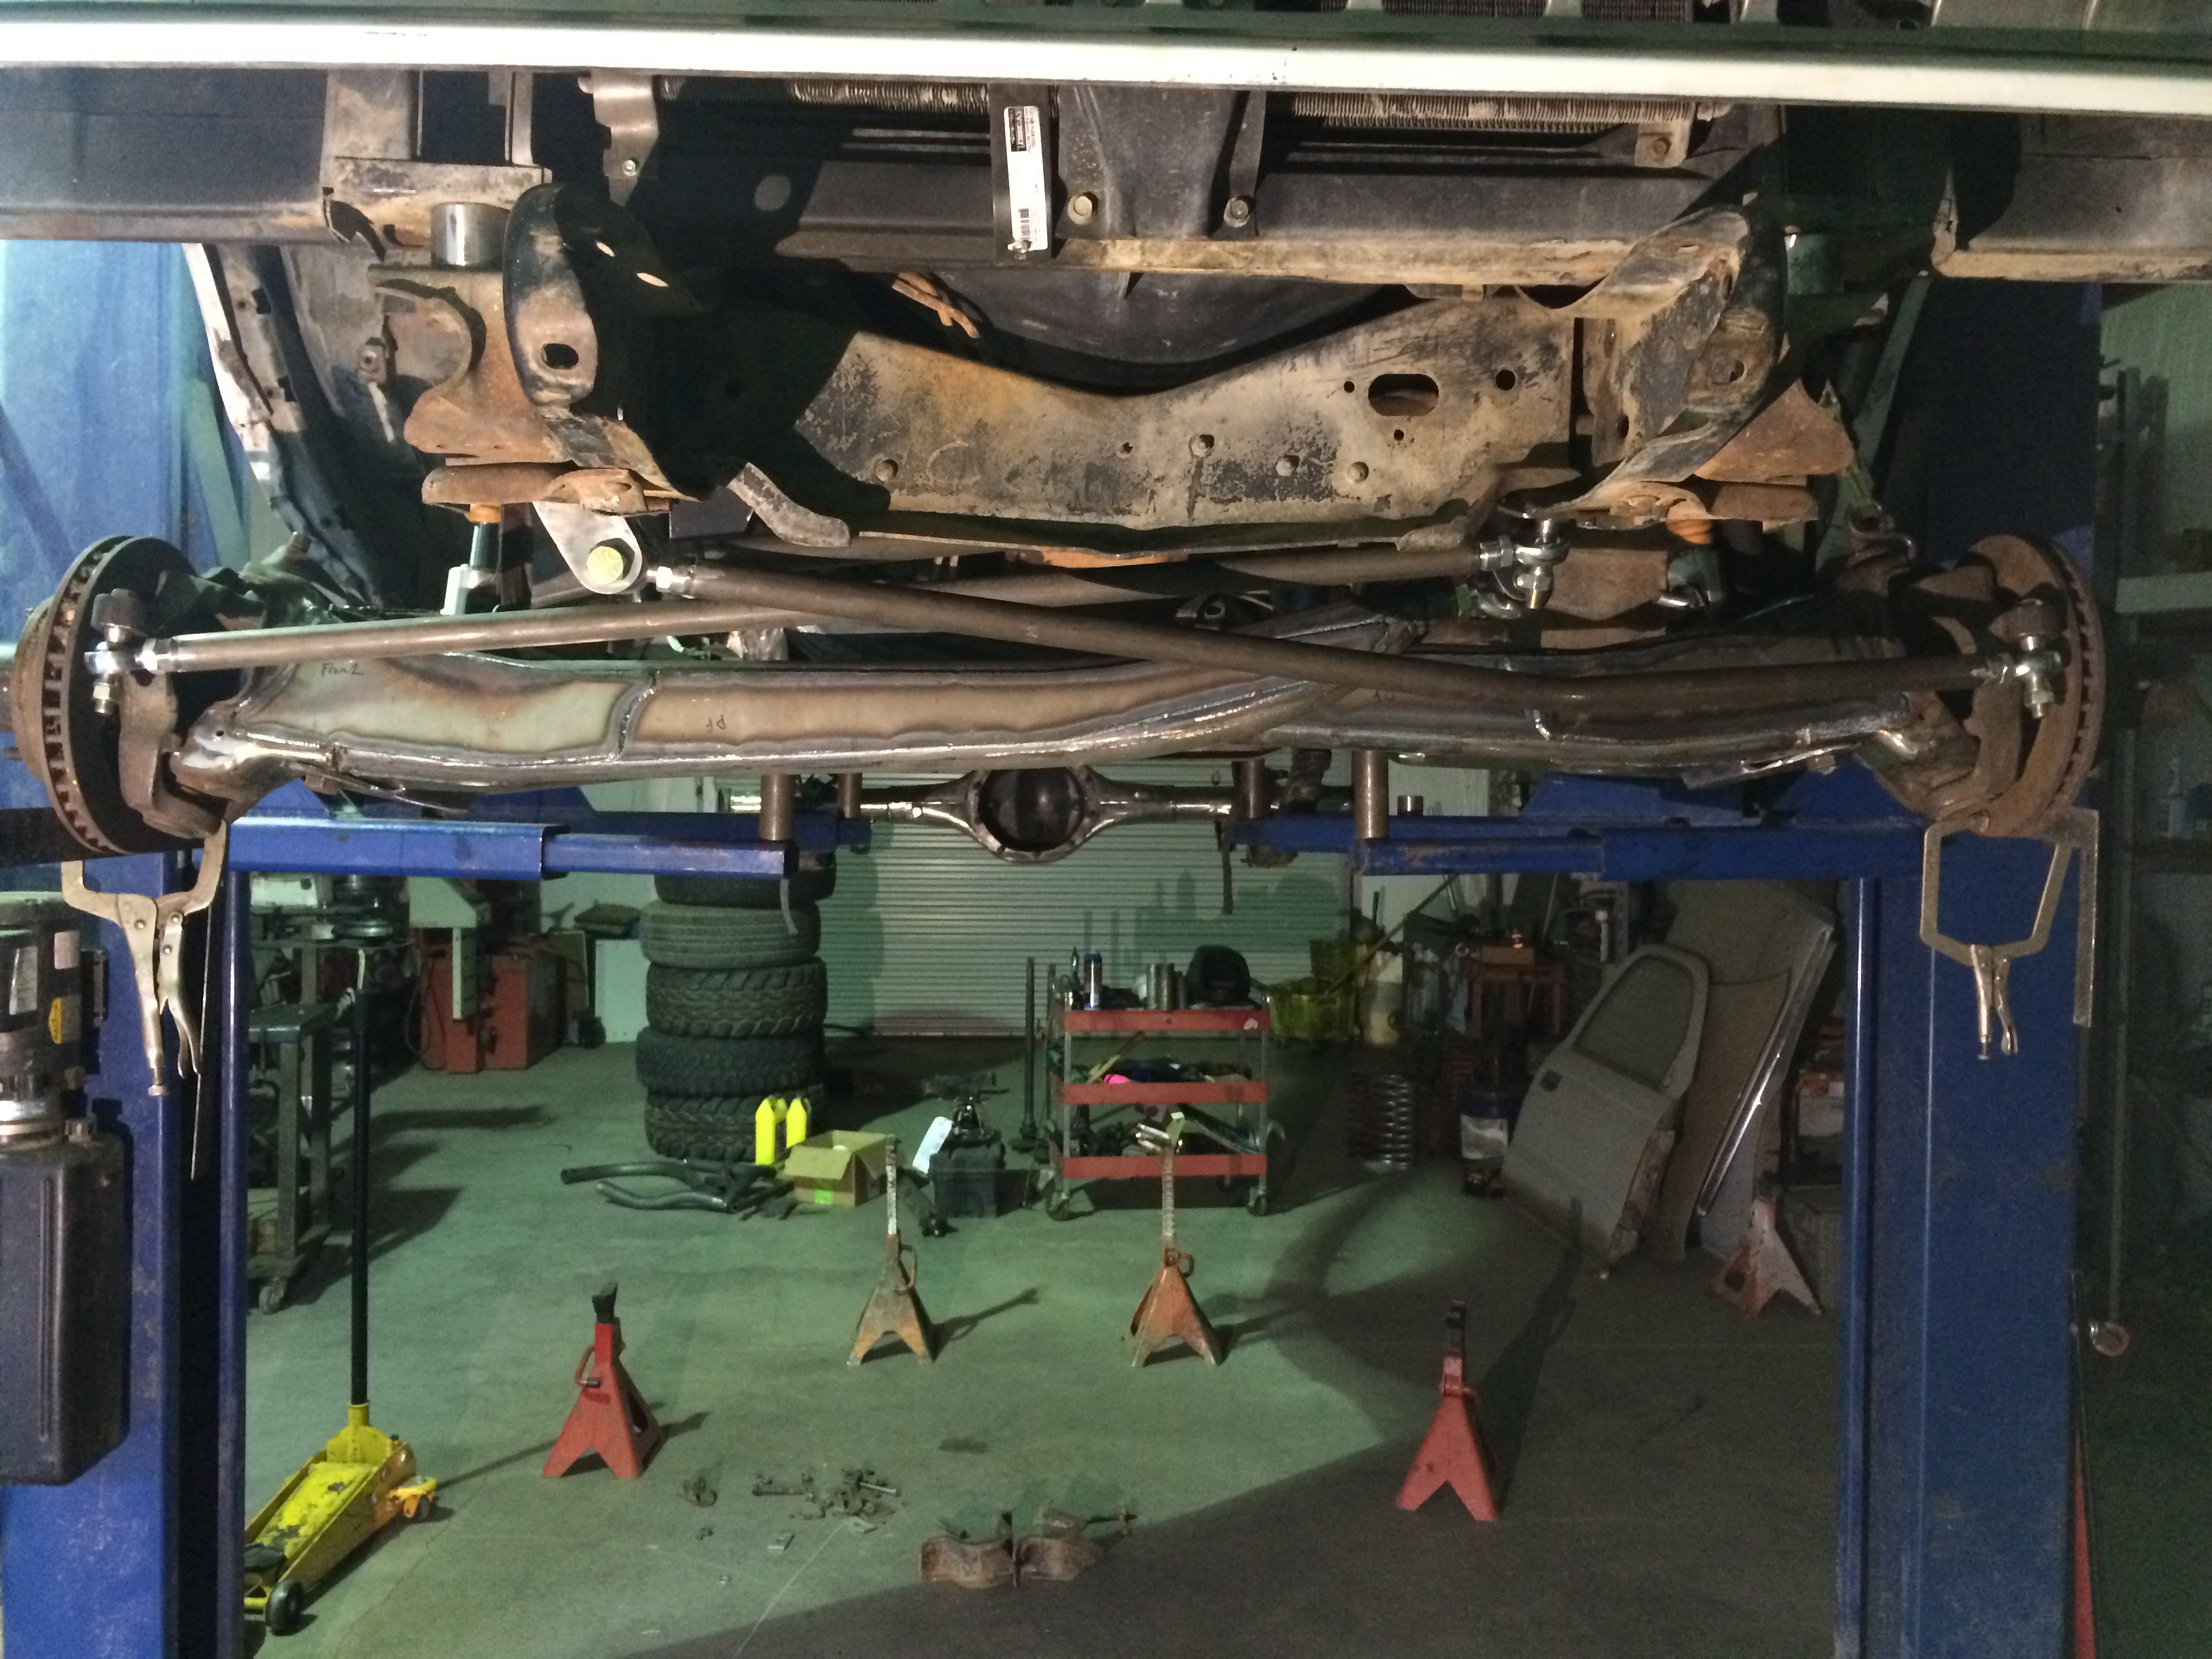
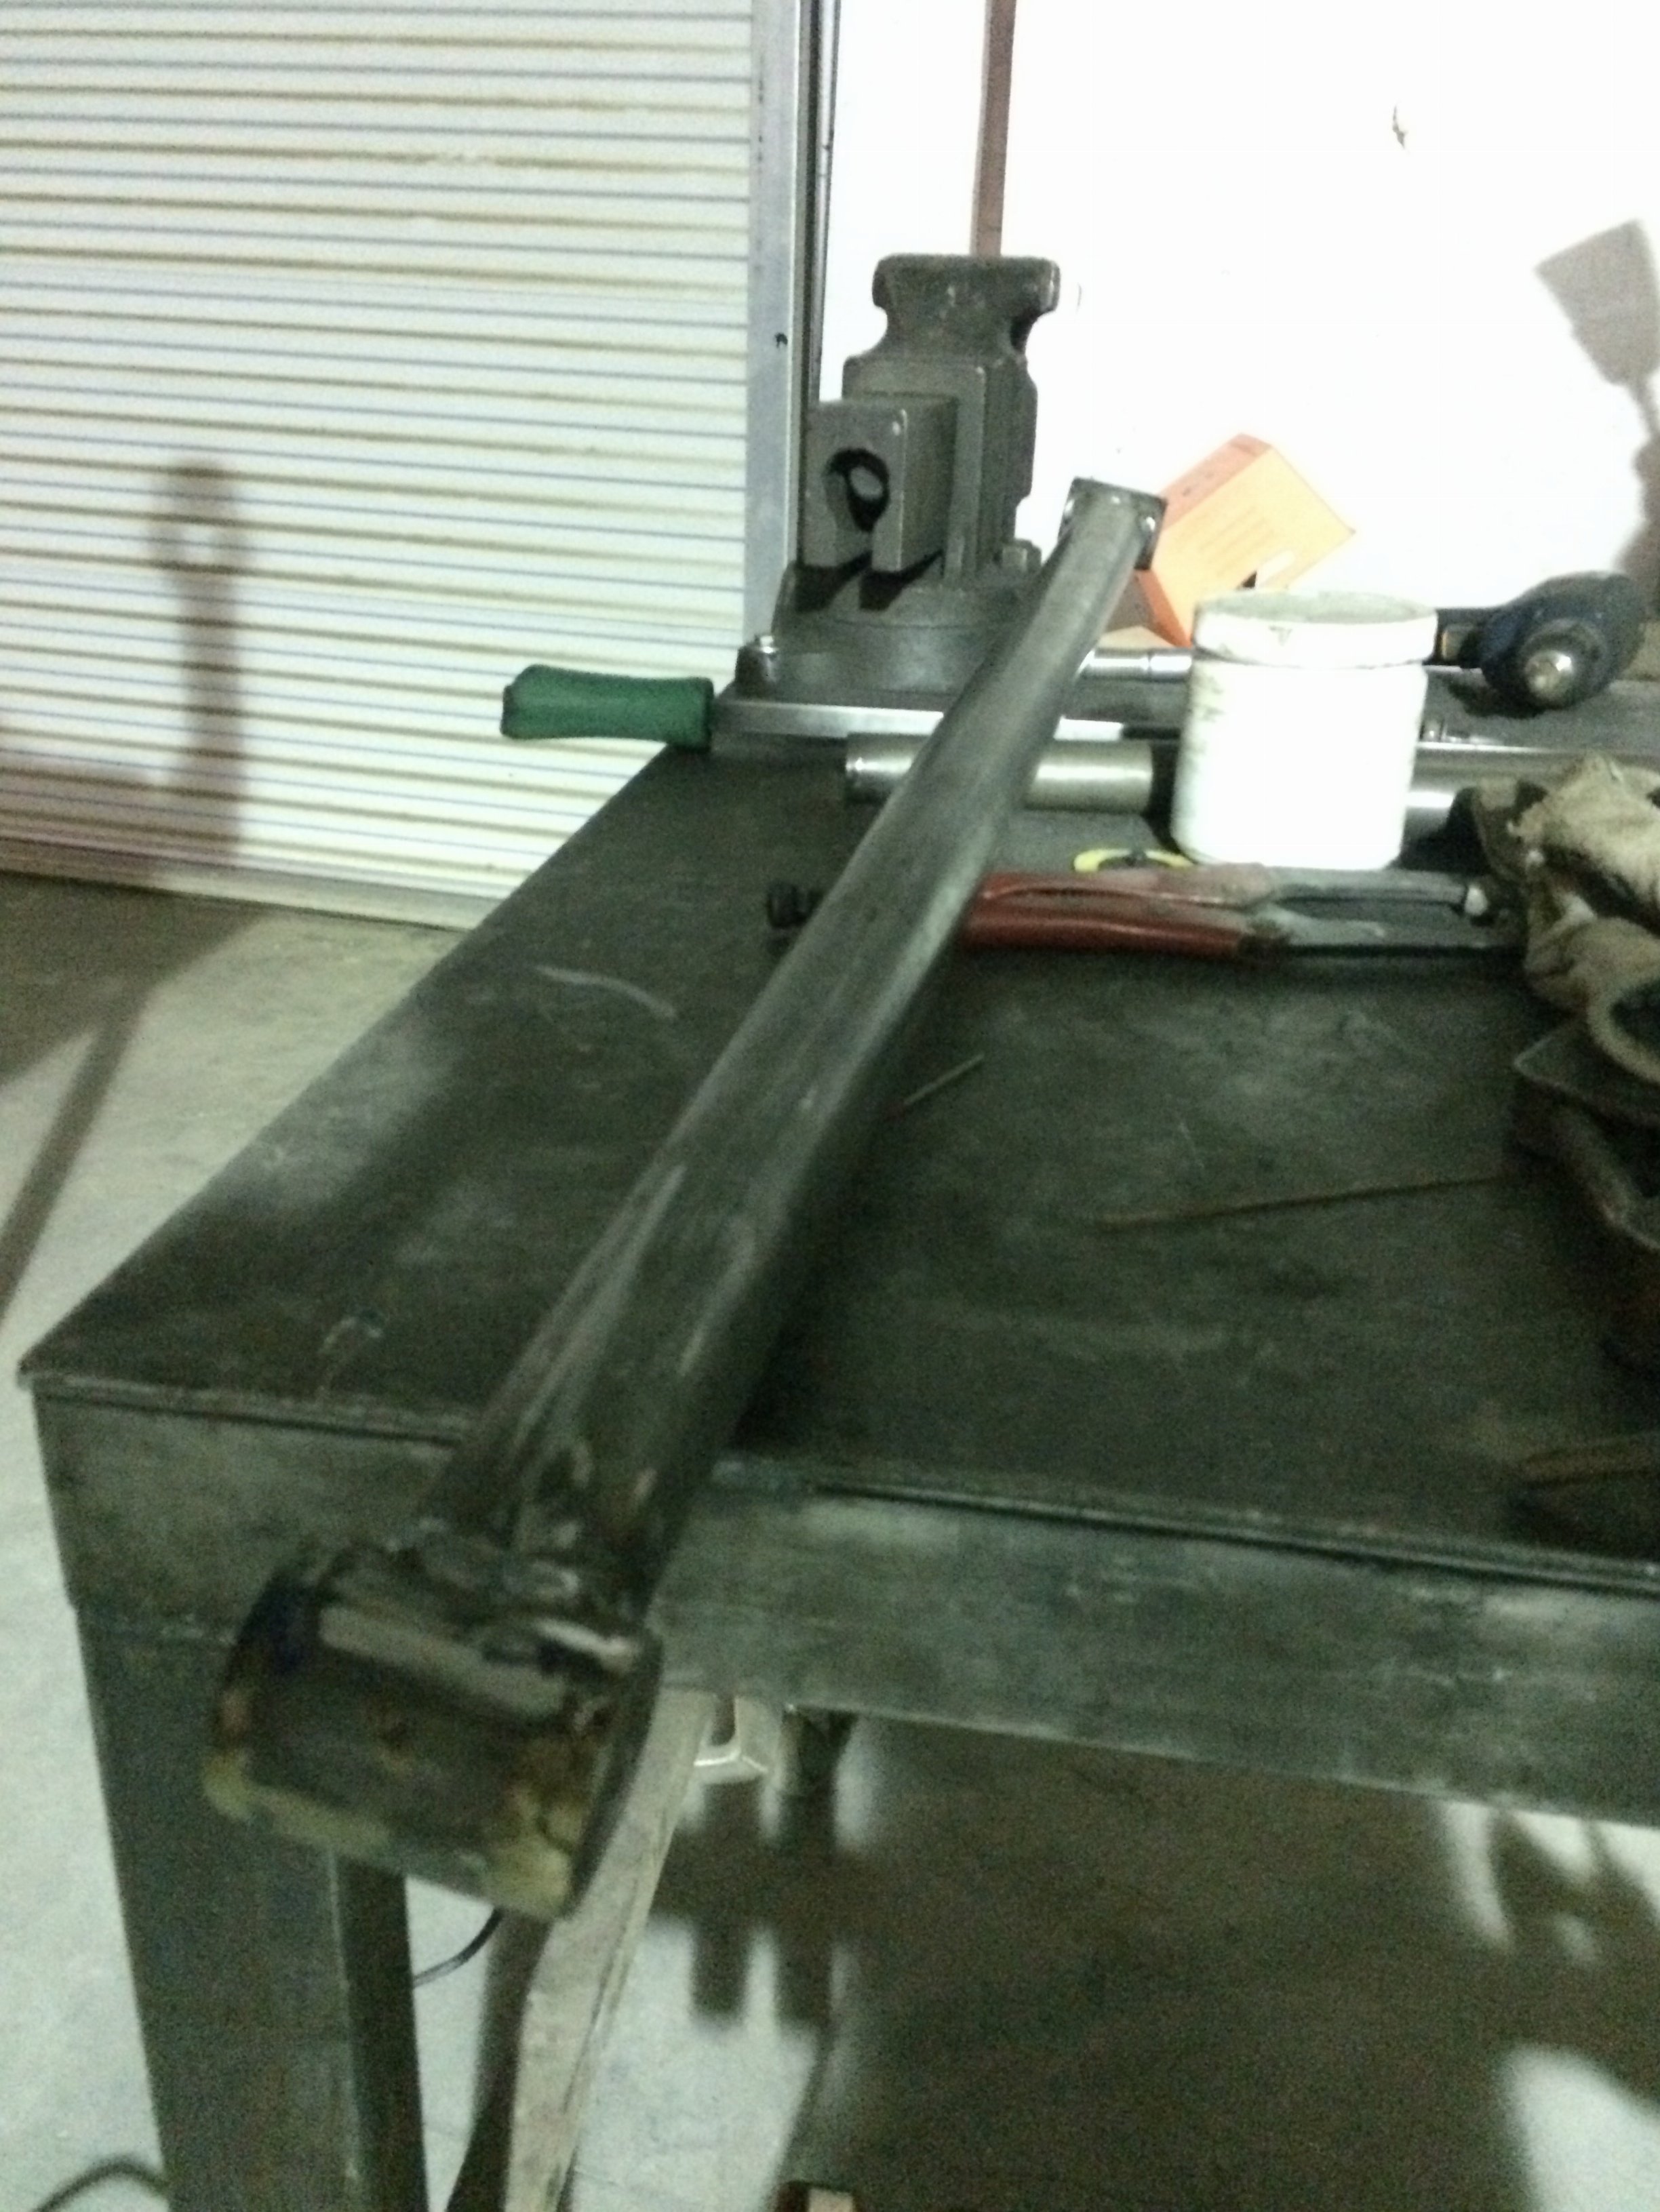
I suppose this is a good use to the end of my day at work. I am uploading the pics right now.. good things coming. I really misjudged the amount of steel needed to build this.. I suppose I was not planning on a beam conversion at first so there is that.
The beams themselves used up 12 feet each! The amazing thing is the beam and radius arm and steering are light enough for me to be able to "barely" lift. which means theyre somewhere in the 200lb area! I figure that with the wheels and tires I am either close or lighter than the D44 and the 16.5 wheels and 36 inch swampers.. lost unsprung is good") makes me happy.. I also gained a quicker ratio so its now 1.75 turns lock to lock. Im really starting to chomp at the bit on this because I am wanting to finsh and drive it before the weather gets hot! That means at this point I am shooting for sometime in Feb to run this B!tch, im counting on a few things to fall into place but so far they are going as planned.
makes me happy.. I also gained a quicker ratio so its now 1.75 turns lock to lock. Im really starting to chomp at the bit on this because I am wanting to finsh and drive it before the weather gets hot! That means at this point I am shooting for sometime in Feb to run this B!tch, im counting on a few things to fall into place but so far they are going as planned.
TODO:
Finish Weld everything thats not.
plumb brake lines front and rear
truss rear axle
setup gears
disc brake conversion
install winters shifter
make dash(maybe)
cage front to rear
reinforce frame where needed
box inside of frame (maybe)
plumb fuel and electrical
run exhaust
install limit straps and bump stops
drink lots of beer
catch massive air..
dont die
dont get dismembered.
make video take pictures..
The beams themselves used up 12 feet each! The amazing thing is the beam and radius arm and steering are light enough for me to be able to "barely" lift. which means theyre somewhere in the 200lb area! I figure that with the wheels and tires I am either close or lighter than the D44 and the 16.5 wheels and 36 inch swampers.. lost unsprung is good
makes me happy.. I also gained a quicker ratio so its now 1.75 turns lock to lock. Im really starting to chomp at the bit on this because I am wanting to finsh and drive it before the weather gets hot! That means at this point I am shooting for sometime in Feb to run this B!tch, im counting on a few things to fall into place but so far they are going as planned. TODO:
Finish Weld everything thats not.
plumb brake lines front and rear
truss rear axle
setup gears
disc brake conversion
install winters shifter
make dash(maybe)
cage front to rear
reinforce frame where needed
box inside of frame (maybe)
plumb fuel and electrical
run exhaust
install limit straps and bump stops
drink lots of beer
catch massive air..
dont die
dont get dismembered.
make video take pictures..
Don't die. Always a solid goal lol
Ill finish editing this when I get a chance later.. Until then this is what I got!

someone's been busy.... 
That thing is gonna be awesome.
Great job
Great job
You been what?
Martin
Martin
Yo mama..
He been conversion.
Its looking really good, nice job!
y5mgisi
1 ton status
I think it's supposed to say I BEEM lol. Looks bad ass! Bet it will be mega fun!
Read through this thread today. Nice work (you did all that in an hour's worth of reading?  ). Can't wait to see it moving again.
). Can't wait to see it moving again. Thanks! It's been a lot of work to get it to this point. I feel like it's finally getting close to the tunnel entrance and Maybee I'll see the light soon!
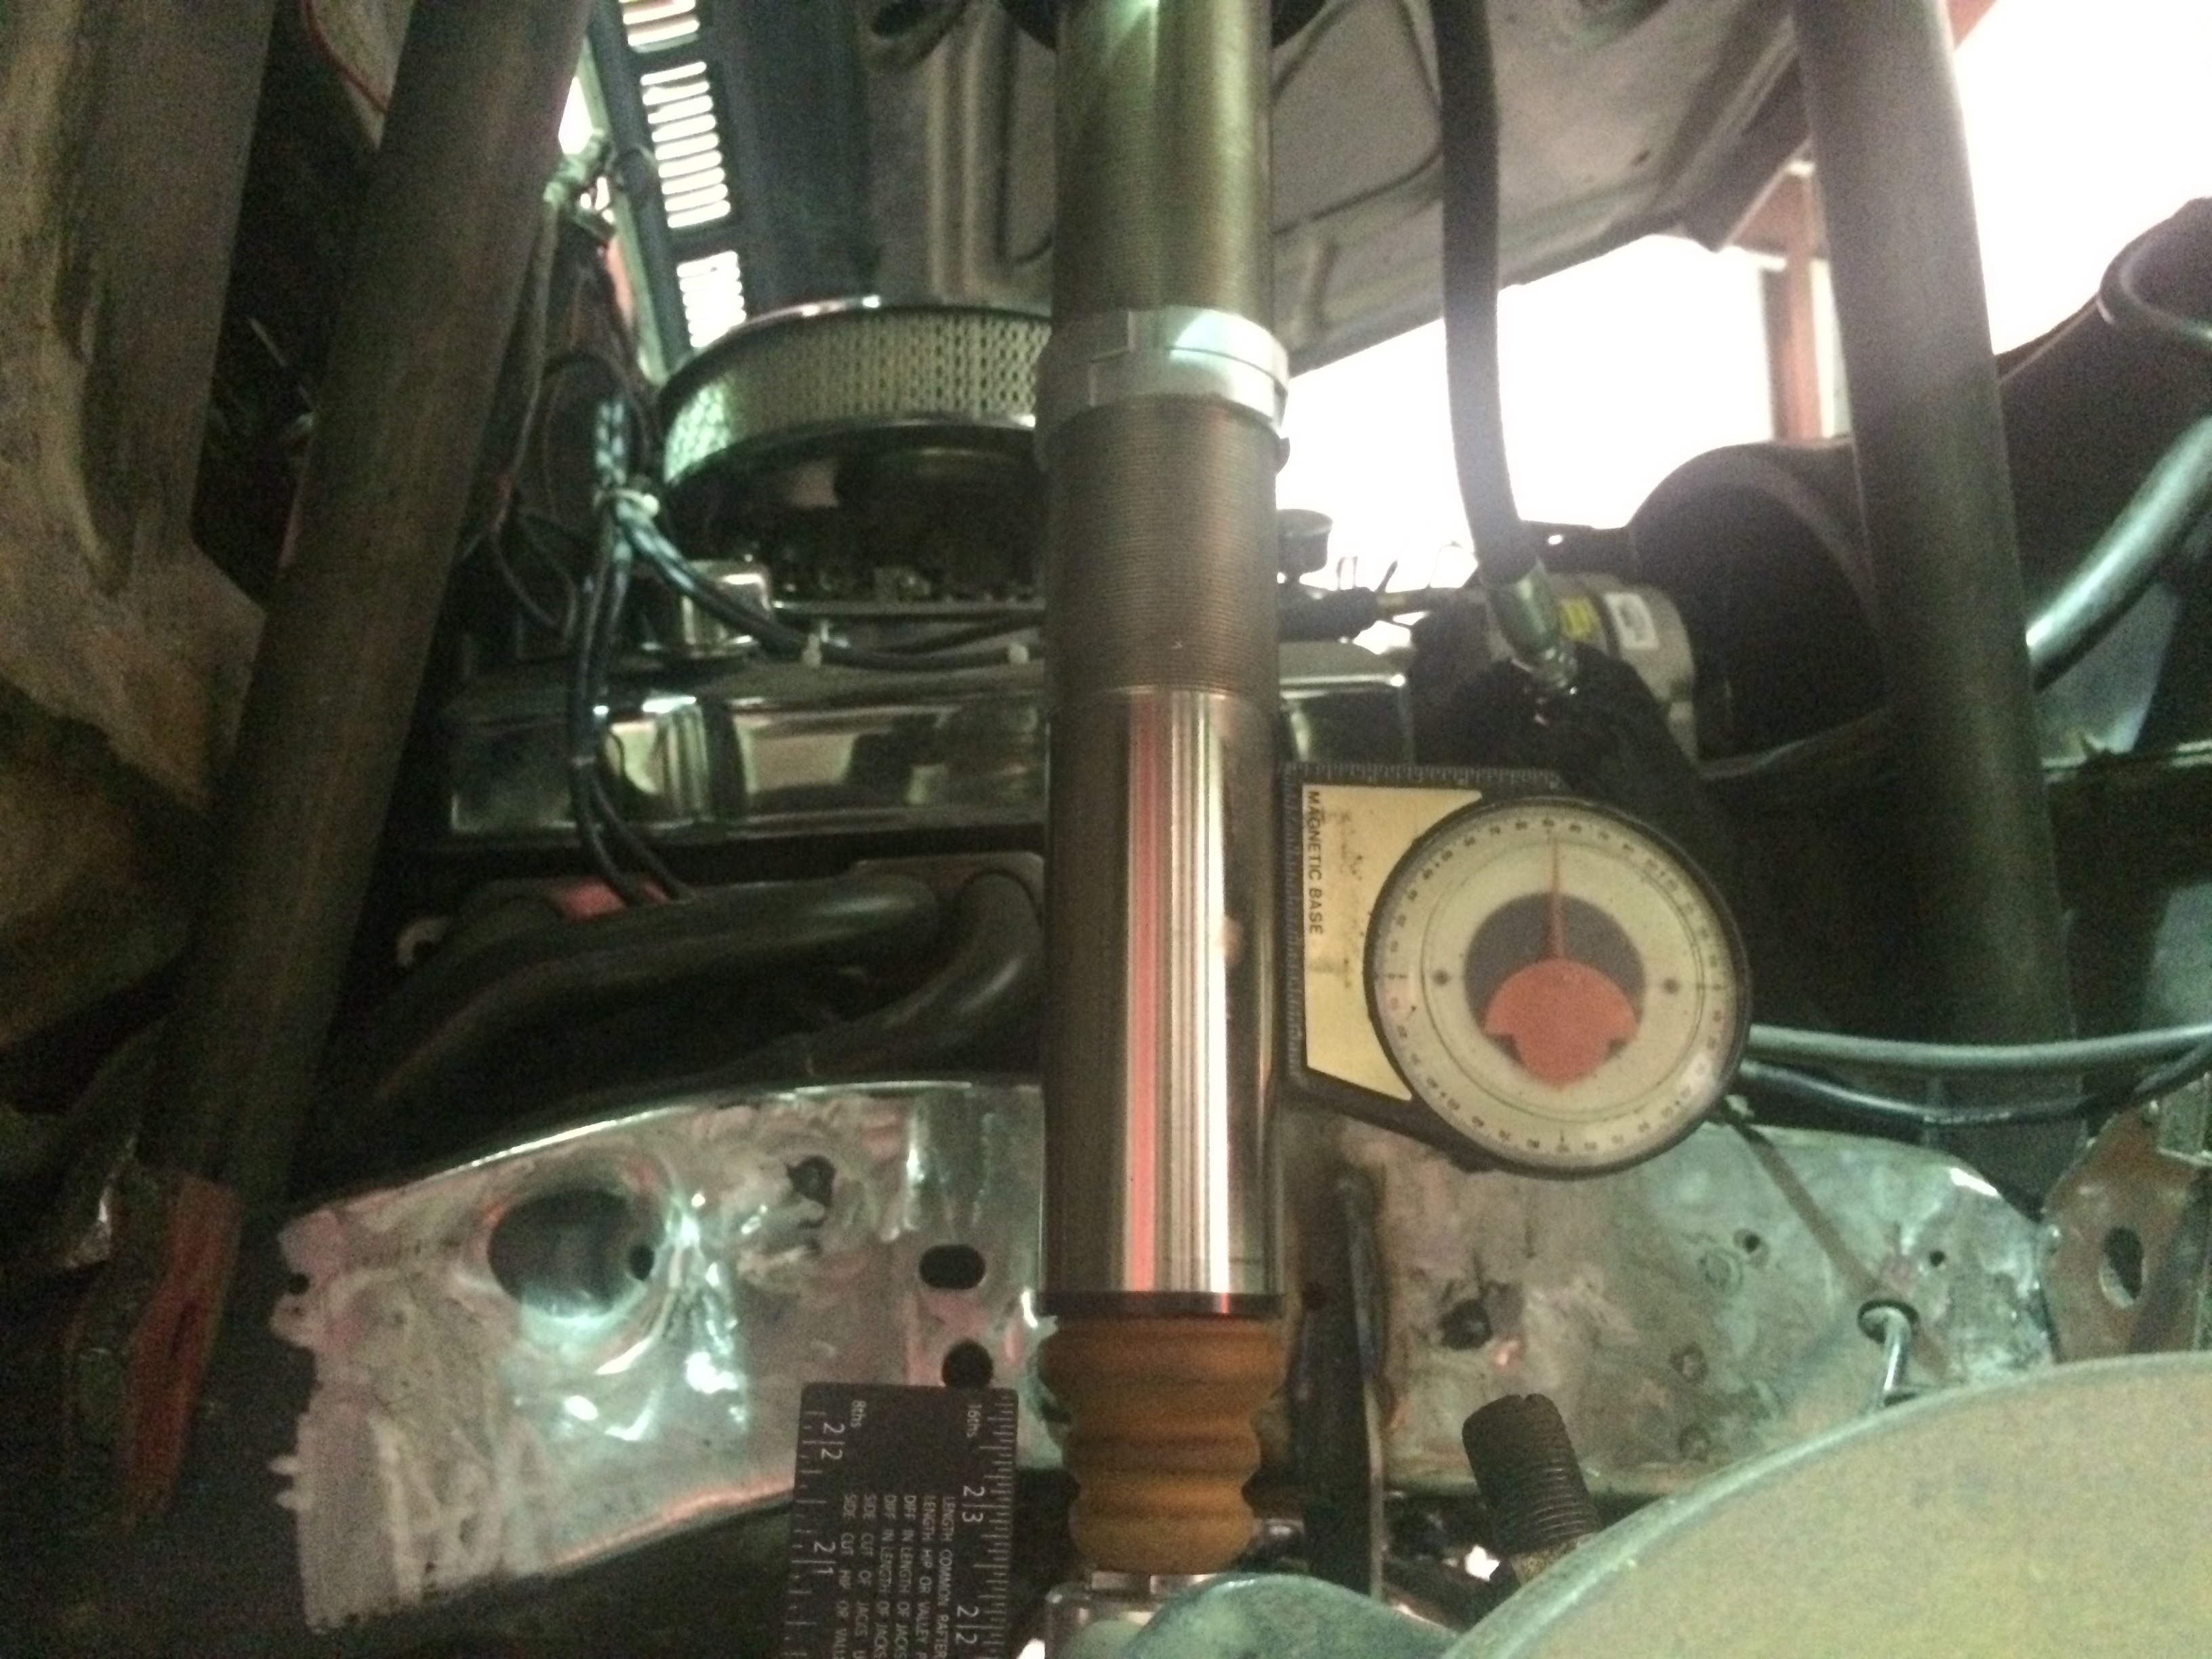
Alright time for the weekend update.
I have been playing around with the rear suspension some, because my shocks are short 12 inch I really wanted to take advantage of the extra travel the springs. Could provide, there is a few ways to do this.
One would be mounting them to the axle at a perpendicular angle like this

But the issue is that I loose out on the extra travel.. There really isn't many bad things about this besides the space it can take up inside.
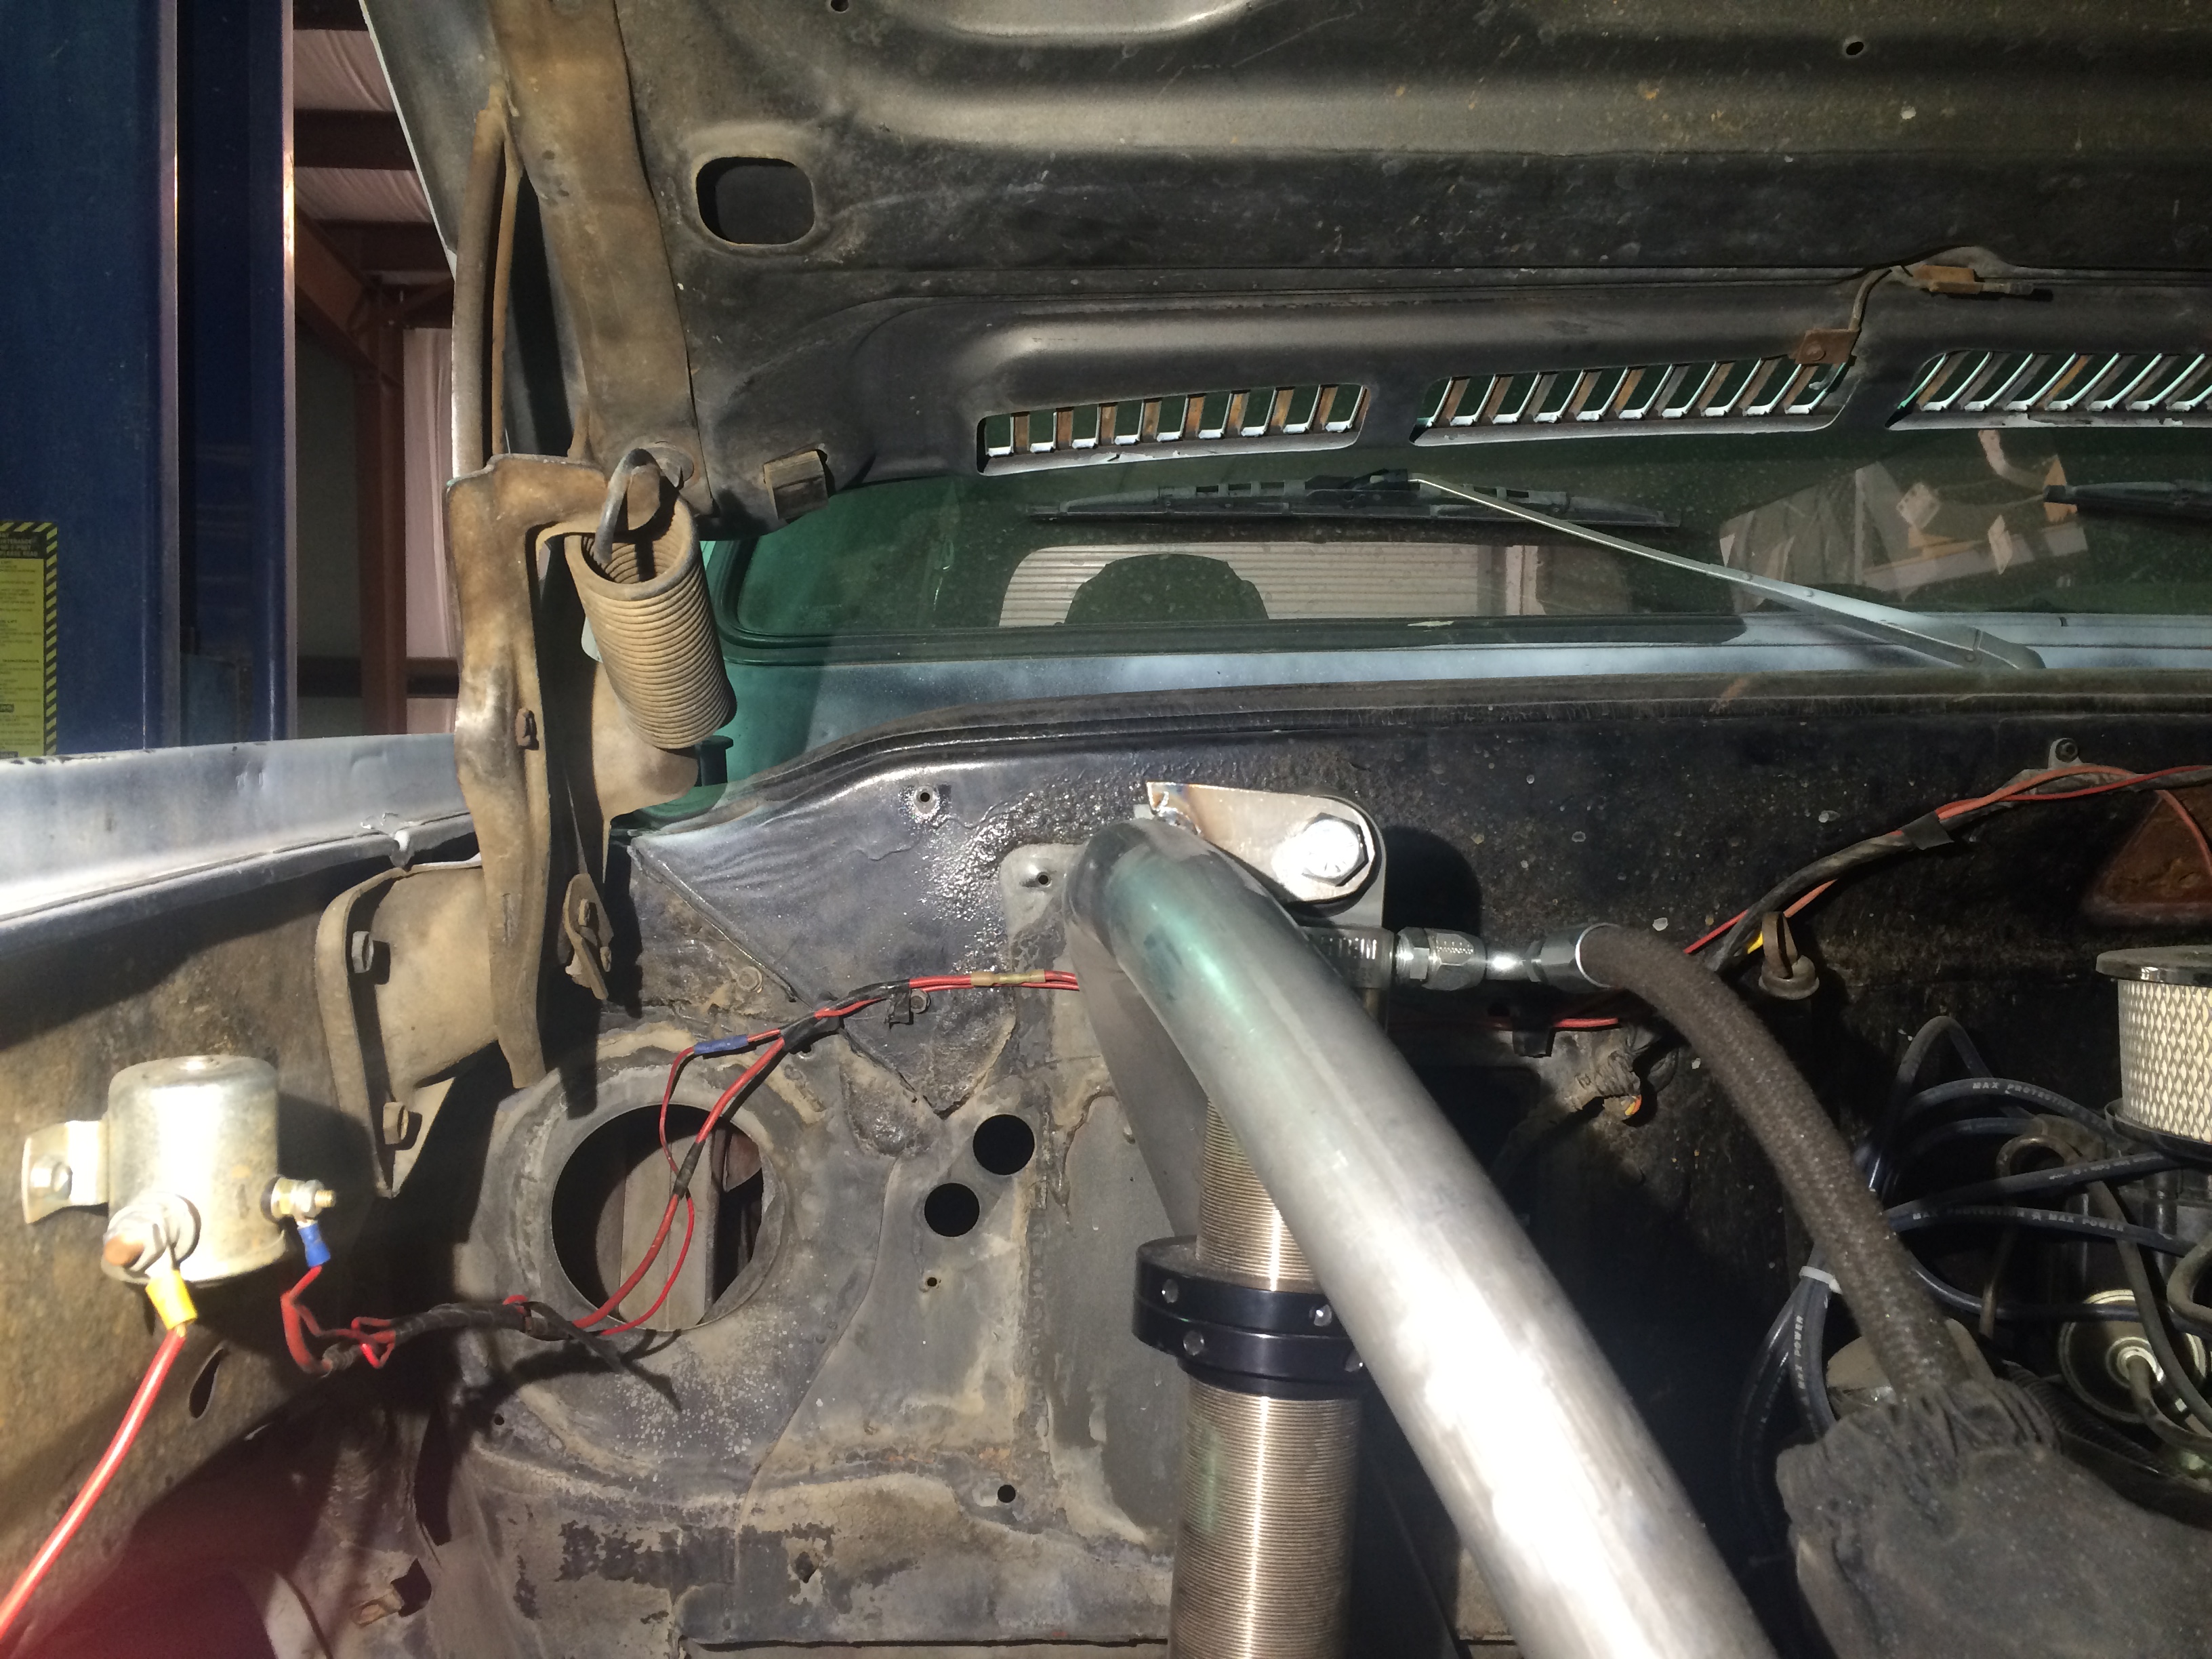
One other way is to leverage the shock somehow.
Mezzanine style suspension is basically a reverse trailing arm.


As you can see this consumes a huge amount of space.. Now if I was going to use this arrangement I would change a lot of this but for mockup I threw it together. Kind of like a proof of concept.
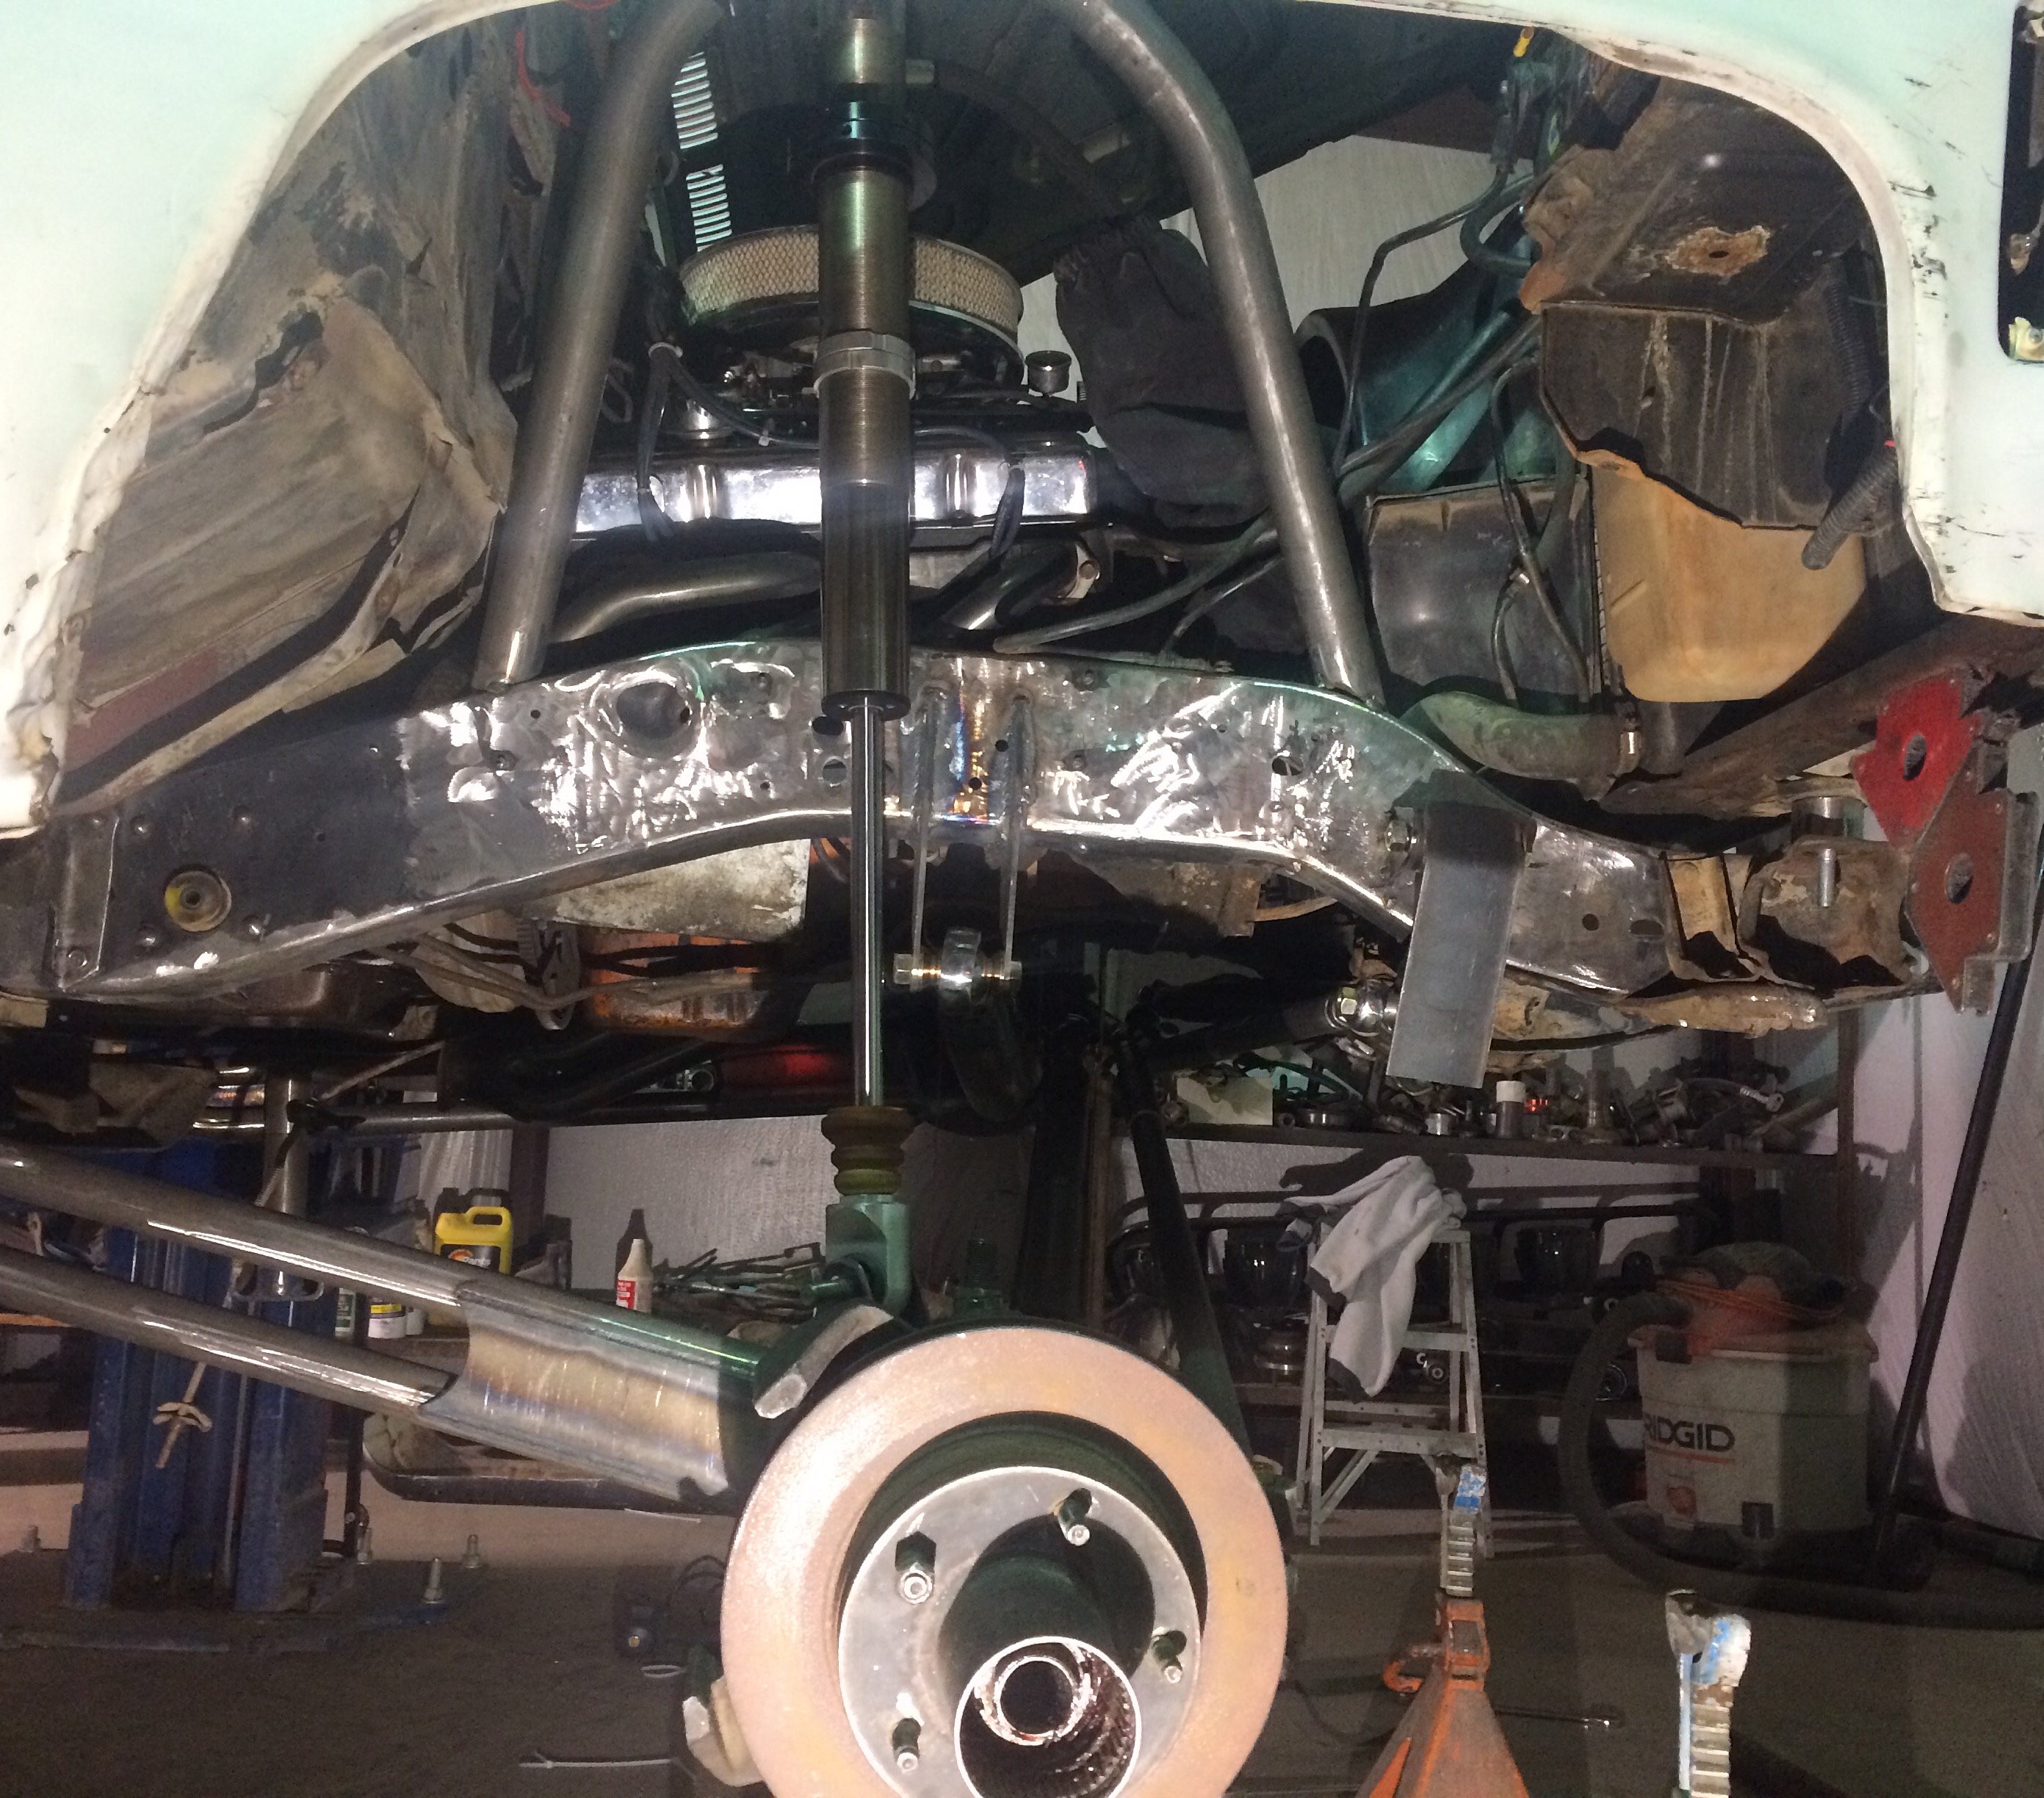
Another way to leverage the shock is cantilevered. A lot of the time the issues with this are much worse than mounting the shock at a steep angle.. It's very hard to tune a suspension that has a rate falling and rising as it moves..
But my good buddy Scott better known as secutright helped me figure out (actually did the math) (he's the brains behind this) how to properly design one that is linear. I sought this because I have a bypass shock so I don't need a rising rate, I can create the progression with the shock.
Here you can see the lever. It's 1.3:1 ratio, the goal was simple, create the lever to provide 16 inches of travel from a 12 inch shock.


I napped out the motion ratio, this will show you visually the curve of the cantilever. It also confirms it is perfectly linear. This is important for the performance.
We are in the process of designing a plate style cantilever that fits under the bed. More to come stay tuned!
I have been playing around with the rear suspension some, because my shocks are short 12 inch I really wanted to take advantage of the extra travel the springs. Could provide, there is a few ways to do this.
One would be mounting them to the axle at a perpendicular angle like this
But the issue is that I loose out on the extra travel.. There really isn't many bad things about this besides the space it can take up inside.
One other way is to leverage the shock somehow.
Mezzanine style suspension is basically a reverse trailing arm.
As you can see this consumes a huge amount of space.. Now if I was going to use this arrangement I would change a lot of this but for mockup I threw it together. Kind of like a proof of concept.
Another way to leverage the shock is cantilevered. A lot of the time the issues with this are much worse than mounting the shock at a steep angle.. It's very hard to tune a suspension that has a rate falling and rising as it moves..
But my good buddy Scott better known as secutright helped me figure out (actually did the math) (he's the brains behind this) how to properly design one that is linear. I sought this because I have a bypass shock so I don't need a rising rate, I can create the progression with the shock.
Here you can see the lever. It's 1.3:1 ratio, the goal was simple, create the lever to provide 16 inches of travel from a 12 inch shock.
I napped out the motion ratio, this will show you visually the curve of the cantilever. It also confirms it is perfectly linear. This is important for the performance.
We are in the process of designing a plate style cantilever that fits under the bed. More to come stay tuned!
Bitchin
Looking forward to seeing our design in use! Oh, and hurry up and finish...
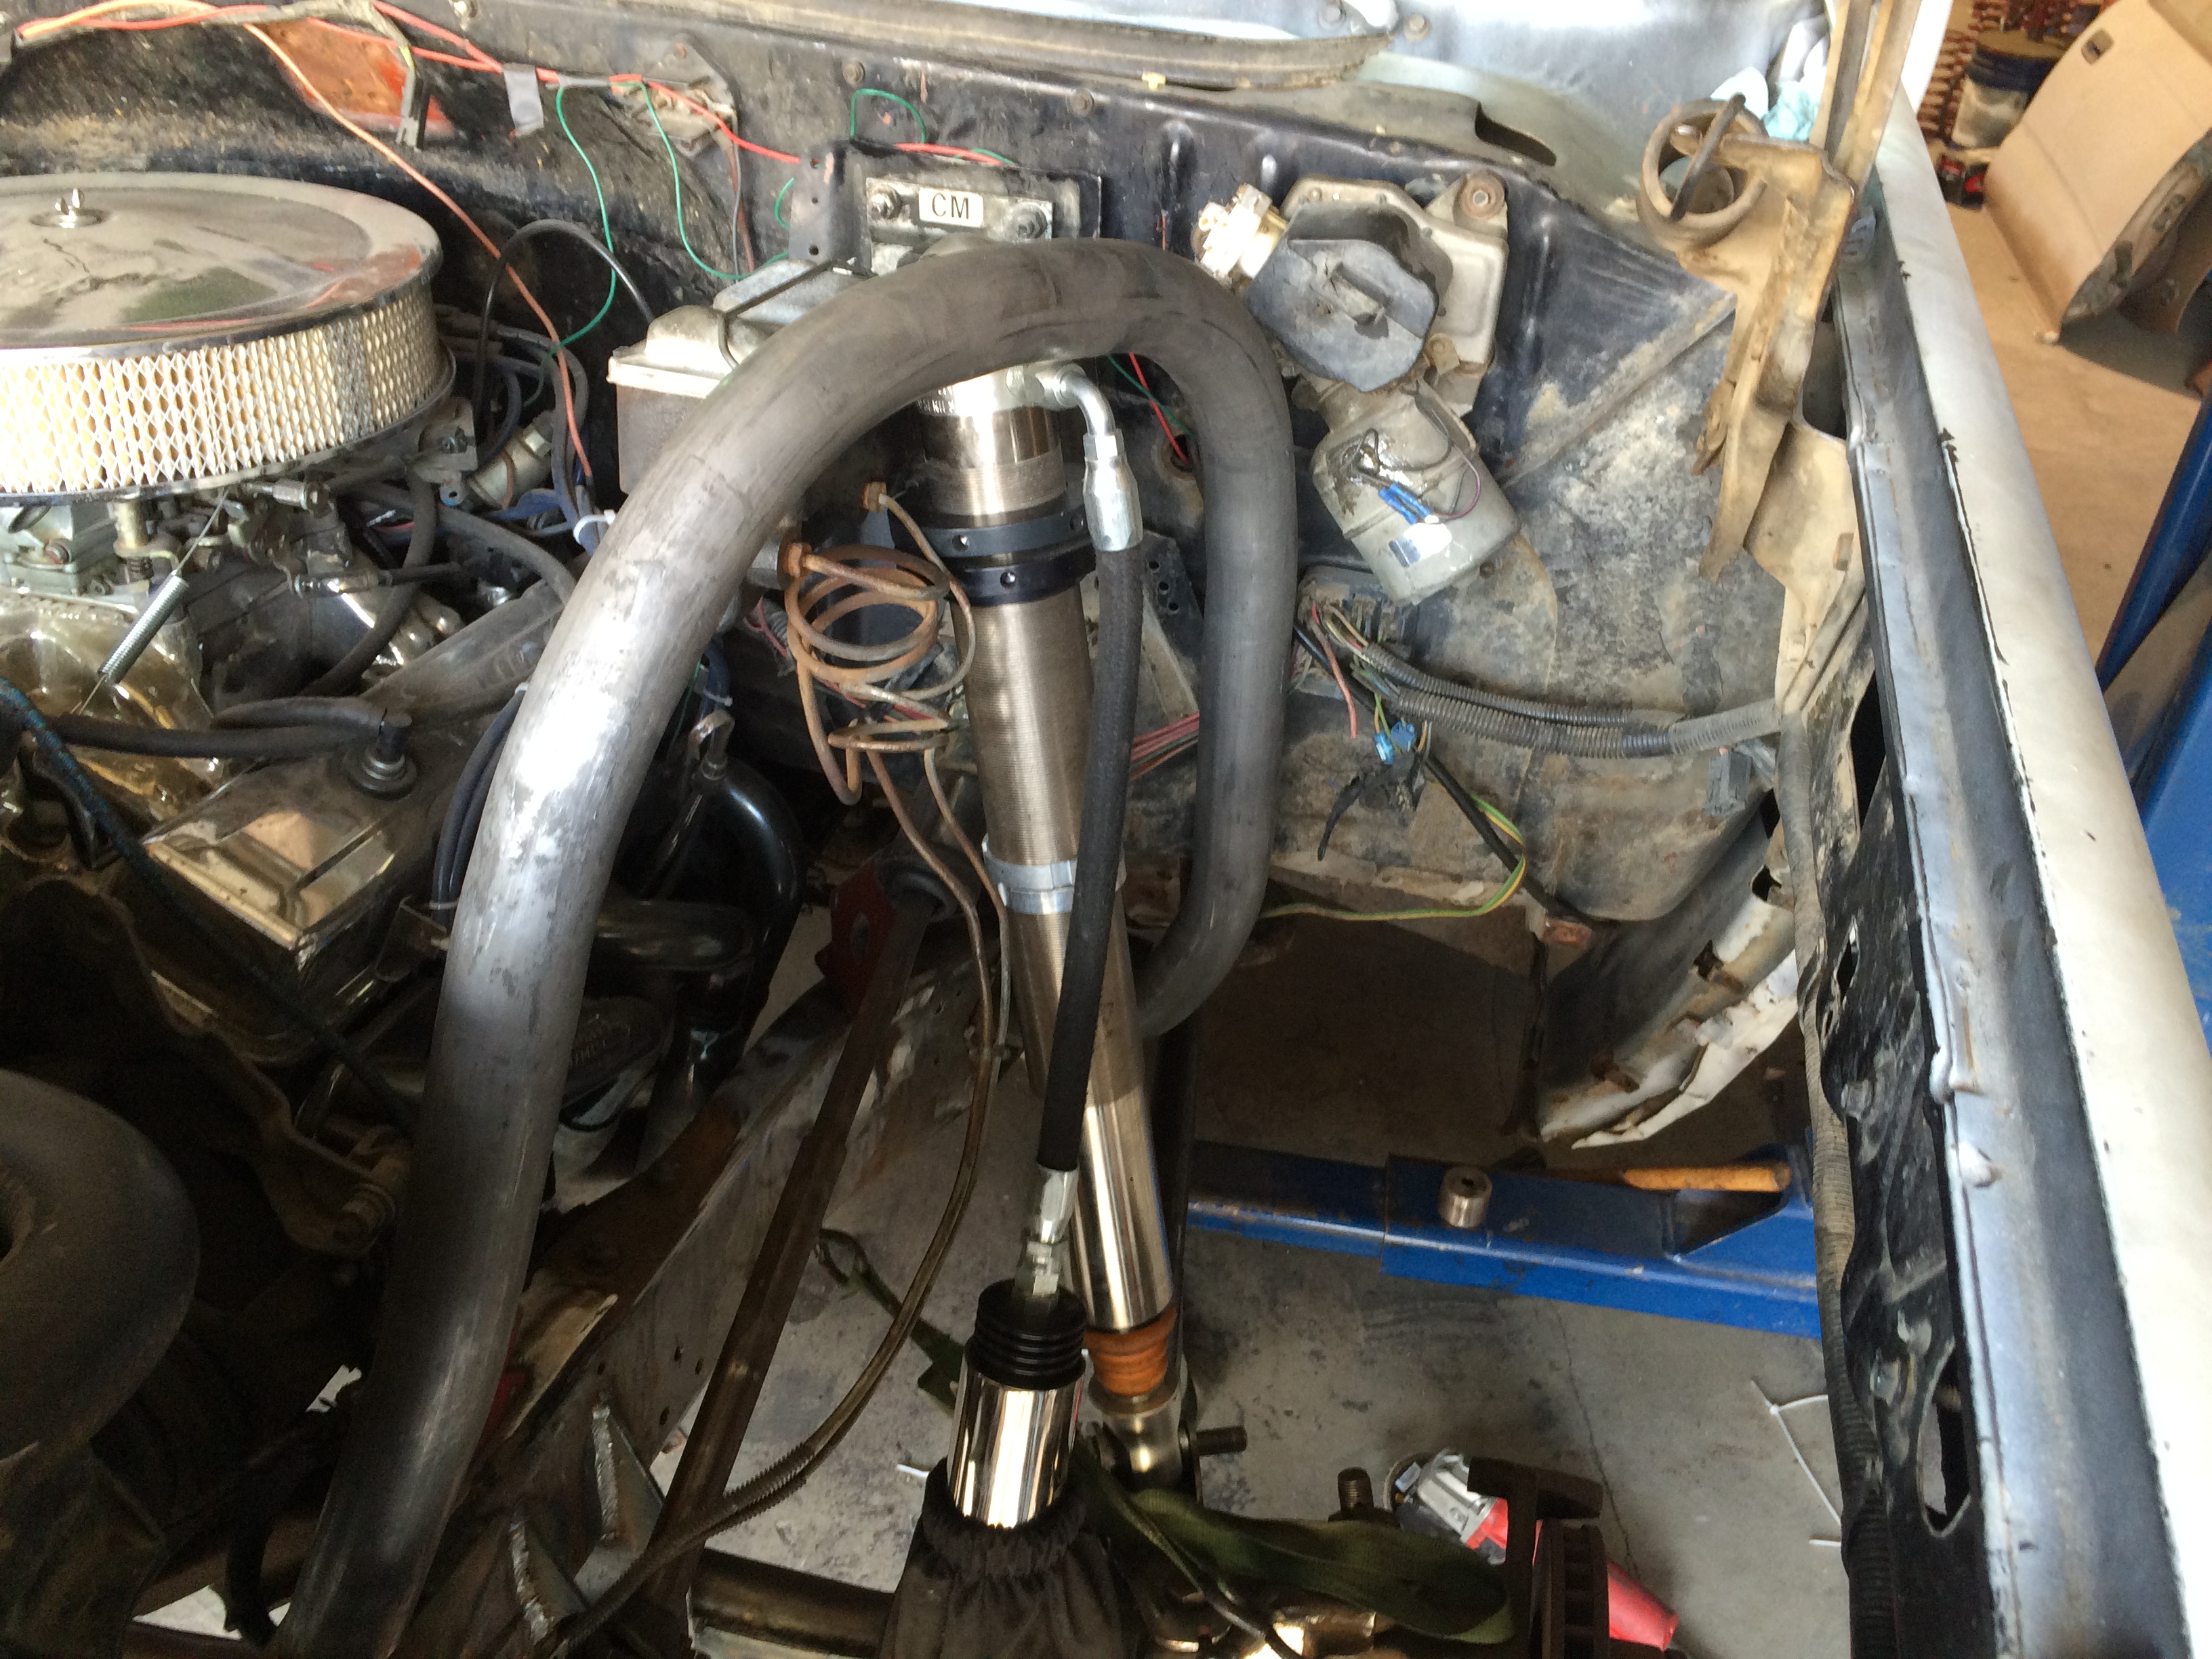
In the meantime I took the liberty to take some neat shots because I couldn't help myself.. 


This made me all giddy It's got a few more inches to be completely bumped out but you get the Idea.
Here it is the all mighty cantilever arm!! I have to admit I could not design this at all, I do not have enough experience with the software.
Thanks again Scott your the man!

I will be using a 1.75 Delrin bushing for the pivot, 7/8 Heims for the axle connection. The shocks got 1/2 inch uniball ends.

This made me all giddy
It's got a few more inches to be completely bumped out but you get the Idea.Here it is the all mighty cantilever arm!! I have to admit I could not design this at all, I do not have enough experience with the software.
Thanks again Scott your the man!
I will be using a 1.75 Delrin bushing for the pivot, 7/8 Heims for the axle connection. The shocks got 1/2 inch uniball ends.

